Simple DIY laser cutter
Basic laser cutter than can be made with standard shop tools.
Basic laser cutter than can be made with standard shop tools.
To make the experience fit your profile, pick a username and tell us what interests you.
We found and based on your interests.
I finally found more time to work on this and the Y axis is now complete, I just need to test it with an Arduino just to check that its moving OK with a stepper.
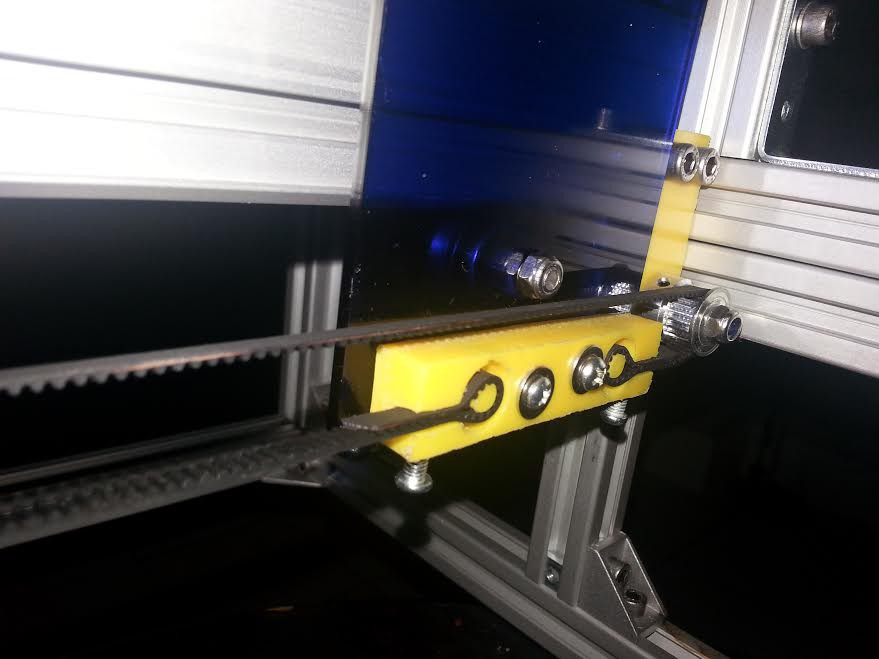
I finally got around to designing the belt clamps that will attach to the bottom of my X axis gantry plates. This is a simple design and will only require 2 screws to keep the belts tight and in place.
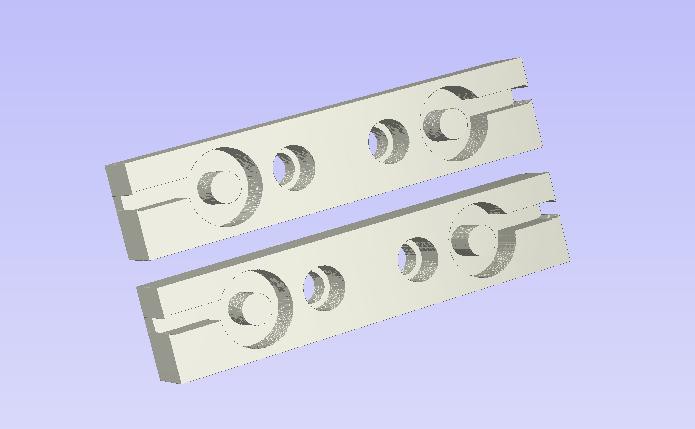 I will be machining these out of HDPE.
Well after the other company still not responding after 2 and a half weeks I contacted Makerslide europe and made the order with them, the next day it was sent out and is on the way to me.
As soon as I cut this down it can be installed and I can make progress on the gantry sides, the laser carriage and the automatic Z axis focus.
Well I'm still waiting for a company to email me back about openrail. I asked for a custom order around 11 days ago. After no email back I sent 2 more and got a reply on the 3rd one. He created the order, sent me the link but as soon as I tried to checkout, it failed. The order was setup incorrectly. I again emailed him and so far have had no response.
How do business' expect to stay afloat with this kind of customer service. If I ran my business like this I would have been out of business years ago.
So now I'm watching a different store for makerslide which means I will need to modify a few components.
Sorry for the rant!
Well, the 10 meters of GT2 belt I ordered has arrived and is in good shape. Now as soon as the Openrail arrives I will have everything I need to get it operational although it will still need a couple of items to finish it.
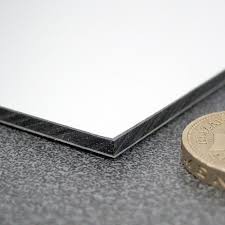
I will be using Dibond for the skin which is an aluminium composite. This is composed of a thin sheet of aluminium(0.5mm) with a foam core followed by another sheet of aluminium to complete the sandwich. This means it's very light but the aluminium will be enough to resist the laser from poking holes in it.
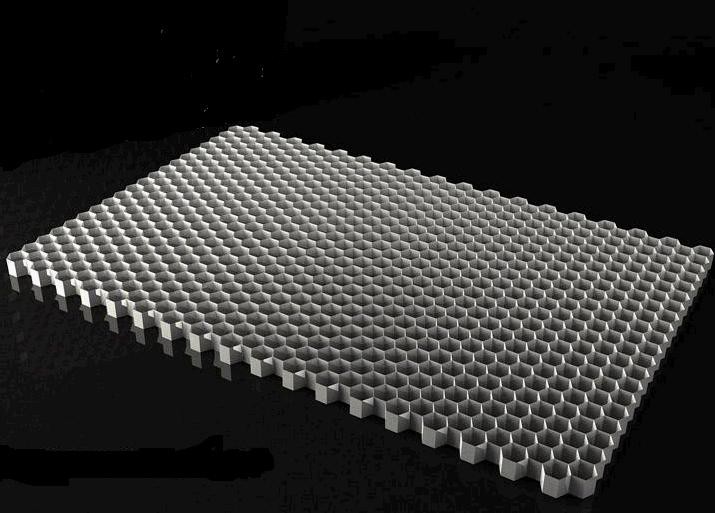
I will also be ordering some more aluminium honeycomb for the laser bed. This is ideal because it is cheap, lightweight and best of all it has minimal surface area in the path of the beam reducing flashback which will mark the back of materials but it also allows my extraction to pull the smoke below the bed away from the material and optics.
There will be more updates soon, I expect the openrail to arrive in the few days and then it's game on.
This time next week the machine should be cutting!
I've not had much time this week for the machine and I'm still waiting for the belts and openrail to arrive so I have made the front idlers, both stepper motor brackets and the handle.
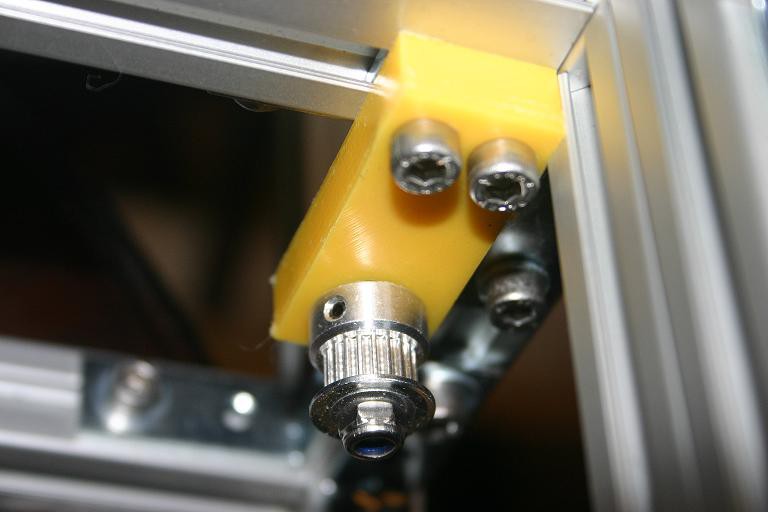 This is made so it goes bearing, washer, GT2 pulley and nut.
The handle is a pretty simple design:
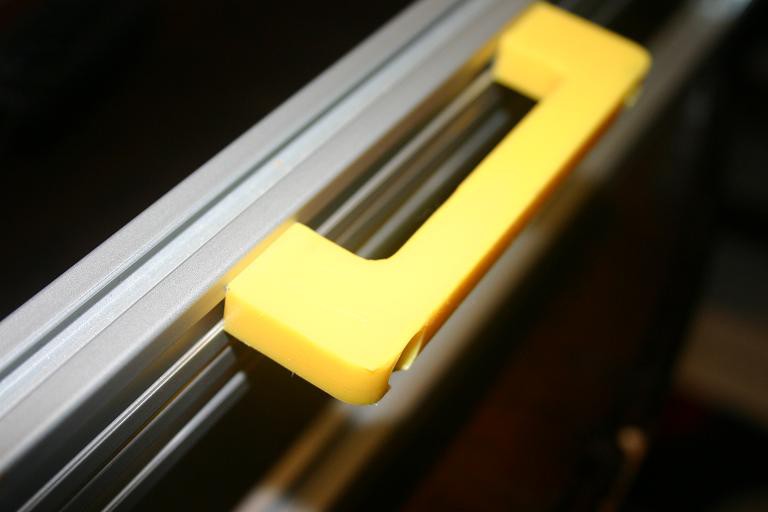
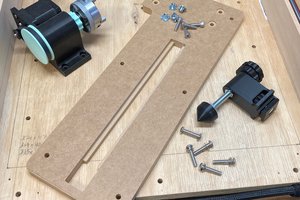
and the stepper bracket I laser cut from 3mm black acrylic. I used the laser but it can be made with a drill press easily but I need an eye test! Pictures to follow because the camera battery just died.
I have decided to flip the X axis stepper on top on the X axis. The reasons for this are I cut out needing 2 idler pulleys and the motor mount can be simplified meaning both motor mounts are the same!
Although I lose a little X axis cutting space it's not enough to worry about and should speed up the build process. More pictures to follow soon!
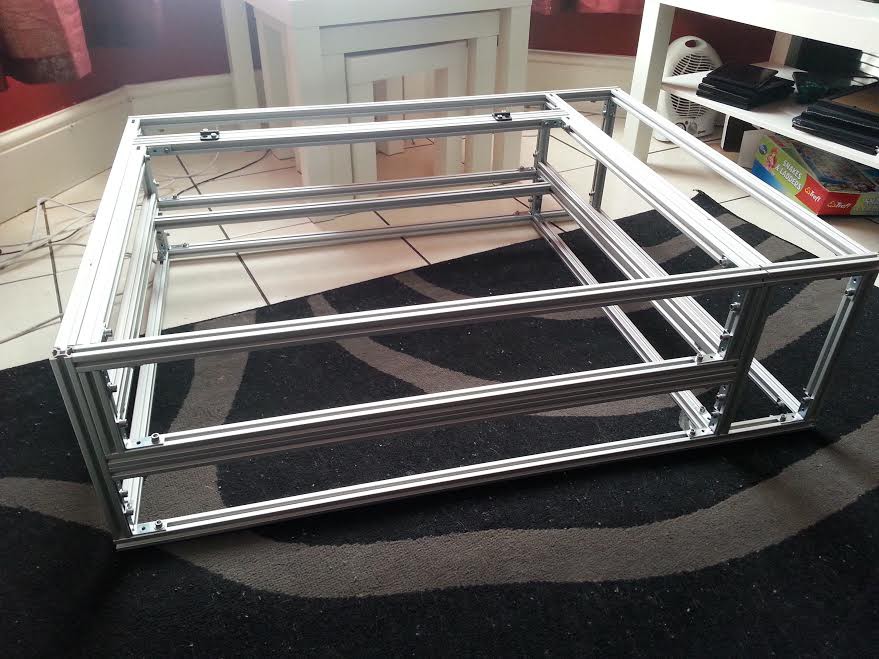
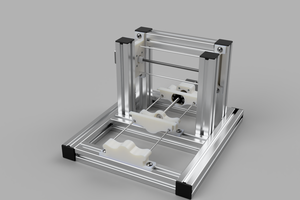
Well the design worked pretty flawlessly. The frame bolted together quickly and easily and is just waiting on the OpenRail to arrive to finalise the frame. I will still need to undo a few sections to attach brackets and bearing blocks but it's not a whole lot of work in fact it's probably around 20 minutes work total!
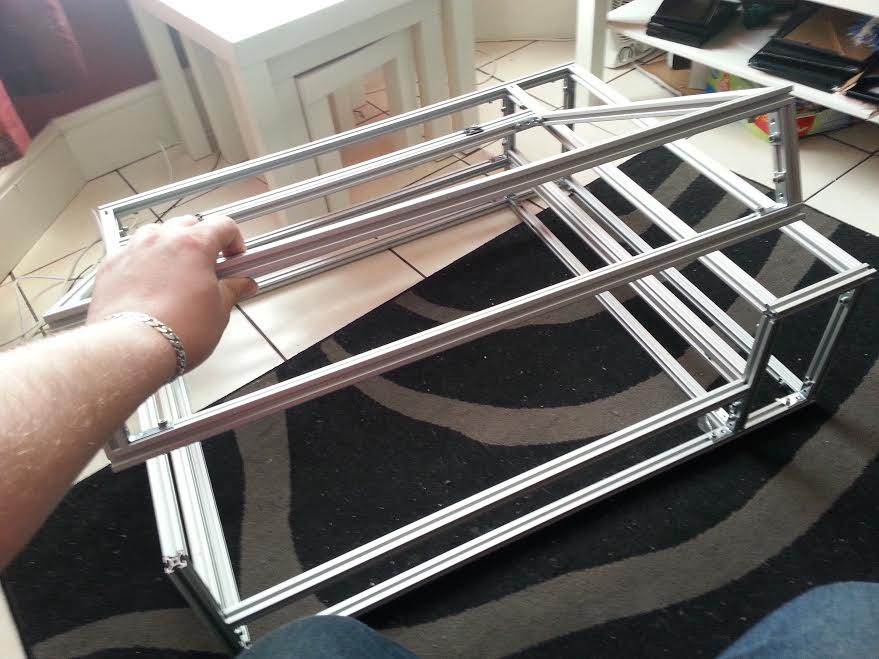
It is a pretty small machine given the cutting area. The frame measures 950mm x 730mm x ~ 250mm with a cutting area of 660mm x 600mm.
Overall I am quite pleased with the extrusion as it has a good strength to it
Next up is the X axis gantry plates and laser head carriage plate and tube mounts, they all still need designing first. Both will be made in aluminium or HDPE, oh, I will also machine a handle for the lid before the next update!
-Phil
I have just finished the Y axis bearing blocks. These support the metal rod from the stepper motor that hold the gear that moves the gantry. I made these with 10mm HDPE on my CNC. HDPE is fantastic to work with!
Create an account to leave a comment. Already have an account? Log In.
[this comment has been deleted]
Become a member to follow this project and never miss any updates
By using our website and services, you expressly agree to the placement of our performance, functionality, and advertising cookies. Learn More
 David Tucker
 Wudagem
 Myles Eftos
By August 20th you must have the following:
- A video. It should be less than 2 minutes long describing your project. Put it on YouTube (or Youku), and add a link to it on your project page. This is done by editing your project (edit link is at the top of your project page) and adding it as an "External Link"
- At least 4 Project Logs (you got this covered, but you should still continue to update)
- A system design document
- Links to code repositories, and remember to mention any licenses or permissions needed for your project. For example, if you are using software libraries you need to document that information.
You should also try to highlight how your project is 'Connected' and 'Open' in the details and video.
There are a couple of tutorial video's with more info here: http://hackaday.com/2014/07/26/4-minutes-to-entry/
Good luck!