-
Stickvise Cupholder Jaws
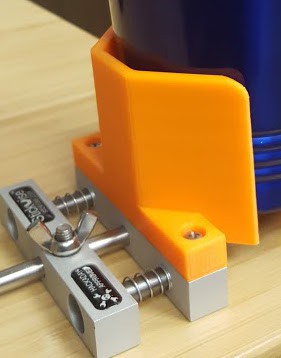
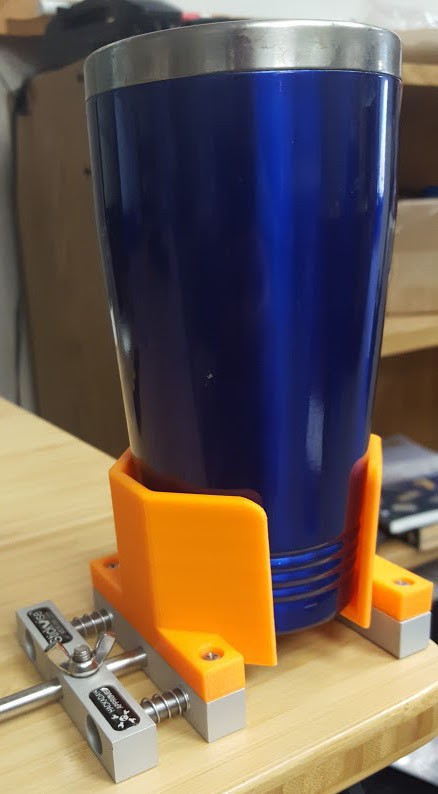
08/11/2017 at 18:39 • 0 commentsI spilled coffee on myself two days ago, so I decided to design some cupholder jaws for Stickvise to help me avoid this situation in the future. Now you too can make your Stickvise into a neat cupholder with this new set of jaws.
https://cdn.hackaday.io/files/3287140631008/Stickvise_CupHolder_Jaw.stl
![]()
![]()
-
New Canadian Distributor! Buyapi.ca
03/14/2017 at 15:06 • 0 commentsStickvise has a new distributor in Canada - Buyapi.ca. They are the largest distributor of Raspberry Pi merchandise in Canada and now they stock Stickvise!
This should be a more cost effective option than ordering from a US distributor for all interested Candians!
https://www.buyapi.ca/product/stickvise-the-low-profile-pcb-vise/
-
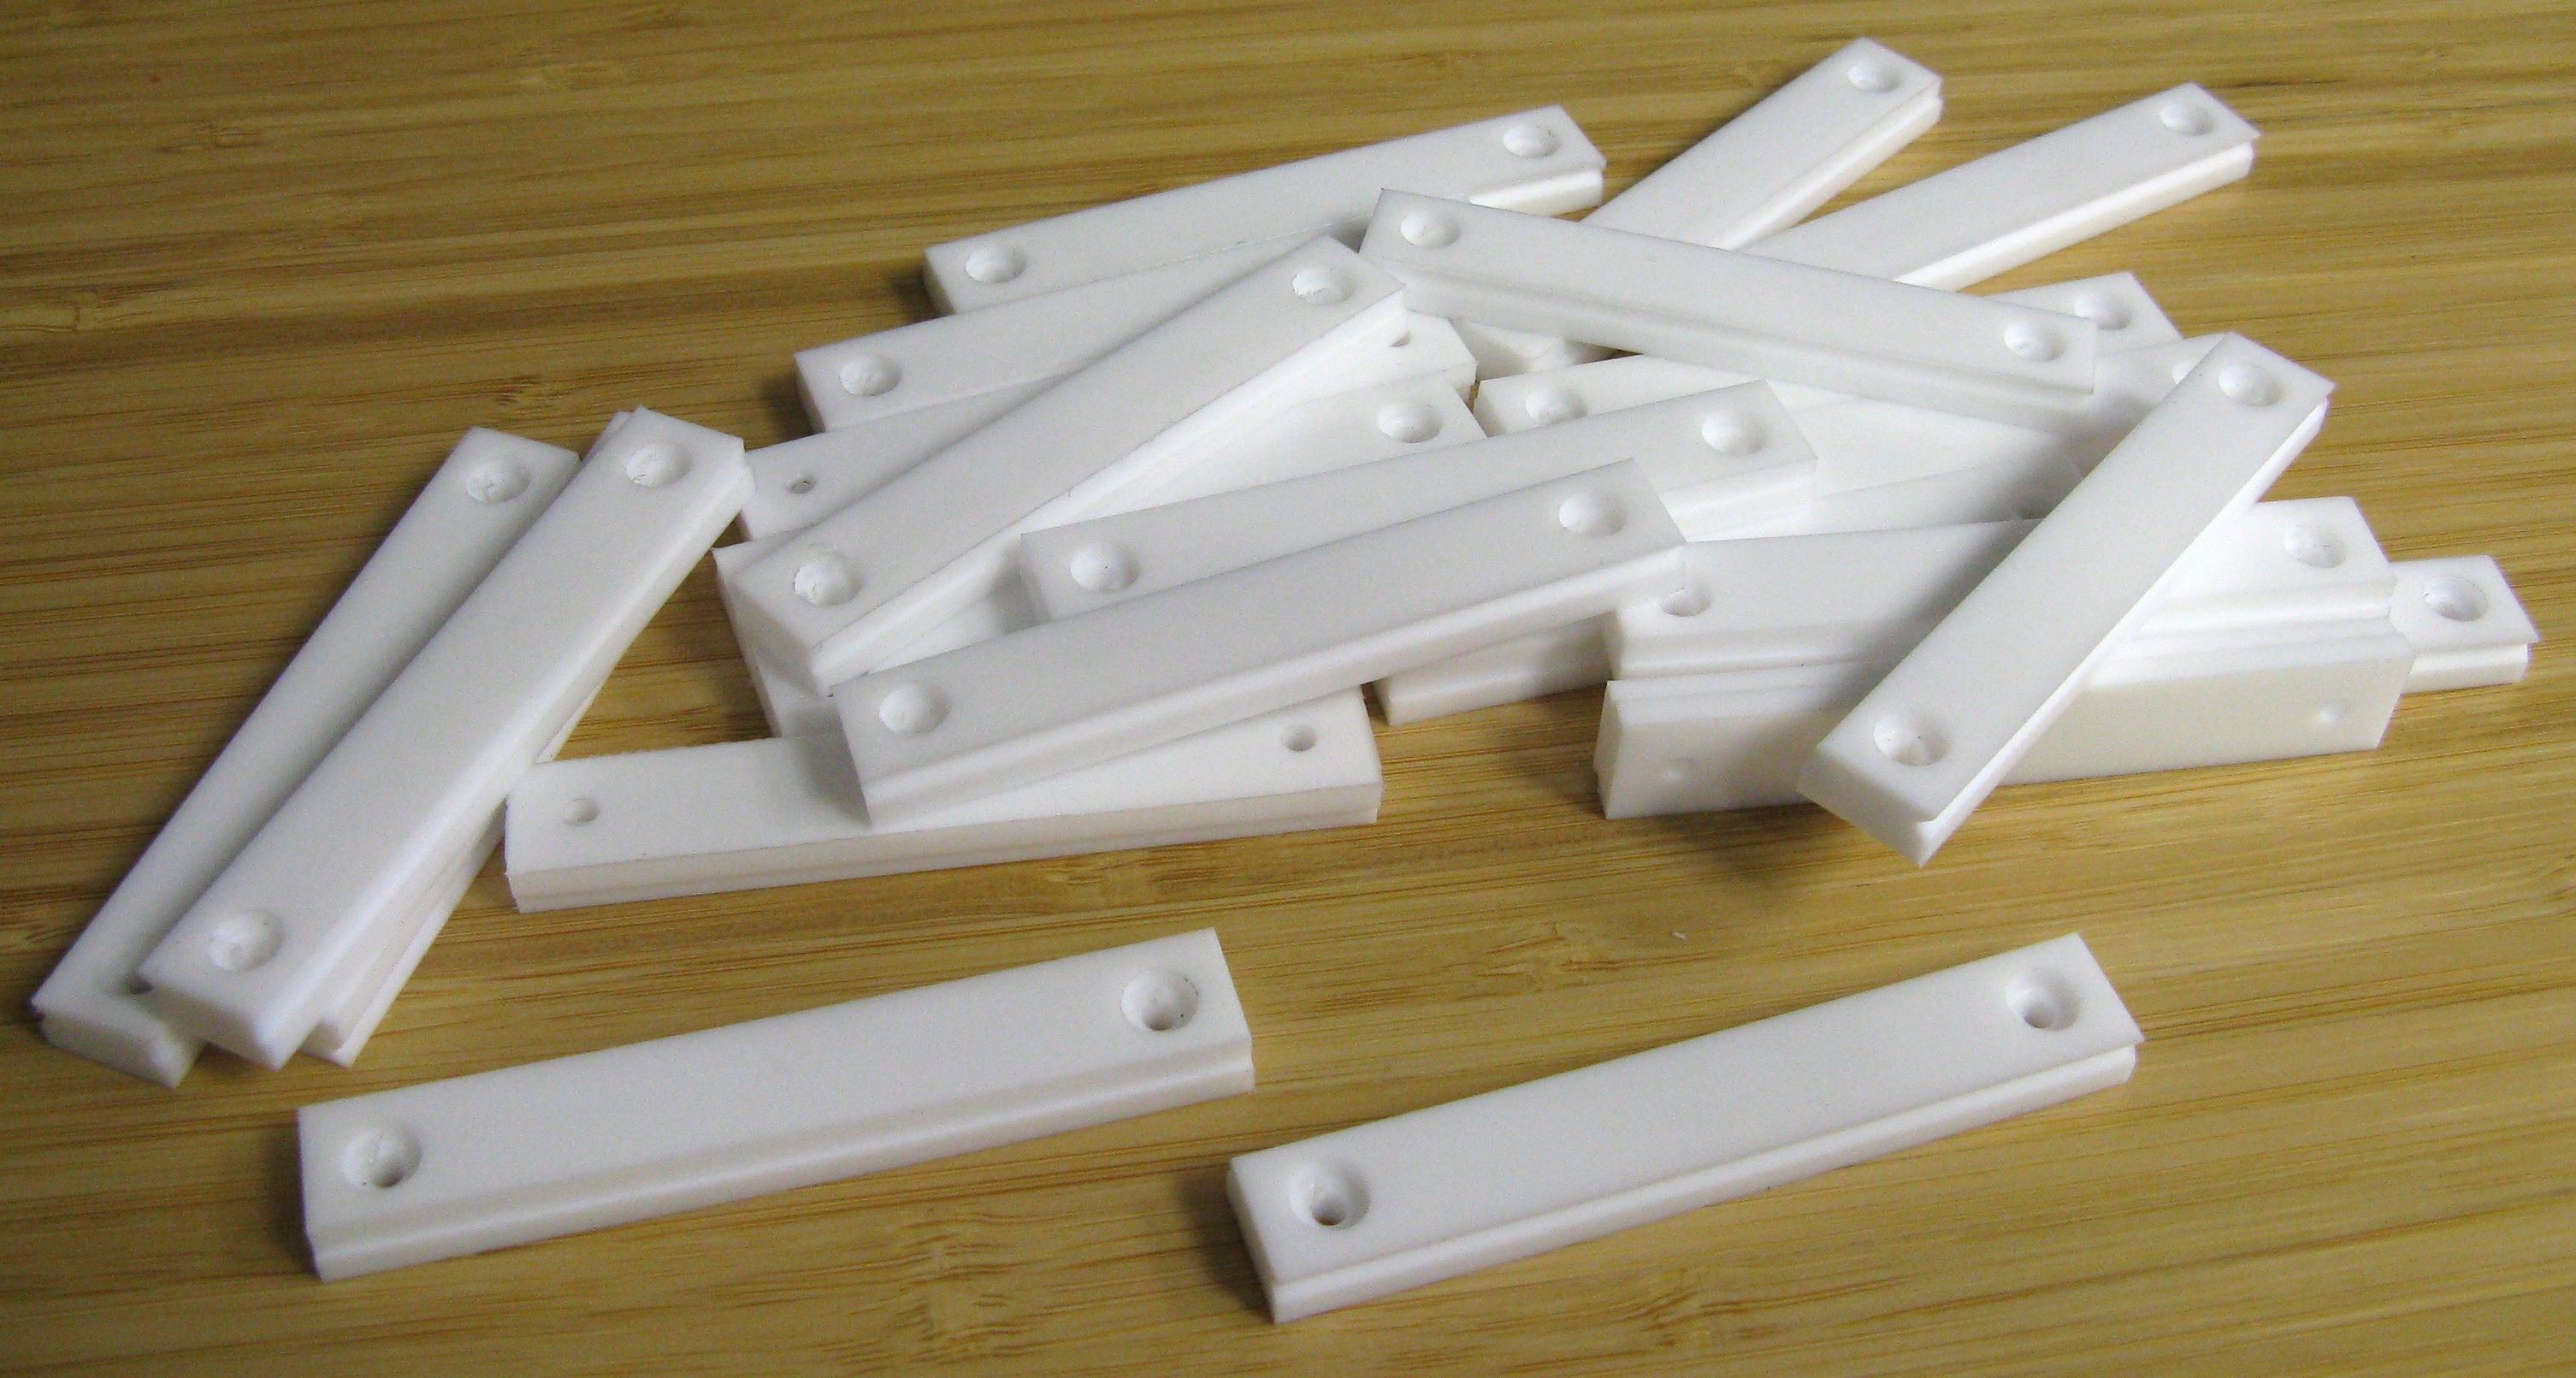
Time-lapse video milling PTFE jaws on the Shapeoko
03/05/2017 at 20:37 • 4 commentsI am using a very inexpensive Shapeoko 3 to produce precision milled PTFE jaws for Stickvise from my basement!
Why don't I have the part molded or machined somewhere else? I project sales of about 200 pairs per year. Molding PTFE is a specialized process because of the very high temperatures, so it would only be warranted at higher volumes or if I could justify a much higher price point. Machining is more typical in this volume range, but outsourcing machining was still too expensive.
To hit the price point I wanted and not commit to large manufacturing runs, I chose to get a machine to make the parts myself. This also meant I could justify having my own CNC at home, which I had wanted for a while.
I'm happy to say the machine is working well and has already paid for itself. Most importantly, I have a new toy that I never would have bought otherwise.
-
Raspberry Pi Zero Jaws by bfesser
12/23/2016 at 01:06 • 2 commentsCheck these out!
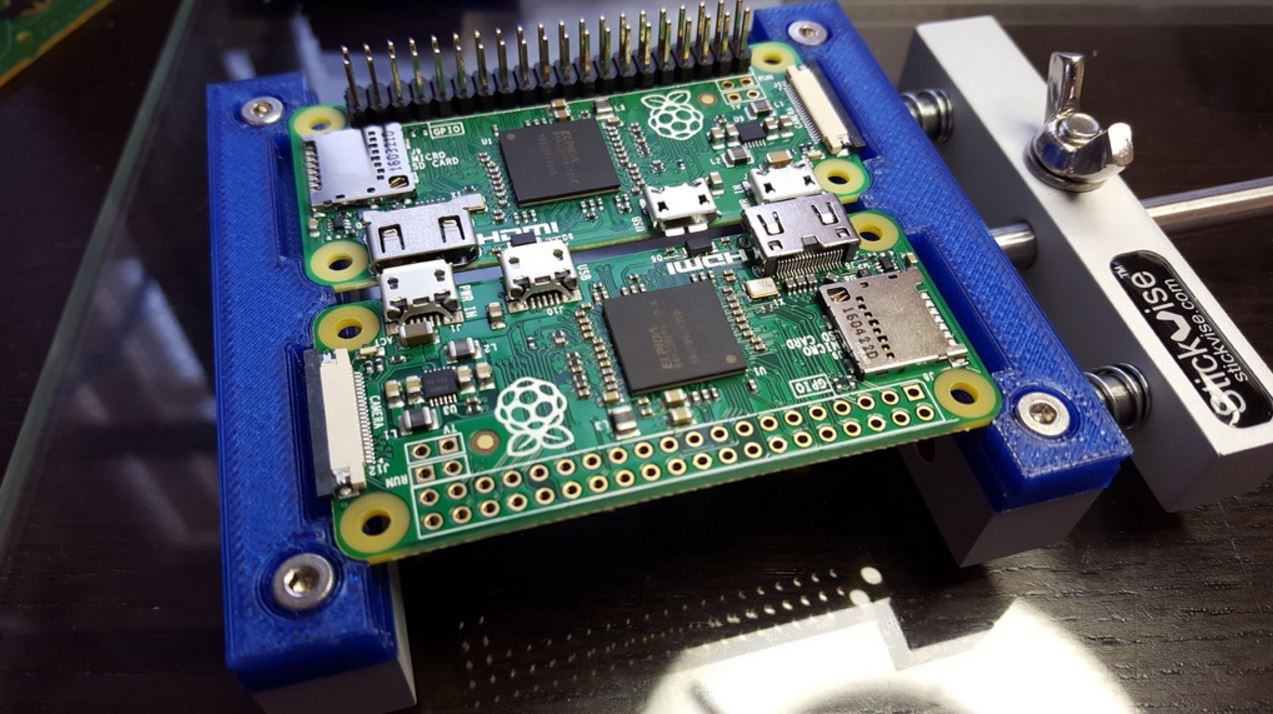
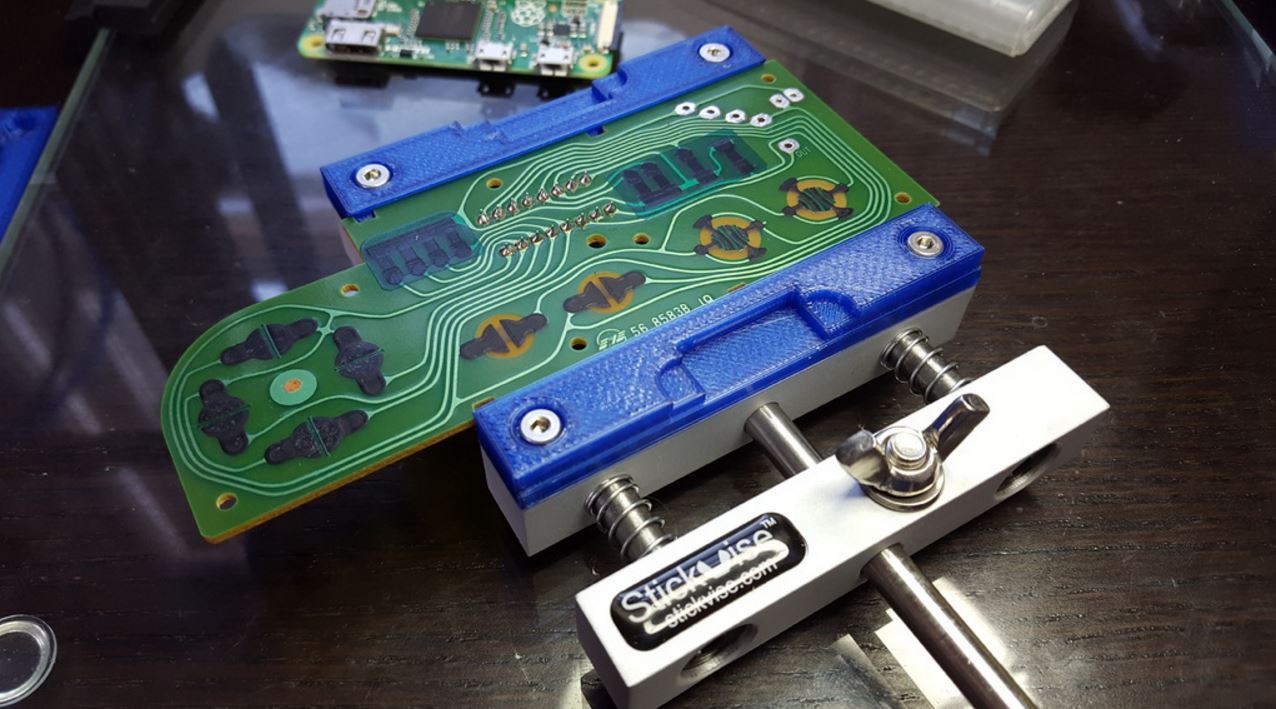
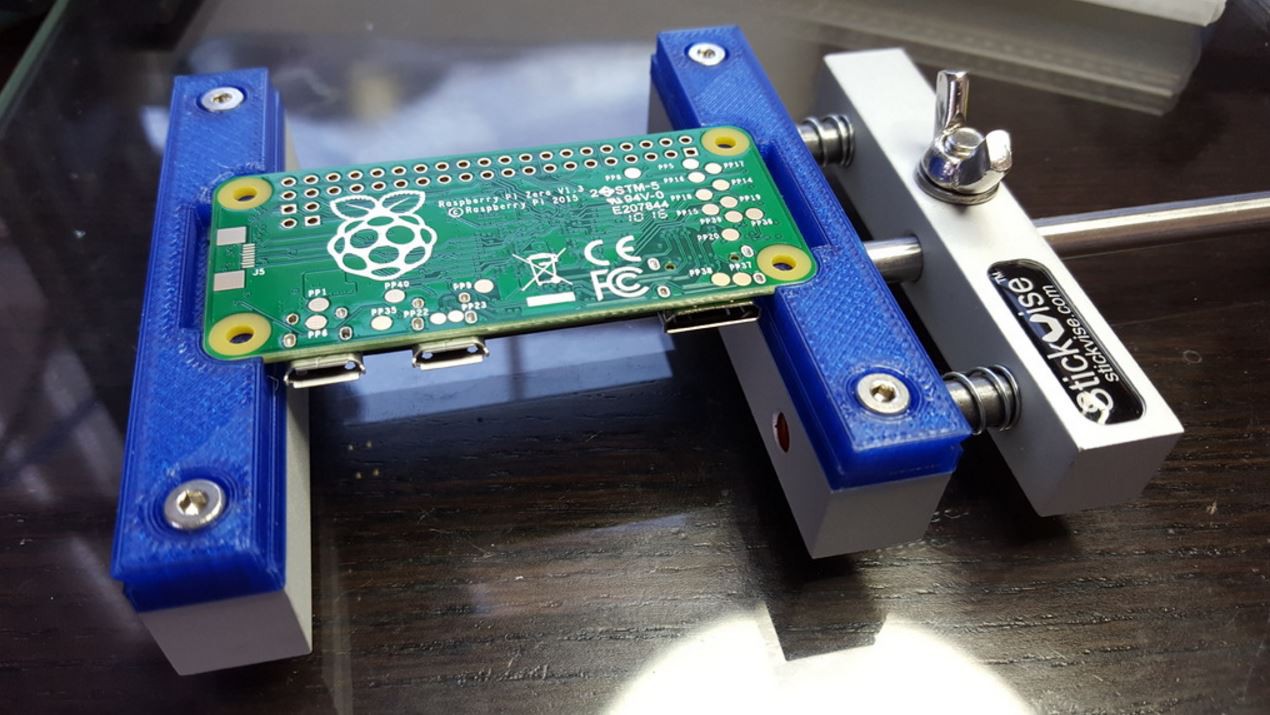
This is exactly the kind of thing I had in mind for Stickvise - mod and hack to make custom fixtures for holding PCBs. These are a cool set of jaws by @bfesser that not only hold two RasPi zeros, but you can flip them around and hold any size PCB. There is actually a dual and a single jaw set available. Enjoy pics below, if interested in 3d printing these, head over to thingiverse to download.
https://www.thingiverse.com/thing:1985615
-
New Stickvise distributor: Adafruit
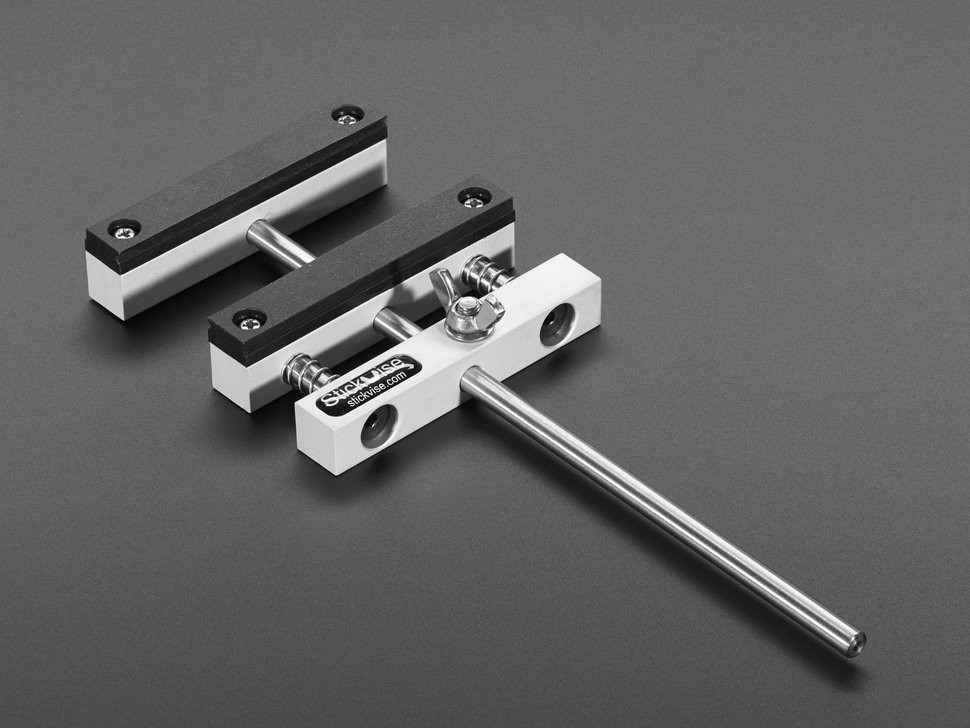
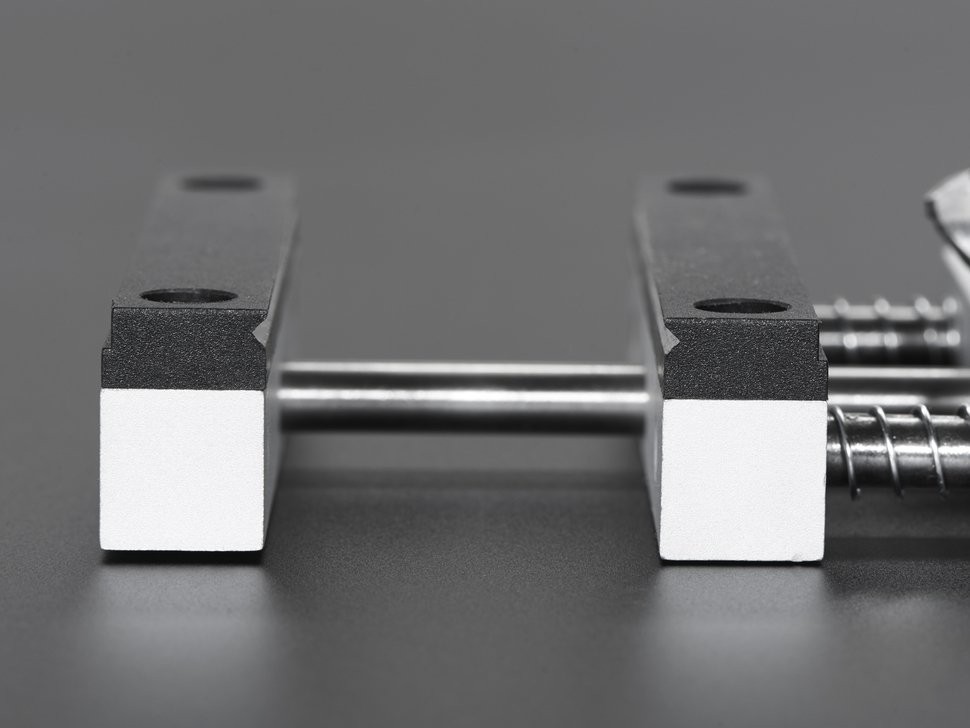
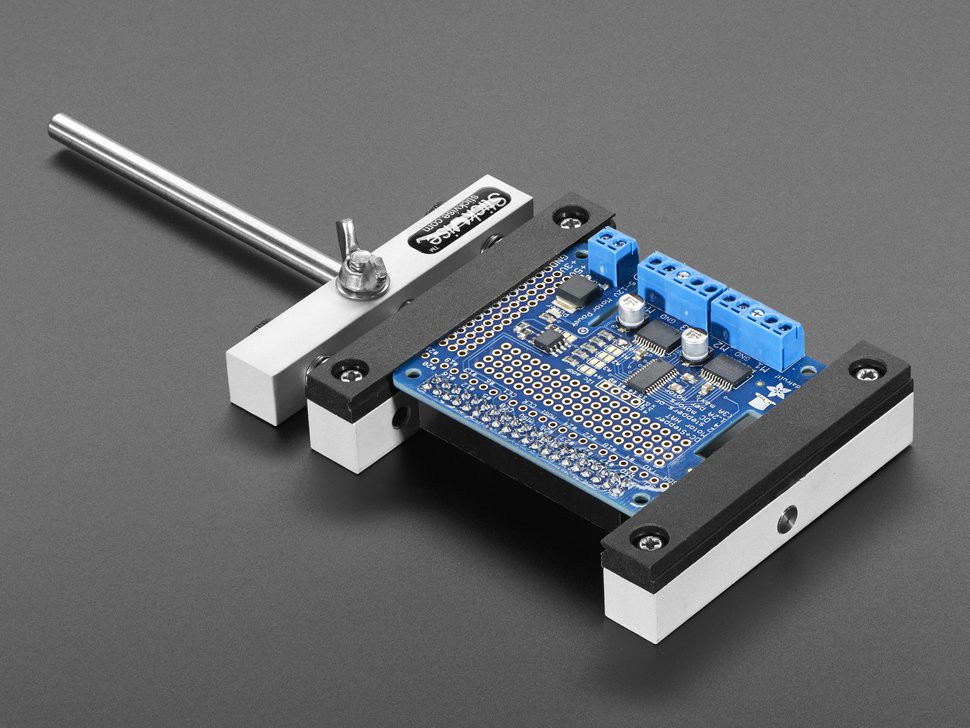
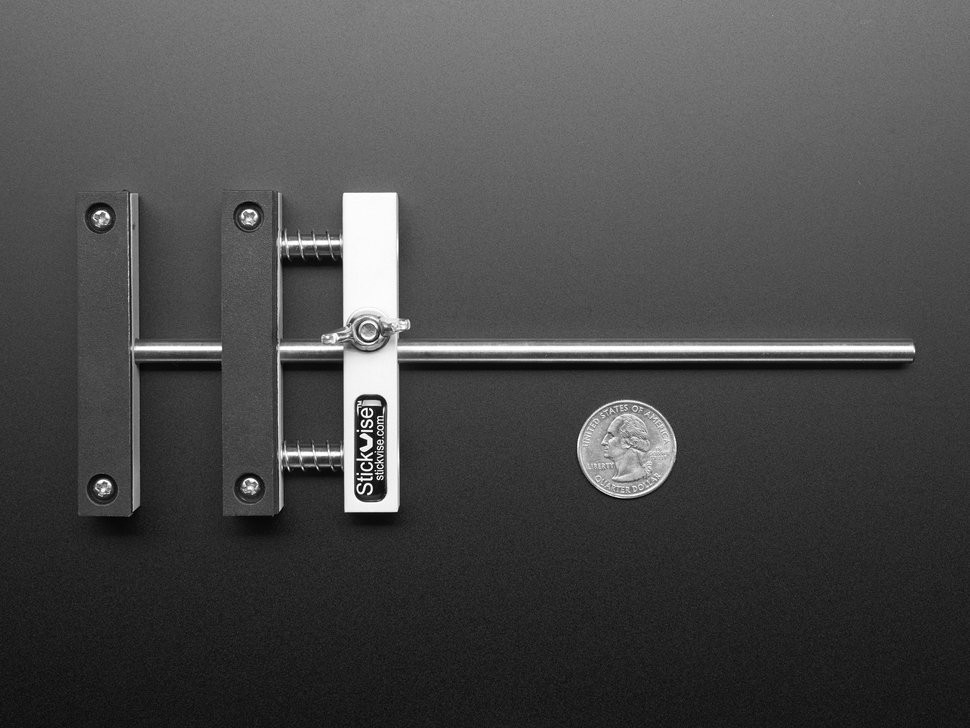
09/11/2016 at 21:17 • 14 commentsAfter over a year of selling through the Hackaday Store I have expanded to add a new distributor - Adafruit!
https://www.adafruit.com/products/3197
Super excited to expand the Stickvise audience, Adafruit is a really cool company. They did an amazing job on photographing Stickvise, check out some of the shots they took! Better than any I have taken for sure. Also on the Adafruit product page you can see a great video of Limor and Phil talking about it a little bit.
![]()
![]()
![]()
![]()
-
Ben Heck Show Stickvise sighting!
07/11/2016 at 02:15 • 0 comments![]()
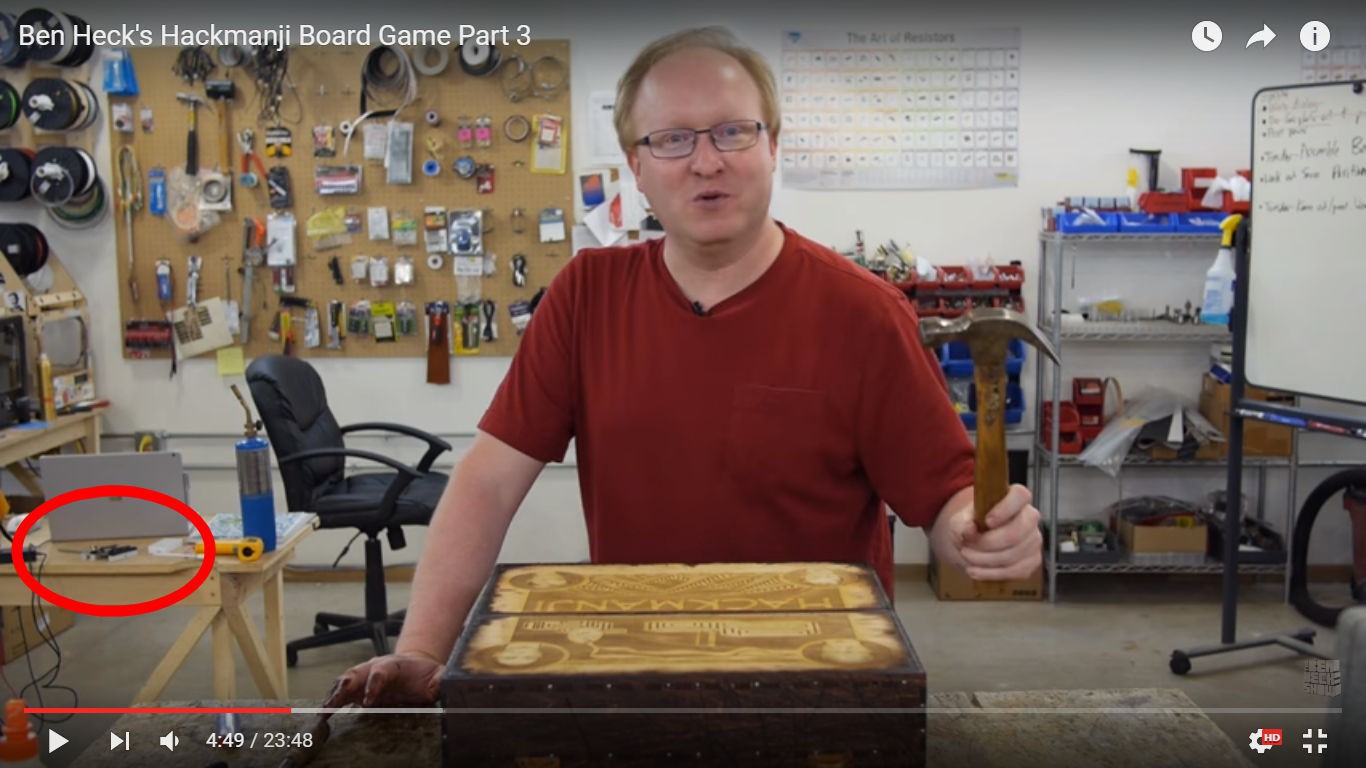
I sent Ben Heck a Stickvise a couple months ago, I thought it was a long shot to even get a response but I wanted to at least give it a try. You have to put yourself in his shoes, he probably gets tons of unsolicited crap shipped to him every week that people hope will make it into one of his videos. It turns out he was really nice, even sent me a thank you email when it arrived and told me that he was using it a few minutes after it arrived. Very cool of him to do that.
I noticed in the show's latest video (covering the completion of his Hackmanji game) that Stickvise was on his bench in the background the whole time. Not sure what he's holding in the vise but it's an honor to see it being used!
I sent his Stickvise out with a customized "Ben Heck Show" PCB, I thought it looked pretty cool:
![]() Here is the episode
Here is the episode -
Replacement Jaws
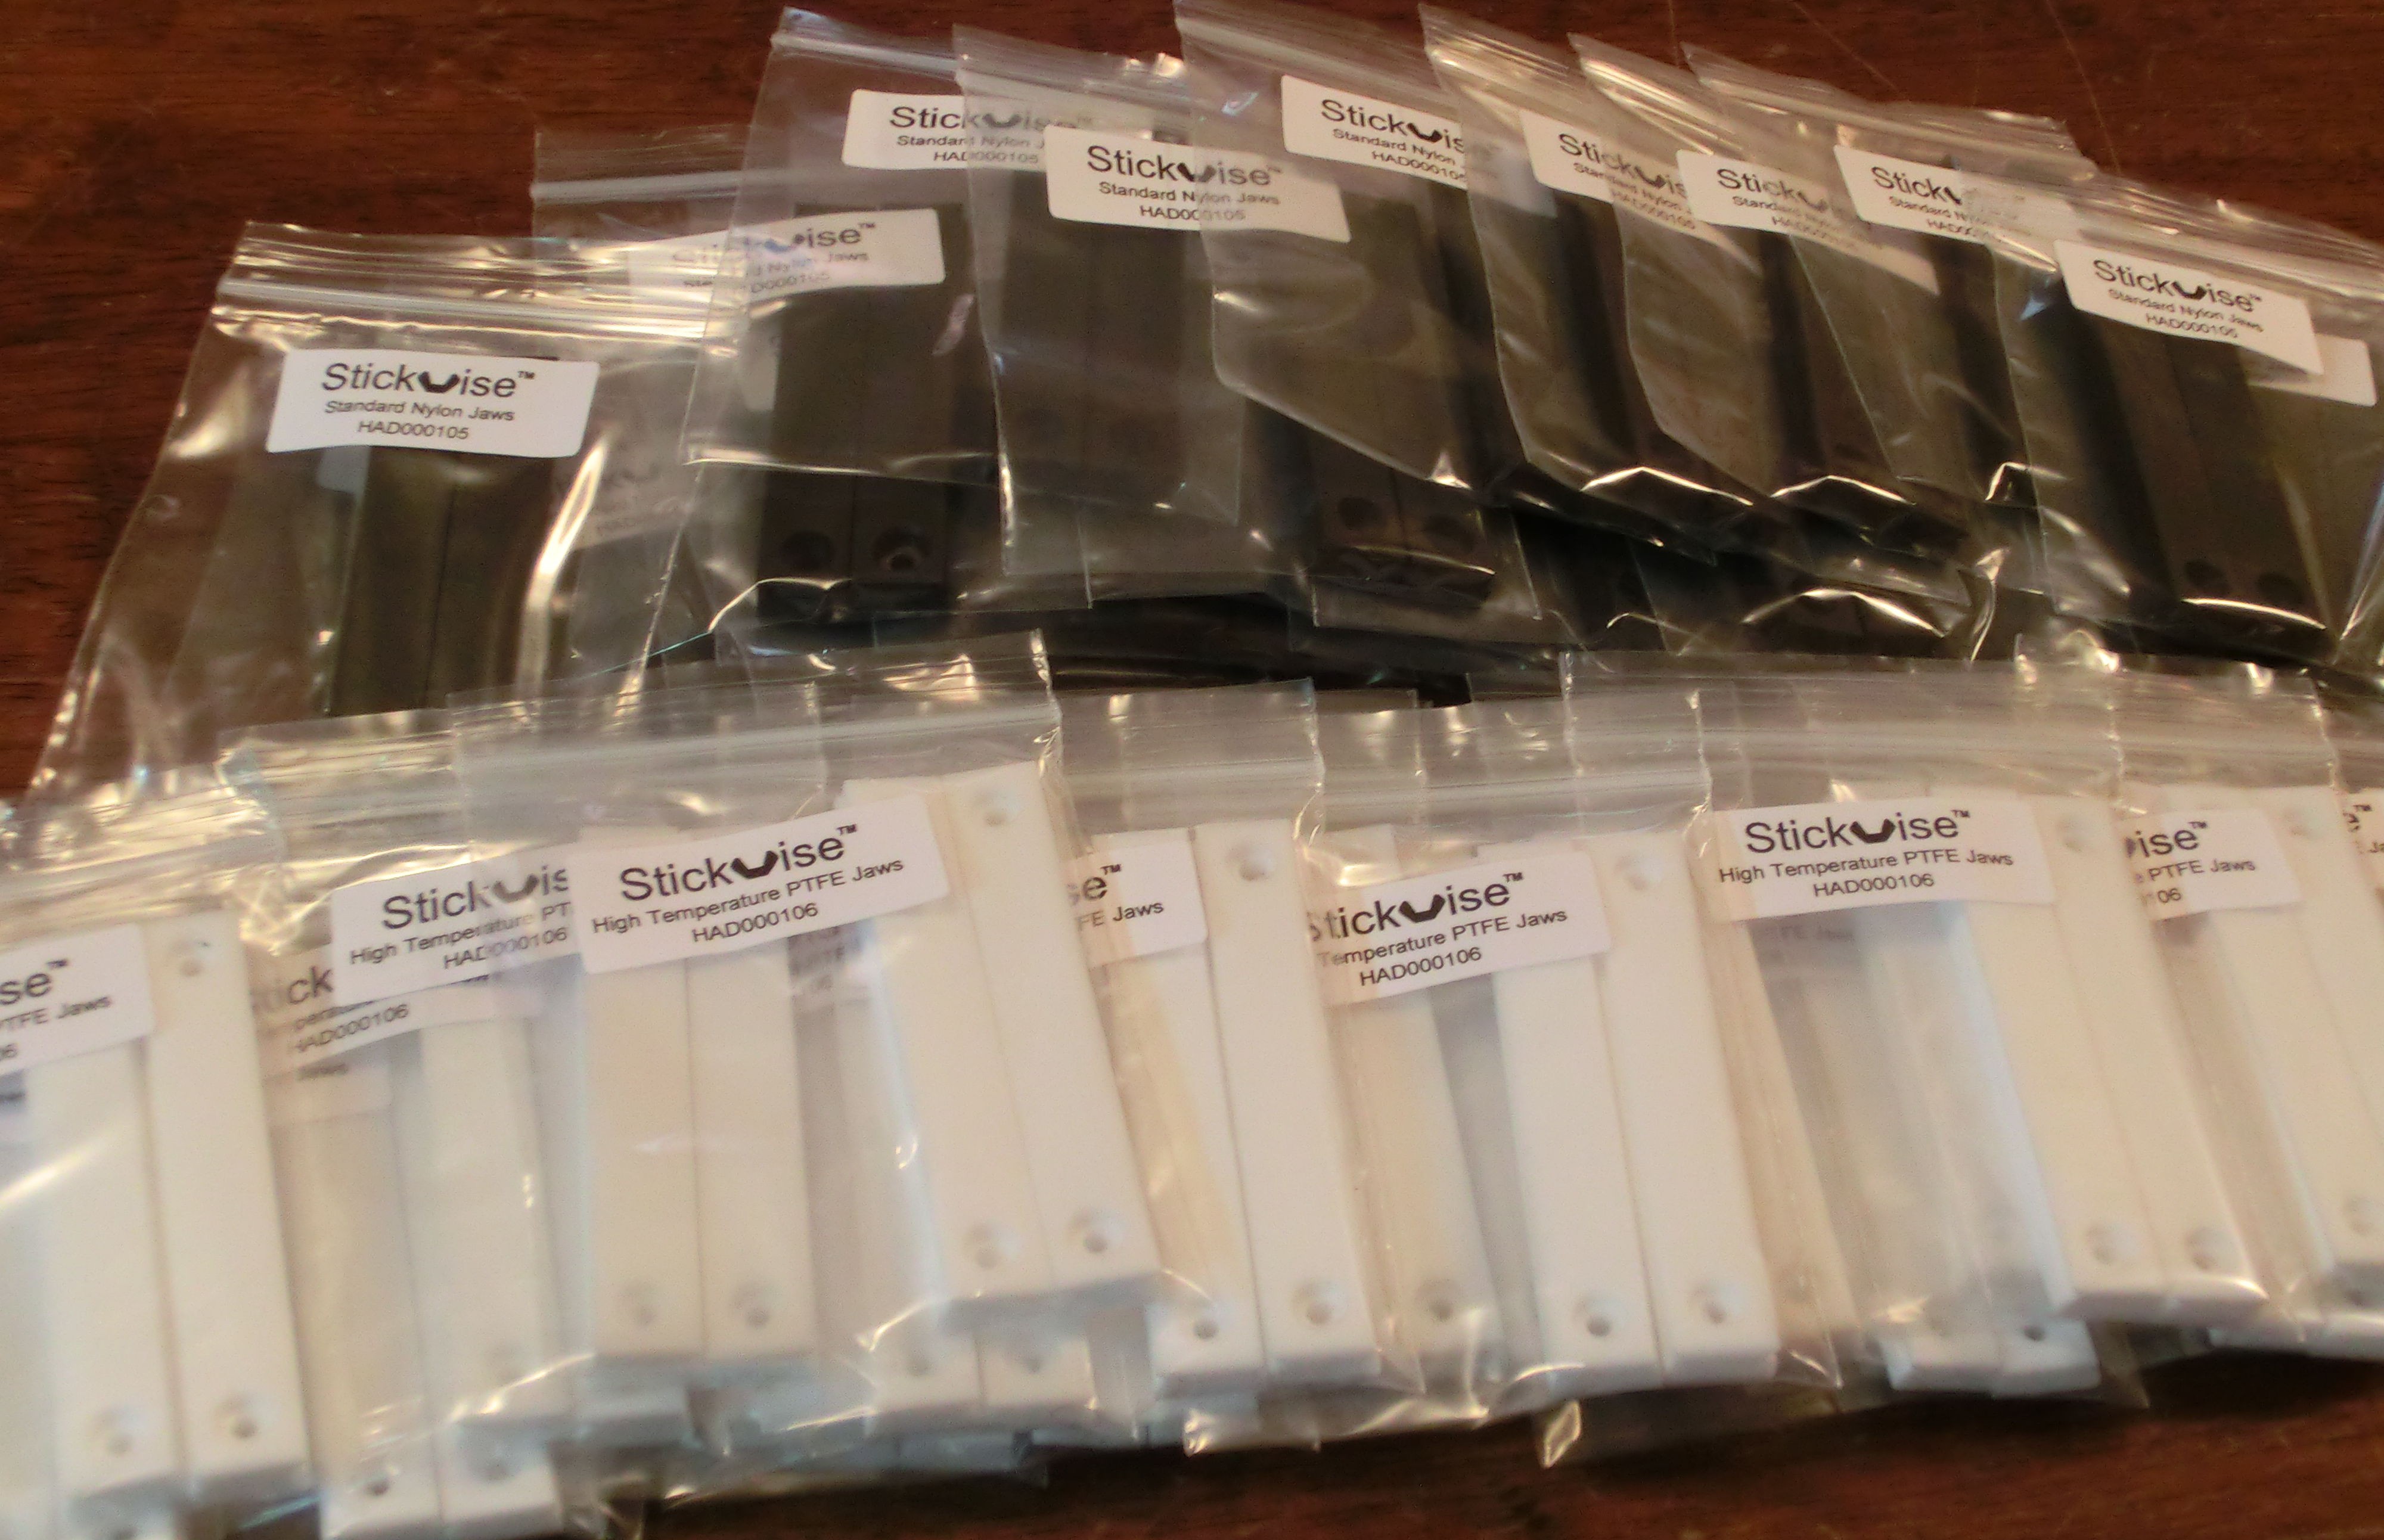
04/24/2016 at 01:25 • 1 commentOn Monday I'm shipping out Stickvise replacement jaws to the Hackaday Store! They should be available in the next week or so. For those who have damaged their jaws and want some spares, check them out. For starters there will be two options: standard nylon and high temperature PTFE
-
Milling a PCB outline on Stickvise
03/22/2016 at 15:46 • 2 commentsStill brainstorming the idea of using Stickvise for PCB milling. After a brief chat on Twitter with Danielle Applestone (owner of Other Machine Co. makers of the Othermill) I was inspired to delve further into this possible application. The main issue is full slotting, particularly parallel to the edges of the jaws where the PCB is most likely to slip. This morning I did some testing to see how Stickvise would handle this.
Below are the results, not a bad start - didn't have movement in any of the five test boards I cut out.
Sorry for the absolute bush league mistake of putting my finger over the lens, that's embarrassing. You can see more about the jaw design I'm using in this older project log.
The info on the cut is as follows -
Machine: Tormach 770
Spindle Speed: 10,000 RPM
Feed Rate: 10 in/min
Tool: 1/8" diameter, 2 flute carbide endmill, uncoated, general purpose (I think I got it from McMaster)
-
Jaw production begins!
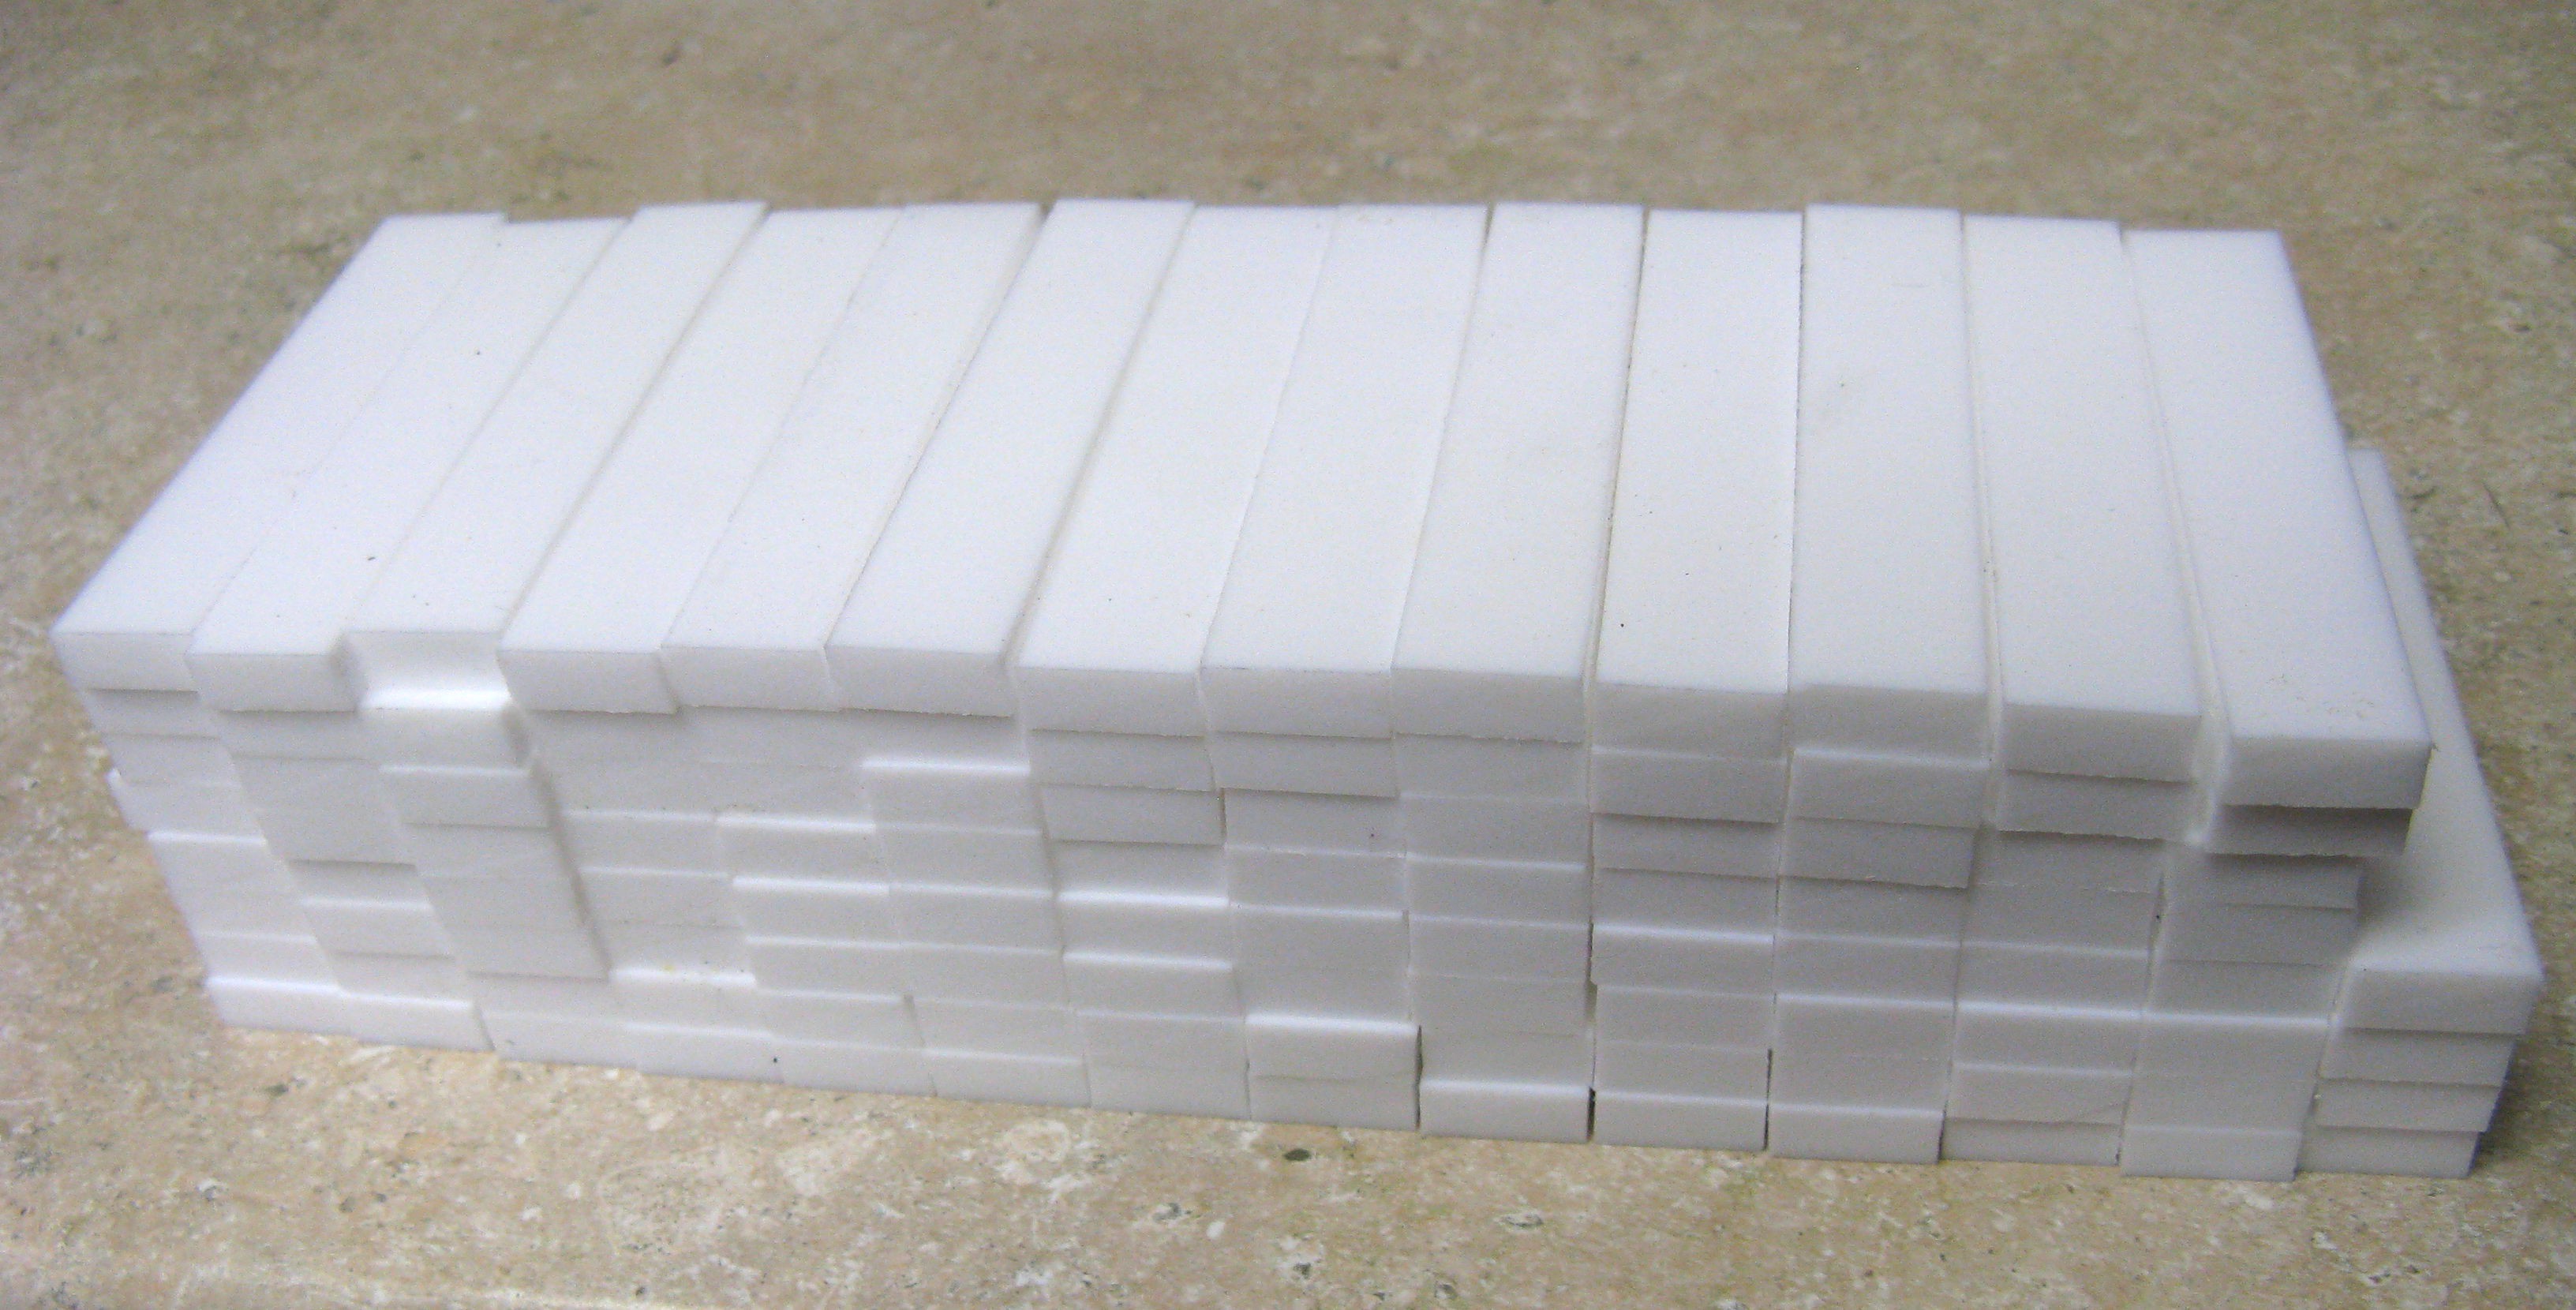
03/21/2016 at 21:51 • 4 commentsOk everything went well today, I cut all of my blank material (made like 135 pieces, or 67.5 pairs) using a table saw, that worked great. Then I used my fixture to make 12 pairs of PTFE jaws. It's not a blazing fast process, I am going to have to be careful how I price these things as I could easily see myself wind up working for $2 per hour if I go too low.
-
Jaw Production Fixture Done
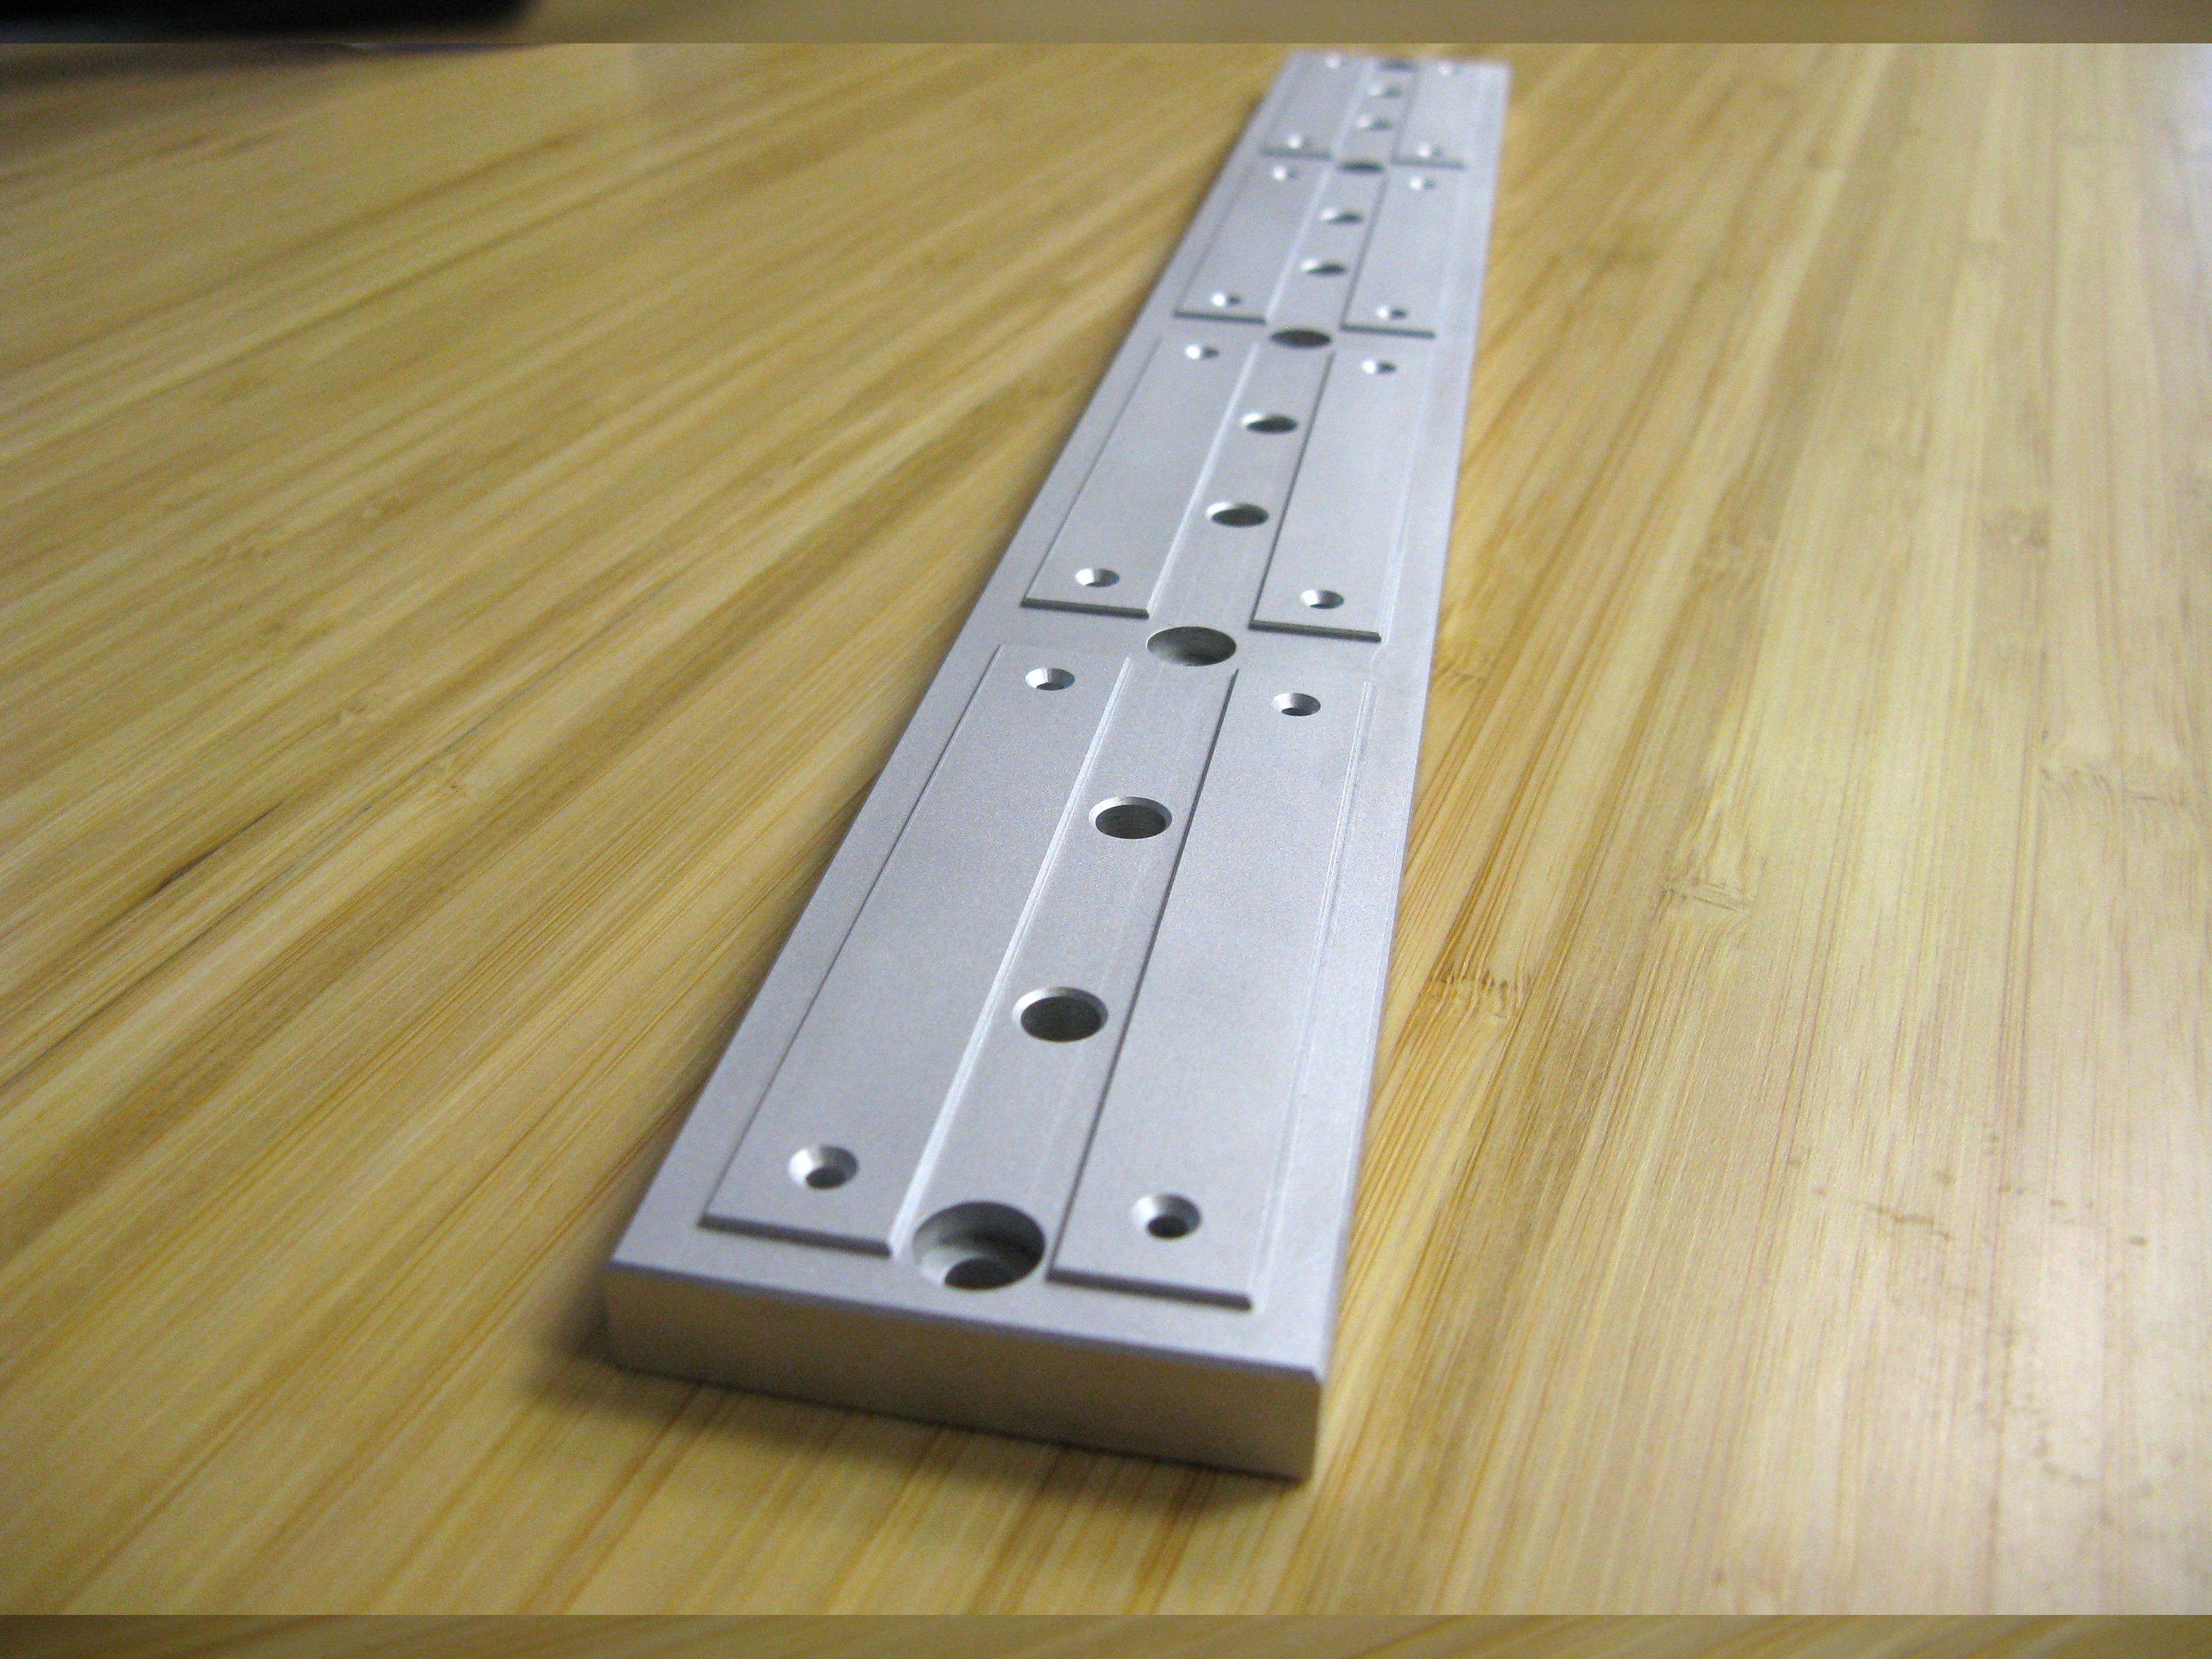
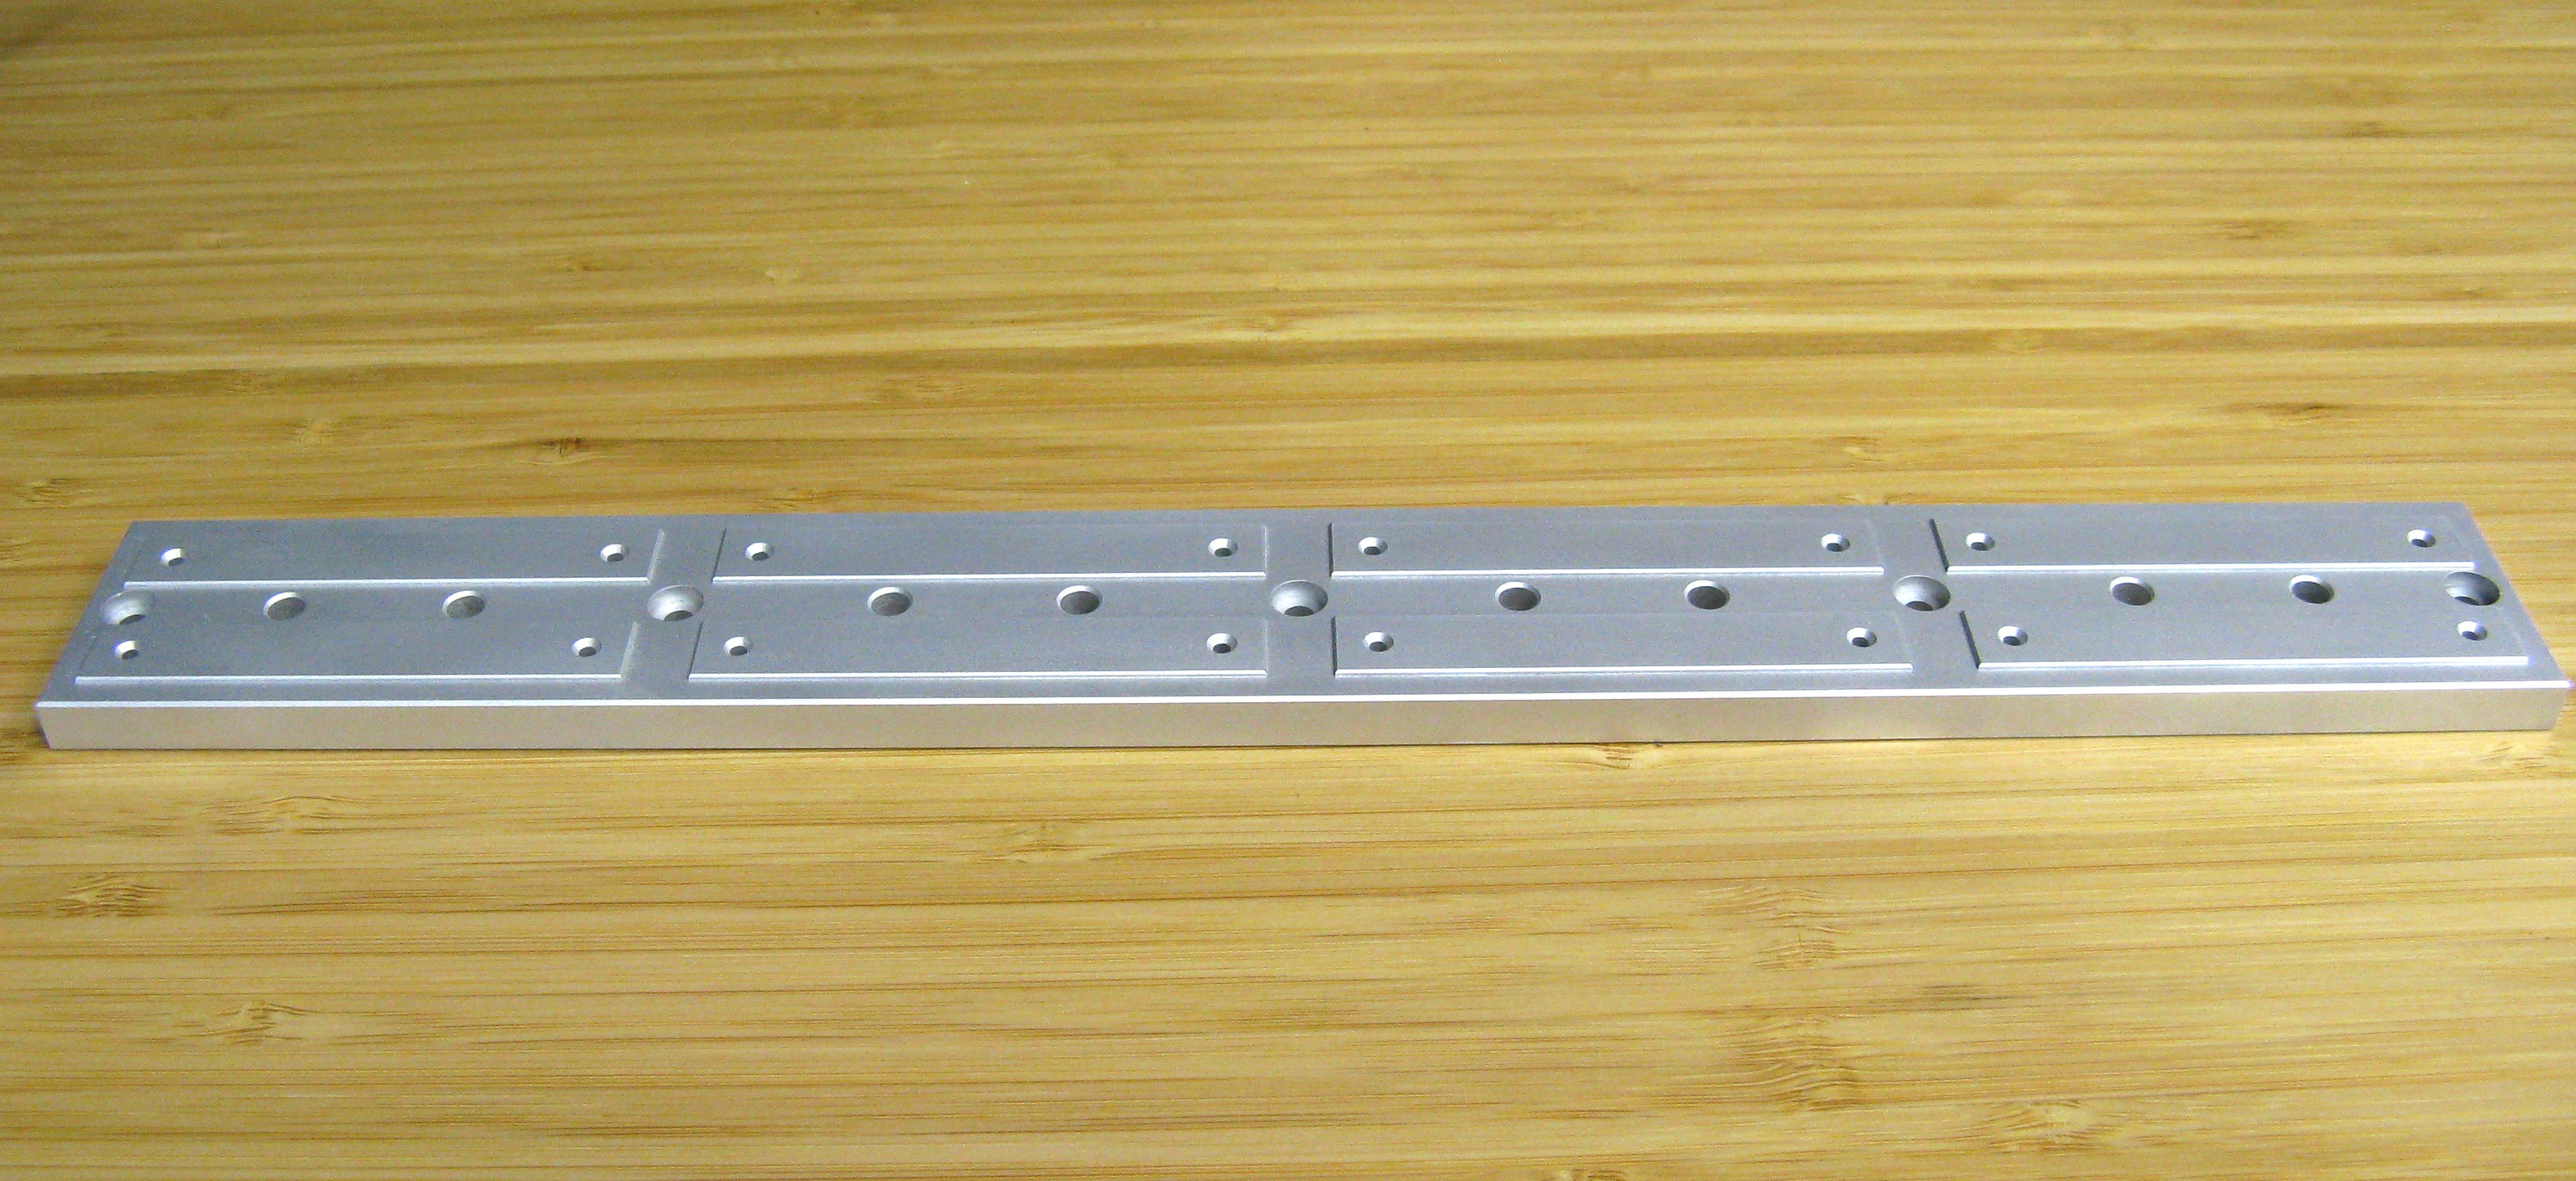
03/20/2016 at 16:51 • 3 commentsCheck it out, fixture is done. I milled the aluminum on a Tormach 770, really an excellent machine.
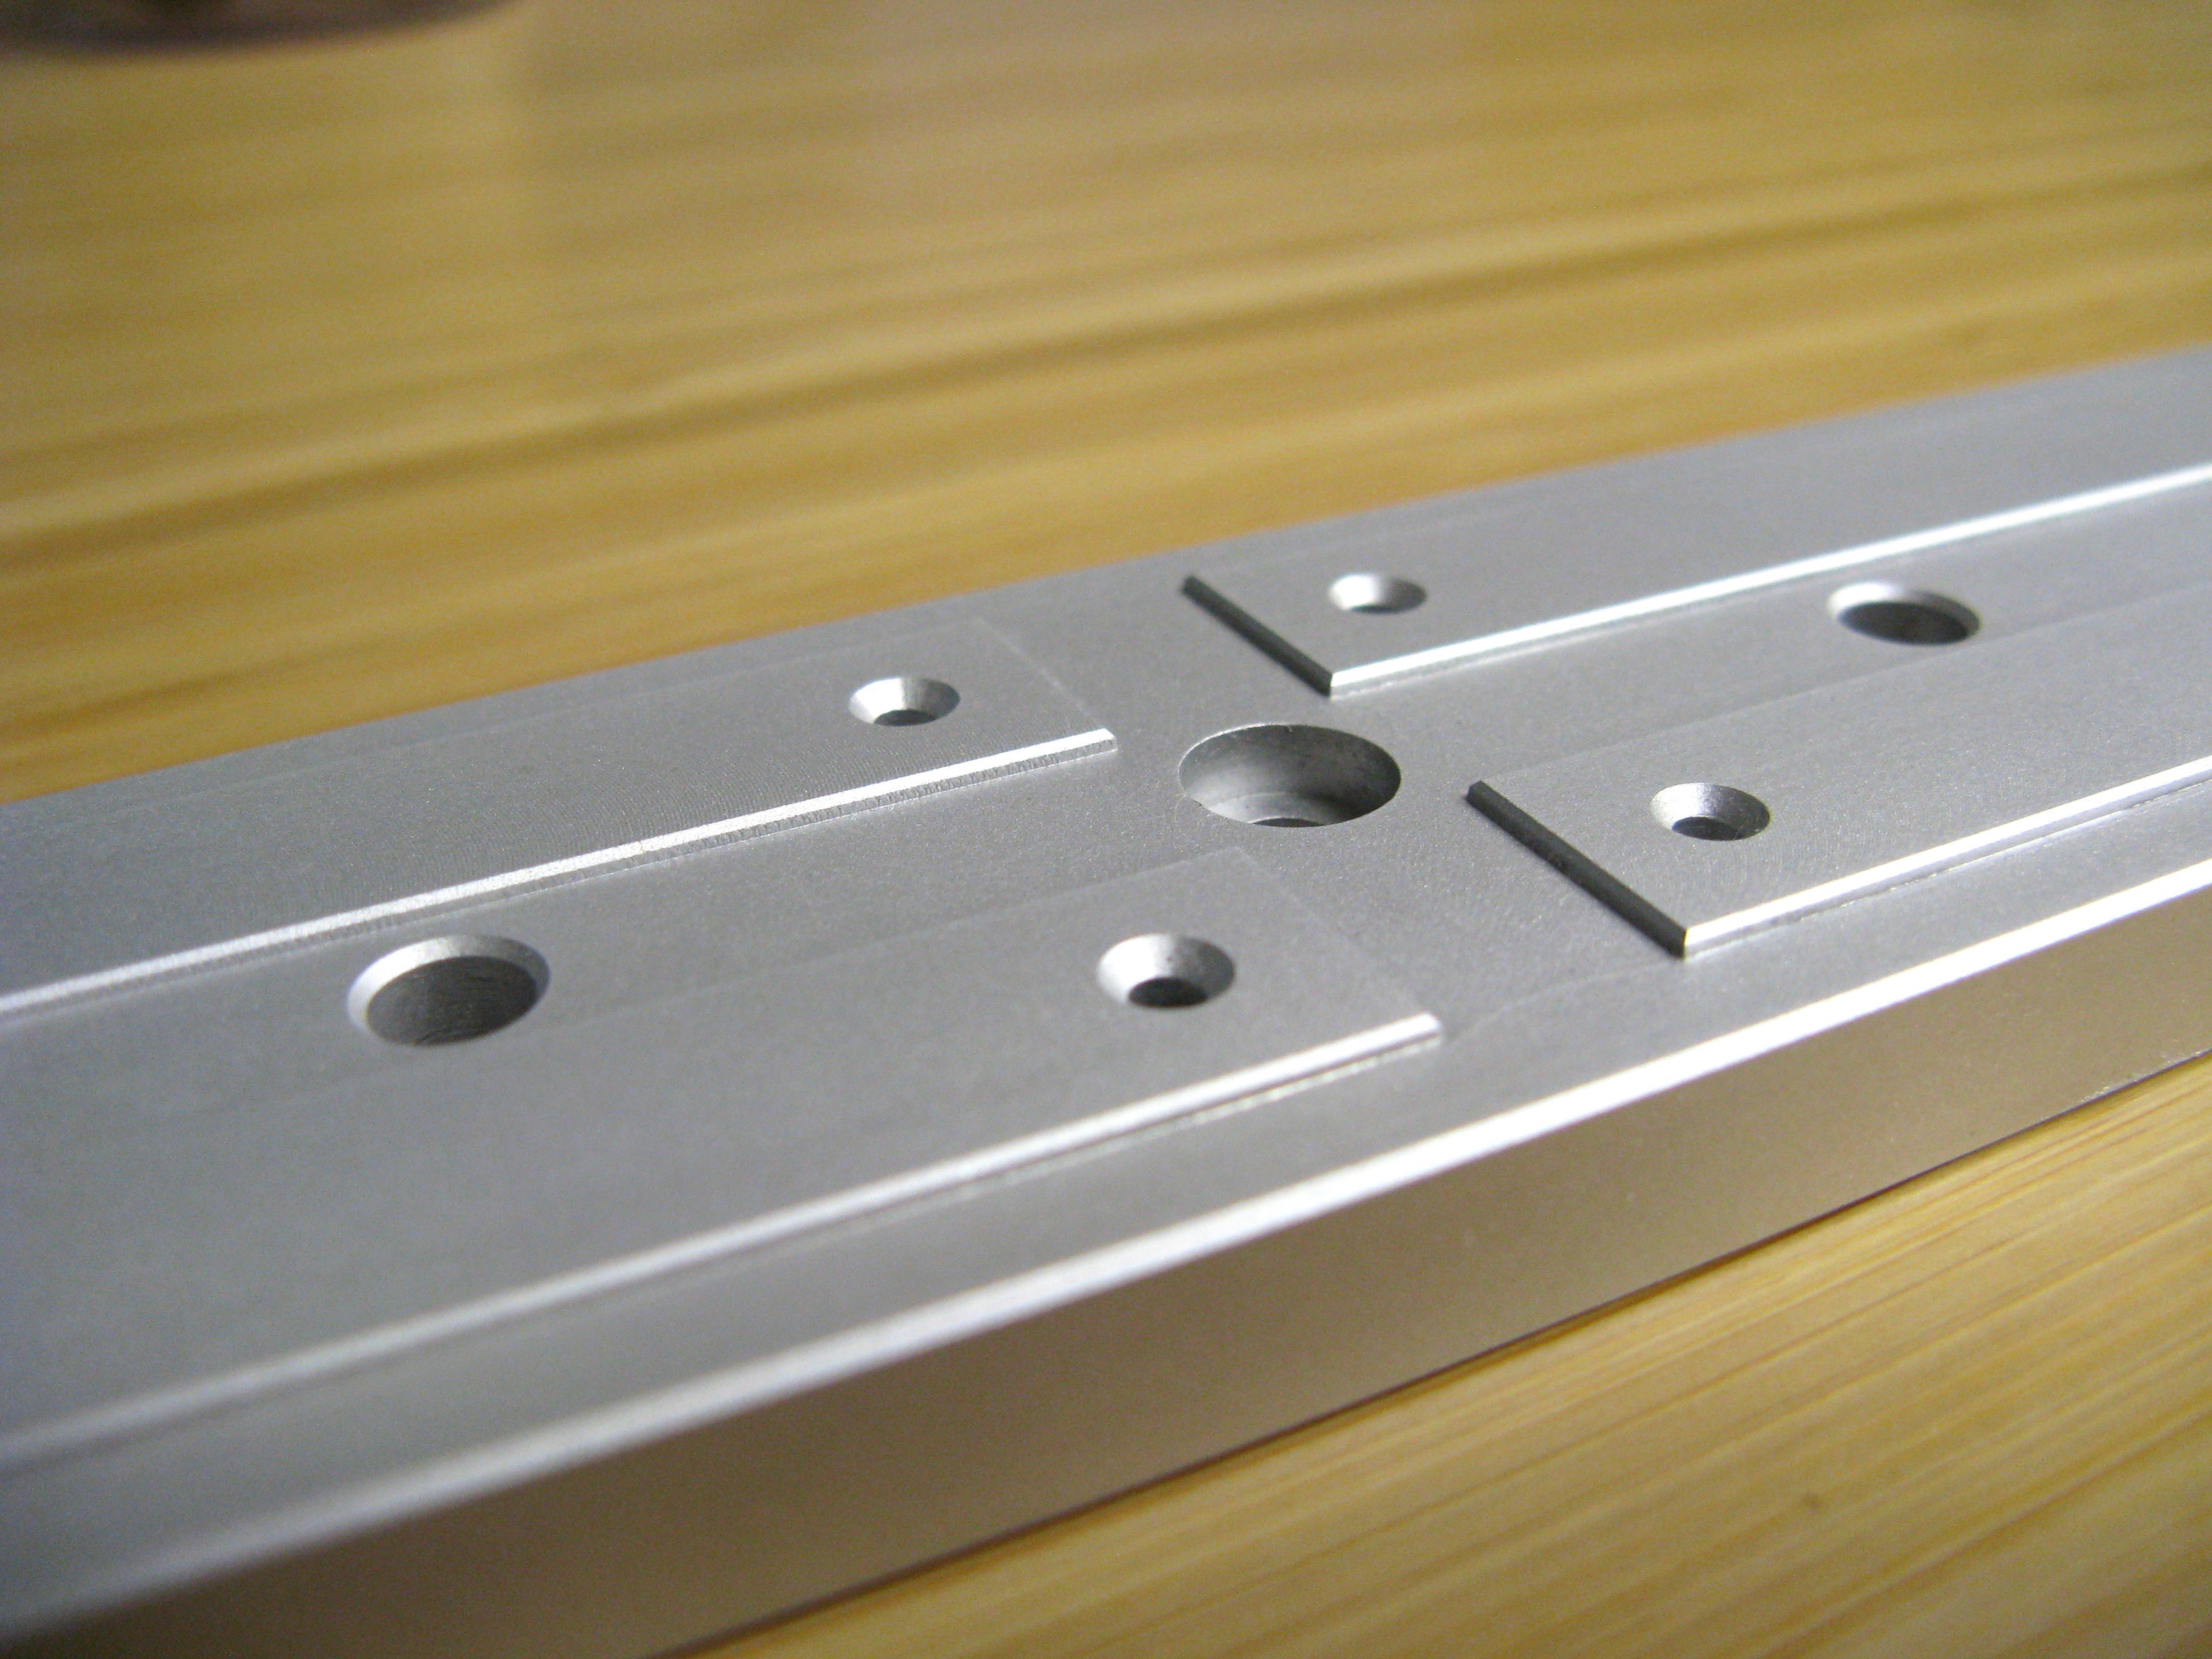
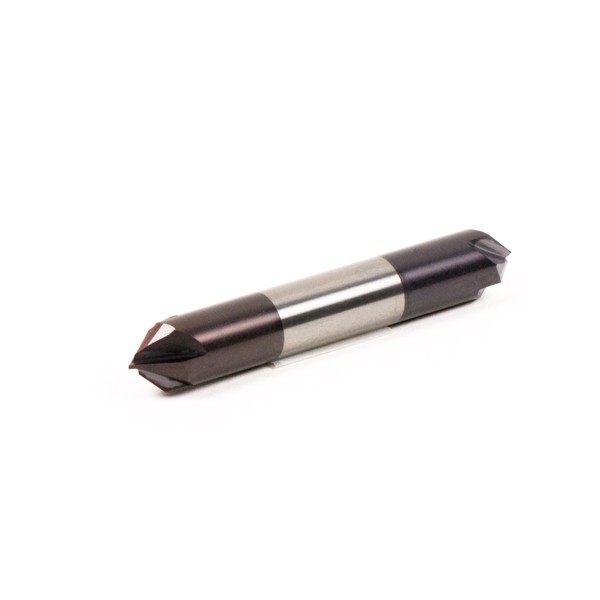
One fun thing about CNC is you can do things that wouldn't be feasible on a manual mill. I decided to go in and chamfer all of my edges using a Maritool 90 degree chamfer mill. You can see in the pics below there are perfect little beveled edges on everything, even the circles. It would have been overly tedious to do this on a manual machine, so you invariably would have hand filed. Nothing wrong with that technique, just doesn't look as cool!
On top of that, I had some fun adding a bead blasted finish just to top it all off. I use an inexpensive Grizzly sandblast cabinet, and some fine glass bead media that I bought from McMaster years ago. This final step really makes tool marks disappear and leaves a nice matte finish, didn't need to sand or polish anything.
Couple notes
- tapping not done yet, will do that next
- Thanks to @Jan for advice on my initial design. I added extra holes for clamping each part in two places instead of just one. I'm sure I won't regret that decision. We'll see how this works soon, stay tuned...
below is the Maritool chamfer mill I used
![]()
Stickvise - low profile soldering vise
Stickvise is a low profile vise designed for PCB soldering. This product was born on Hackaday.io.
 Alex Rich
 Here is the episode