Overview:
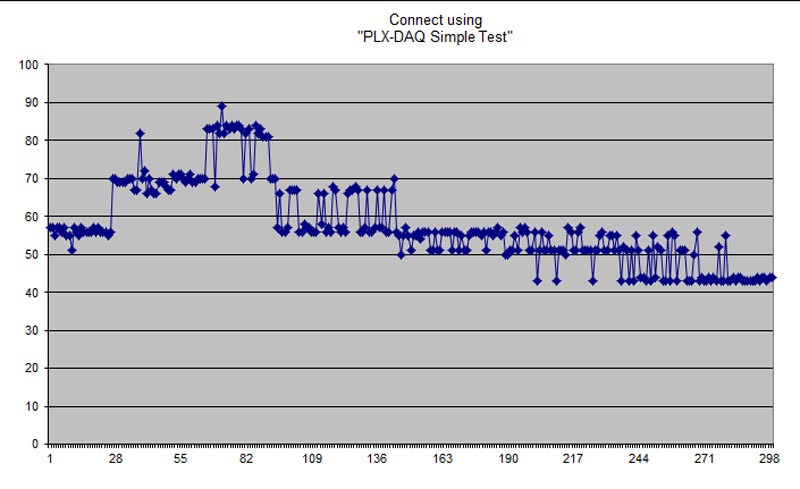
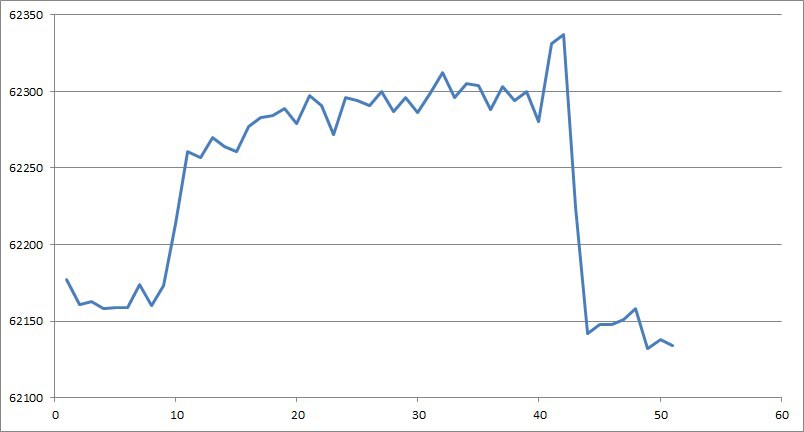
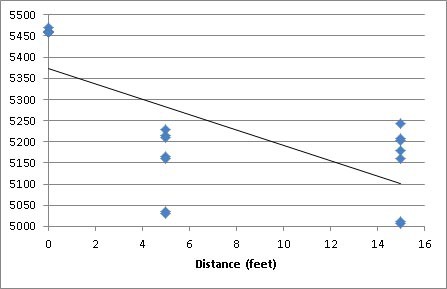
Hardware tests have determined that measuring the average (after applying standard deviation) time-of-flight of approximately 500+ round-trip transmissions can produce reasonably consistent results. While this has not produced results that are accurate down to the foot, it can detect distances within 40 feet reasonably well. However, measurements are in ranges: IE 0-1, 1-4, 4-14, 14-etc. What this means is that we may know we're somewhere between 1 to 4 feet, the next step is somewhere between 4 to 14 and so on. It's not as precise as I wanted, but it is repeatable. At the speeds a 16 mHz Arduino is capable of and a 250 bps transmission rate, this is a measurement at approximately every second.
In this particular case I used a Trinket Pro 3v (12 MHz) to serve as the transponder. Its role with the examples I have provided is to configure the transceiver on the transponder end and keep the receive buffer empty. Ultimately it can be used to turn on and off the transceiver as needed, through detecting motion, to conserve power.
On the base station I used an Arduino Micro as it was readily available. It also benefits from having a 16 bit timer on Timer1 which allows for measurements up to 4 milliseconds long with 62.5 nanosecond accuracy. Ultimately this is important as you need the timer to be as accurate as possible (running at a prescaler of 1 so it cycles at the clock speed of the microcontroller), but still be able to count to a high enough number before the timer counter rolls-over. With a typical 8 bit timer, you would only be able to measure up to 16 microseconds while an average round-trip transmission takes 810 microseconds, in this case.
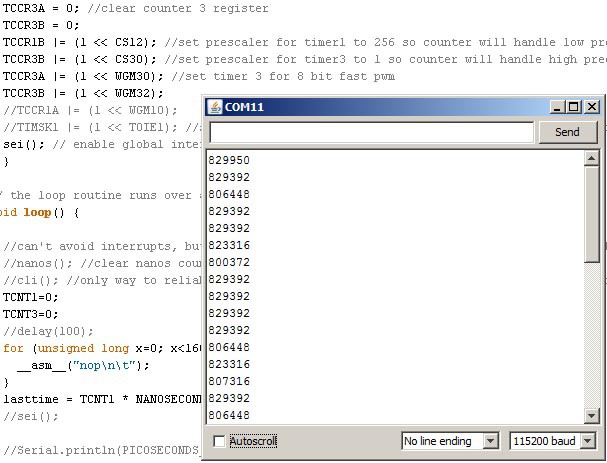
We can't rely on the normal means to measure time on an Arduino as they can be affected by interrupts running on the microcontroller; this has a negative effect on the consistency of the time measurements. Through the use of the 16 bit timer and being very careful about how interrupts are handled, we can achieve reasonably good measurements.
For the transceiver I used the Nordic nRF24L01+ as it is a reasonably priced transceiver that has a nice feature set. It is a 2.4 GHz transceiver, however, which is not as preferable in this application. A lower frequency transceiver may be able to reach further distances with less interference. Regardless, the main attraction to this transceiver is that it has an auto-acknowledgement function. This allows use to measure round-trip time without the microcontroller on the transponder end needing to take any immediate action. This greatly improves the reliability of the results and makes the job a little easier.
Results:
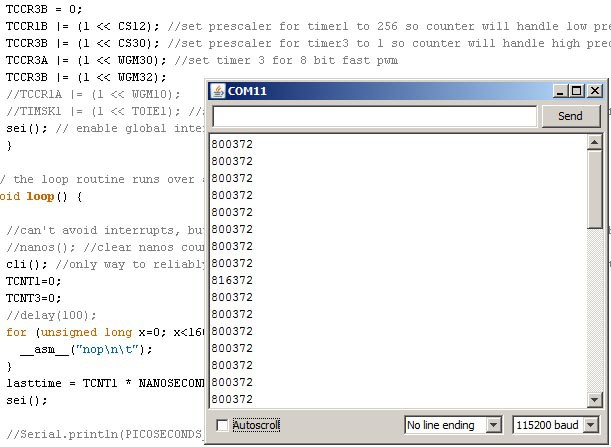
Data from the demo video.
Program Operation:
The code for the base station largely does this:
- Configure the transceiver
- Configure Timer1 to run in normal mode (to use the 16 bit counter) and at a prescaler of 1
- Send an initial packet of data to load the transmit buffer (TX FIFO)
- Set the transceiver to disable the auto-retransmit feature so we can get reliable results
- Set the transceiver to reuse the last transmitted payload so we don't have to write to the TX FIFO again
- Ping the transponder repeatedly until we achieve the desired number of samples
It then calculates the standard deviation of the raw values and only uses values that fall within the standard deviation to calculate the final average; this gets rid of values with a large margin of error which improves the consistency of the final result. At this point we use the serial connection back to the PC to relay the data so it can be reviewed and used.
Build Details:
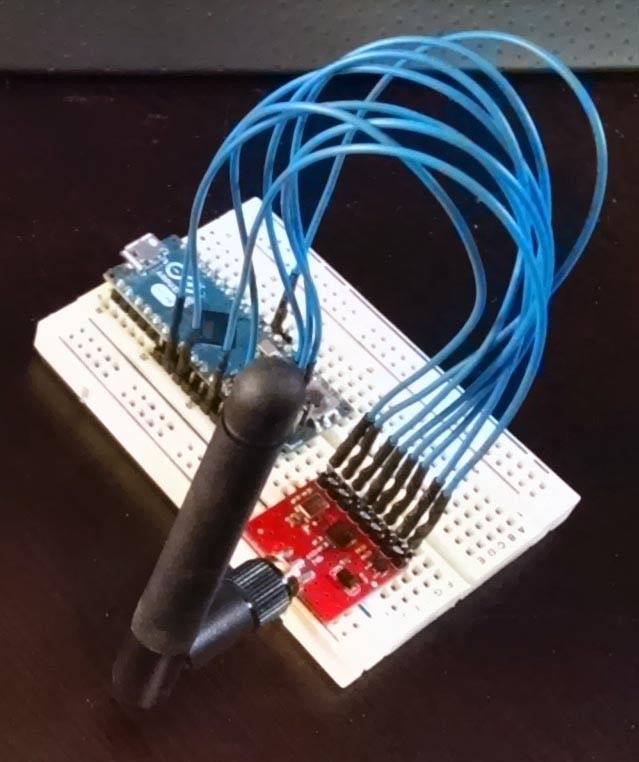
For the base station I simply left everything on a breadboard for ease of use. In this case where we're building more of a demonstration and proof of concept, I didn't feel that building an enclosure was necessary.
The transponder is built using a 2xAAA battery case from RadioShack. I found that this was marginally large enough and provided little room for soldering; I recommend a 2xAA case specifically for...
Read more » Eric Herbers
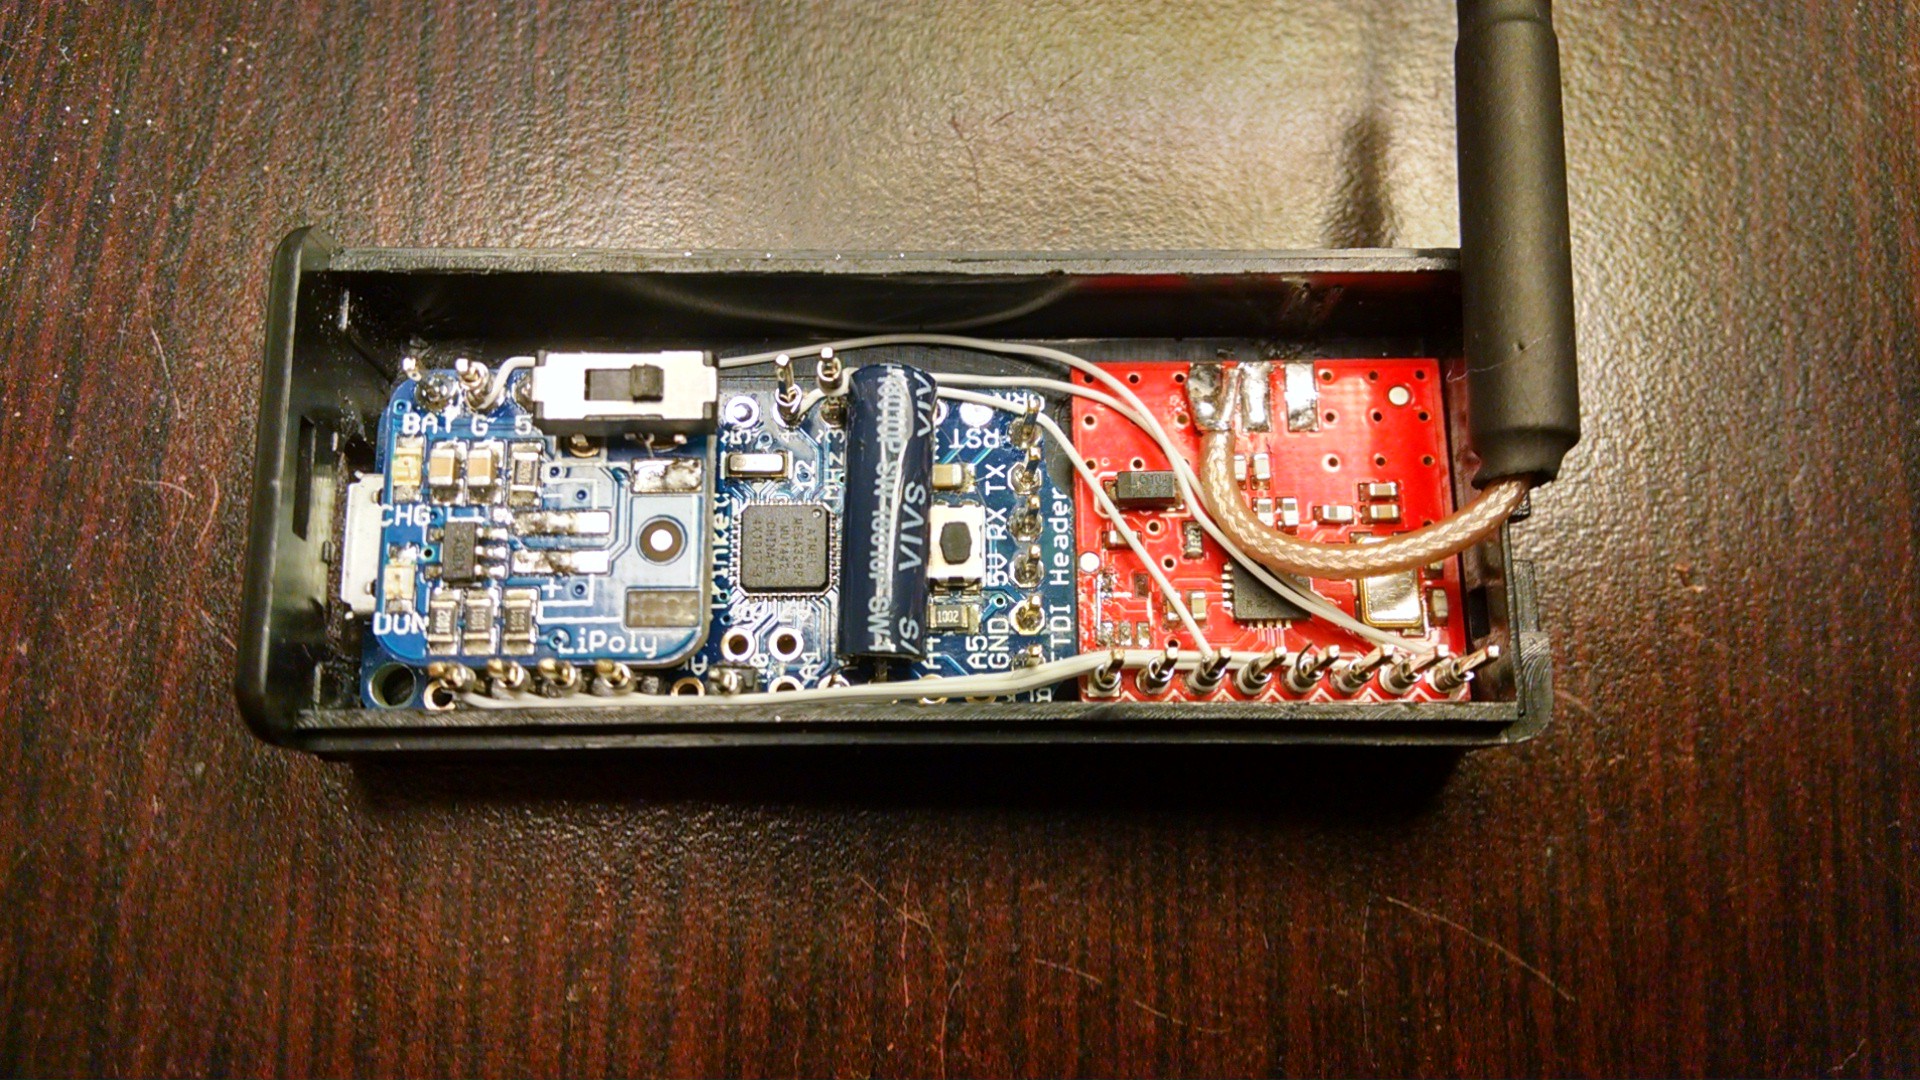
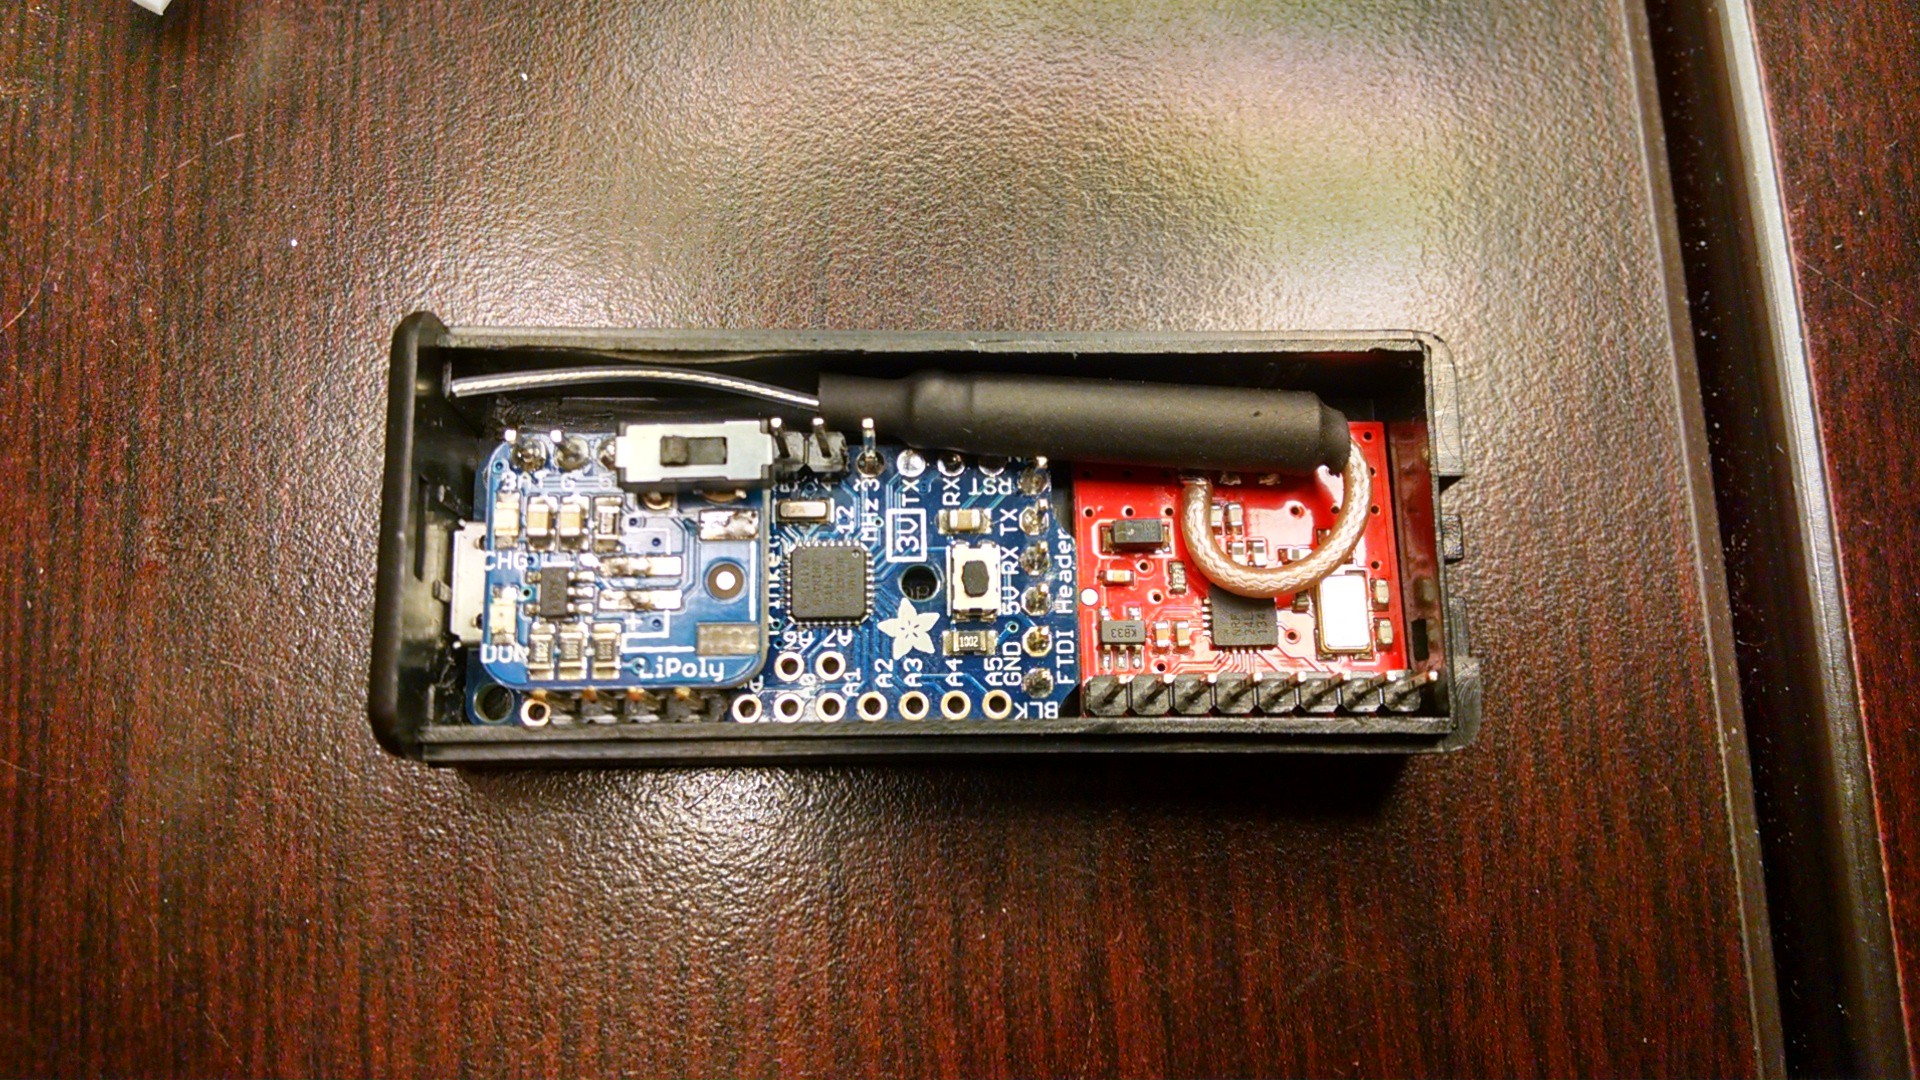
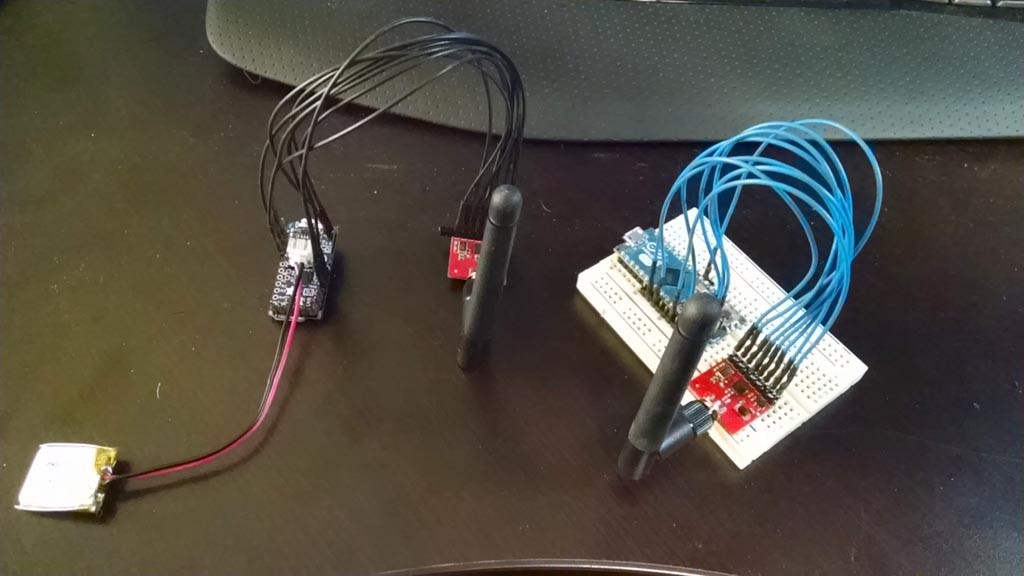 Hardware cobbled together for testing. Ultimately I intend on fitting the transponder into a AAA battery case and direct soldering the antenna to reduce the footprint.




Hi Eric, I was looking into your project, and trying to rebuild this using Arduino UNO, but it didn't work. So I was wondering, were the codes only applicable to Trinket PRO and Micro? If I were to use UNO, can you suggest the changes that I need to make?