 davish
-
1Step 1
Prepare the Display
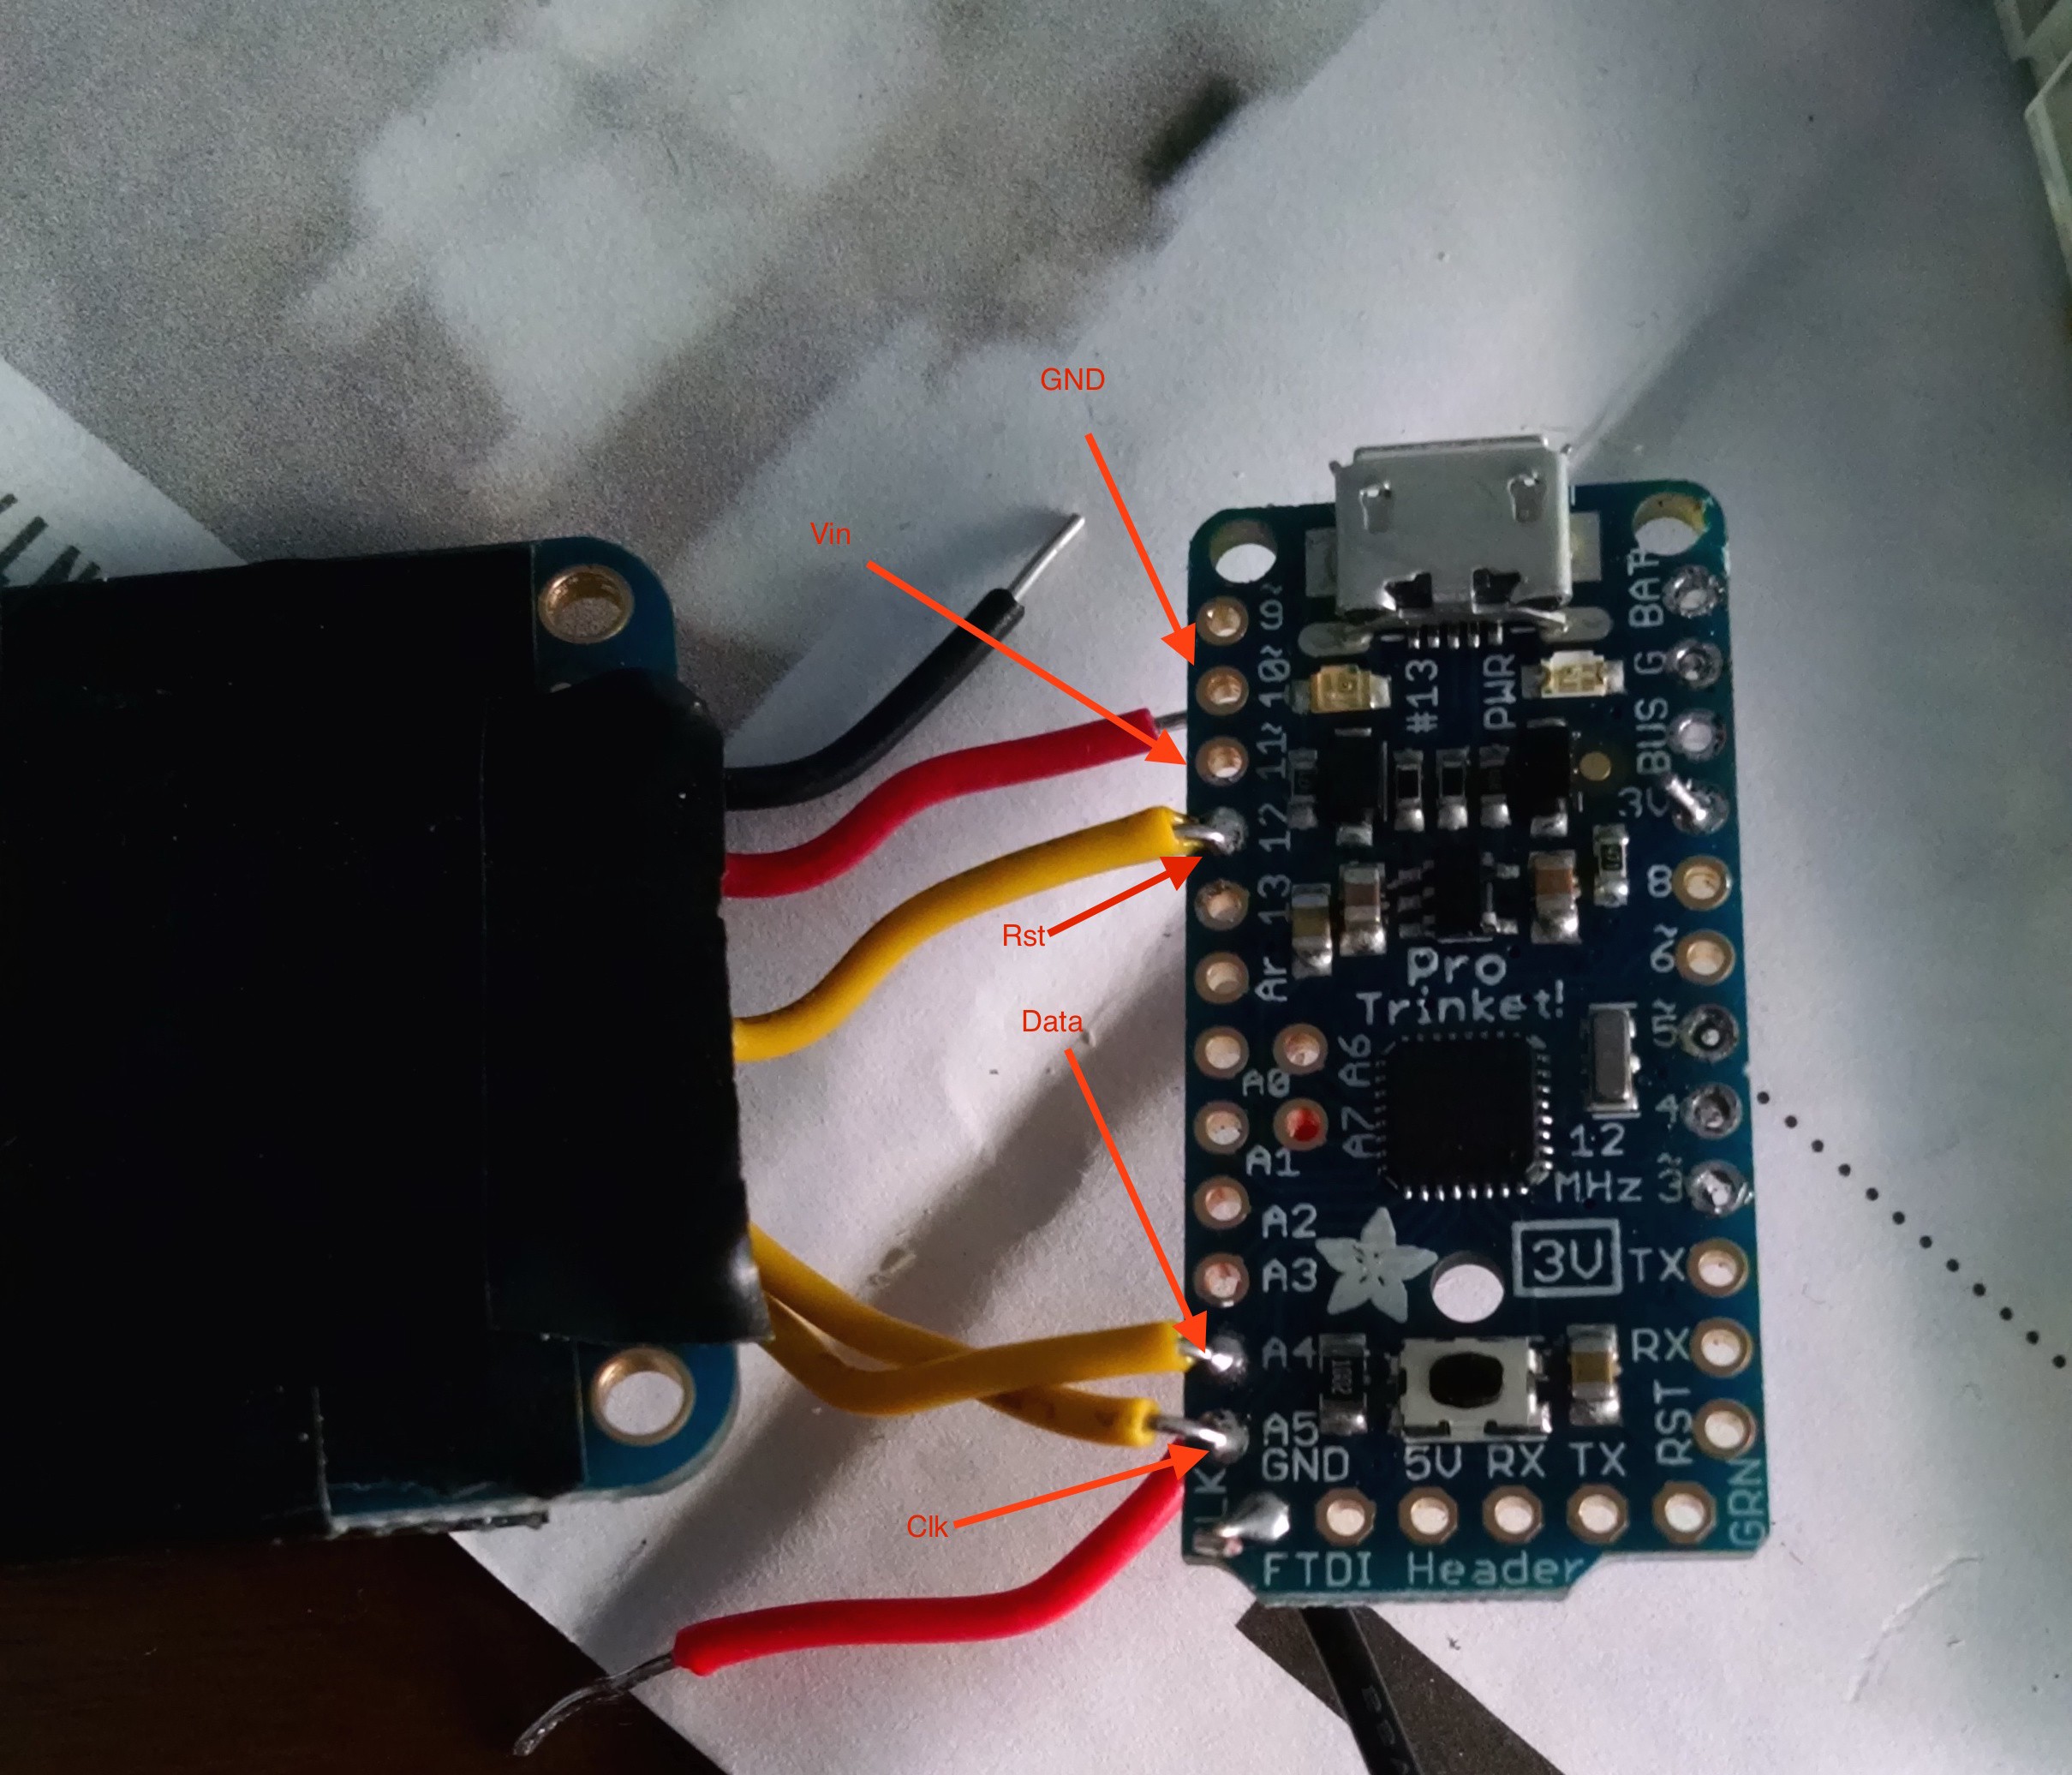
Solder wires to the OLED display pins Data, Clk, Rst, Vin and Gnd pins.
![]()
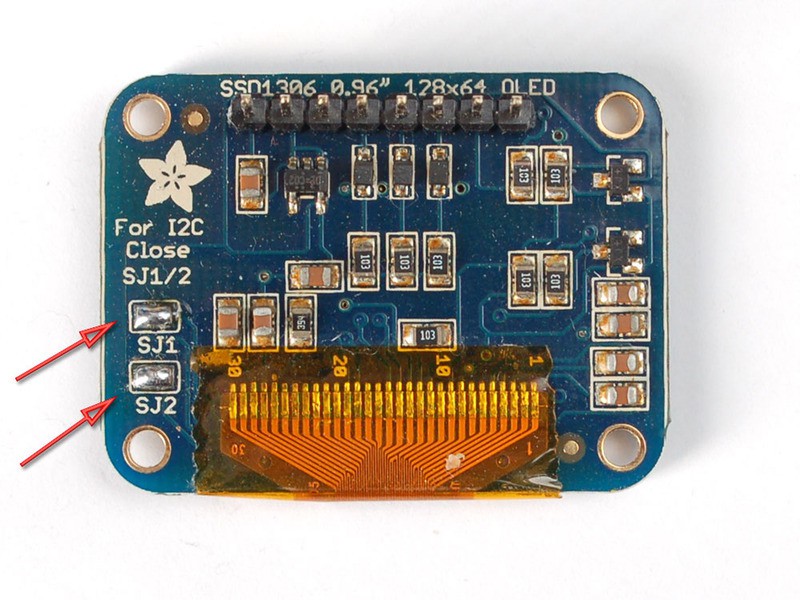
Since we're using I2C, you'll need to solder together the two pads on the back of the OLED display. (Picture c/o Adafruit)
![]()
-
2Step 2
Connecting the display
Now you'll connect the display to the Trinket. Connect Data to A4, Clk to A5, Rst to 12, Vin to 11 and Gnd to 10.
![]()
At this point, you can run Adafruit's OLED example code to make sure that everything is connected properly.
-
3Step 3
Backpack
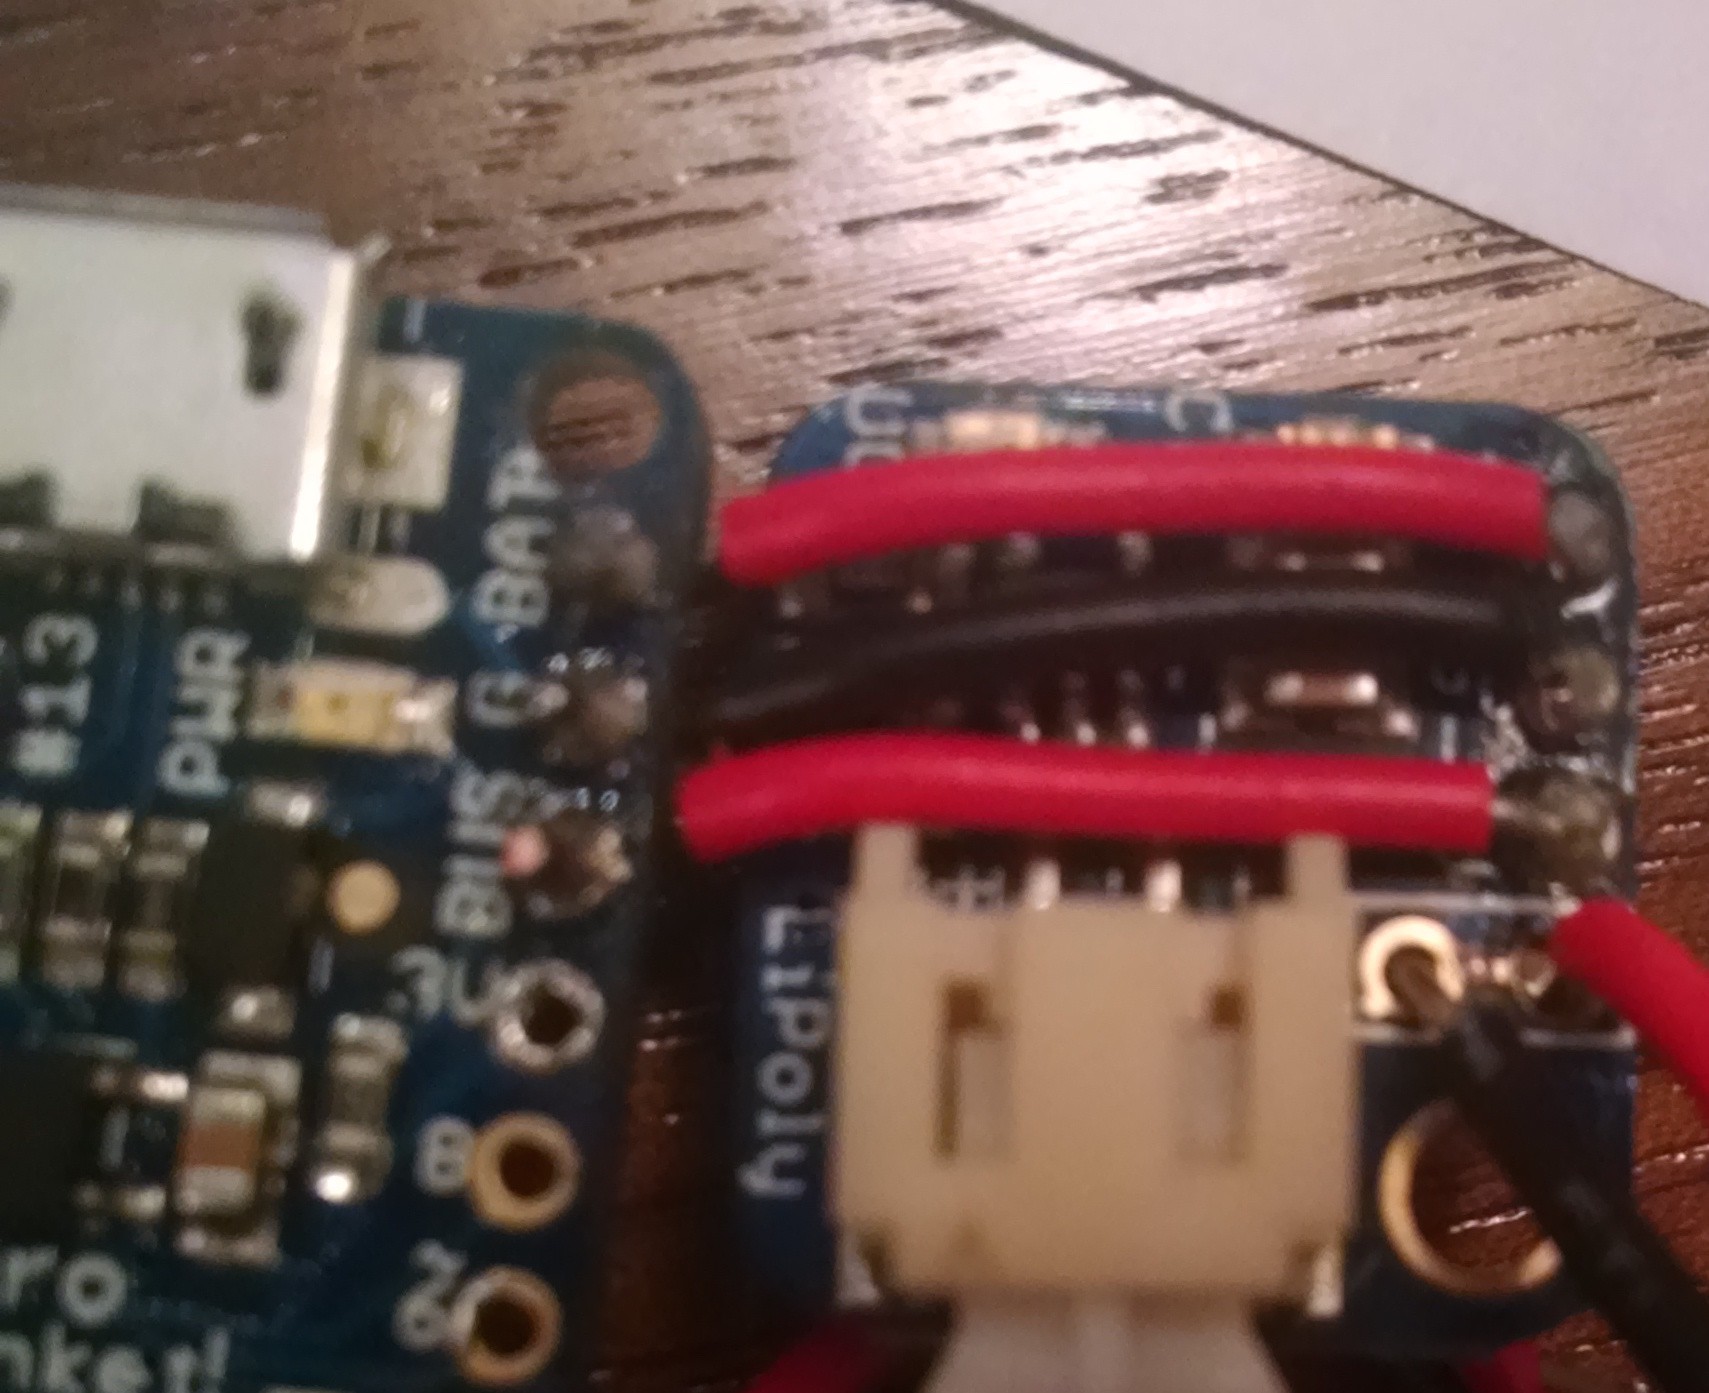
Now solder the Trinket LiPo backpack to the trinket. To keep the thickness down, the backpack will be next to the Trinket, not on top of it.
![]()
-
4Step 4
Power Switch
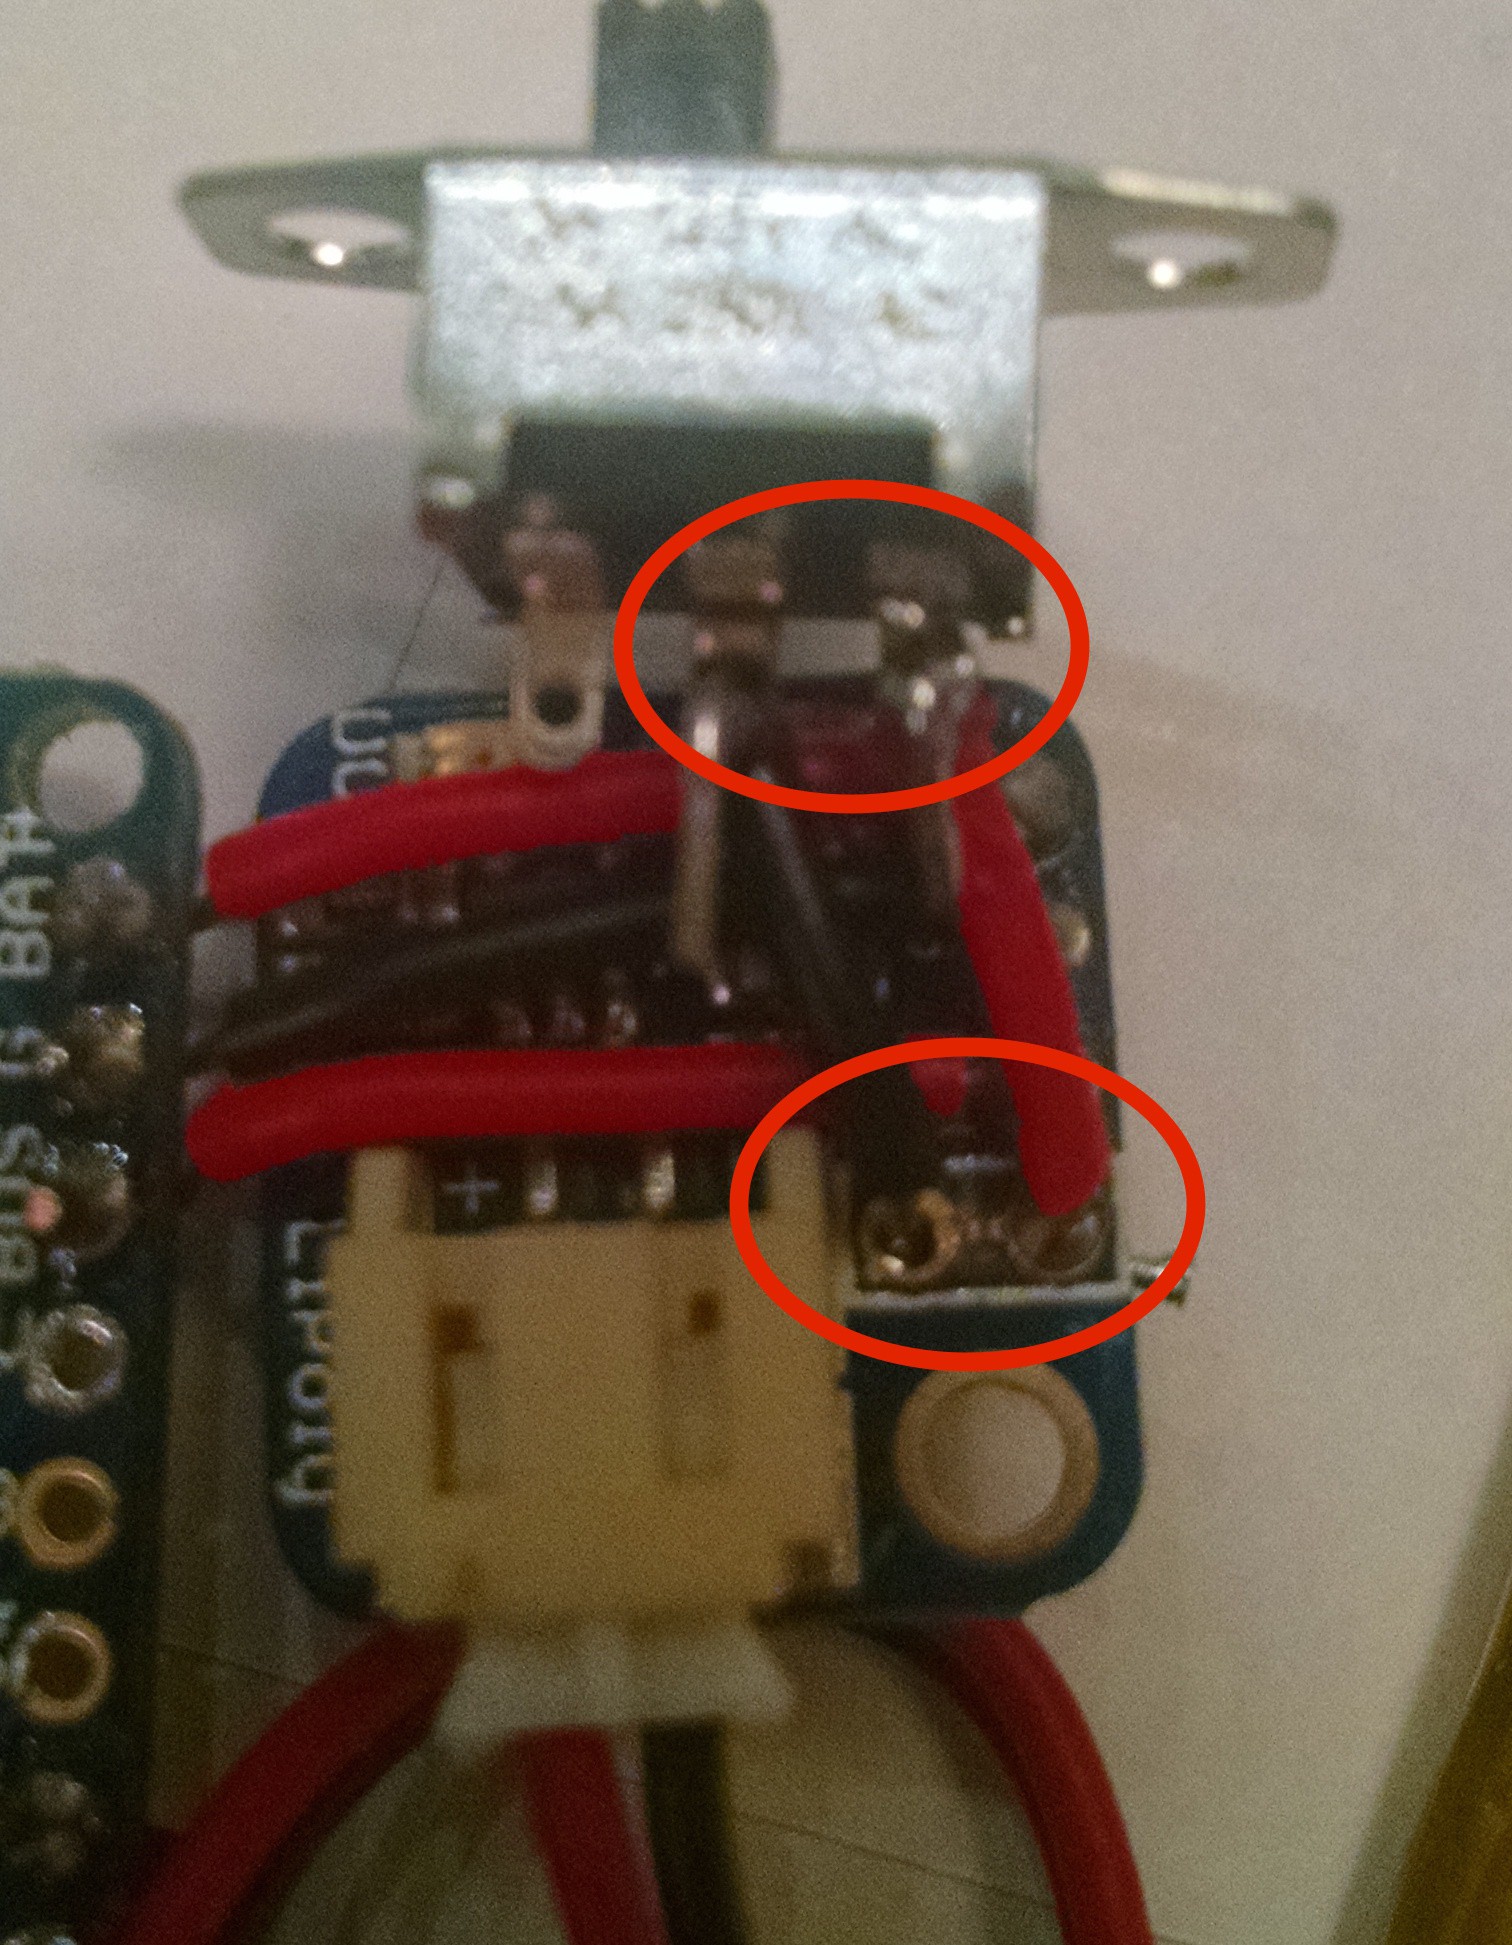
Scratch out the short between the two "Pwr" connections (labeled on the back of the backpack), and solder a SPST or SPDT switch to the connection. This will let you turn and off the watch without unplugging the battery.
![]()
Note: Even though the battery's plugged in in these pictures, you don't need to plug it in until assembly's complete.
-
5Step 5
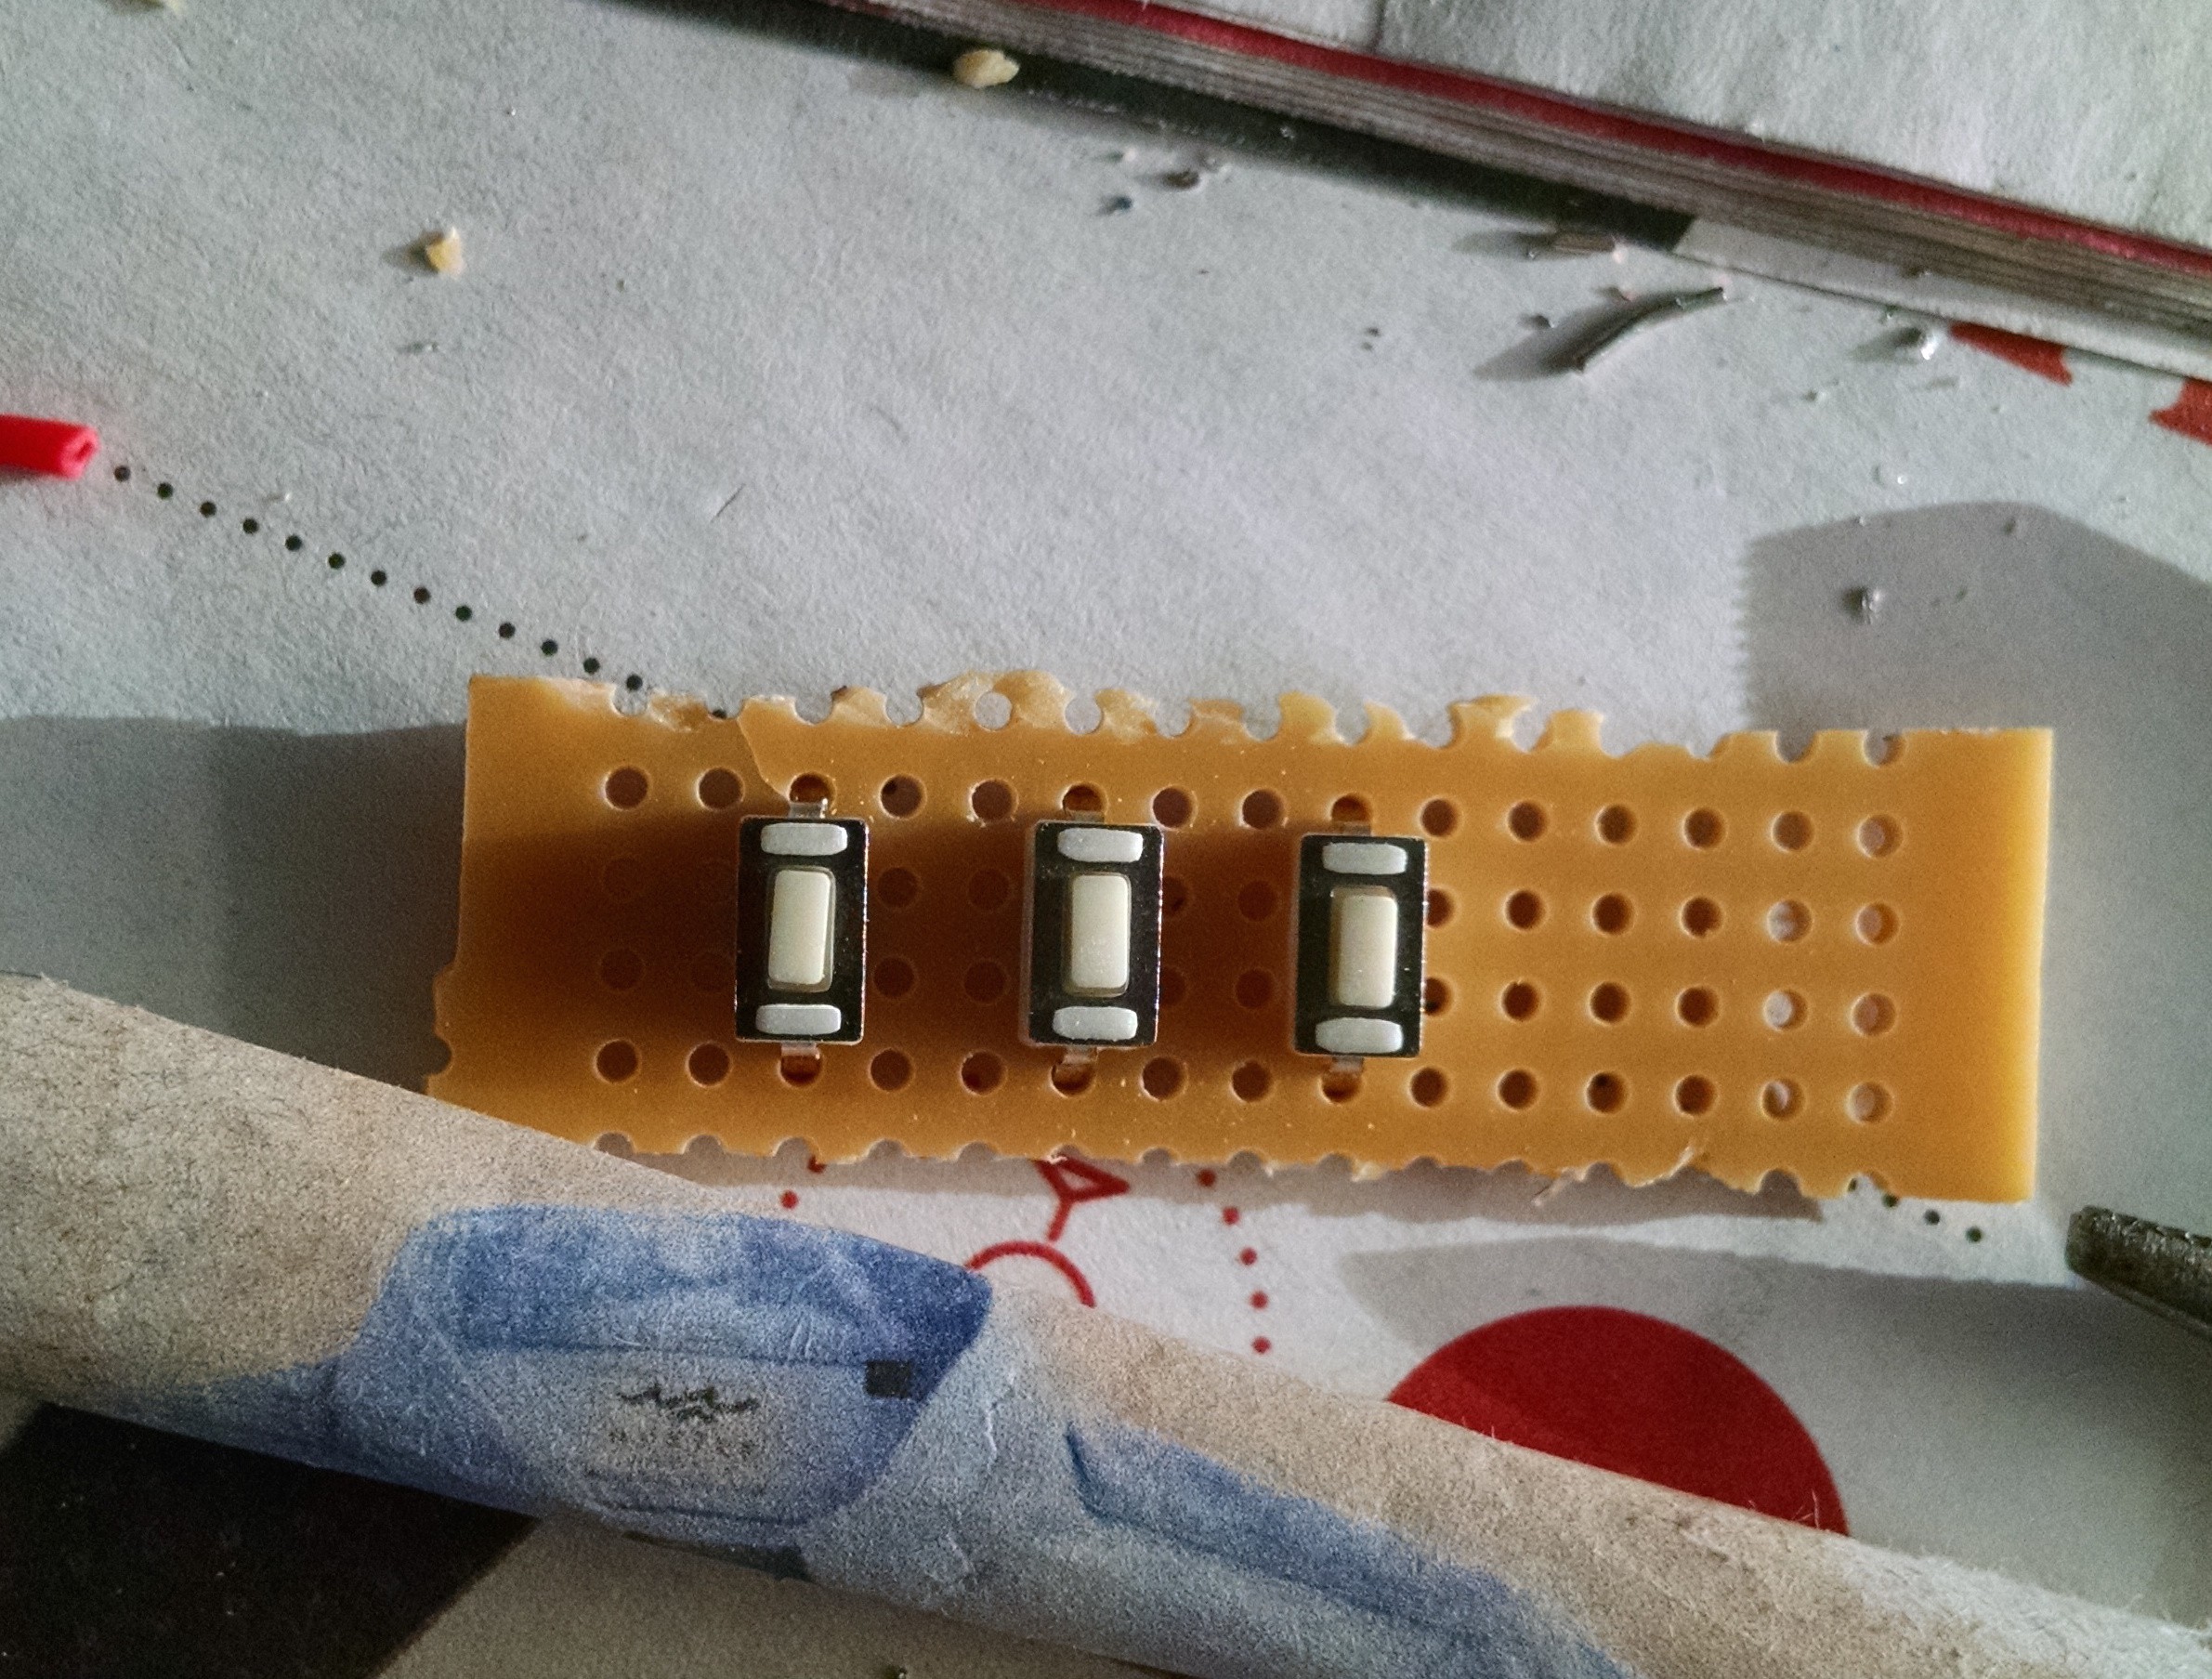
Buttons
Now you can set aside the microcontroller and display assembly to work on the navigational buttons. Set them up on a piece of PCB protoboard like so:
![]()
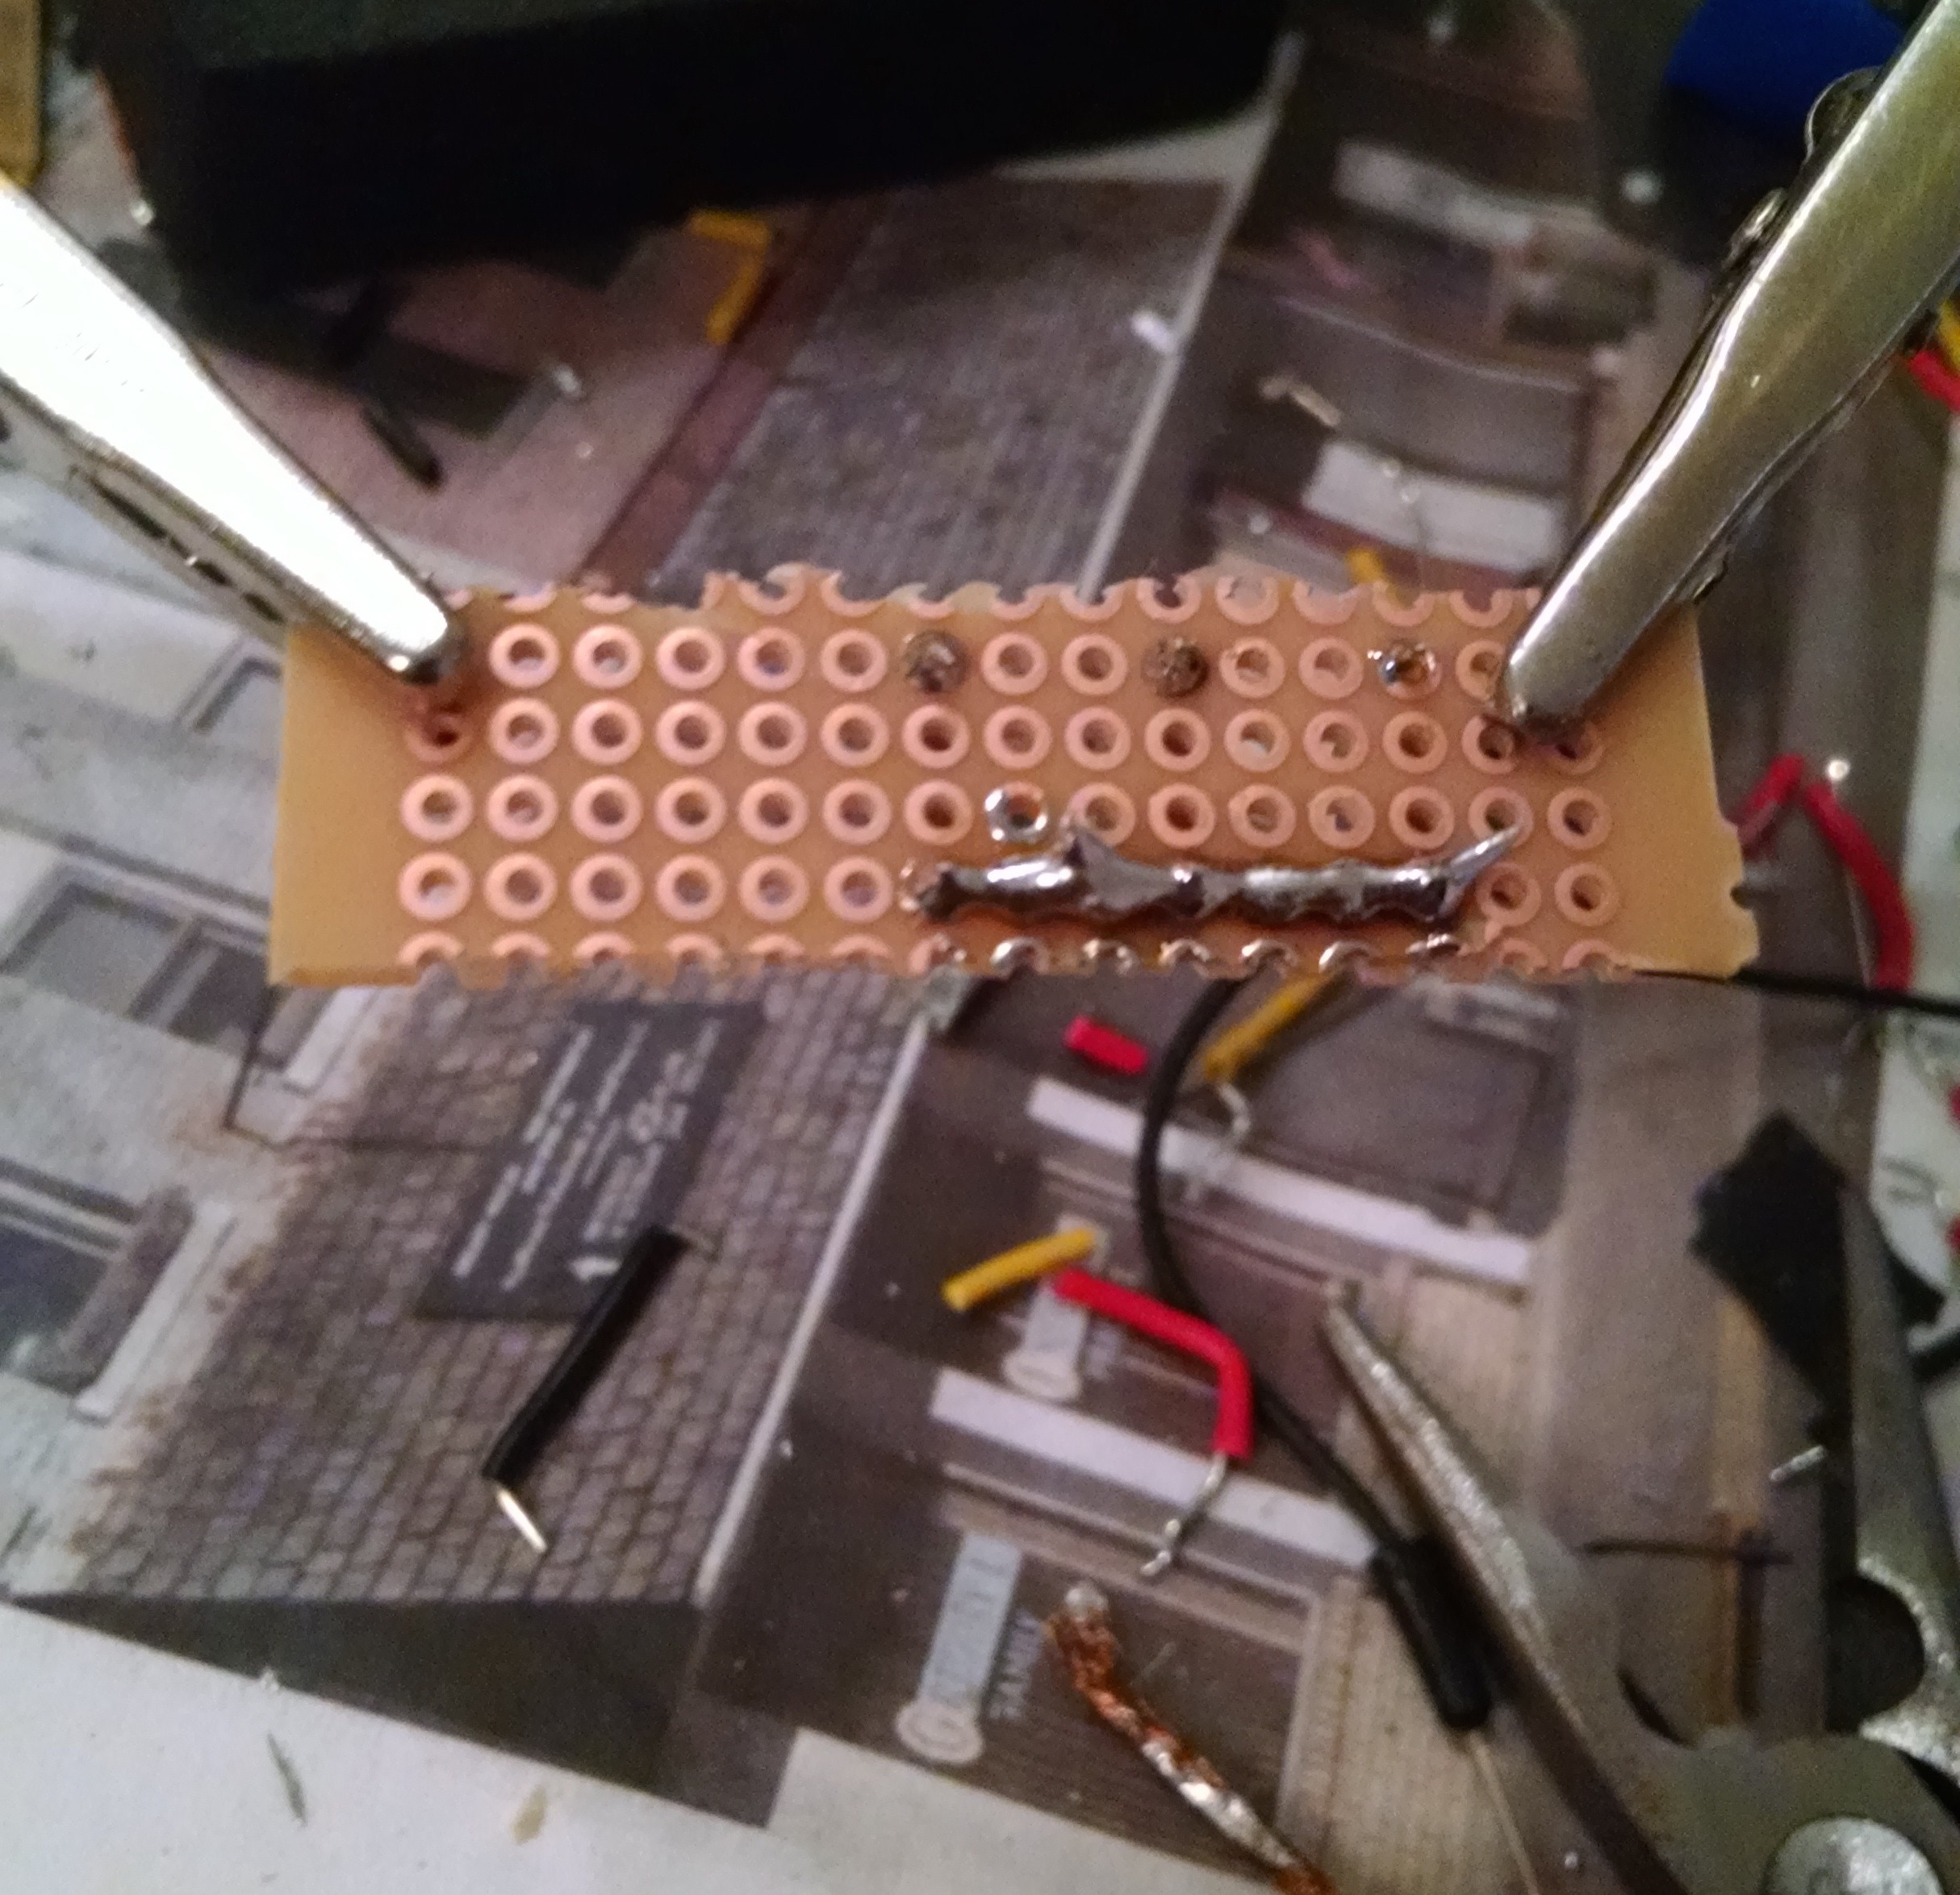
One side of each switch will be connected to ground, the other to a digital input pin. So run a trail of solder between the three switches, which will eventually be connected to ground:
![]()
-
6Step 6
Putting it all together
Solder a wire between a ground pin on the Trinket and the three buttons.
Solder the other side of the first switch to digital pin 3, the second to pin 4, and the third to pin 5. Bend the wires so that the board is perpendicular to the long side of the Trinket. In the end, it should look like this:
![]()
The blue arrow shows the ground wire soldered to the other side of the switches.
-
7Step 7
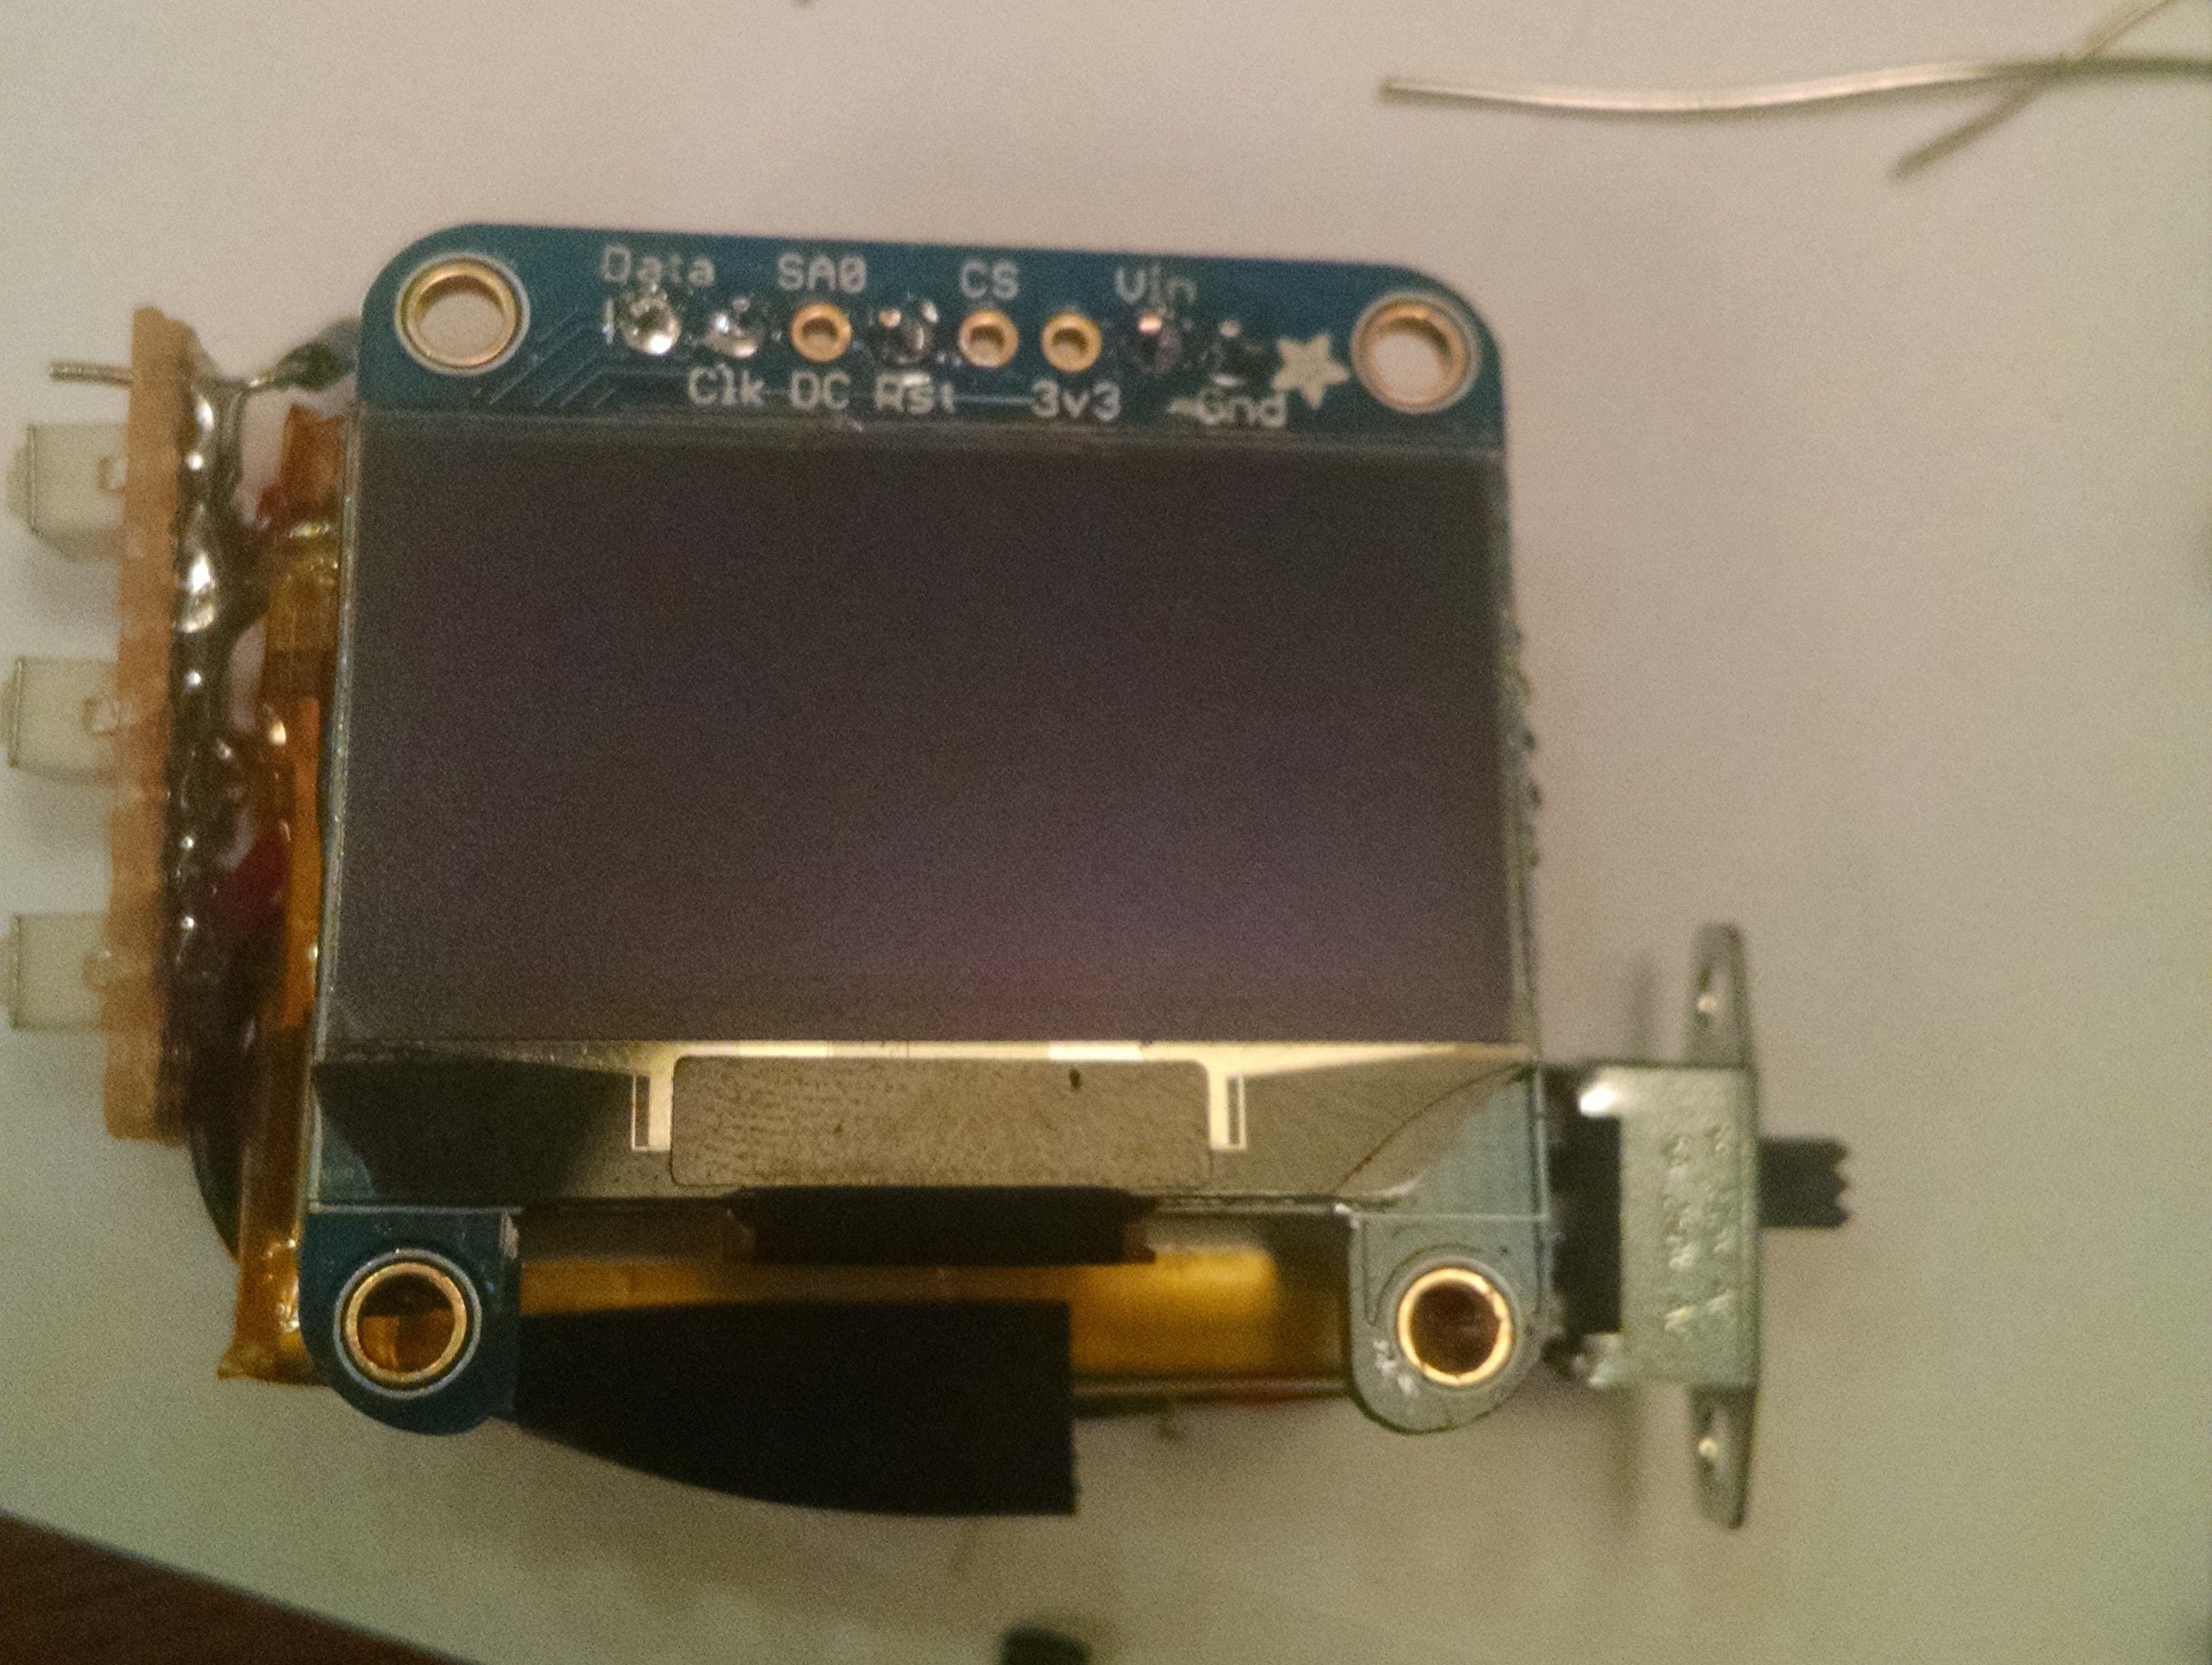
You've now completed the electronics of the watch. Plug in the battery, put it between the Trinket and the display, bend the wires connecting the display to the Trinket over the battery, and you should have something resembling a watch. Congrats! Here's what it should look like at this point:
![]()
-
8Step 8
3D Printing
The watch is now fully functional, all steps from here on out are aesthetic. To upload the code, clone the GitHub Repo and follow Lady Ada's instructions on setting up the Arduino IDE for the Pro Trinket and using the USB bootloader. Since the Trinket's reset button will be unaccessible, another way to enter the bootloader is the first ten seconds after plugging in the Trinket to a computer. Make sure the battery switch is off, plug in the trinket, and you'll see the LED at pin 13 start pulsing. That's when you can upload the code.
-
9Step 9
The case can be found in the GitHub Repo, so if you've cloned that to get the code, you'll find it as 'case.stl'. Slice that up to gcode, and throw it into your favorite 3D printer. Just make sure to use support material, since there are overhangs for the mounting holes. Here's the case after removing the support material:
![]()
-
10Step 10
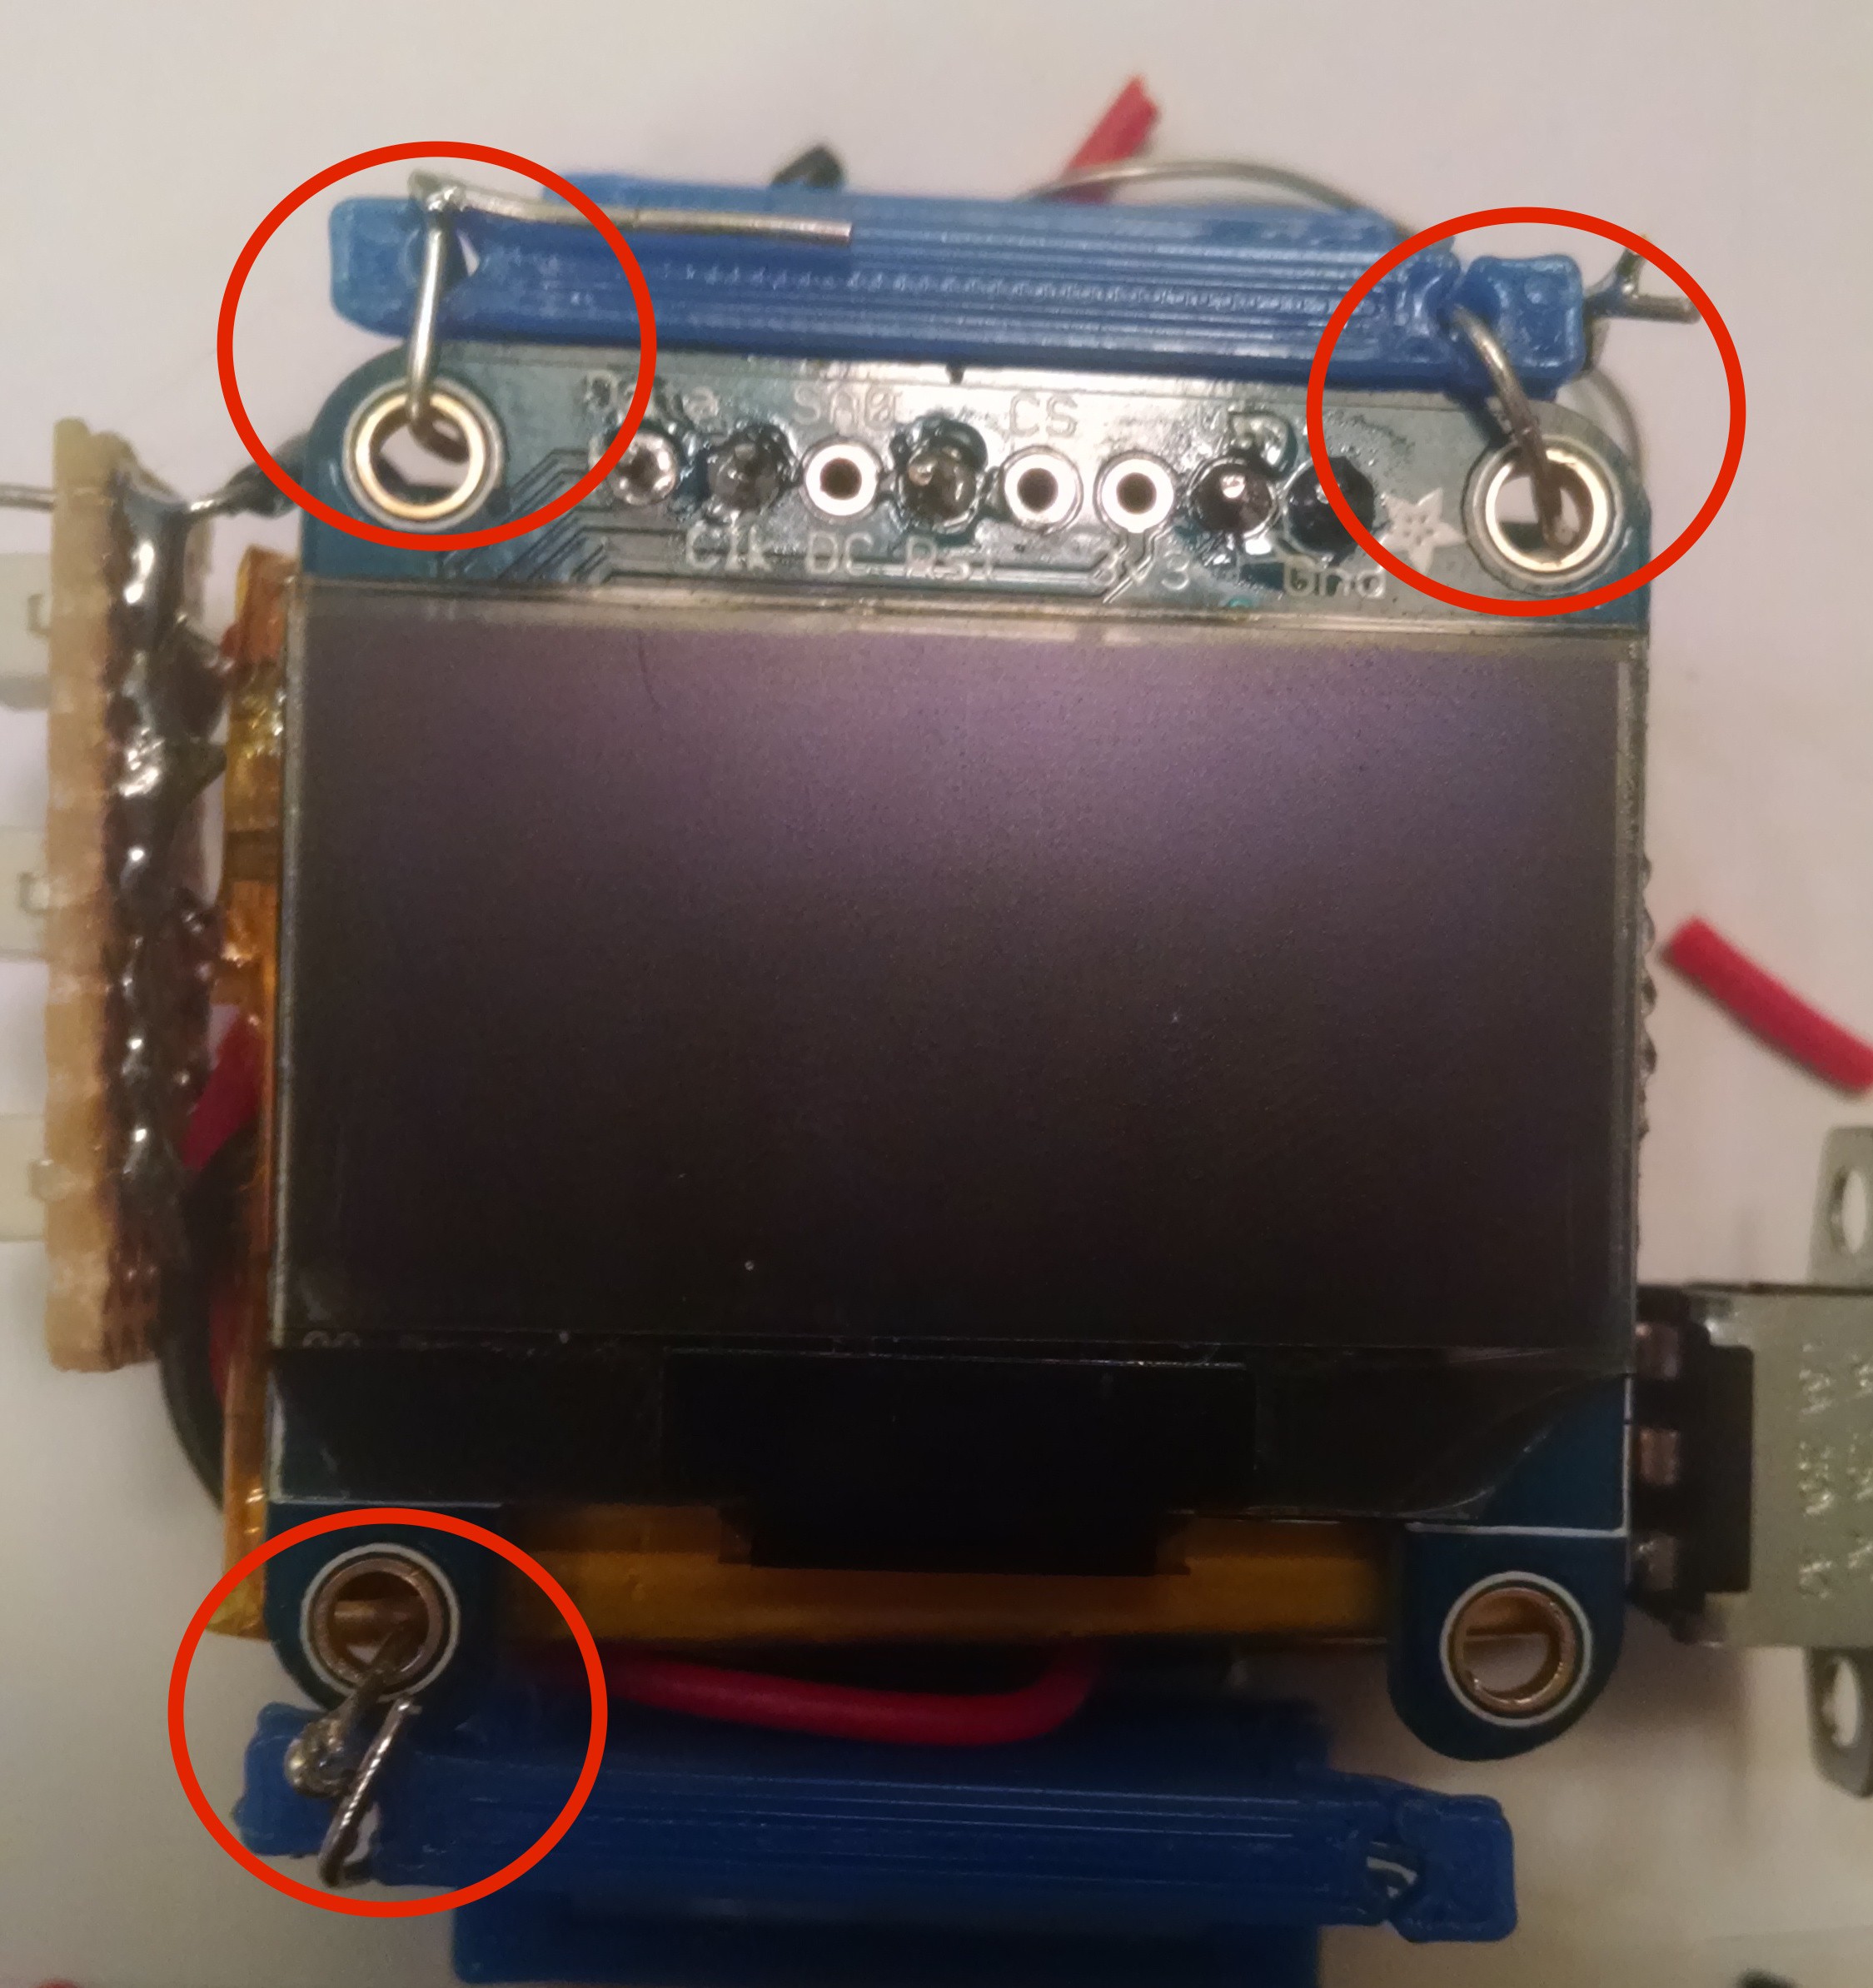
Assembly
Place the watch into the case so that the mounting holes on the display roughly align with the holes on the watch case. Then, secure the watch to the case using wire or thread. I used wire, and then soldered the ends to make sure it was a tight knot. Be careful not to melt the case, though!
![]()
The case is secure with two fastening points, but I added a third for good measure.


Discussions
Become a Hackaday.io Member
Create an account to leave a comment. Already have an account? Log In.