-
1Step 1
1. GATHER YOUR PARTS
![]()
-
2Step 2
2. CLEAN THE BOTTLES
Clean the labels off the bottle with hot soapy water. Scrape/peel the labels off. The glue can be removed with a scotch bright pad continually rubbing in one direction. You'll see the glue gather into rolls and roll off.
-
3Step 3
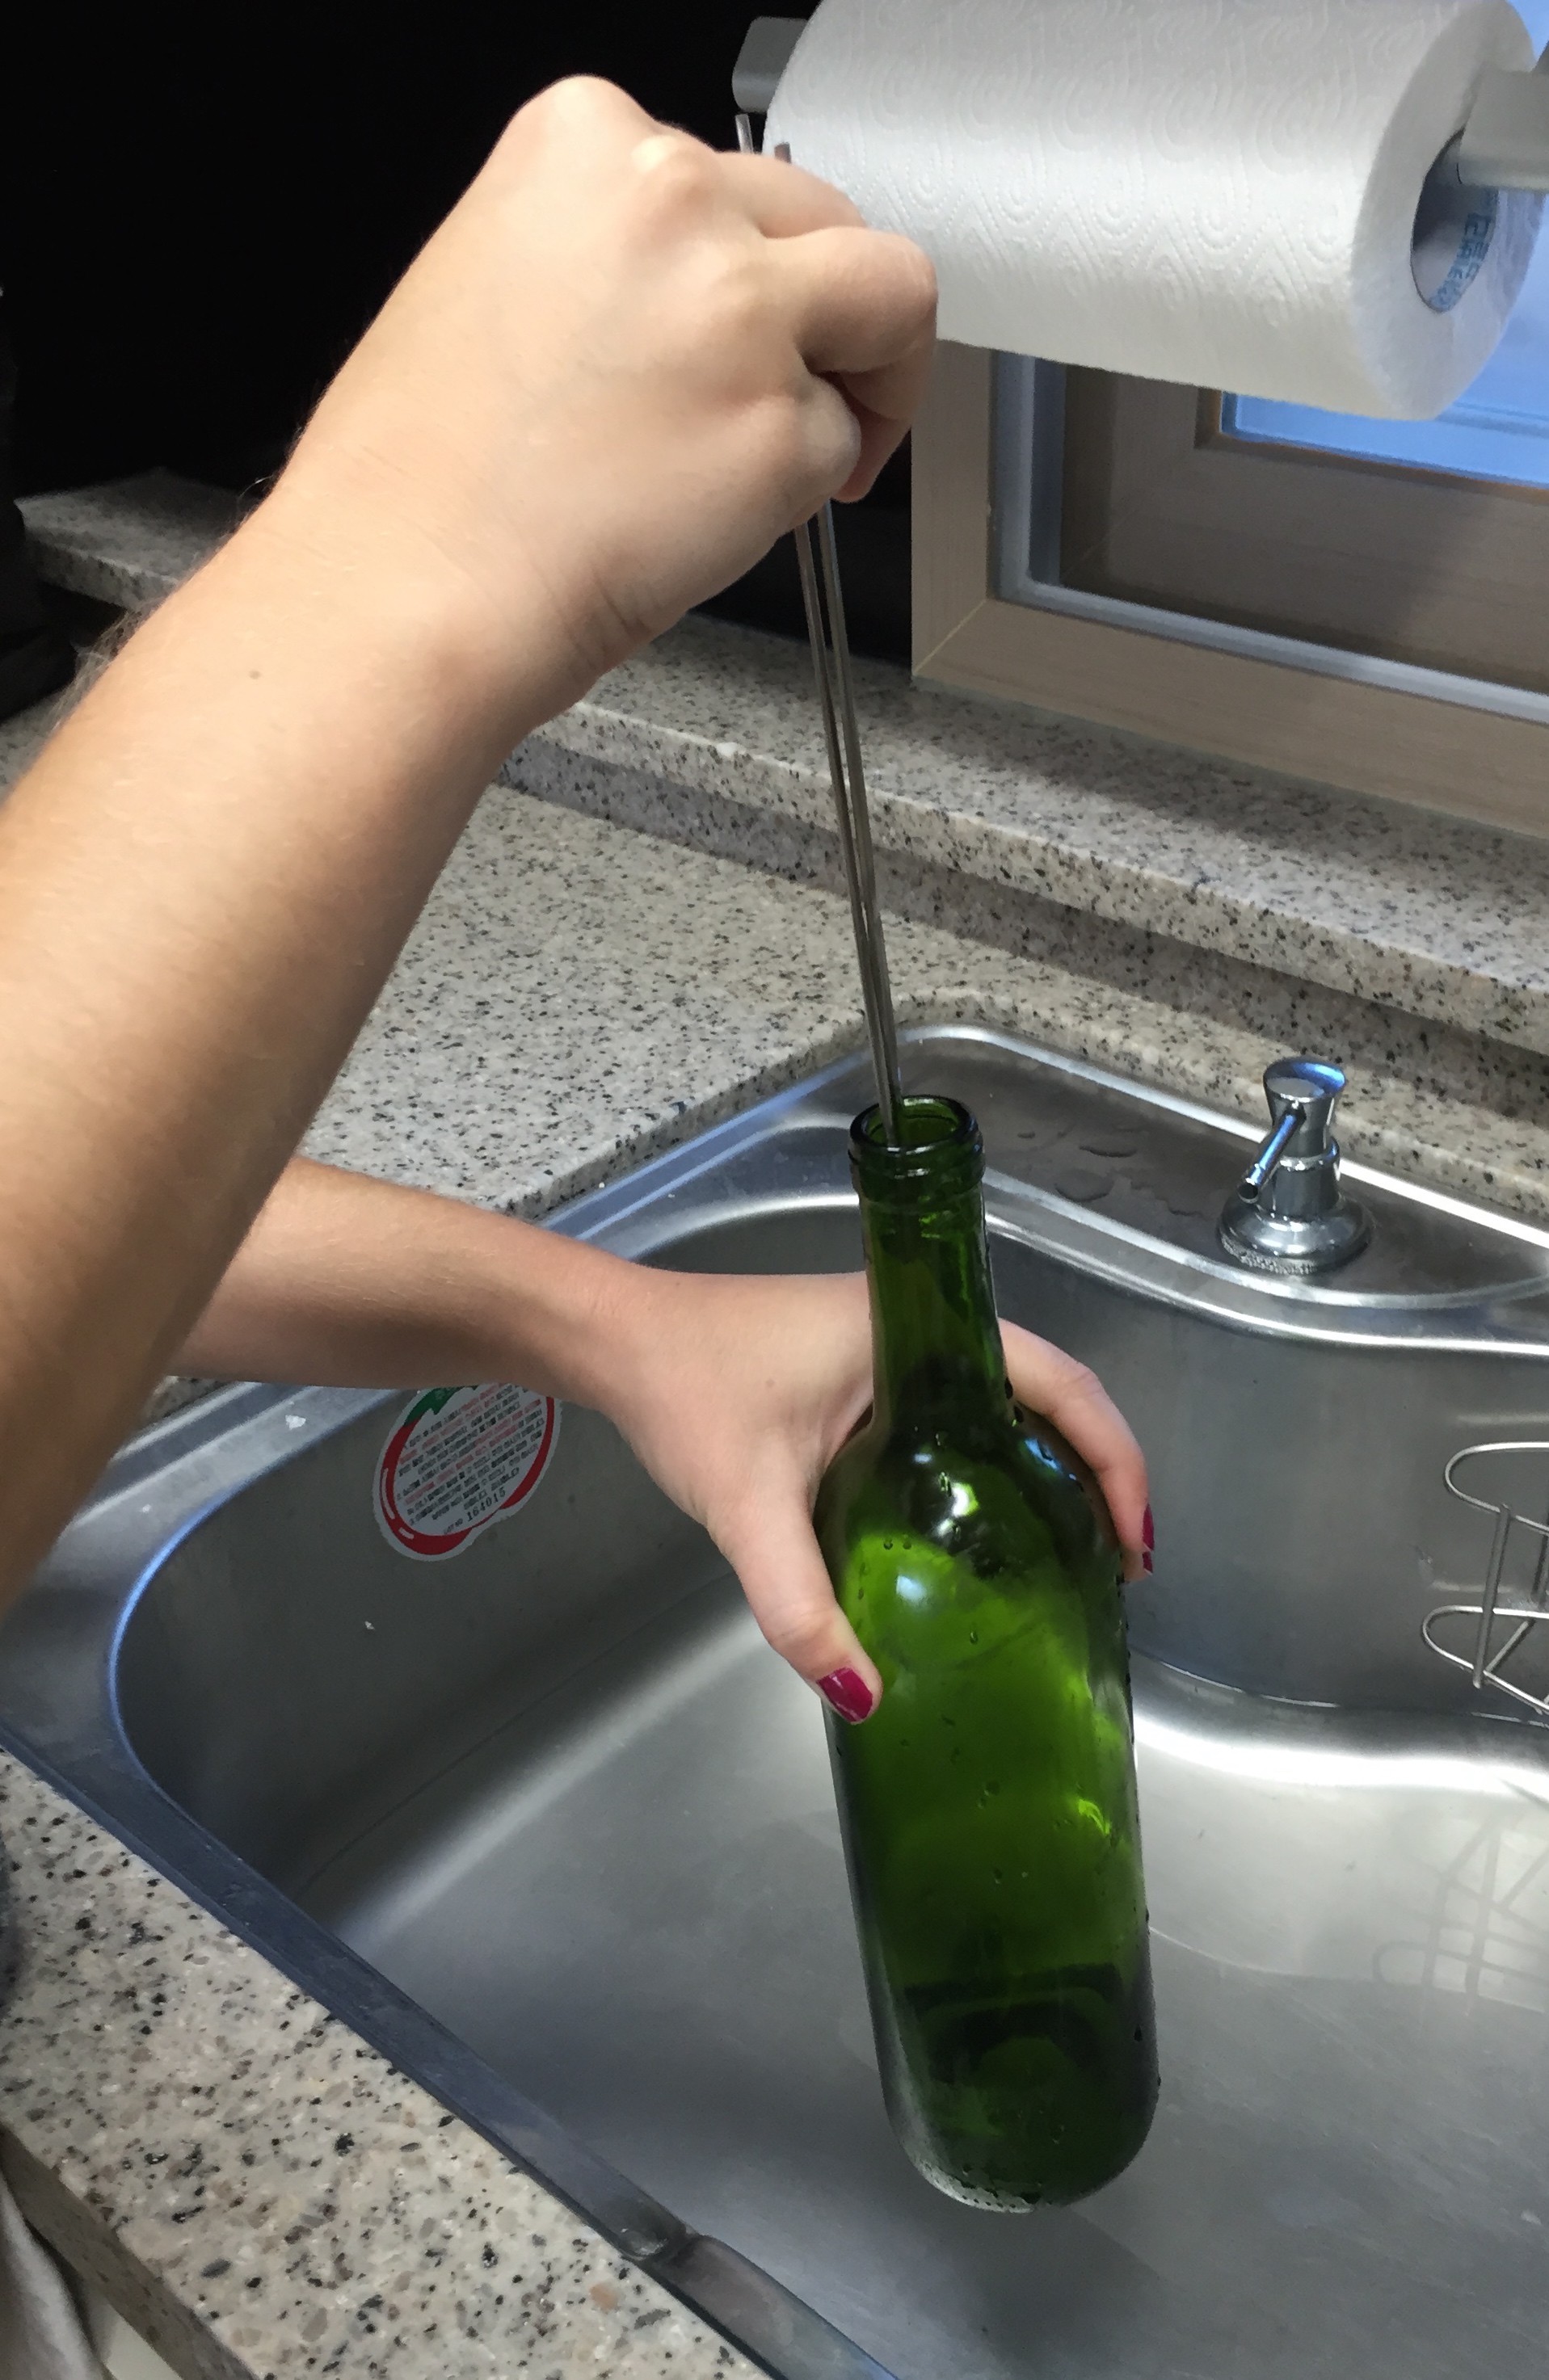
3. BREAK THE BOTTLES
Please use care in this step. Temperature differences can cause some glass to break or shatter. Broken glass is sharp and WILL cut you.
- Put bottle in freezer for about an hour
- Fill sink (or pot) with hot water about 10-15mm above bottom of bottle
- Place bottle in water bath and add same level boiling (or real hot) water into the bottle as the sink level. Use a funnel so it doesn't hit the sides
- Wait about 20 seconds and then lift bottle out of water, keep upright and keep water in bottle
- Throw something heavy and pointed into the neck of the bottle aiming for the bottom. The idea is to push the bottom of the bottle out. (I usually use a knife, but knives didn't fit these bottles so we substituted stainless steel chop sticks).
![]()
- The bottom of the bottle should pop off. Be careful IT IS SHARP!
-
4Step 4
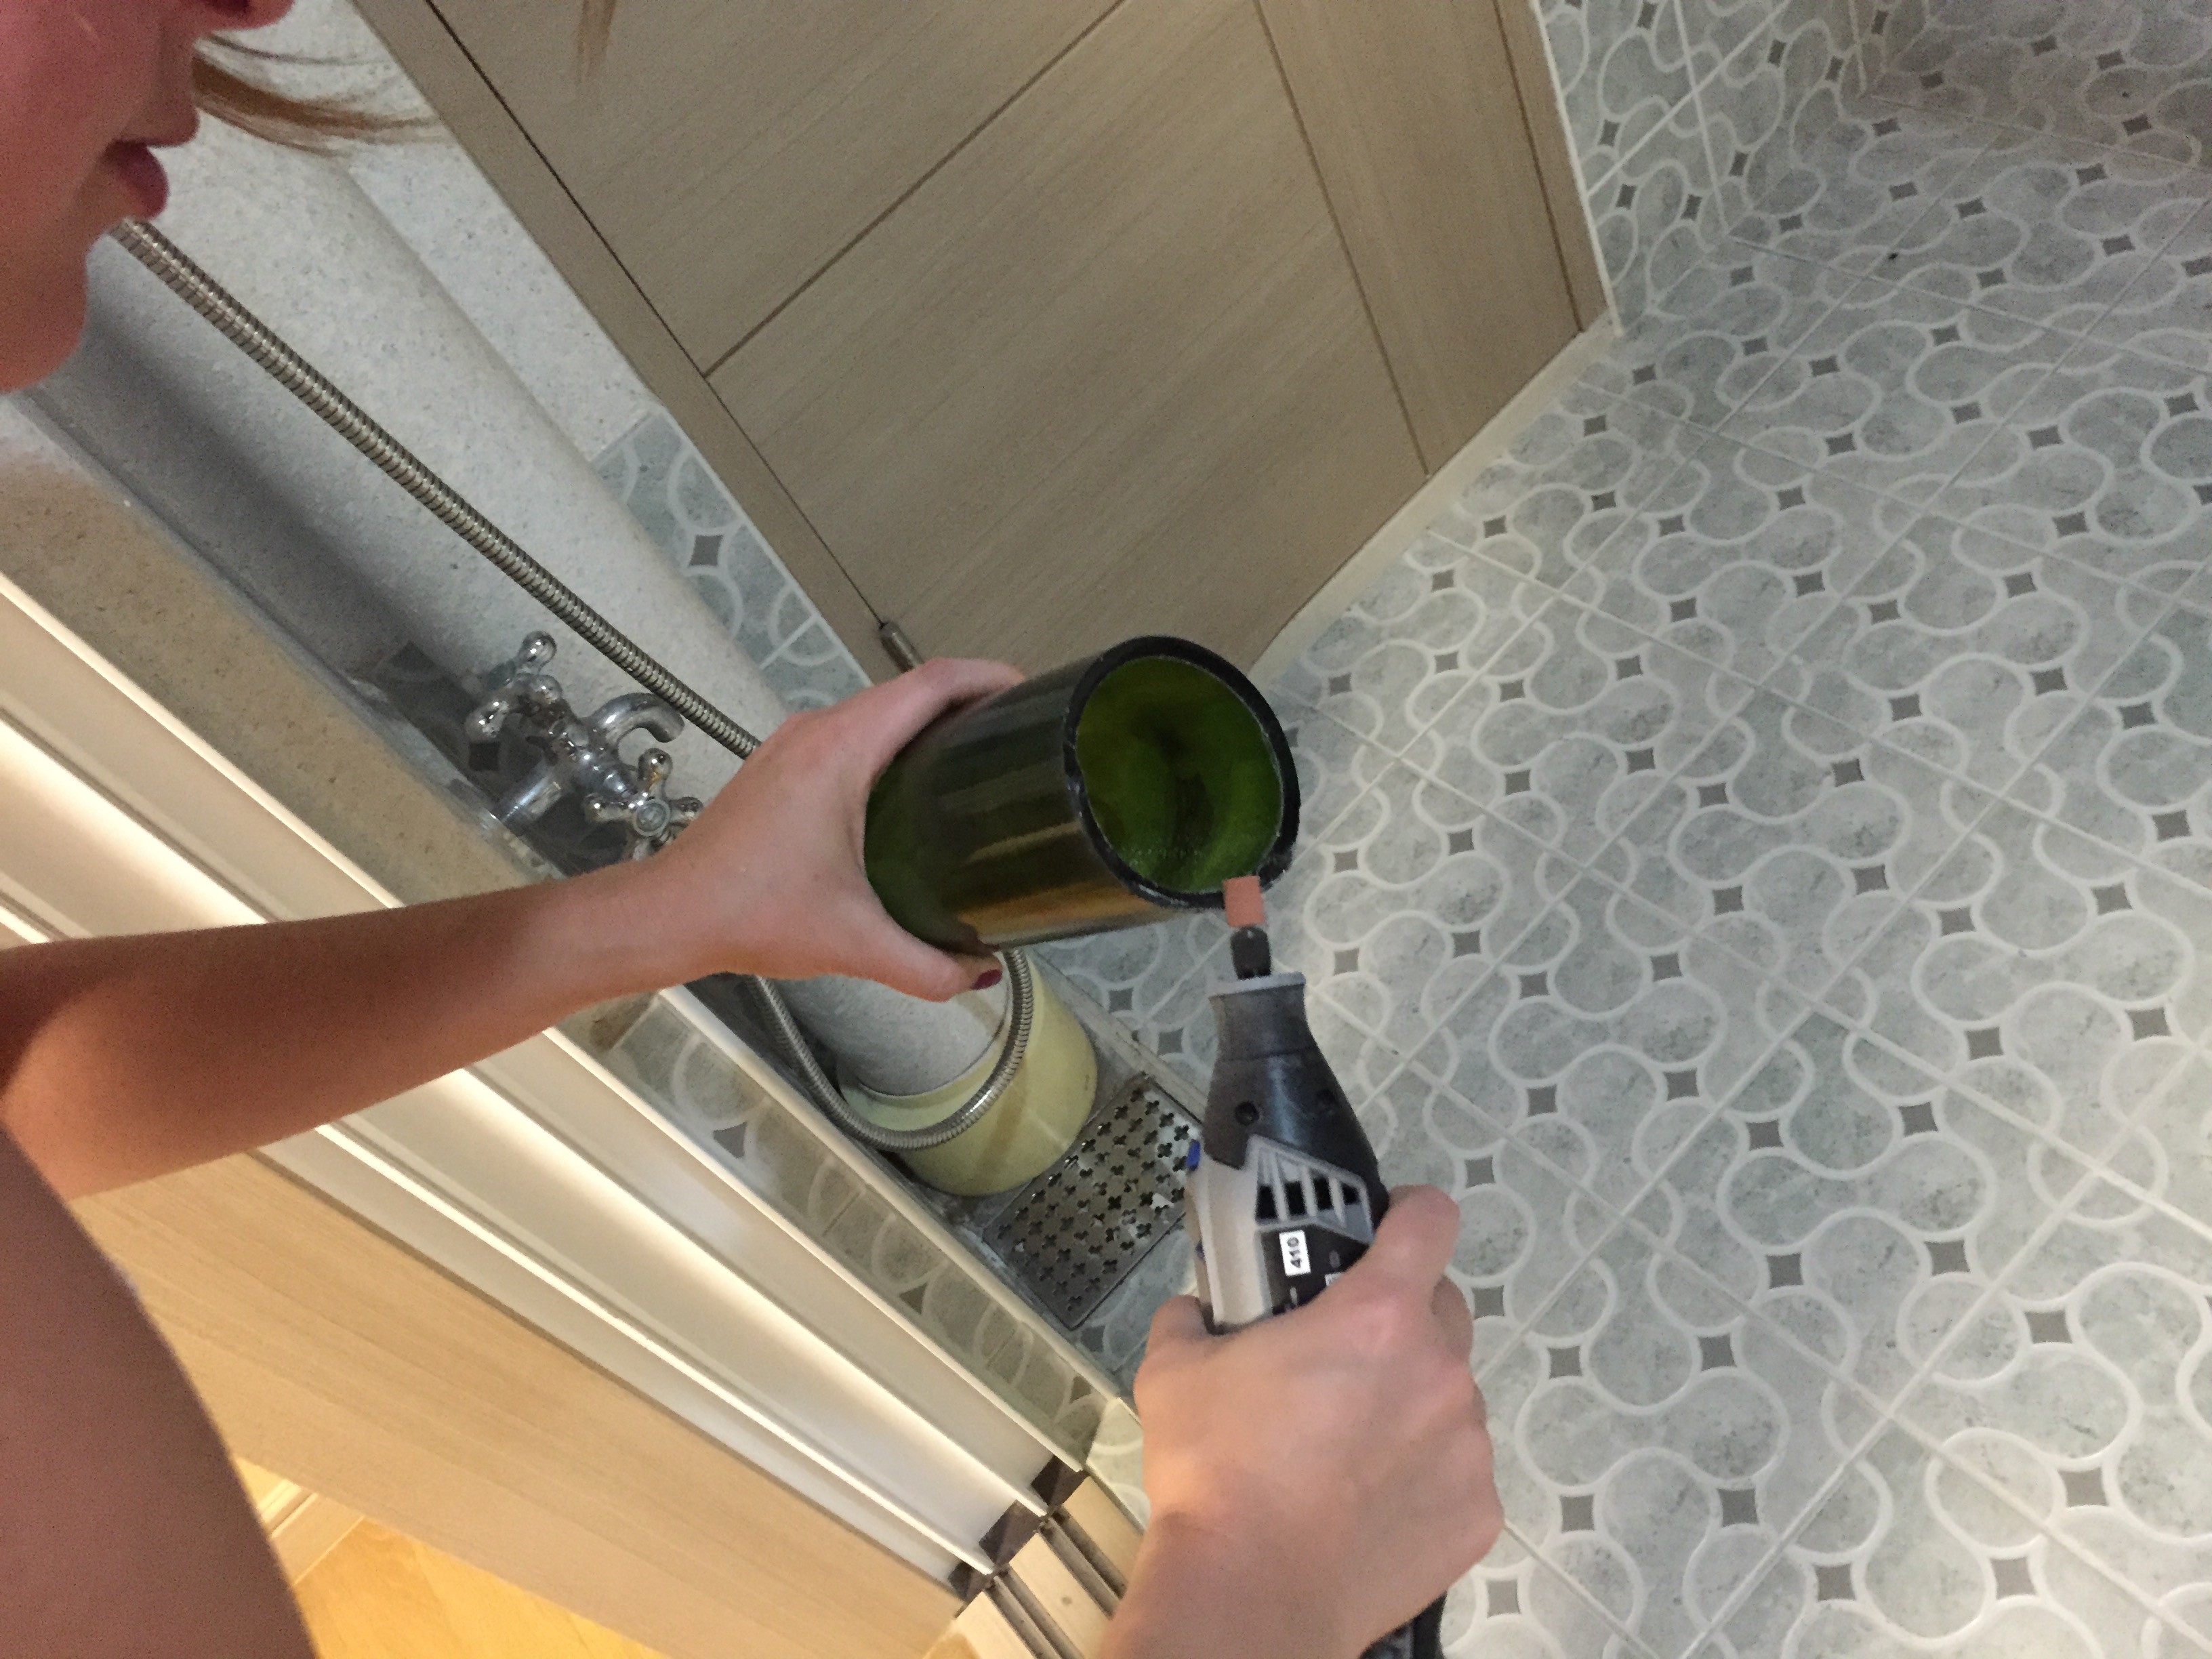
4. REMOVE BROKEN EDGES
Take the bottle and using a dremel or sandpaper take the sharp edges off the bottle
![]()
-
5Step 5
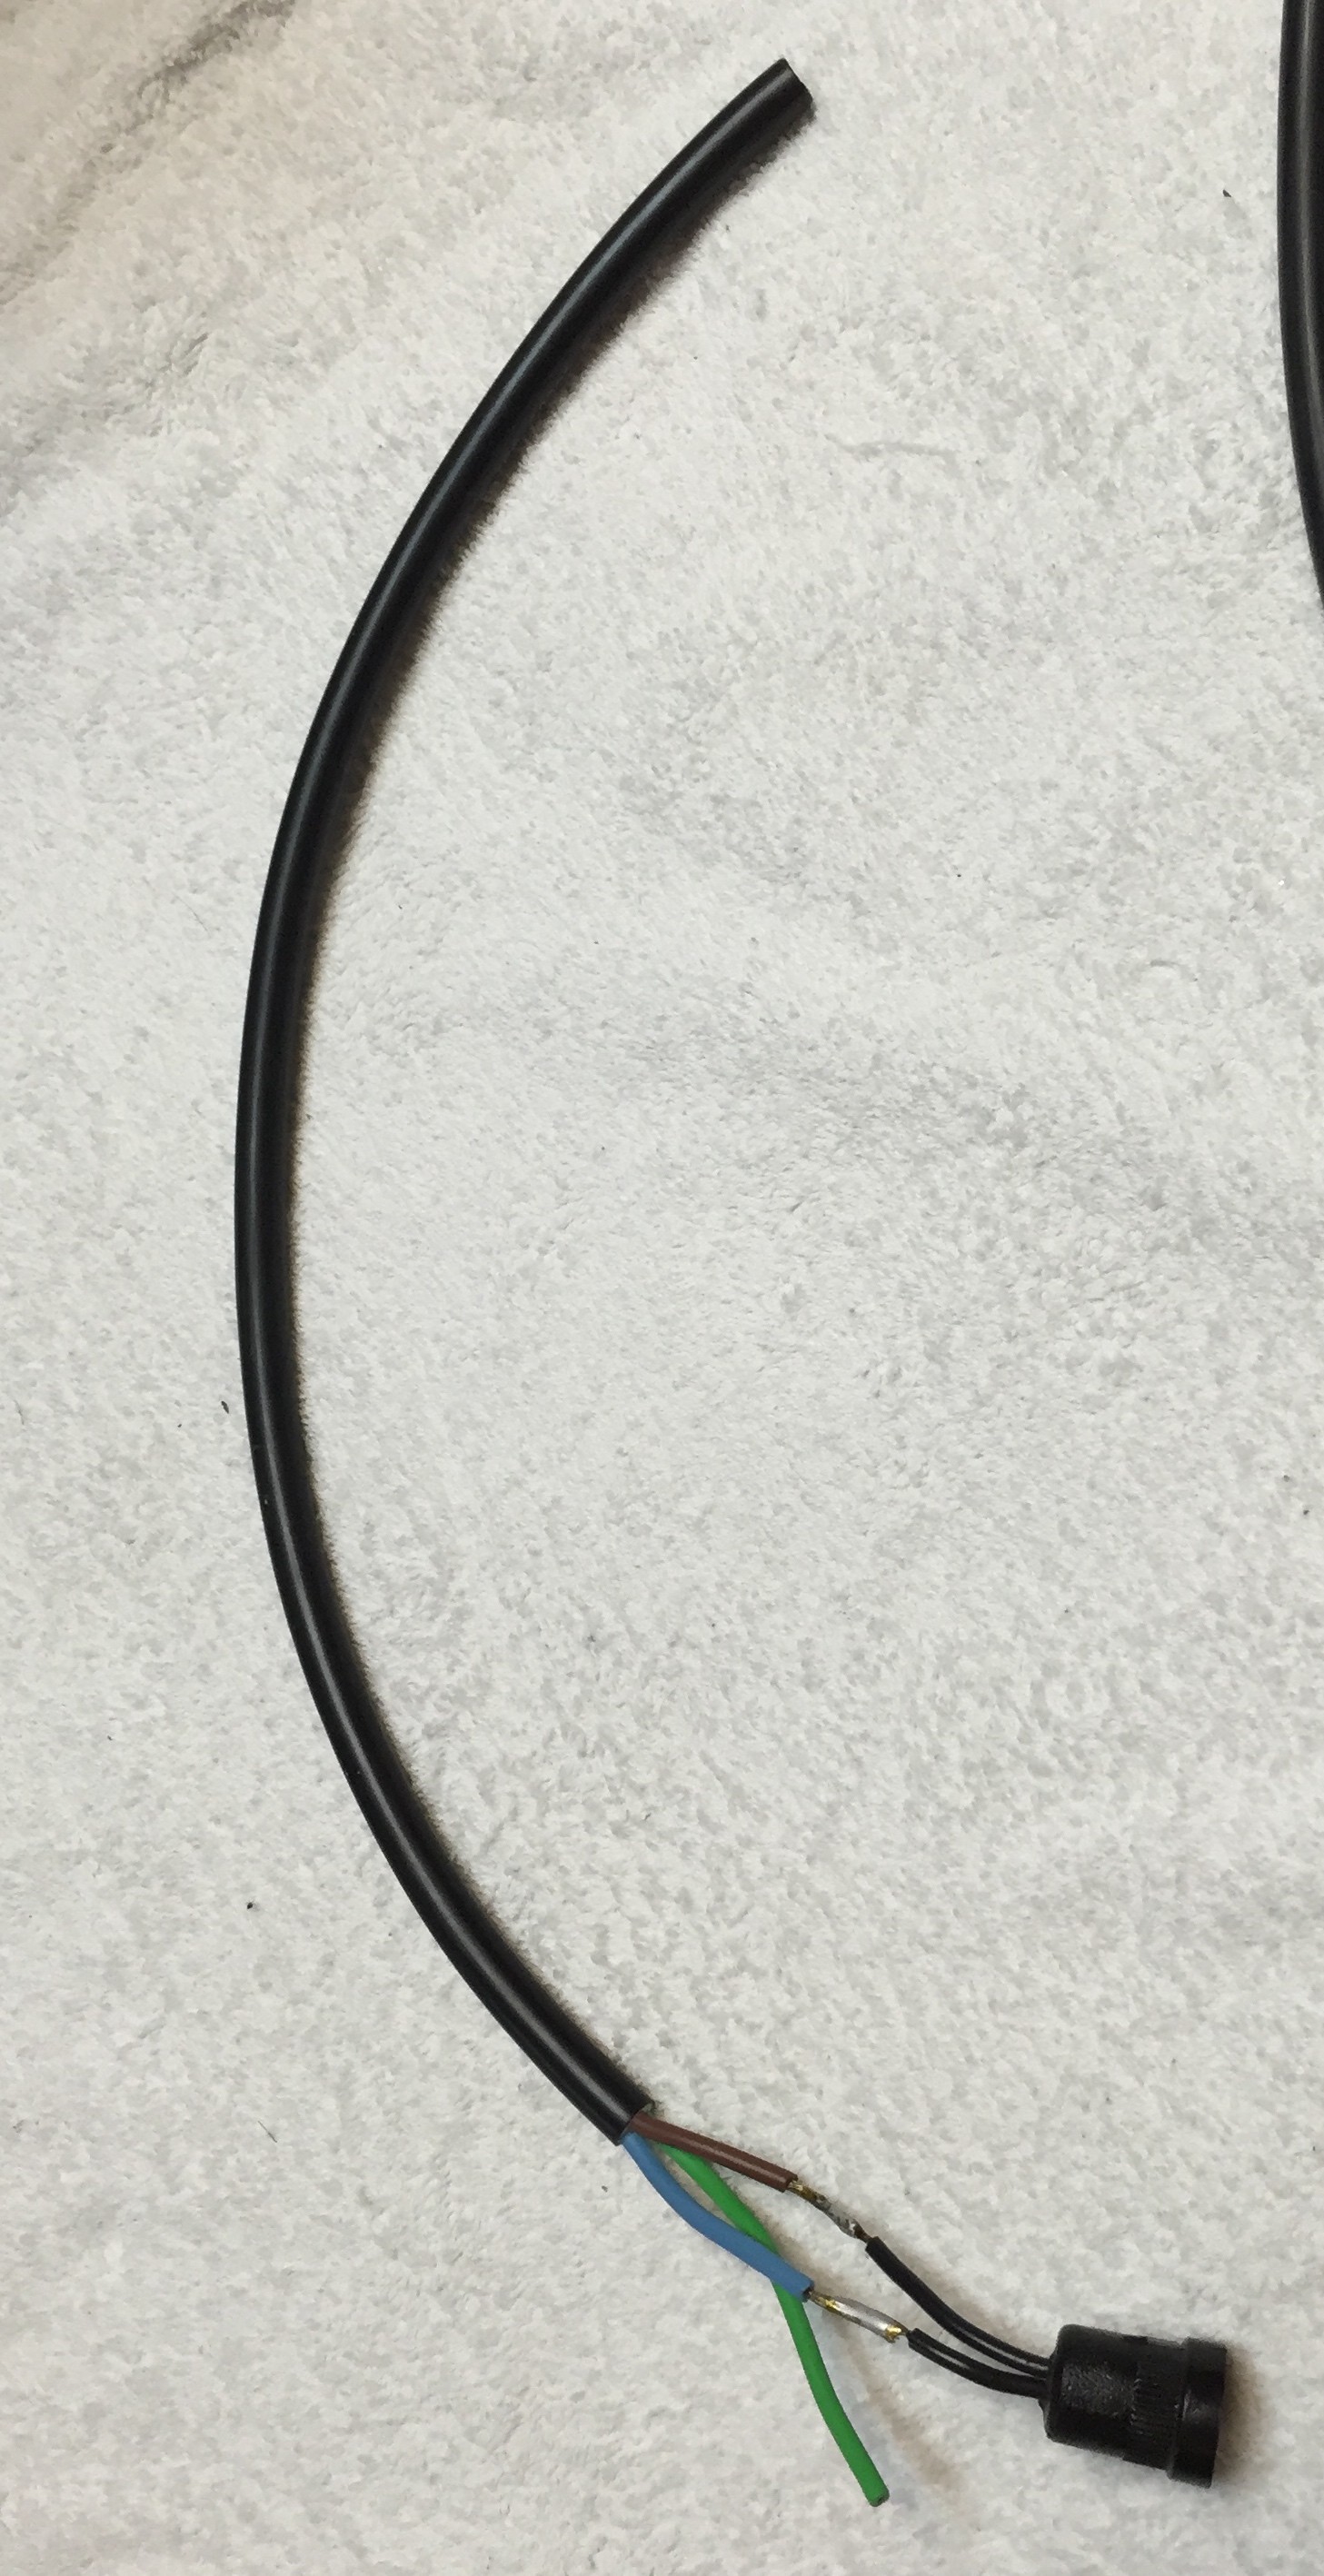
5. PREP LAMP ASSEMBLY WIRING
Cut the appliance cord to lengths approx 300mm longer than you think you need. It's always easier to cut extra length off than add extra if you need it!
Strip the outer sheath back about 50mm on one end of the cord.
![]()
Prep the brown and blue wires for soldering. These are going to be soldered onto the lamp fitting soon. When you cut the wires, stagger them so they don't bunch in the same place once soldered.
Solder the cord to the lamp fitting. Brown (Phase) wire wants to go to the centre of the lamp holder.
![]()
Lengths may need to differ to fit into the lamp holder assembly. You'll figure this out as you go. We made one complete lamp assembly first to see how it went, then proceeded with the other 3.
Ideally we would have used heat shrink here but as we are living on a small island off the coast of South Korea, finding a shop that sells it on a Saturday can prove troublesome. We used insulation tape instead.
-
6Step 6
6. ASSEMBLE LAMP HOLDER
Assemble the Lamp holder assembly using:
- 1x Female reducer
- 1x 15mm Straight Nipple
Space here was tight so the shorter the wires are in the previous step the easier this is.
As we are not using double insulated wiring the whole way, this becomes a Class 1 appliance meaning all exposed metal parts need to be earthed. For this part we stripped back the earth wire about 20mm and had it follow the first thread when we screwed the nipple into the female reducer. As it is a tapered thread, it took nicely and tested out well :)
![]()
Future designs would add some glue where the lamp holder sits in the nipple to ensure it stays there when changing lamps.
Oh, and place a cable tie on the cord inside the female reducer. This acts as the cord grip and takes the weight away from the solder join.
Now make the other 3 just like this!
-
7Step 7
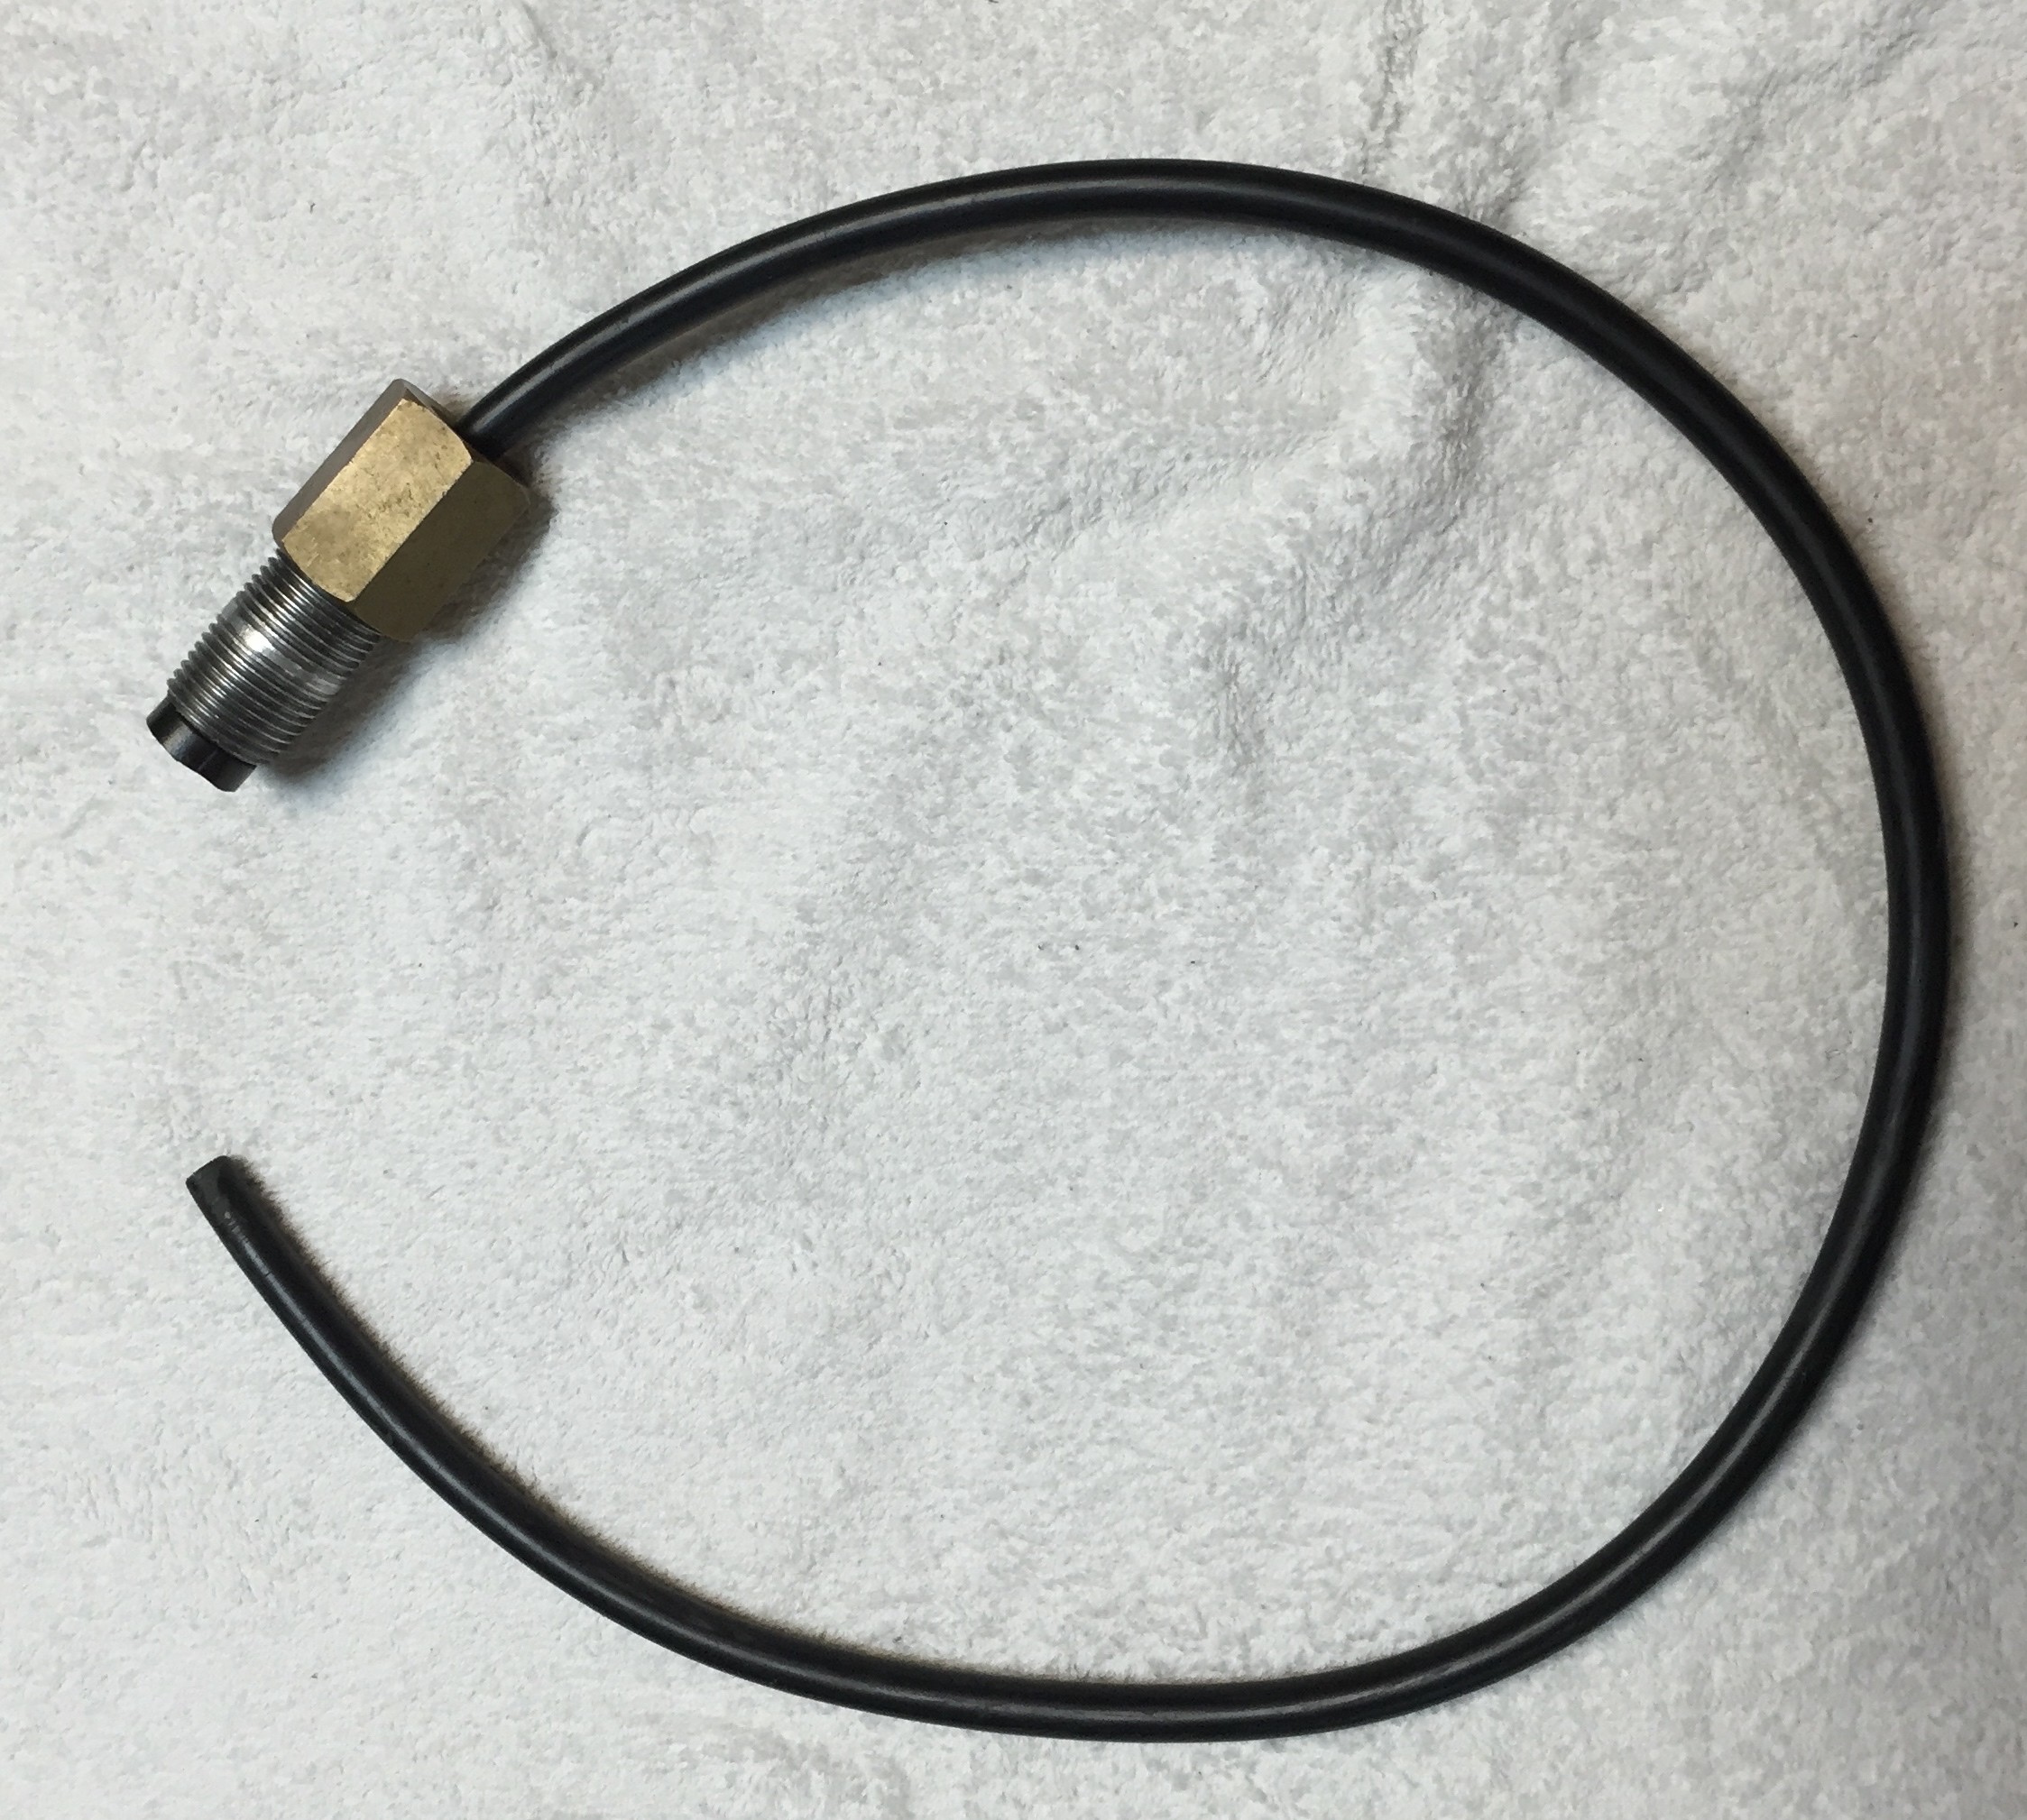
7. ASSEMBLE THE FIRST T PIECE
Measure the distance you want the bottle to hang down and roughly mark on the cord.
Slide the straight reducer over the cord, smaller end facing the bottle. Put a cable tie on the cord to set the height.
Strip the outer insulation back on the cord to a length that would make it line up with the horizontal pipe in the T. This is to reduce the space taken up inside the main assembly and make it easier to work with the wires.
Thread the wires into the T piece and screw the reducer into the T. Make sure you twist the wires coming out the other side a the same time you turn the reducer - you'll see as you do it. Be careful not to get the wires cut on the threads.
![]()
Screw in the straight piece of pipe and you have completed the first bottle T!!
-
8Step 8
8. ASSEMBLE THE REST OF THE PIPEWORK
This part took a bit of thinking/tinkering/trialling. You may find an easier way to assemble it but this is the order that we did it.
Attach the first complete bottle T you made with a nipple, another T (that faces up) and another nipple. This will be the centre of the fitting and where the supply comes in.
![]()
A bit of forward thinking here for joins and space, we added an extra set of wires through this piece. The idea is that the two bottles that are right of centre will connect together on the far right end, inside a straight piece of pipe (blue arrow below). They also connect to the extra wires which run back to the opposite side. This means the RHS of the fitting is completely supplied from one set of wires.
![]()
The body ground was made where the RHS straight piece (blue arrow) screws into the RHS T in the same manner the lamp assemblies were grounded. I must note here, before assembling the pipe fittings, the first 3 threads were cleaned with a wire brush to ensure a good clean connection between all metal parts.
-
9Step 9
9. CONNECT ALL WIRING TOGETHER
Now make the LHS of the fitting with the wires run to the centre. This bit was tricky. The wires need to be joined with as little length as possible, but enough to fold the join over and push back into the pipe. The distance we had between the pipe fittings as we joint the final wires was only about an inch. Before you screw it together, "unscrew" it about 3 turns. Yes the wires twist BUT when you screw it back together, there is no strain on the wires as they untwist!
-
10Step 10
10. HANGING
Use the left overs from the appliance flex as a chain to hang the light from somewhere. just wrap it around the light a couple of times and tie a knot!
Wine not shed some light?
This is what happens after 4 bottles of wine and a $40 trip to the hardware store.


Discussions
Become a Hackaday.io Member
Create an account to leave a comment. Already have an account? Log In.