-
1Step 1
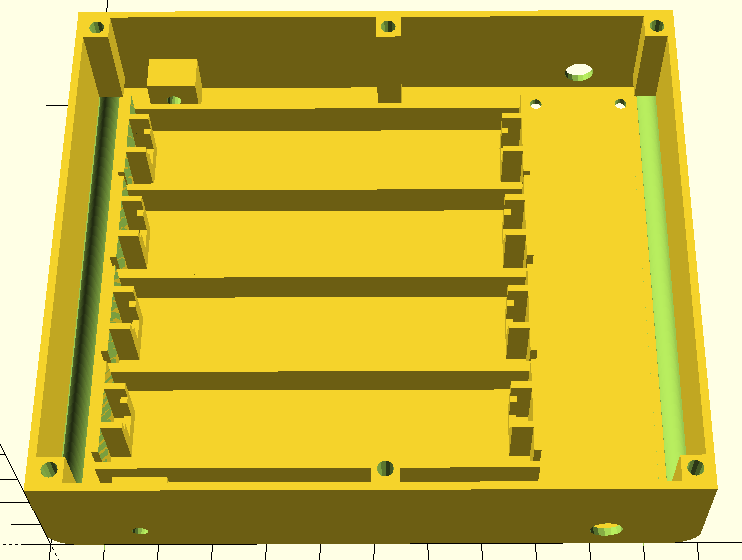
- Print the bottom part of the chassis with the flat part on the heat bed, without support. It can be printed fast (i printed it at fastest speed on my printrbot simple metal) and at 0.3 layer thickness without problems. I printed it in PLA, but feel free to use any material that is rigid enough :
![]()
- Print the electronics plate with the largest part on the printbed, no supports needed, can be printed fast, with the infill you want, at the resolution you want (it is a really simple print, only takes time):
![]()
- Print the cover, with the largest flat part on the bed (same settings as the previous parts).
- Print the bottom part of the chassis with the flat part on the heat bed, without support. It can be printed fast (i printed it at fastest speed on my printrbot simple metal) and at 0.3 layer thickness without problems. I printed it in PLA, but feel free to use any material that is rigid enough :
-
2Step 2
Installing the battery tabs for the 3D printed version
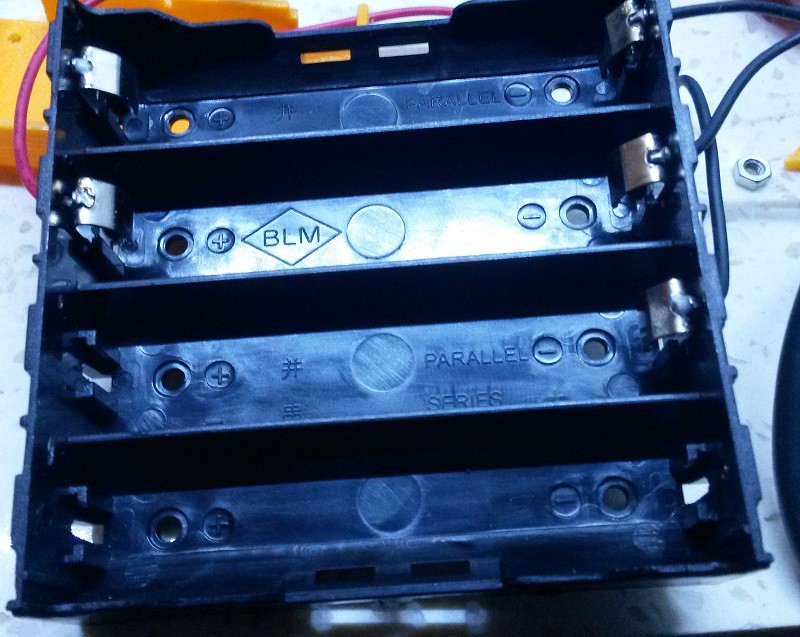
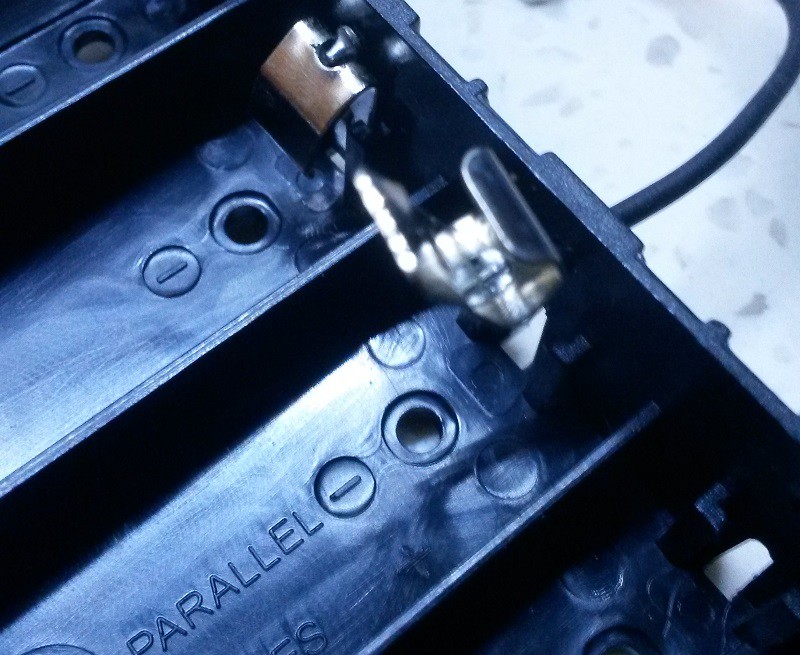
- Take the battery box with tabs and wires :
![]()
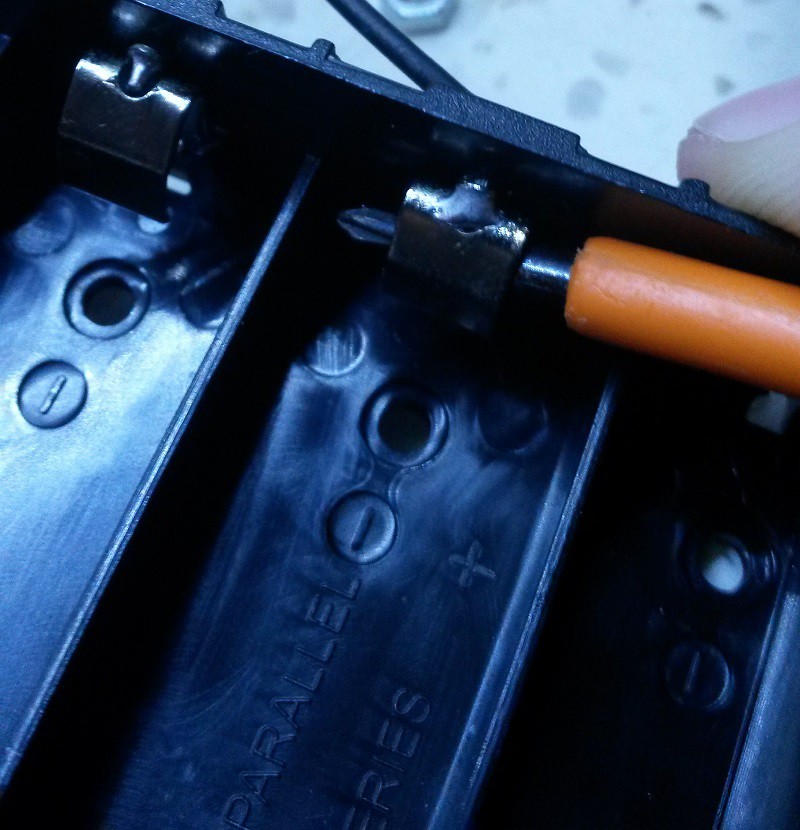
- put a thin screwdriver under the tab :
![]()
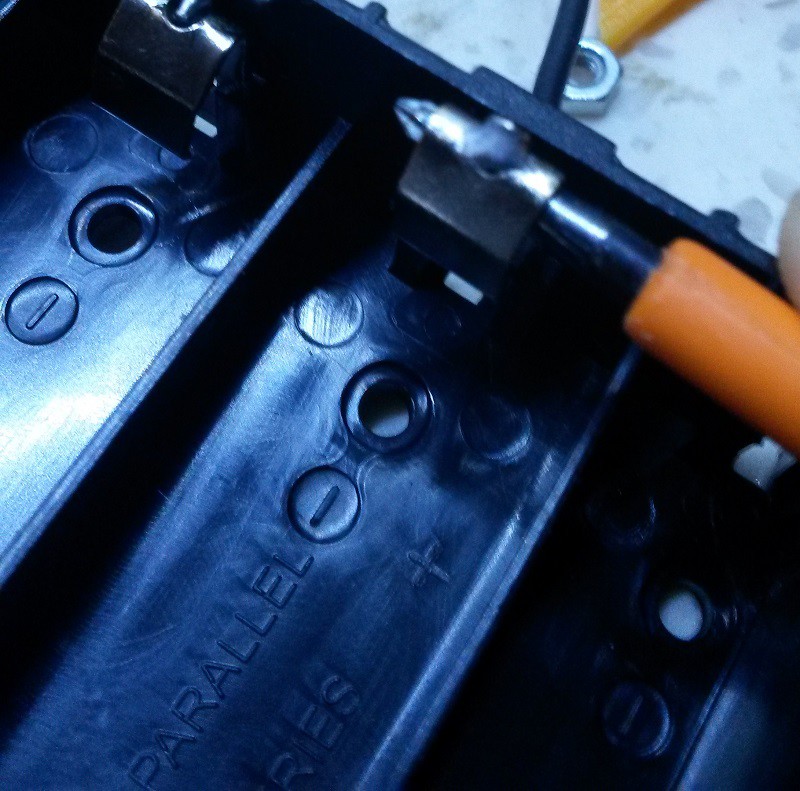
- pull the tab up using the screwdriver as a lever:
![]()
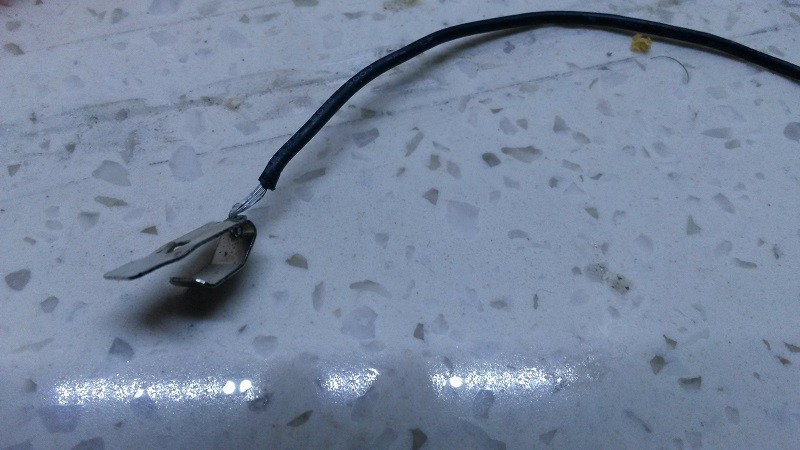
- remove the tab from it's slot without ripping the wire :
![]()
- remove the wire gently to obtain the tab and wire :
![]()
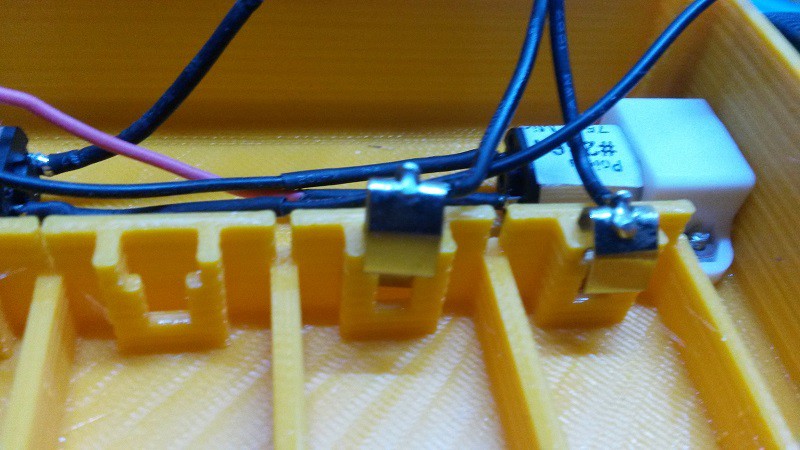
- put the tab in the printed slot :
![]()
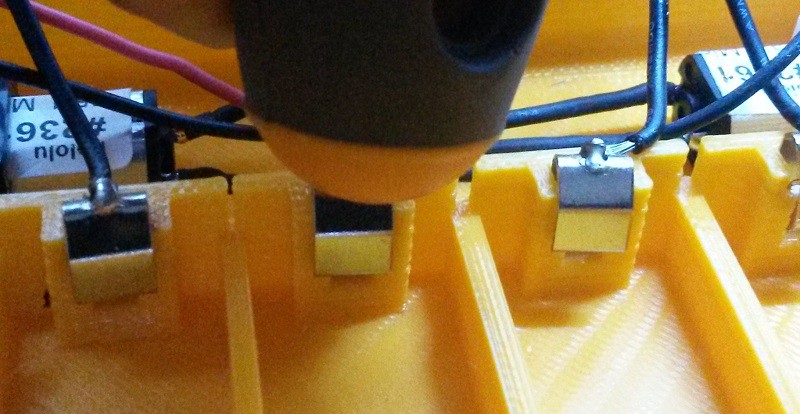
- push down with an hard object to secure it in place :
![]()
Repeat those operations for each tab. You can wire it the way you want. I chose to have all negative tabs on the motors side and all positive tabs on the opposite side.
- Take the battery box with tabs and wires :
-
3Step 3
Install the motors
- put the nuts in their place on the plastic motor holder;
- slide the motors in place, the axis in the hole;
- put the motors holders on the motors;
- secure the holders with the screws from below through the holes meant for this.
- Add the wheels on the motors axis
-
4Step 4
Install the idle sprockets
- Put the sprocket on the axis, with the metal washer;
- put the nut on the threaded part;
- screw the threaded part in the holes on the side using an allen key
-
5Step 5
Add the tracks on each side
R.Hasika - a precise and compact robot base (rpi)
A precise and upgradable robot base built around a raspberry pi
 Audrey Robinel

Discussions
Become a Hackaday.io Member
Create an account to leave a comment. Already have an account? Log In.