 Pete Hoffswell
-
1Step 1
Gather Components
This project uses an Arduino Yun with 3 components - A temperature sensor module, a relay module and a switch.
---------- more ----------
![]()
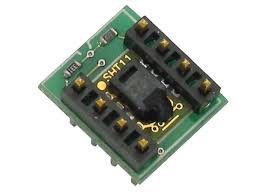
I use Parallax Sensirion SHT11 Sensor Module. I'm not sure you can get those anymore, but you should be able to modify this program to use some other temperature sensor. You could, of course, just leave temperature sensing out of your project, if you are looking at just controlling the door.
![]()
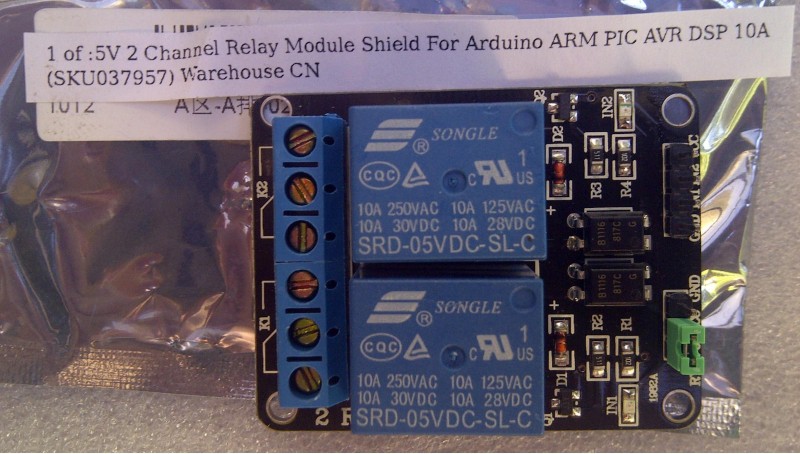
For activating the garage door, I use a Banggood 5v 2 channel Relay module. These are very nice in that they have an indicator LED right on the board in case you can't hear the CLICK.
![]()
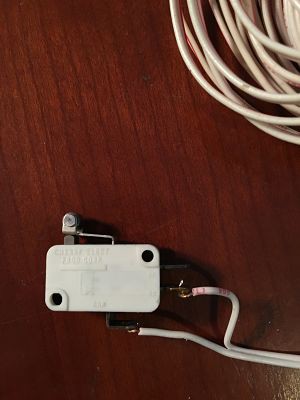
The final special part you need is a switch. Any switch might do, as long as you can figure out how to activate it when your garage door is closed. I used a micro switch. I wish I had one of those micro switches with the long actuator arms or a magnetic door sensor, but, hey, this was what was in my junk box.
For my installation I used a small bread board to connect everything up.
-
2Step 2
Interface Components to Arduino YUN
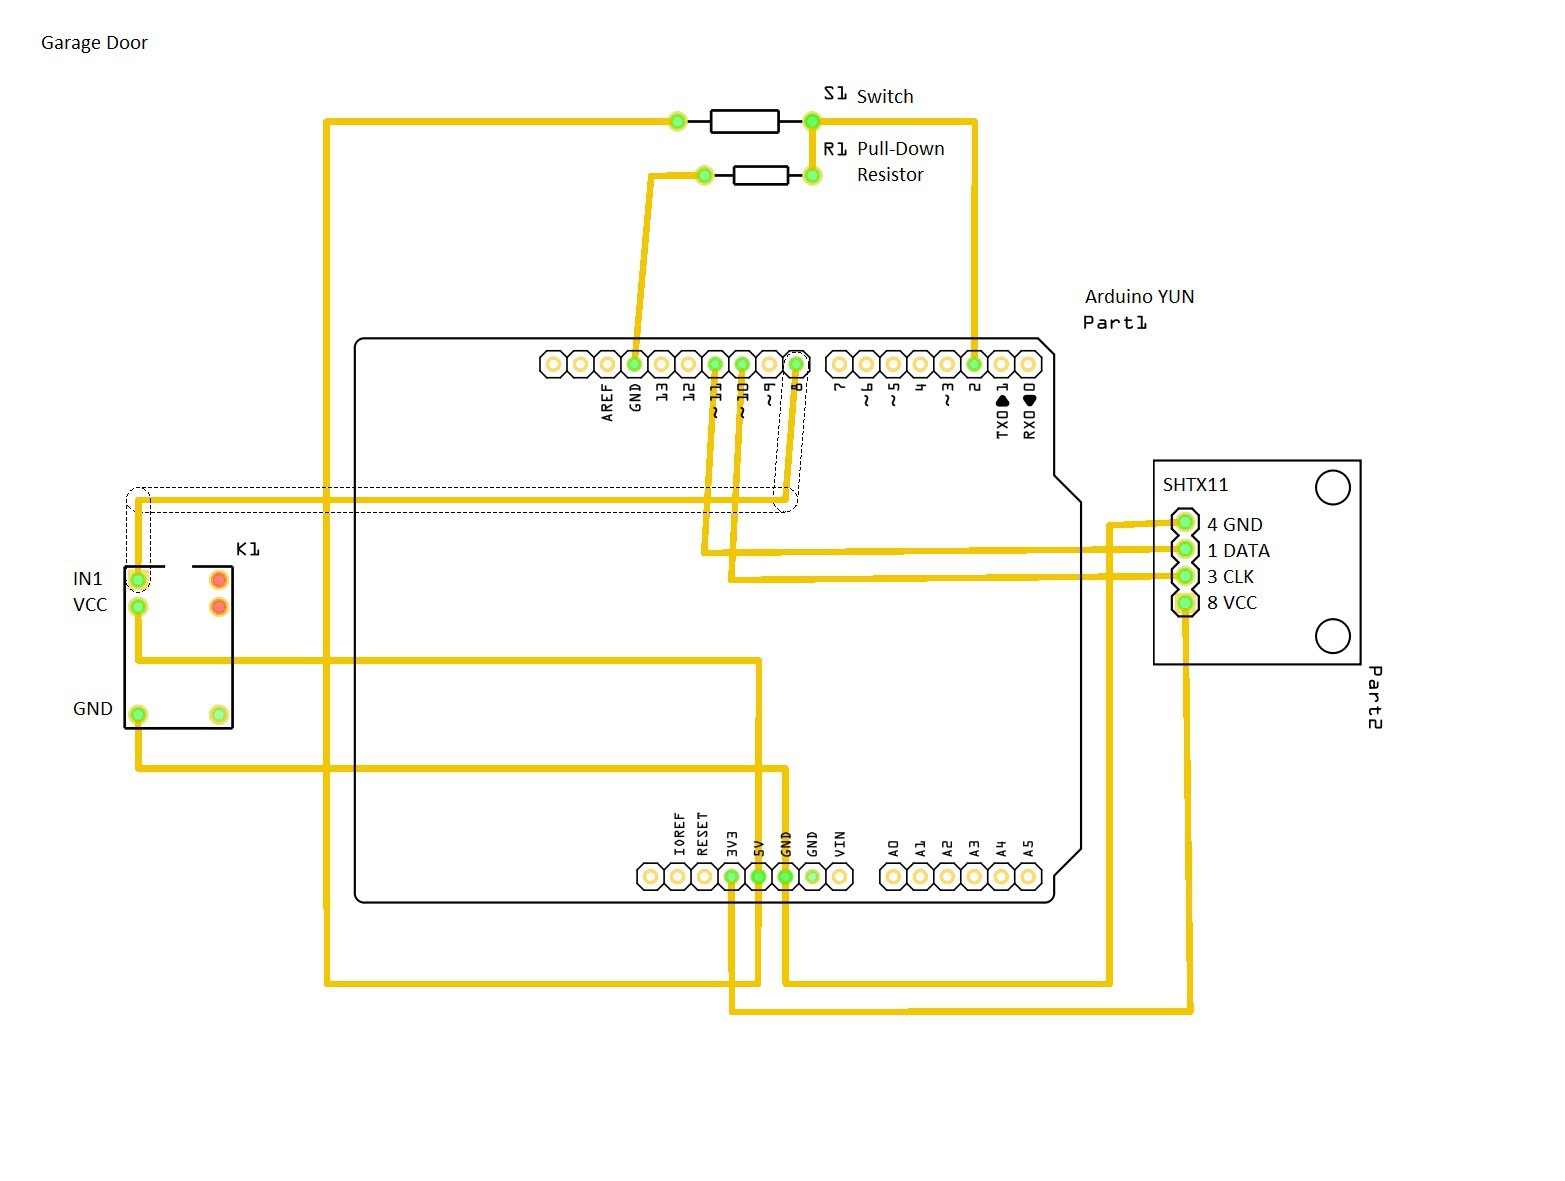
Wiring up the Arduino YUN to the components is pretty easy. Mount your sht11 to the breadboard, and go from there.
---------- more ----------
// shtx11 to Yun connection ----------- // YUN > SHT11 // 3.3v > VCC 8 // GND > GND 4 // 10 > DATA 1 // 11 > CLK 3 // YUN to Relay --------- // 8 > In1 // GND > GND // 5v > VCC // YUN to Switch --------------- // 5v > Switch NO // 2 > Switch Comm // 2 > GND via 10k pulldown resistor![]()
-
3Step 3
Program Arduino YUN
Grab the garagedoor sketch from Github and and modify the code to your taste. The only real value you will need to customize is the MQTT Server variable:
// MQTT Server
#define MQTT_SERVER "192.168.15.22"
Adjust this to match the ip address of your openHAB/MQTT server.
Note that you can run the code now, before building your openHAB server, and monitor temperature and switch status from the serial window of the Arduino IDE. If you can see a temperature and a 1 or 0 for switch state, you are in fairly good shape. The onboard pin 13 LED will also show switch status.
-
4Step 4
Build openHAB server with MQTT
openHAB acts as the central information hub for Internet of Things stuff. This project isn't going to detail the building of an openHAB server. It's not horribly hard. openHAB runs on Windows or Linux. A great start is the openHAB Getting Started page.
---------- more ----------
In addition to openHAB, we are going to use MQTT to send messages between the Arduino and openHAB. Message Queuing Telemetry Transport (MQTT) needs to be added to your server by following command:
sudo apt-get install mosquitto mosquitto-clients python-mosquitto
Then, in your openhab.config file, adjust the configuration as follows:
#URL to the MQTT broker, e.g. tcp://localhost:1883 or ssl://localhost:8883
mqtt:mqttbroker.url=tcp://192.168.15.22:1883
Change the ip address to the ip address of your openhab server.
If your Arduino is up and running, it should be publishing messages on temperature and switch status. Try to subscribe with a command like this:
root@lab:/opt/openhab# mosquitto_sub -d -t openhab/office/temperature
Received CONNACK
Received SUBACK
Subscribed (mid: 1): 0
Received PUBLISH (d0, q0, r0, m0, 'openhab/office/temperature', ... (5 bytes))
32.14
^C
root@lab:/opt/openhab#
We can see that the MQTT message came in. Nice.To learn a little more about how MQTT works, and to test your installation, visit Michael Connor's excellent article called Hello MQTT.
Finally, I would be remiss if I did not reference electronichamster's fine work on a similar project that I have learned much from. Check out his Uber Home Automation project at Instructables.
-
5Step 5
Configure opehHAB
Grab the sample openHAB configuration files from the Github repository. The garagedoor.sitemap goes in the configurations/sitemaps directory, and the garagedoor.items goes in the configurations/items directory.
Note how the garagedoor.items file references the MQTT subscription with an "<" input binding, and the pushbutton runs on a ">" output binding. Pretty snazzy.
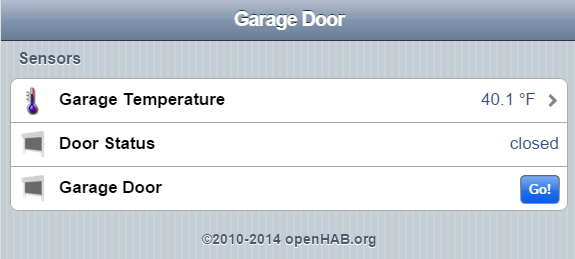
If all is well, you should see your openHAB page at -
http://<yourserverip>:8080/openhab.app?sitemap=garagedoor
![]()
If you have trouble, you can watch your /opt/openhab/logs/openhab.log file. It might give you a hint of problems.
openHAB can be tricky to get started with. Research the openHAB documentation, or visit their active and friendly forum.
Test on the desk. When you press the switch, do you see the door status change? When you press the Go button, do you hear the relay click?
-
6Step 6
Install to Garage
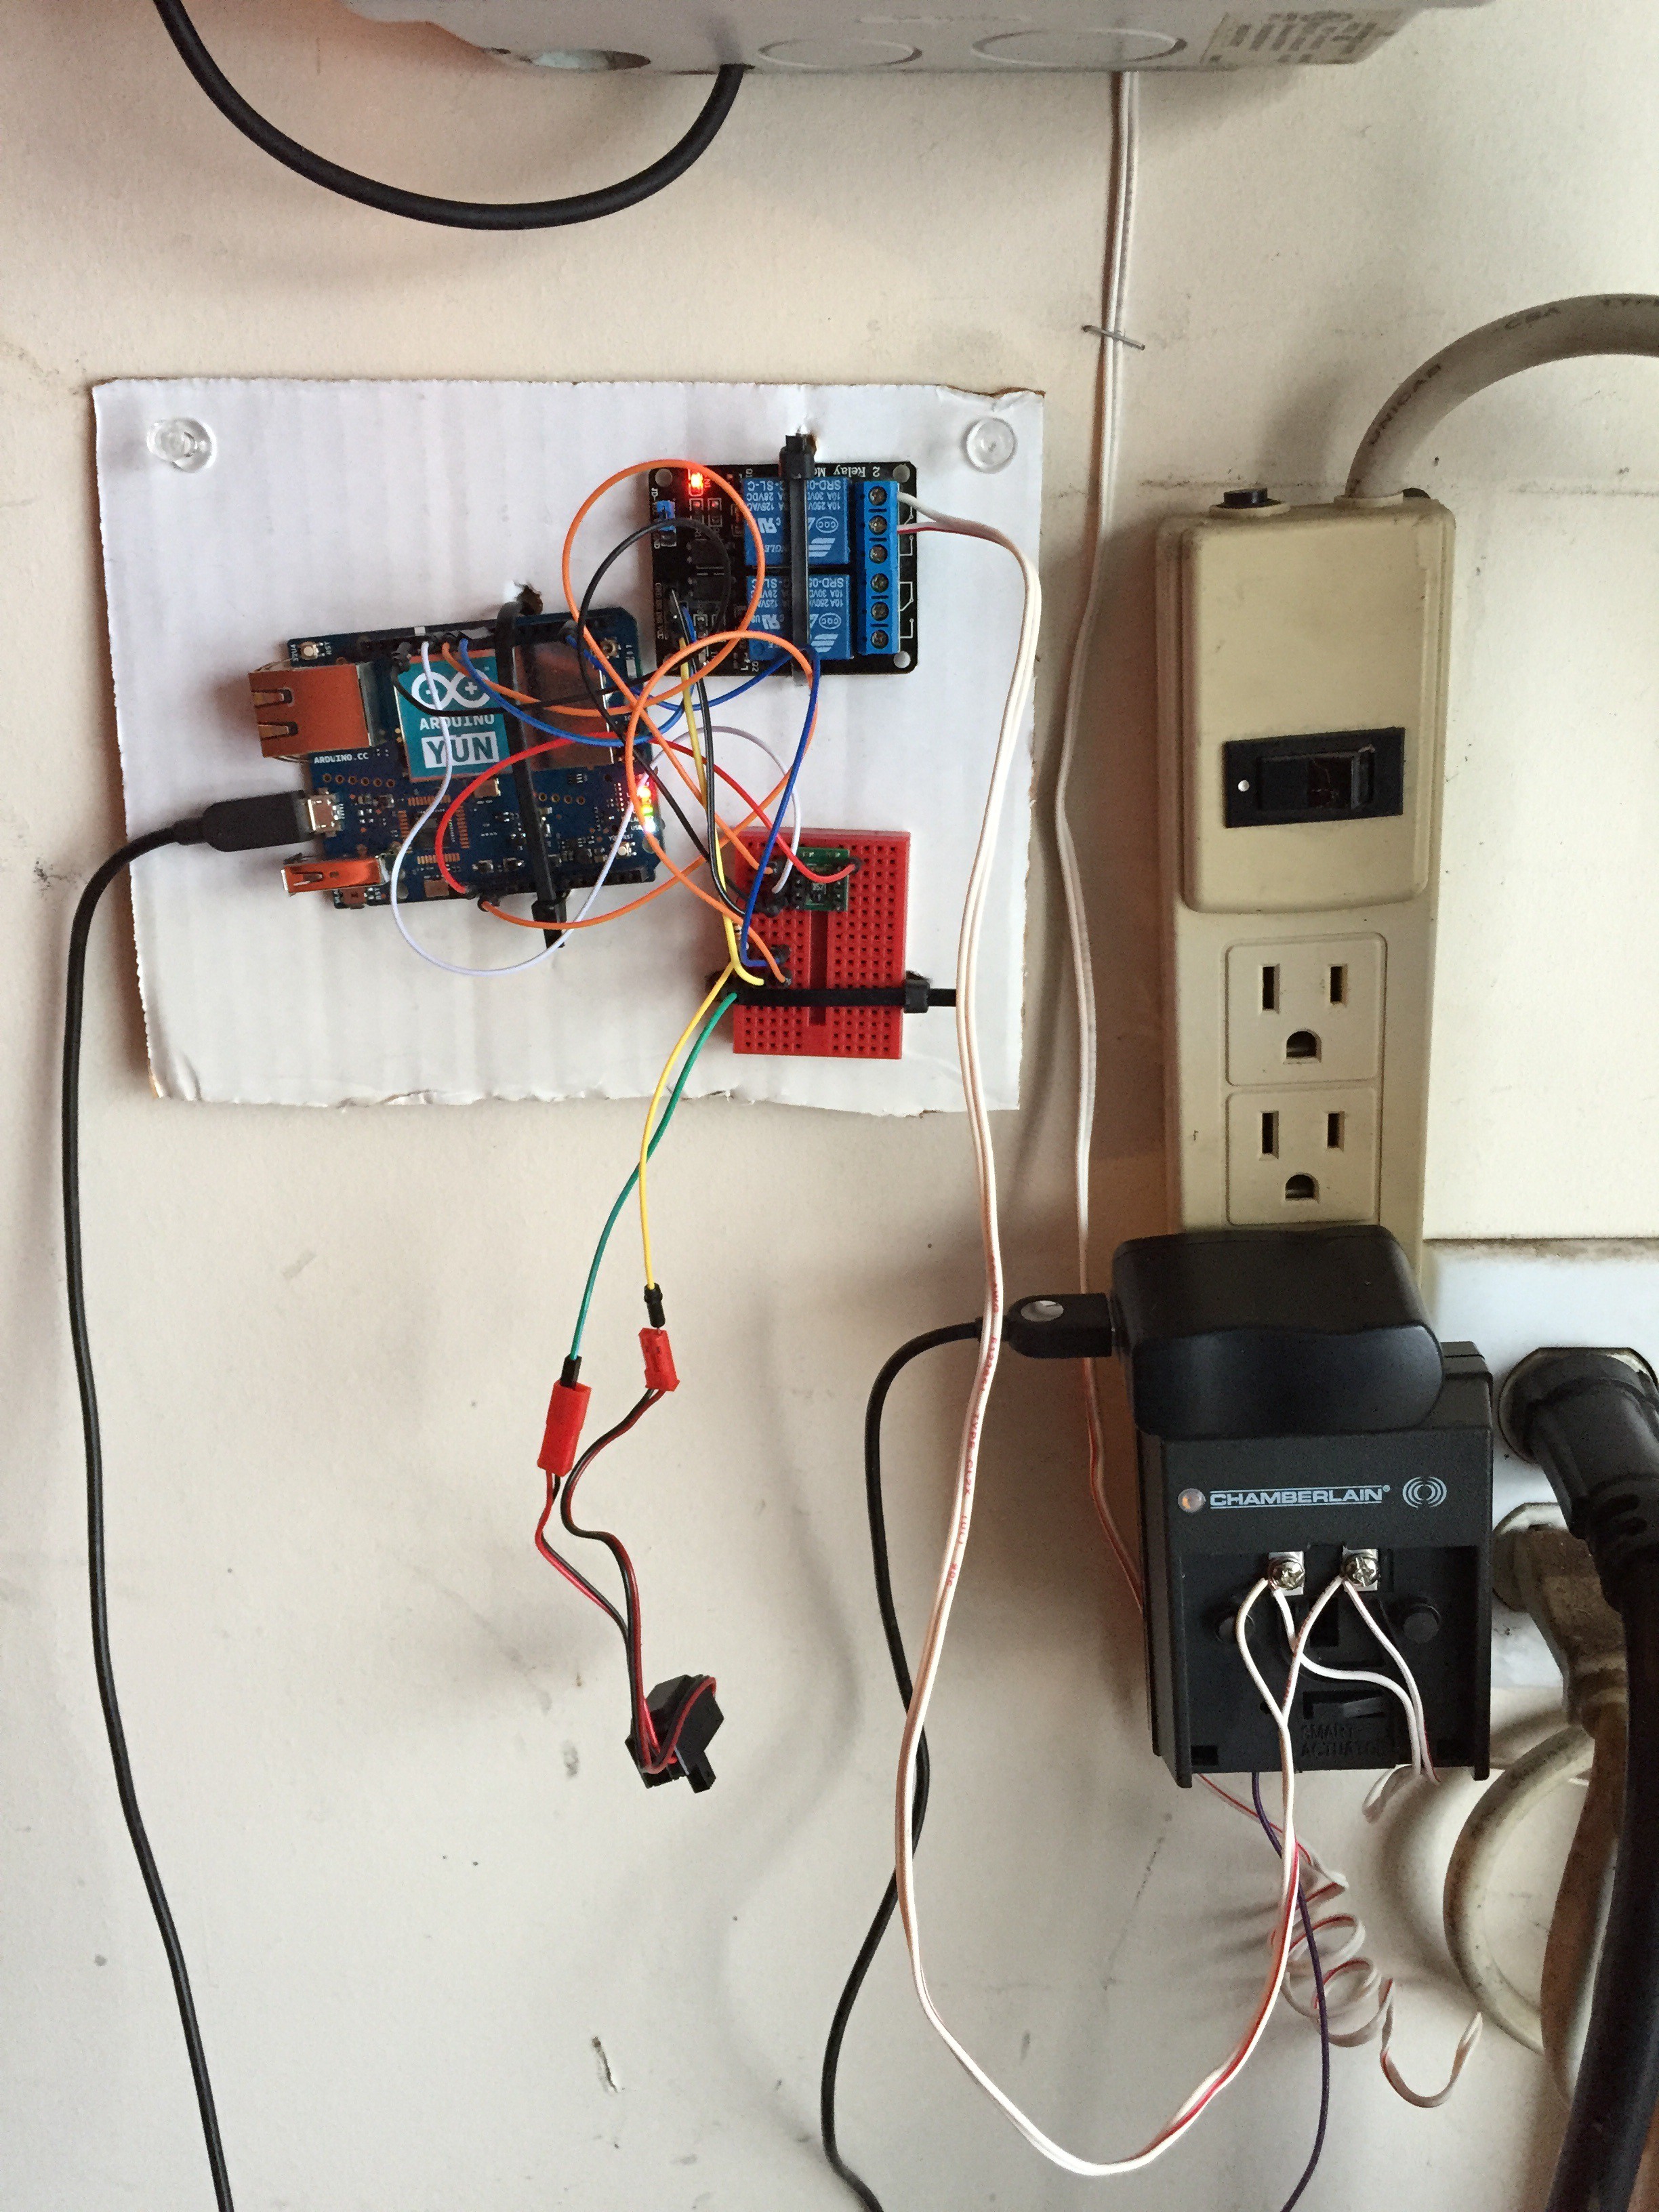
Once you've gotten your controller functioning the way you like, move it to the garage. This is where the YUN is very handy. With the WiFi, you will still be able to modify your code, test, and operate without a direct connection to the network or your PC.
---------- more ----------
Mount your controller, and connect the relay to your garage door opener. Simply connect the two wires together with your existing wiring. I have a wireless controller. You can see the wire running up the wall to the garage door motor, and the relay wire connecting together on the two screw terminals.
![]()
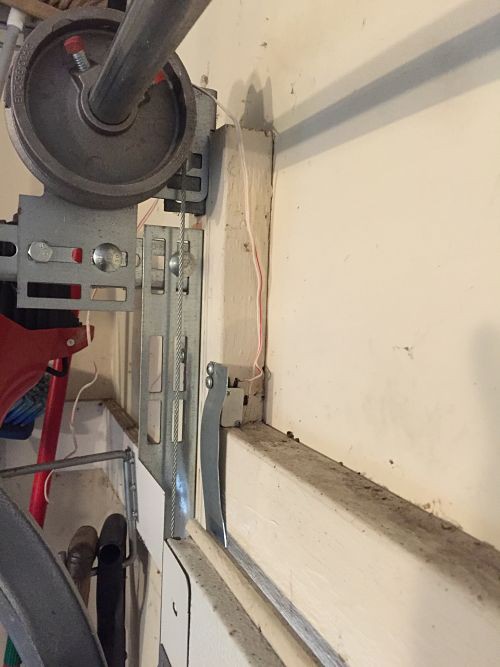
Mount your switch as you see fit. My micro switch is mounted to the door frame, and then a metal tab over it. When the door closes, the tab is pushed down, activating the switch.
![]()
And you are done!
-
7Step 7
Install openHAB for iPhone or Android.
Configuration is pretty straight forward. Set the Local URL.
If you want to use the remote URL, well, you are going to have to configure your internet connection to pass port 8080 traffic to your openHAB installation. But that, my new friend, is a who different how-to. Good luck with that.
Arduino openHAB Garage Door Control
Make a smart garage door opener using an Arduino Yun and OpenHAB
Discussions
Become a Hackaday.io Member
Create an account to leave a comment. Already have an account? Log In.