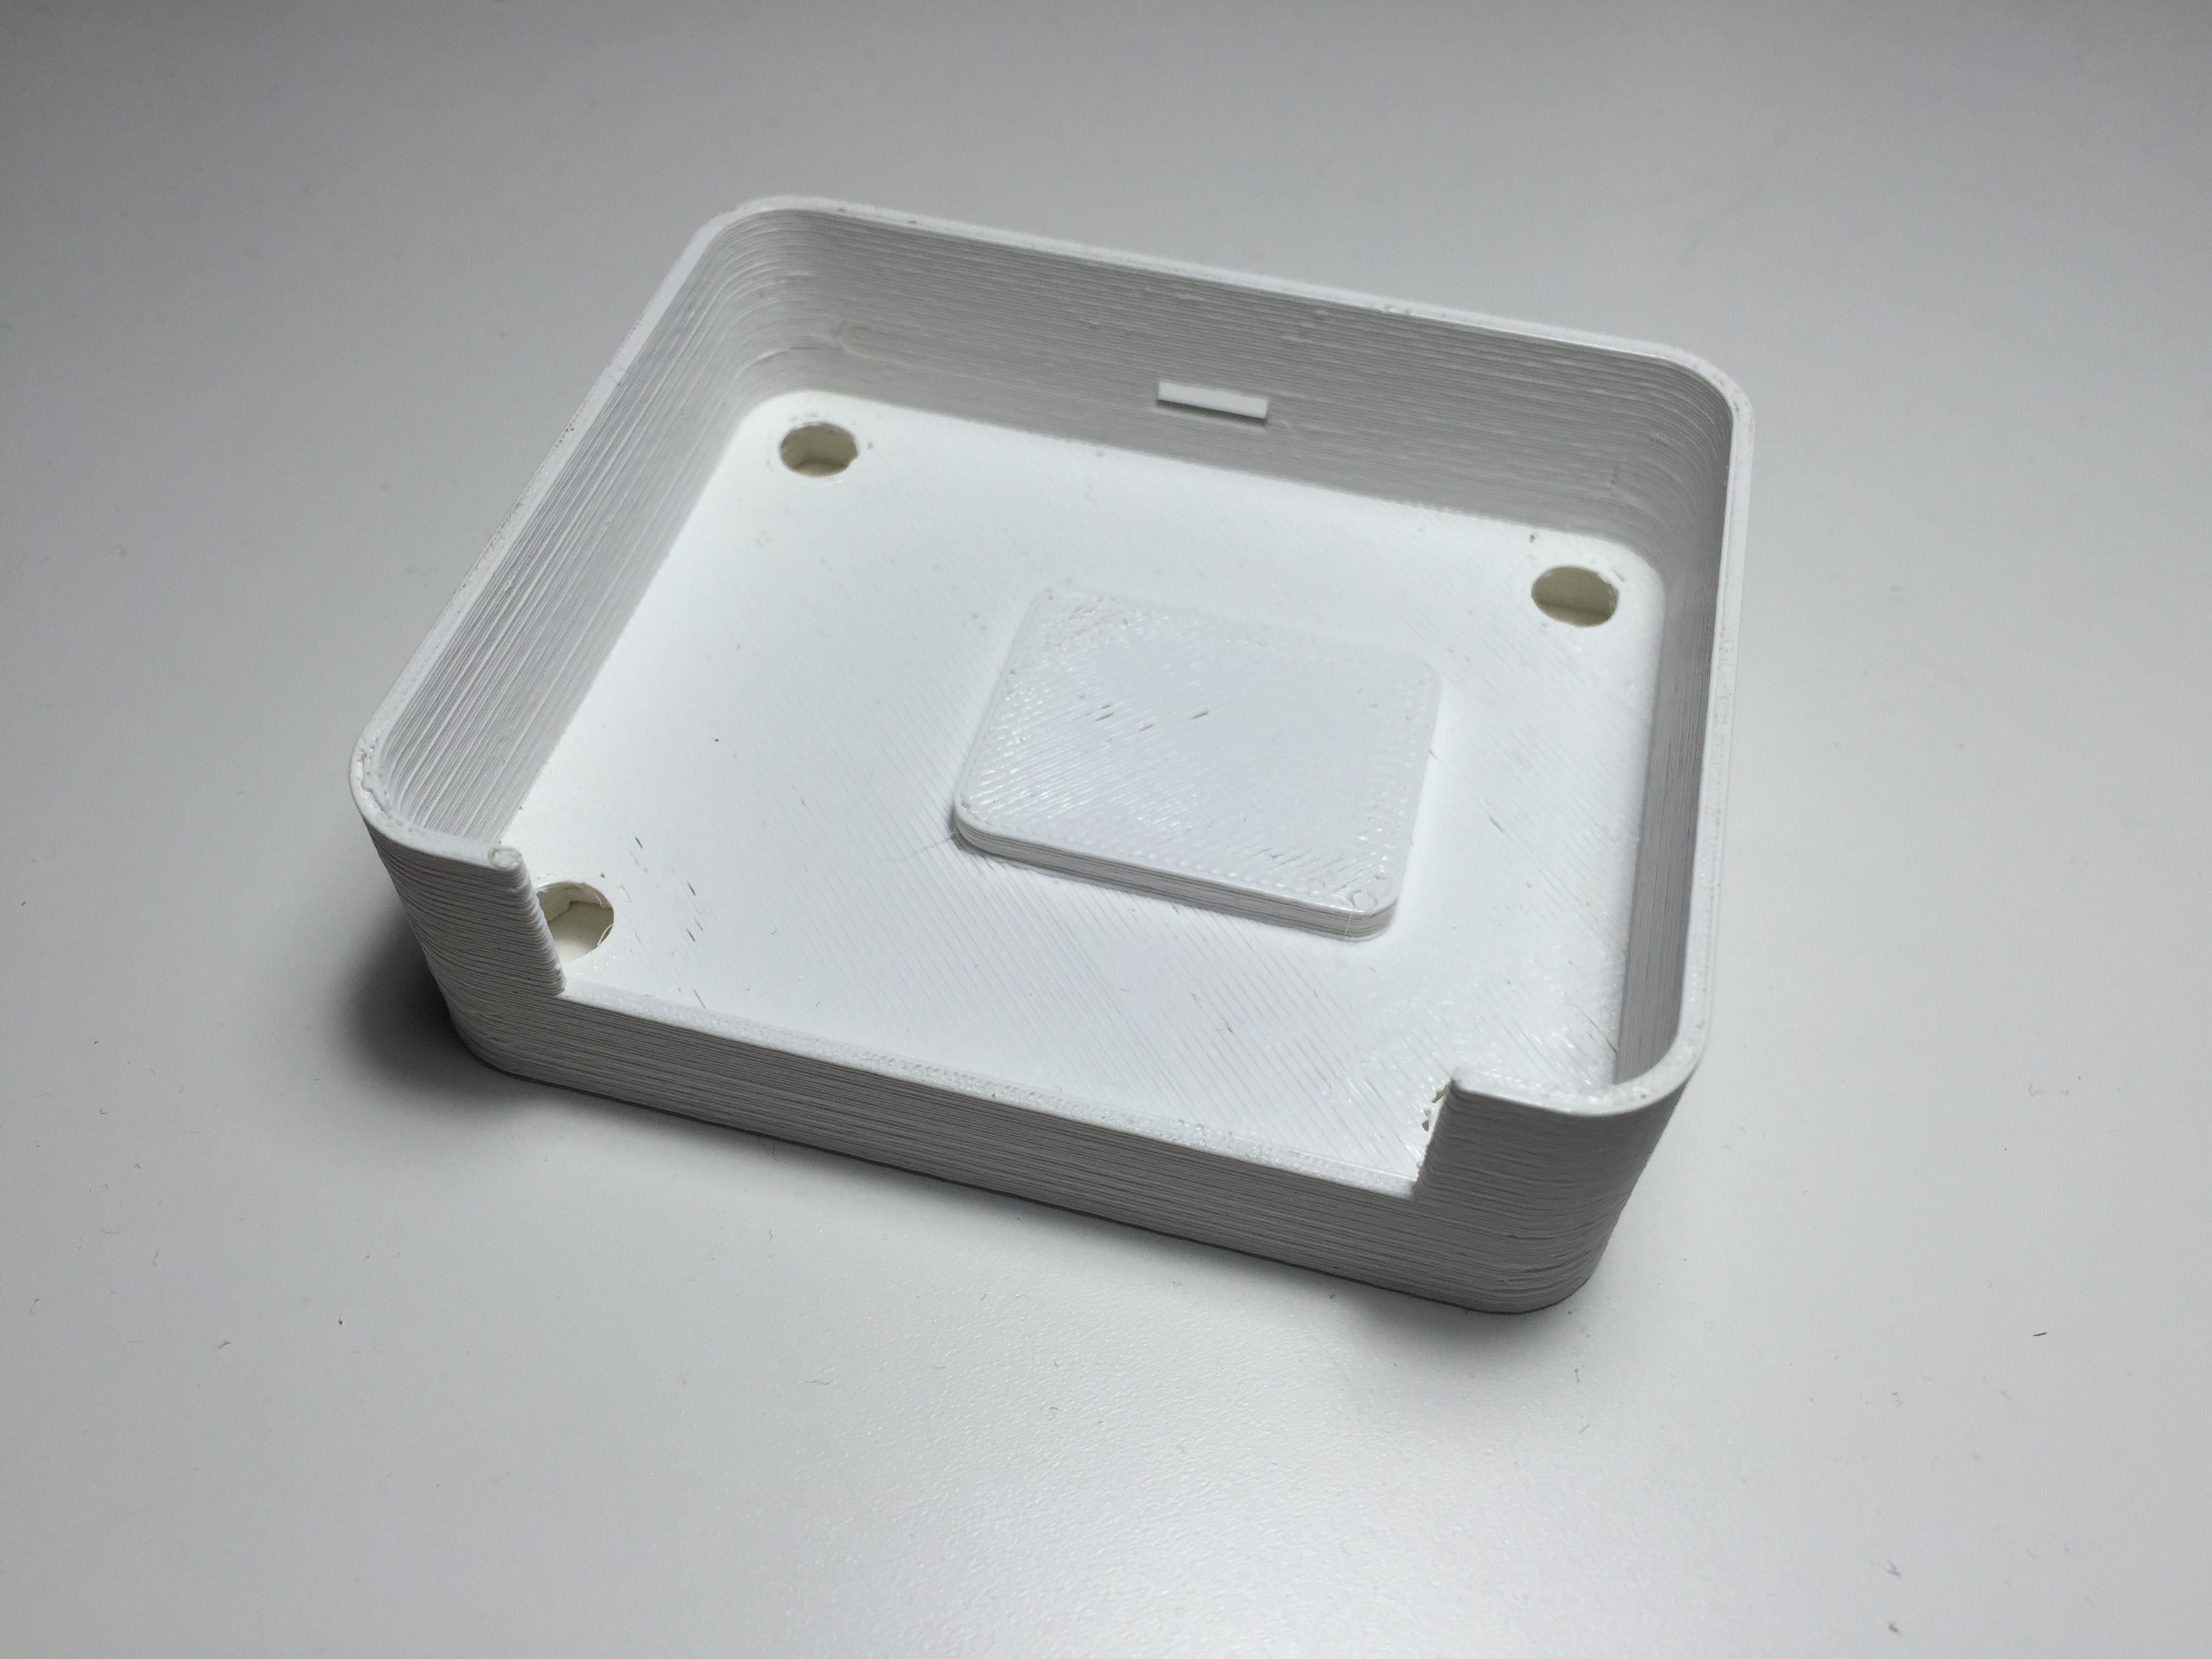
Since this new board is going to be controlling a machine spitting out shards of metal, it seems prudent to provide an enclosure for it. Modeled up an enclosure in solidworks and after a few hours on the ol' 3D printer, it was done.
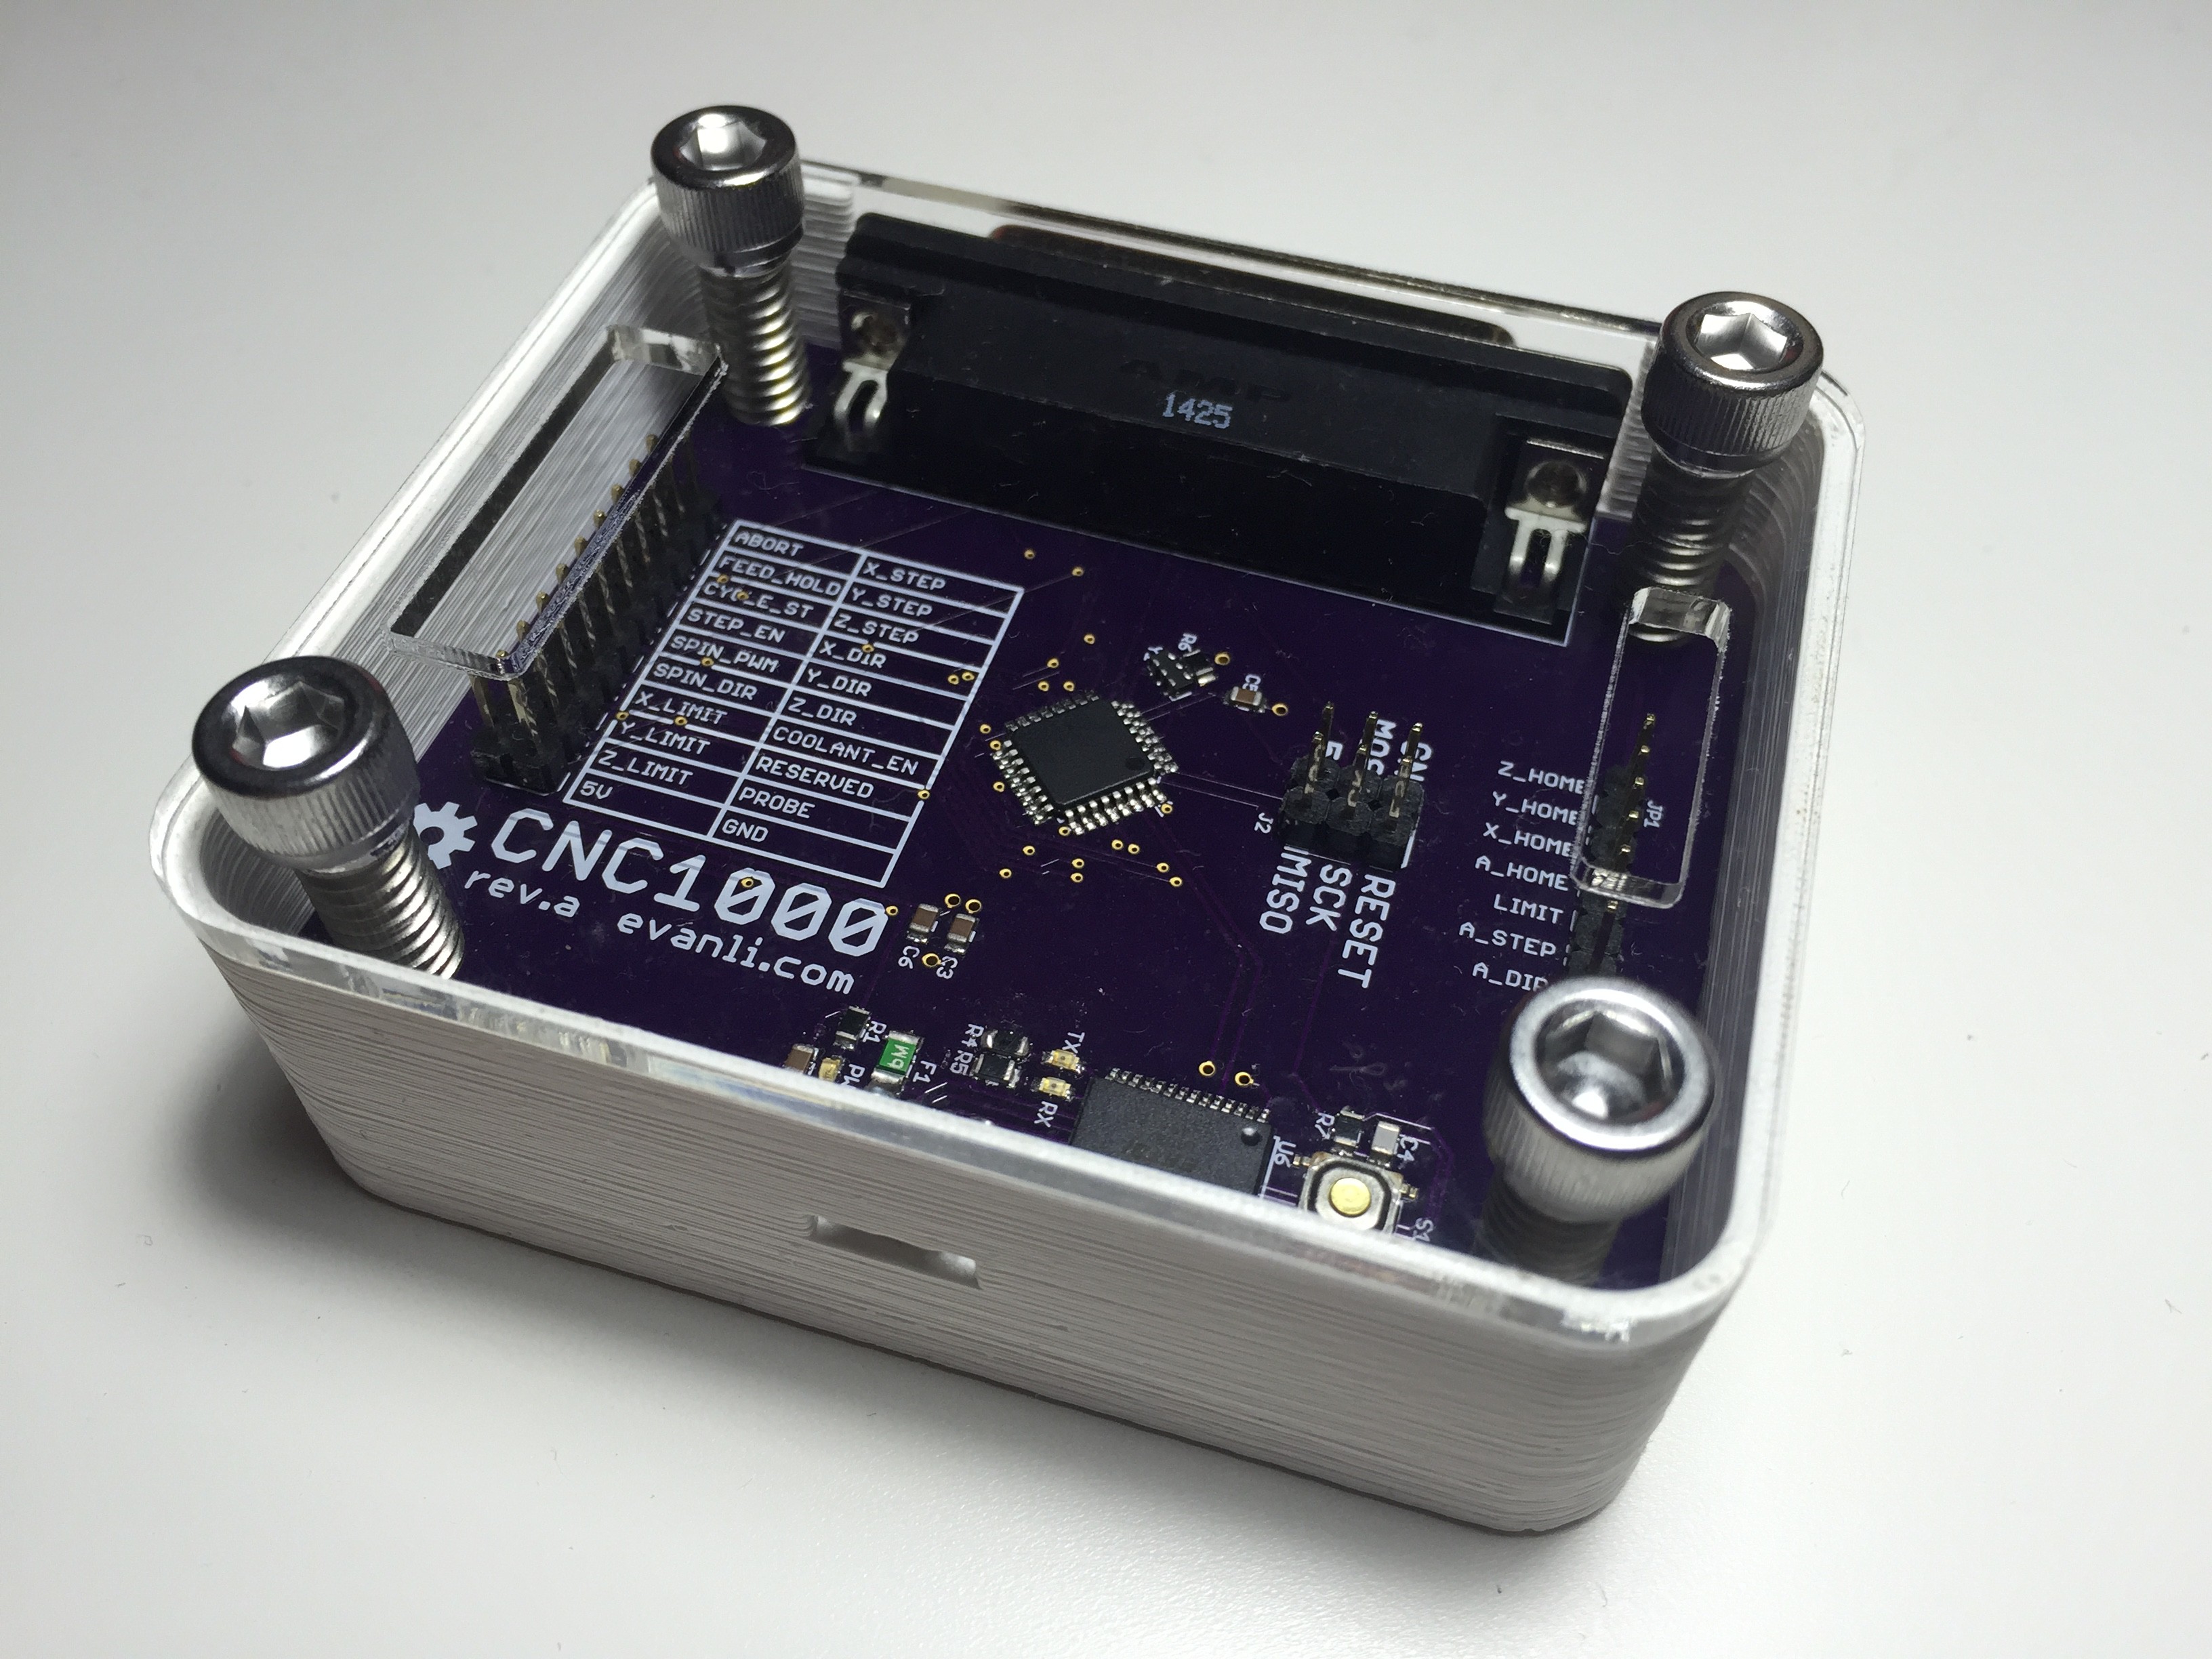
Since the board has through-hole components, I added a small pad for the PCB to rest on. There is a cutout for the the parallel port and the USB port.
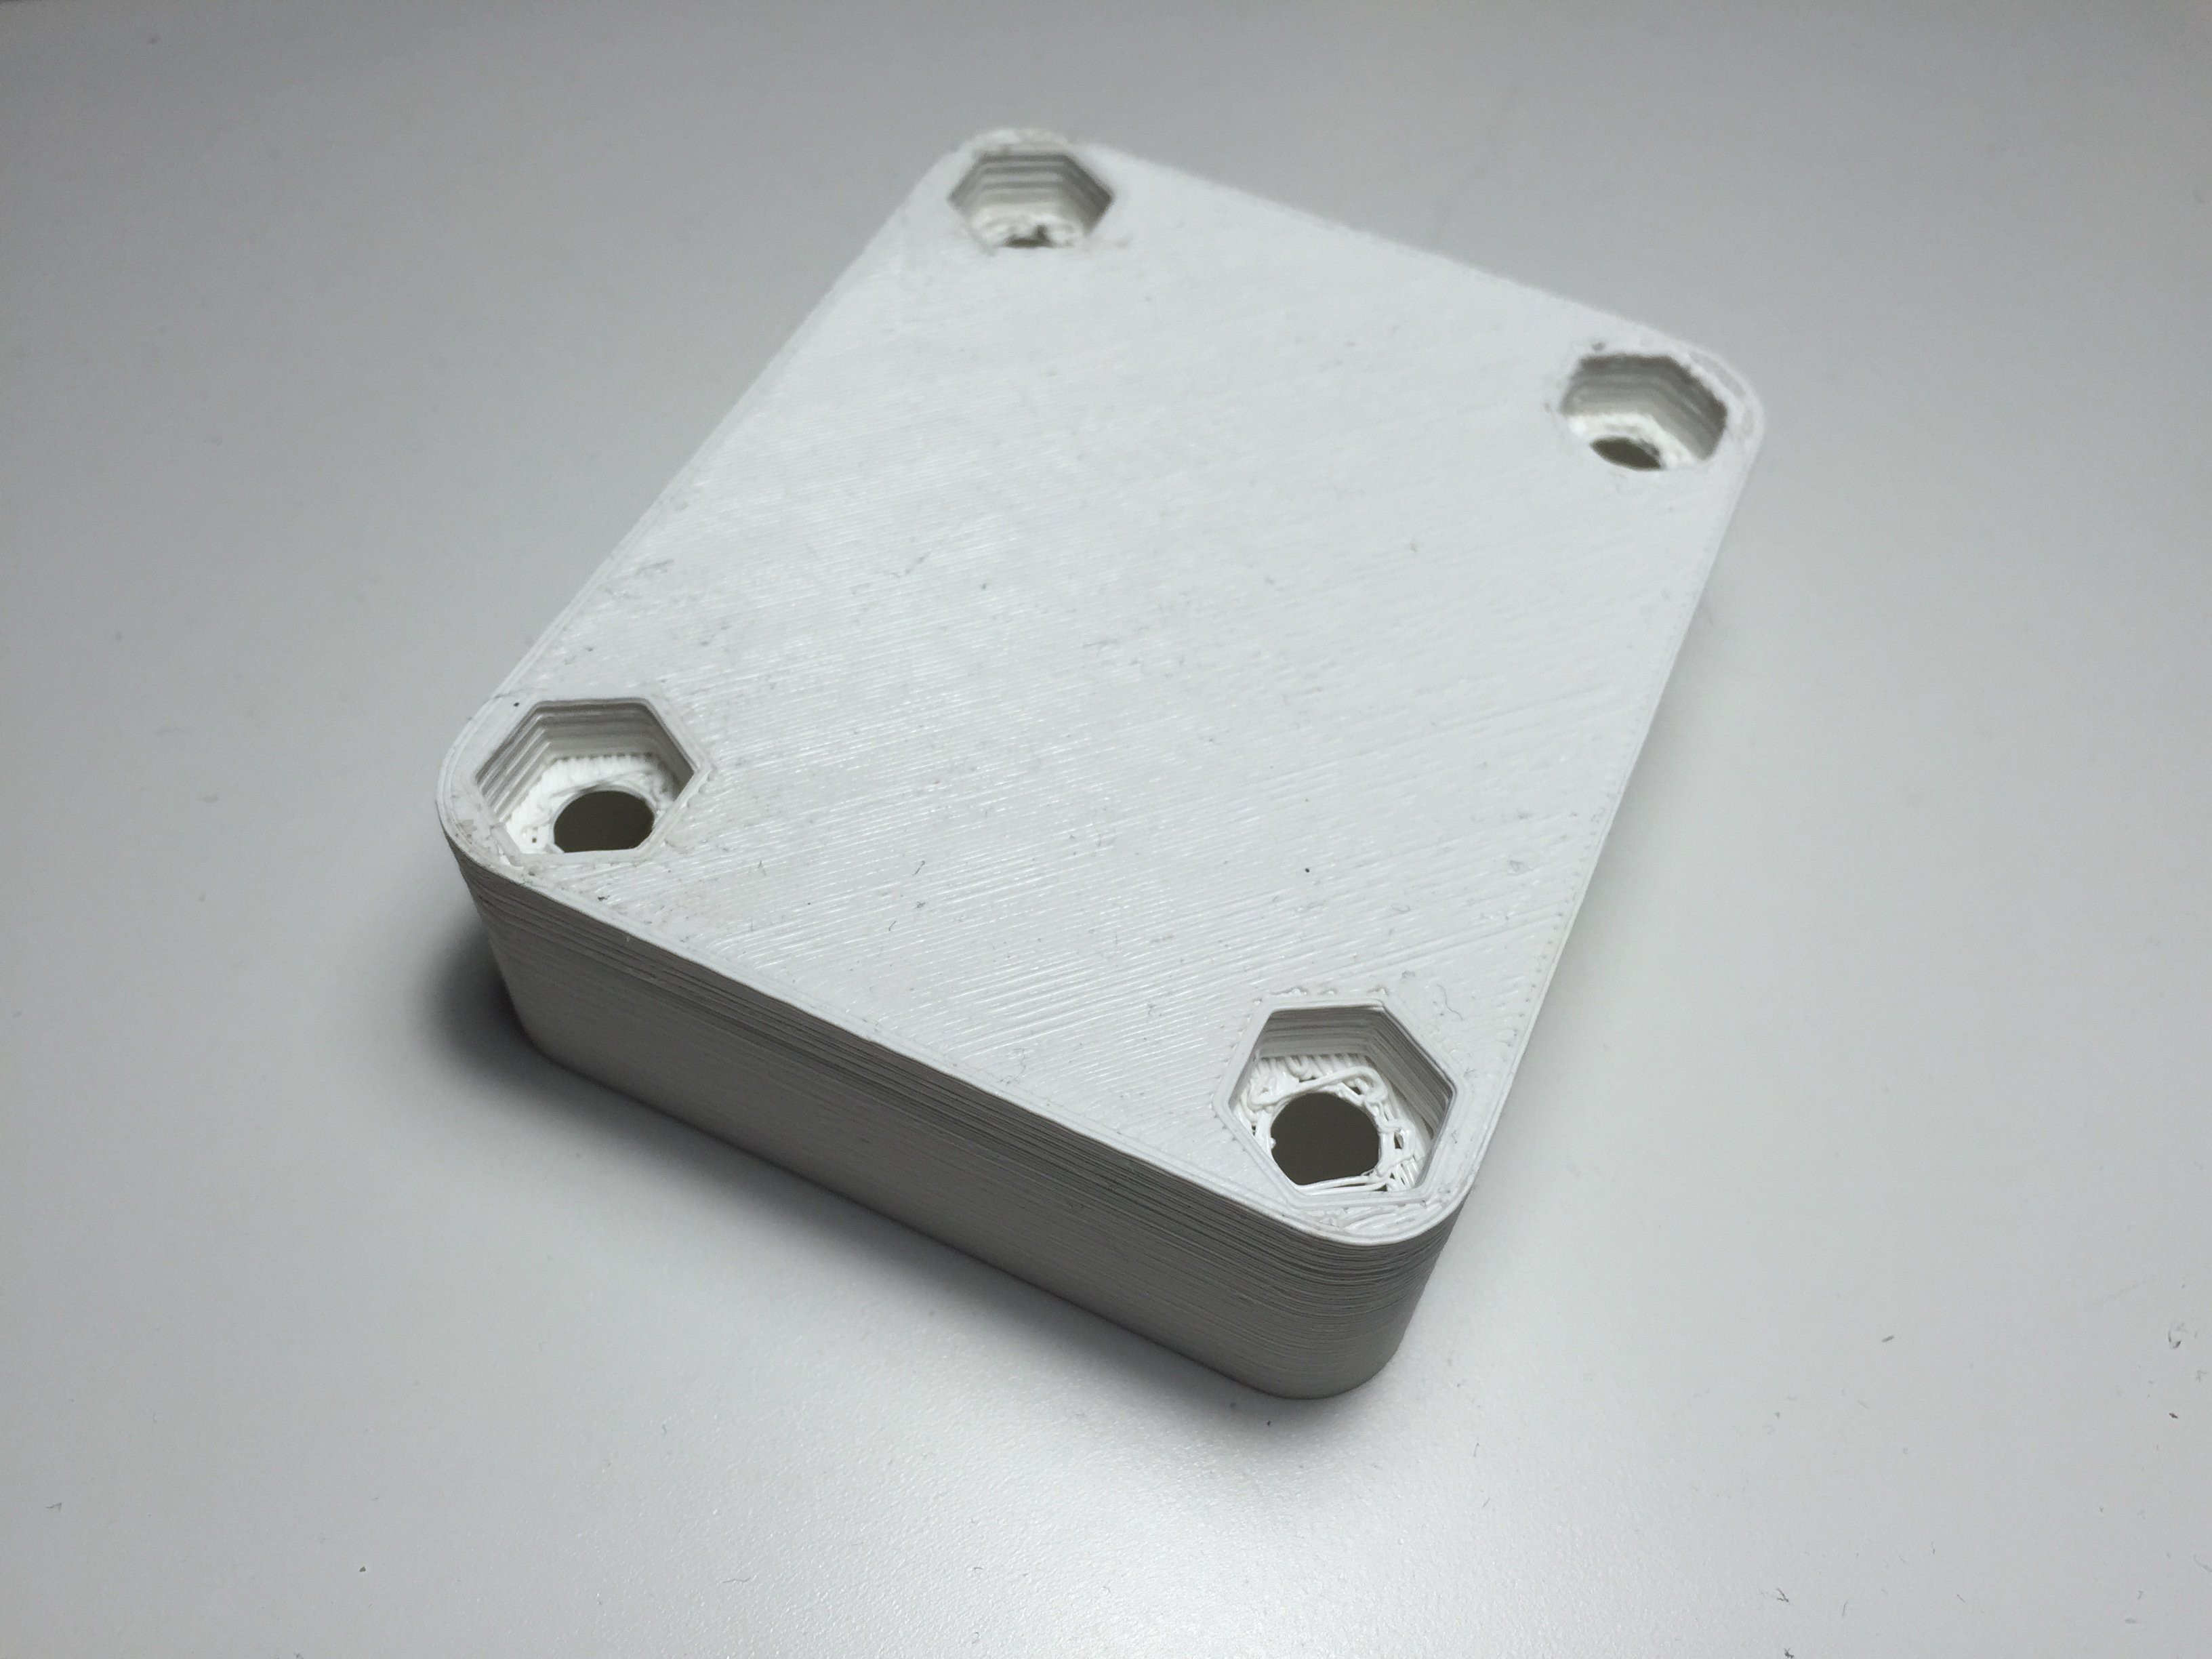
On the bottom of the enclosure, there are recesses that fit and capture 1/4-20 nuts.
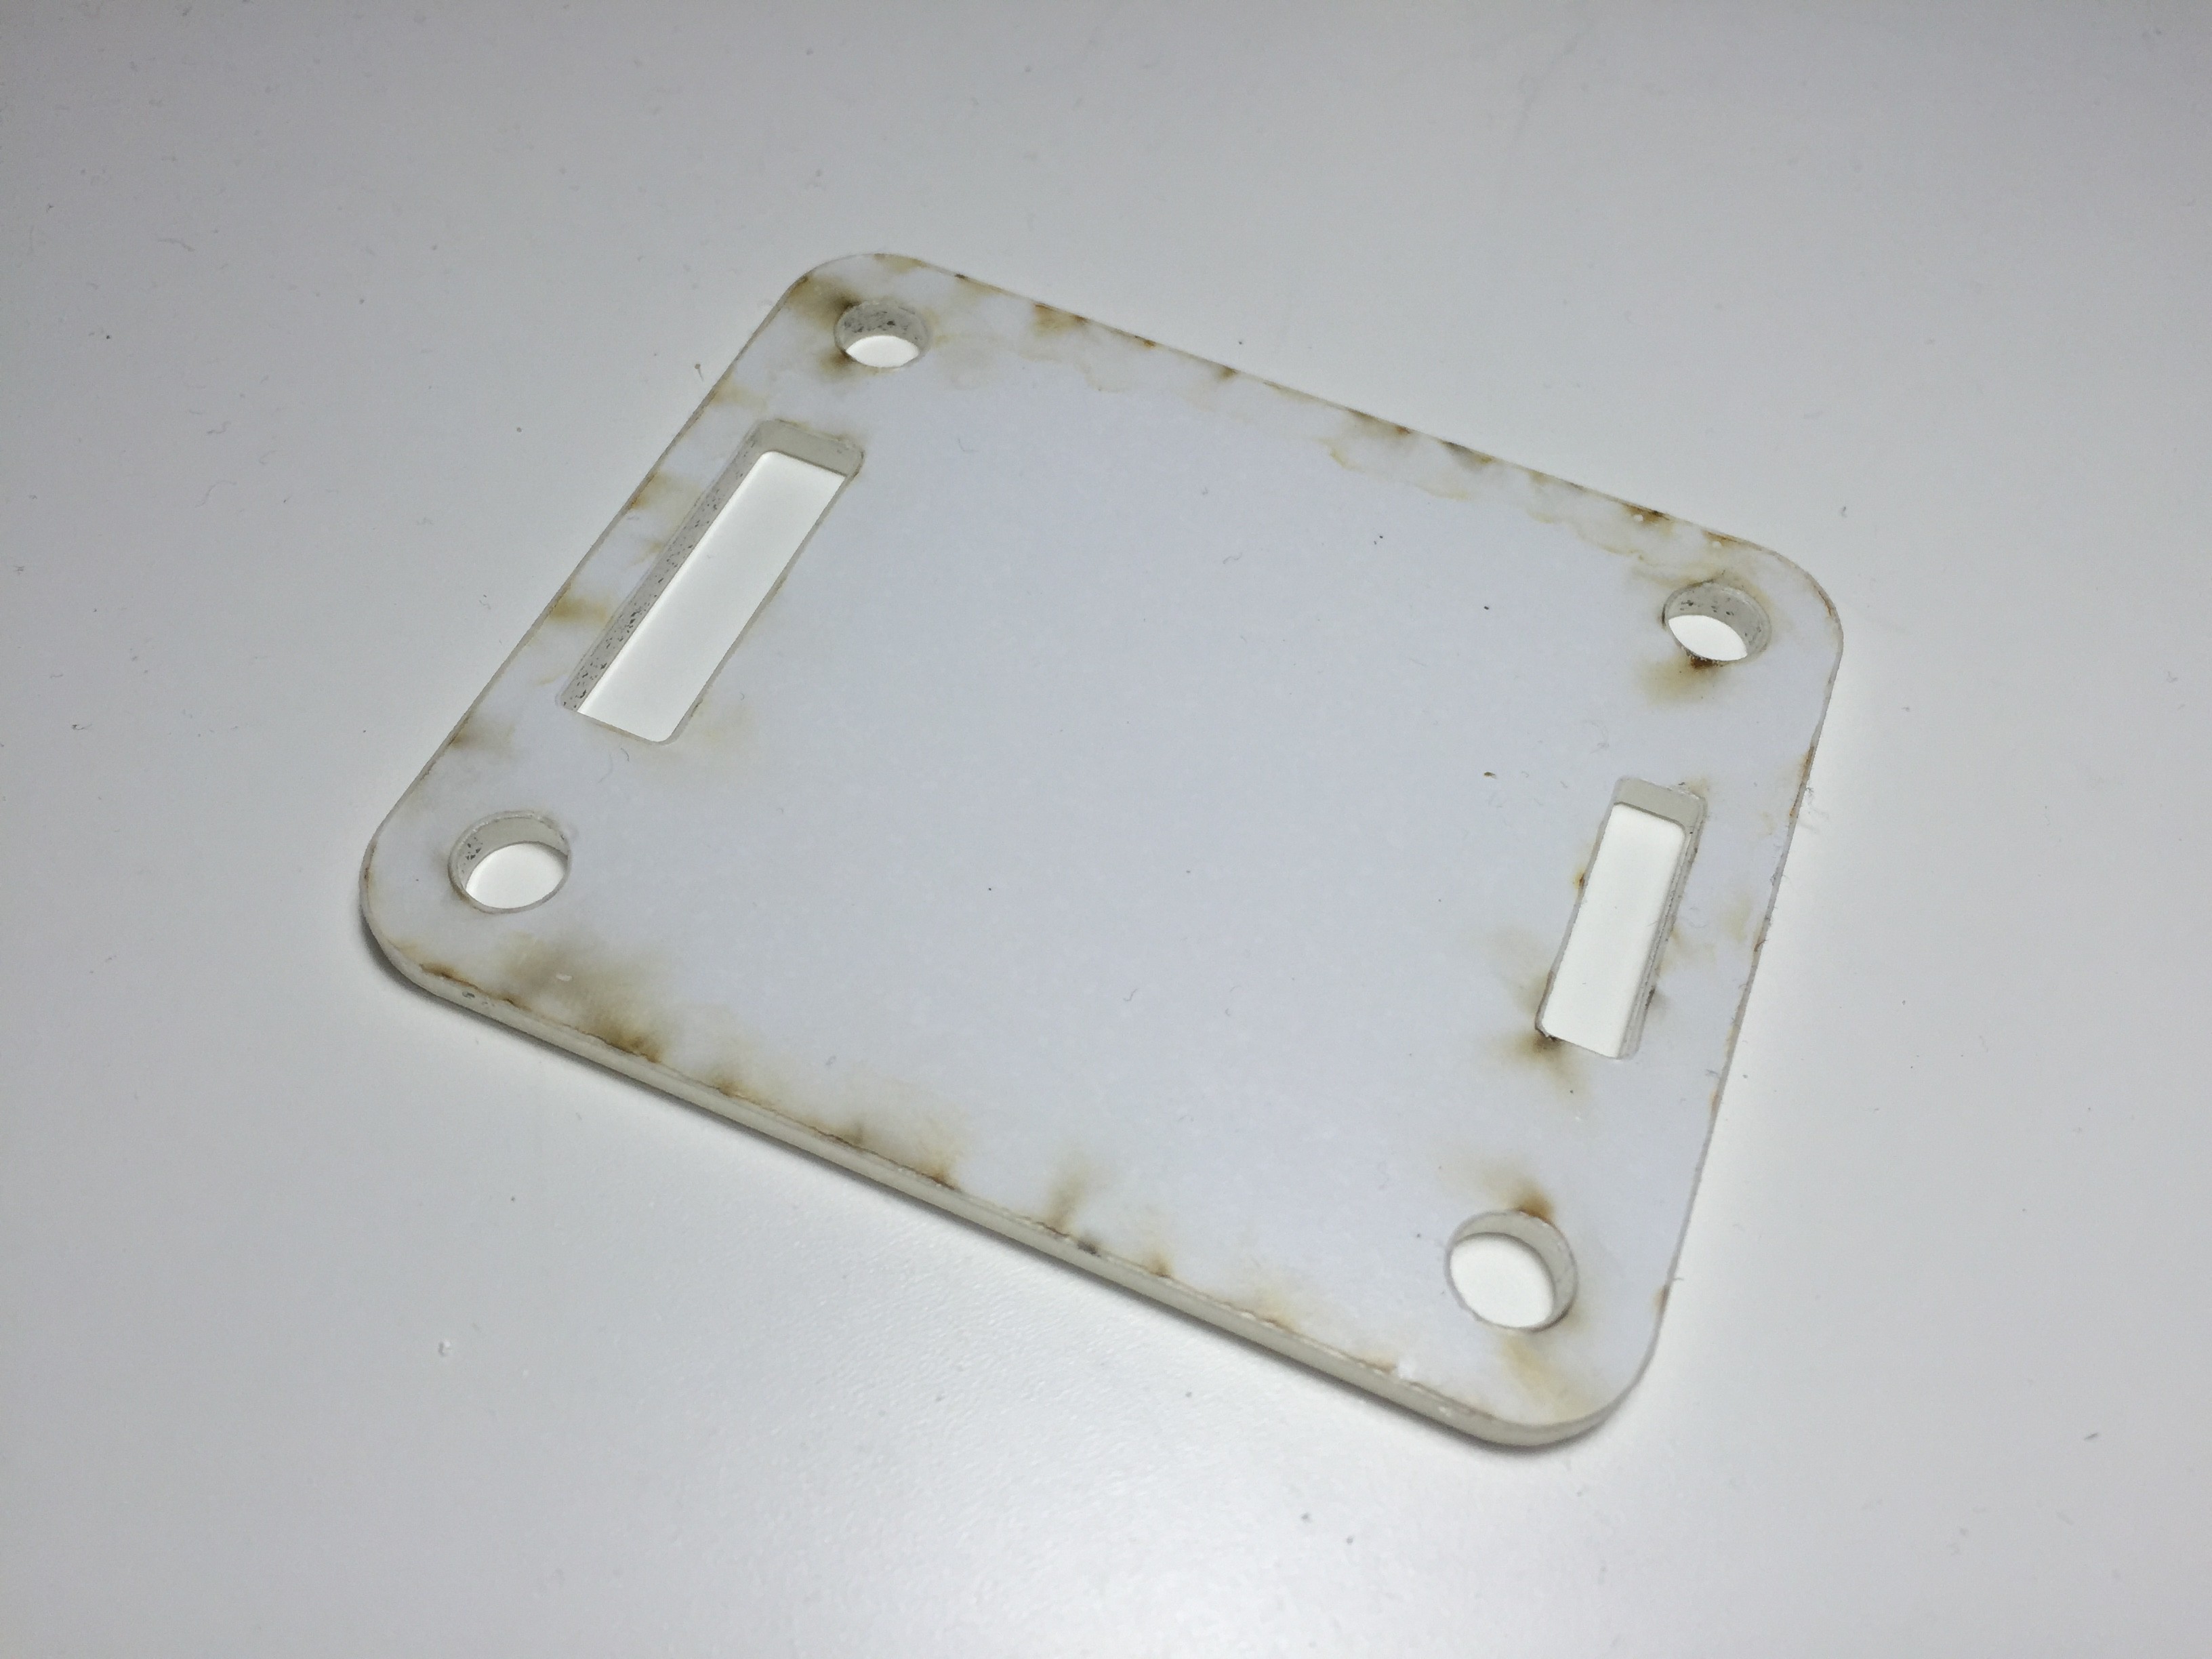
The top of the enclosure is a laser cut piece of acrylic with cutouts for the bolts and some openings to access the headers.
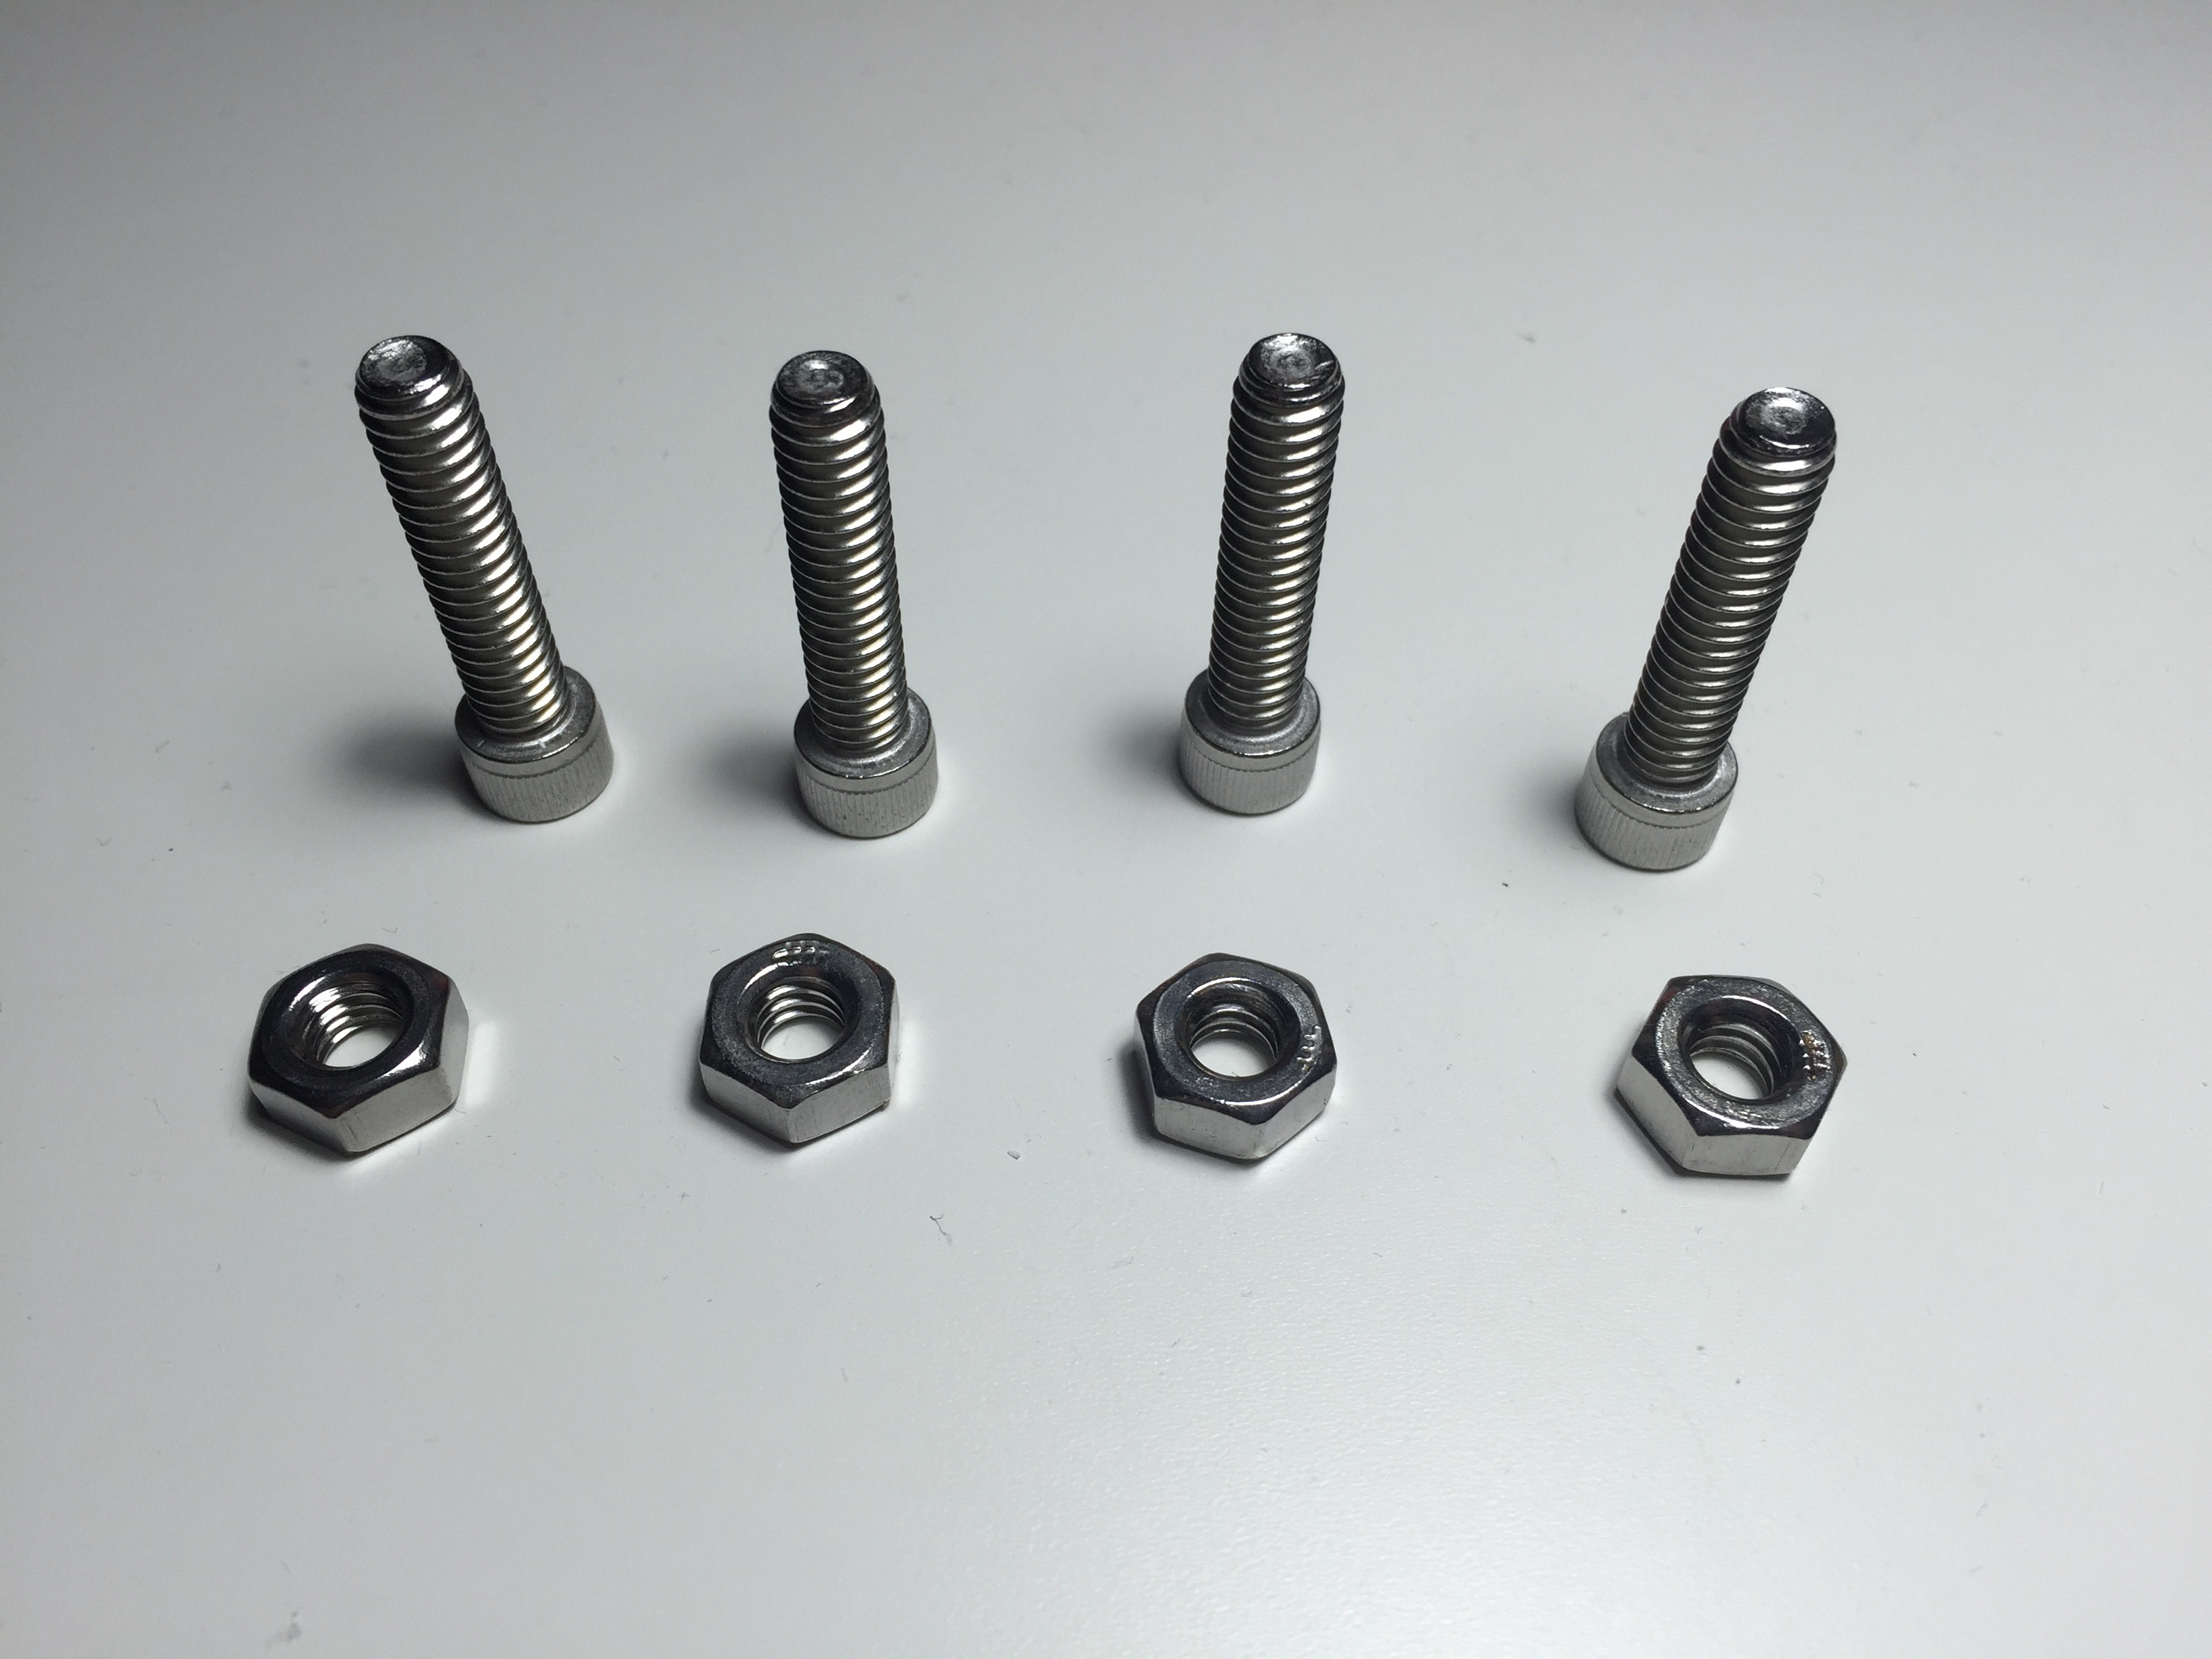
These are four 18-8 stainless 1/4-20 bolts that defined the final height of the enclosure.
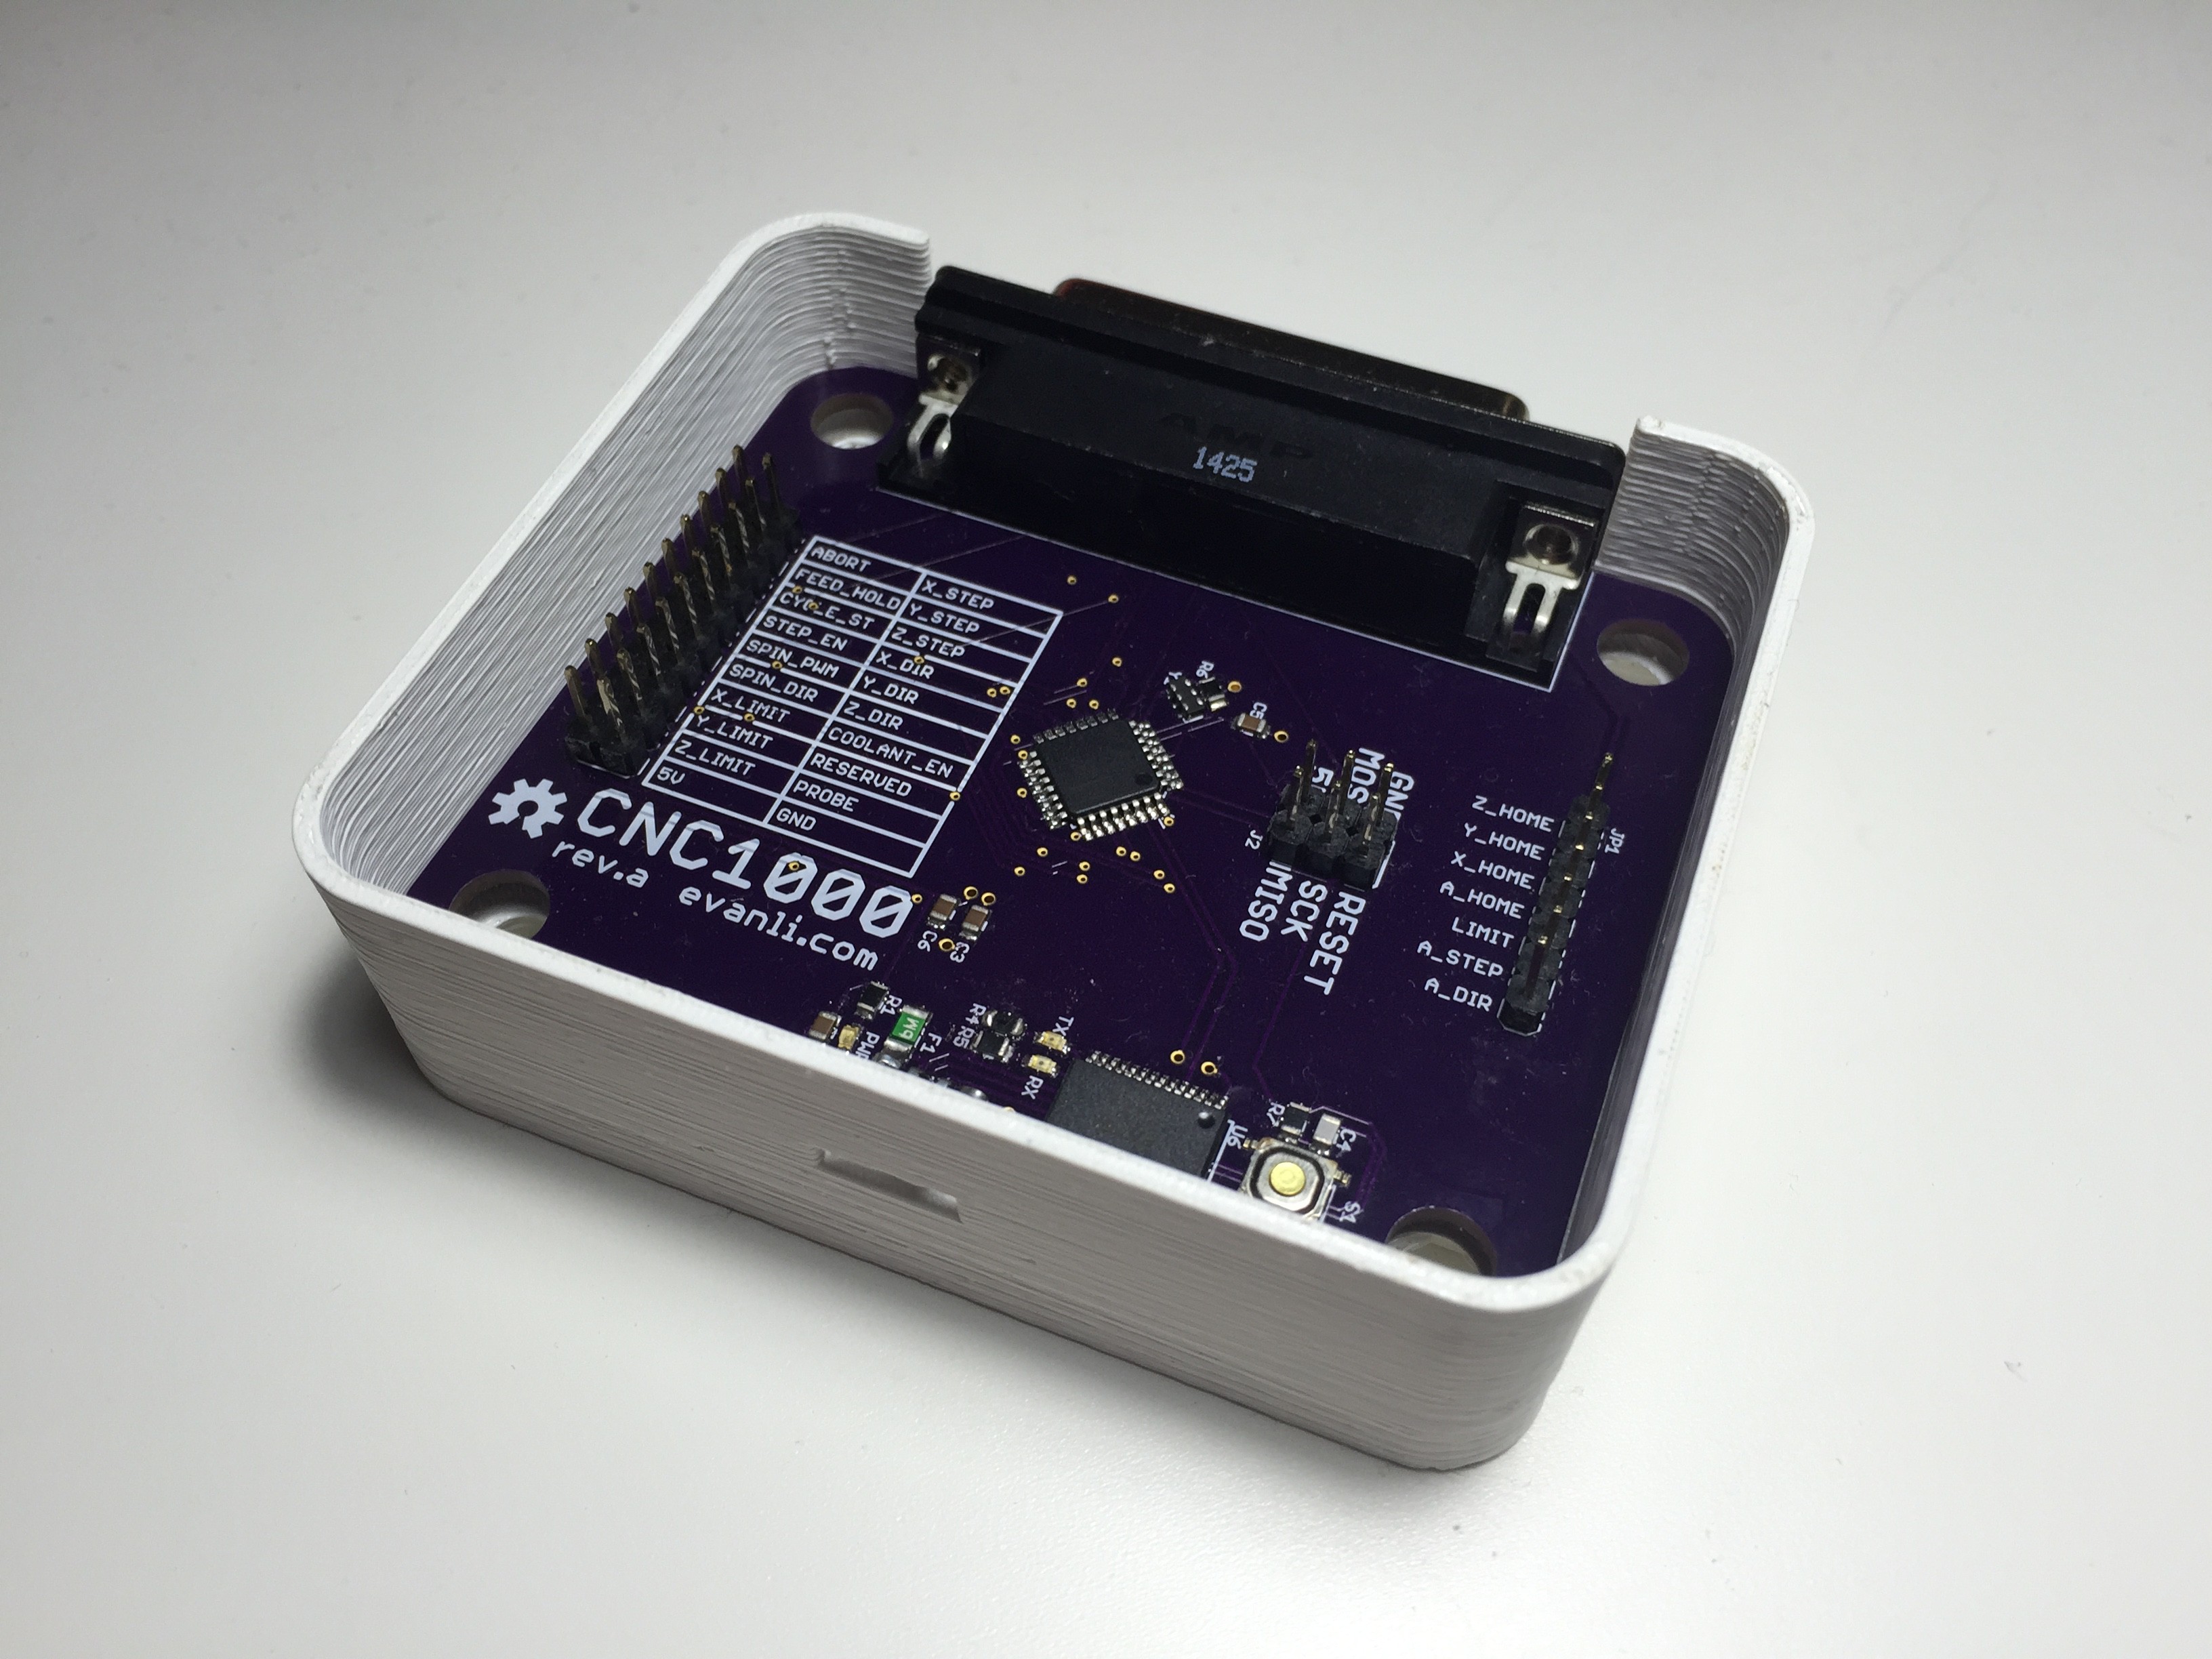
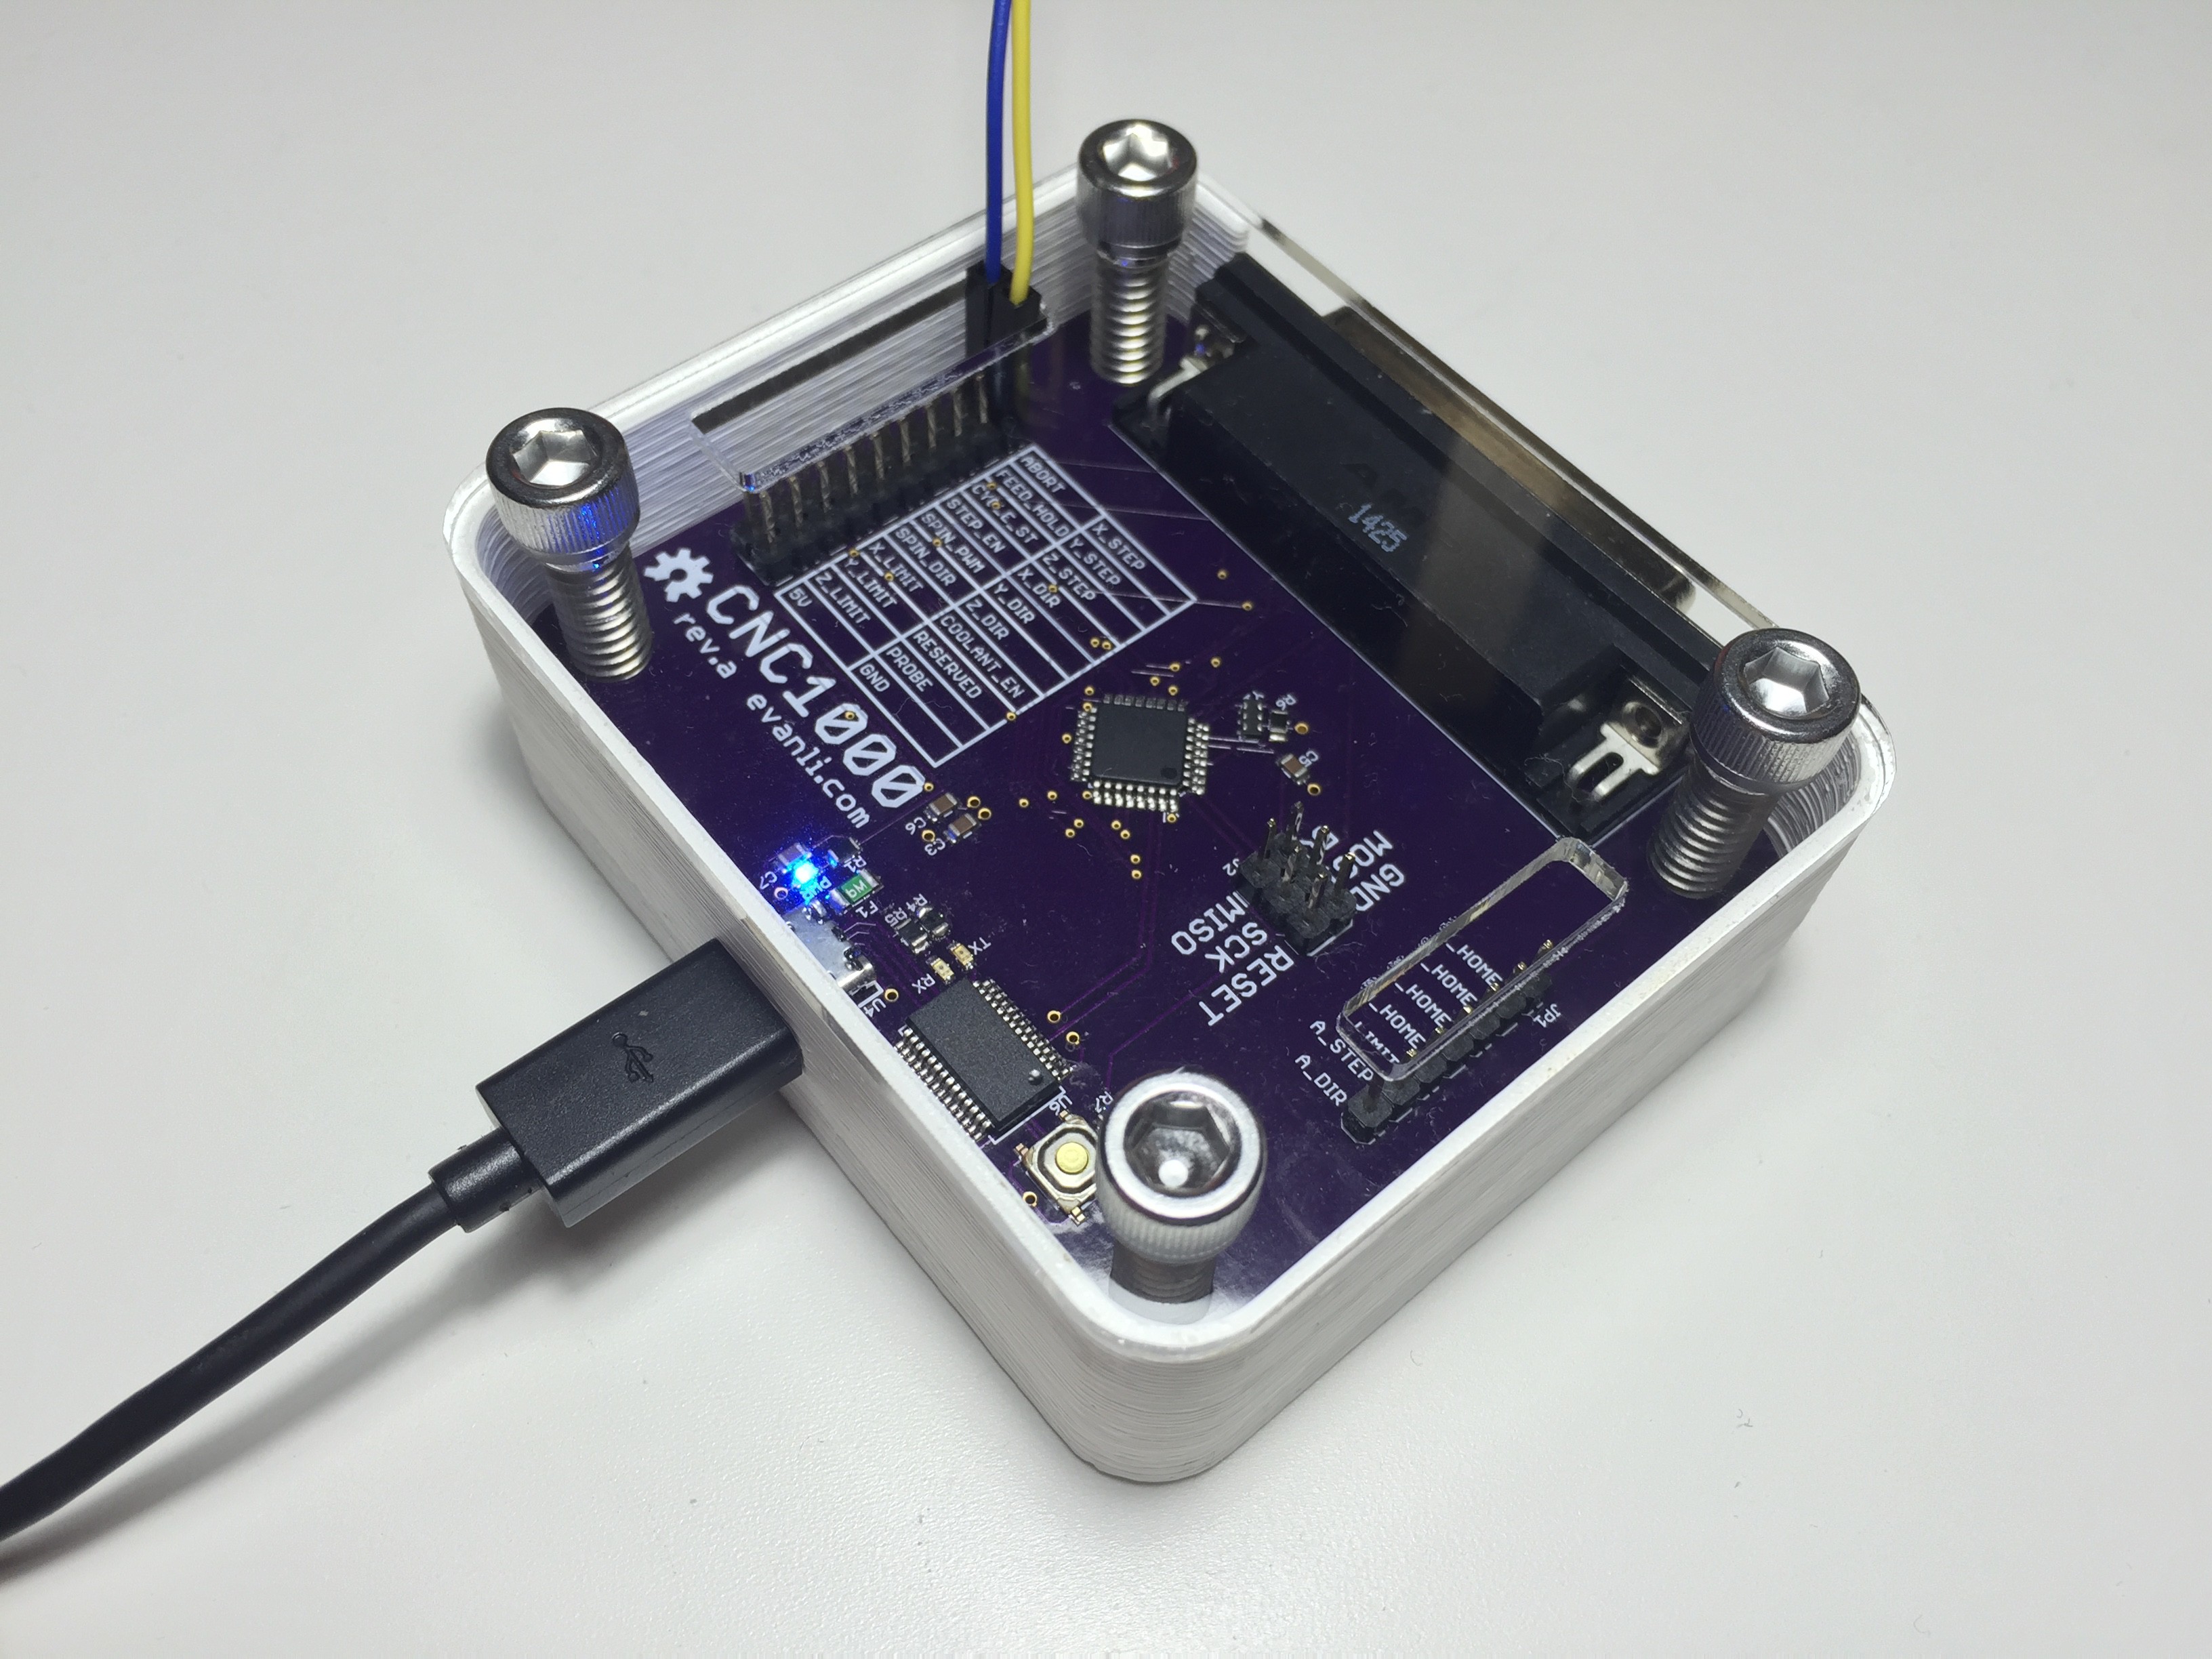
With solid planning and good CAD work, things can fit together perfectly the first time.
Fully assembled and ready for final testing. I noticed a minor oversight during testing. The reset button isn't easy to get to.
 Evan Li
Discussions
Become a Hackaday.io Member
Create an account to leave a comment. Already have an account? Log In.