-
1Step 1
First I got the RPI set up with the latest and greatest Raspian. Make sure that you up-date up-grade and set the GPIO and Camera in raspi-config. This site has all the information that I started off with even the code I used to get it working at first (camera.py I added stuff to this code to get it to do what I needed it to do I will add this info later.
http://contractorwolf.wordpress.com/raspberry-pi-p...
Make sure that you get the button working that is important.
-
2Step 2
On this next link is where I got the info for sending the photos taken with its own email account .
http://mitchtech.net/connect-raspberry-pi-to-gmail...
I tested it by copying the script to send attachments in to the python editor on the rpi by first opening the python editor and then open a new scripting page so you can paste in the whole script at once and run it ( make sure you fill in all the necessary info first or it will not work email address, where to send it to, etc) I have a dedicated email address for this project you don't have to but it might be best. I will post my script in the next step (3).
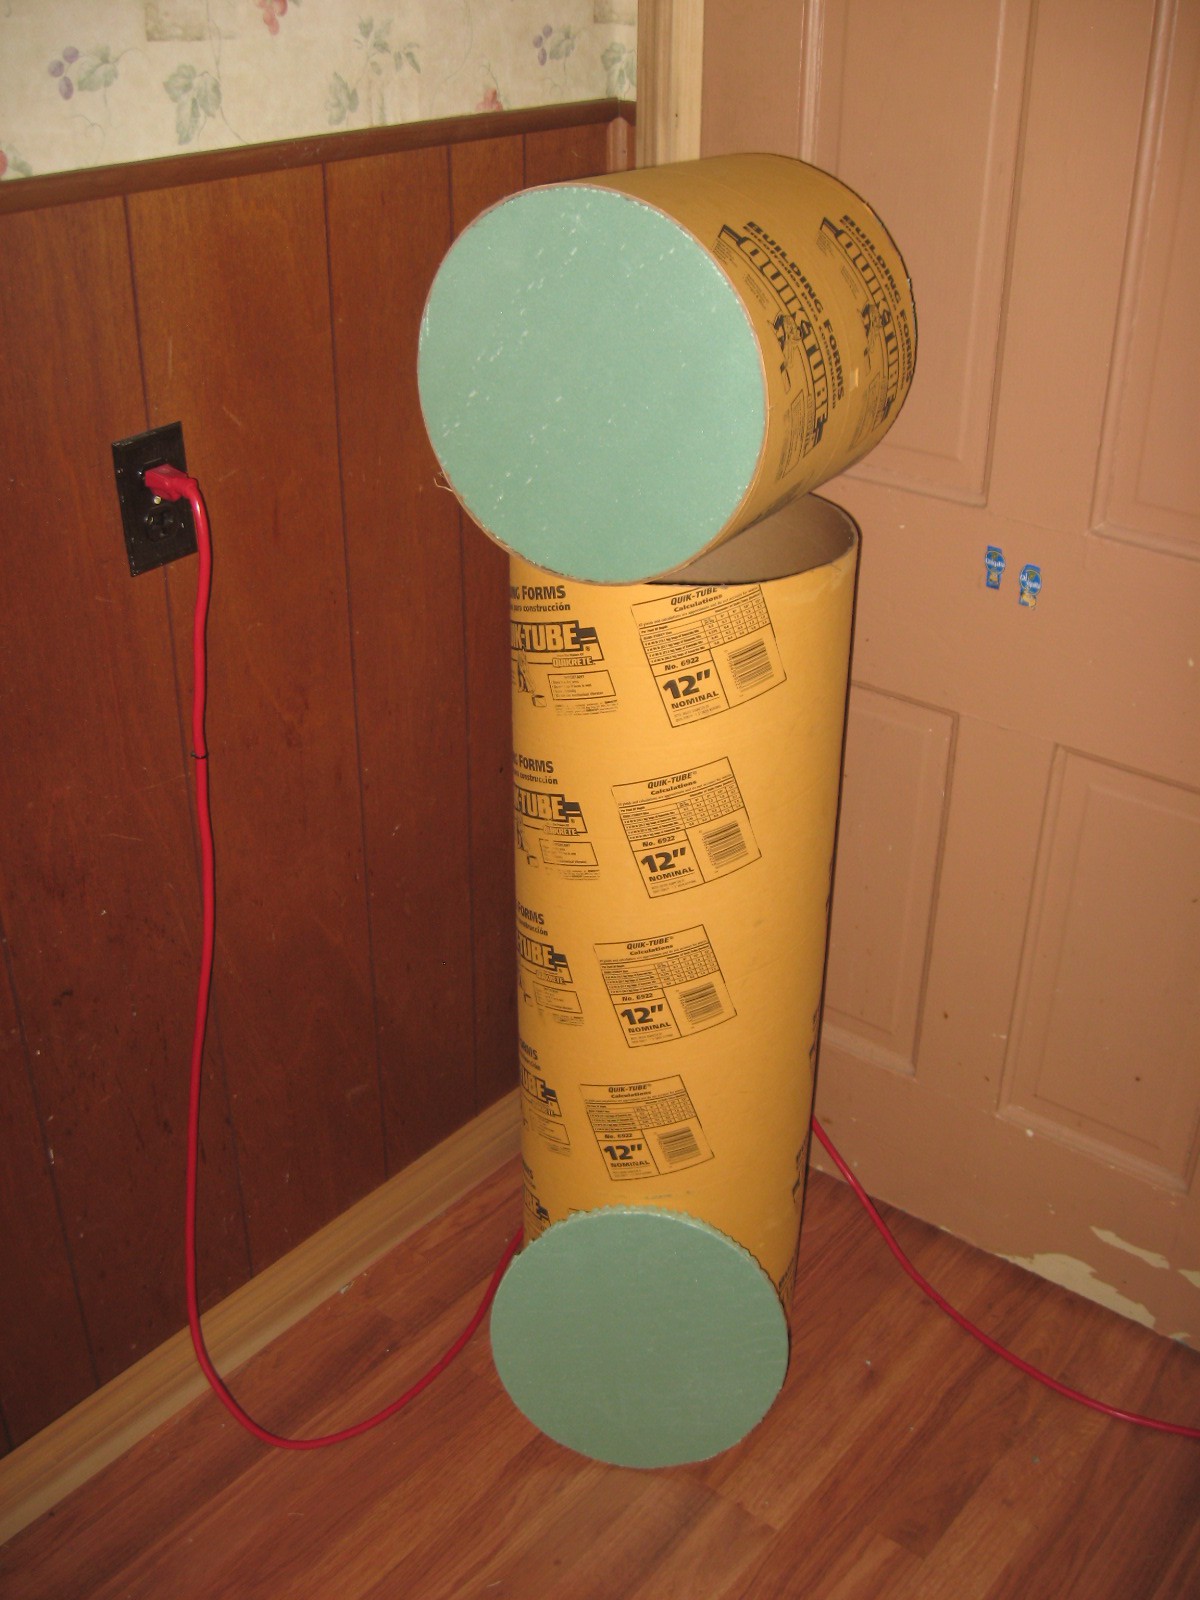
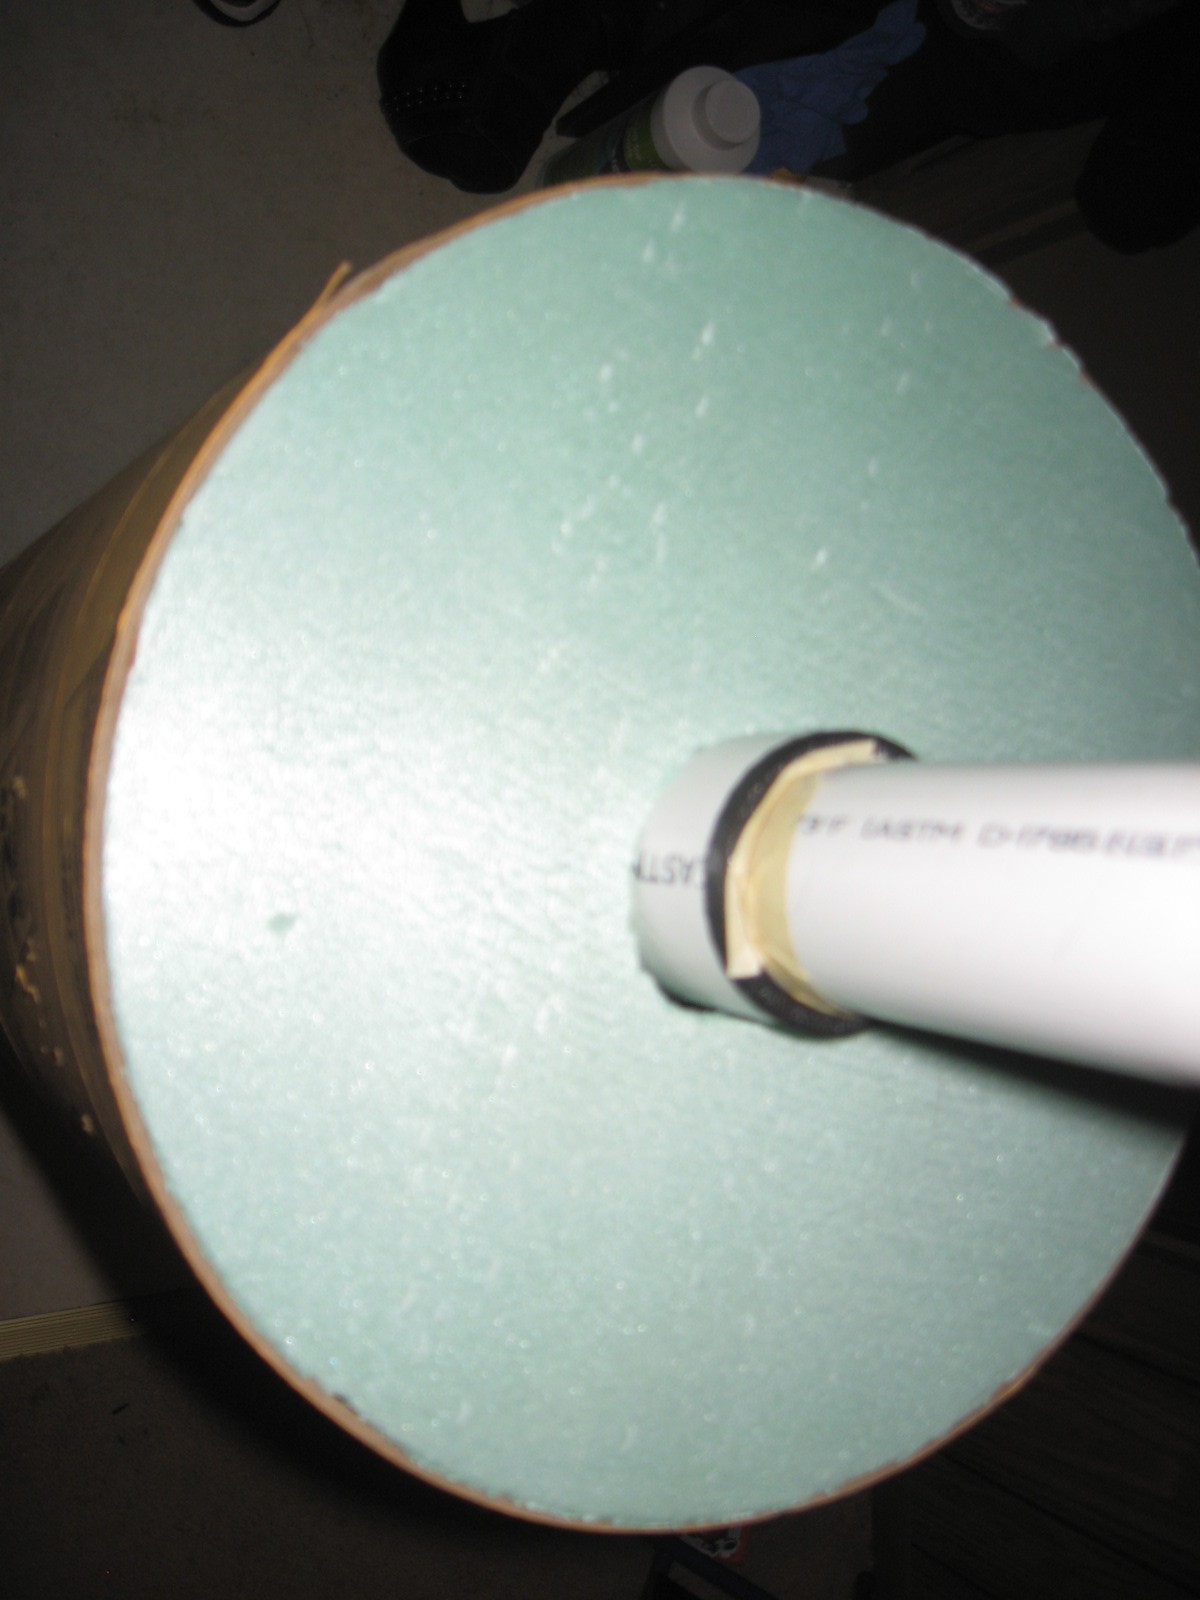
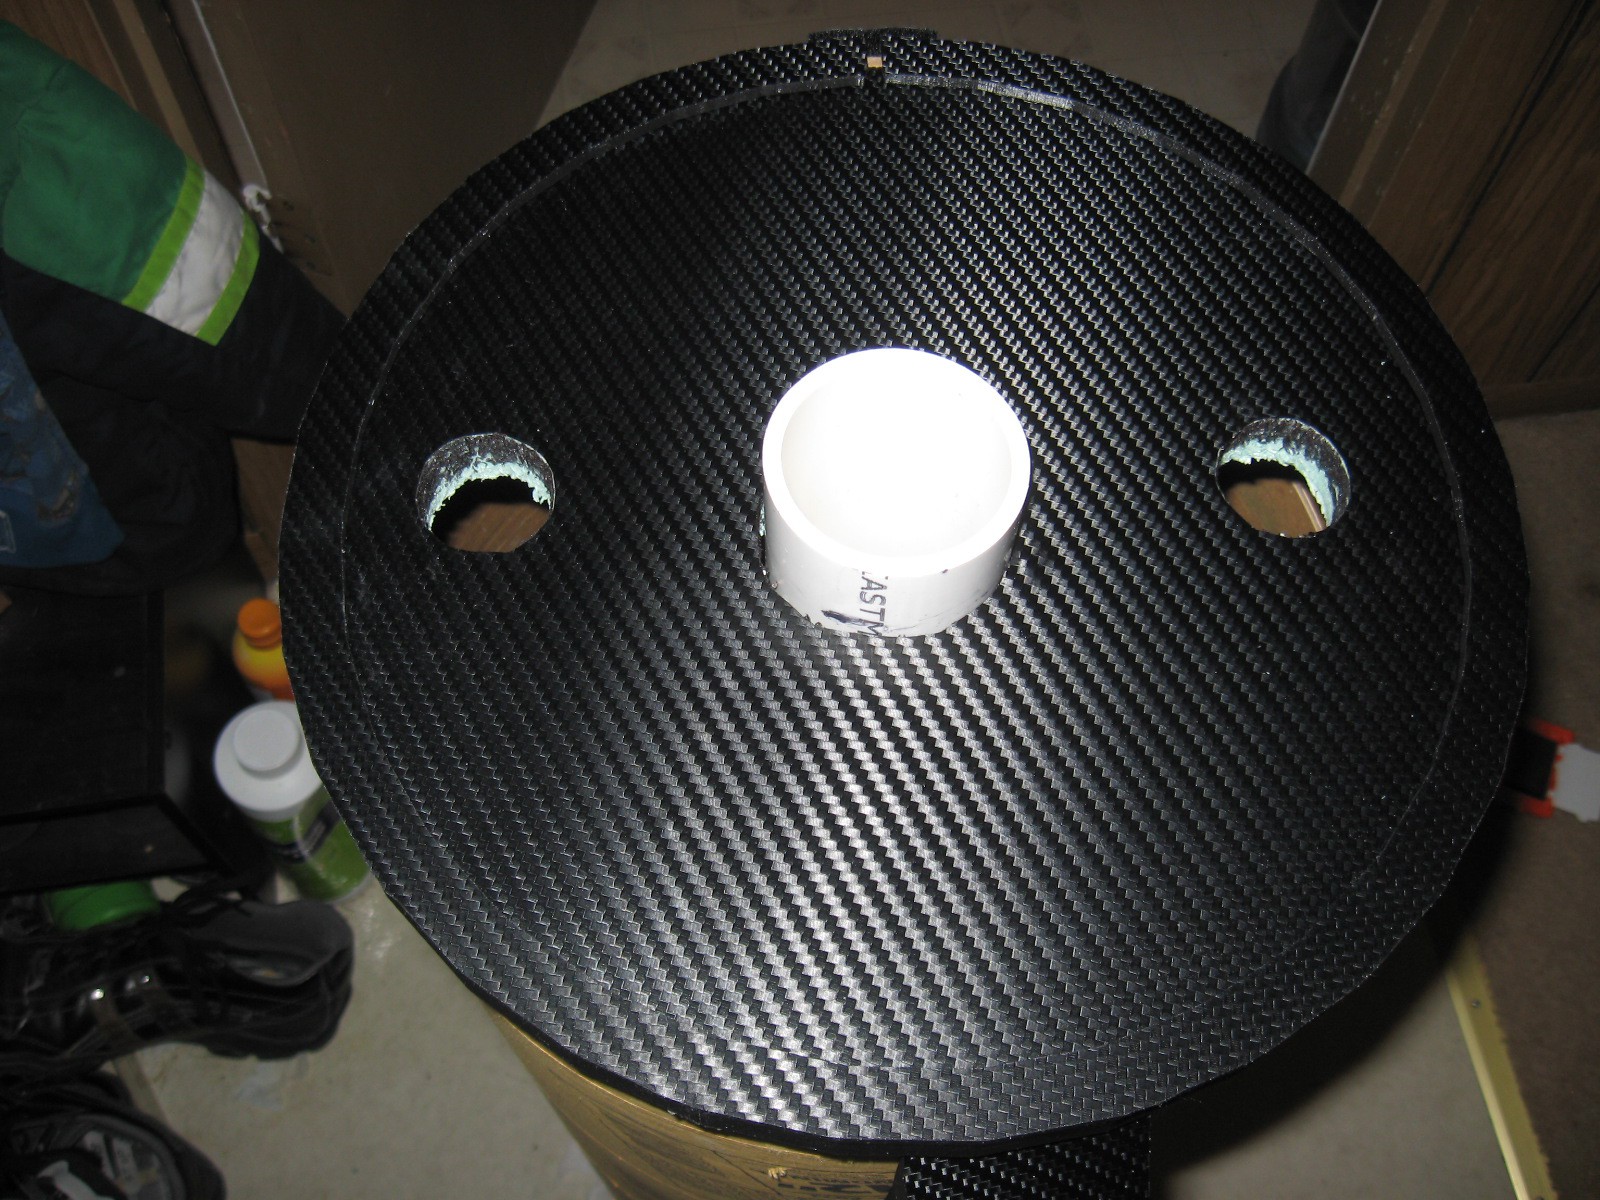
I also started working on the body of my photo booth. I am using a concrete forming tube, blue foam board, and PVC pipe from Lowes for the body. The tube was 4' tall by 12" round. I cut 12" off the 4' tube to give me a head. The photo below shows how I was headed. I used the head as my blue foam templit for cutting.
![]()
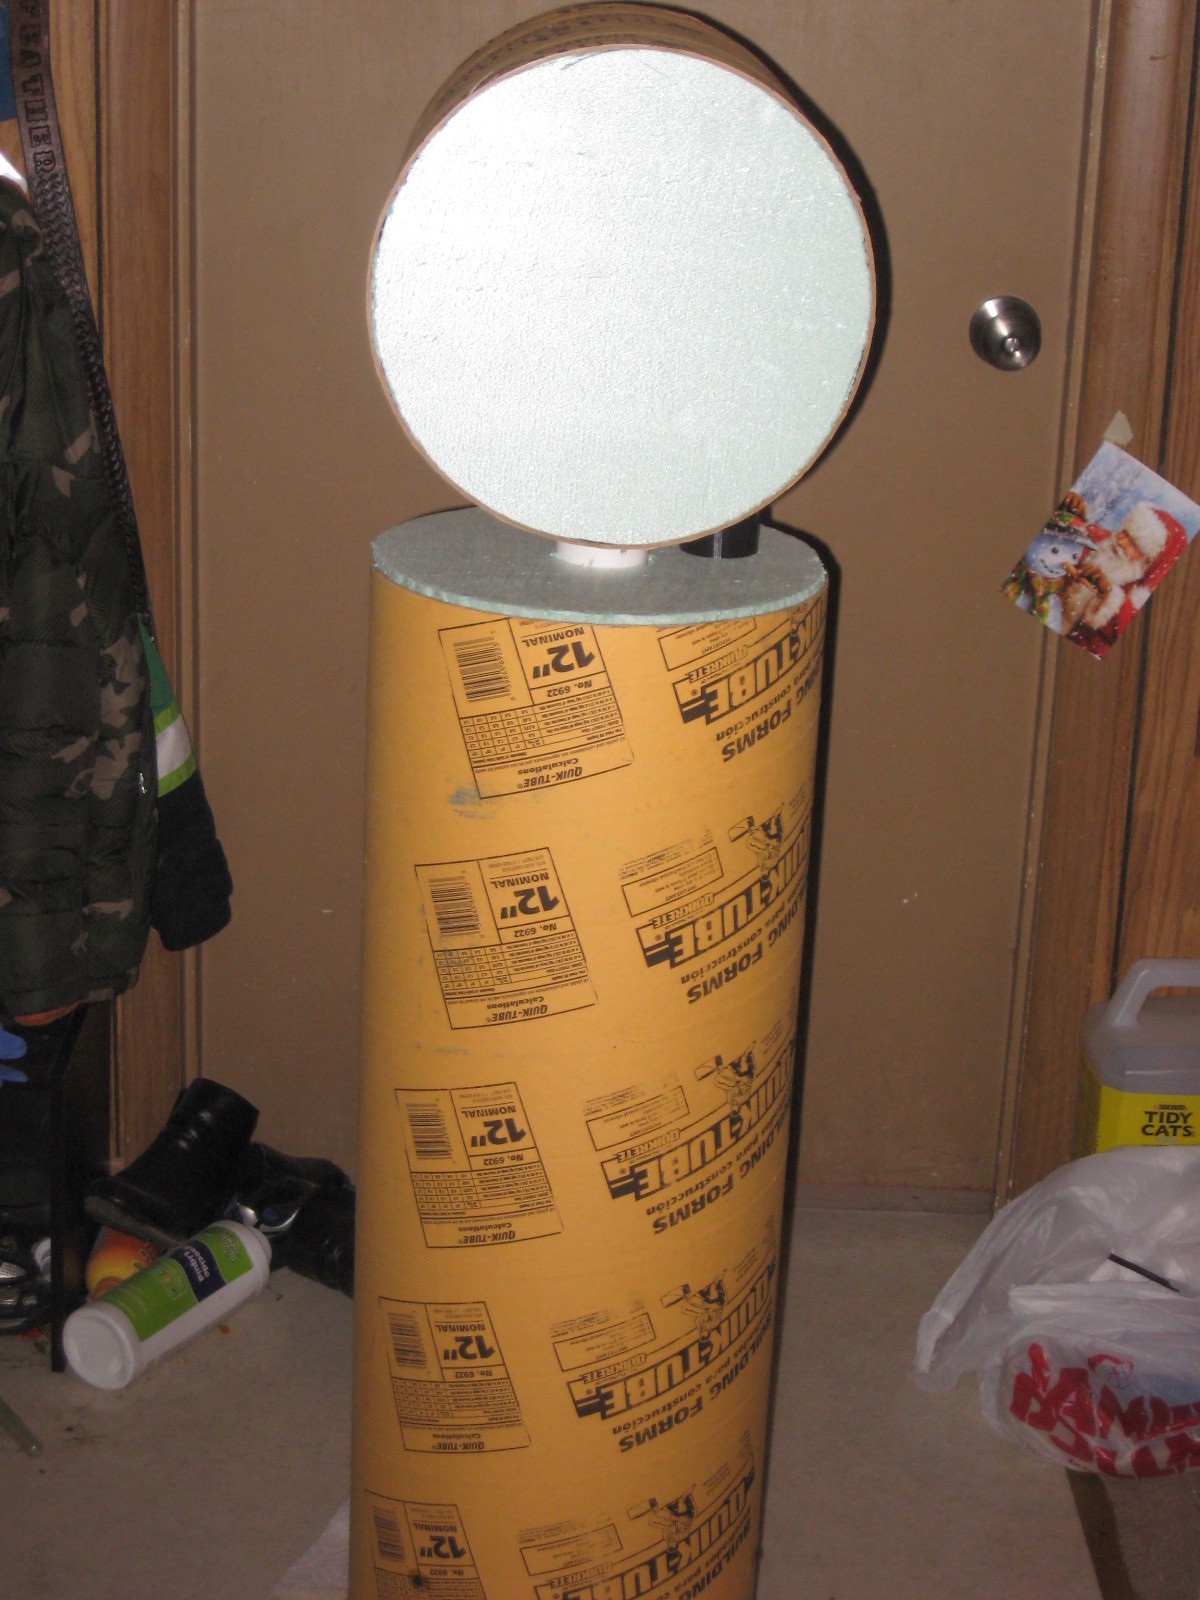
You will need at least 4 blue foam board round cut outs. In this photo I noticed that it might be more stable with the head laying side ways and it looks better.... so this is the way it stayed.
-
3Step 3
Well in this step I will focus on the code and getting it to work with Facebook and Flickr ....
---------------------------------------------------------------------------------------------------------
#!/usr/bin/env python
# this file is run using this command: "sudo python camera.py"
# python must be installed, and you must call the command while
# you are in the same folder as the file
from time import sleep
import smtplib
from email.MIMEMultipart import MIMEMultipart
from email.MIMEBase import MIMEBase
from email.MIMEText import MIMEText
from email.Utils import COMMASPACE, formatdate
from email import Encoders
import os
import RPi.GPIO as GPIO
import subprocess
import datetime
# set up the pins
GPIO.setmode(GPIO.BCM)
GPIO.setwarnings(False)
GPIO.setup(24,GPIO.IN)
GPIO.setup(23,GPIO.OUT)
GPIO.output(23, True)
# setup variables
USERNAME = "Youremail@gmail.com"
PASSWORD = "emailpassword"
count = 0
up = False
down = False
command = ""
filename = ""
index = 0
camera_pause = "3000"
print "Raspberry Pi Camera with Buttons"
def takepic(imageName):
print("click")
command = "sudo raspistill -o " + imageName + " -q 100 -t " + camera_pause
print("After your photo is taken please give it a sec to send and save")
os.system(command)
def sendMail(to, subject, text, files=[]):
assert type(to)==list
assert type(files)==list
msg = MIMEMultipart()
msg['From'] = USERNAME
msg['To'] = COMMASPACE.join(to)
msg['Date'] = formatdate(localtime=True)
msg['Subject'] = subject
msg.attach( MIMEText(text) )
for file in files:
part = MIMEBase('application', "octet-stream")
part.set_payload( open(file,"rb").read() )
Encoders.encode_base64(part)
part.add_header('Content-Disposition', 'attachment; filename="%s"'
% os.path.basename(file))
msg.attach(part)
server = smtplib.SMTP('smtp.gmail.com:587')
server.ehlo_or_helo_if_needed()
server.starttls()
server.ehlo_or_helo_if_needed()
server.login(USERNAME,PASSWORD)
server.sendmail(USERNAME, to, msg.as_string())
server.quit()
while(True):
if(up==True):
if(GPIO.input(24)==False):
GPIO.output(23, False)
print "BUTTON DOWN PRESSED"
now = datetime.datetime.now()
timeString = now.strftime("%Y-%m-%d_%H:%M:%S")
print("request received" + timeString)
filename = "photo-" + timeString + ".jpg"
takepic(filename)
sendMail( ["facebookmobleemailadd@m.facebook.com"],
"test set up for photo booth",
"Test picture attached",
["/home/pi/photos/photo-" + timeString + ".jpg"] )
print "Ready"
GPIO.output(23, True)
up = GPIO.input(24)
count = count +1
sleep(.1)
# this is never hit, but should be here to indicate if you plan on leaving the main loop
print "done"
---------------------------------------------------------------------------------------------------------
It does not look as good on here as it does in IDLE and I dont think you can copy and past it. so I am in the work of getting a place I can post my files for links to them like for here at hack a day.
I will use it to show where to make changes to make this work. Oh I did not make this script I just copied pices of it to smash it together to make it work for me.
# set up the pins
GPIO.setmode(GPIO.BCM)
GPIO.setwarnings(False)
GPIO.setup(24,GPIO.IN) <- Button input
GPIO.setup(23,GPIO.OUT) <- Lite on the button
GPIO.output(23, True) <- turn lite on
# setup variables
USERNAME = "email@gmail.com" < -you need to put you email you set up for this thing here
PASSWORD = "password" <- password for that email address
count = 0 <-starts photo count at 0
up = False
down = False
command = ""
filename = ""
index = 0
camera_pause = "3000" <- how much time it will preview
Next
command = "sudo raspistill -o " + imageName + " -q 100 -t " + camera_pause <- ok this is the command that is sent to take the photo. (I know now htey have this worked out to do this in python with out using os.system .) you can add options on here from the camera info like polerize of sketch. this is just like typing it in the terminal prompt.
Emailing
sendMail( ["the emailtheygiveyou@m.facebook.com"], <- they will give you a email to send to Flickr does the same thing
"test set up for photo booth", <- this can be any thing I see it on facebook as the photo comments. I have thought to use "photo-" + timeString + ".jpg" to see what happens .
"Test picture attached", <- so far I have not seen it in any photo so does not matter what it is. I think ?
["/home/pi/photos/photo-" + timeString + ".jpg"] ) <- this is where the file is to send it
You can see from the web sites what I copies and what I didn't. With Facebook and Flickr having email uploading makes this work out great....
-
4Step 4
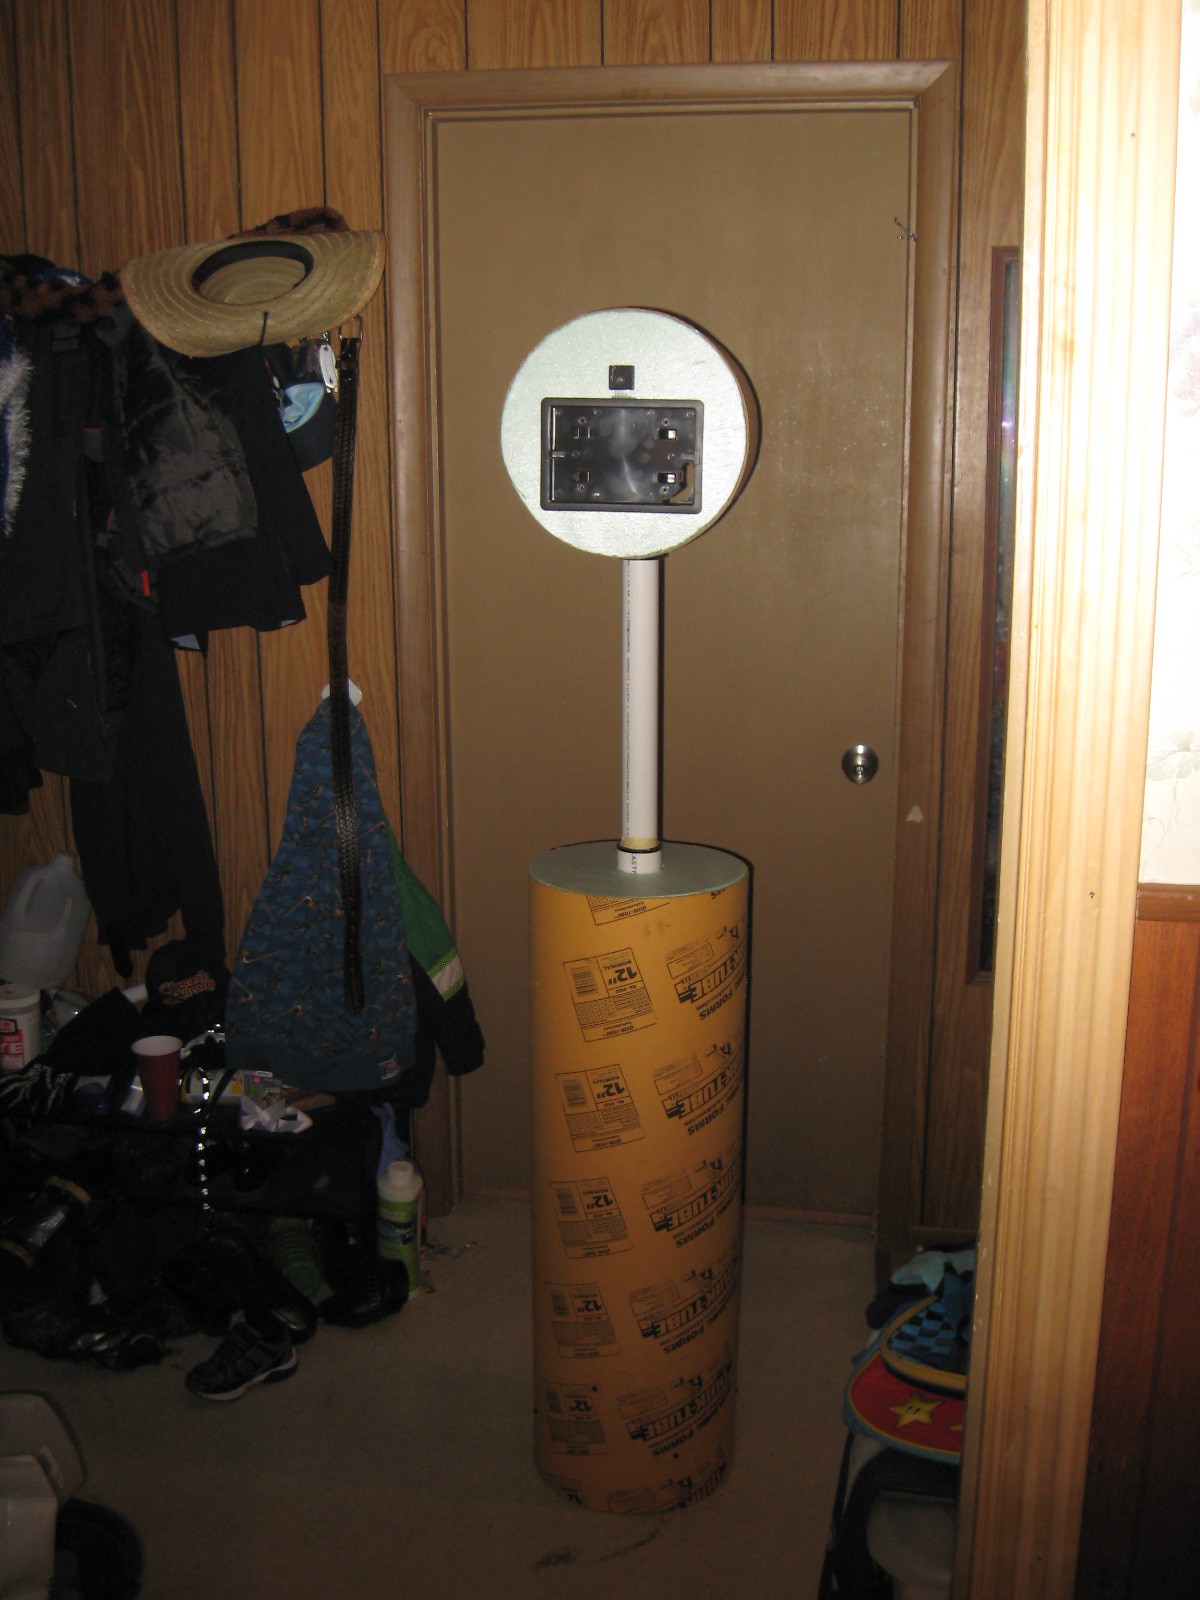
Ok I pored the cement in the tube with a blue foam board on the bottom glued to the sides. That seemed to work out well accept I stuck a blue foam board cutout with a hole cut out in it to keep the 2" pvc pipe in place. Bad Idea it moved the PVC pipe and now its off just a little only noticing this after its mostly dry.... (crap this I will bug me forever) So I go on and I fit in the other foam board cutouts to make it sturdy.
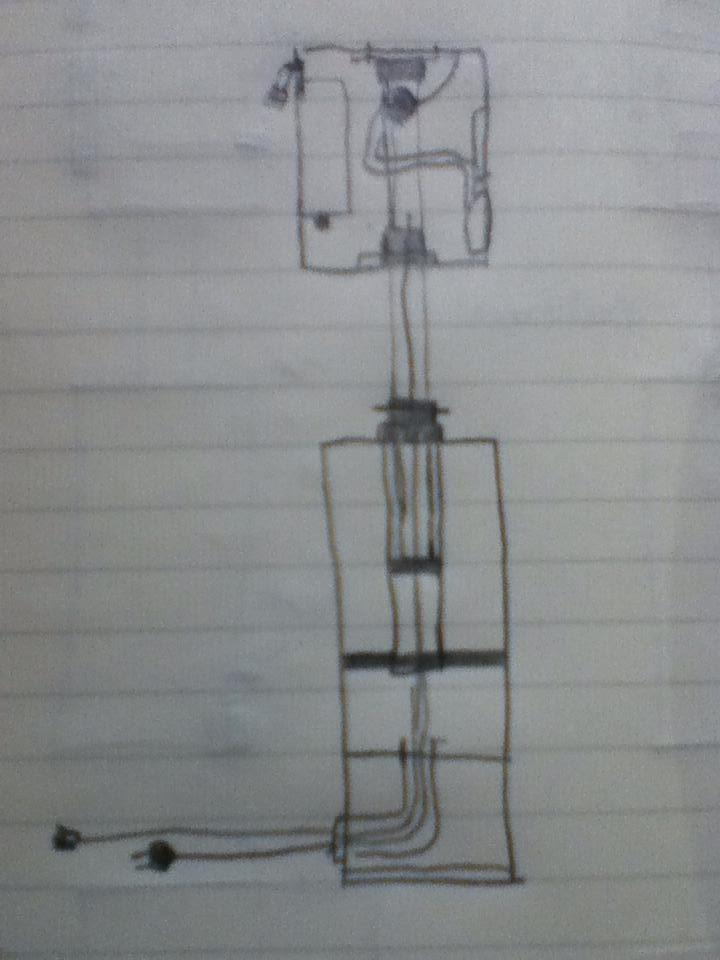
I don't have any photos of this step but you need to think about the 2" pipe and a t joint to get cables in and out.
Really you could just cement in the pipe and just cut a hole in the bottom close to the concrete edge with hole saw and put a hole in the side of the tube to make a plug in. Just remember cables have to go in it and a pipe has to slide in it freely.....Just a tip on the cable pull one extra and make it so it can be raised taller if needed.
![]()
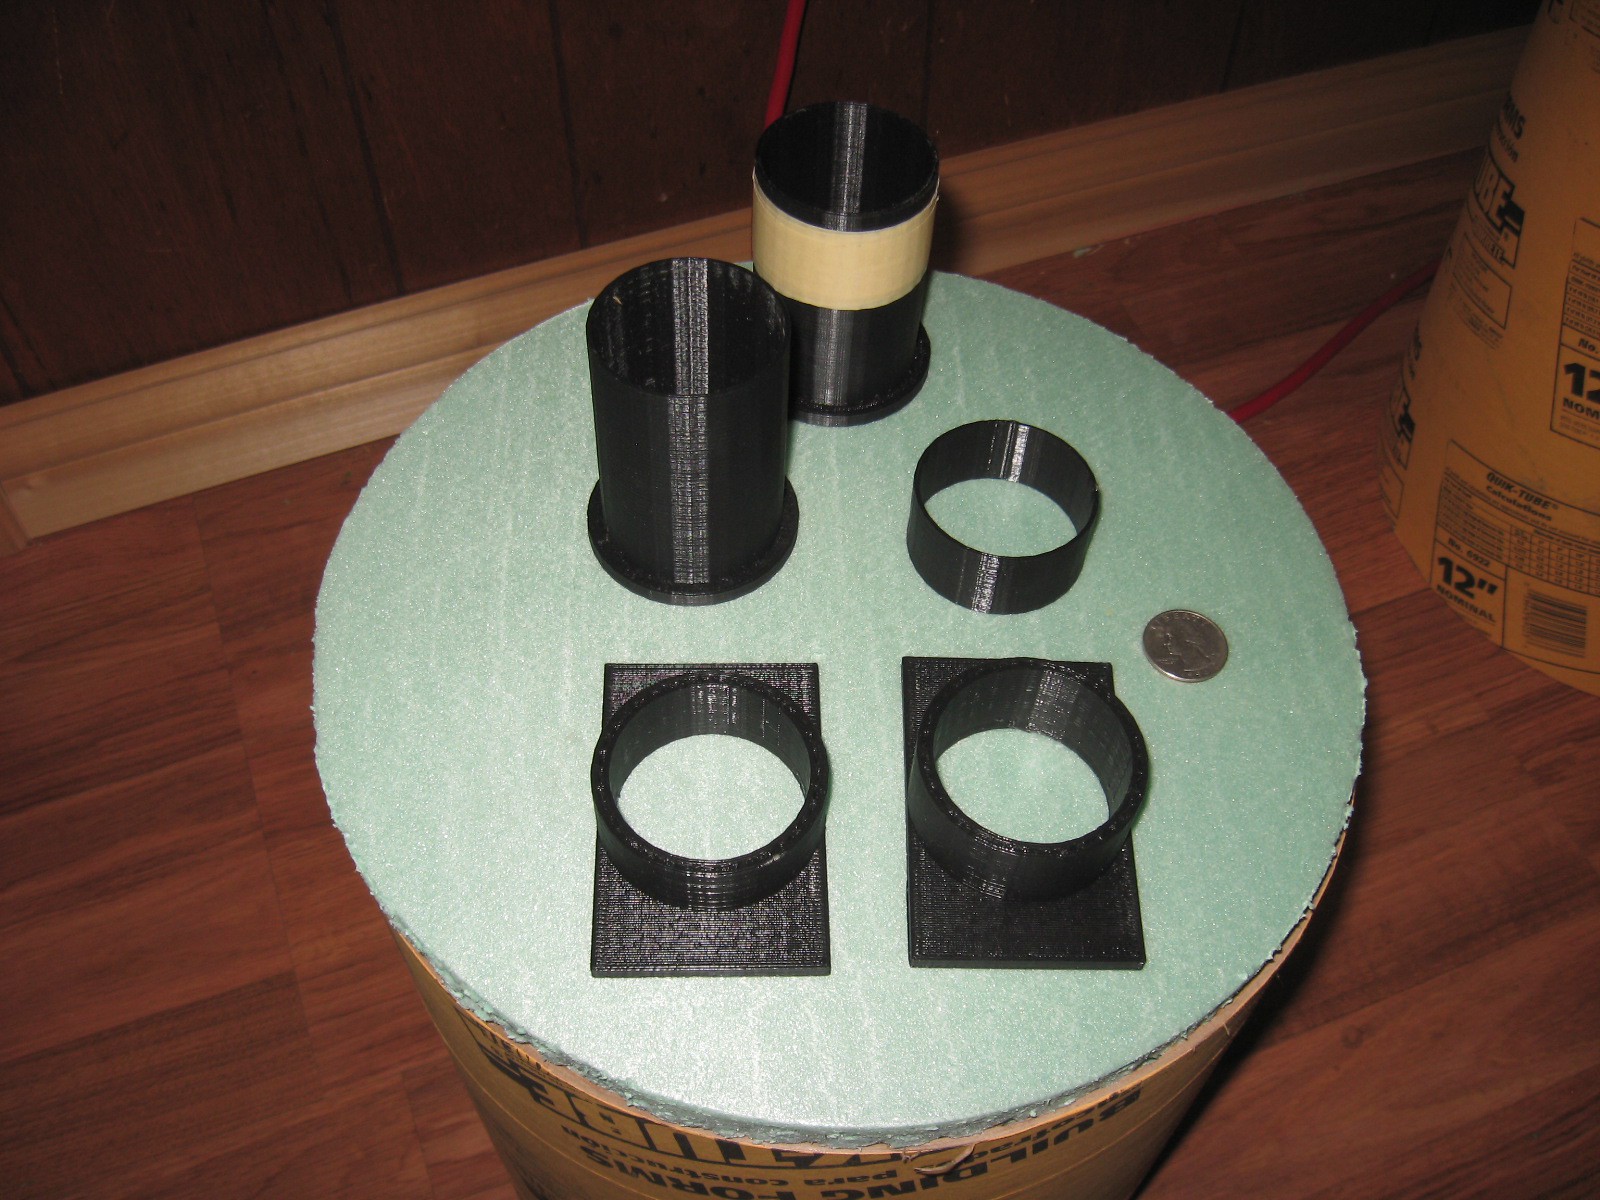
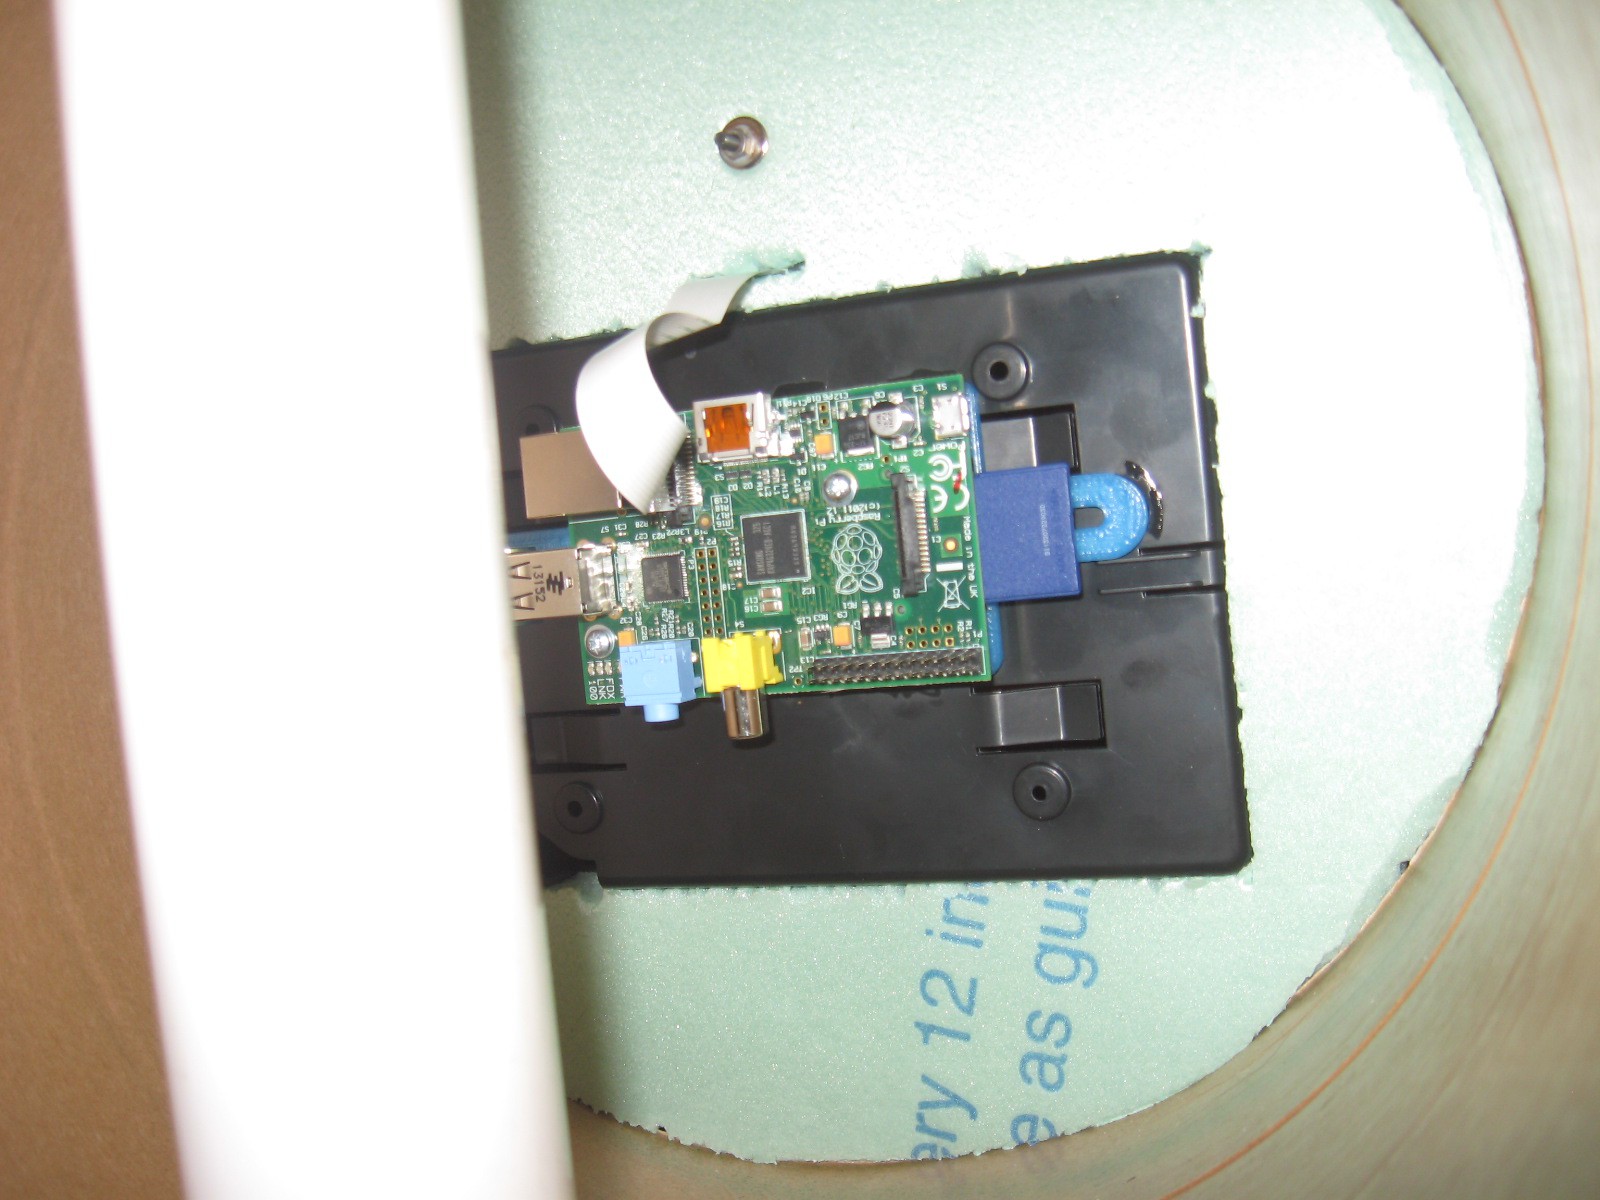
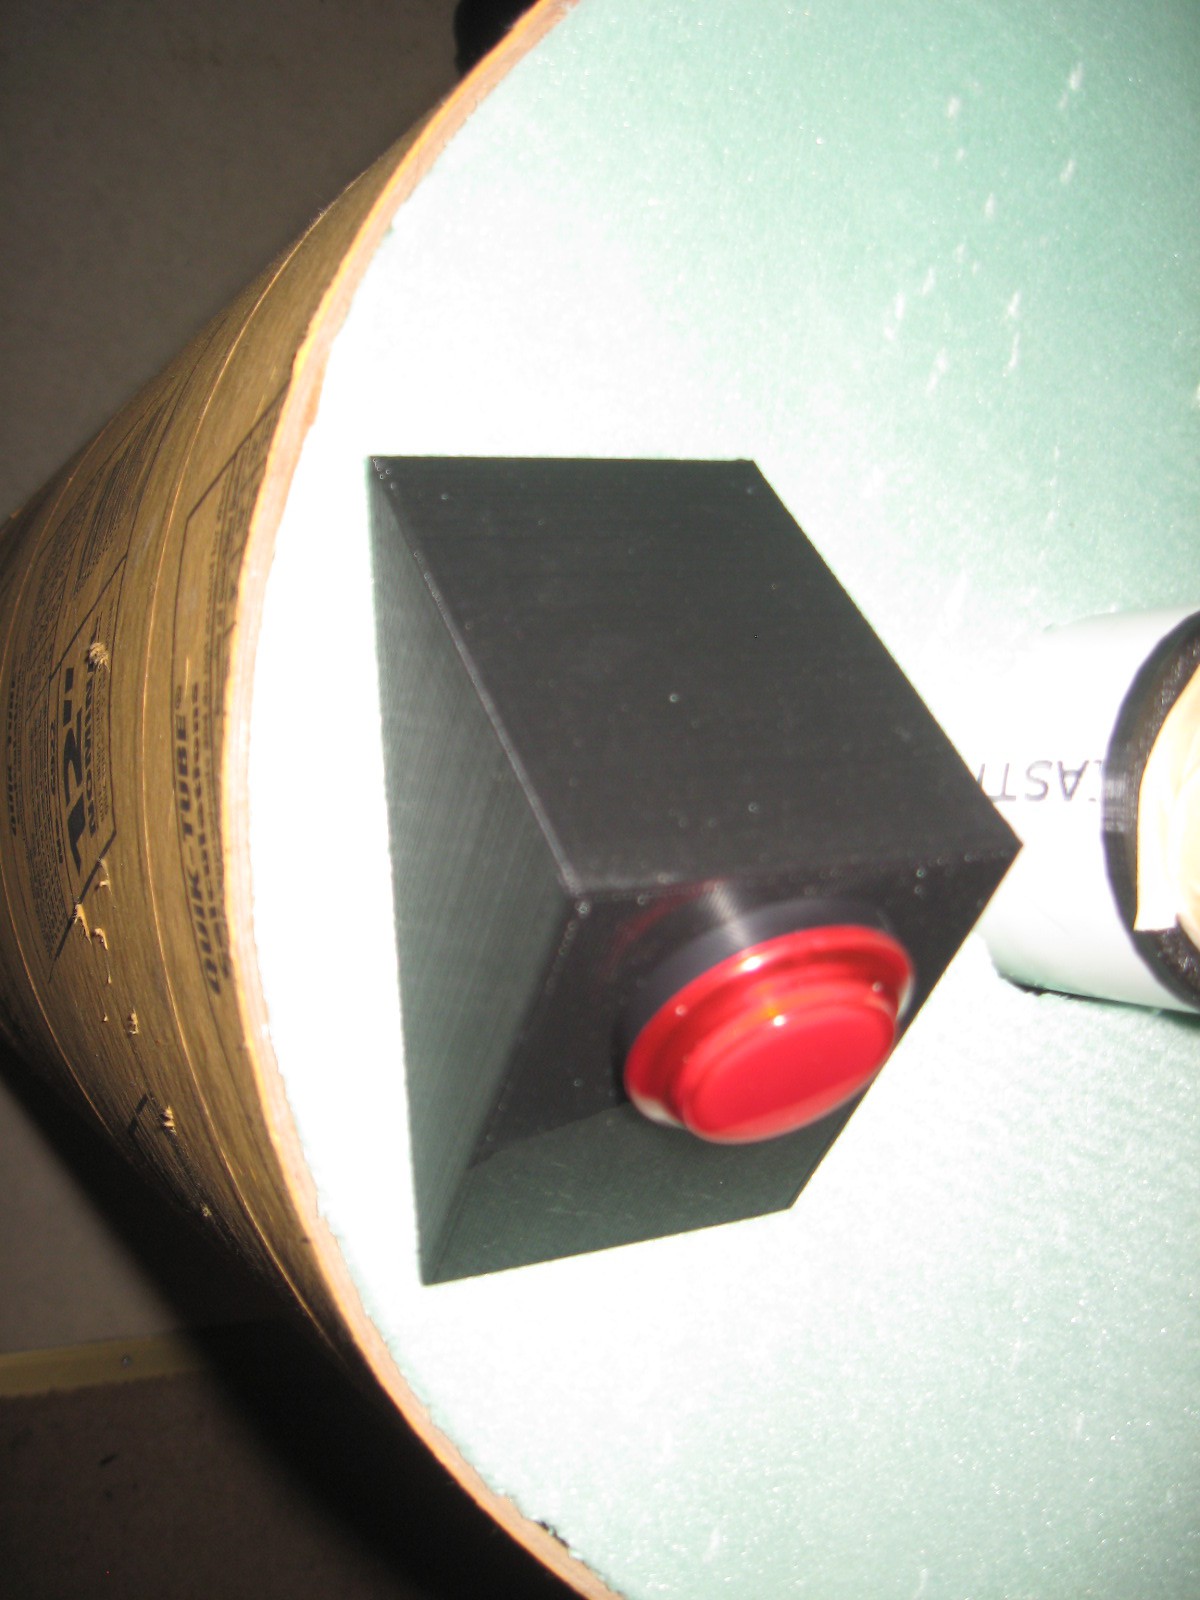
I will post a link to the files for my parts that 3d printed and used on this project. The ring (7 parts needs printed twice) button holder (one) neck to 2"pipe stablizer ( one or two but one did it for me) head flange ( two) Neck top (one or two I used one cut in half upside down to cover tape or neck holder) Rpi holder (one glued to the back of LCD mount) Camera holder (one) ......Days of printing..fun times... The ring is in one of the photos :(.... but its after I vinyl-ed it.
-
5Step 5
From the last step you should have seen how to and where every thing is going. So lets get started with the power... I used a PC power supply I had. ( 500 Watt ) I cut out the + 12 v and rigged the power supply to come on when power is applied. ( for me it was Green power on to black ground). I ran this up to the head and screwed it down to a terminal block. Wired up the LCD (mine was +12v powered) and a connector for a router +12v.... I also ran a 5v up to power the Rpi but that is causing a problem with the screen. So I ran ac up to a 5 volt power adapter for the RPI.
The button was a little harder. I pulled a cat 5 cable to run from the button Pin 24 on the RPI is for the button in-put to make it take the photo. make sure you wire it up like they show on this page...
http://contractorwolf.wordpress.com/raspberry-pi-p...
Do not forget the resister. On the pin 23 of the RPI it is a out put so from there i was lucky the button already had a resister in place to lite the led until the button is pressed then relite once the process is over.
 Bobby Feather

Discussions
Become a Hackaday.io Member
Create an account to leave a comment. Already have an account? Log In.