 Kayser-Sosa
-
1Step 1
Plan out the locations of the components on a map.
-
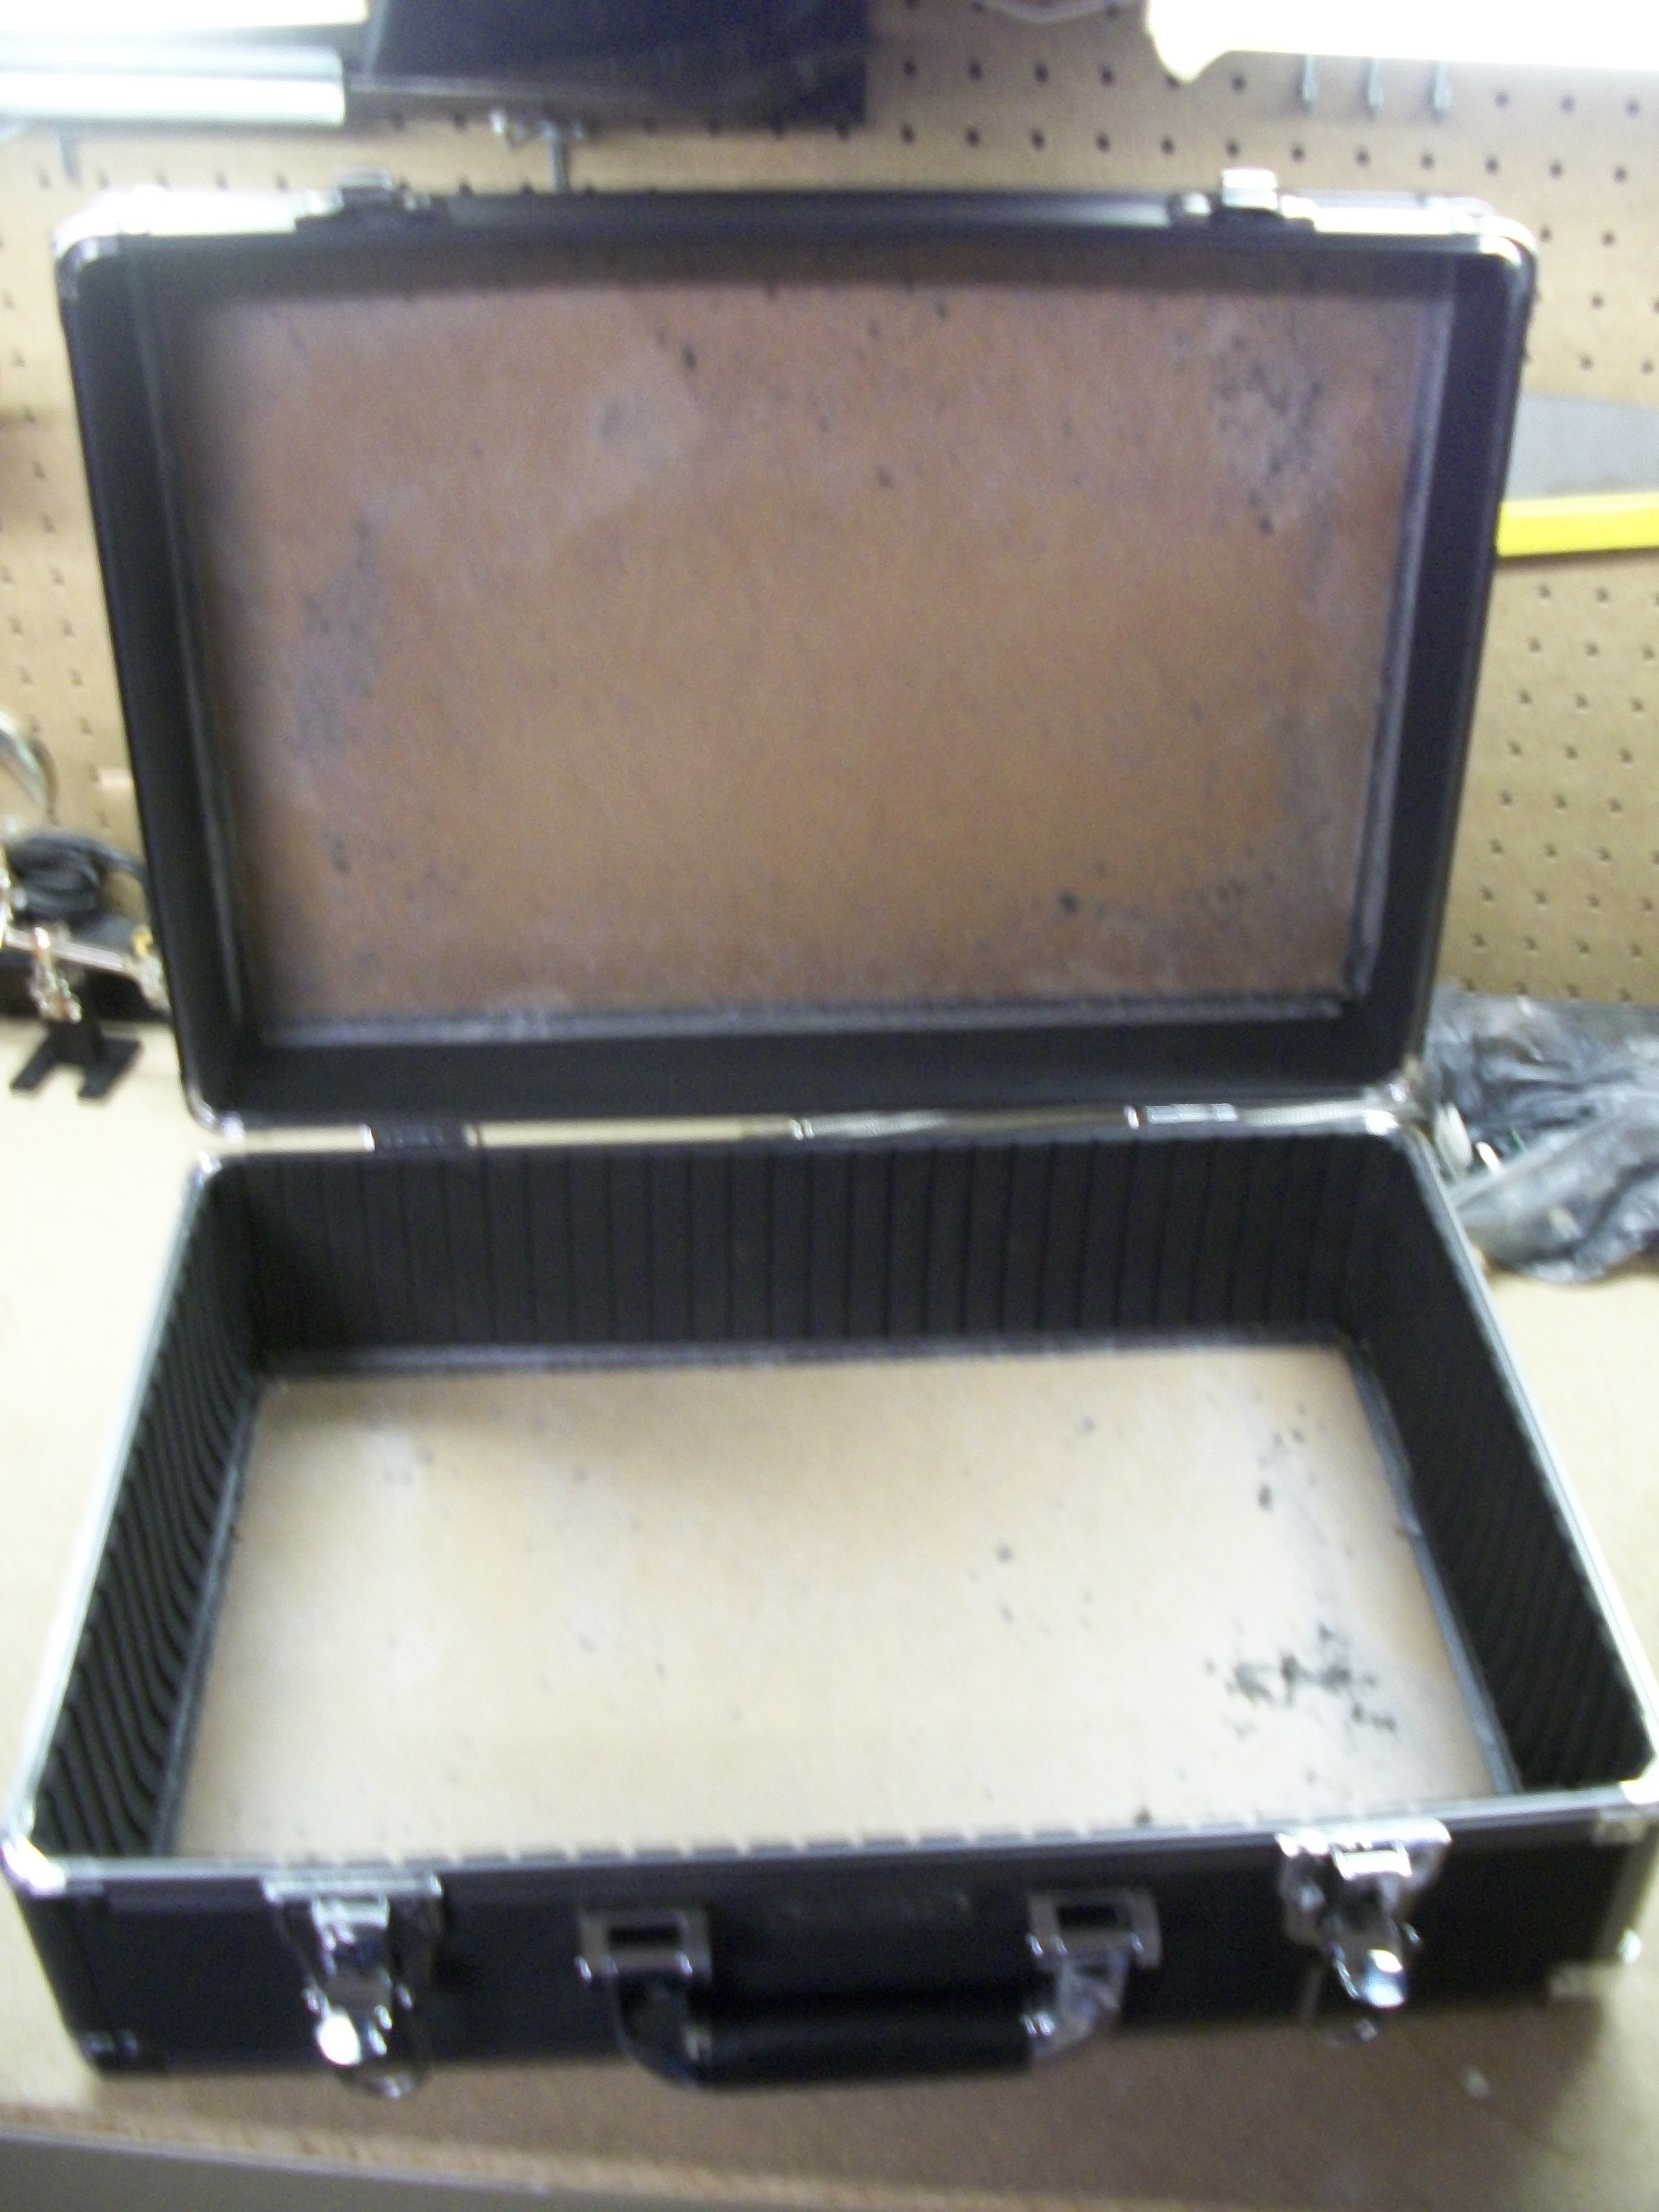
2Step 2
Remove all the foam from the case.

-
3Step 3
Sand the left over glue and foam to remove as much as possible.
-
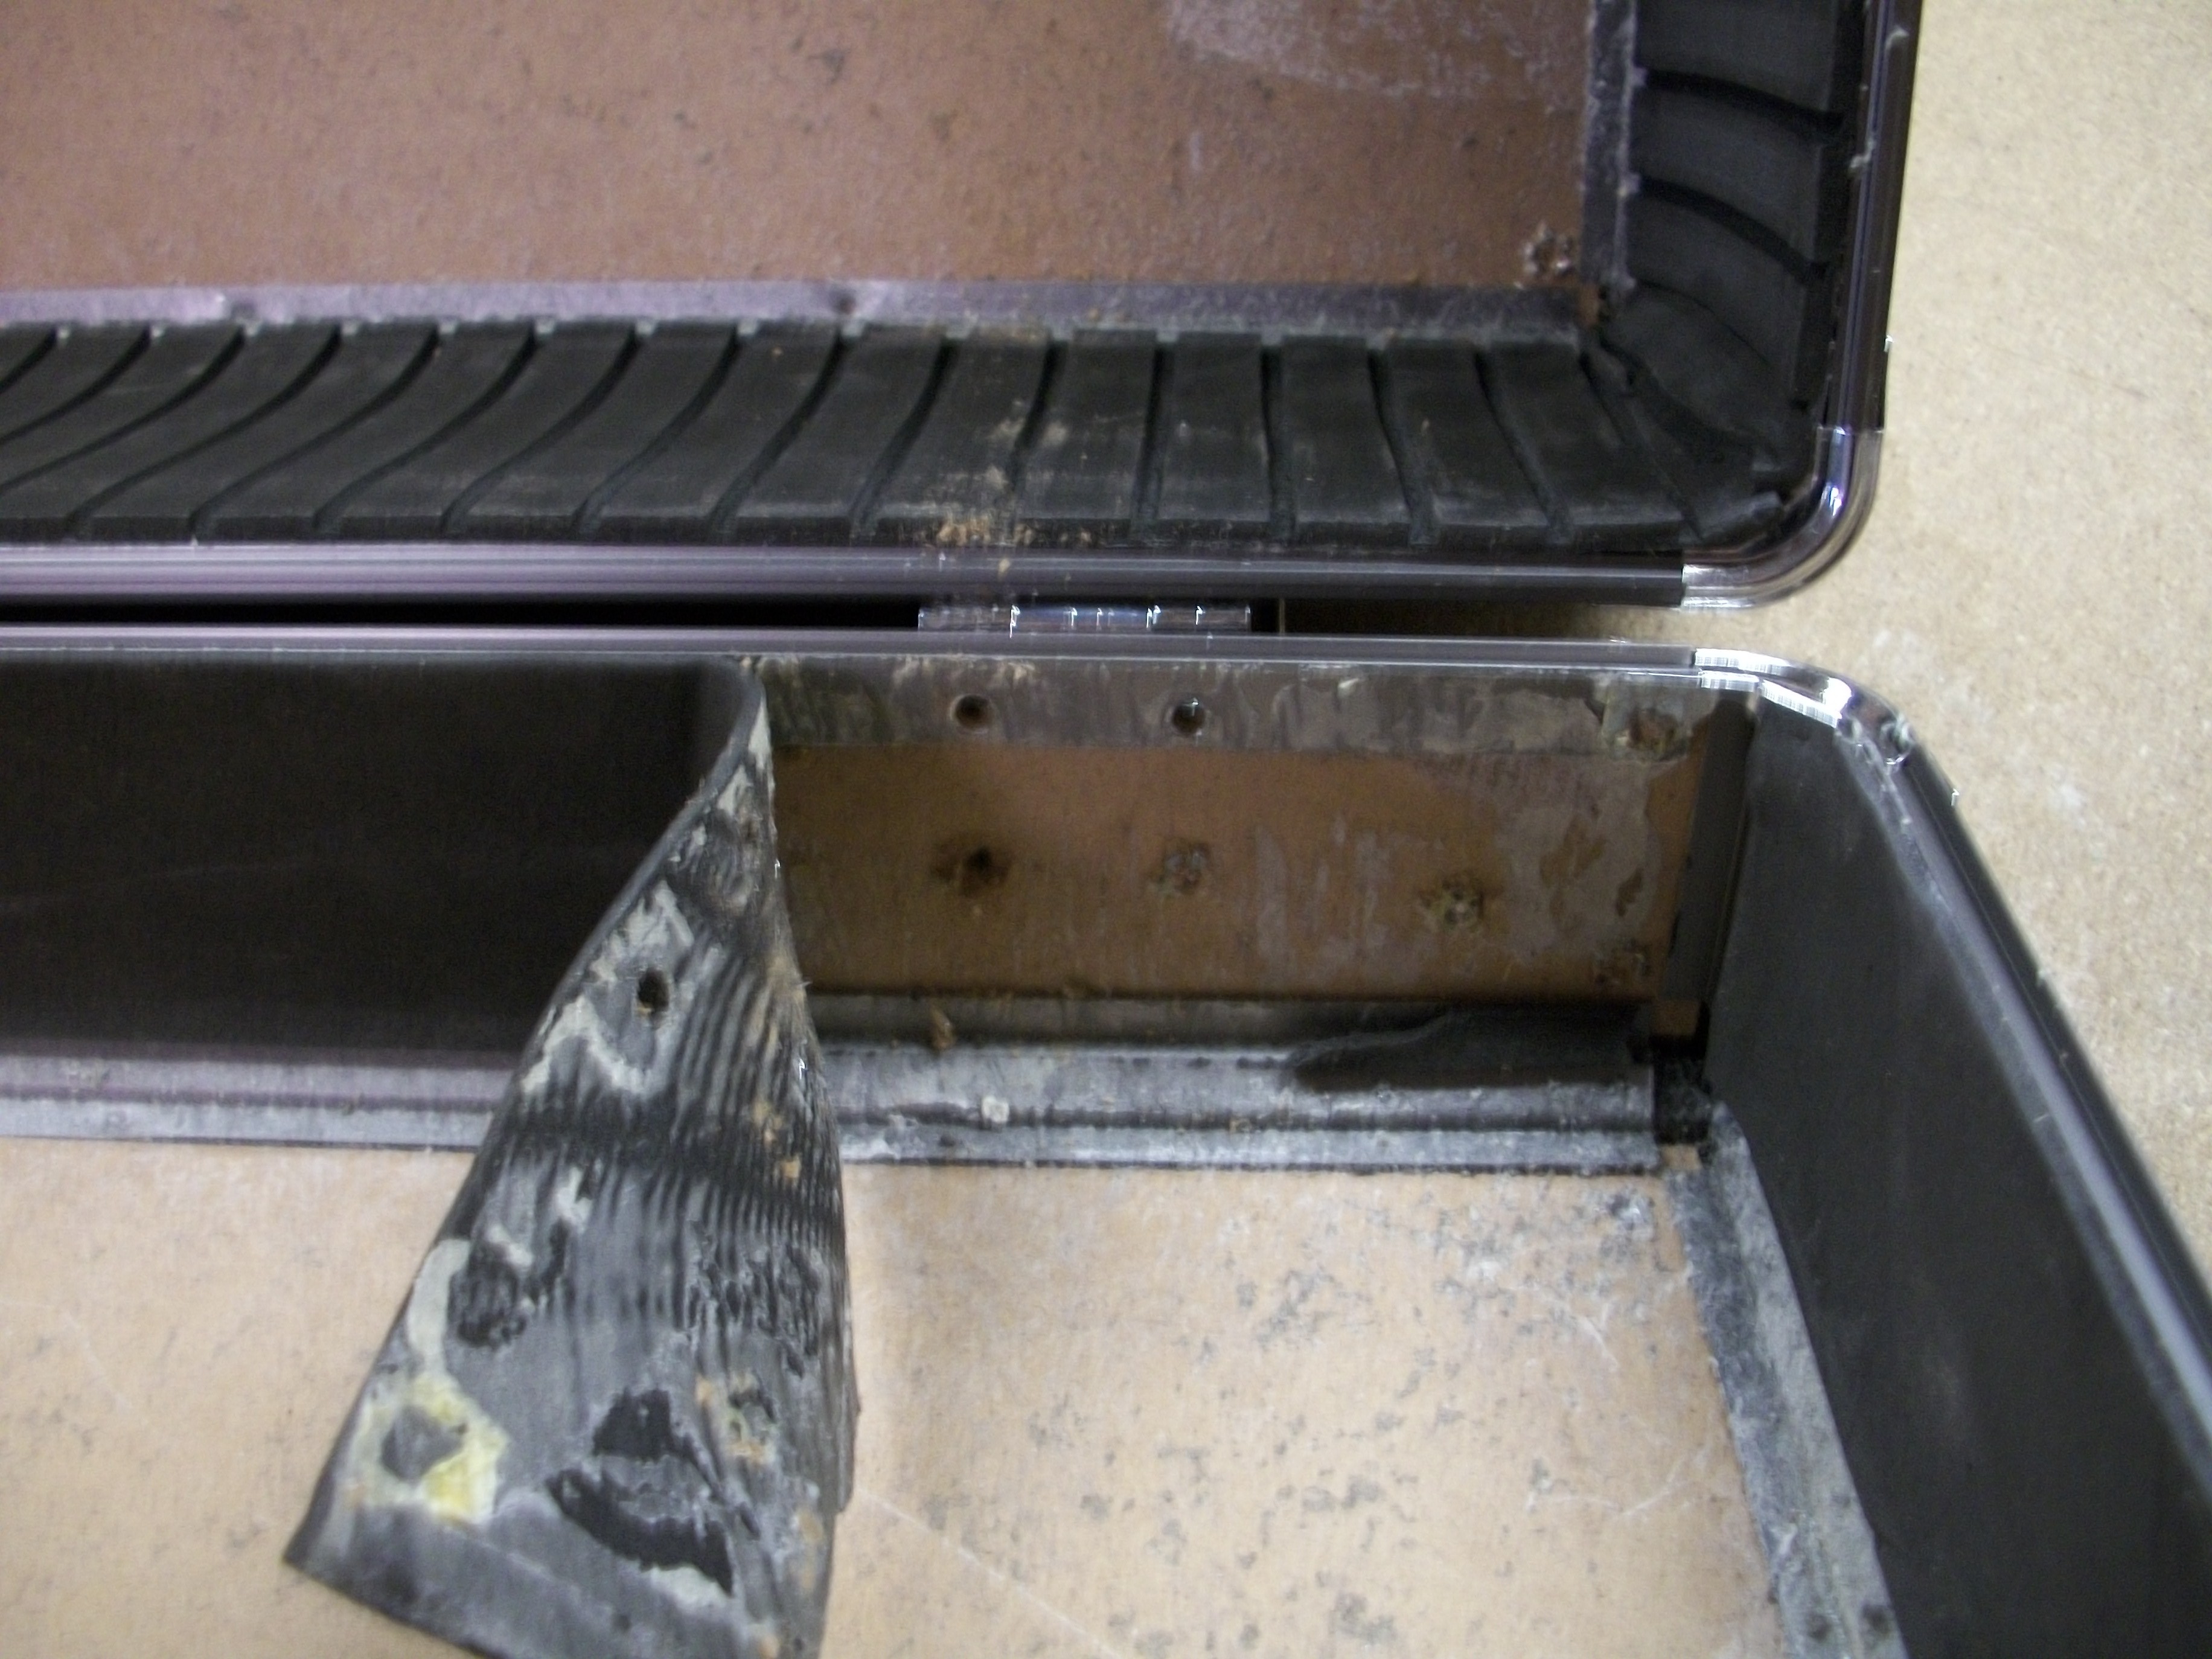
4Step 4
Peeled back the lining on the hinges and drilled out the rivets, which separated the lid from the bottom.
-
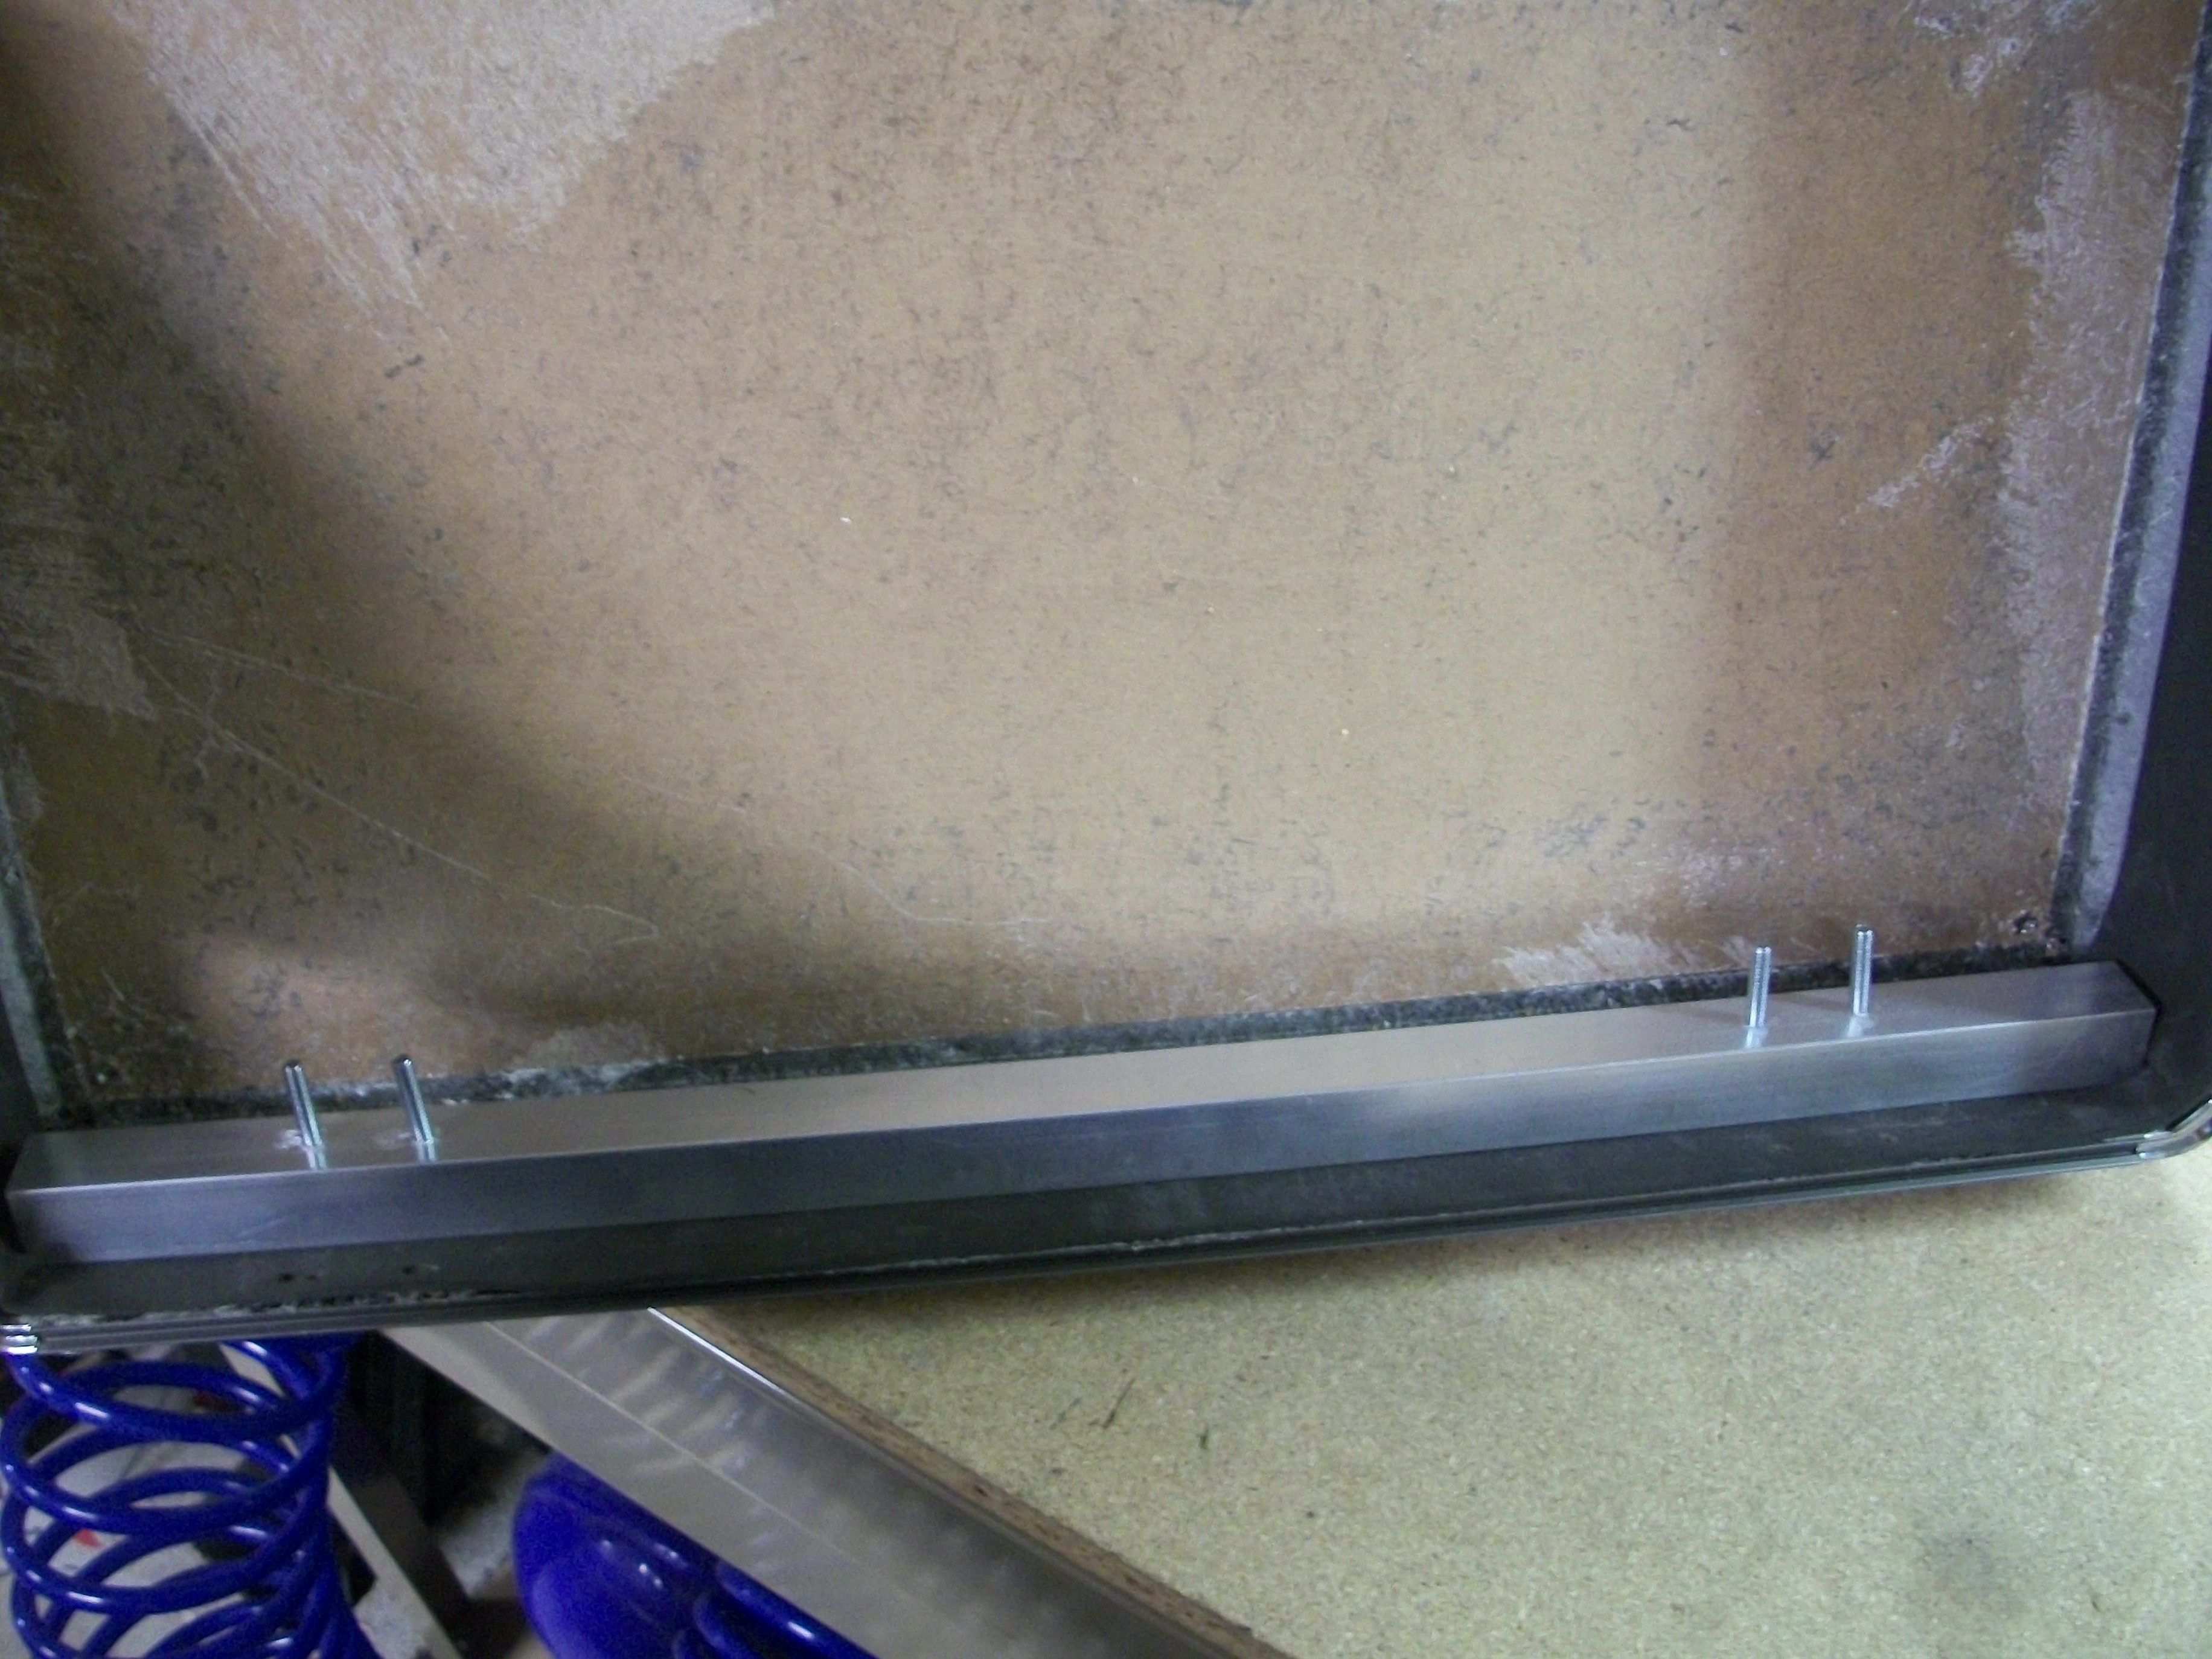
5Step 5
Measure, cut, and drill holes into Aluminum Square Tubing to re-enforce the lid and bottom due to the weight of the monitor. The tubing was put on the on the upper-most rivet holes for the lid and bottom-most rivet holes for the bottom hinge screws.
It was wedged it in the spot tightly and used the hinges to assist in guiding the drill holes through the Aluminum.
NOTE: My friend did not do this on his, but he has a different, much lighter LCD monitor as well. I may, in the future, change this out for some Aluminum Rectangular Bar. As the square tubing reduces the size of the GPU I can use currently, only Low-Profile cards fit.
-
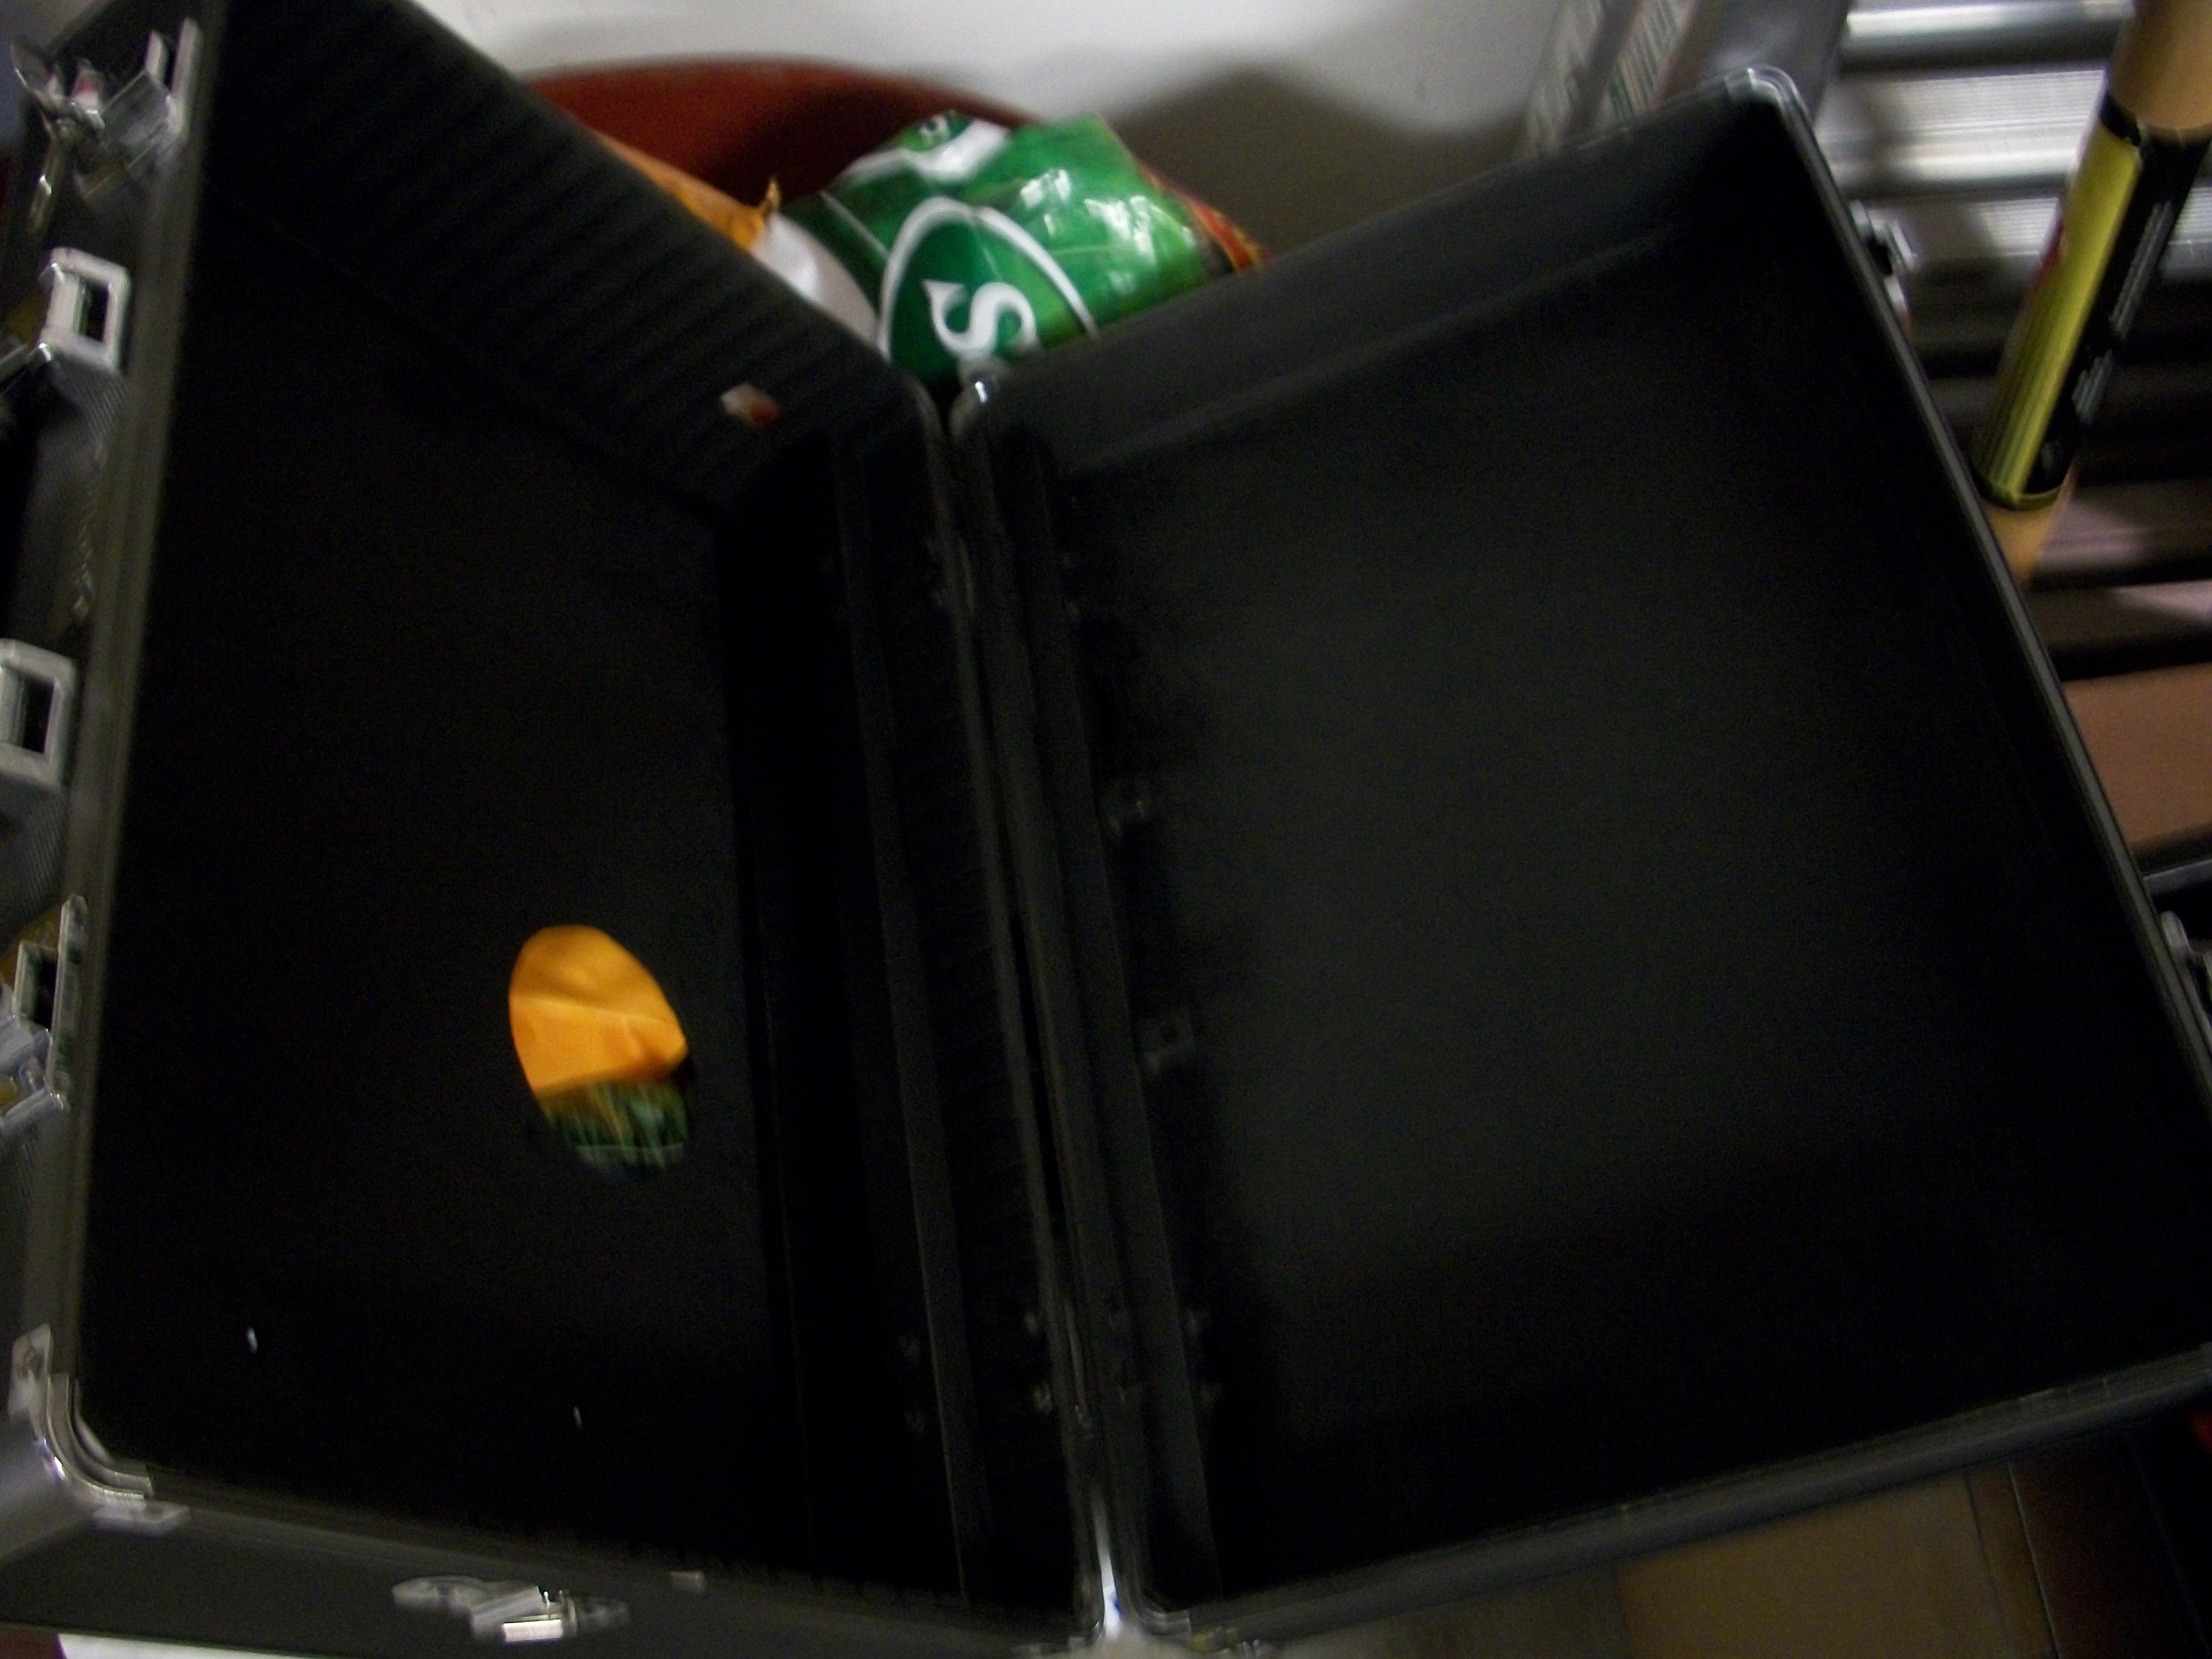
6Step 6
Layout all components inside the case to verify locations and fit.
-
7Step 7
Cut all holes, which included the power plug, GPU fan, USB openings, and as many screw holes as I knew about at the time.
-
8Step 8
Paint the inside of the case and any metal. I used a flat black spray paint.
-
9Step 9
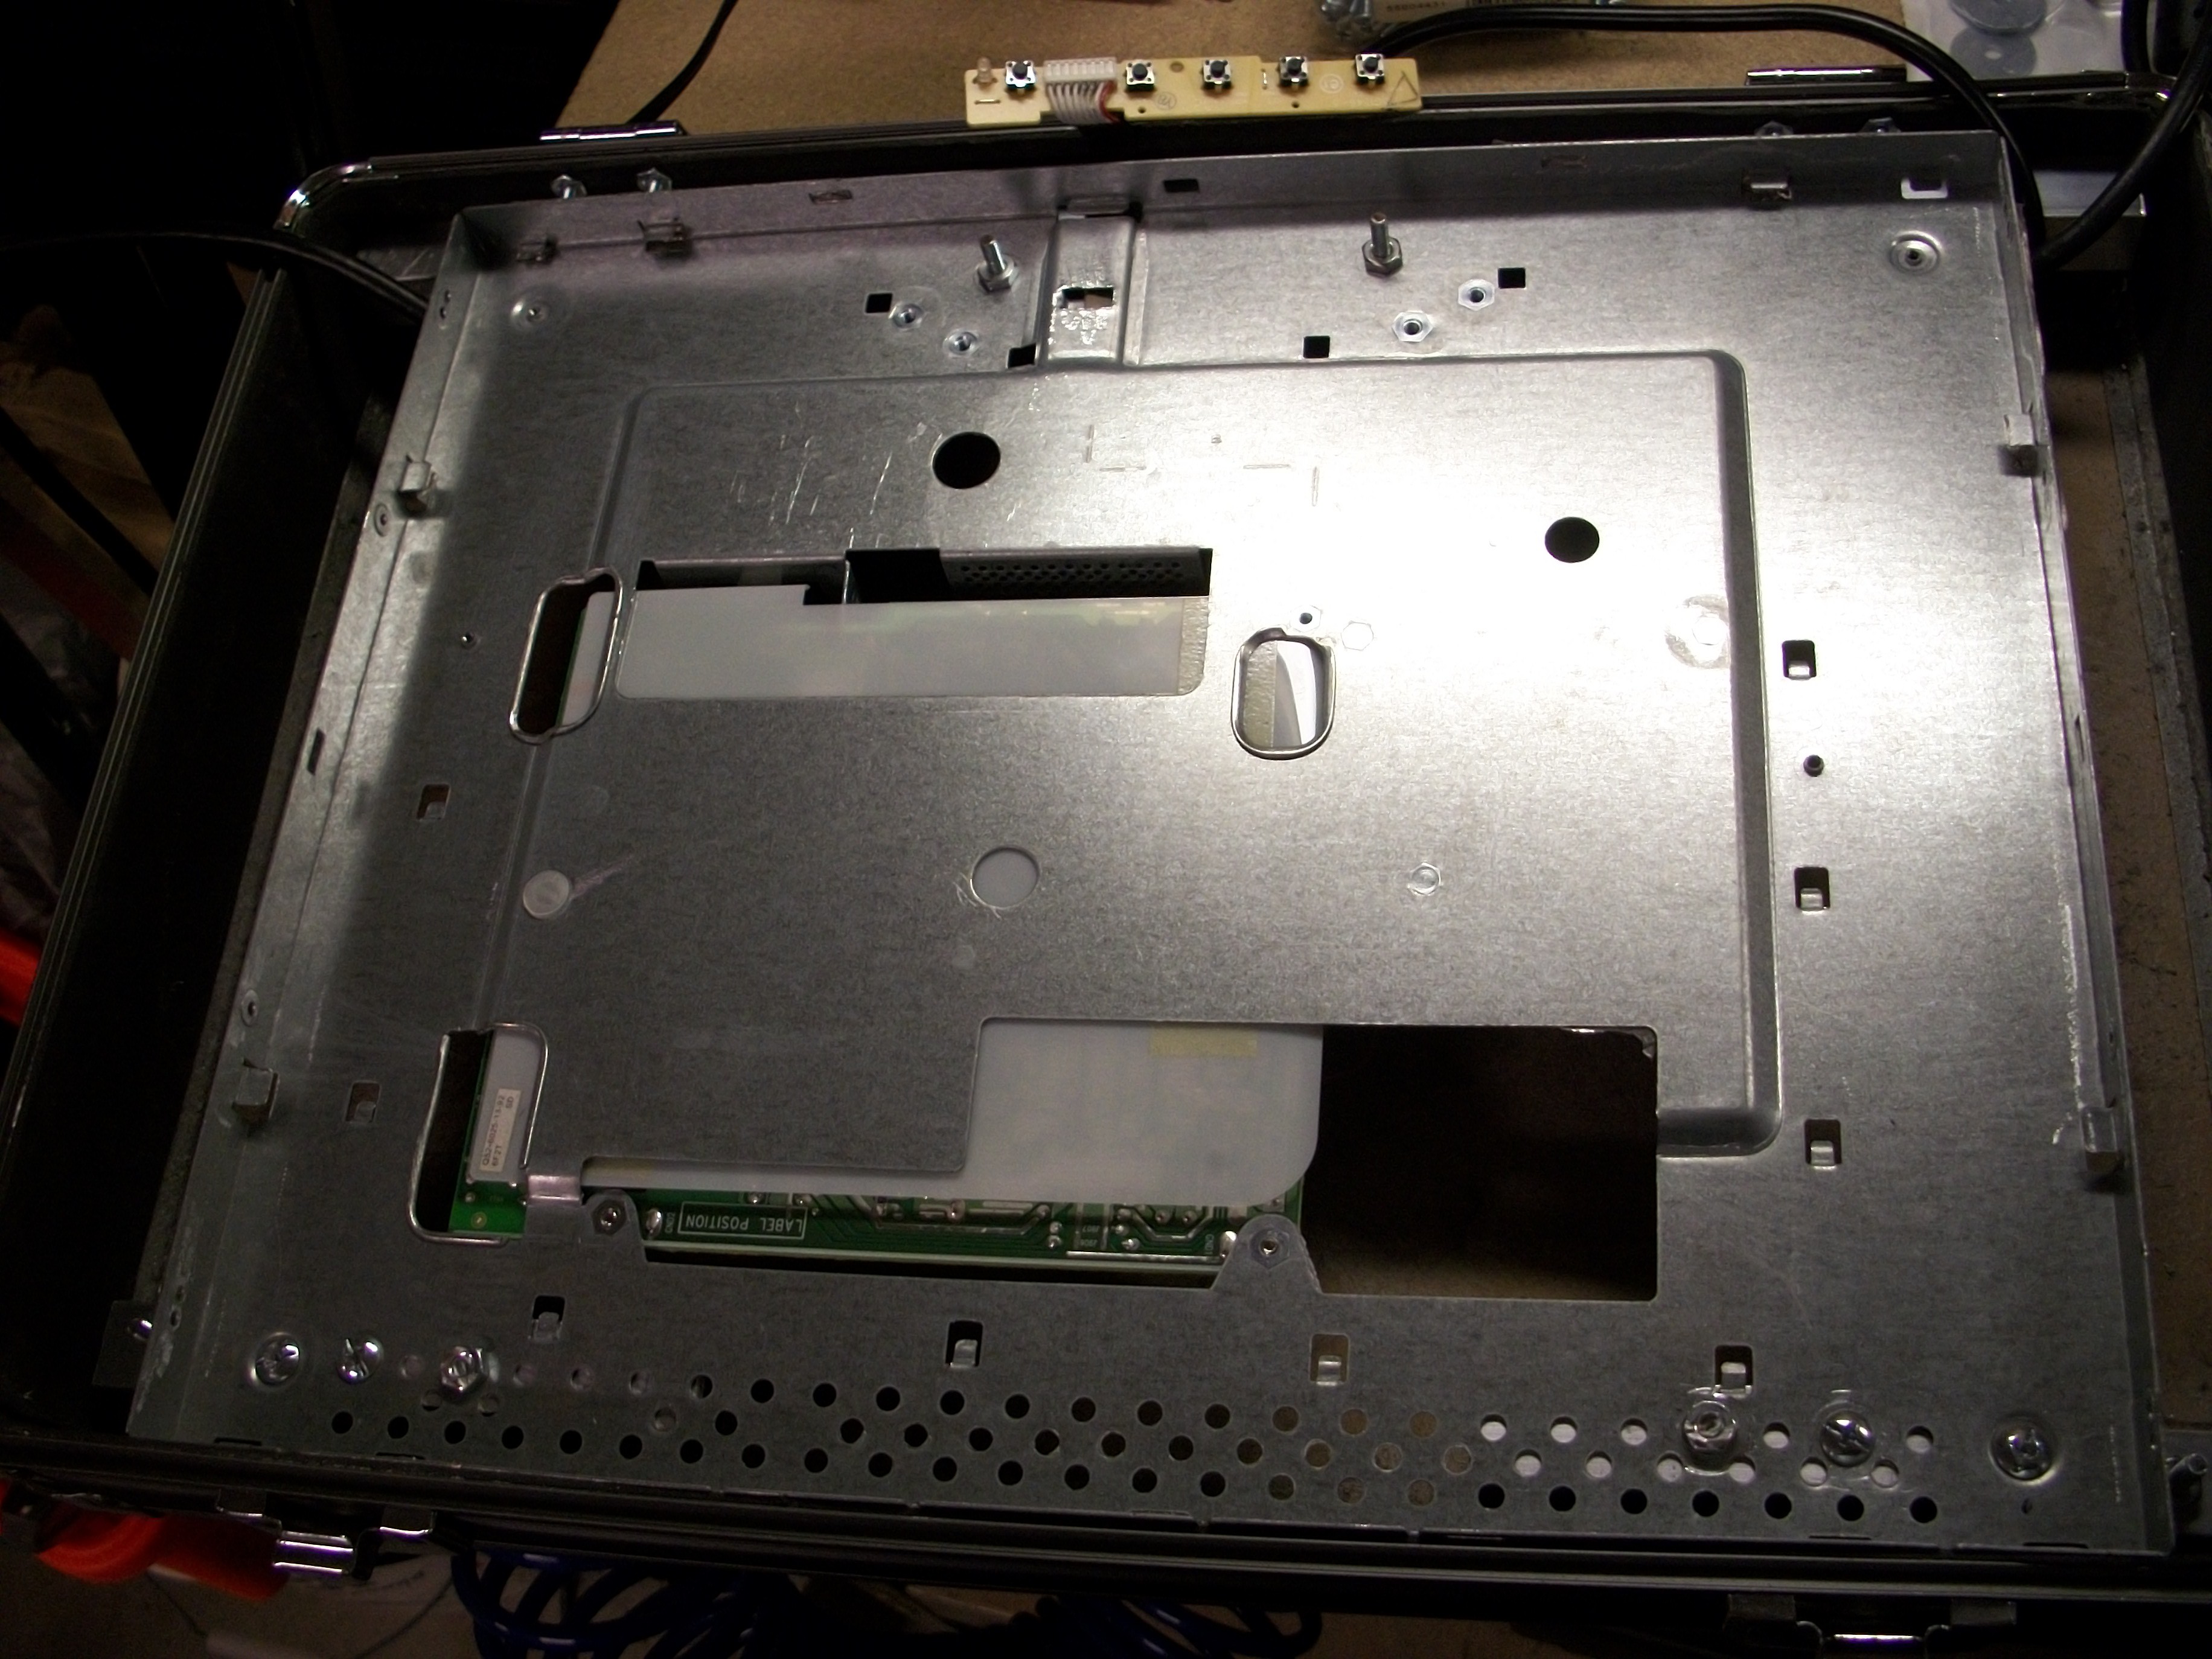
Mount the LCD.
NOTE: I would highly recommend getting something different than what I have and make sure it is VESA mountable. You can then simply drill holes in the locations of the VESA holes on the monitor and use some Aluminum Rectangular Bar and screws on the lid of the case.
Due the setup and type of monitor I had to mess with it for several weeks before I was able to get it set about right and even then I had to mess with it several more times before I was happy. The long and short of it was the LCD had another interior back plate frame with the electronics attached to it that I attached to the lid.
I attached a couple of L-brackets to the Aluminum Square Tubing for the lid support. In the top corners attached two more left over pieces of Aluminum Square Tubing and attached those to the lid. Since it is a pain to move the LCD once in, I ran power, VGA, and DVI cables out to the locations I wanted them.
-
10Step 10
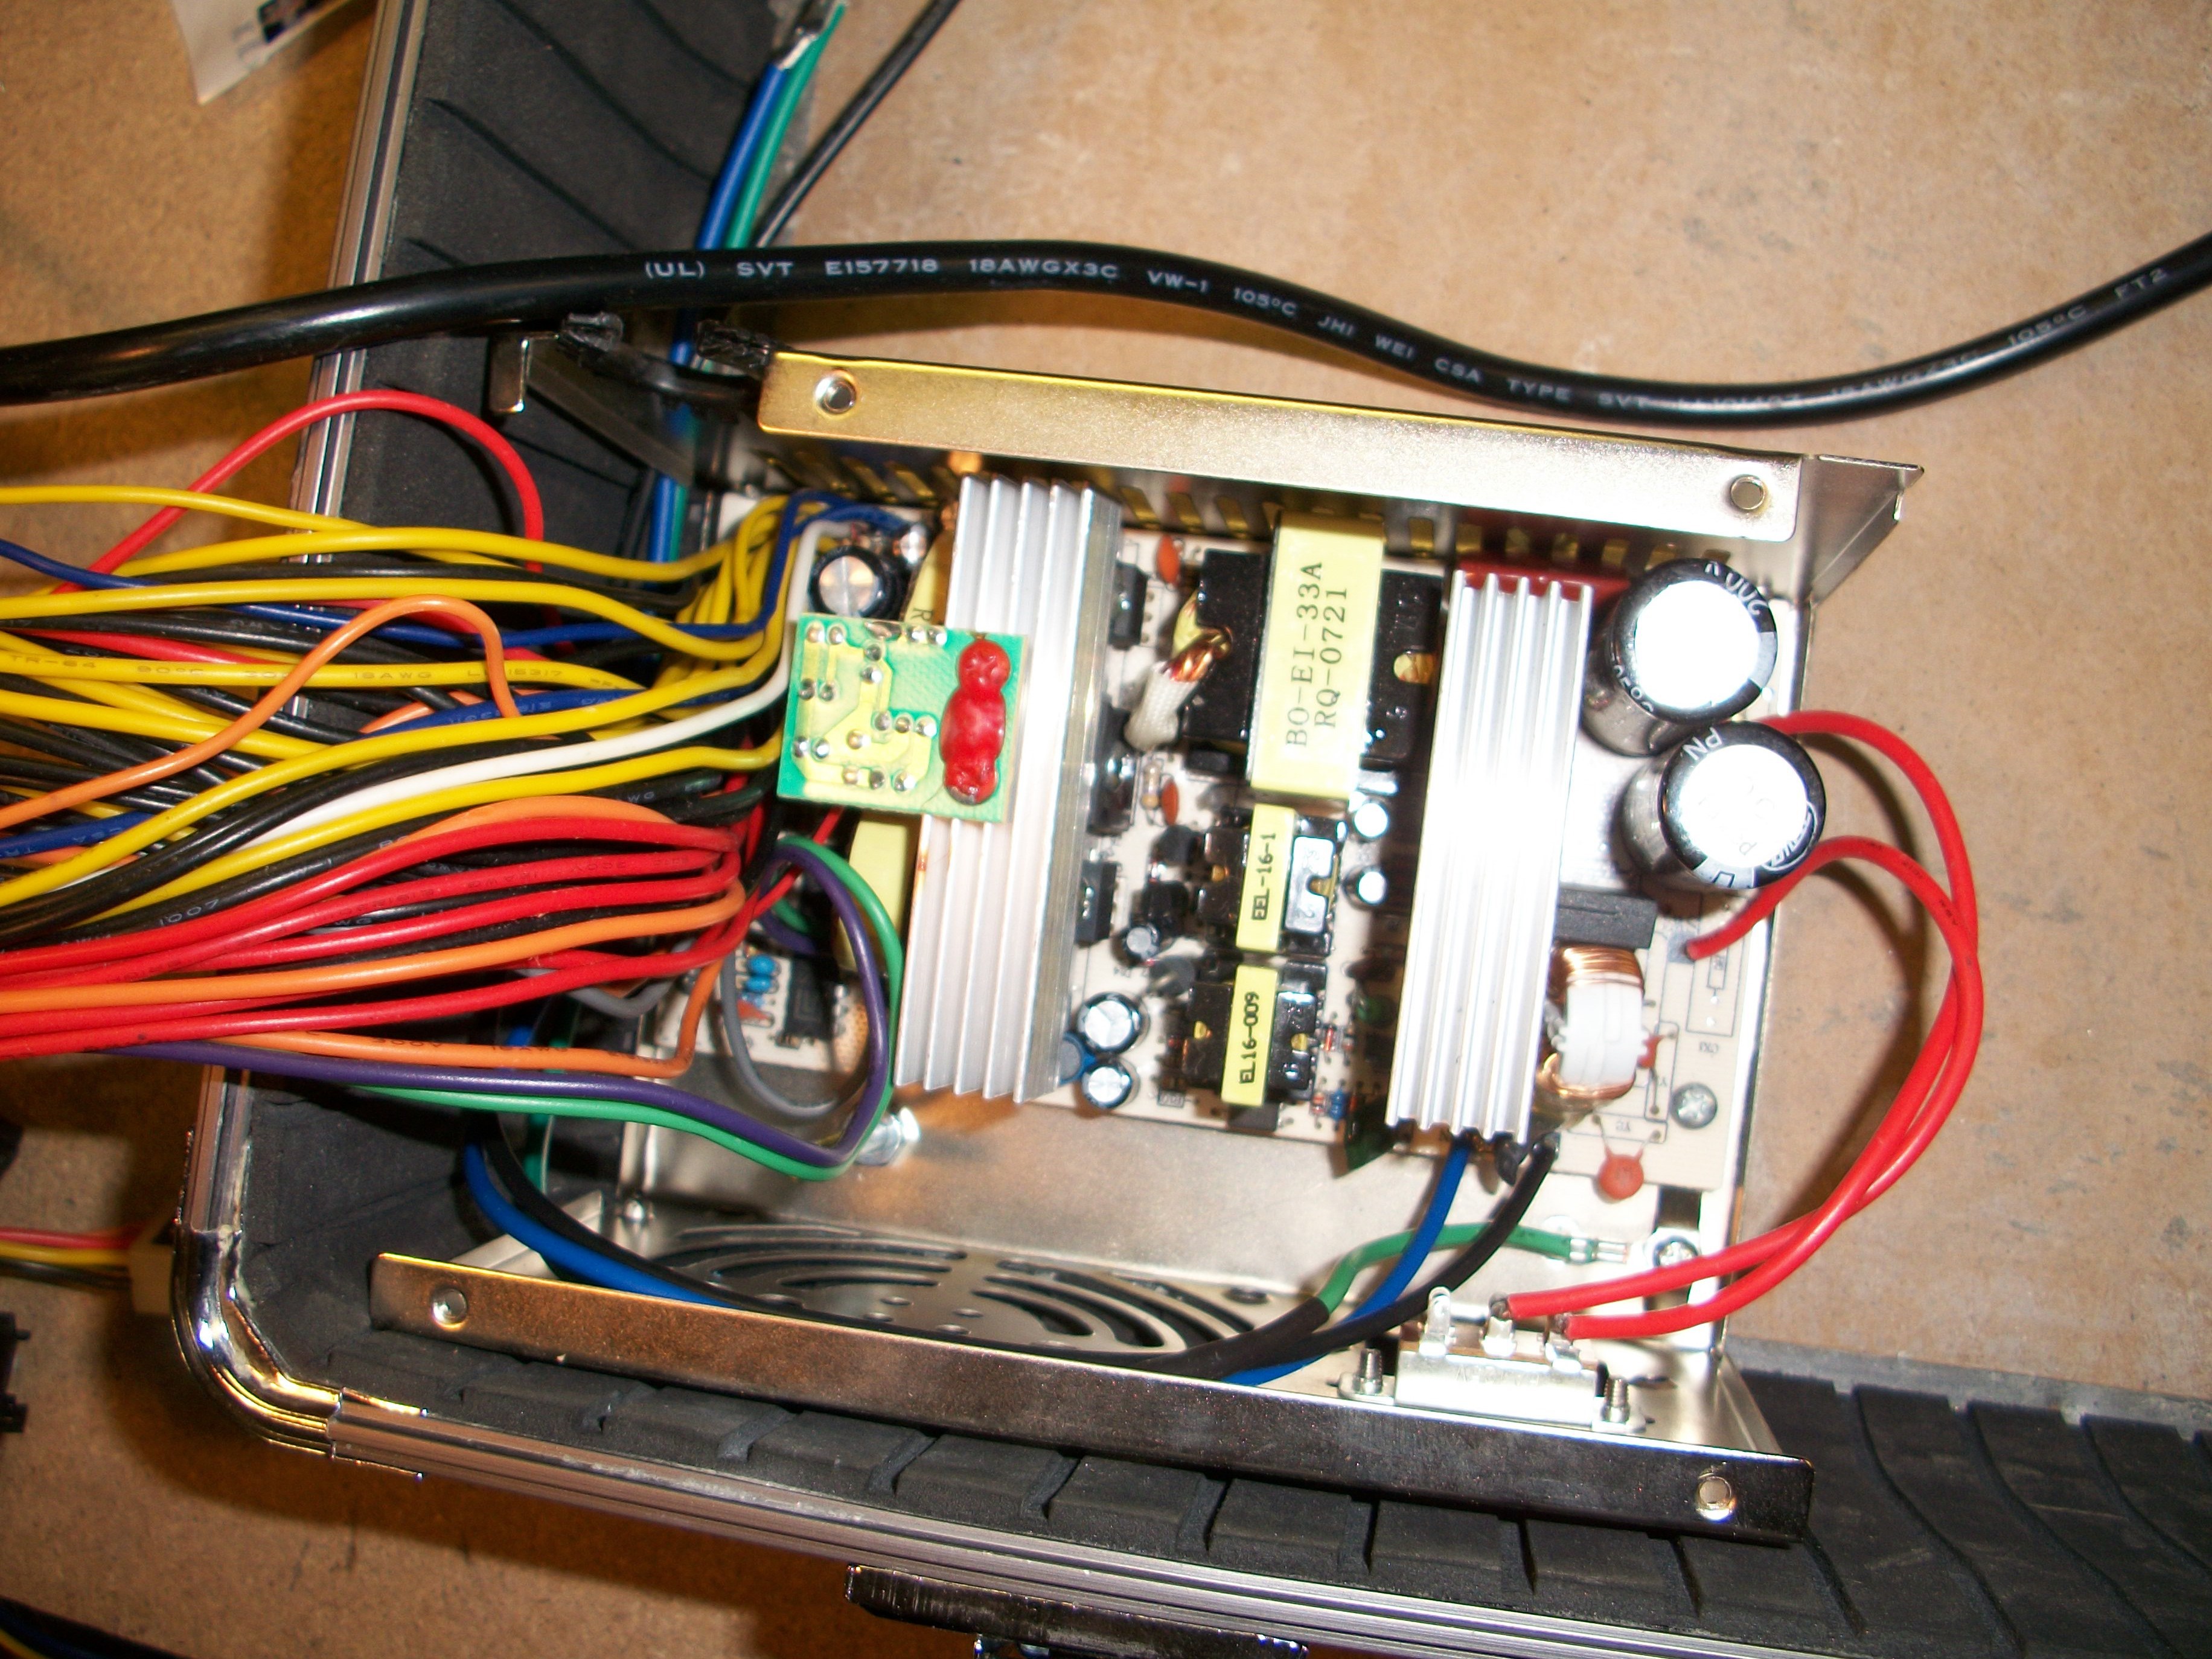
Mount the PSU.
I had to cut the PSU case open and snip some wires to make it fit how I wanted. My friend didn't and put his in whole and just cut a hole in the side of his case for the power. I wanted only a single power run for both the monitor and computer.
I removed the fan and cut back some of the metal frame to the height I wanted. I also snipped the wires for a few of the items I knew I wouldn't need, but did keep the extra molex runs and tucked them between the PSU and the HDDs. I removed the power plug and soldered the needed wires to the spots on the PSU and ran the them up the left side, Blue, Black, and Green wires running up the left side, to the new power input location. I added the Scythe Slip Stream Slim 120mm Case Fan (SY1212SL12L) with some L-brackets and washers to level it out to the top of the PSU. With as much air as this pushes and the PSU being open, it also keeps everything else in the case cool.
Briefcase PC
A portable desktop computer, complete with monitor and a single power plug.
Discussions
Become a Hackaday.io Member
Create an account to leave a comment. Already have an account? Log In.