MasterOfNull
-
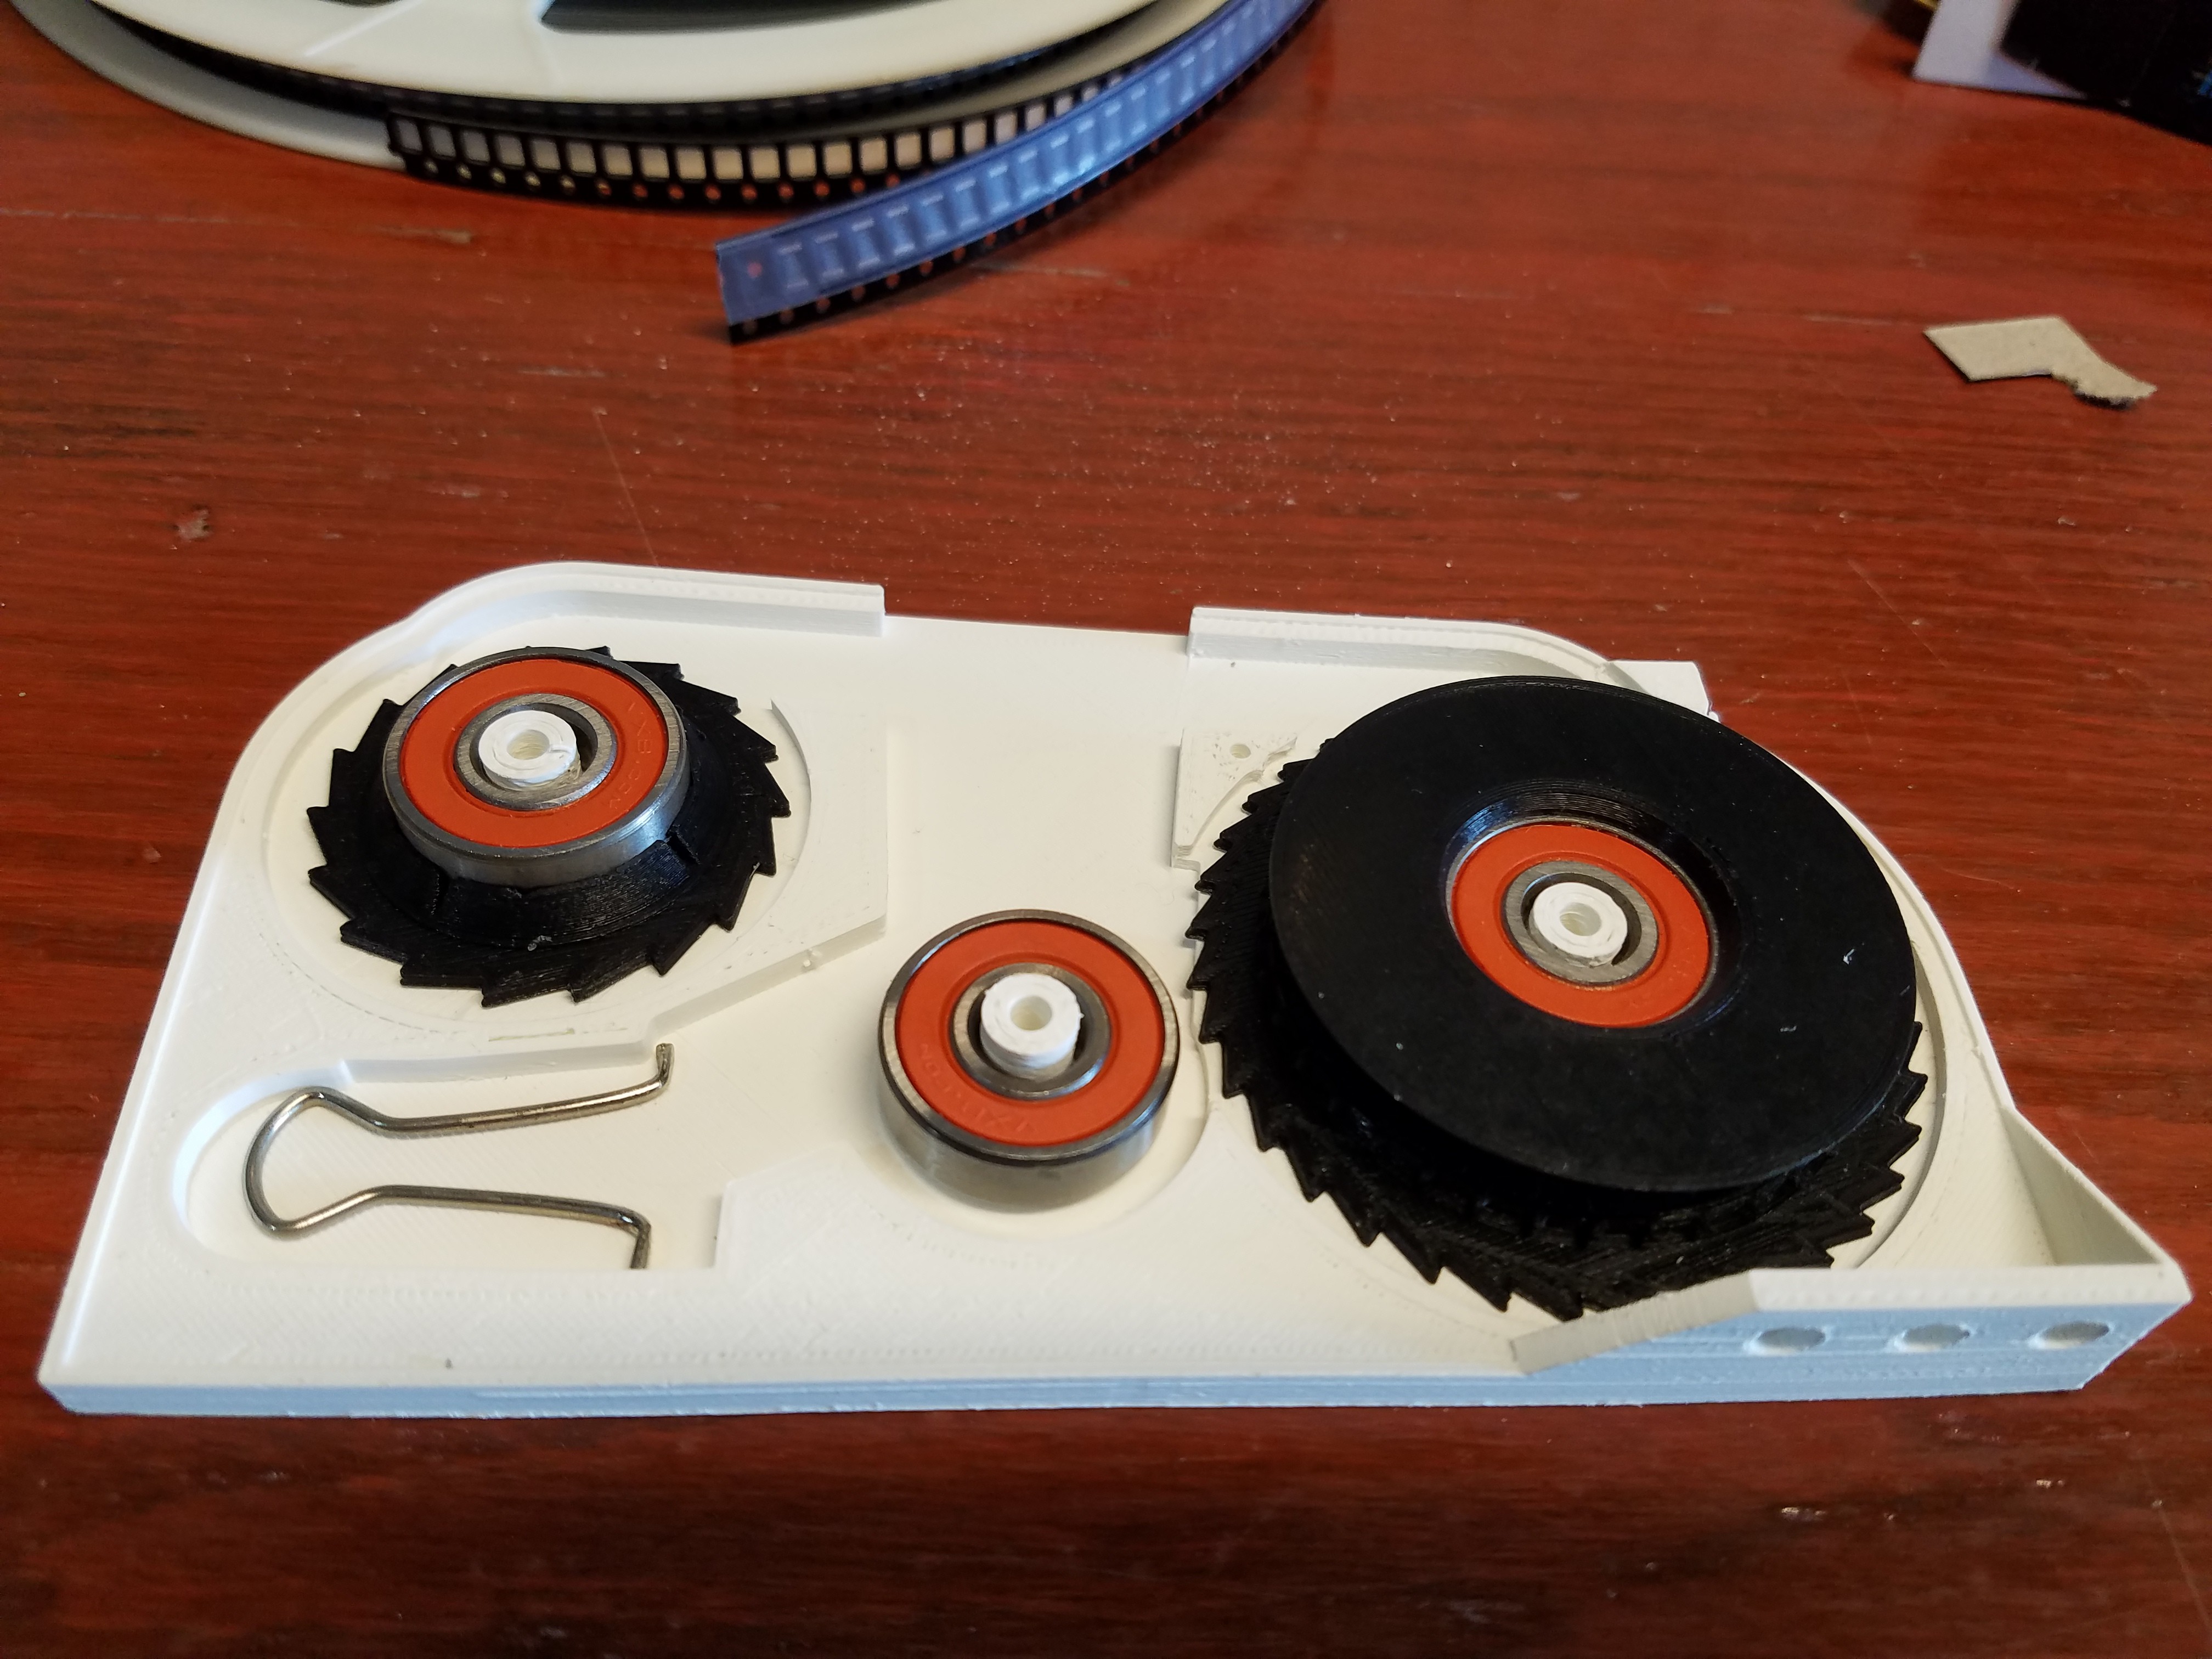
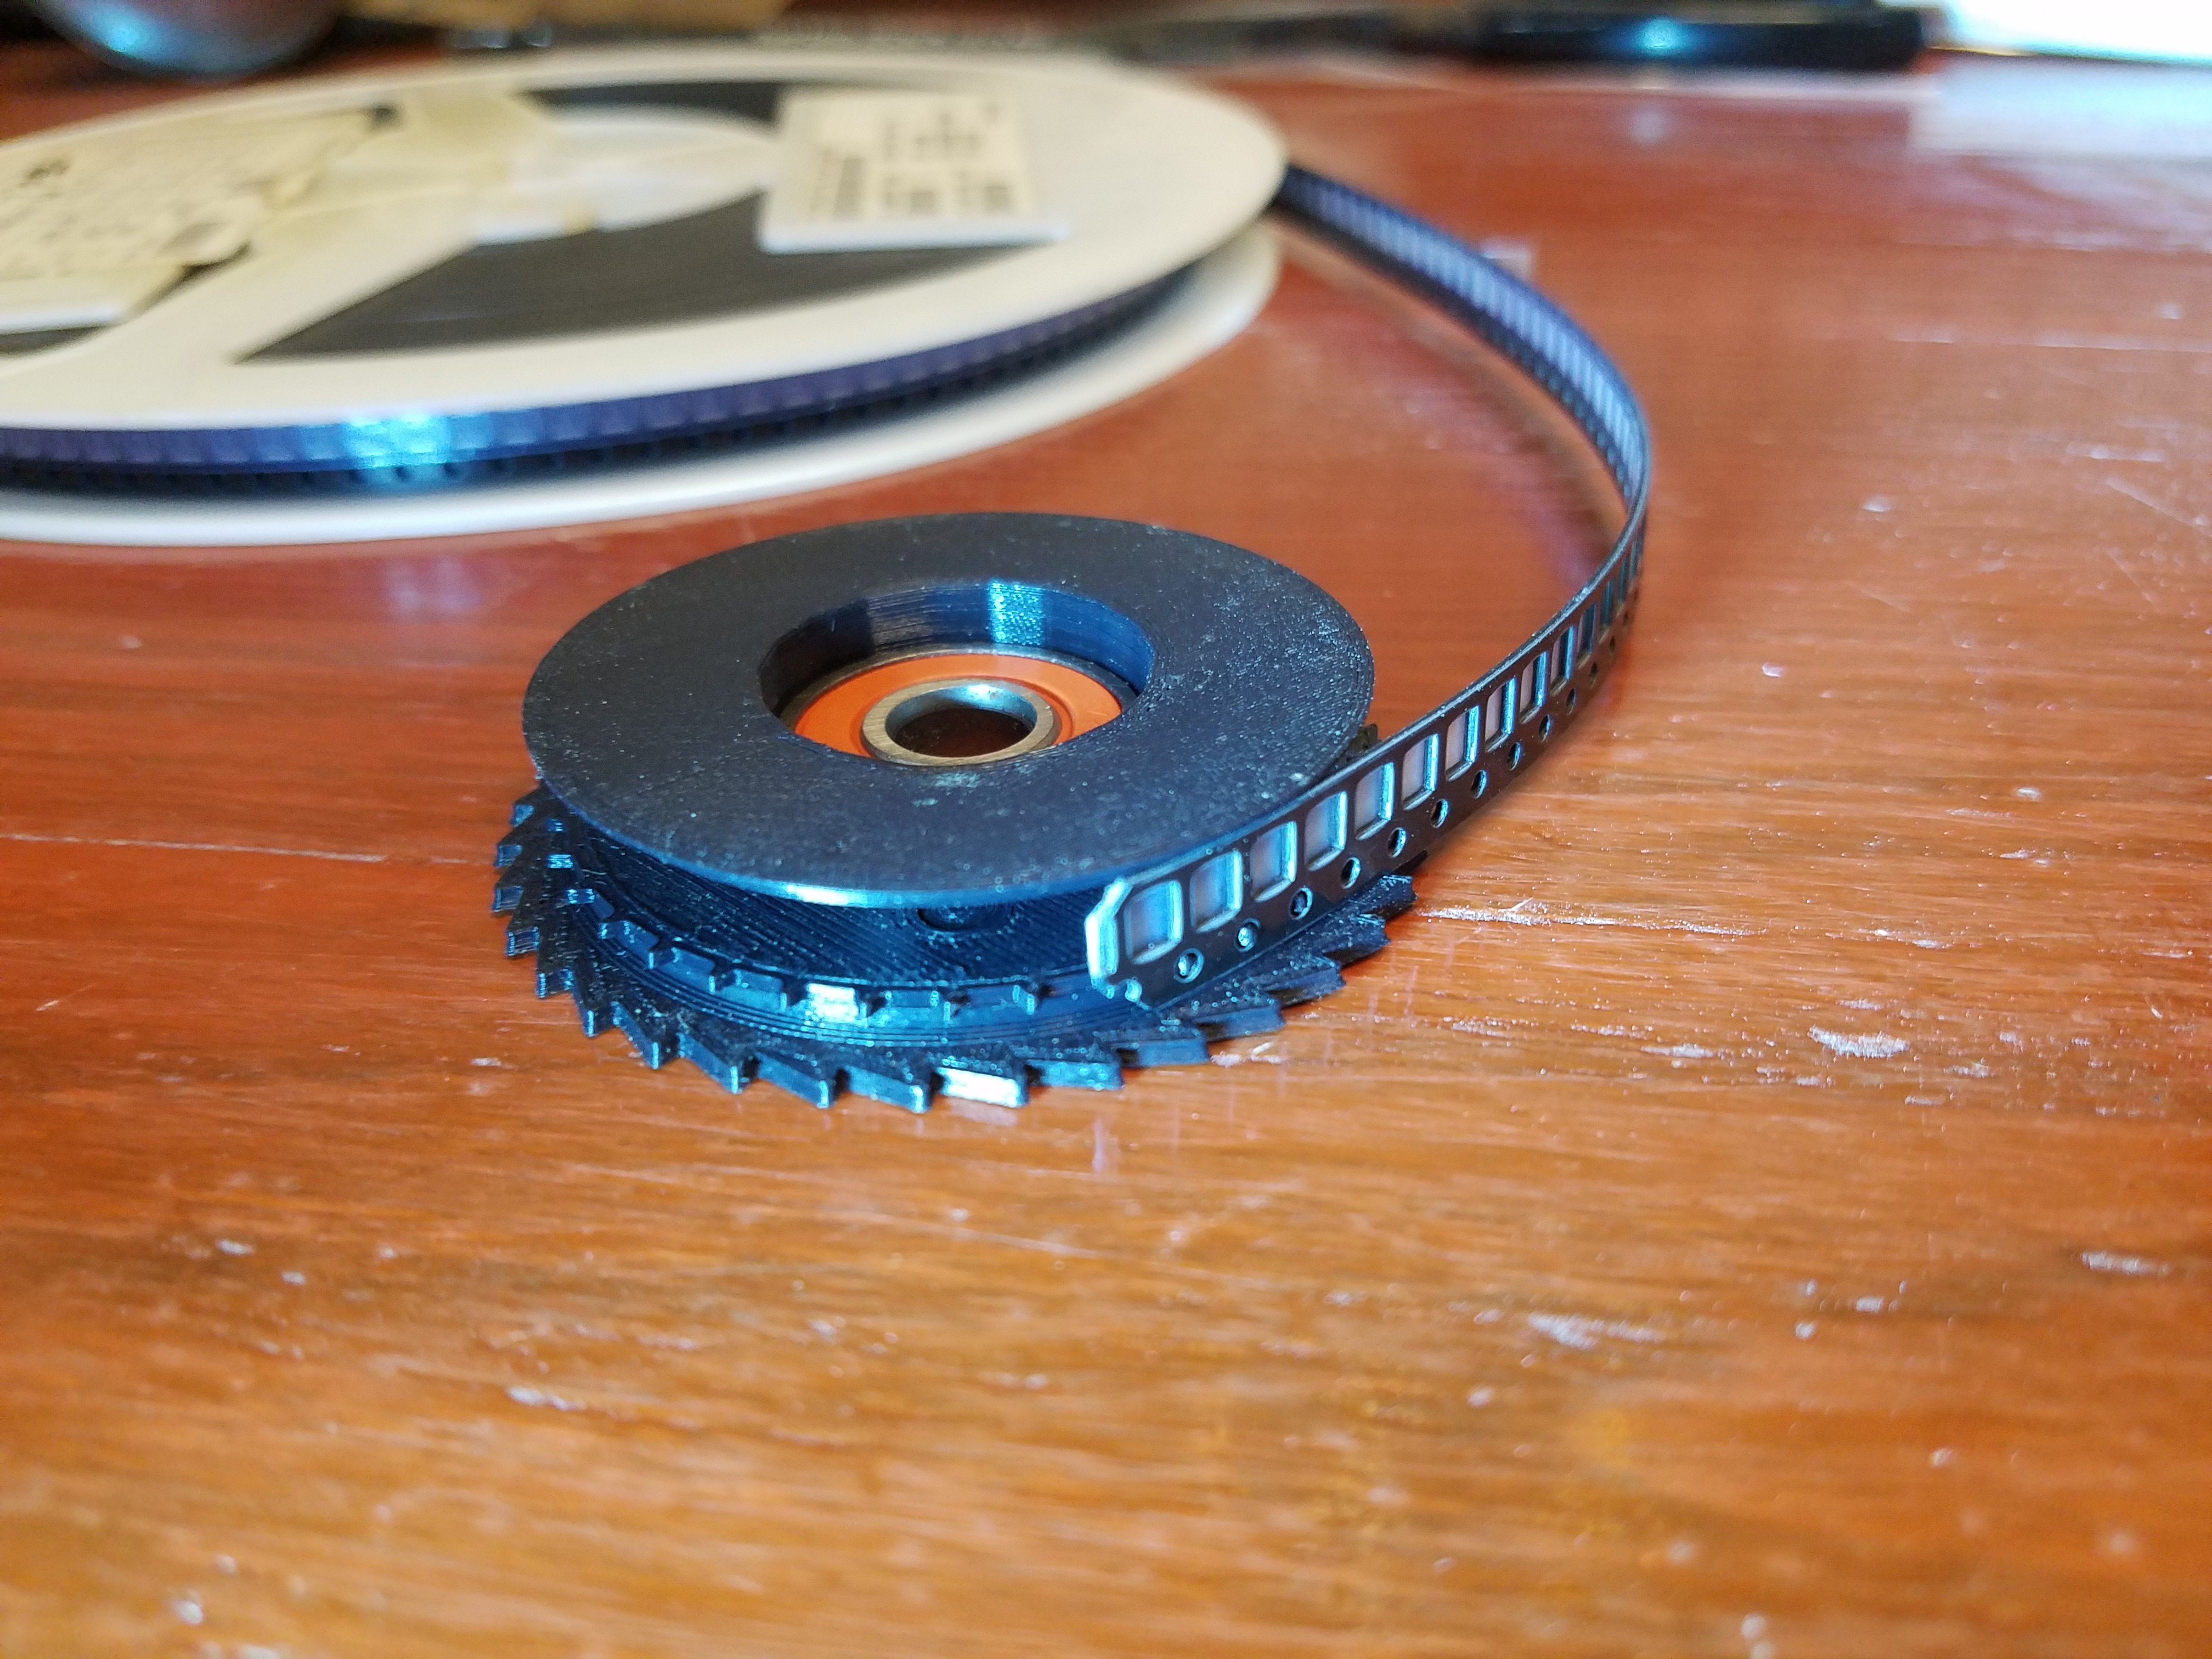
Tape feeder, done.
08/04/2018 at 23:56 • 0 commentsFinished up the tape feeder sub project. Works.
Rendered the files into STL, and put them up on Github
-
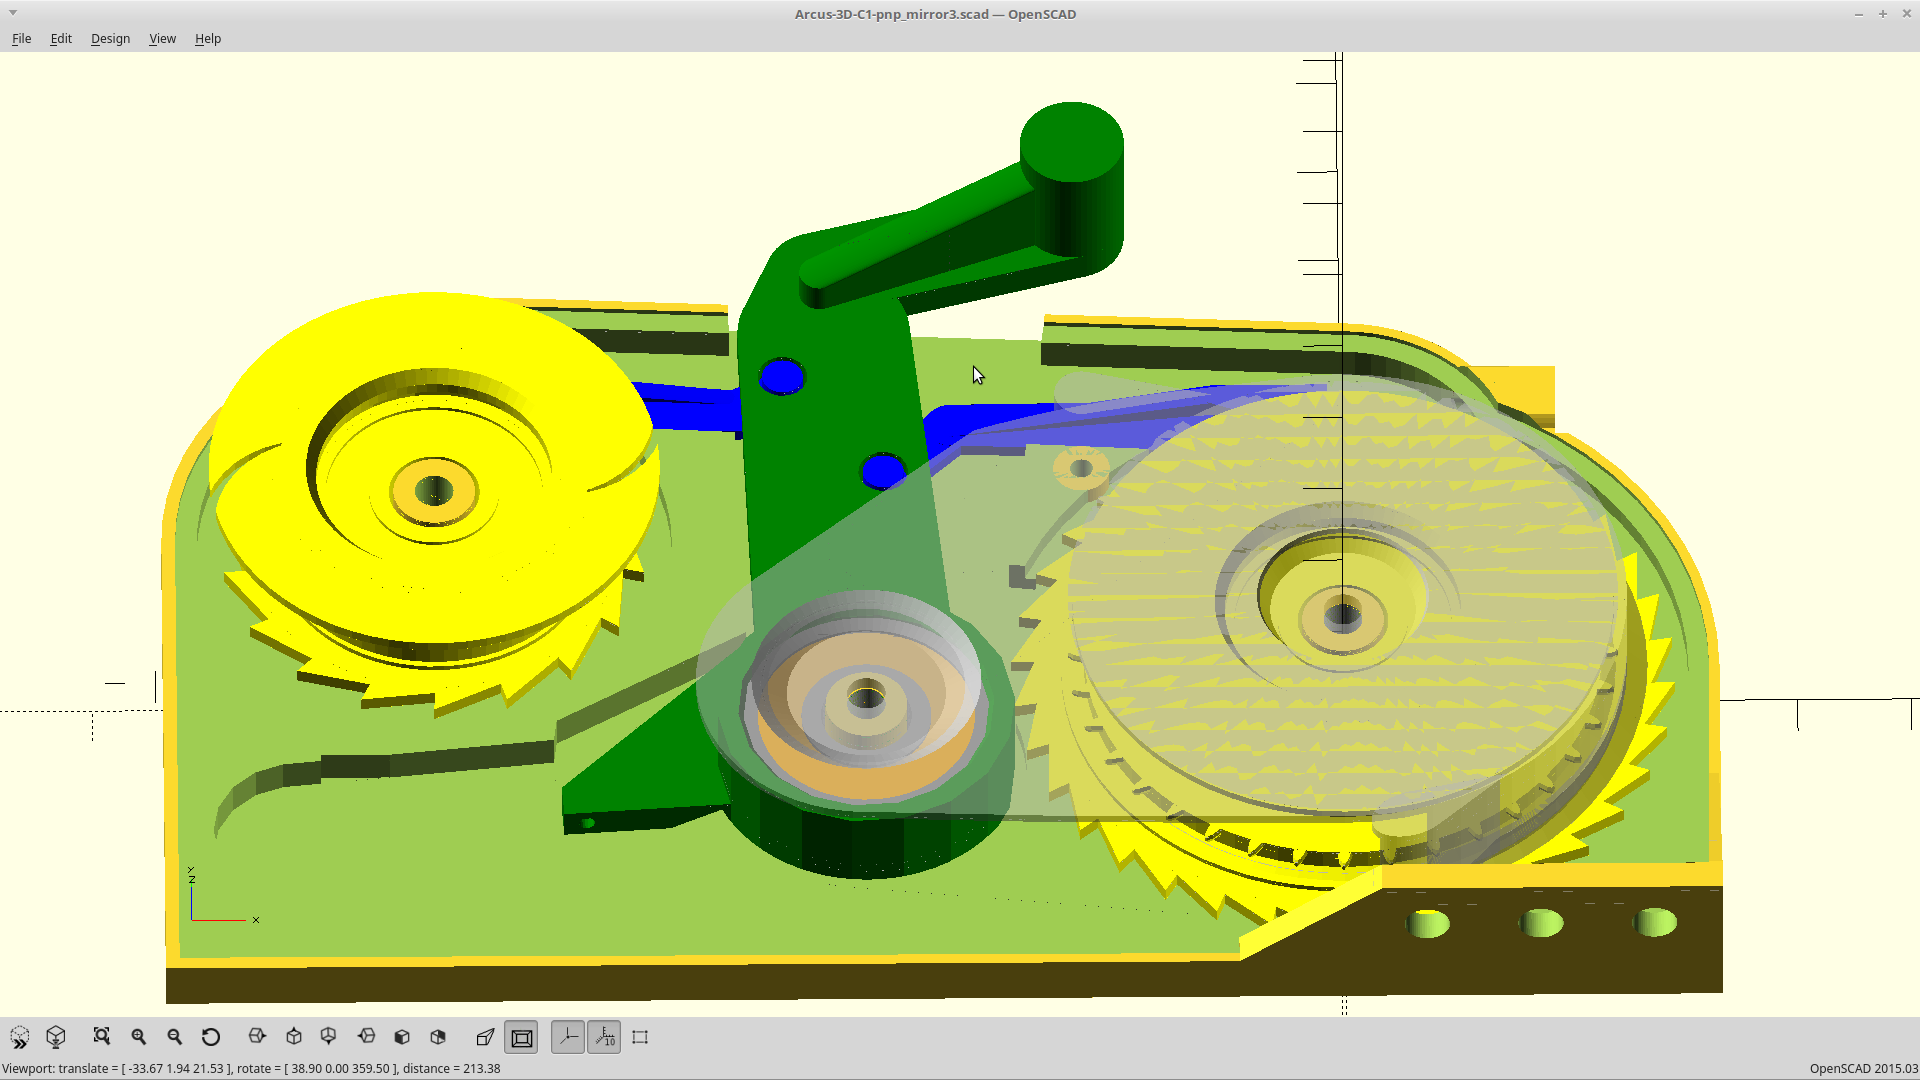
Tape feeder coming along.
07/22/2018 at 20:06 • 0 commentsDown to the final printing and tweaking for the tape feeder.
![]()
Binder clip is the lever return spring.
![]()
Head over to the P1 - Tape Feeder project for more updates.
-
Feed the beast.
07/18/2018 at 19:29 • 0 commentsI've generated another parallel project to support this one. It's a head actuated tape feeder.
![]()
-
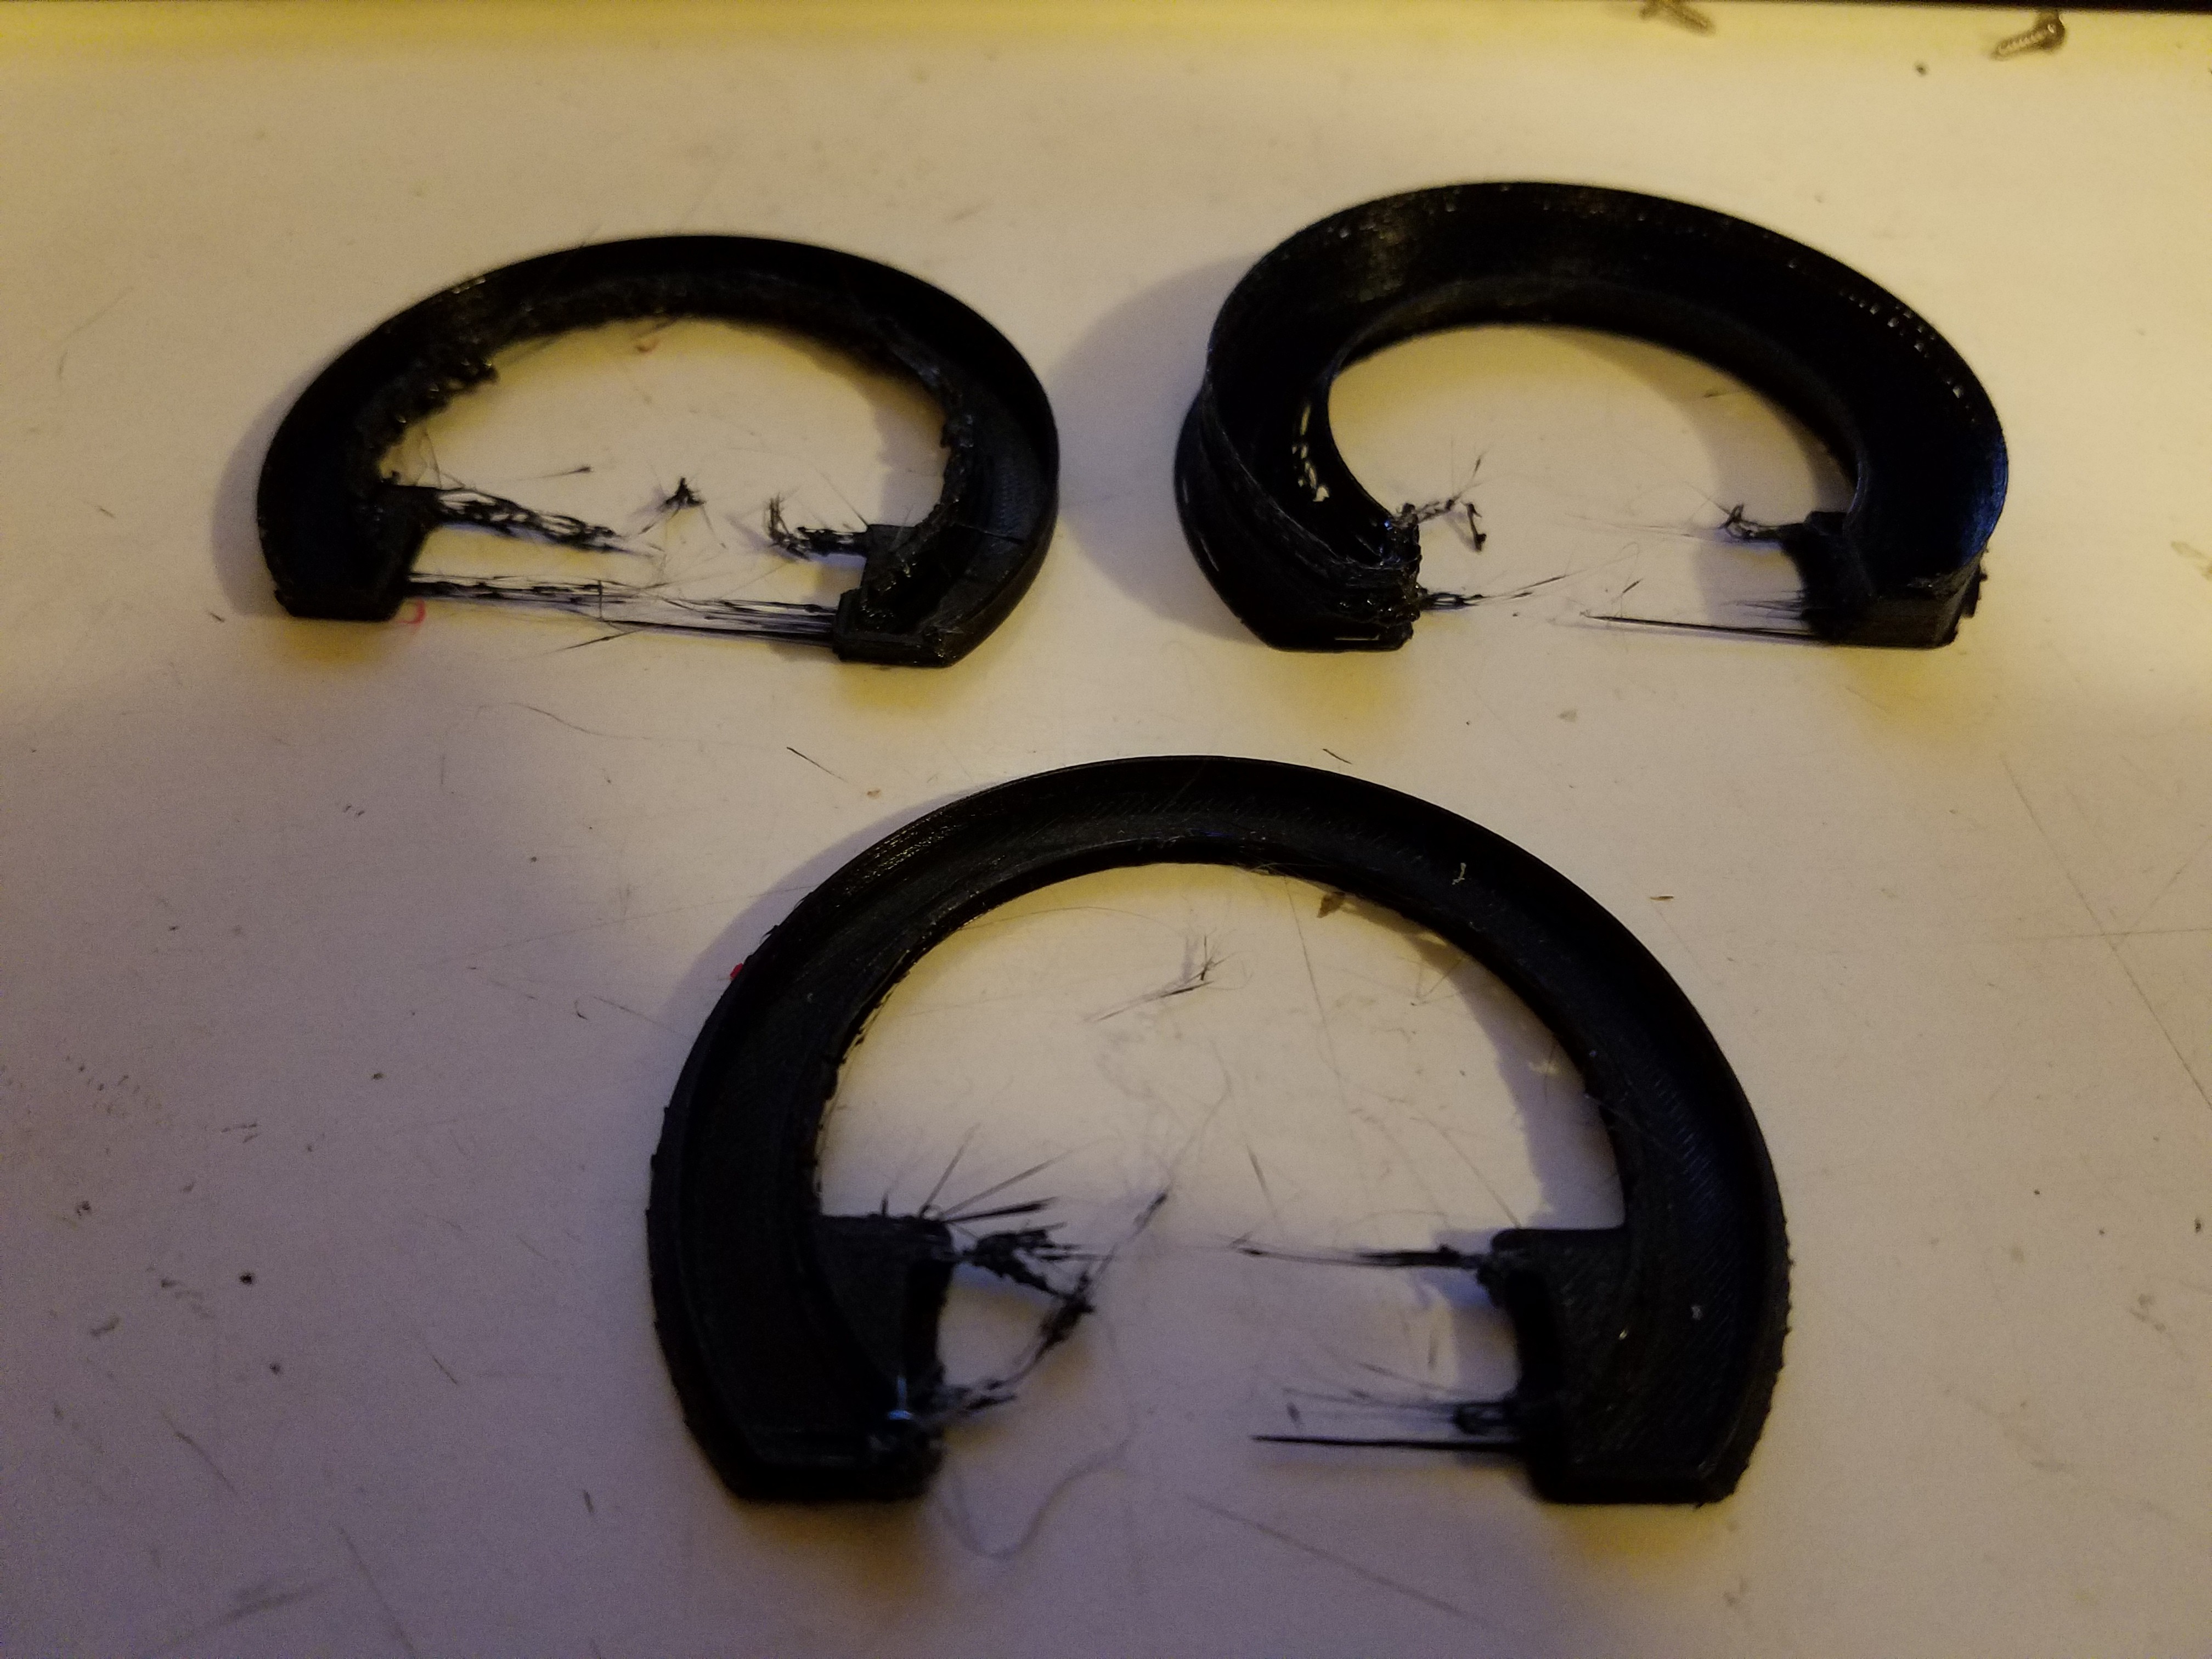
Round and round (just give it time).
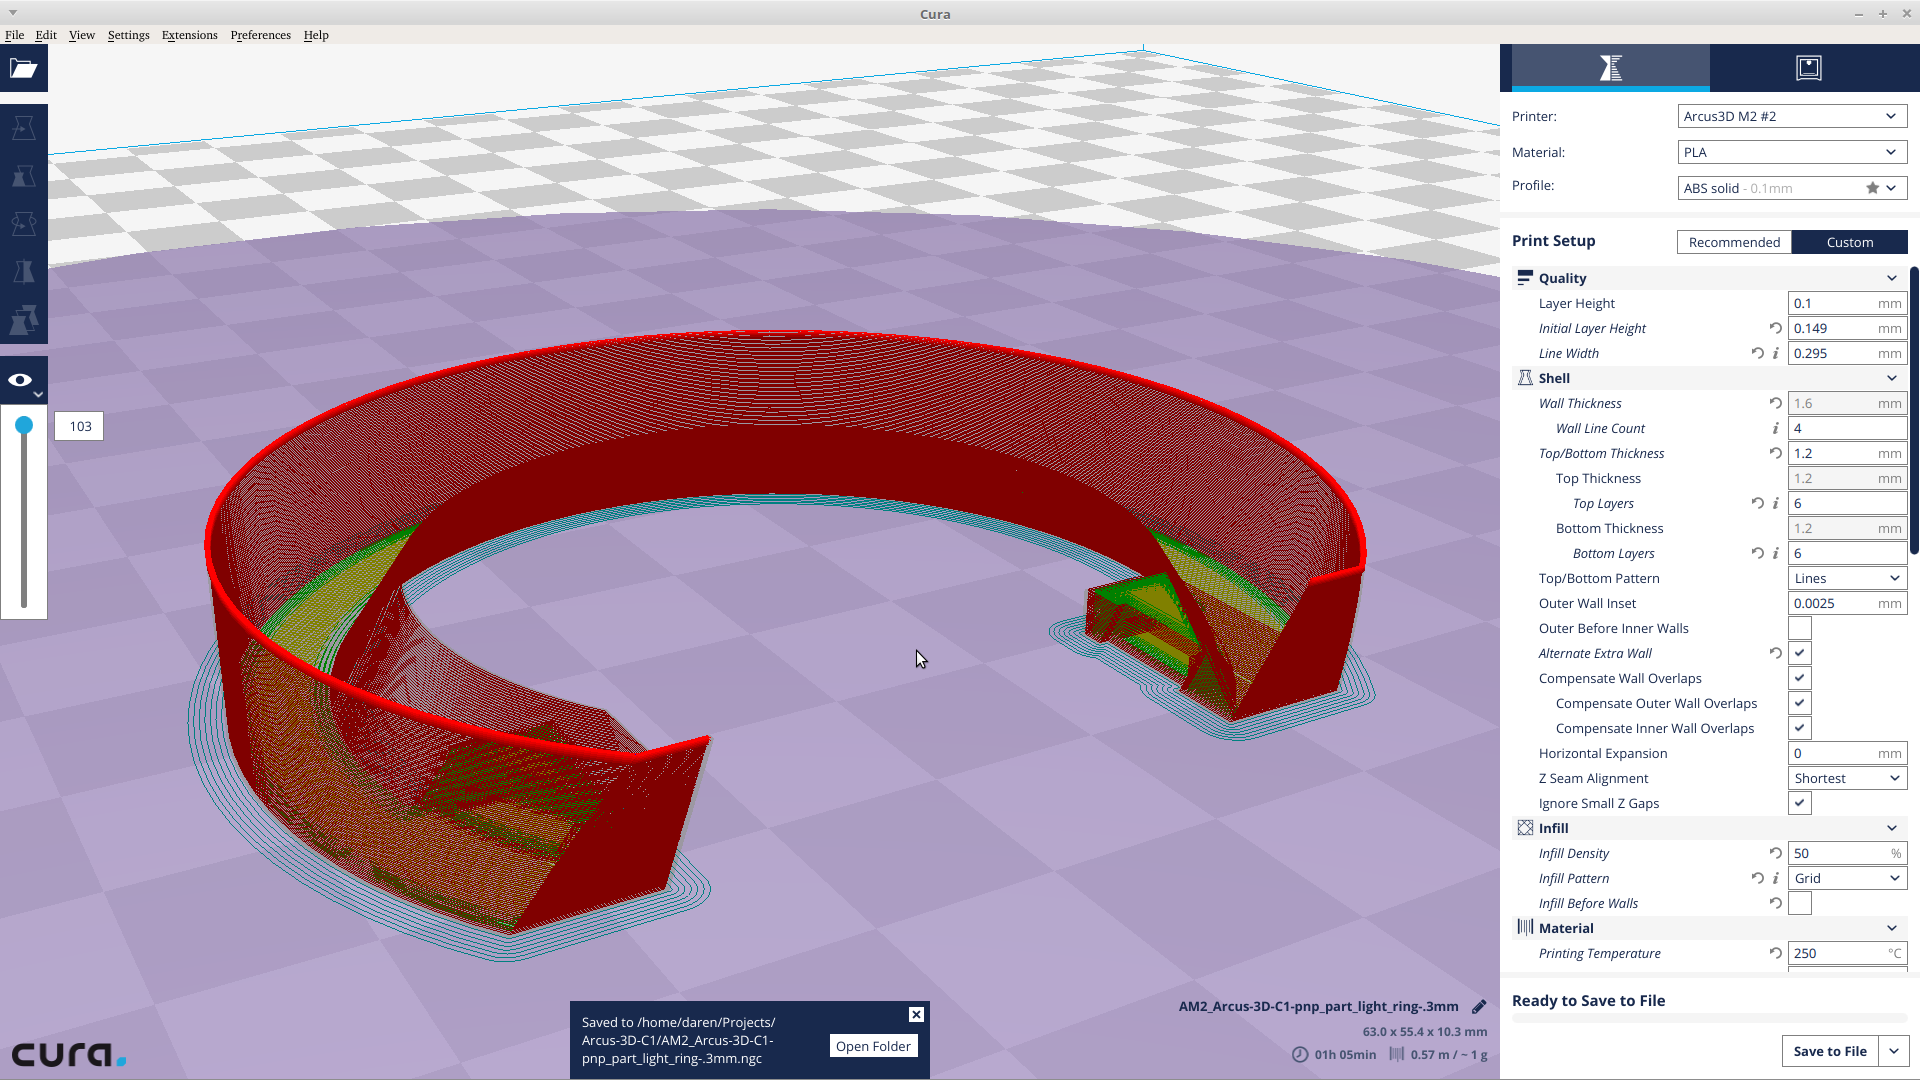
07/15/2018 at 07:55 • 0 commentsSince I was re-printing everything anyway due to the heat damage, I decided I would try to print all the parts at 0.3mm nozzle size. Well actually, I consumed my last 0.4mm nozzle a while back so this was more a choice of attrition.. but anyway, 0.3mm nozzle it was.
Due to my previous haste, this required far more modifications than just changing the variable representing nozzle_dia in my code. There were a lot more things dependant on nozzle_dia than I had accounted for, such as the ultimate thickness of the single wall print of the part_light_ring. At 0.4mm this was still within the range of rendering a wall for Cura. At 0.3mm, it was not.
A couple failed prints later I realized that 0.3mm at a 45 degree angle was too thin, so it was stopping the rendering half way up for the angled bits and renderings those areas just exceeding the threshold as a bunch of partial lines. I was firmly in the area of mathematical rounding for determining if a single wall should exist or not.
This of course, made a complete mess. Doing partial lines for a single wall print just doesn't work.
![]()
I multiplied the wall thickness by 1.44 (45 degree angle horizontal thickness for a 1.0 vertical wall thickness) for those areas, and now have good code again.
![]()
Looks like this worked.
![]()
Second to last part to re-print, and I'm back in business.
-
What a world.
07/12/2018 at 03:54 • 0 commentsAll setup and back at it.
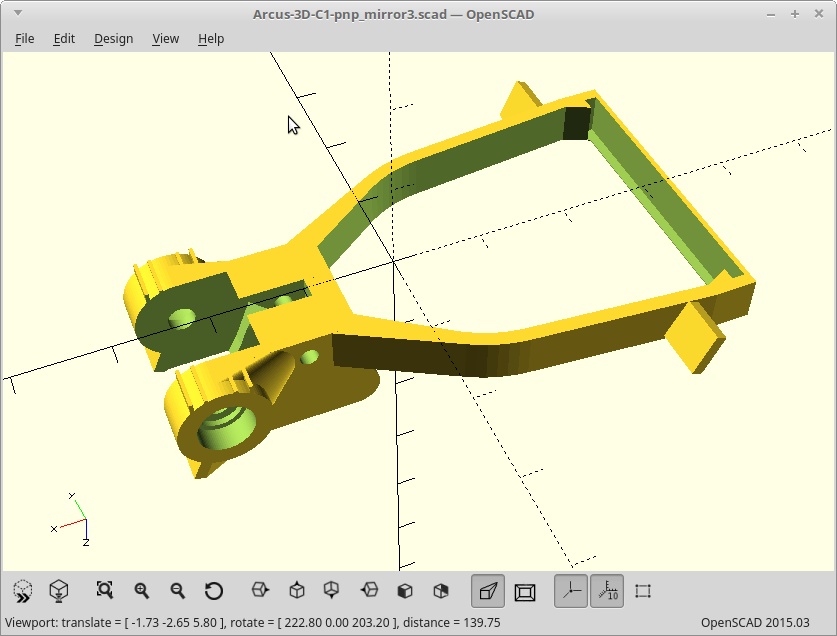
My current prototype spent a few too many days in hot vehicles and some of the lightweight PLA parts.. melted.
The mirror arm fared the worst with it's single extrusion width bridge.
![]()
Reprinting.
-
Back in the Saddle Again
07/04/2018 at 17:12 • 0 commentsSeveral thousand miles later, my shop is finally appearing out of the chaos again.
Now if i can just stop bingeing on Westworld I'll be back to this soon.
Doesn't look like anything to me..
-
Use the Source, Luke
04/23/2018 at 08:52 • 0 commentsI haven't read the fine print, but I see other users who are participating in the 2018 Open Hardware design challenge telling their followers to un-like and re-like their projects. There must be a reason..
So please un-like, and then re-like this project if you want to see this project move forward.
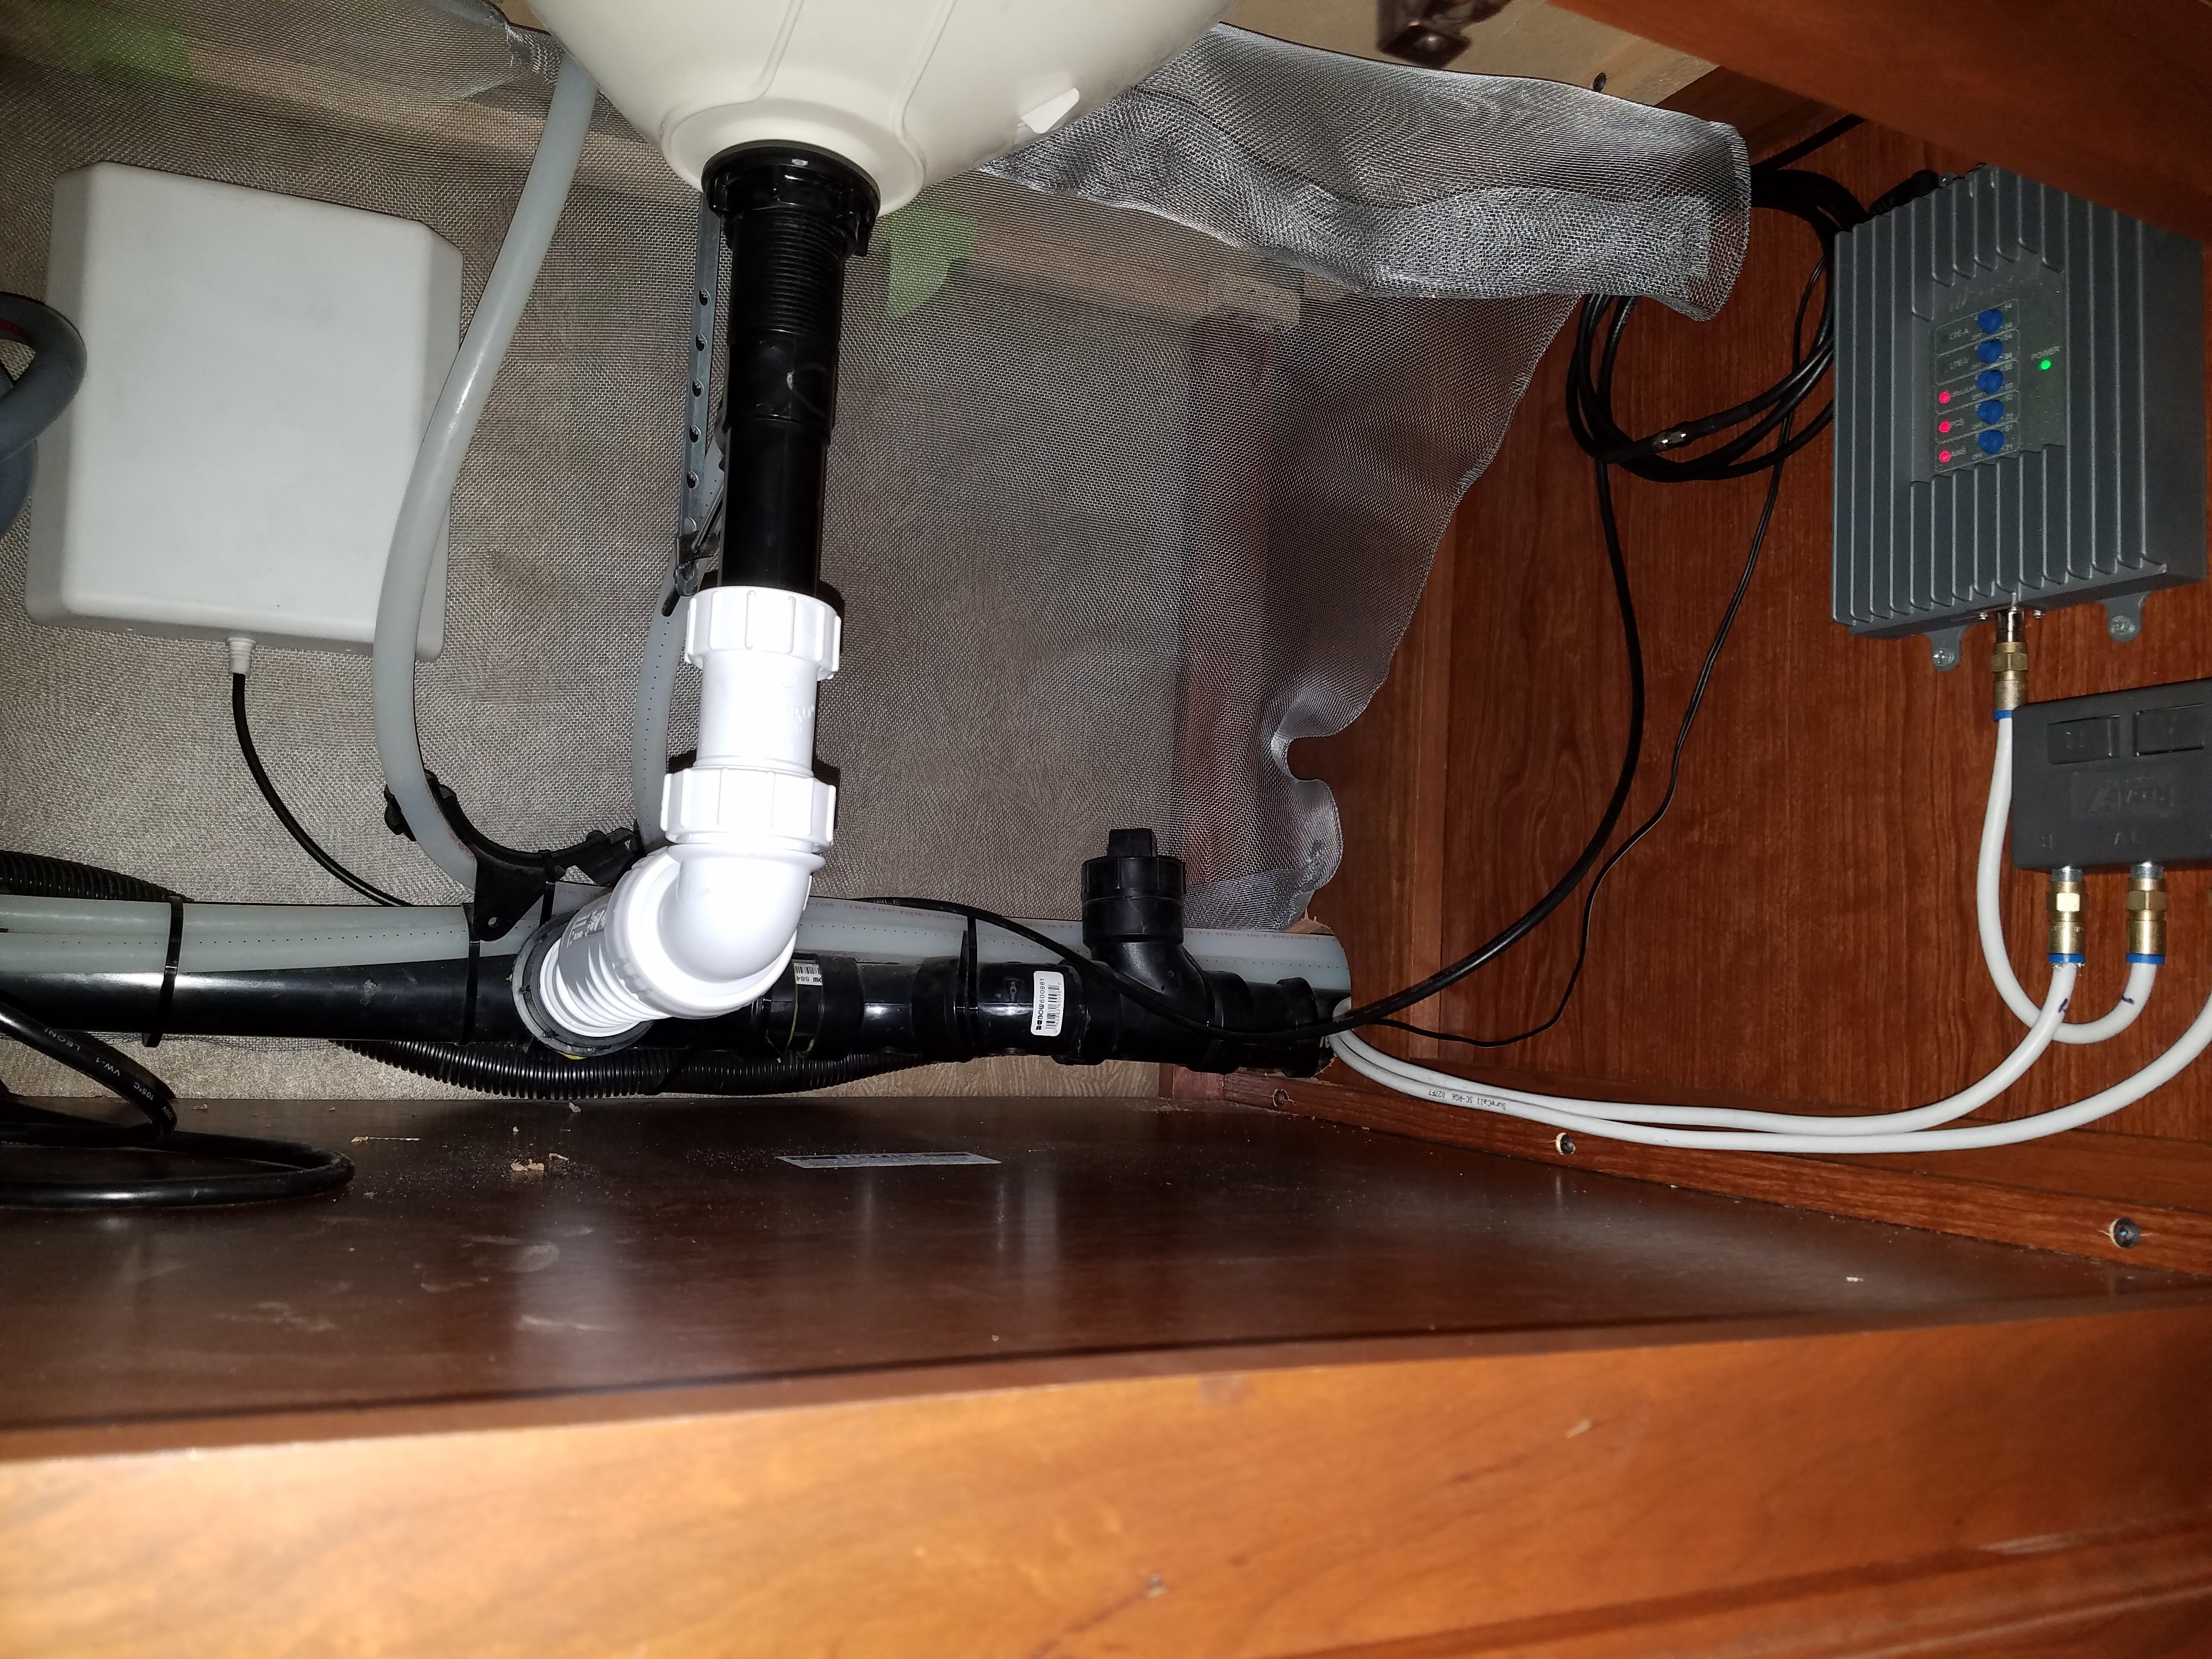
I still have zero time right now as I'm moving in 7 days and been busy packing up a huge house with 2 multi-discipline hackers living in it. At the same time I've had to setup our RV for living/working.
![]()
Needed to add some shielding here (the aluminum screen) to keep the inside and outside cellular antennas from feeding back and causing the amplifier to shut down. Eventually I hope to document everything about it, but right now it just has to work.
Moving and RV setup have been mind bogglingly huge tasks and have been going on for months now. The end is drawing nigh though, so now I really need to focus.
Still, I took the time to make a new Github, assign a license, and upload the hardware source for exactly what I've been using.
It still also contains the source for the C1 as well as I haven't had the time to invest to split it up and document some of it yet, but hey... it's out there now. When a 'Hey, I wonder...' project evolves into something public, things can get messy so don't judge. :)
Let me know if you think that the rendered stl files should accompany it.
-
Busy.
04/10/2018 at 17:13 • 0 commentsSorry for the lack of updates, but it's been busy around here. Moving and stuff.
The lack of a suitable printer to just slap this onto also means the C1 needs to work first, and then I got distracted with this: https://hackaday.io/project/101776-interdimensional-portal-gun
I'll be back to this soon.
-
Dual color main light ring.
03/16/2018 at 03:30 • 0 commentsYou know.. I have a multi-material mixing print head. Perhaps I should actually use it.
So I did.
No actual active mixing, but I programmed the change from white to black at least. I somehow found I could spare the time required for adding 2 lines of gcode (M163 filament percentage commands for the curious) at a layer change... mostly. Well.. I liked the idea of the M163 command, so I implemented it within the guidelines of the actual standard.
<RANT>
My implementation uses non reserved characters... yes, gcode actually has rules people.... and it is 100x more precise. I use a range of 100.0 to 0 instead of 10 to 0. It doesn't matter much here as the swing is from 100.0 to 0, but your get the point. Yes.. you may have assigned meaning to this Mcode definition, but in the process you used characters (in a very simple system) already assigned to other functions cause they fit your mindset.. And now we are all screwed.
Sorry.. but coming from the 'other side' I'm annoyed at the general RepRap movement not following the rules.
But hey... usage equals reality... Um... No.
Standards exist for a reason. If you want to deviate, use the built in variables which allow for deviation, or define your own system. Don't call it gcode unless systems designed to read gcode can actually do so.
Bastardizing existing standards sucks, and I simply refuse to adopt that kind of M$ mentality. Well... I have to admit M$ has been getting a lot better at this in the last few years. But...
You know how many hours I've spent of my life working around the stupid little changes "companies" have made to established standards, simply because it was easier or they wanted to add feature X and didn't want to do the associated work required? I actually have no idea... But I can tell you that I lived through the early days of the internet and that I still deal with this kinda crap for my "real job" on daily basis. Compared to actual problem solving, working around silly choices like these consume an absolutely huge portion of my time.
So... I have chosen to implement something within the existing standard. I had to change one character....
Now is the time. Resist!
</RANT>
Anyway....
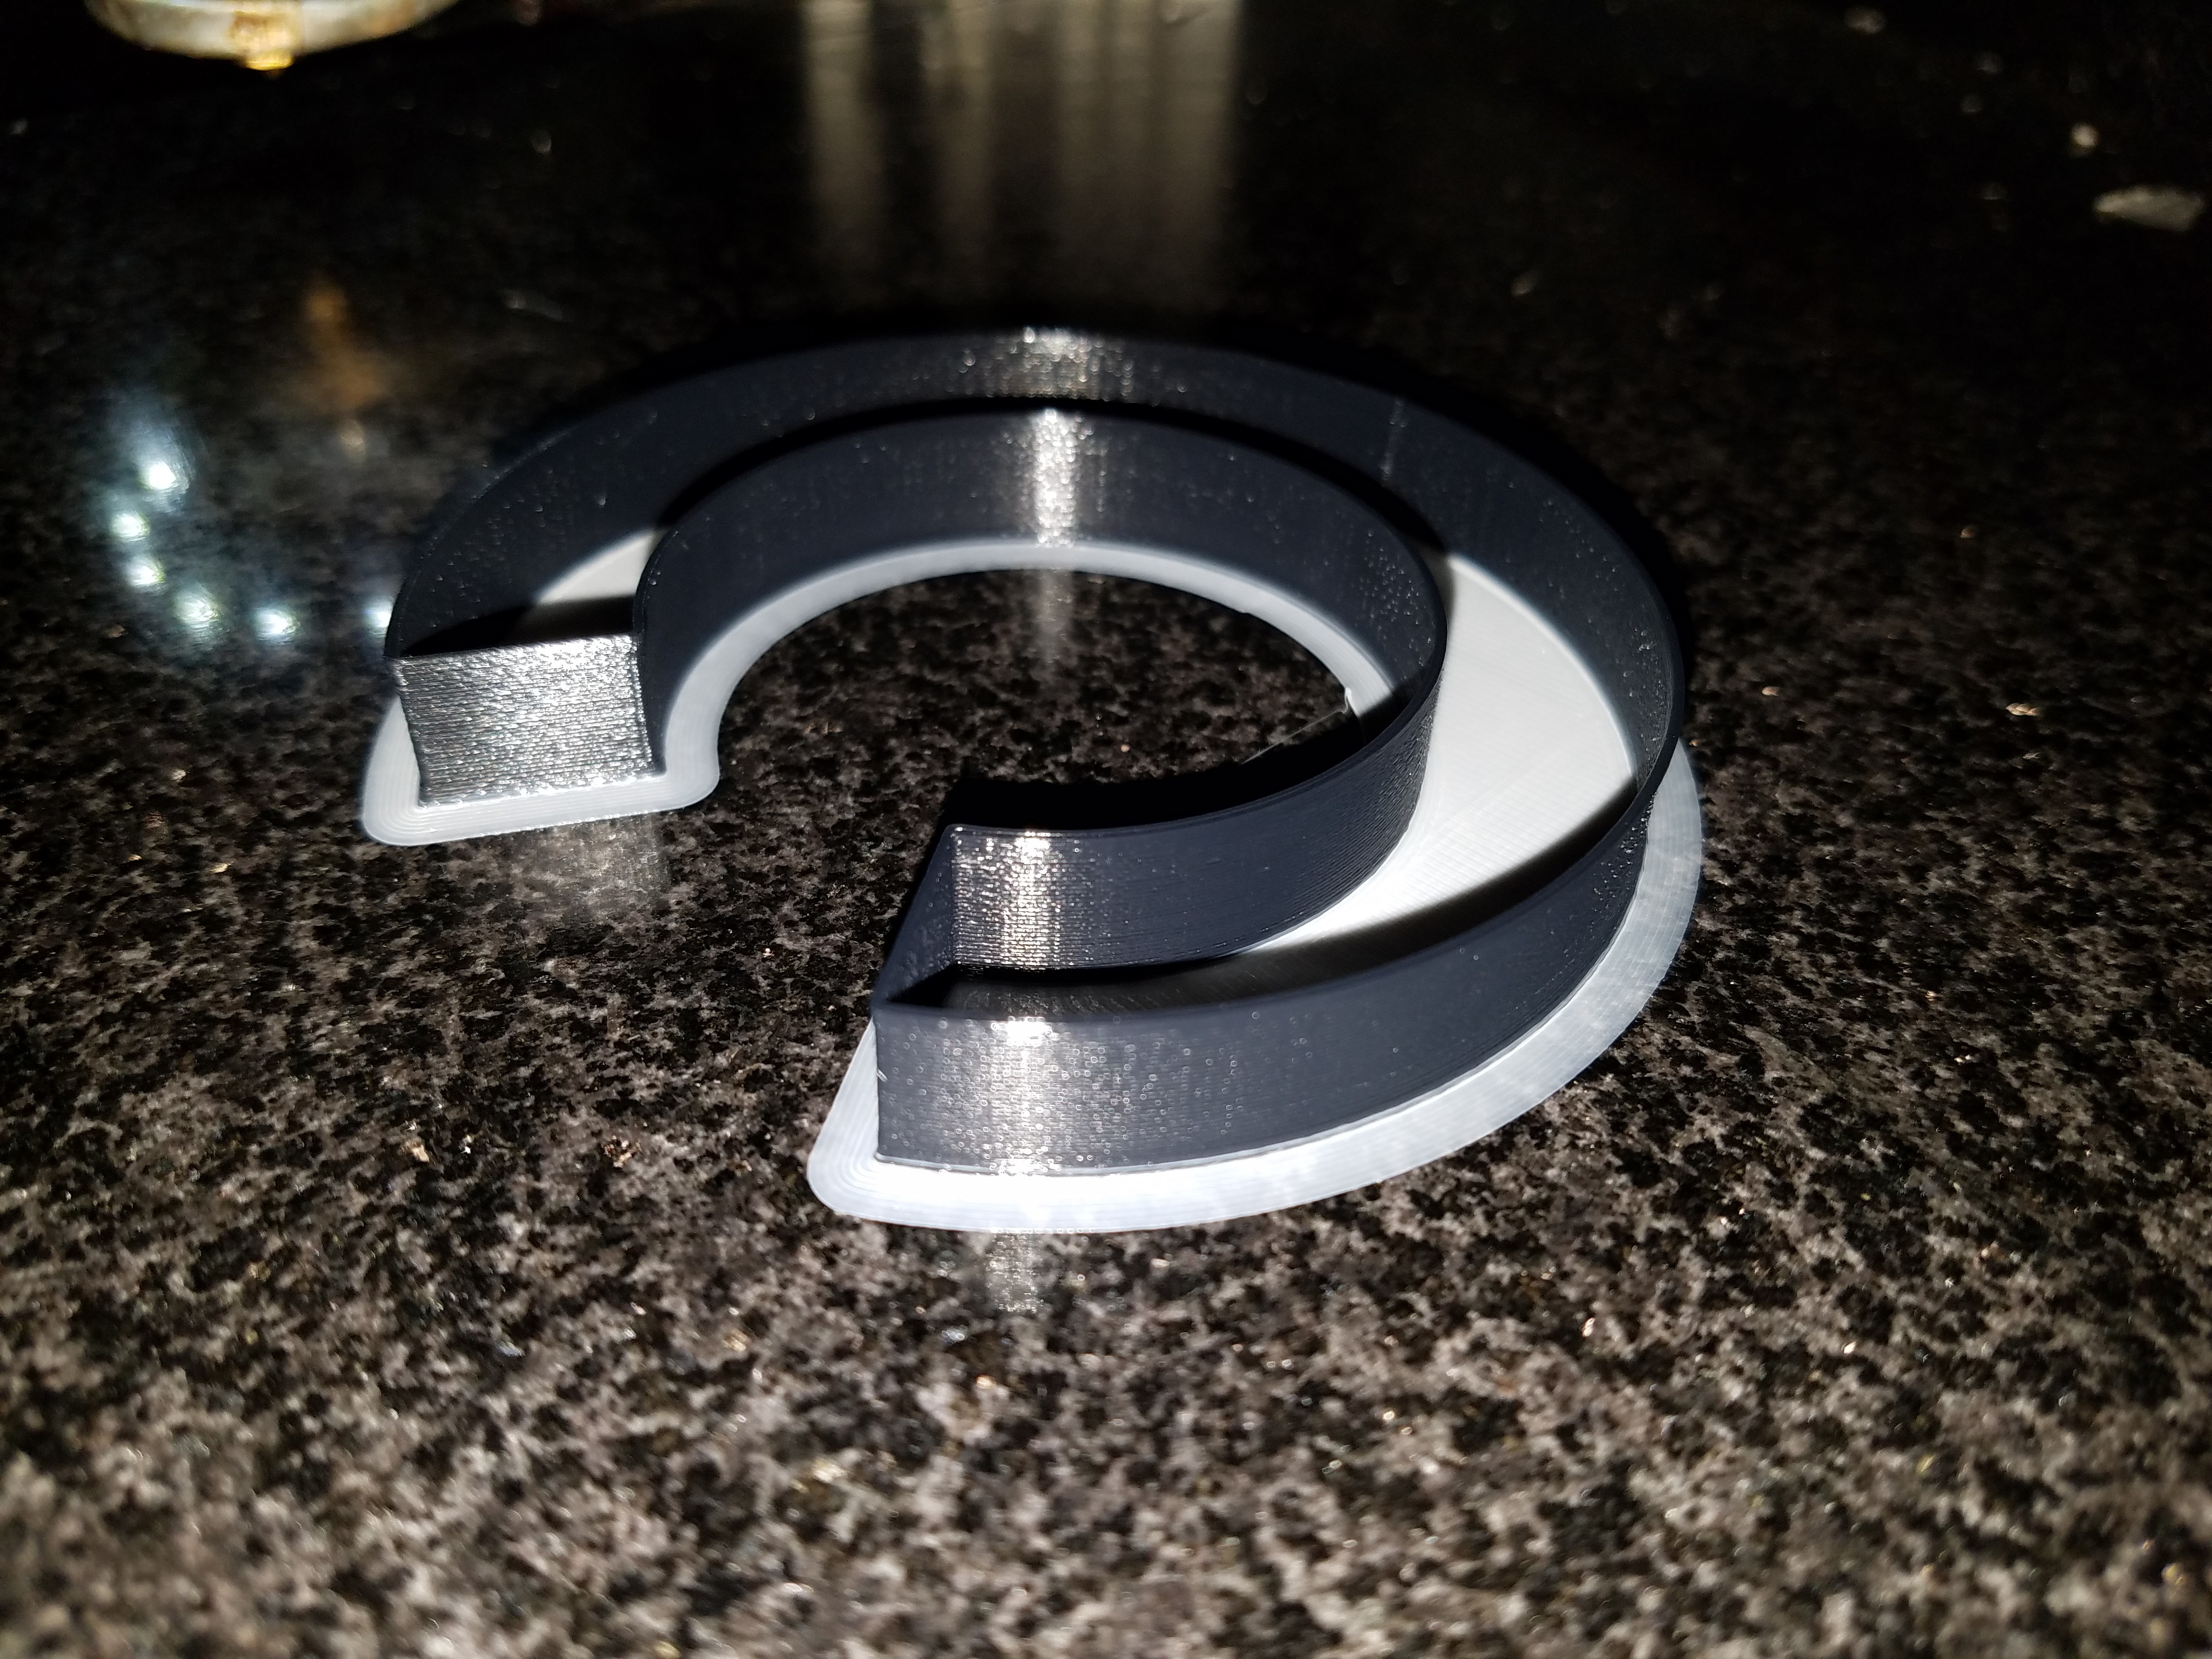
![]()
White to black is one of the things that the M2 does exceedingly well. No thought or planning involved. The sheer density of the pigmentation of the black filament takes care of everything.
Going from black to white... that requires actual planning.
So now I have the perfect light ring. You can paint yours. :)
-
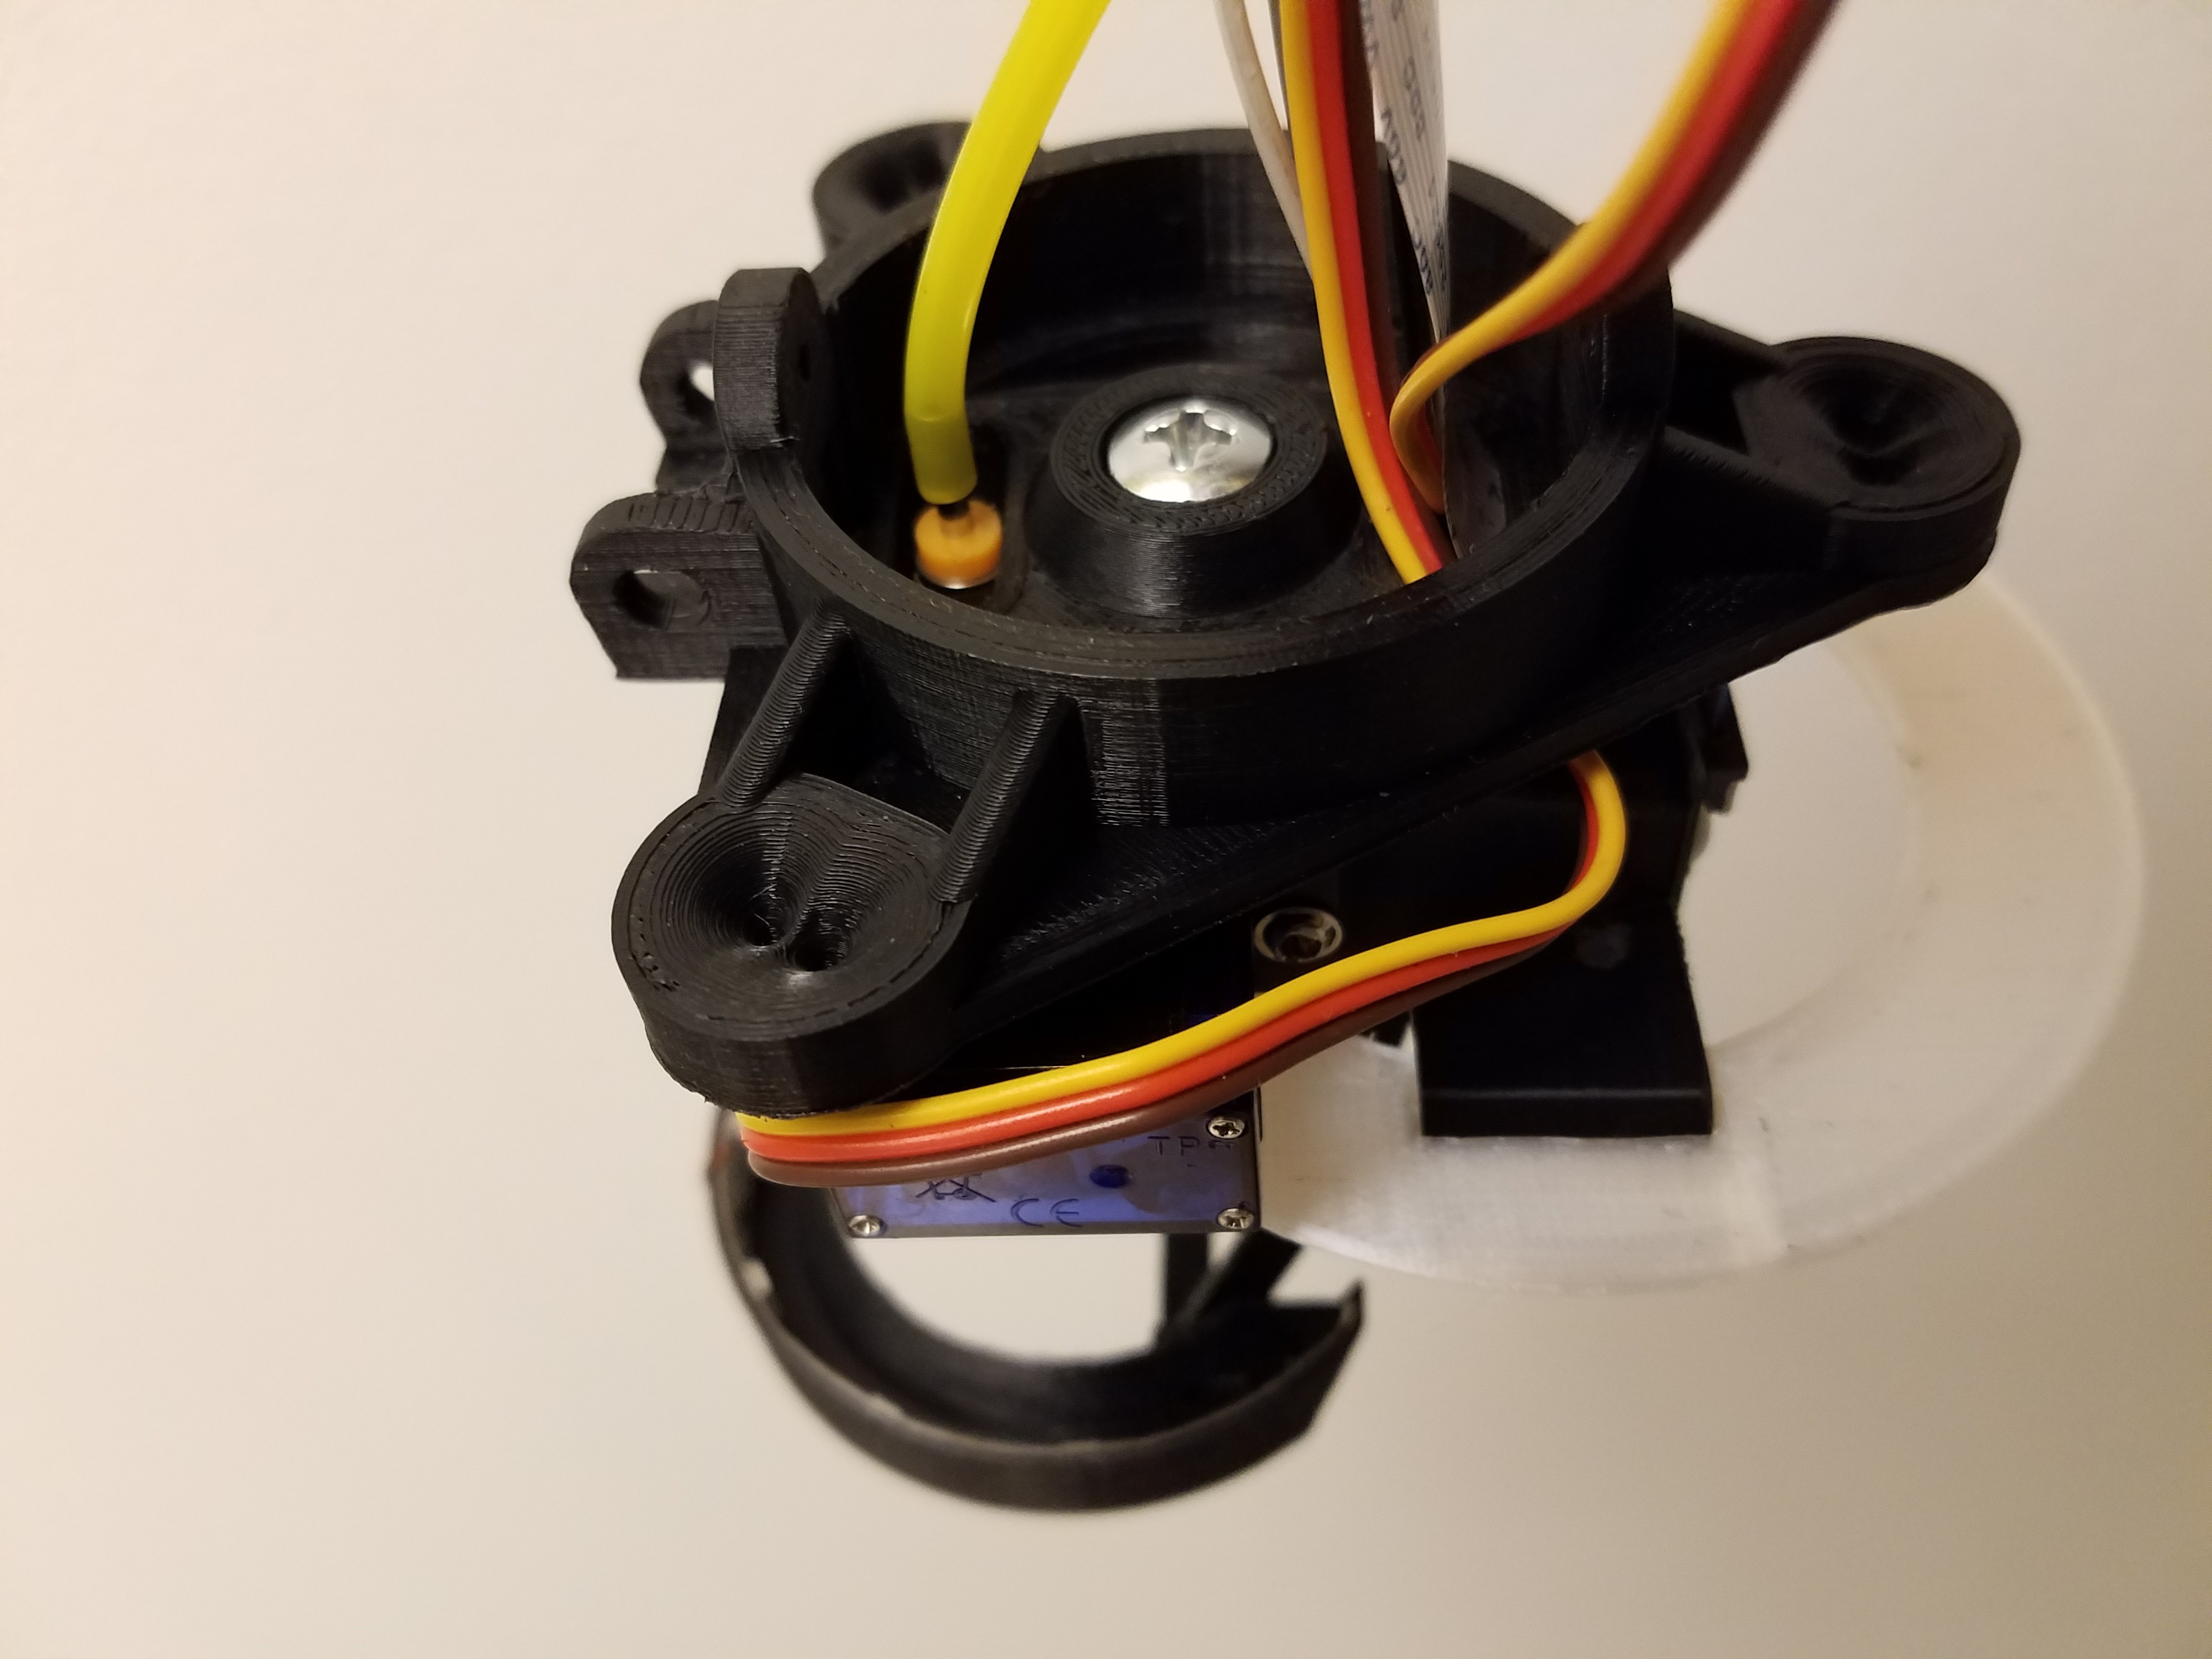
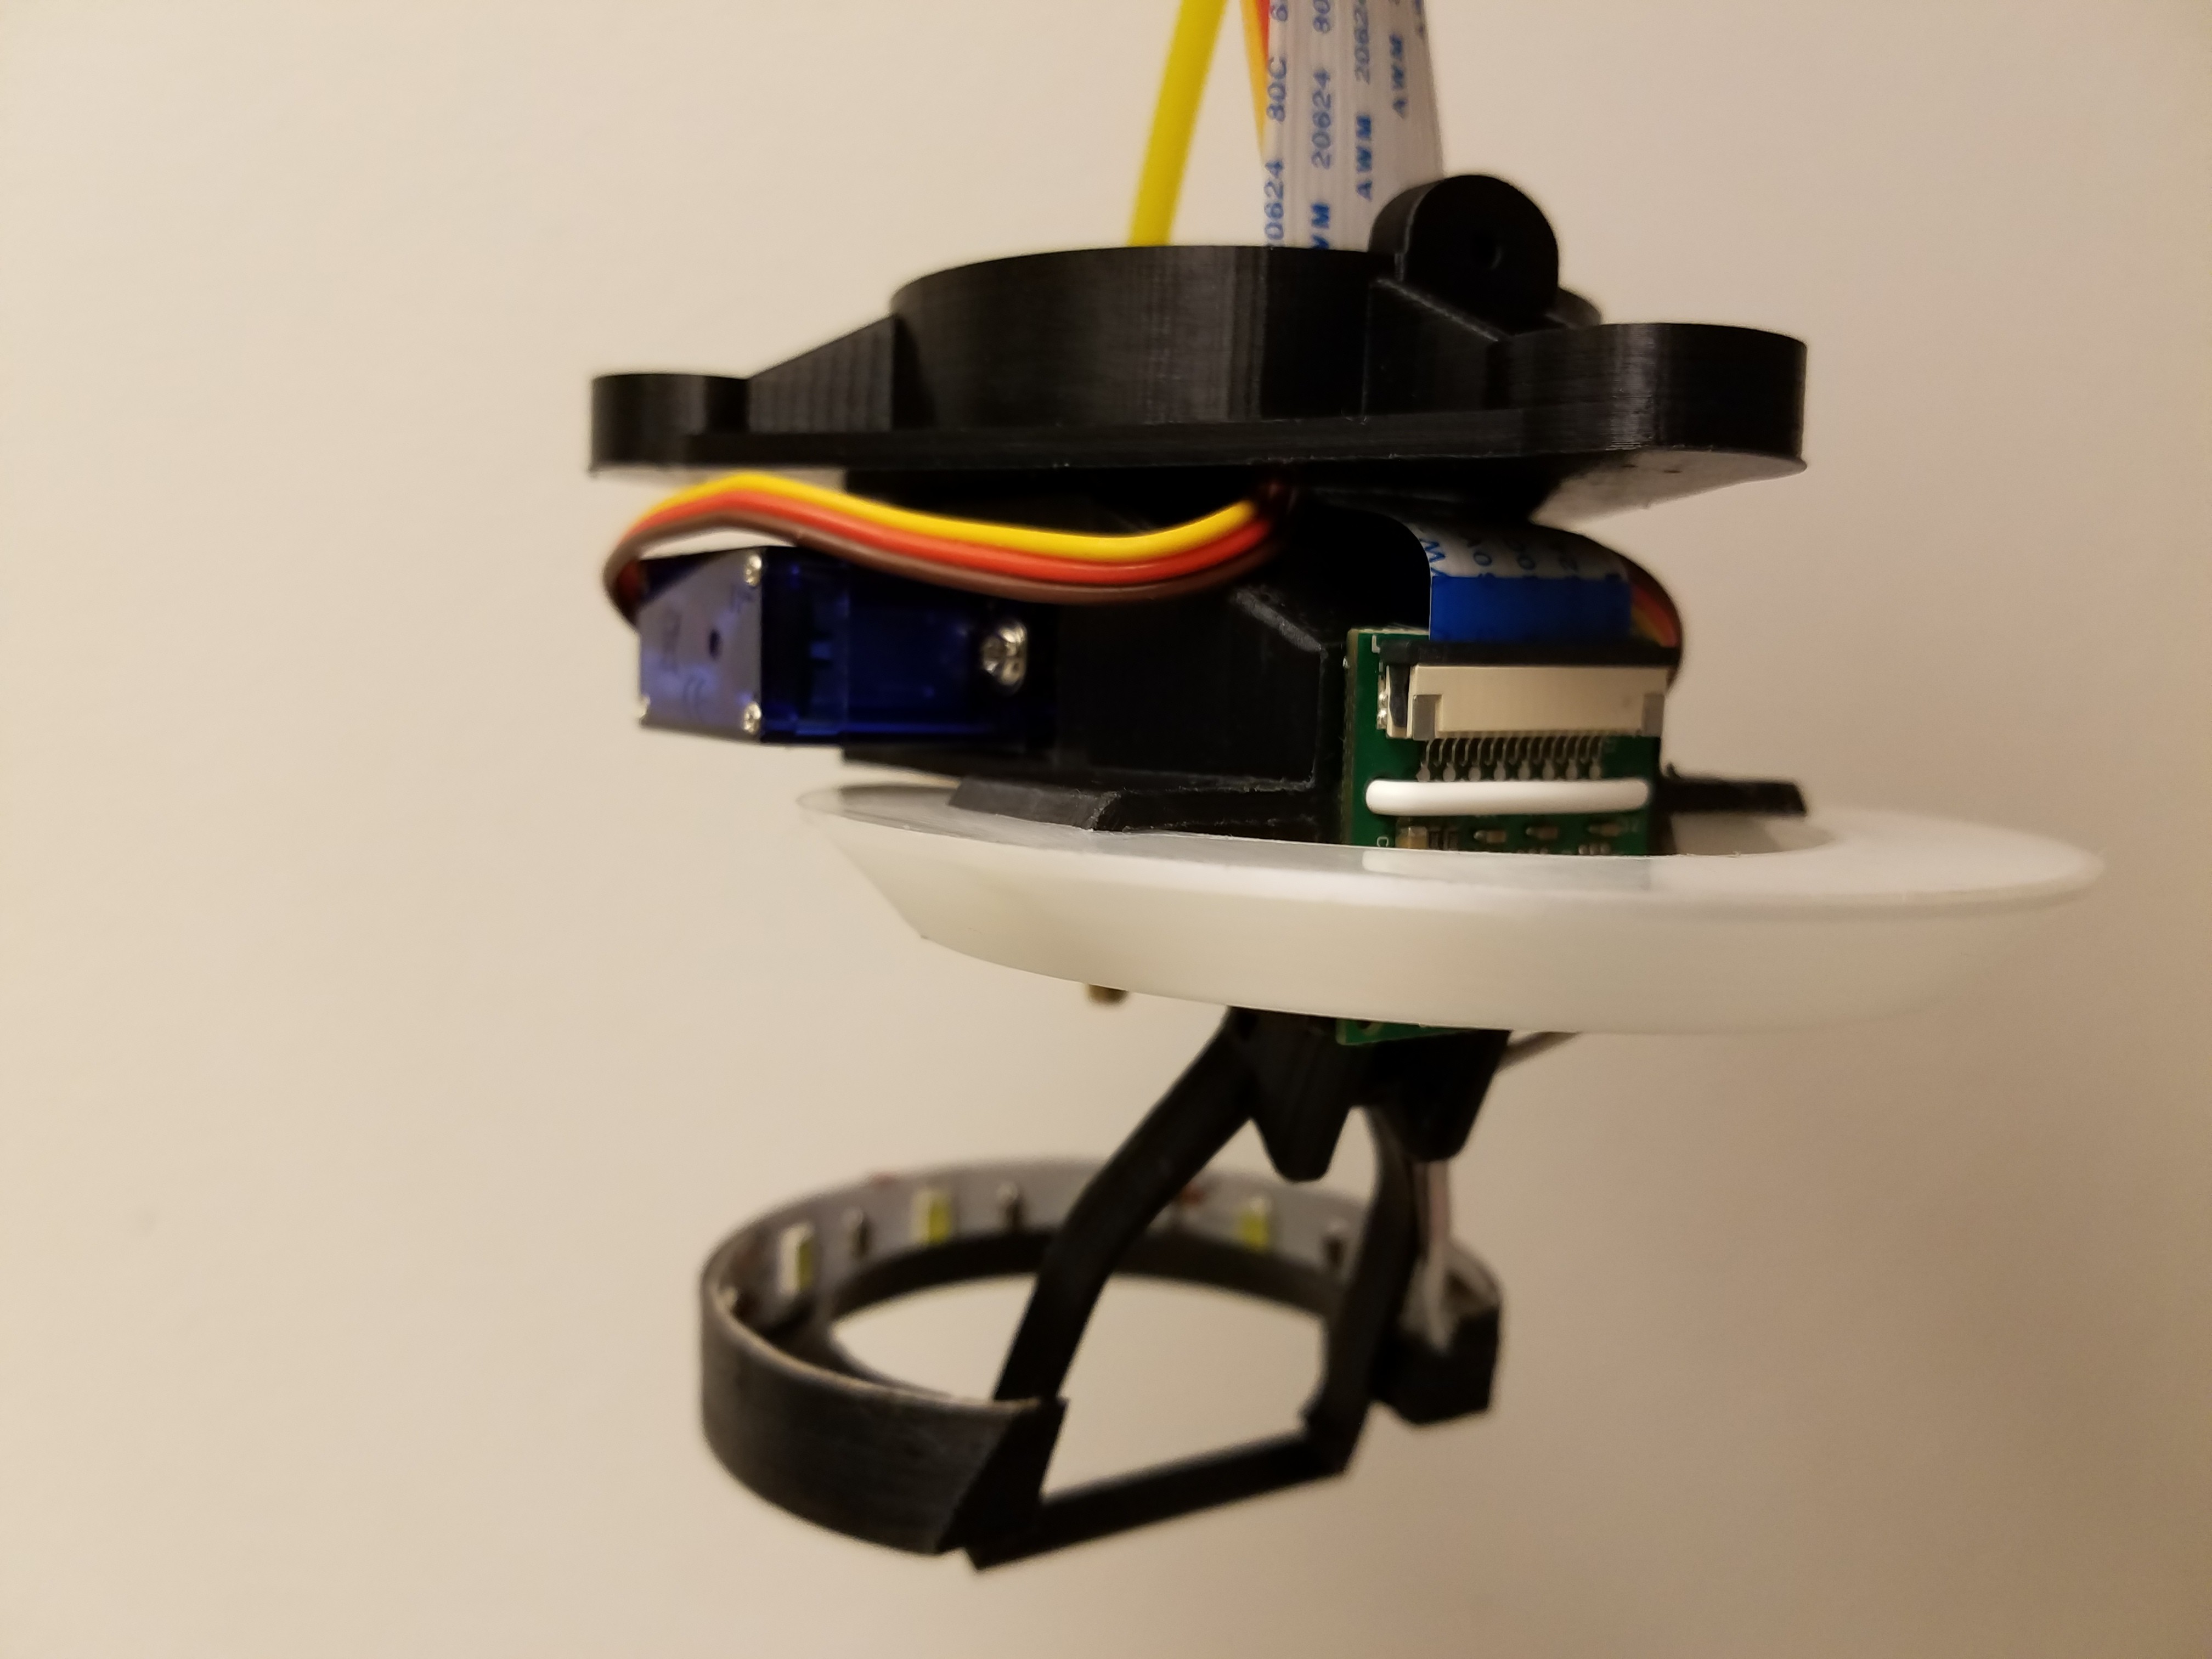
A new angle on things.
03/15/2018 at 16:23 • 0 commentsModeled a new groove mount using a single central bolt, and removed the extra plastic.
The bolt screws through the plastic washer and into a nut glued into a pocket inside the body. This allows me to tighten it down onto the end effector flange very effectively.
![]()
Printed. Fitted. Looks great.
![]()
The slant of plastic I removed makes it lighter and as a bonus I don't have to route all the wires through the body now.
![]()
I'm really happy with it.
The main light ring nylon diffuser is still too brittle and splits along layer lines instead of bending though. I recently rebuilt the print head for the M2 and heating capacity was increased, so this may be just the need to do some further calibration.
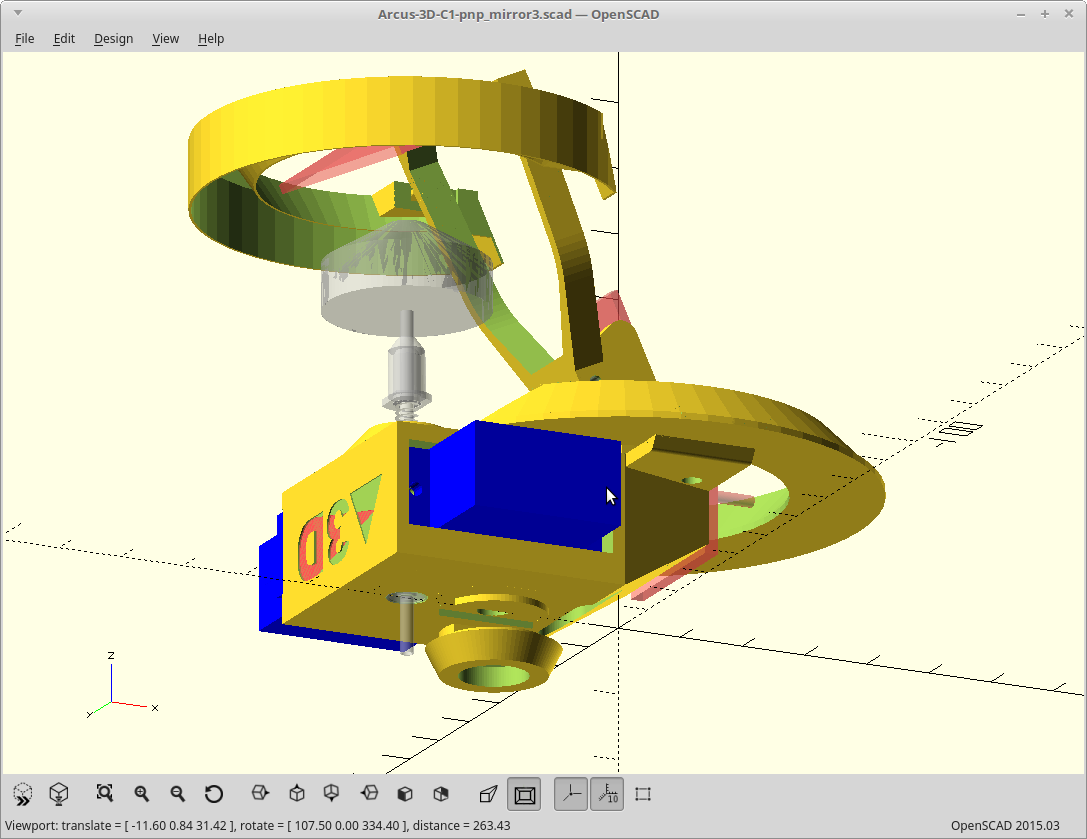
Arcus-3D-P1 - Pick and Place for 3D printers
Open source, mostly 3D printable, lightweight pick and place head for a standard groove mount