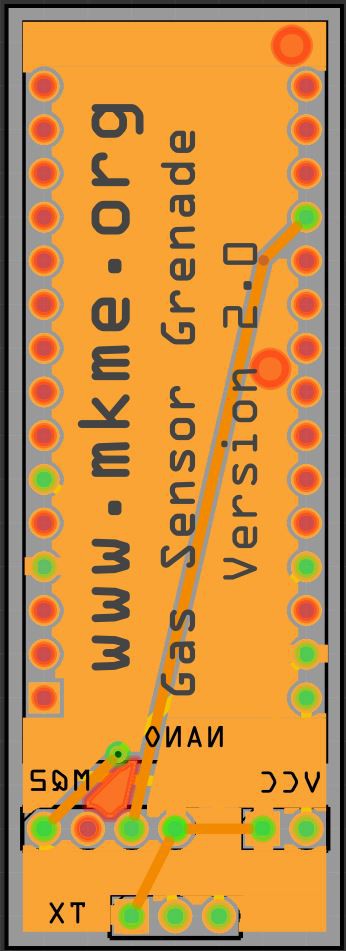
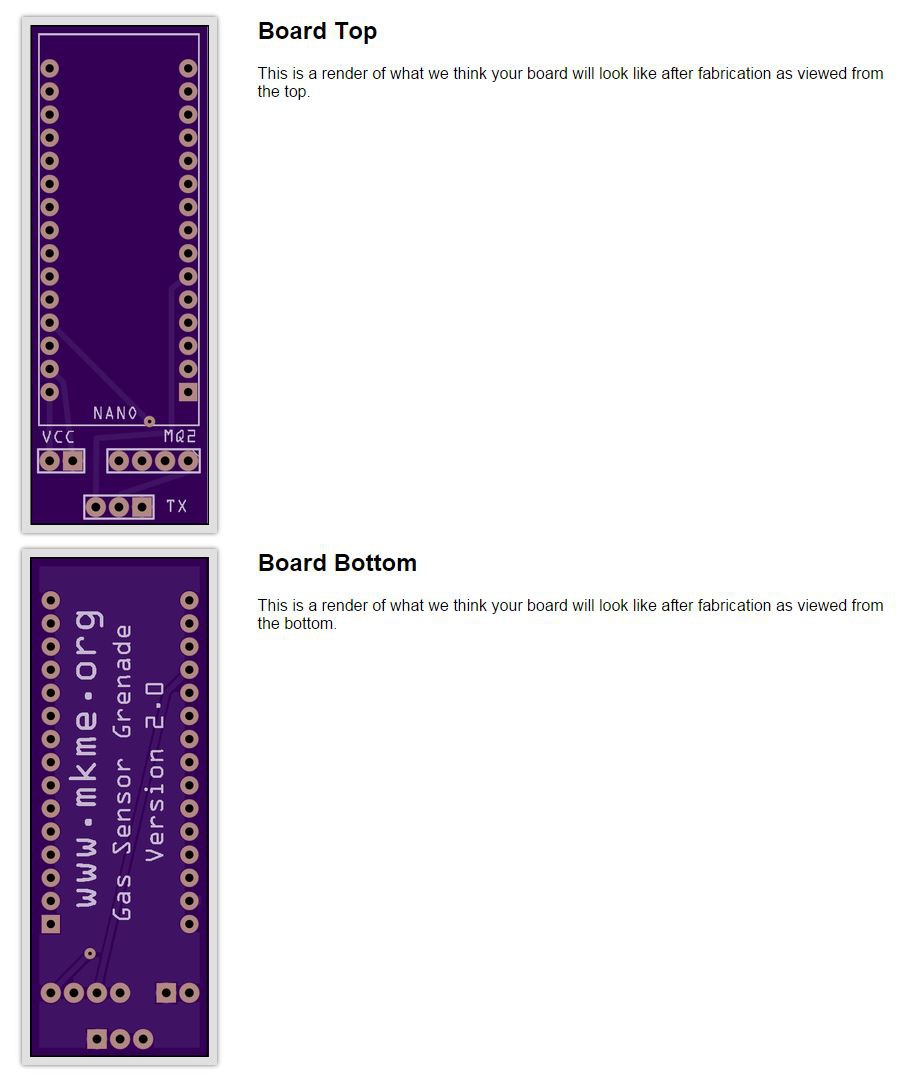
Finally got around to designing a custom PCB for the gas sensor. I am entirely new to using Fritzing so I decided to simply use the Arduino Nano as it was without breaking out the chip, supply etc. This isn't the best use of space but should make this super easy for anyone to replicate.
The PCB design went really quickly and I was able to export the design files in an hour or so:

Off I went to the OSH Park website to use the credit I received from an early bird prize in the Hackaday 2015 contest. The PCB's were really cheap and I ordered- but 5 minutes later I found a serious error in the design- so I re-ordered again :)
Cheers
Eric
 Eric Wiiliam
Discussions
Become a Hackaday.io Member
Create an account to leave a comment. Already have an account? Log In.
Nice, I hope you connected both of those ground planes :-) Really looking forward to seeing the OSH Park board once it arrives.
Are you sure? yes | no
they should be connected through the through-hole pins on the arduino, or not?
Are you sure? yes | no
Ha ha, they will be. It was in reference to a conversation we had about the first board I ever made that was milled and not printed at OSH Park.
Are you sure? yes | no
well thanks to this comment I've noticed that project, so thanks guys :)
Are you sure? yes | no
:) Dave
Are you sure? yes | no
:) Damn I feel your pain now- I just about pulled my hair out on the Garden PCB. Then I messed this one up so it's on rev 2.0 already. Hope it works!
Are you sure? yes | no