Shortly after finishing building my 3D printer, our clothes drying rack broke. Its a tall frame with folding 'wings' that swing out and hold up the individual racks. There are four small clips that serve two purposes - holding the edges of each drying rack and securing the 'wings' against the main frame when in storage. As with most things these days, they are not made to be repaired or have replacement parts available.
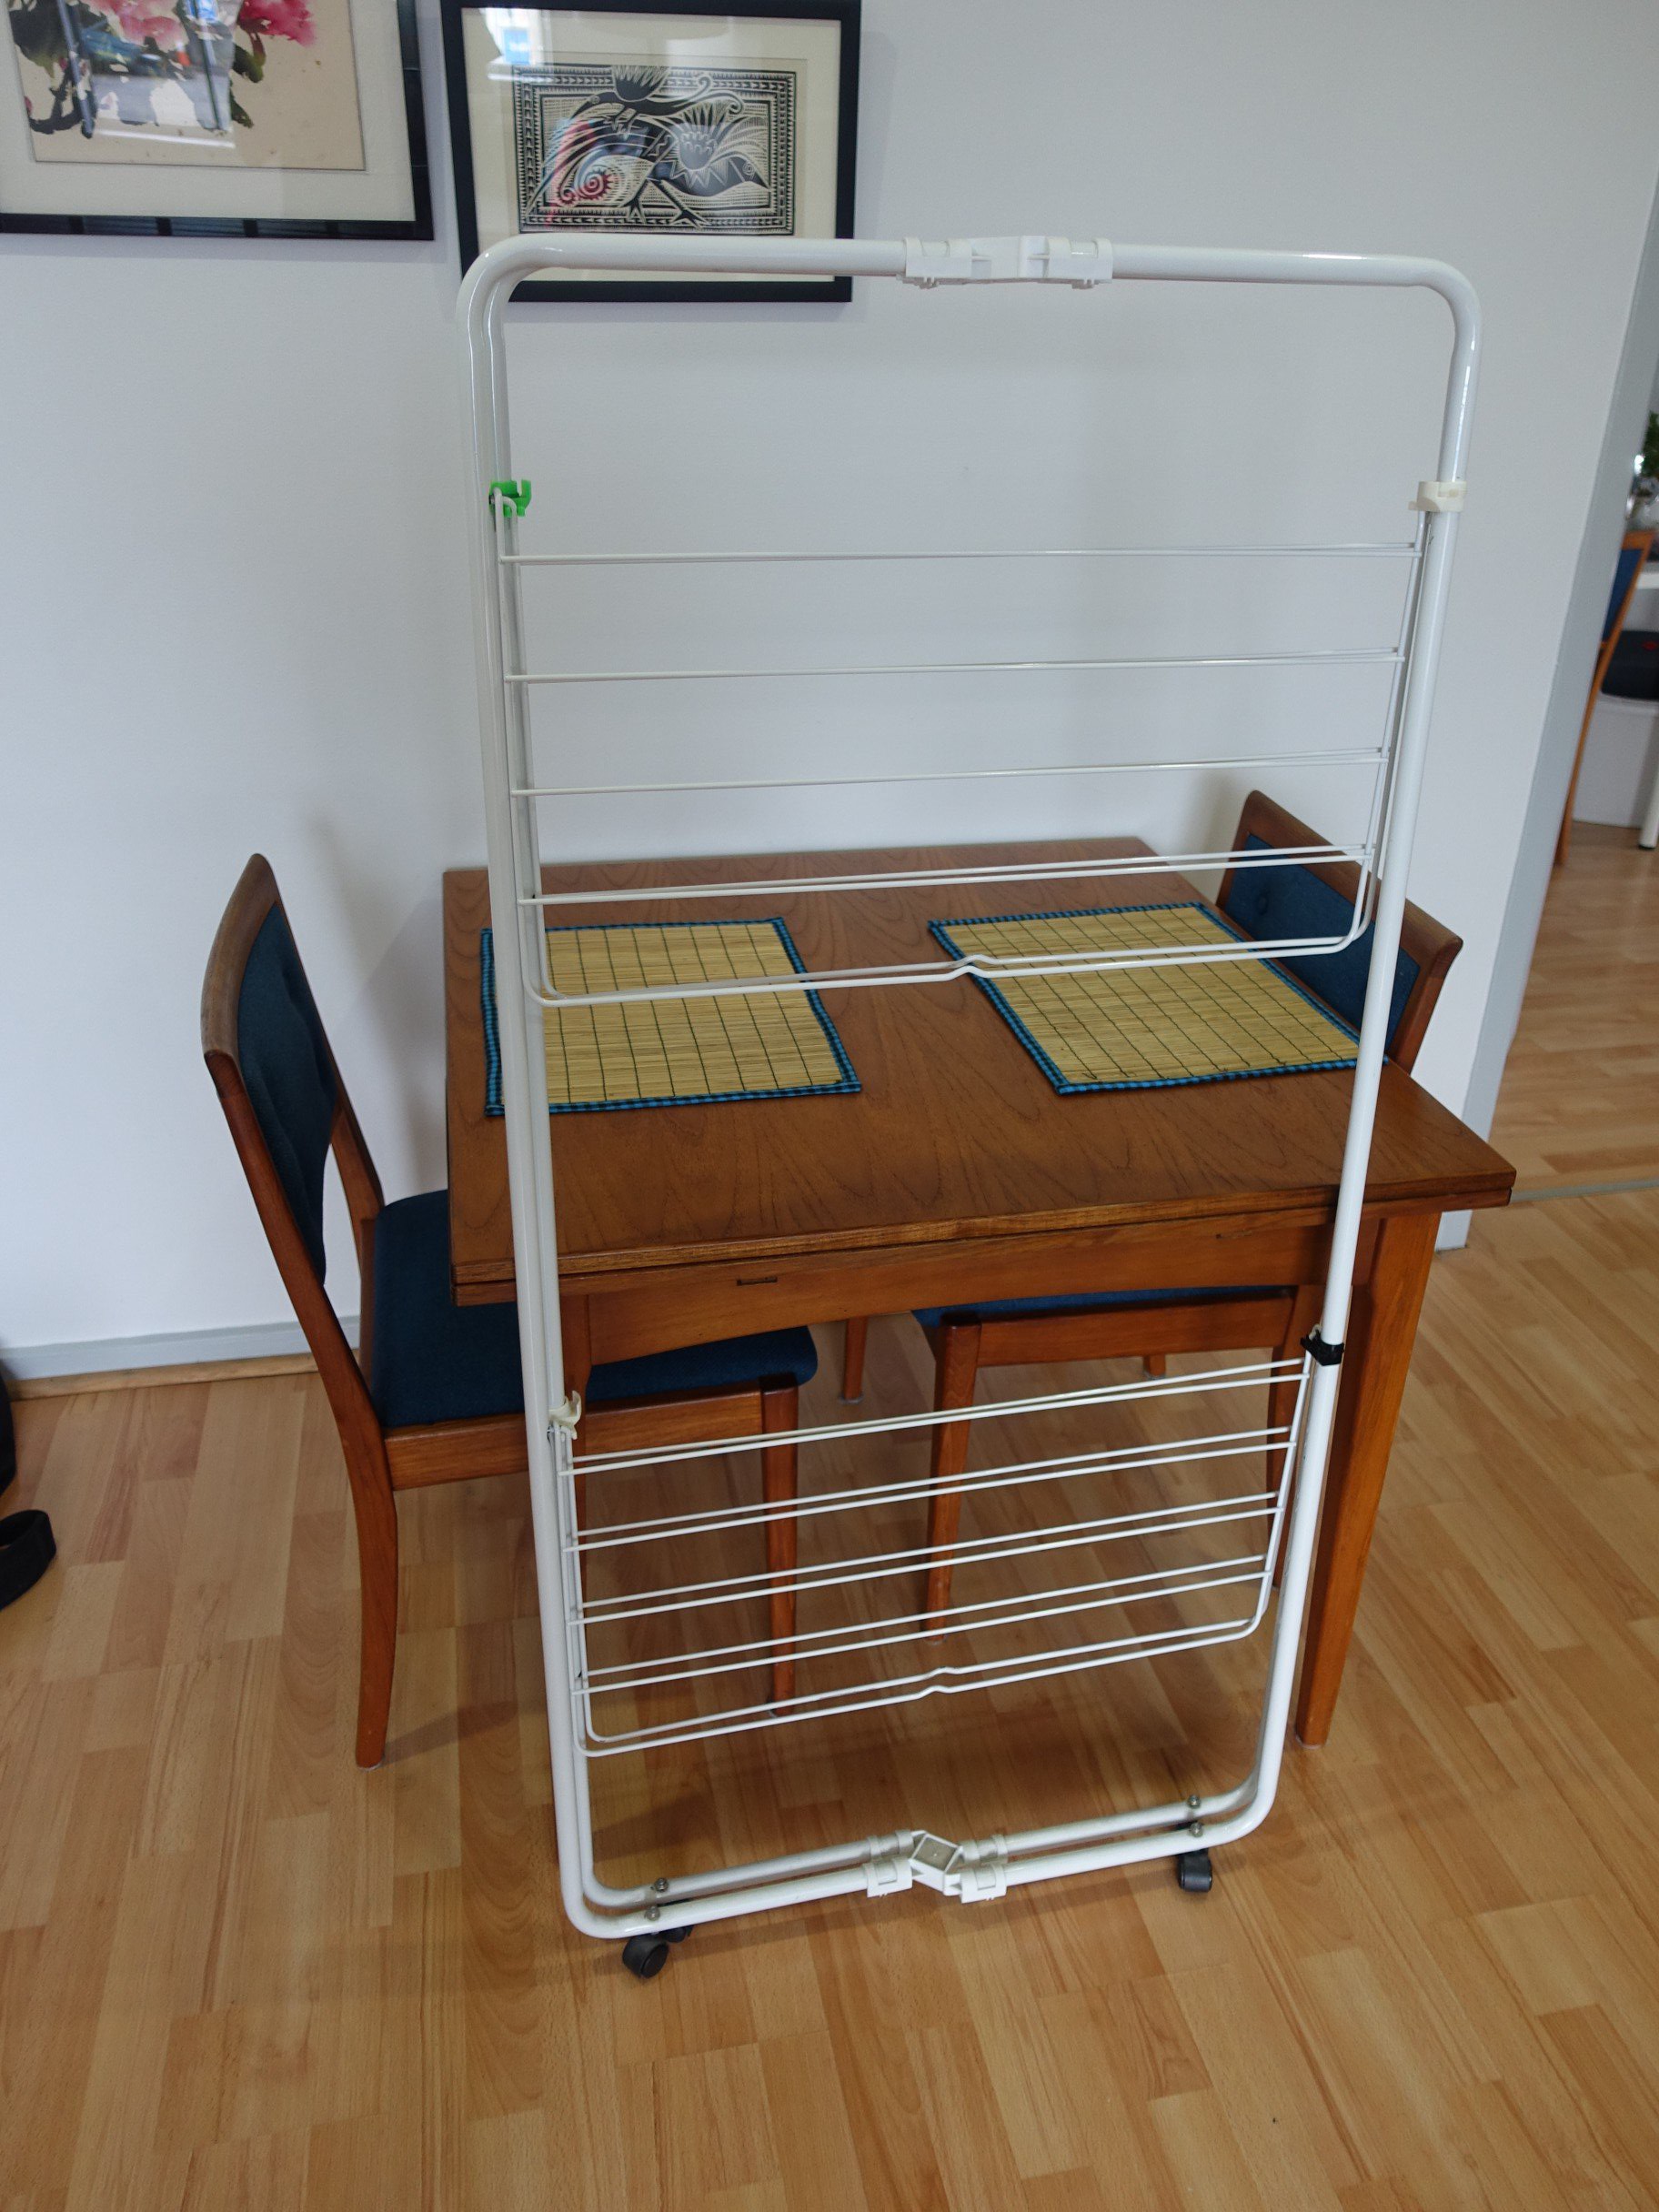
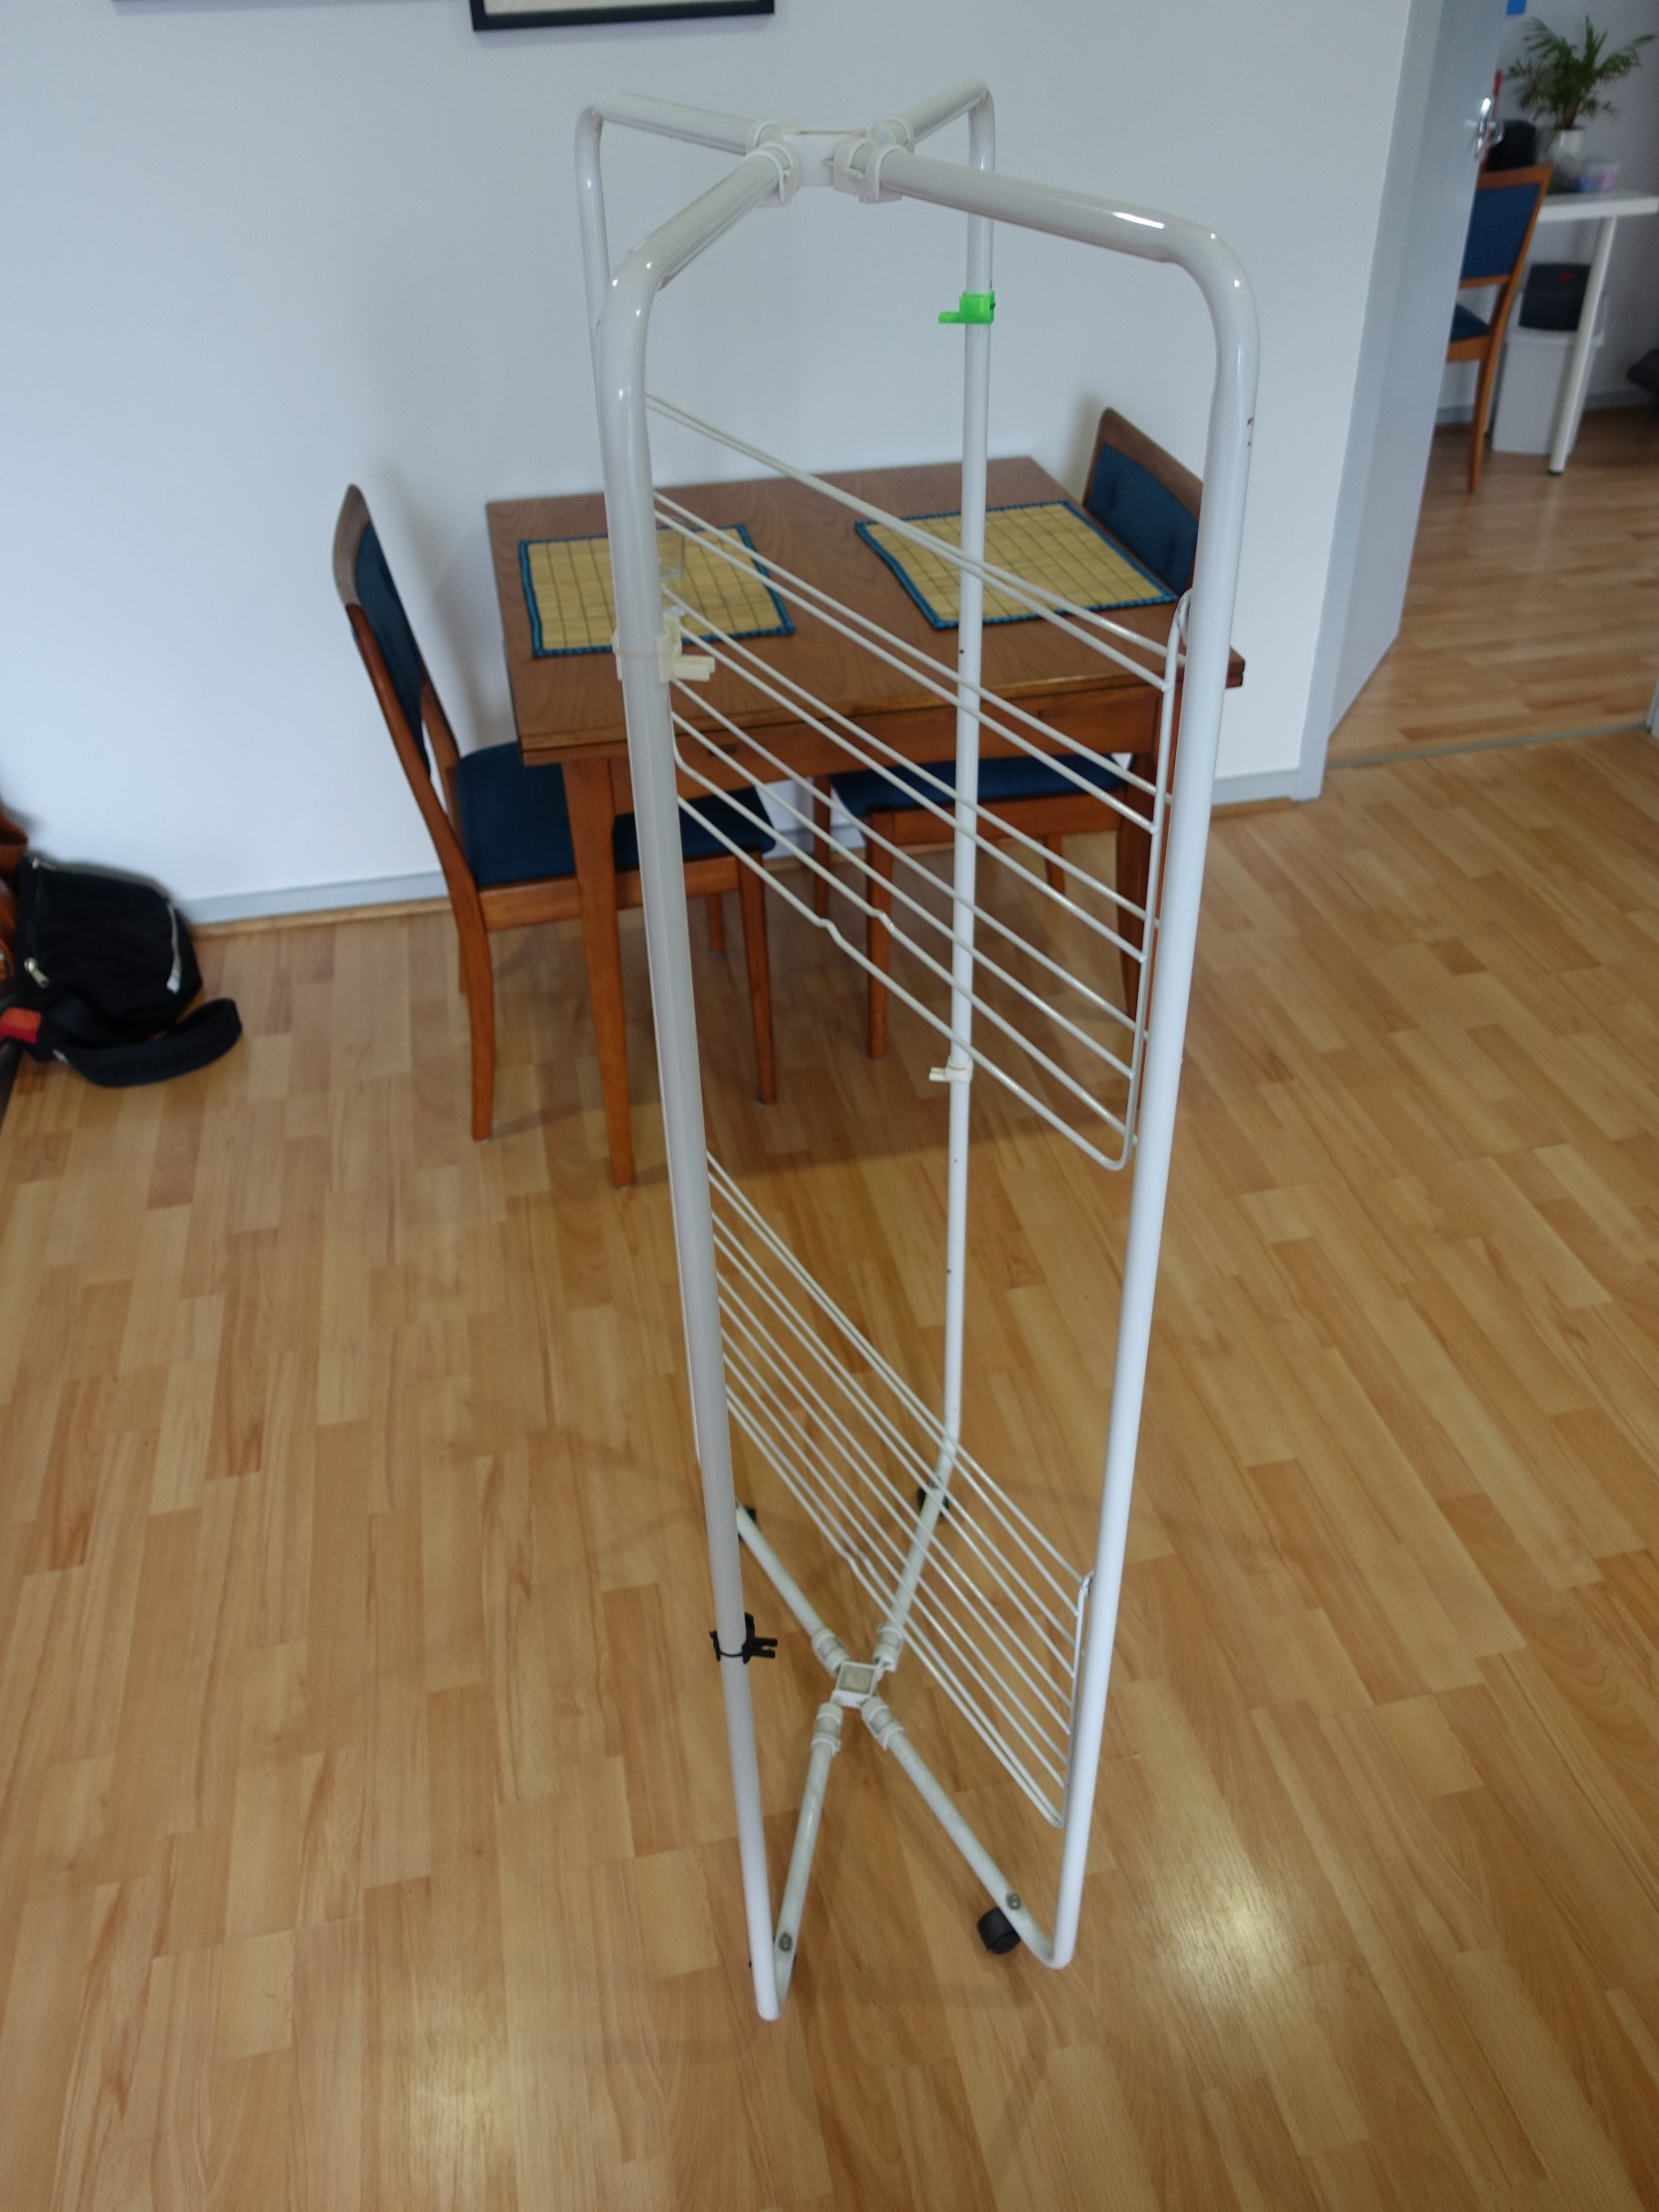
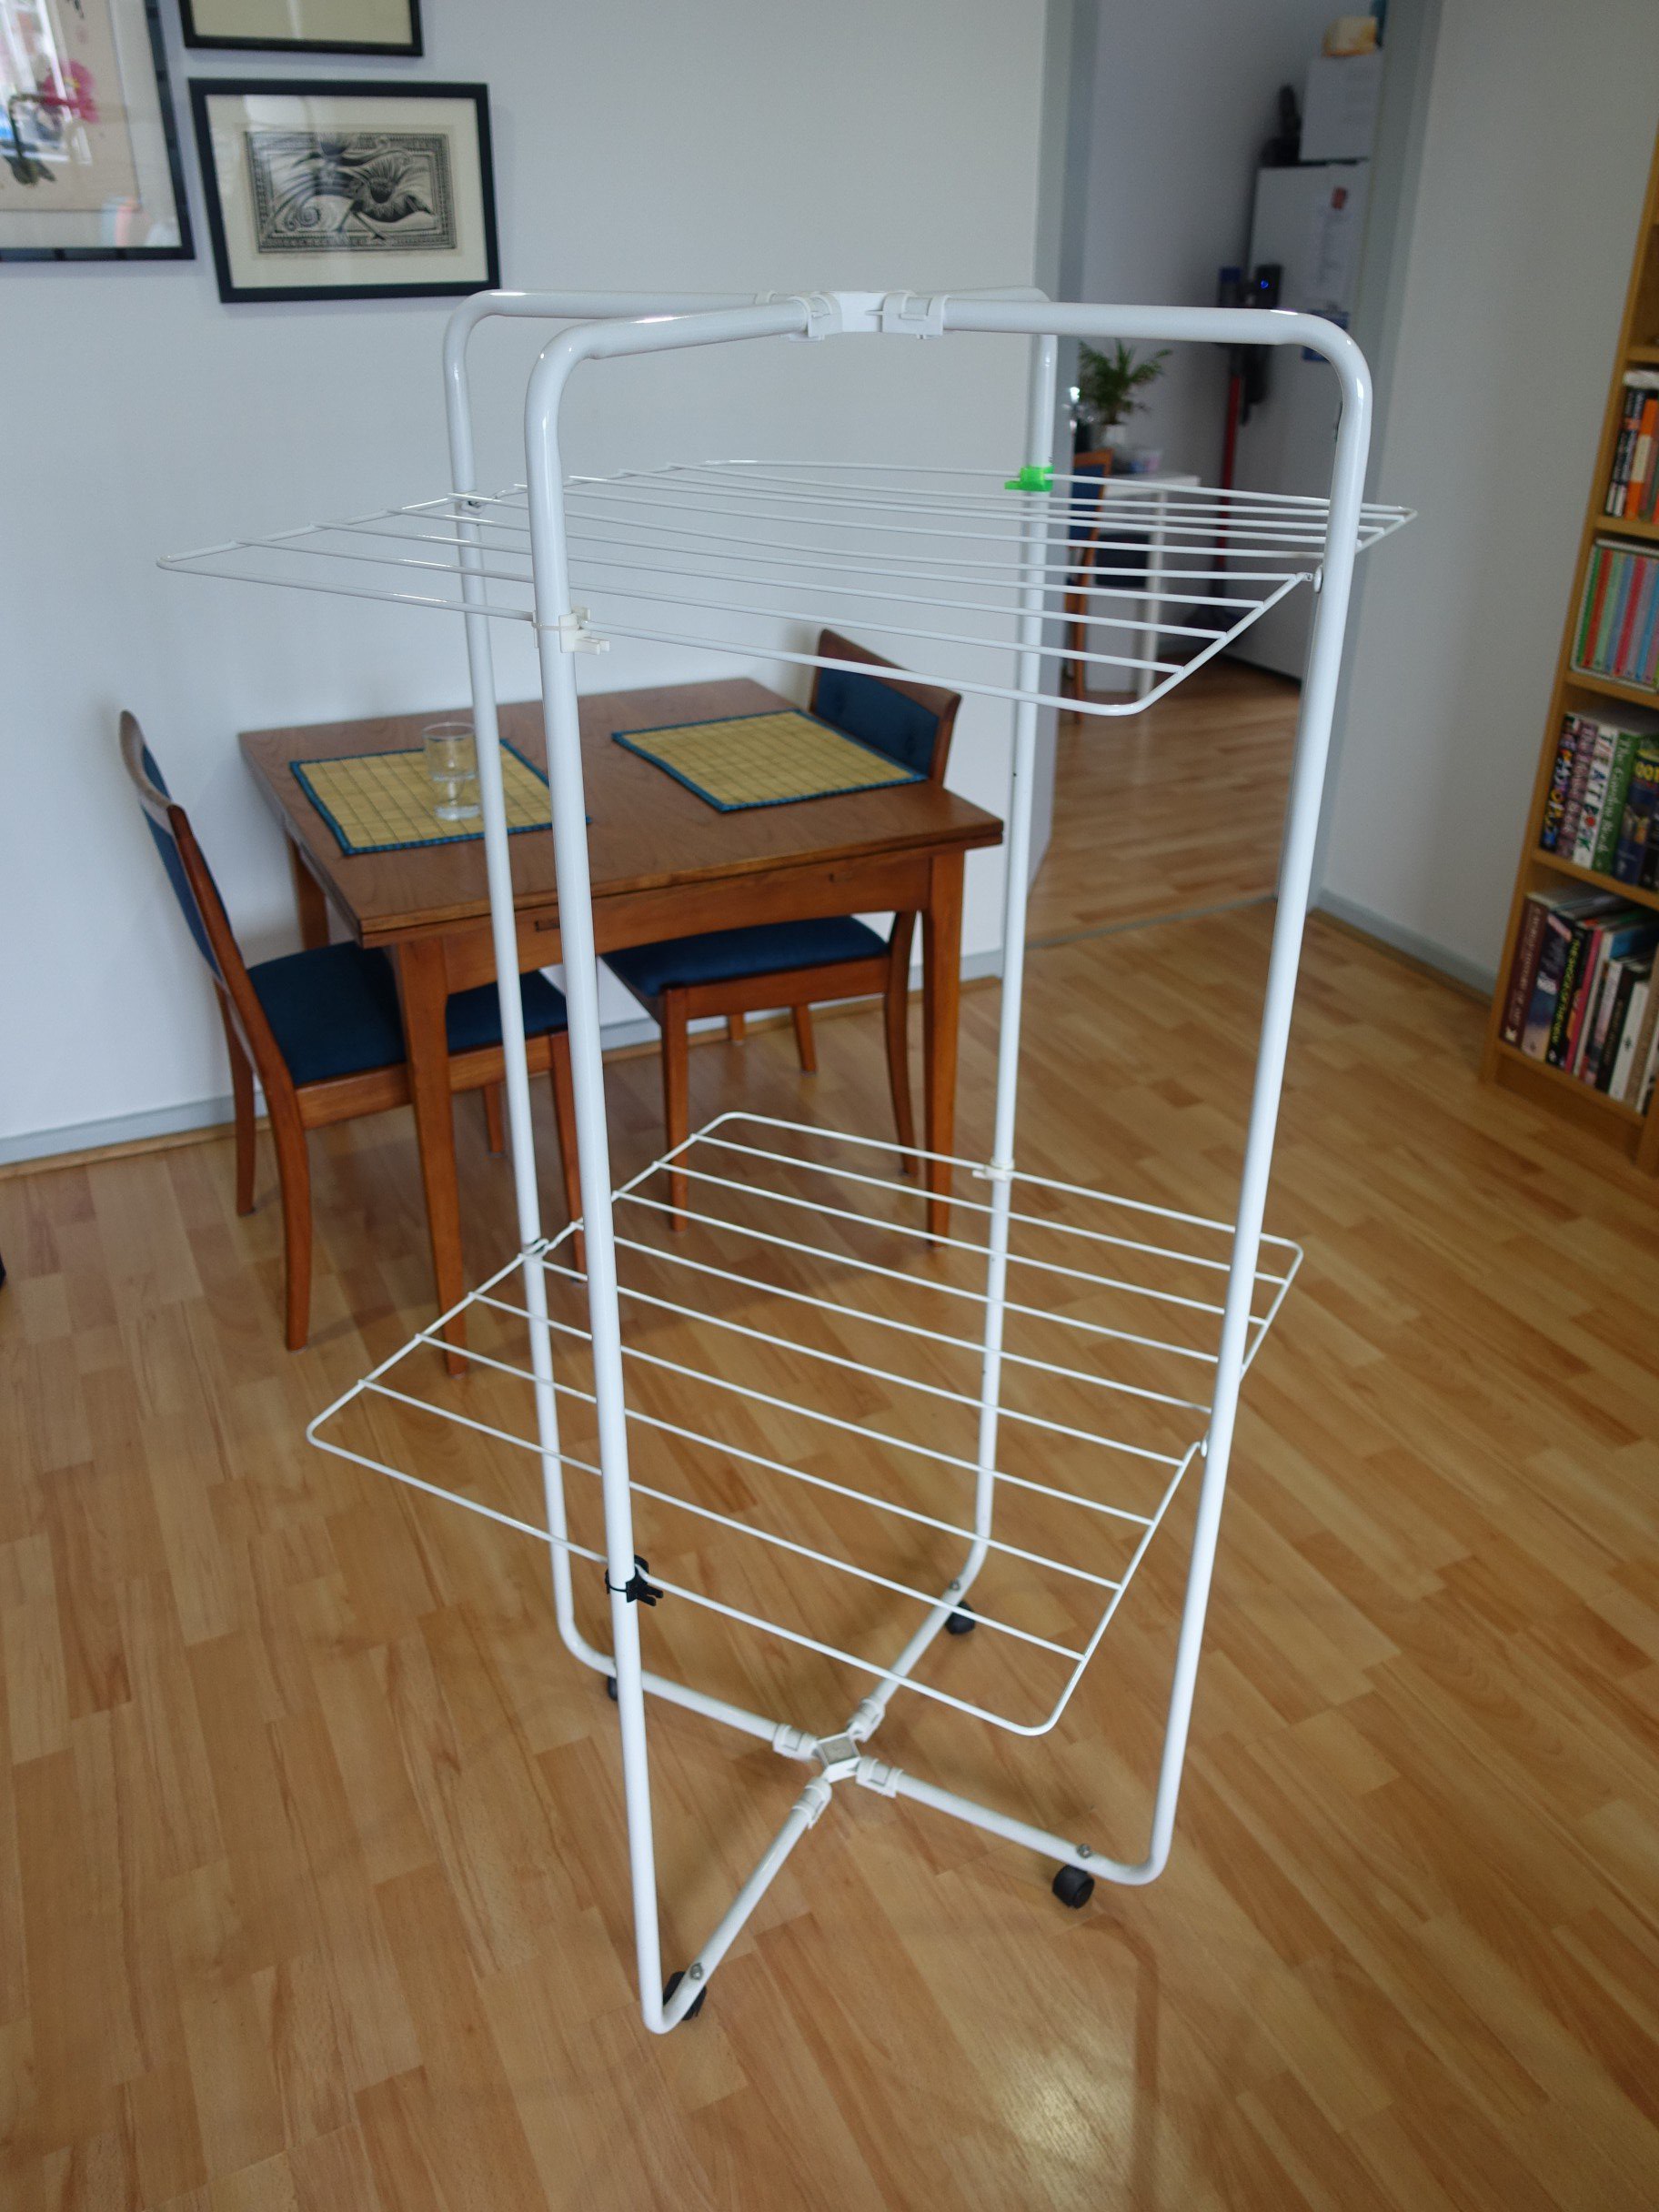
One of these clips, through either overloading or fatigue, happened to break. This resulted in a not-so-useful, partially functional drying rack.
This was one of the first useful (non-trinket) things that I designed and printed. I measured one of the existing clips and replicated it in CAD. The alignment peg has a thin wall that allows it to be printed without supports. It is easy enough to cut out the support wall after the print.
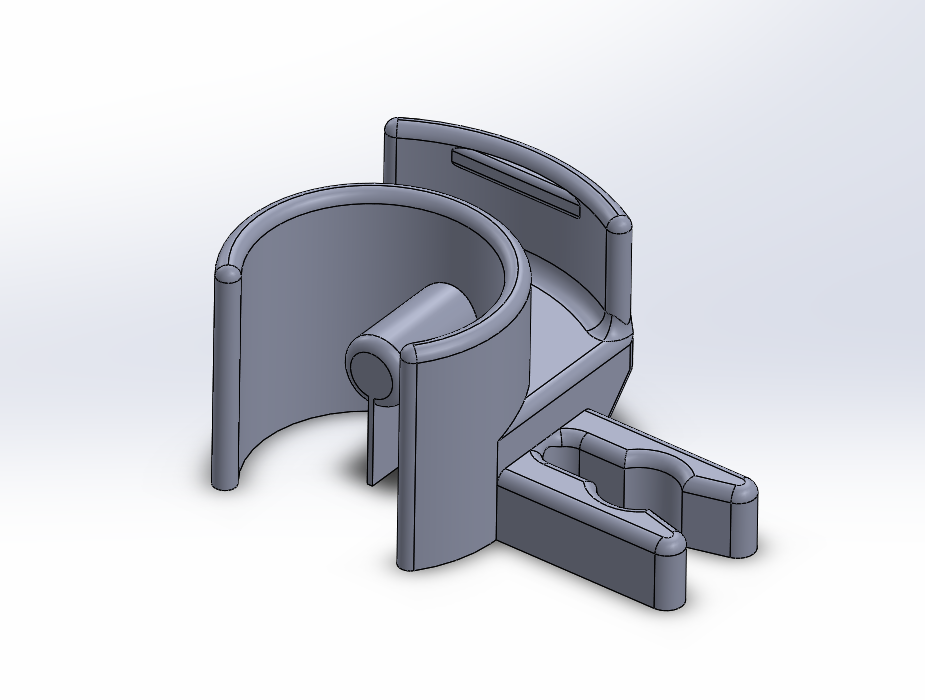
The original part had barbs on the peg to ensure that it would not fall out. Rather than replicate the barbs (and risk introducing a weak spot), I opted to use a simple cable tie to secure the clip to the frame. The clamp grips the vertical tube and the pin aligns with the hole. Though slightly unsightly, it works perfectly fine.
Over time, each of the remaining three clips has broken. I was able to quickly print another replacement clip when this occurred. I used whatever colour I had loaded in the printer at the time. I could probably reprint them all in white but I think it adds character...
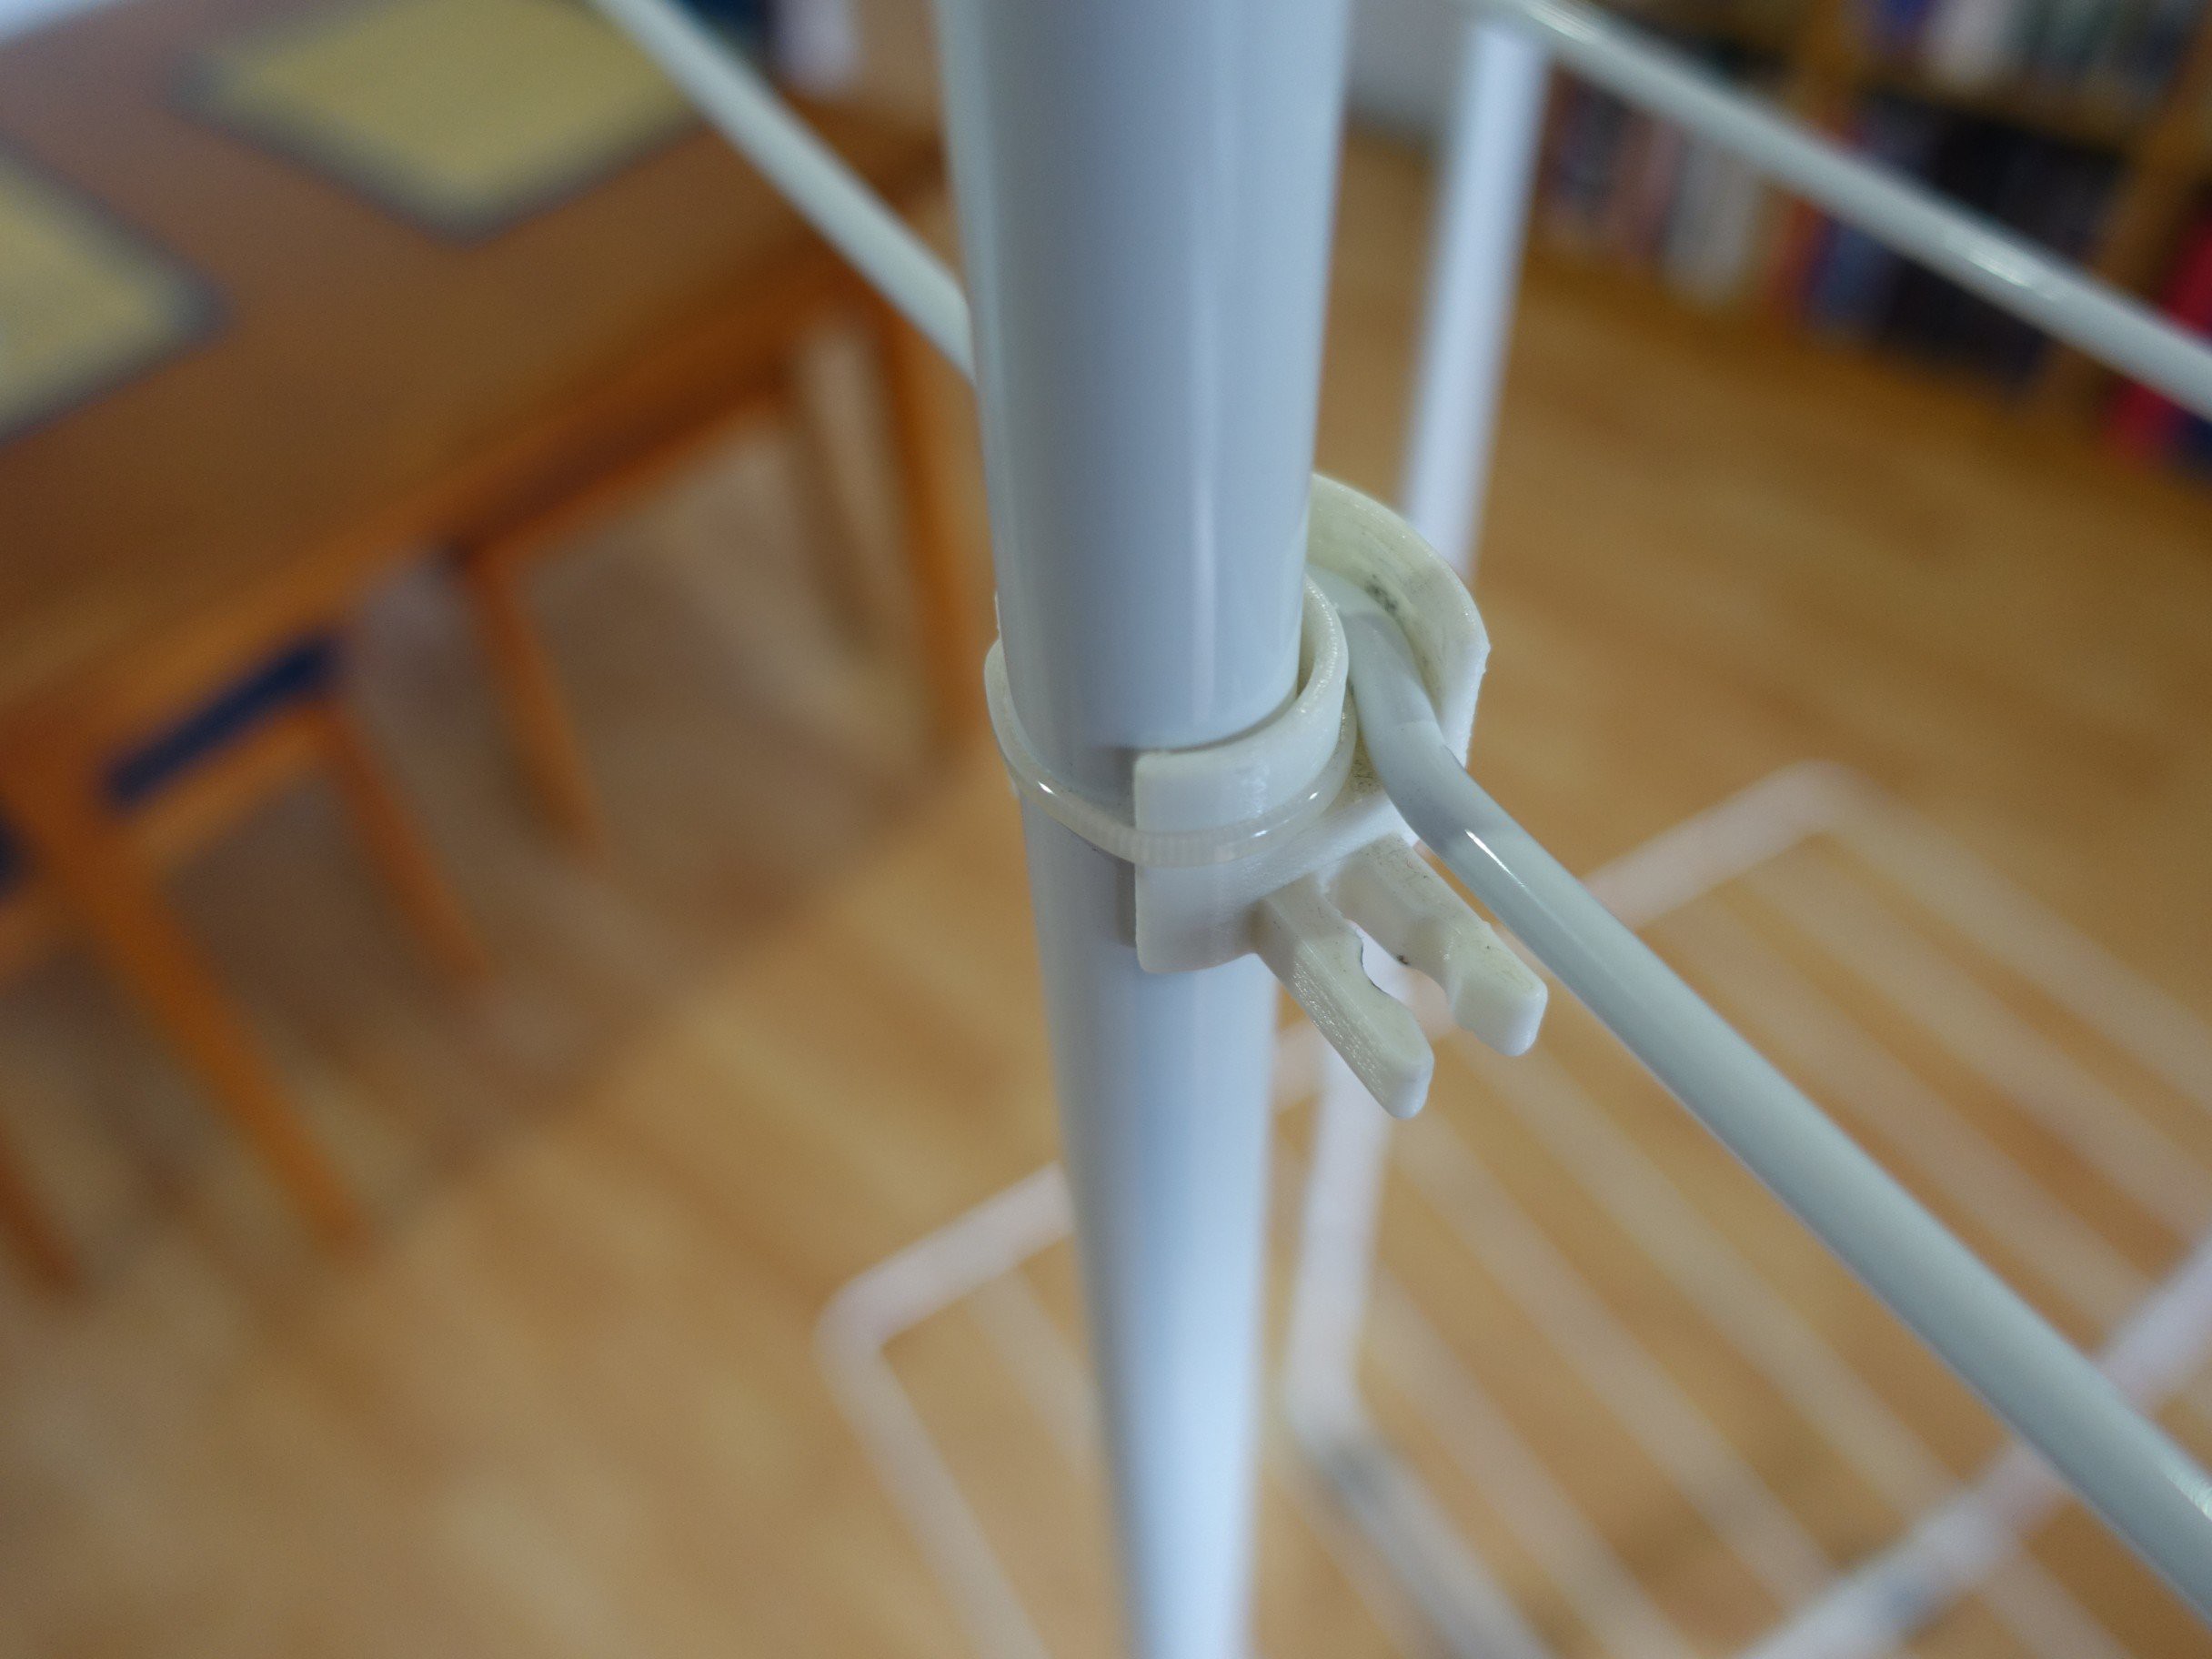
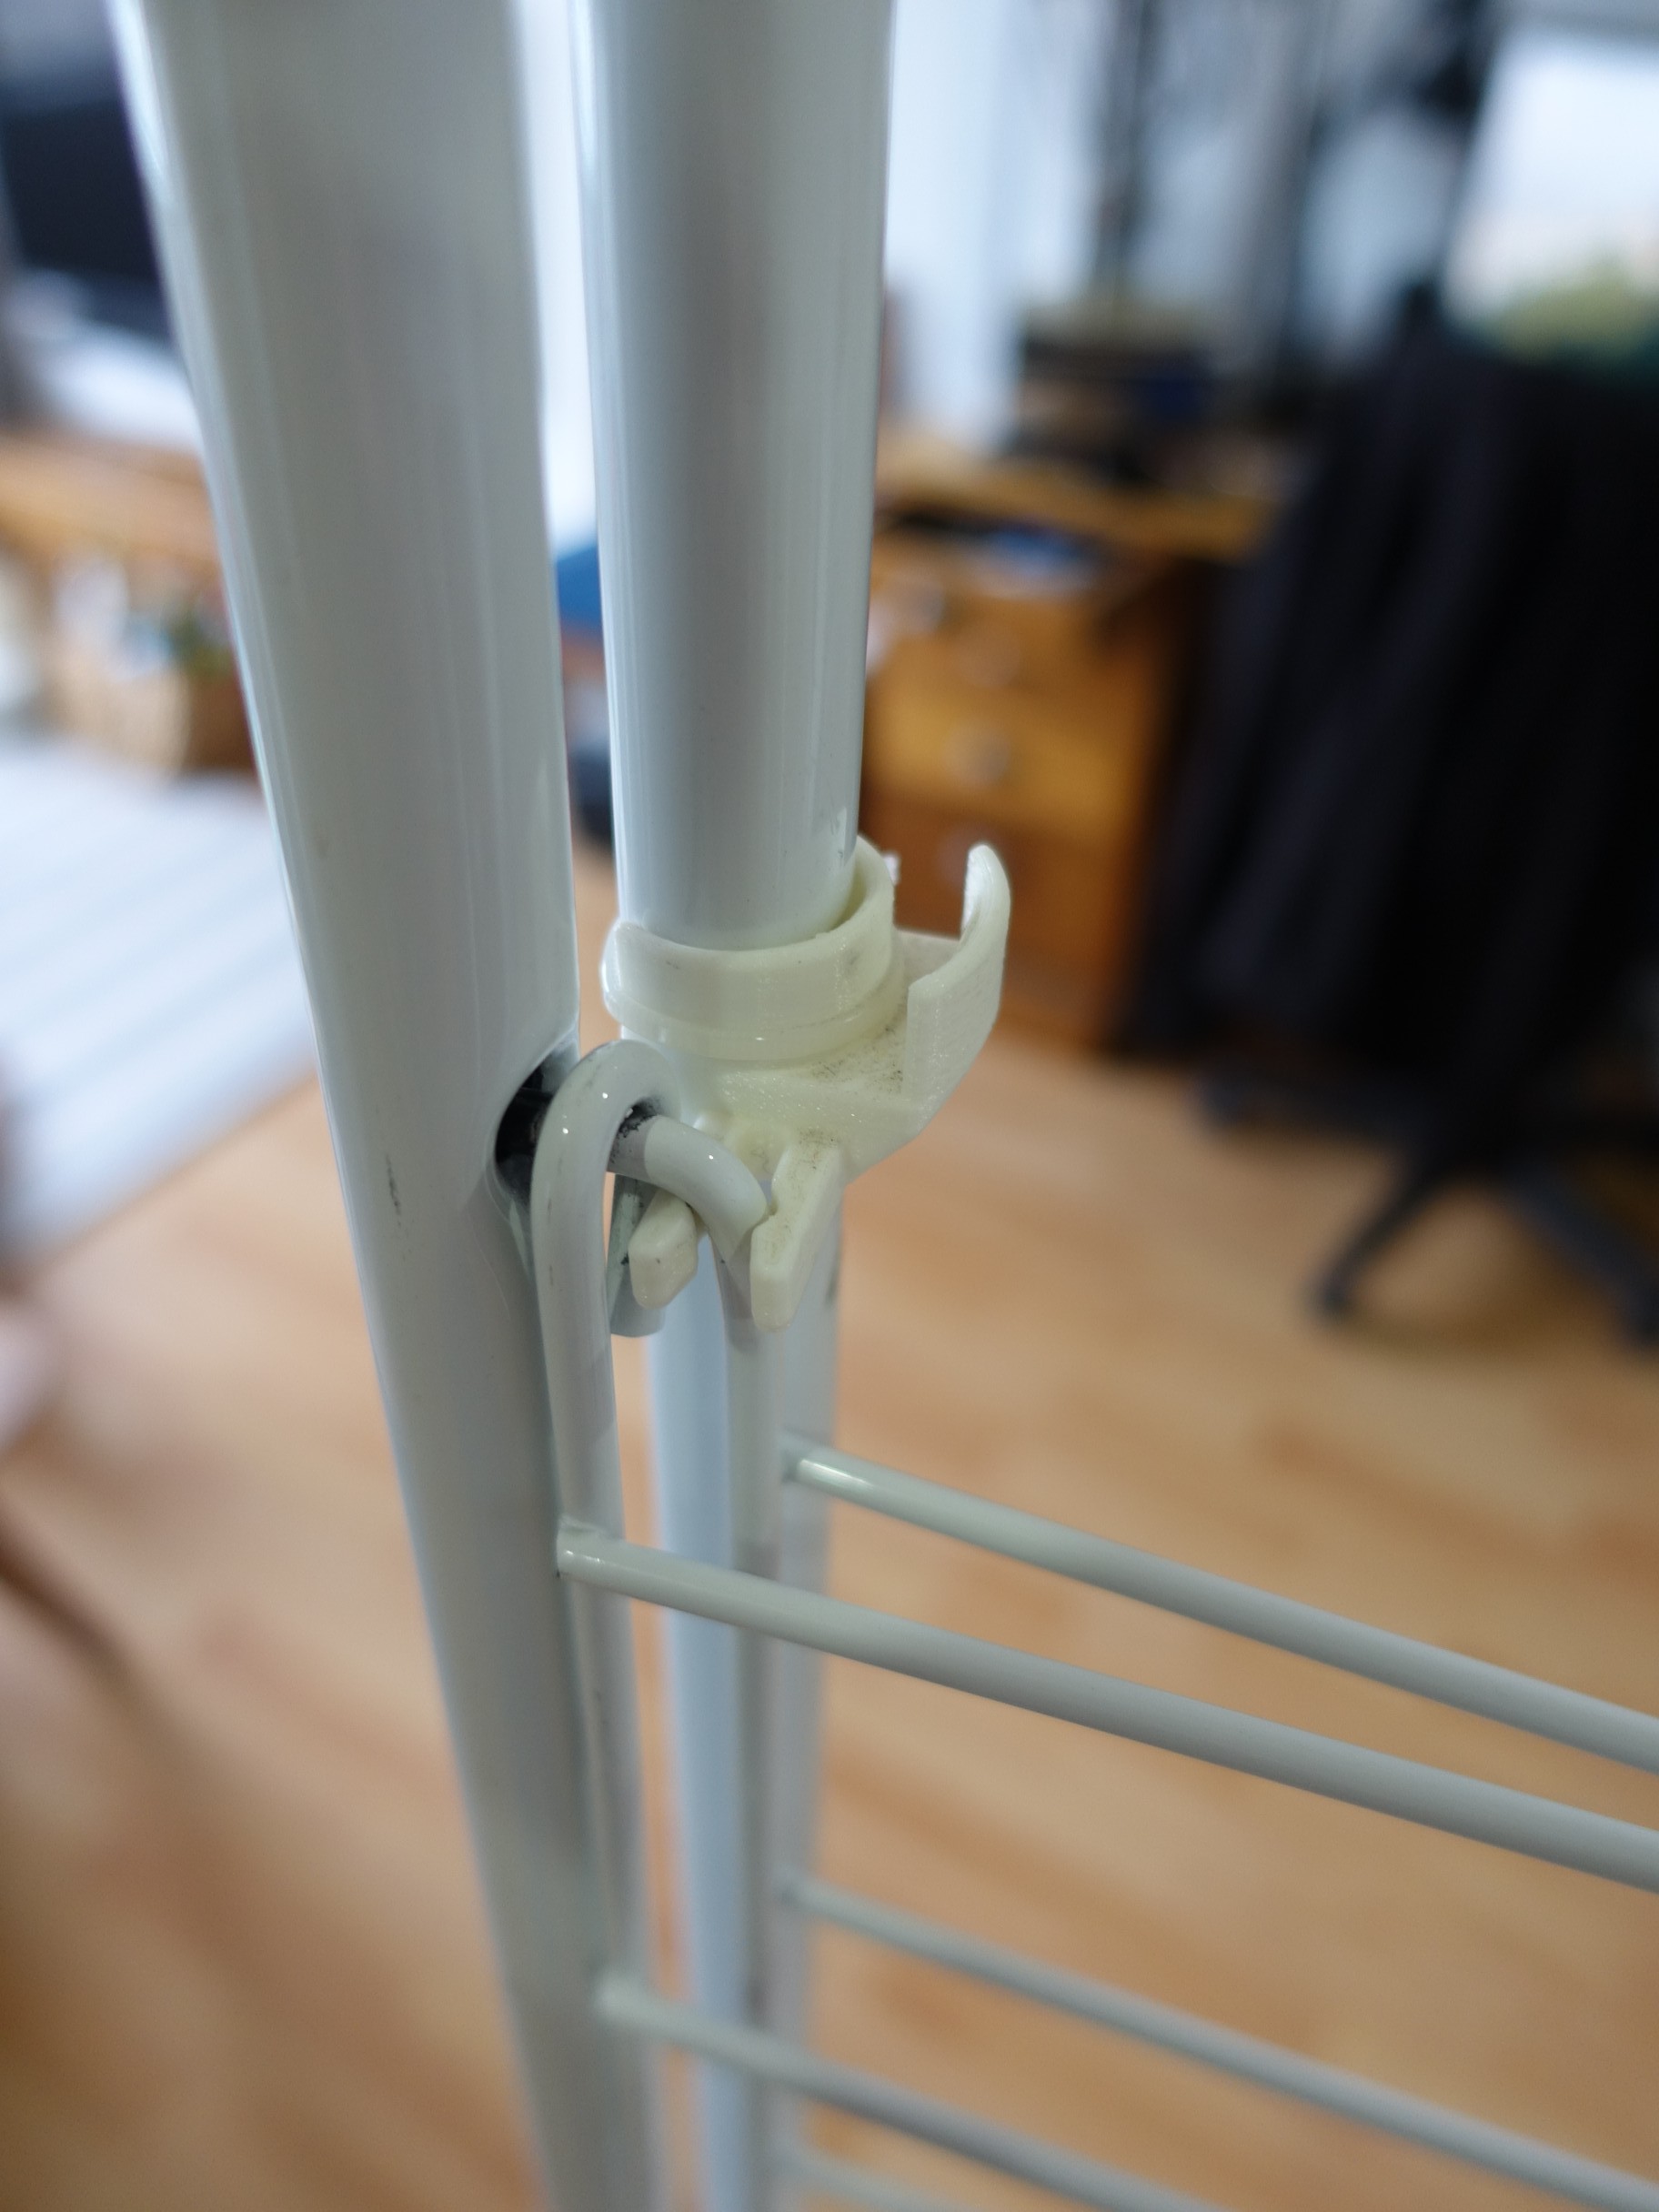
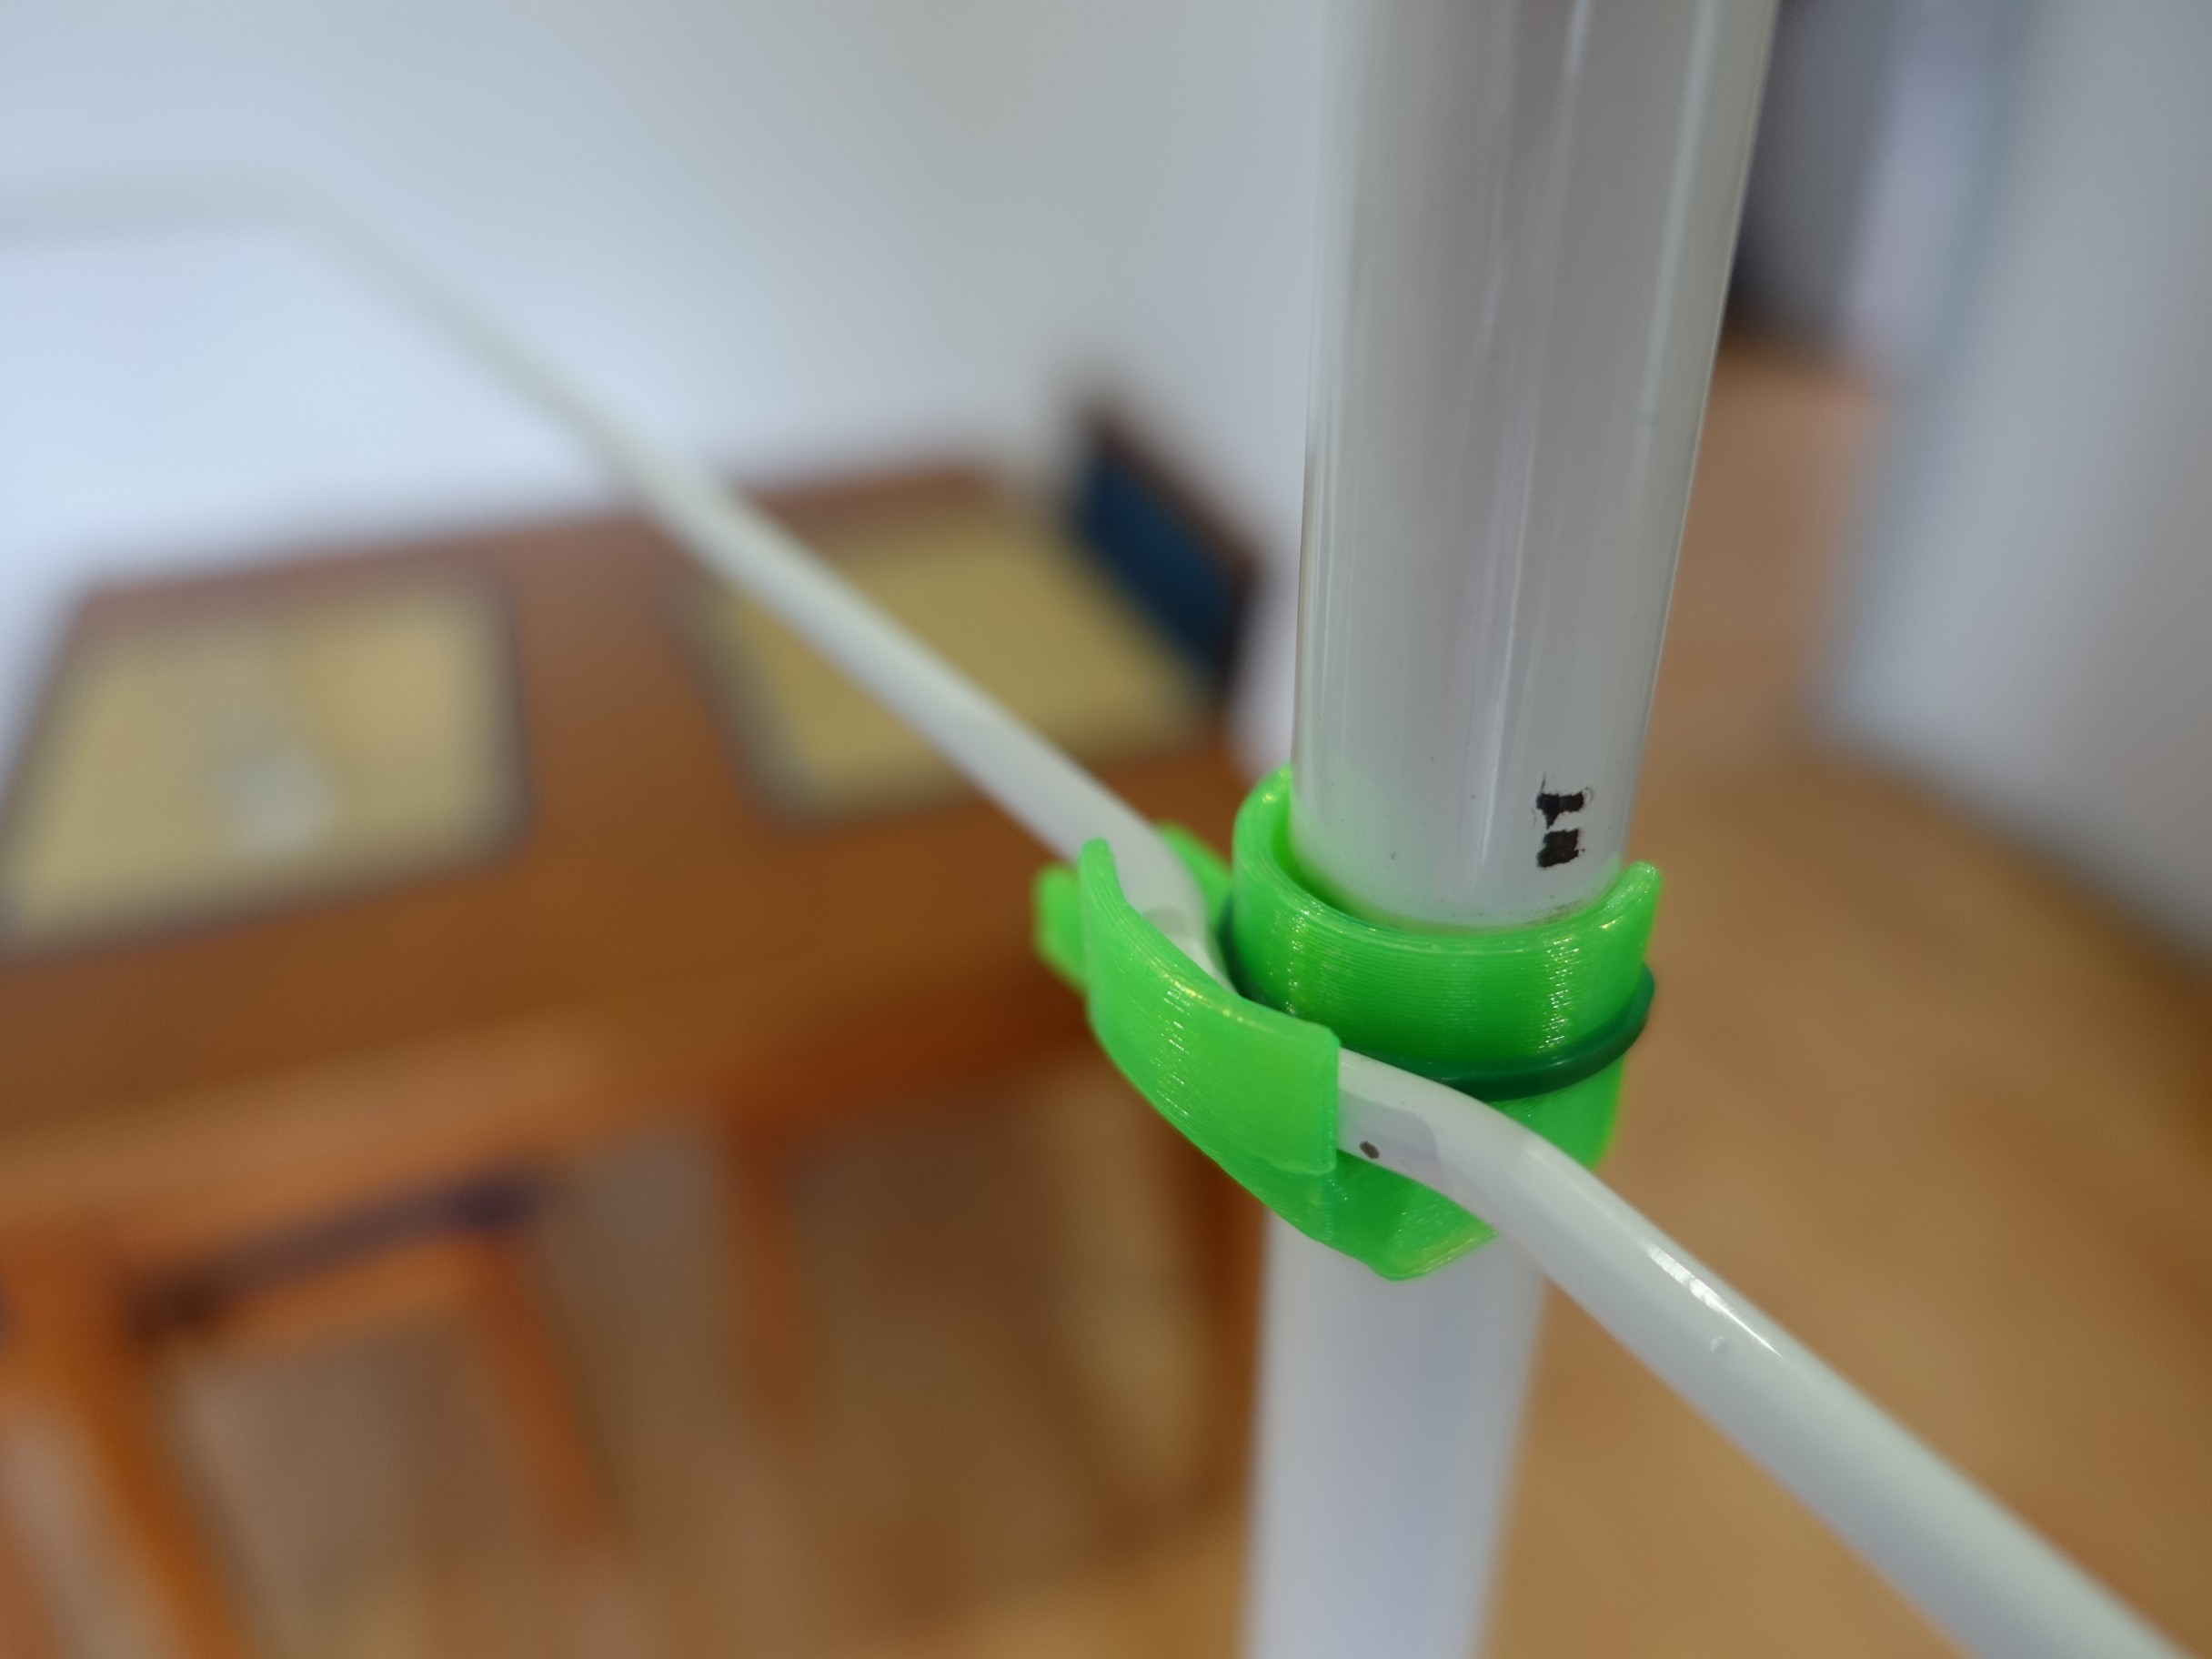
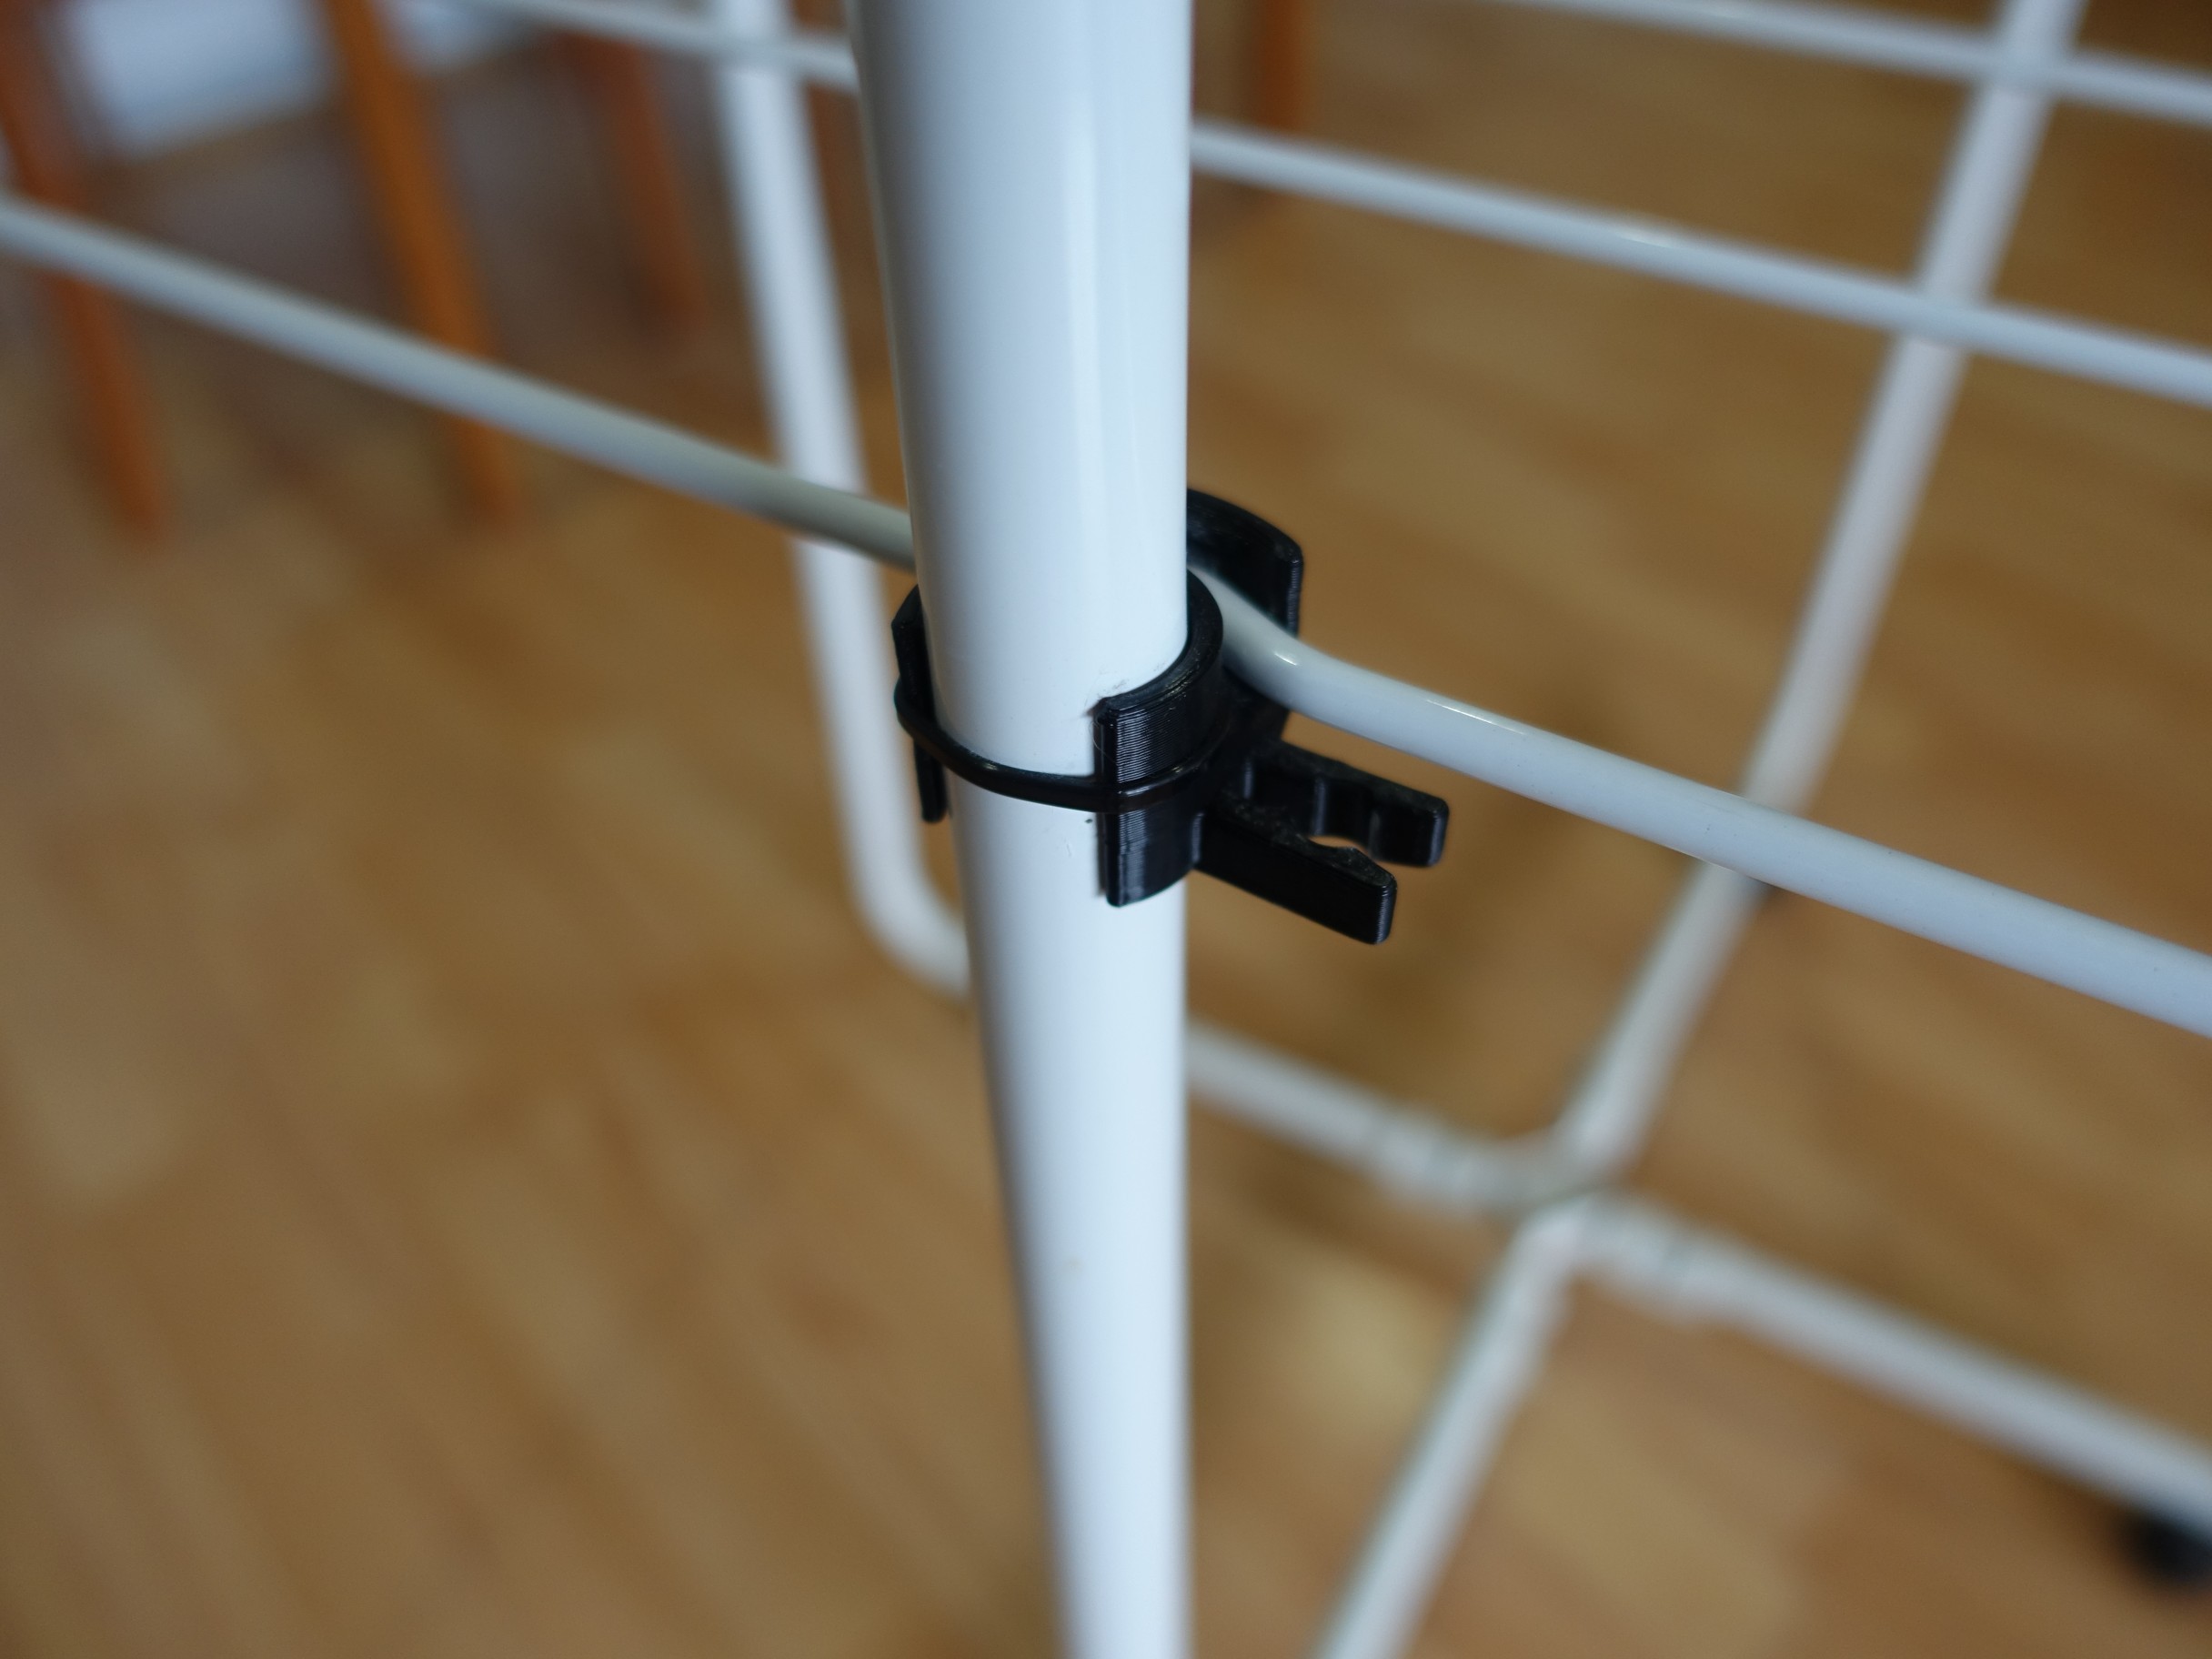
The new clips have also stood the test of time. I've not had one break yet!
 Brett
Brett
 MasterOfNull