pastcompute
-
MQTTSN Fixes
08/31/2015 at 13:29 • 0 commentsI think I fixed the problem with data loss. I had mosquitto configured in bridging mode and of course the leaf nodes are not running a broker. When I turned that off, and connected the SX1276 bridge as a UDP client to the broker port instead of the bridge port, the test link ran all night and only dropped about 3% of messages instead of 27%. I suspect there is some kind of MAC "collision" (as in, the bridge happened to be not listening at just the right time) and that is an error level I can live with, for the duration of the competition anyway. Down the track the firmware will need to be upgraded to use the proper LoRa protocol, but that can wait; establishing range is a higher priority.
It gets cold in the outside lab, 13degC brrr!
-
Firmware bedding down
08/30/2015 at 09:39 • 0 commentsI ran the refactored leaf node overnight and logged about 12 hours of data.
This test was only over a few metres so not exciting from a RF perspective.
But the good thing is it never locked up once.
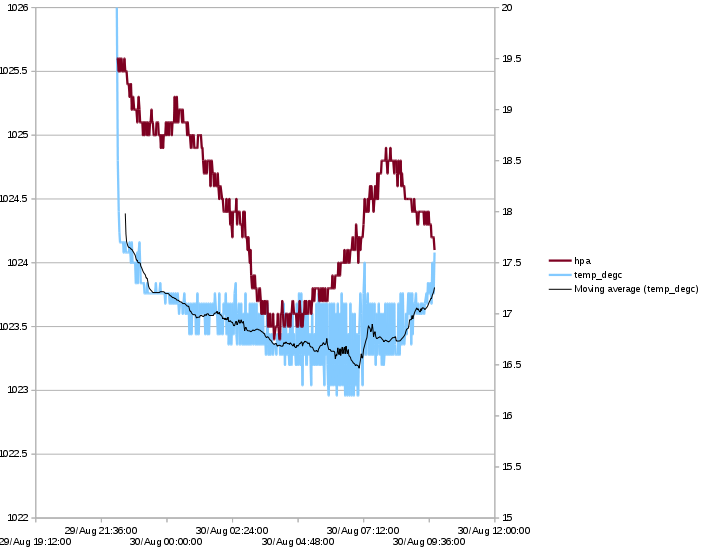
The chart shows the overnight air pressure and temperature in my lab.![]()
On the couple of occasions I checked the temperature was pretty close to our wall thermometer, but I need to look into how to properly calibrate with the BMP180, because 1024 hPa equates to below sea level using the Adafruit library :-/
I am sure I have a bug in the primary node MQTT setup, for some reason the messages received by the logging process are somehow delayed by one message from when the RF is handled by the bridge. This is ultimately impacting reliability, showing up as of leaf node 582 cycles only 73% ended up logged by the MQTT subscriber.
This evening hooked the leaf node into my netbook and went for a walk. Though the system presently uses 2.4g wifi rubber ducky antenna, I was able to operate through two stone walls and a copse of large gum trees, out to about 100m which is pretty cool, so I can't wait to see how far these modules will travel with a proper yagi, clear line of sight and extra error correction bits.
-
Yak shaving #1
08/28/2015 at 15:01 • 0 commentsSo I mostly refactored the firmware for the leaf nodes to be a lot cleaner, ready to start populating sensors.
Next step is a 24h monitoring test, hopefully starting tomorrow evening
-
Debugging
08/19/2015 at 13:47 • 0 commentsSo it helps when you make the symbol timeout sufficiently large to receive all the messages... MQTT-SN reliability now improved 200%
-
State of Play August 17
08/17/2015 at 11:37 • 0 commentsWe will be uploading our video Real Soon Now.
To date, we have assembled circuits to build four configuration combinations of sensor module, although until further components arrive we can presently only have one pair of any configuration combination operational at a time.
We have working minimum operational software for Linux and for the Arduino framework, and have run a basic telemetry feed overnight between buildings on my properly.The main bulk of work (apart from building additional modules so we can have a pair deployed with the solar power to a paddock at the same time as a pair on the workbench for development) remaining is software and antennas : (a) coding in the additional sensors, tuning the protocols, and integration with OpenHAB, and (b) extending the range out to the 10+km the inAir9 radios are advertised as capable of. The other major task remaining is concluding development of the enhanced rain gauge.
For a full summary of outstanding implementation refer to the TODO document in github
-
Radio Survey
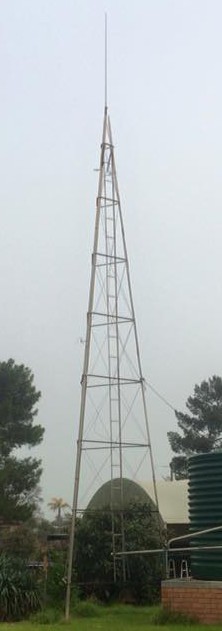
08/16/2015 at 07:55 • 0 commentsTo make radio distance any significant distance requires height, because of such things as the Fresnel Zone.
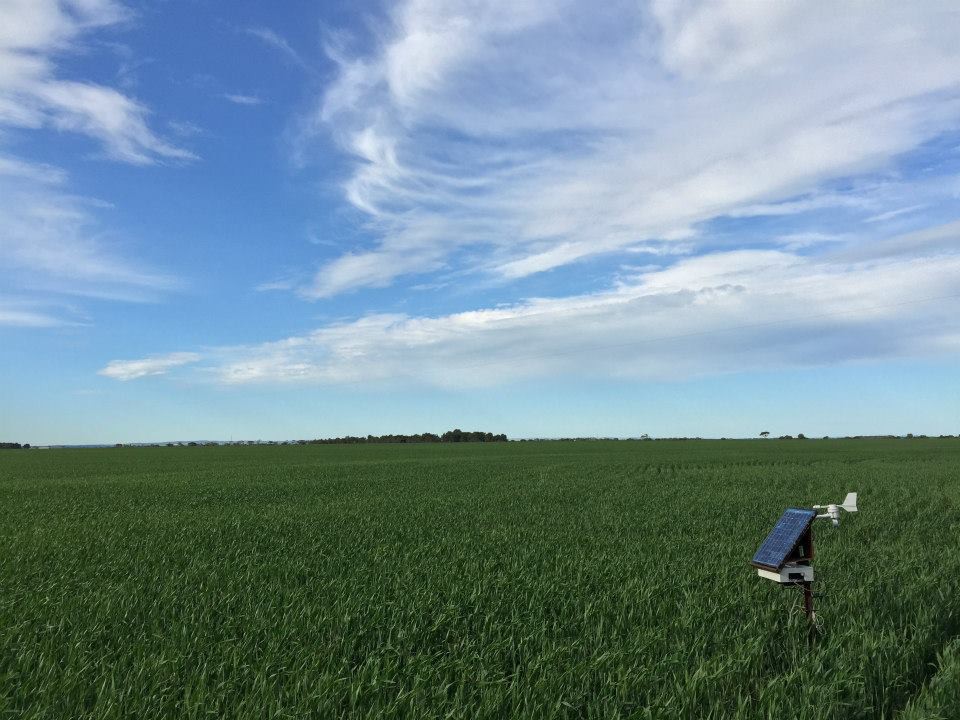
Luckily, in Australia it is a rare working farm that doesn't have a windmill (a particularly common sight in areas not served by mains water) and/or a dedicated radio tower. This is good, it will let us design a system that can have a high central node and reduce the amount of elevation required for antennas in the paddocks.
The photo shows the tower that someone will need to climb when we are ready to start extending the range of SentriFarm :-)
![]()
-
Last weekend : physical prototyping
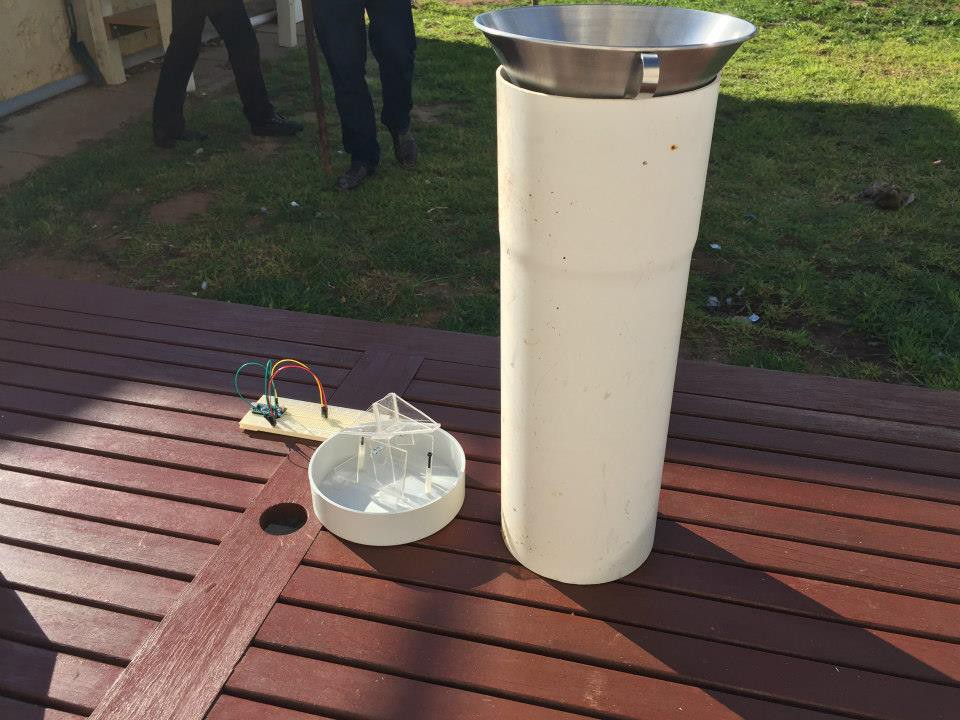
08/15/2015 at 12:26 • 0 commentsIn the background work has been progressing on the improved rain gauge.
There are a couple of criteria:
- need to cope with intermittent extra big deluge
- need to be much cheaper than present varieties on the market
- to achieve that we need to use a tipping bucket rather than a siphon, but find a way to be much more accurate than a tipping bucket
- the solution involves more internal sensors than is typical along with a microcontroller, in this case an arduino micro
This is the first rought cut, used for sizing enclosures (hint: this is too big), designing the funnel and tipping mechanisms and electronics mounting points so we can start thinking about CAD'ing the design for 3D-printing and/or laser cutting
![]()
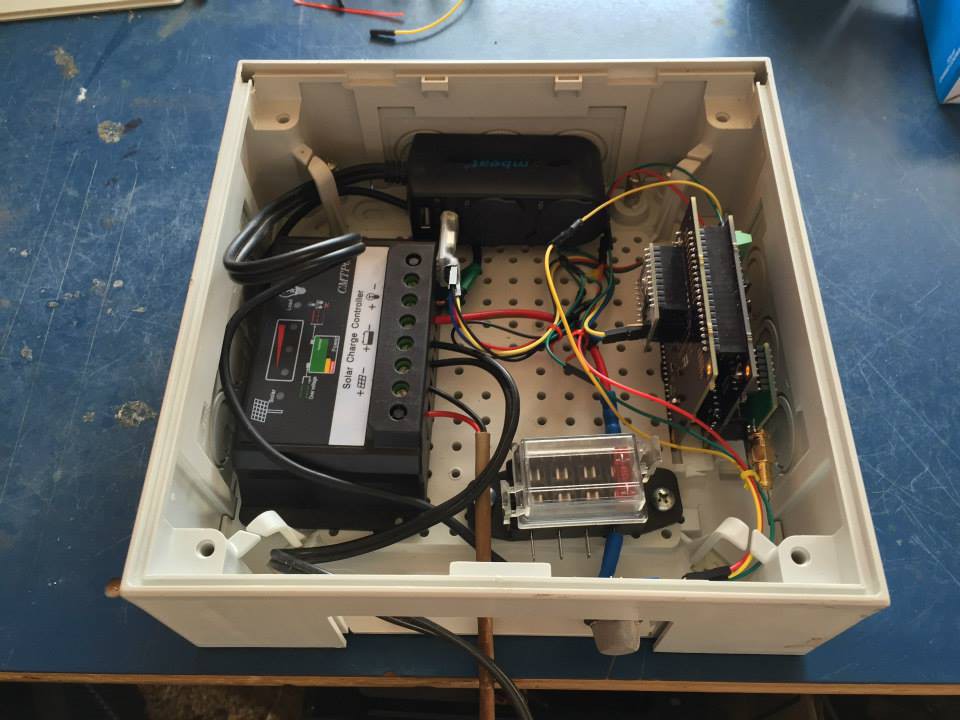
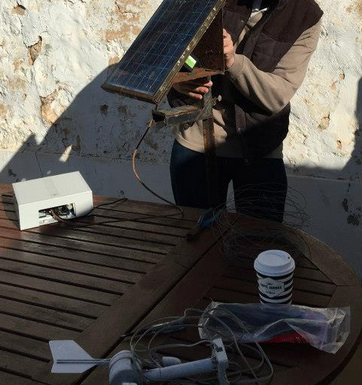
We also spent some time considering casing options for the sensor nodes. An obvious option is to mount the lot inside a PVC pipe, but another way is just using a sealed jiffy case or variant.
Turns out for the Linux based system we need to think a bit more about how to fit both the compute module and sensor electronics in with the solar panel charging circuits.
Probably didn't help that my junk box seemed to be full of plastic boxes that were either too small or too large... Note, the following image is actually equipped with the Teensy LC we wont from hackaday (thanks!) rather than the Linux node
![]()
And of course we took the chance of a sunny winter day to go trapseing in a paddock posing for photos:
![]()
We also used plenty of cable ties and drank plenty of coffee :-)
![]()
-
Minor update
08/14/2015 at 09:46 • 0 commentsLast weekend we all met up and had a mini hackathon.
We assembled a rough cut of the node that will go in the paddock with solar panels and casing, to see what could be learned about building the actual nodes. Luckily we had plenty of cable ties...
(photos coming soon)
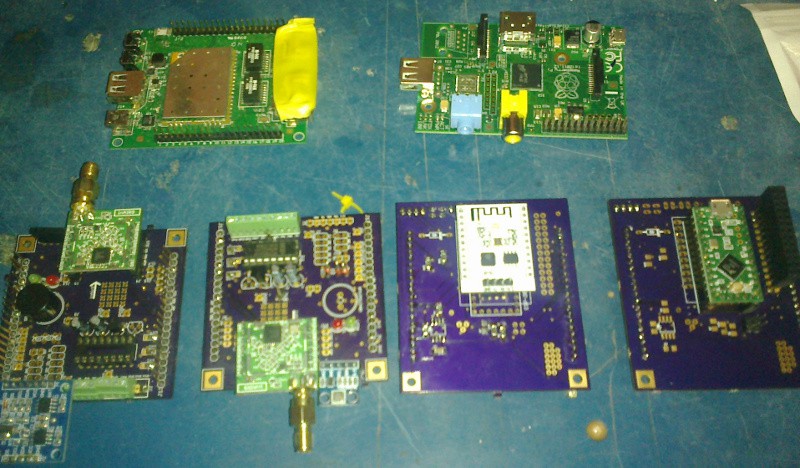
I have several board variants built now, allowing us to build up and start developing and testing in earnest sensor software for the configurations.
![]()
Along the way I discovered various minor mods to resistor and other component values and layout niggles to fix up in the next iteration of the design.
I also discovered that it is a royal pain to desolder a miniature screw terminal blocks without destroying it once soldered in the wrong way around !
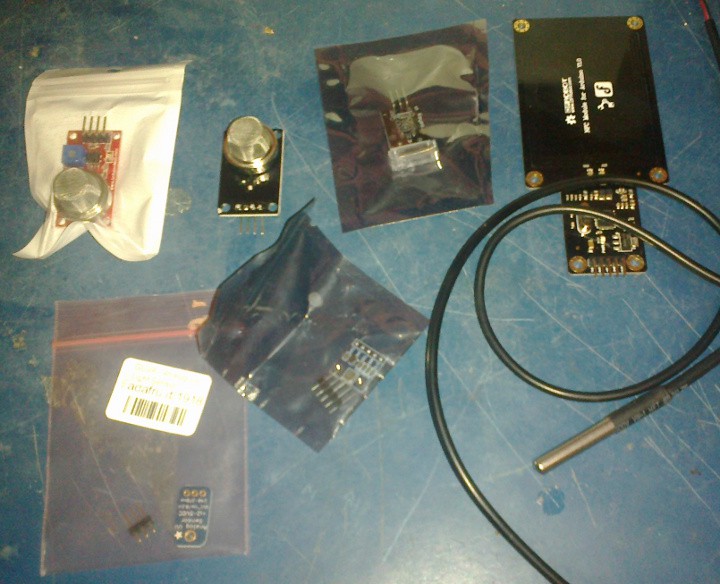
Sensors to be deployed soon include temperature varieties, humidity, barometer, and UV, smoke, carbon gas, and vibration (for measuring coarsely whether it is a windy day / the device is being butted by sheep) and experimentally, using NFC for on-site readings
![]()
-
Soldering again at last
08/08/2015 at 14:29 • 0 commentsThings have been a bit slow last week between work and a family member in hospital
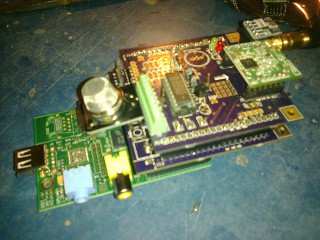
Finally assembled the Teensy and Raspberry Pi node version of the SX1276 adaptor shields.
![]()
The raspberry pi version is a bit top heavy and will need extra support by the look of it.
![]()
This will do for prototyping the software, but I think I'll be designing a much more compact board allowing higher clearance so it mounts the other way over the pi.
Just in case you hadn't guessed, we haven't planned on entering the best product prize category until 2016 :-)
-
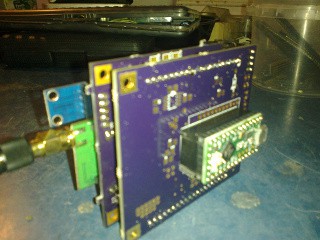
teensy/ESP201 adaptor shield build works
07/17/2015 at 12:51 • 0 commentsMy shield adaptor boards arrived last week and tonight we soldered one up.
It works!
![]()
There is a little bit of dodgy wiring because the ESP-201 had the serial pins in breadboard mode and I couldn't be bothered resoldering them at the moment. But it works!
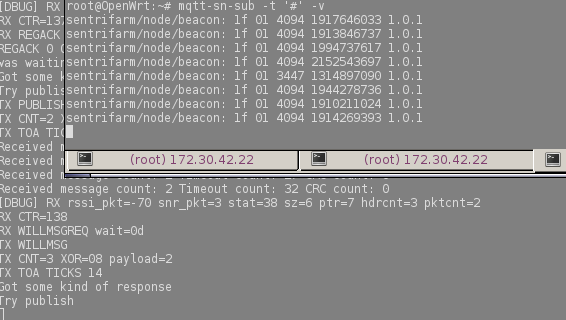
The screenshot foreground window shows the carambola2 running an MQTT subscriber, reporting clock ticks and version info from the ESP8266, received via RSMB MQTT broker, MQTT-SN to SX1276 inAir9 bridge, and transmitted by the module in the photo.
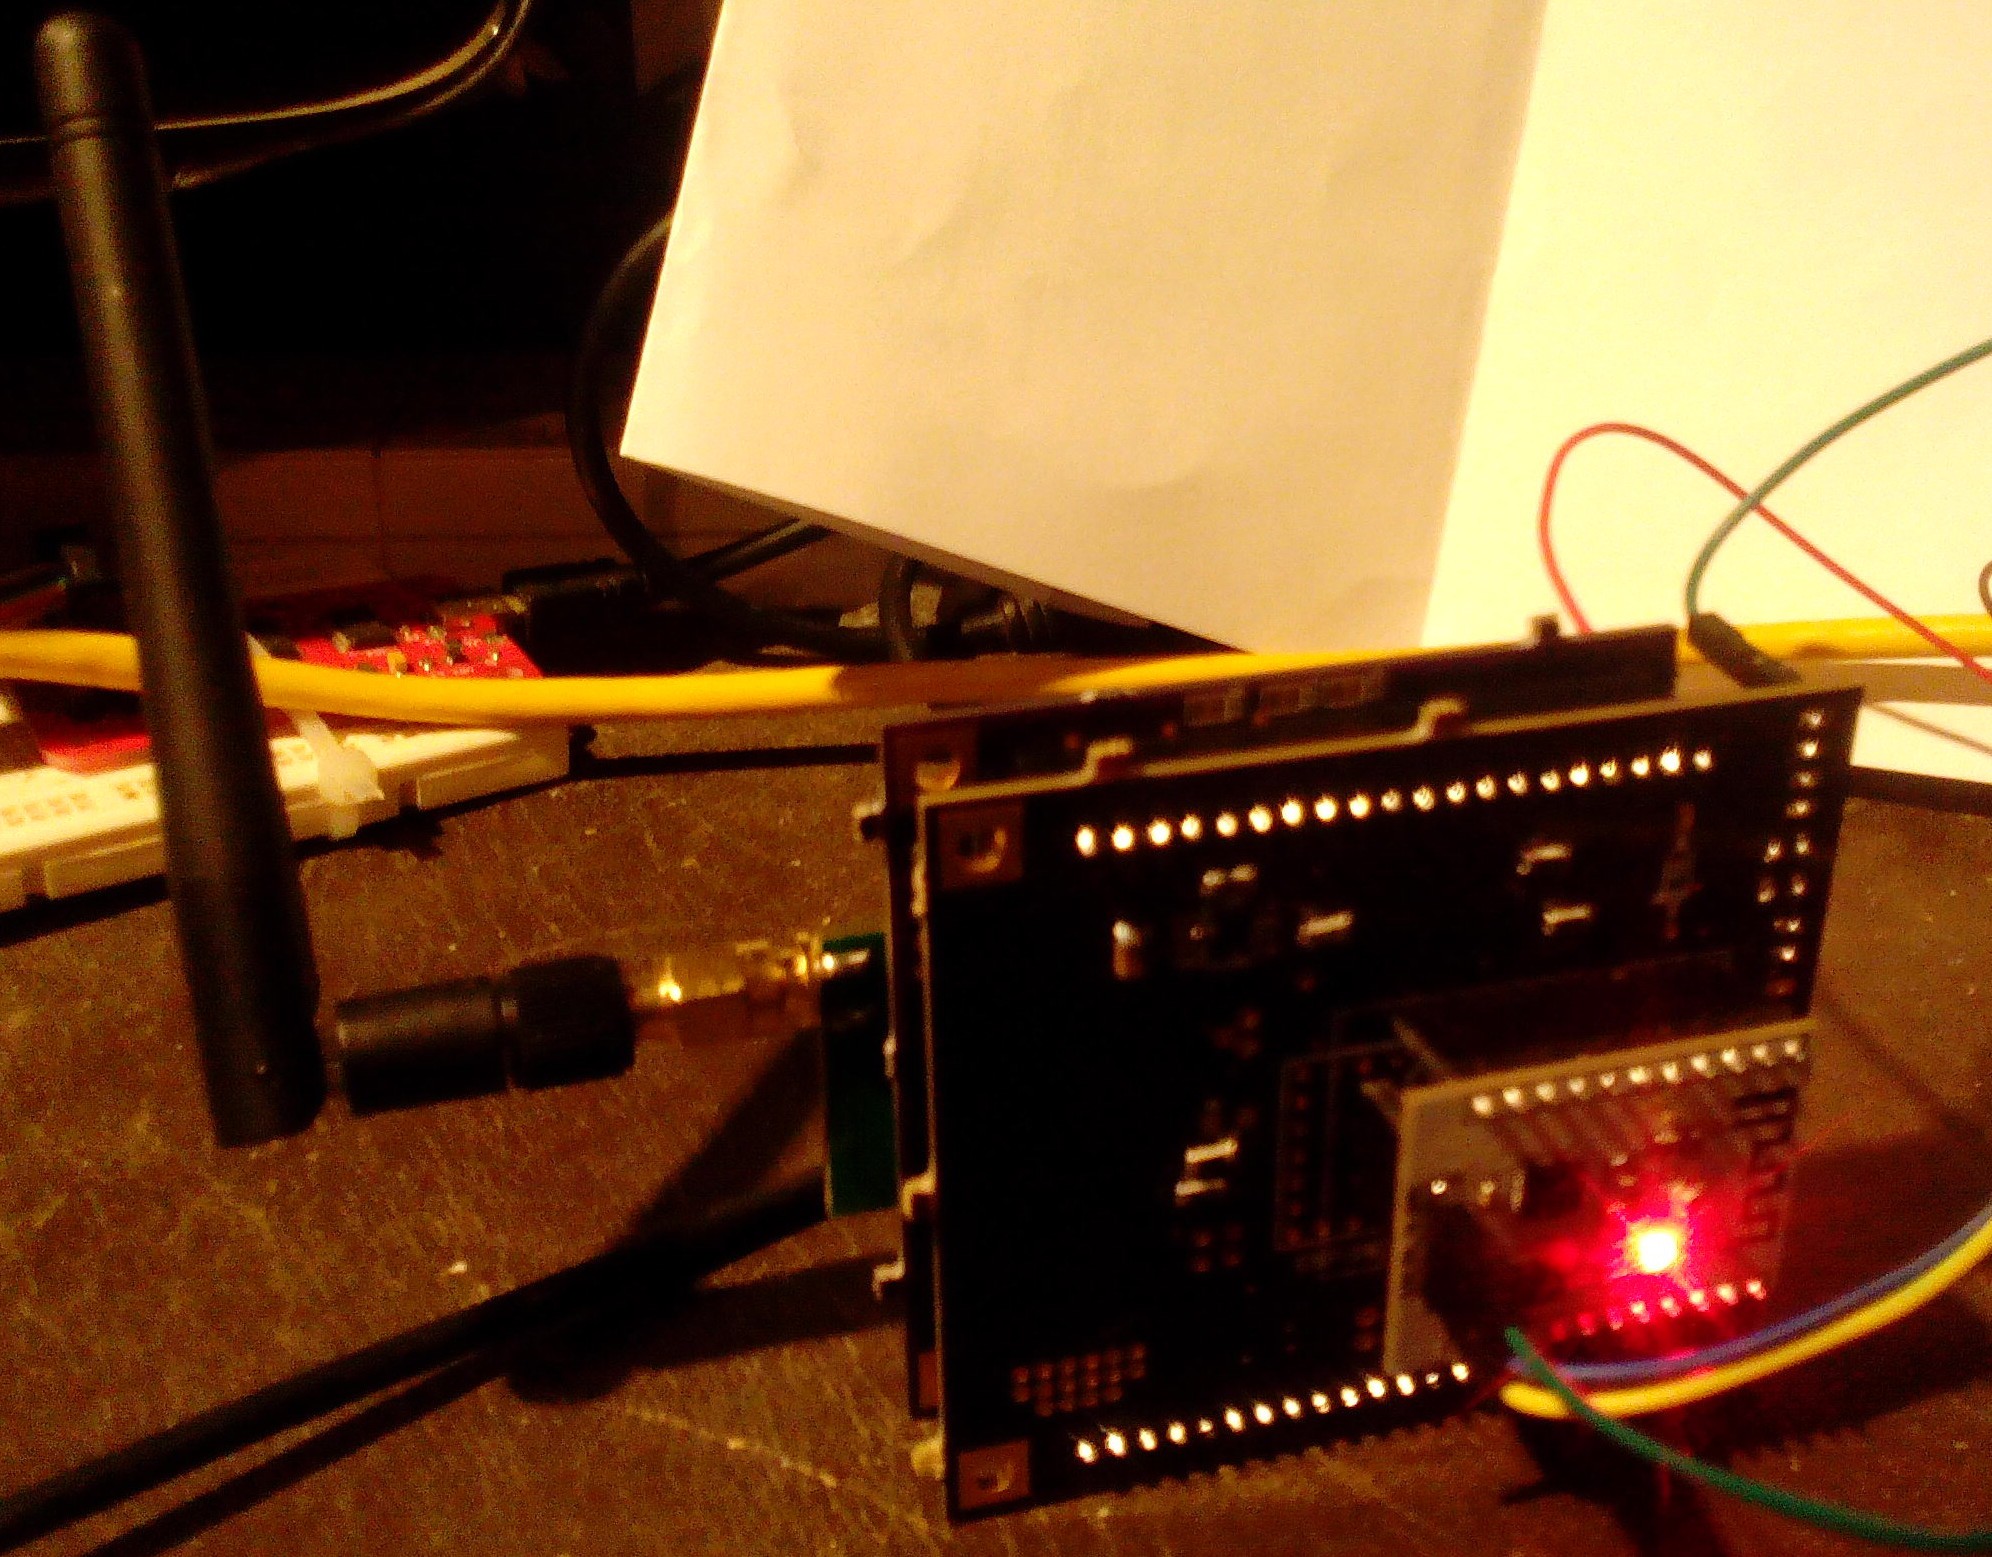
![]()
The ESP8266 is using the deep sleep mode to draw almost no current in between publish events, when it wakes up and (soon) reads sensors and transmits using MQTT-SN via the LoRa module.
Next step is to repeat the test using the Teensy-LC, then write code to read the sensors.
SentriFarm
Solving a key farming problem: is it safe to harvest / spray / sow today? (+experiments with 'big' data in agriculture)