-
1Step 1
-
2Step 2
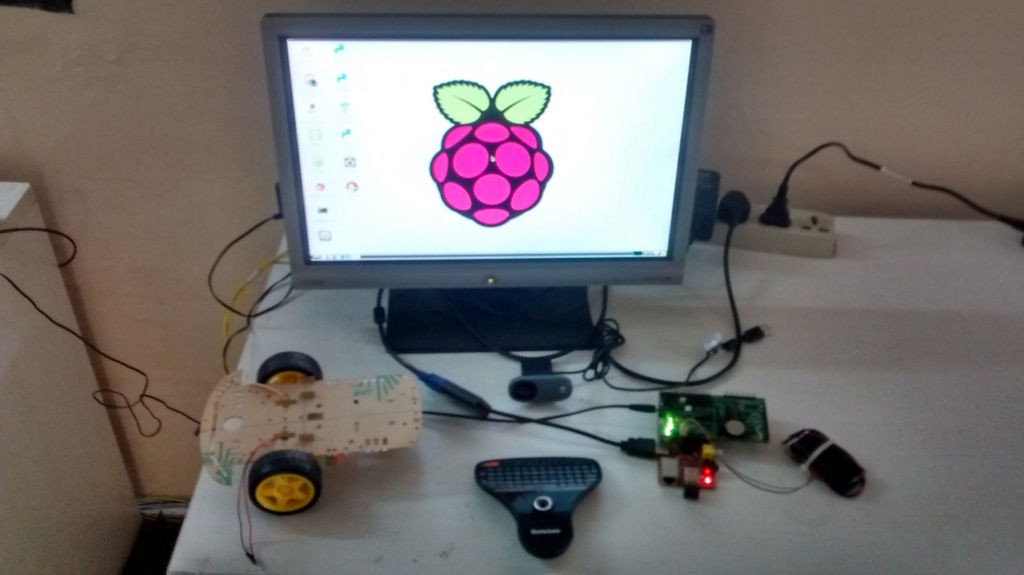
Step 1: Setting up raspberry Pi with basic software
![]()
-
3Step 3
![]()
-
4Step 4
![]()
-
5Step 5
![]()
-
6Step 6
![]()
-
7Step 7
First of all you will need to setup a webserver on your Raspberry Pi, along with PHP. I recommend reading
http://www.instructables.com/id/Raspberry-Pi-Web-Server/
At this point I am assuming that you have followed the above instructable and know the basics of booting up a Pi, installing the OS, connecting the pi to a keyboard+ mouse+ monitor or enabling the SSH mode for remotely accessing the pi and enabling the pi camera.
Once you have done the above let's begin with installing Apache. Apache is a complete webserver creation and management tool. It can perform robustly diverse functions that's why it is very popular.
Now back to work, boot-up your pi and open the terminal (or an SSH connection) then type this command in the prompt
$sudo apt-get update
You will see a lot of instructions running on the display. Let it all end (you will know when you get the "$" with blinking prompt again).
Next we install apache and PHP using the following command in the same terminal
$sudo apt-get install apache2 php5 libapache2-mod-php5
It will ask you if you want install the packages with the following phrase displayed: "Do you want to continue", type "y" and hit Return / Enter.
Wait for the install to complete (this may take a while and you'll know its done when you see the blinking prompt with just the "$" again).
If you now start a web browser on your computer, and type the IP address of your pi into the address bar, you should see a message which goes something like "Your website is working/running!!".
Optionally you can also install an ftp server with the following commands
$sudo apt-get install vsftpd
Now that you have installed the FTP server you need to do a bit of configuration. See instructions below:
$sudo nano /etc/vsftpd.conf
(nano is a text editor built into the Raspbian OS. It helps to quickly edit or modify files from the terminal)
Scroll through the file and change the following lines:
anonymous_enable=YES Change To anonymous_enable=NO
And remove the "#" (uncomment) for the following two lines
#local_enable=YES Change To local_enable=YES
#write_enable=YES Change To write_enable=YES
At the end of the file add the following line of code:
force_dot_files=YES
To save and exit hit "Ctrl + x", then hit "y", then the Return / Enter.
You will now need to restart the FTP server for the changes to take effect – use the following command:
$sudo service vsftpd restart
-
8Step 8
Step 2: Installing MPEG-STREAMER
![]()
-
9Step 9
![]()
-
10Step 10
![]()
Robot Using Raspberry Pi & "Bridge Shield"
The Bridge Shield is a board for Students, Hackers & Researchers which can use along with Pi or Arduino Uno or both to create unimaginable


Discussions
Become a Hackaday.io Member
Create an account to leave a comment. Already have an account? Log In.