Close
0%
0%

SunLight

Solar Illumination - a light conduit to bring sunlight indoors

Similar projects worth following
421 views
0 followers
The purpose of this project is to develop a simple to install design for a sun-powered interior light source. I am working with plastic for now, but I envision the end product to be made from recycled glass. I hope it will address lack of indoor lighting, reduce the need for electrical usage (during daylight hours), and reuse materials that may otherwise wind up in a landfill.

This idea is not new by any means. I was initially inspired by maritime history, where the tall ships of yore had Deck Prisms installed to allow sunlight below decks (ref: http://en.wikipedia.org/wiki/Deck_prism ).

Also, while researching this idea online I found a modern incarnation. A group of students at the Massachusetts Institute of Technology (MIT) designed a “solar bottle bulb” reusing plastic bottles.

While I cannot claim the idea as my own, I enjoy playing with design variations in an attempt to simplify and maybe improve its implementation.

Design notes:

I selected a mushroom design for a few reasons.

Firstly, ease of installation. The only tool required will be a drill with the appropriate sized bit. Make a hole, add some water-proofing, and press it in.

Second, the shape of the area under the dome provides a good place to put the sealant (silicone, caulk, tar, ... whatever is on hand) to help rain-proof it the hole you put in the roof. For corrugated metal roofing, always drill into a peak, not the trough. Unless you want to water an indoor plant when it rains.

Lastly, if the size is scaled up, so will the weight. Especially if made of glass. The mushroom shape will allow gravity to hold it in place. Whereas if installed upside down, gravity would try to uninstall it for you.

  • 1 × 1/4in round Lucite rod, 3in long

  • ...and so it begins...

    Keoki03/25/2015 at 07:15 0 comments

    After mulling this idea over in my head for years, I finally decided to dust off the cobwebs and bring it into the light of day as it were.

    My vision is to eventually use recycled glass, but my past attempt to melt a wine bottle in my furnace designed for aluminum proved I do not yet possess the proper tools to work with glass. And I ruined an perfectly good ceramic crucible in the process. So until I can get a proper glass-working kiln and other appropriate tools, I chose to rough up my prototype with Lucite.

    I ordered a few thin 1/4in Lucite rods from ebay, and started experimenting this evening. First I used a propane torch to heat a used razor.

    The heated blade made quick work of it, and I reduced a clean 12in long rod into four 3in bite-sized pieces.

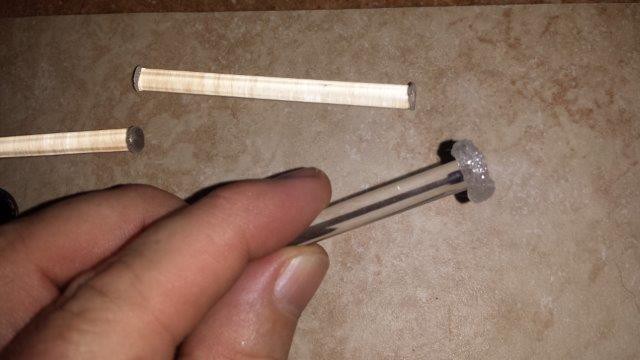
    Next I used the torch on a mismatched spoon (hope the wife wont miss it), then pressed one of the rods into the bowl to try and shape the mushroom head of my design.

    According to my good friend and all around Mr. Knowit all, Google, Lucite's melting temp is 320°F (160°C). My challenge is it boils at 392°F (200°C). Guess what happened when I hit the spoon with the torch to an unknown temp then pressed the Lucite into it. Yup, melted ... and instantly went to boil mode.

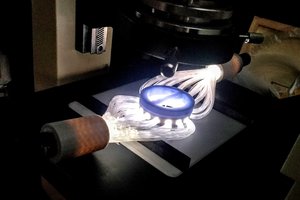
    Messy, but not a complete disaster. I was able to achieve a somewhat mushroom-like shape.

    Now, lets talk a wee bit about requiring a well ventilated space.

    When working with Lucite I think you actually need a hurricane fan. Like the ones from Movie sets. Even from outside with no discernible breeze, the smell somehow wafted into the house anyway and it took an hour to clear it out.

    But it worked and in the end I had my first test piece.

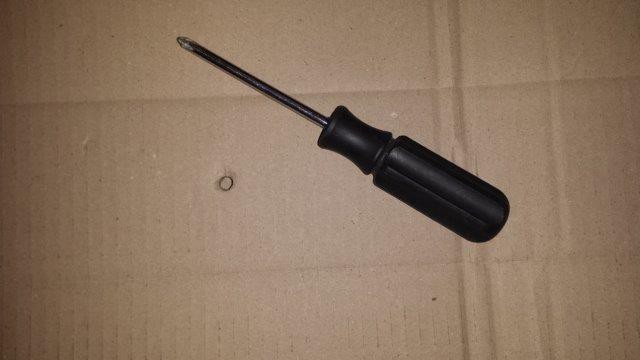
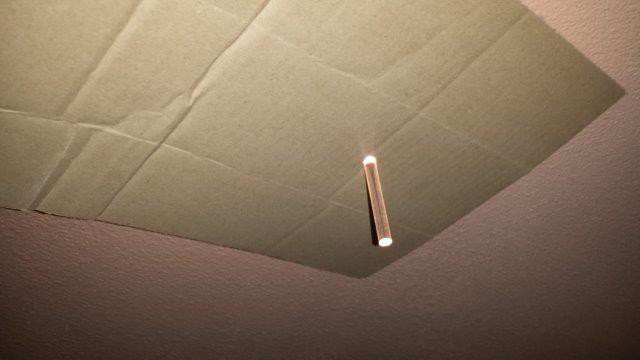
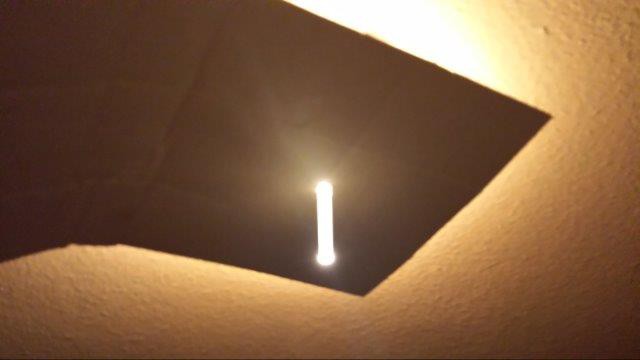
    Using a screwdriver, I made a hole in a sheet of cardboard, inserted the modified Lucite and held it over a light fixture.

    It appears to have worked as expected.

    Now I just need to find a better way to shape the my design. Especially when I up-size it to thicker stock.

    The kitchen oven comes to mind, but so does an upset wife.

    Must maintain domestic tranquility!

    Maybe I'll find a used toaster oven at a garage sale or something, then dedicate it to the workshop.

View project log

Enjoy this project?

Share

Discussions

Similar Projects

Does this project spark your interest?

Become a member to follow this project and never miss any updates