Enki
EnkiFred the Ripper
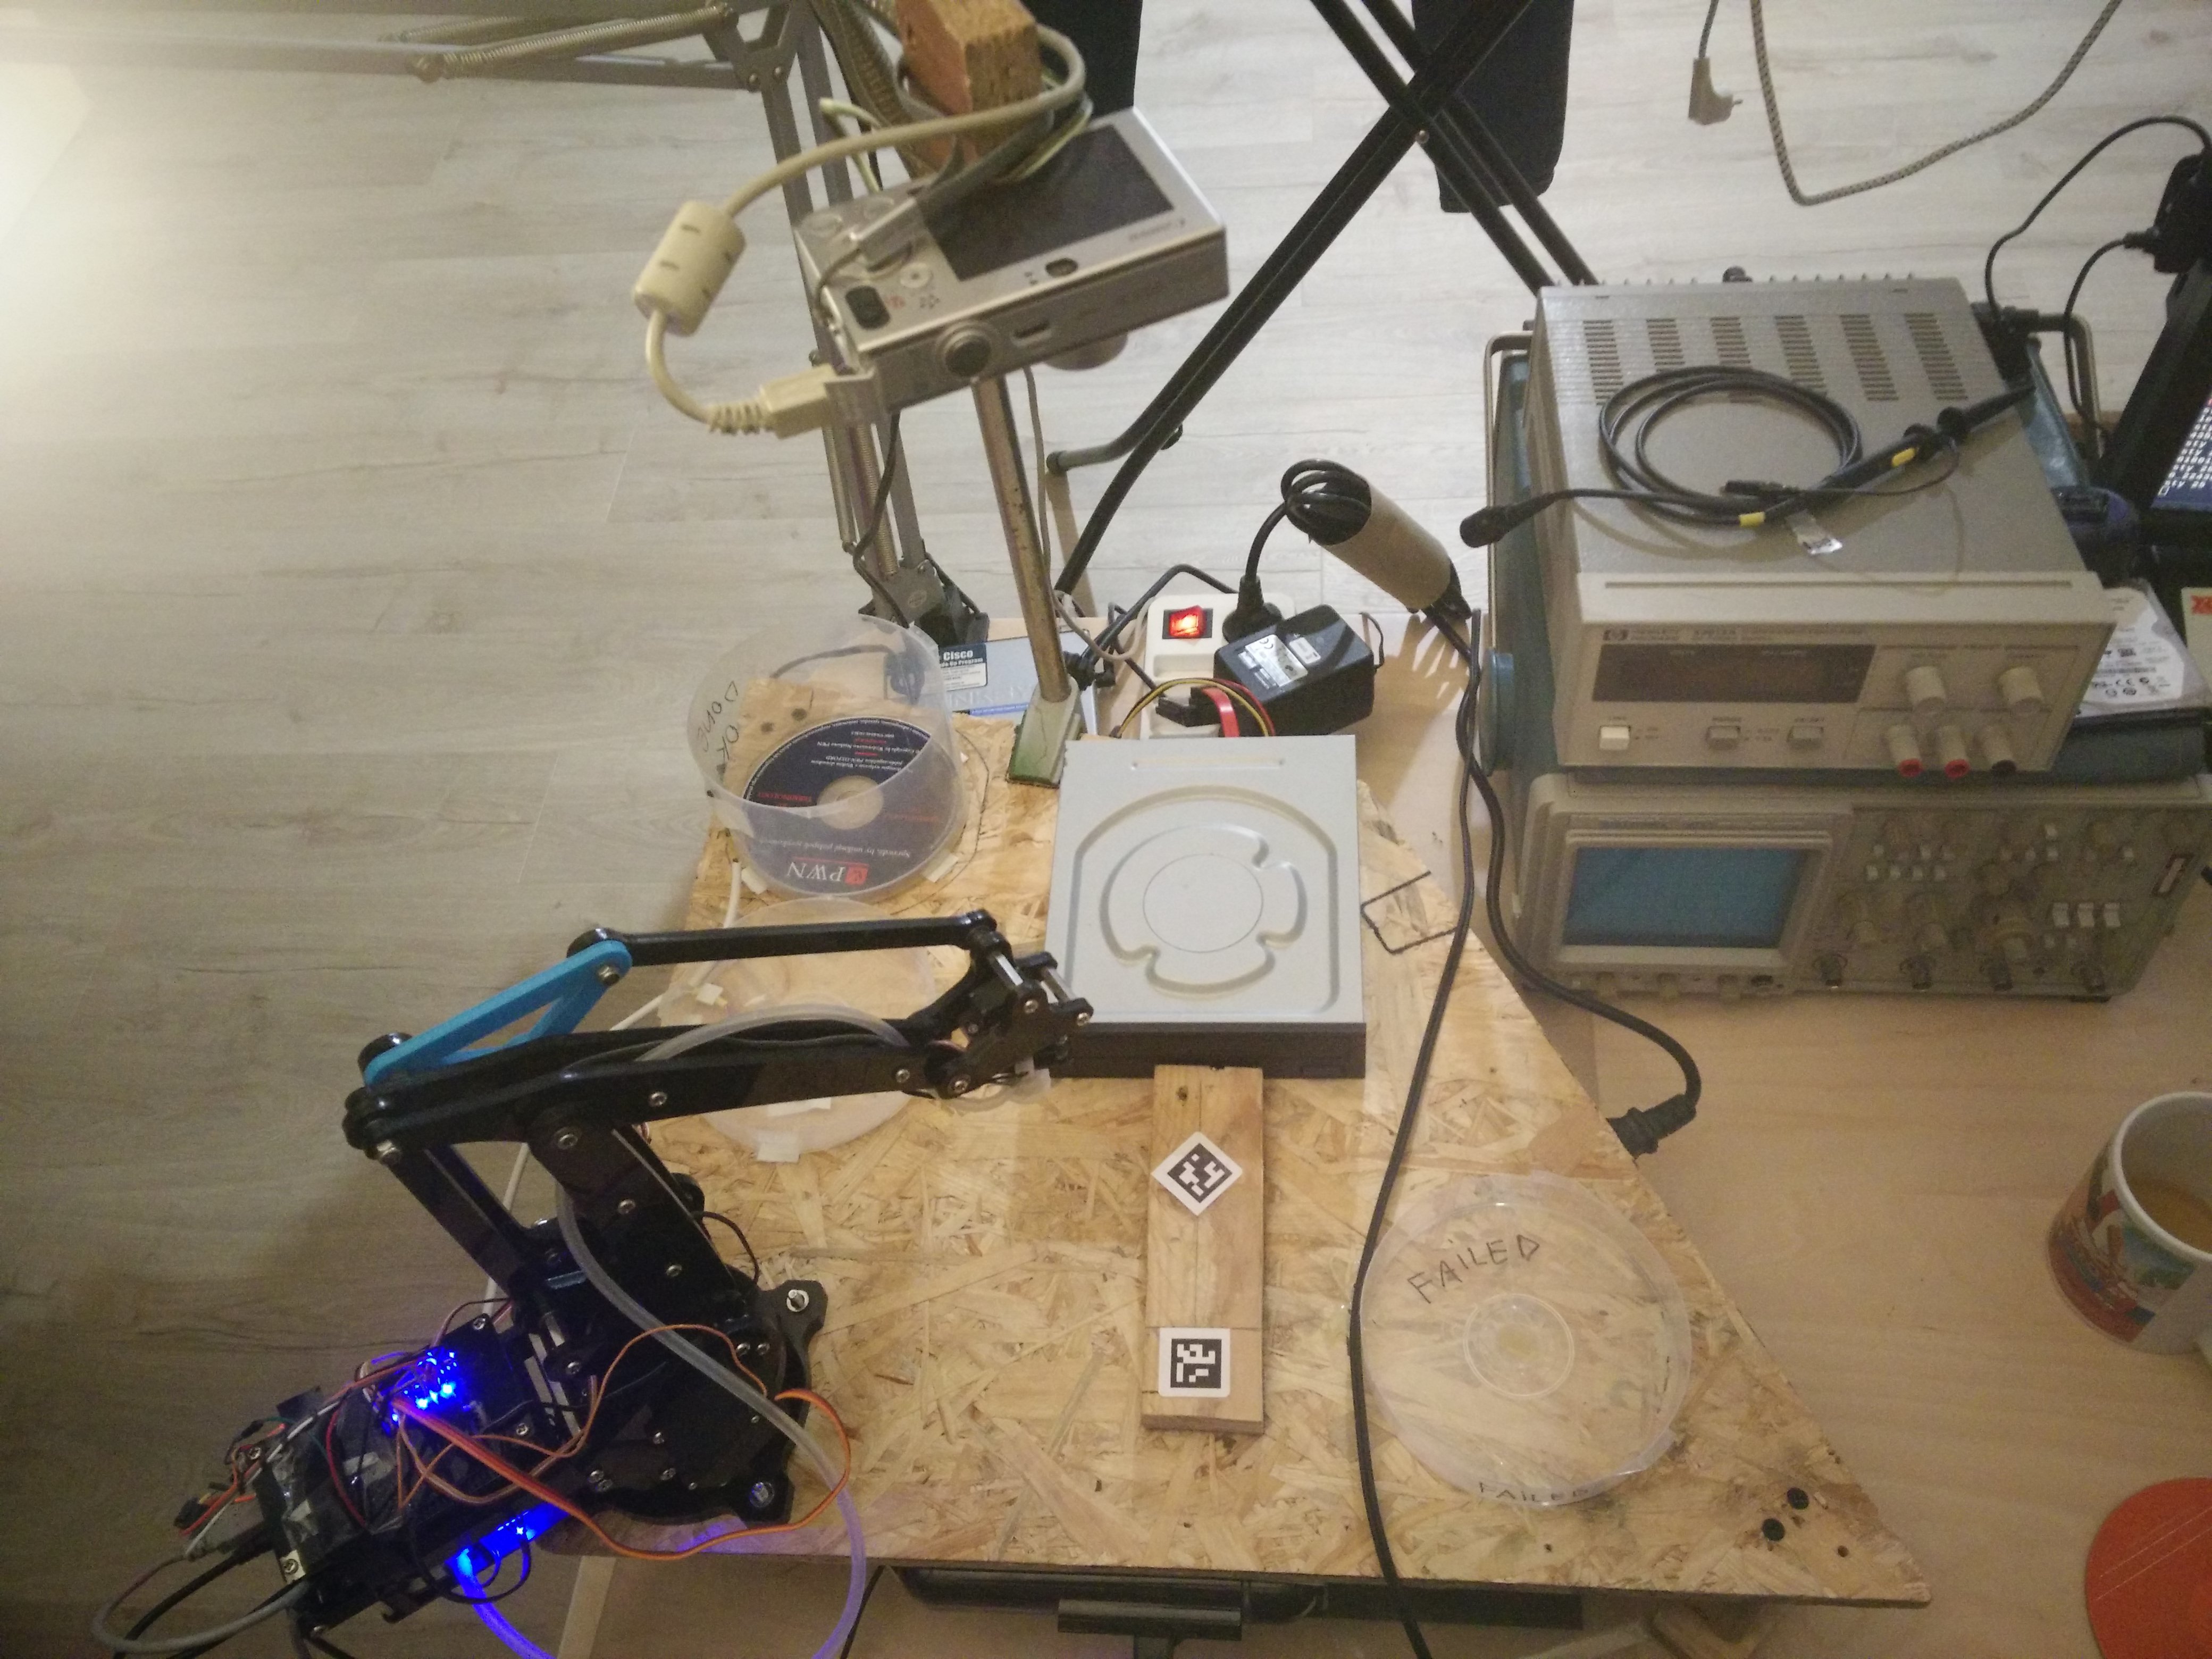
Fred the Ripper (FtR) is a CD-ripping (or recording if you want) robot based largely on the acrylic "kickstarter" version of the UFactory's Uarm 4-axis desktop robot. I added a few parts and other tricks to make a robot that can pretty robustly chew through a box of CDs archiving them complete with cover photos. To summarize the current fatures are:
- archives Audio-CDs and Data CDs, as well as other data discs (like DVDs with ISO filesystem on them)
- uses a camera to make photos of the cover of the disc to make your archive more easily searchable
- can detect and correct a certain amount of problems in it's own operation
- generates metadata for each archived disc
- has sensors to detect that there are no more discs to archive to automatically stop
- detects discs that failed to archive and puts them away on a special tray to be manually checked. All information and logs from the failed operation is retained
1 Rationale
The reason for this project was to learn how to use the UArm, OpenCV and flex my diy muscles while making something that will be actually useful. The usefullness part is me getting rid of two boxes full of old Audio CDs, archives and god-knows-what CD-R discs.
1.1 Hardware
1.1.1 Overview
The robot consists of 5 subsystems:
- the power supplies
- the arm (and connected sensors)
- the vision subsystem
- the drive subsystem
- the controller + display
- the debugcam
these will be described in detail in the following chapters. An overview of the subsystem connections is shown on the diagram below:
Sorry, your browser does not support SVG.
 |
 |
 |
1.1.2 The power supplies
The supplies are a small Newton Power Ltd DPS-111AB 146W ATX power supply together with an XL6009 step up DC-DC converter to provide 19V for the controller PC. A stable 5V supply with a high current capability (the UArm peak working current is 3.5A according to the datasheet!) is critical for this project, therefore I settled with a quite overpowered ATX supply after many attempts with smaller ones. It's pretty annoying when your arm, camera, etc. do random resets when the voltage dips too low.
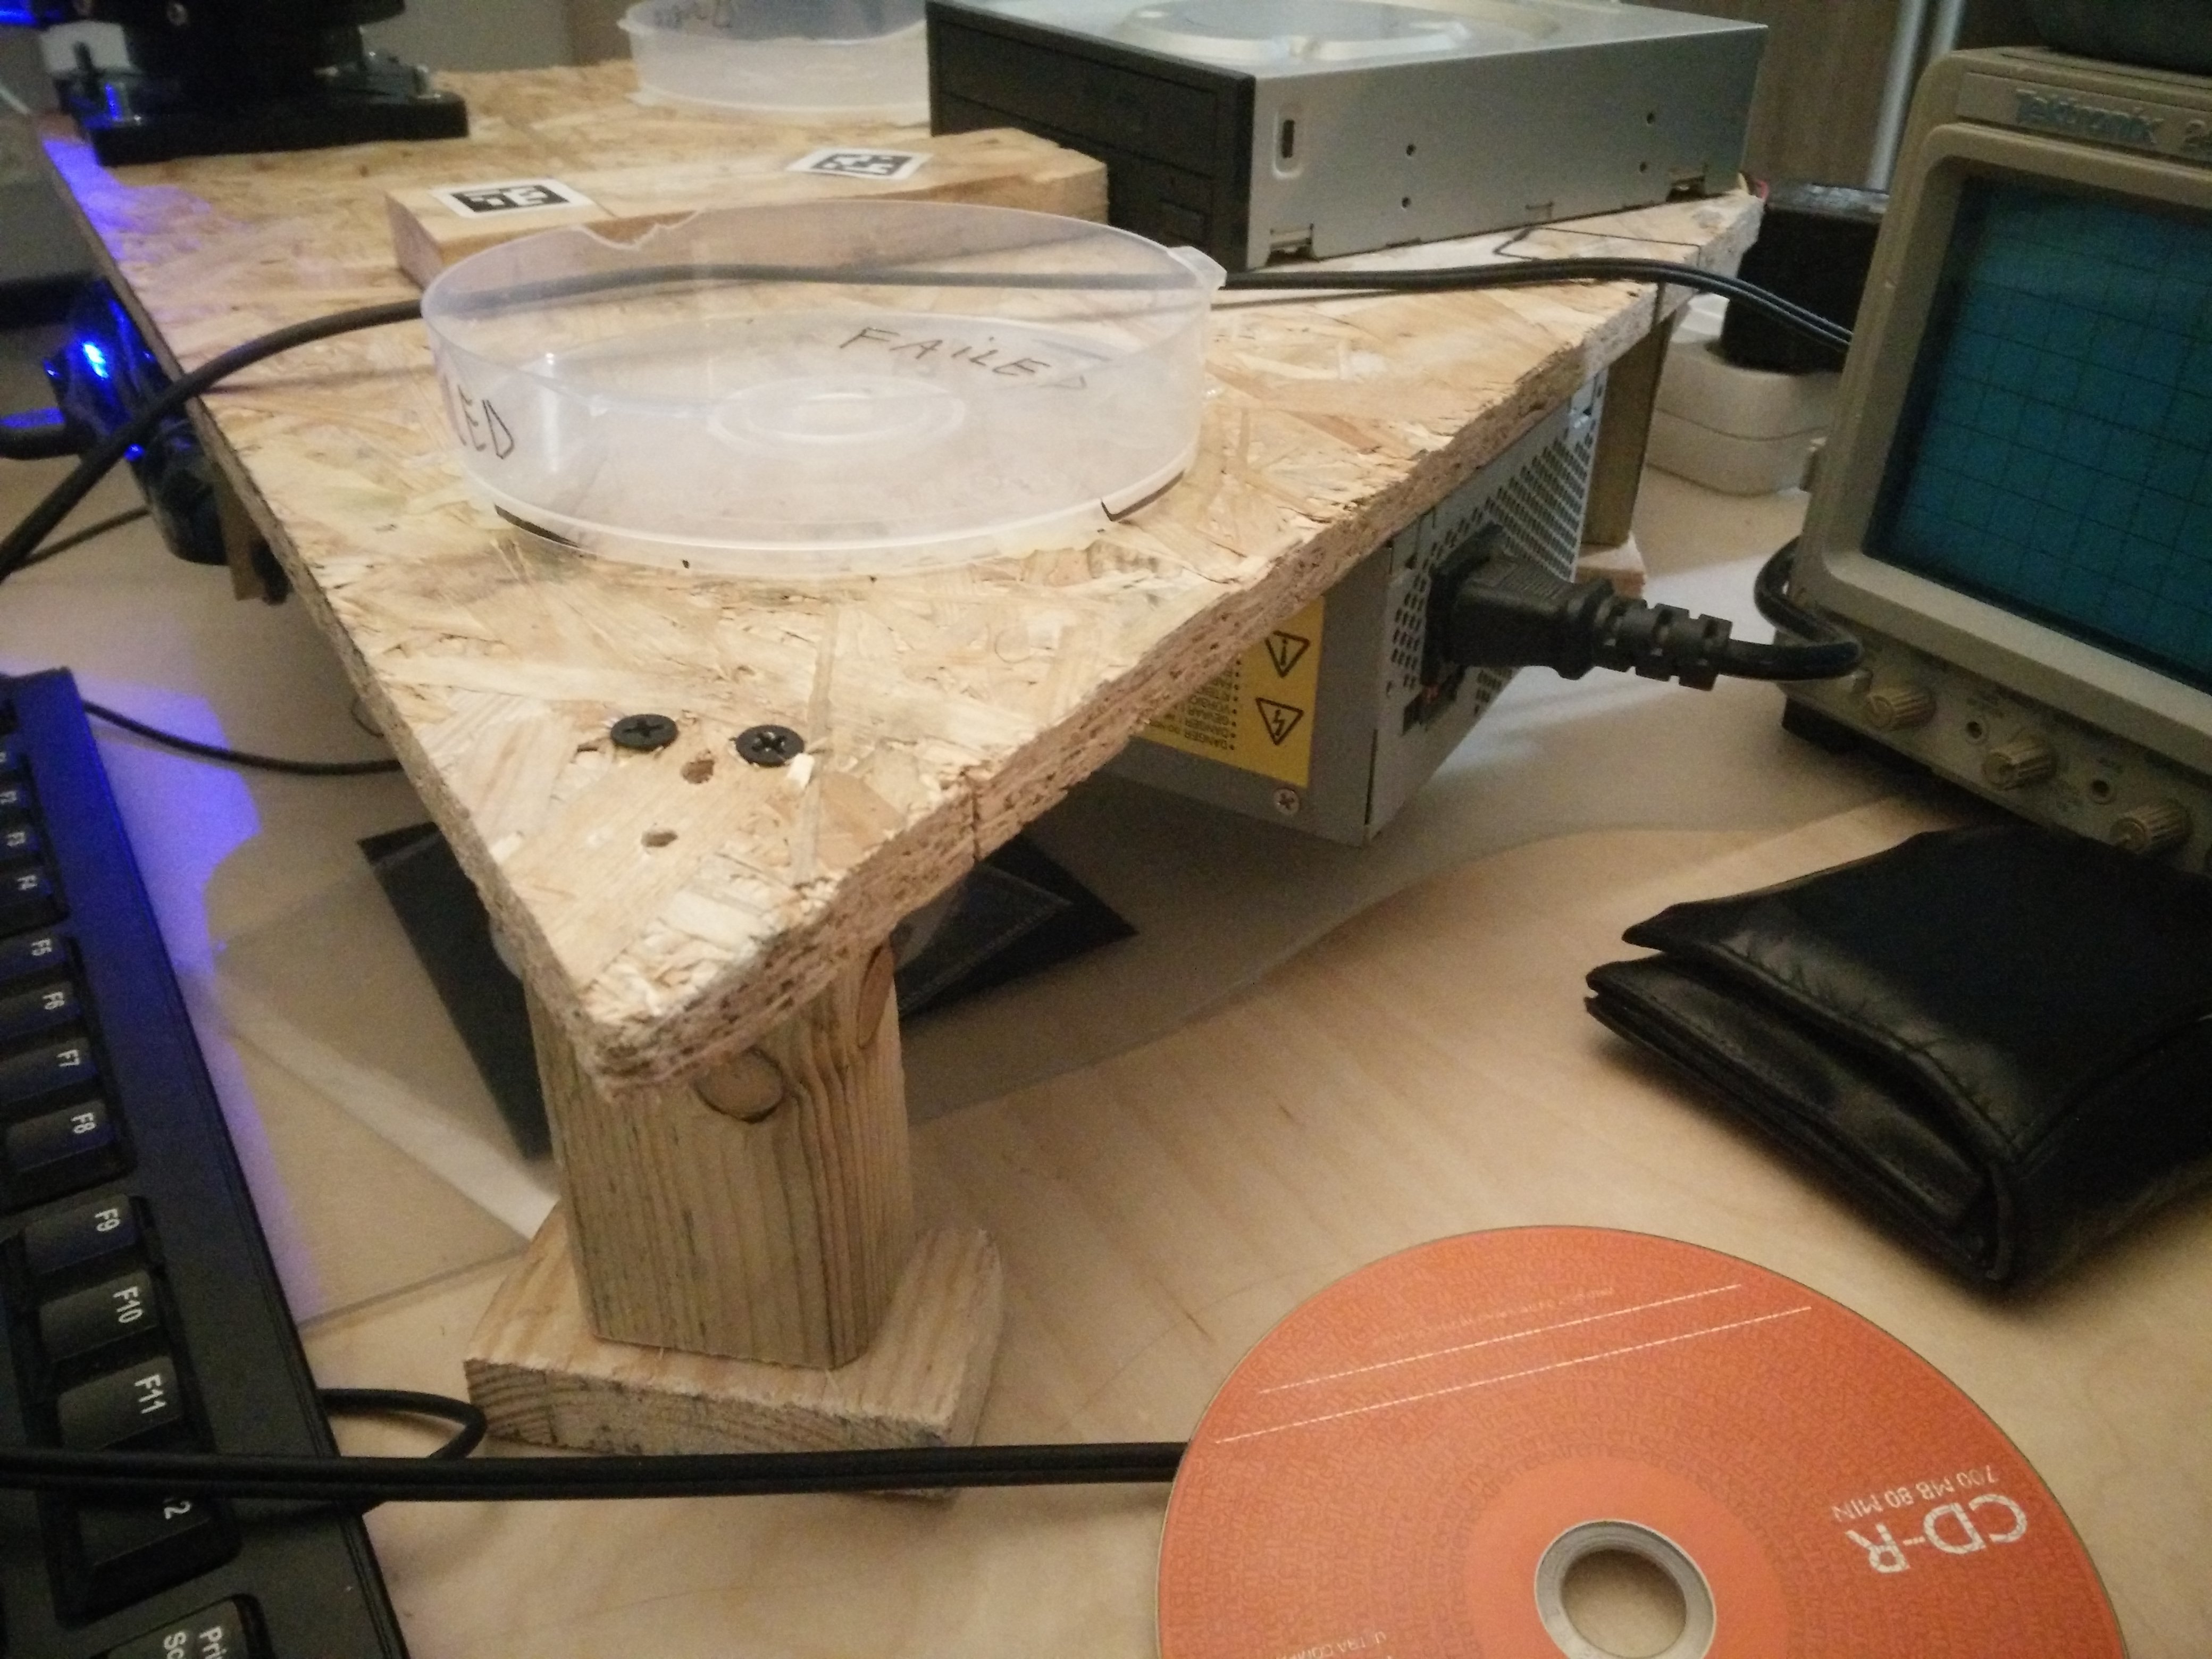
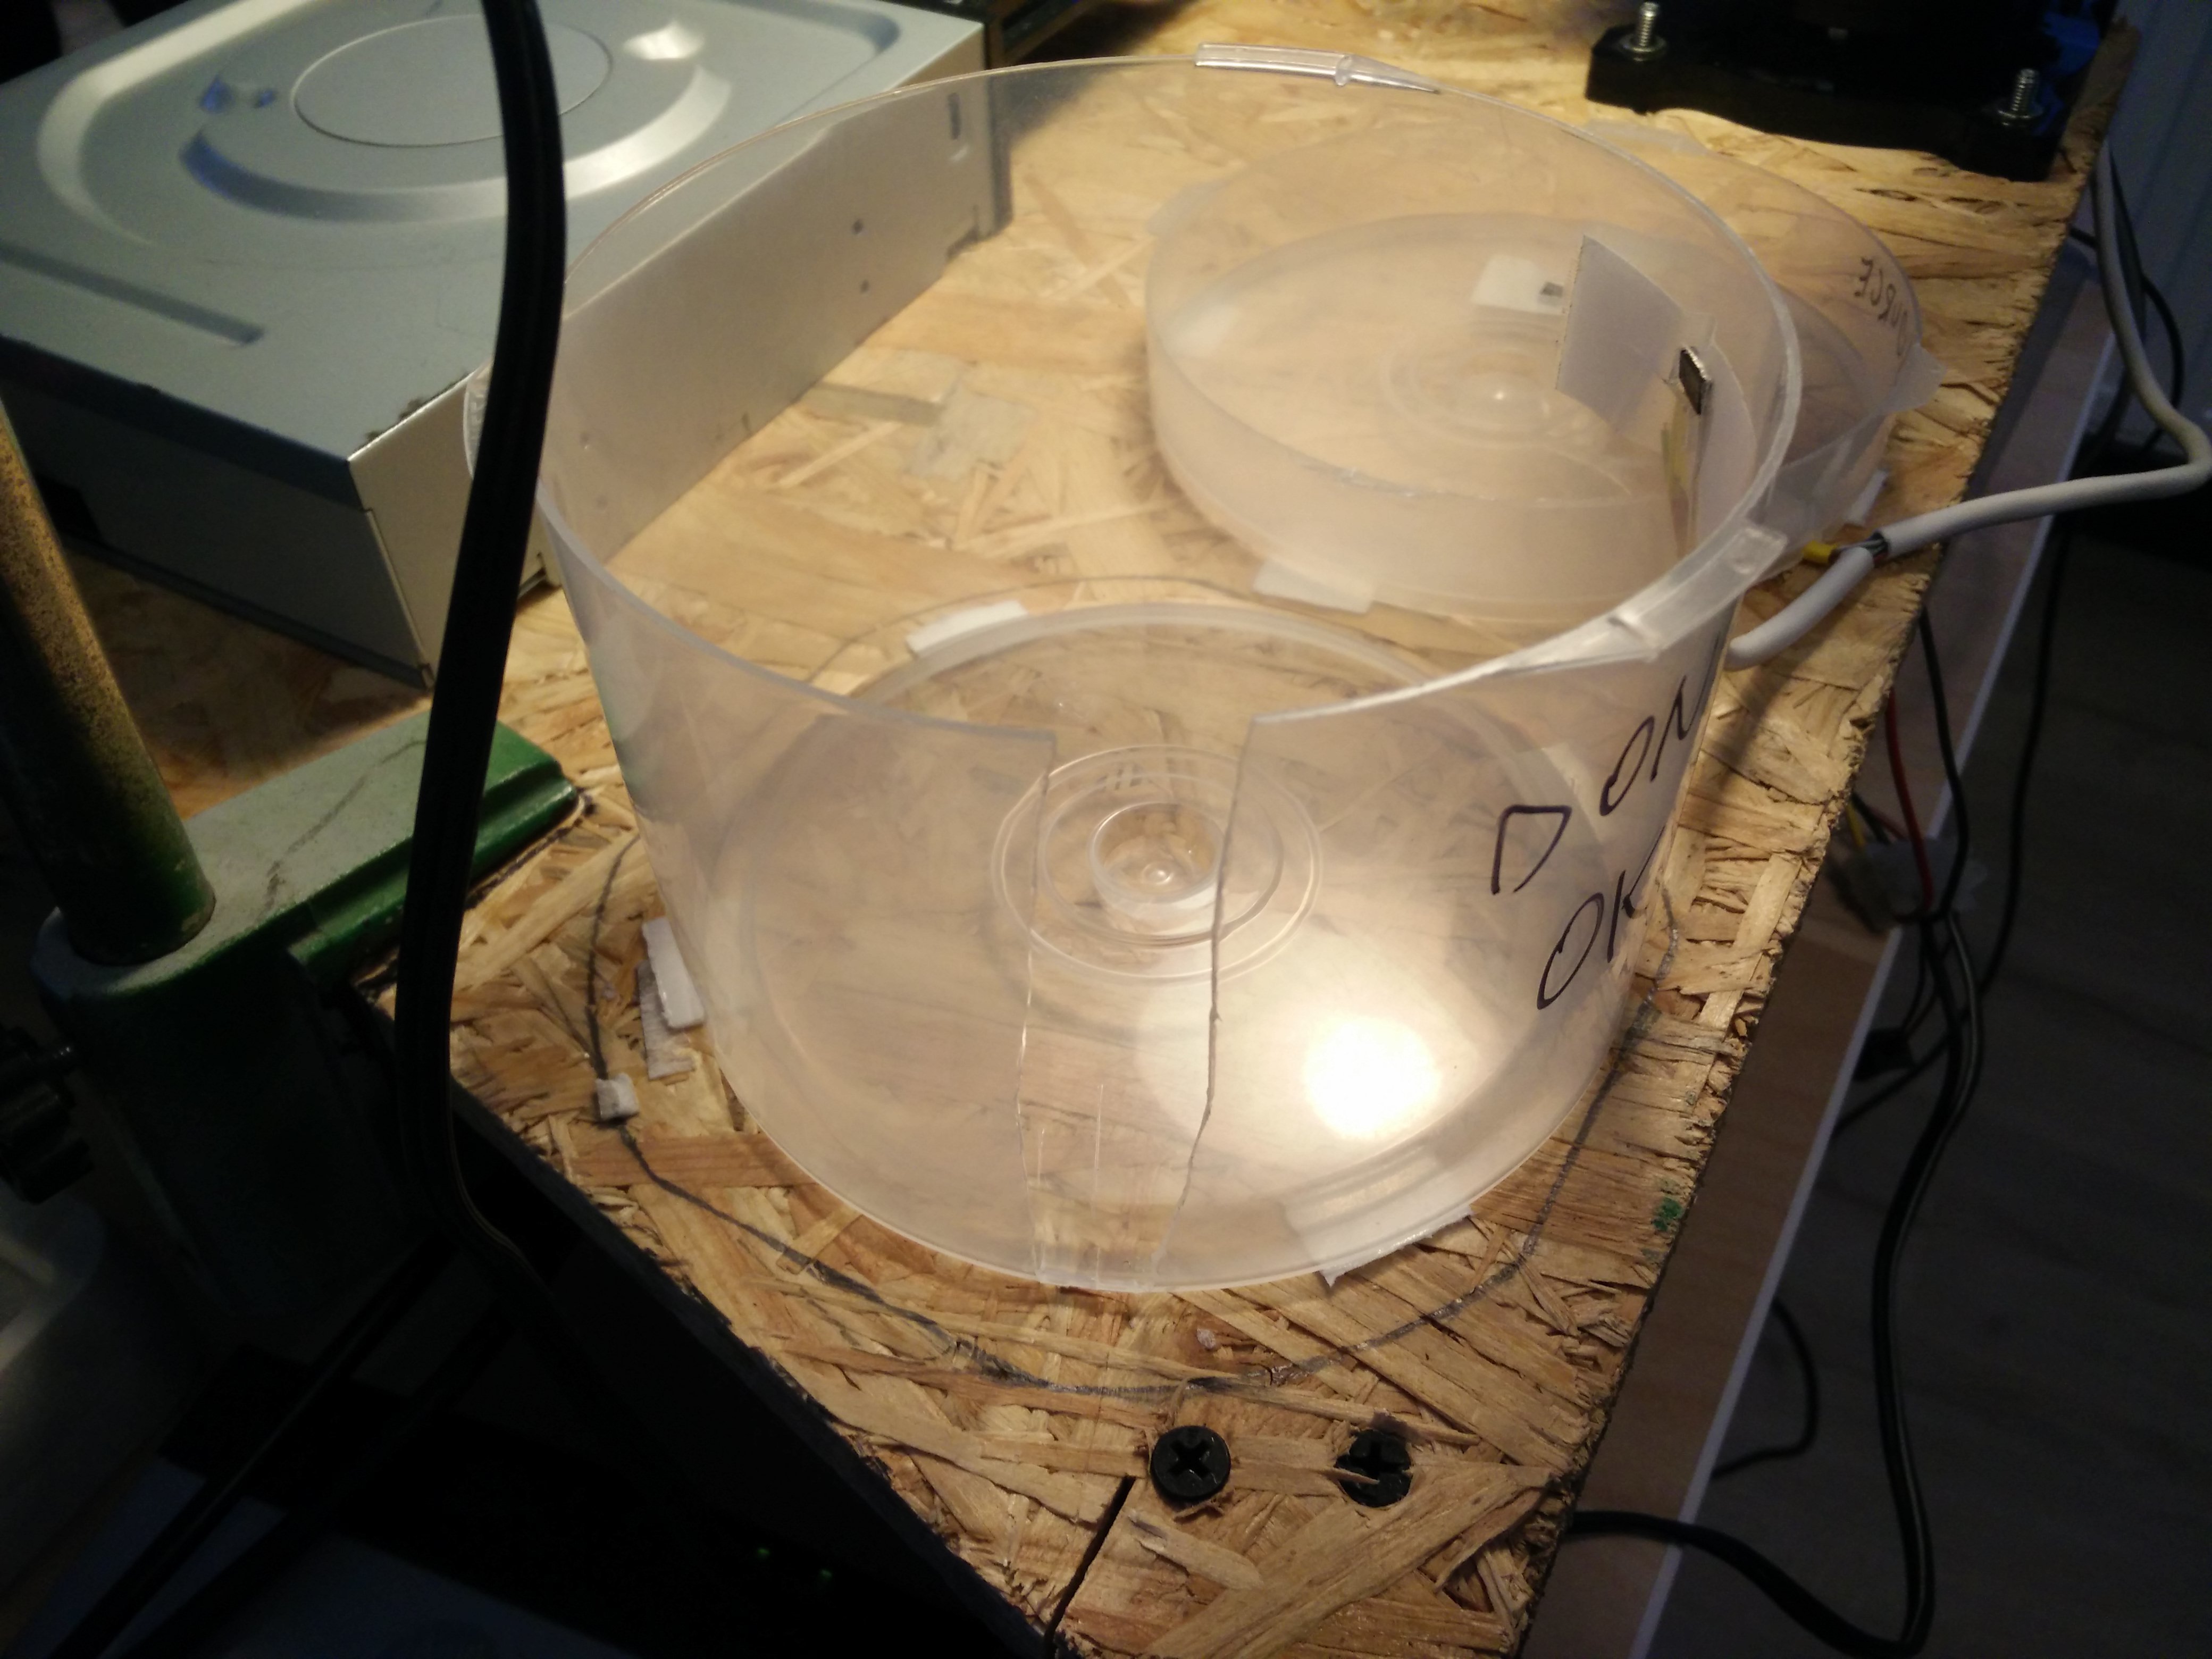
1.1.3 The disc trays
The robot has three disc trays:
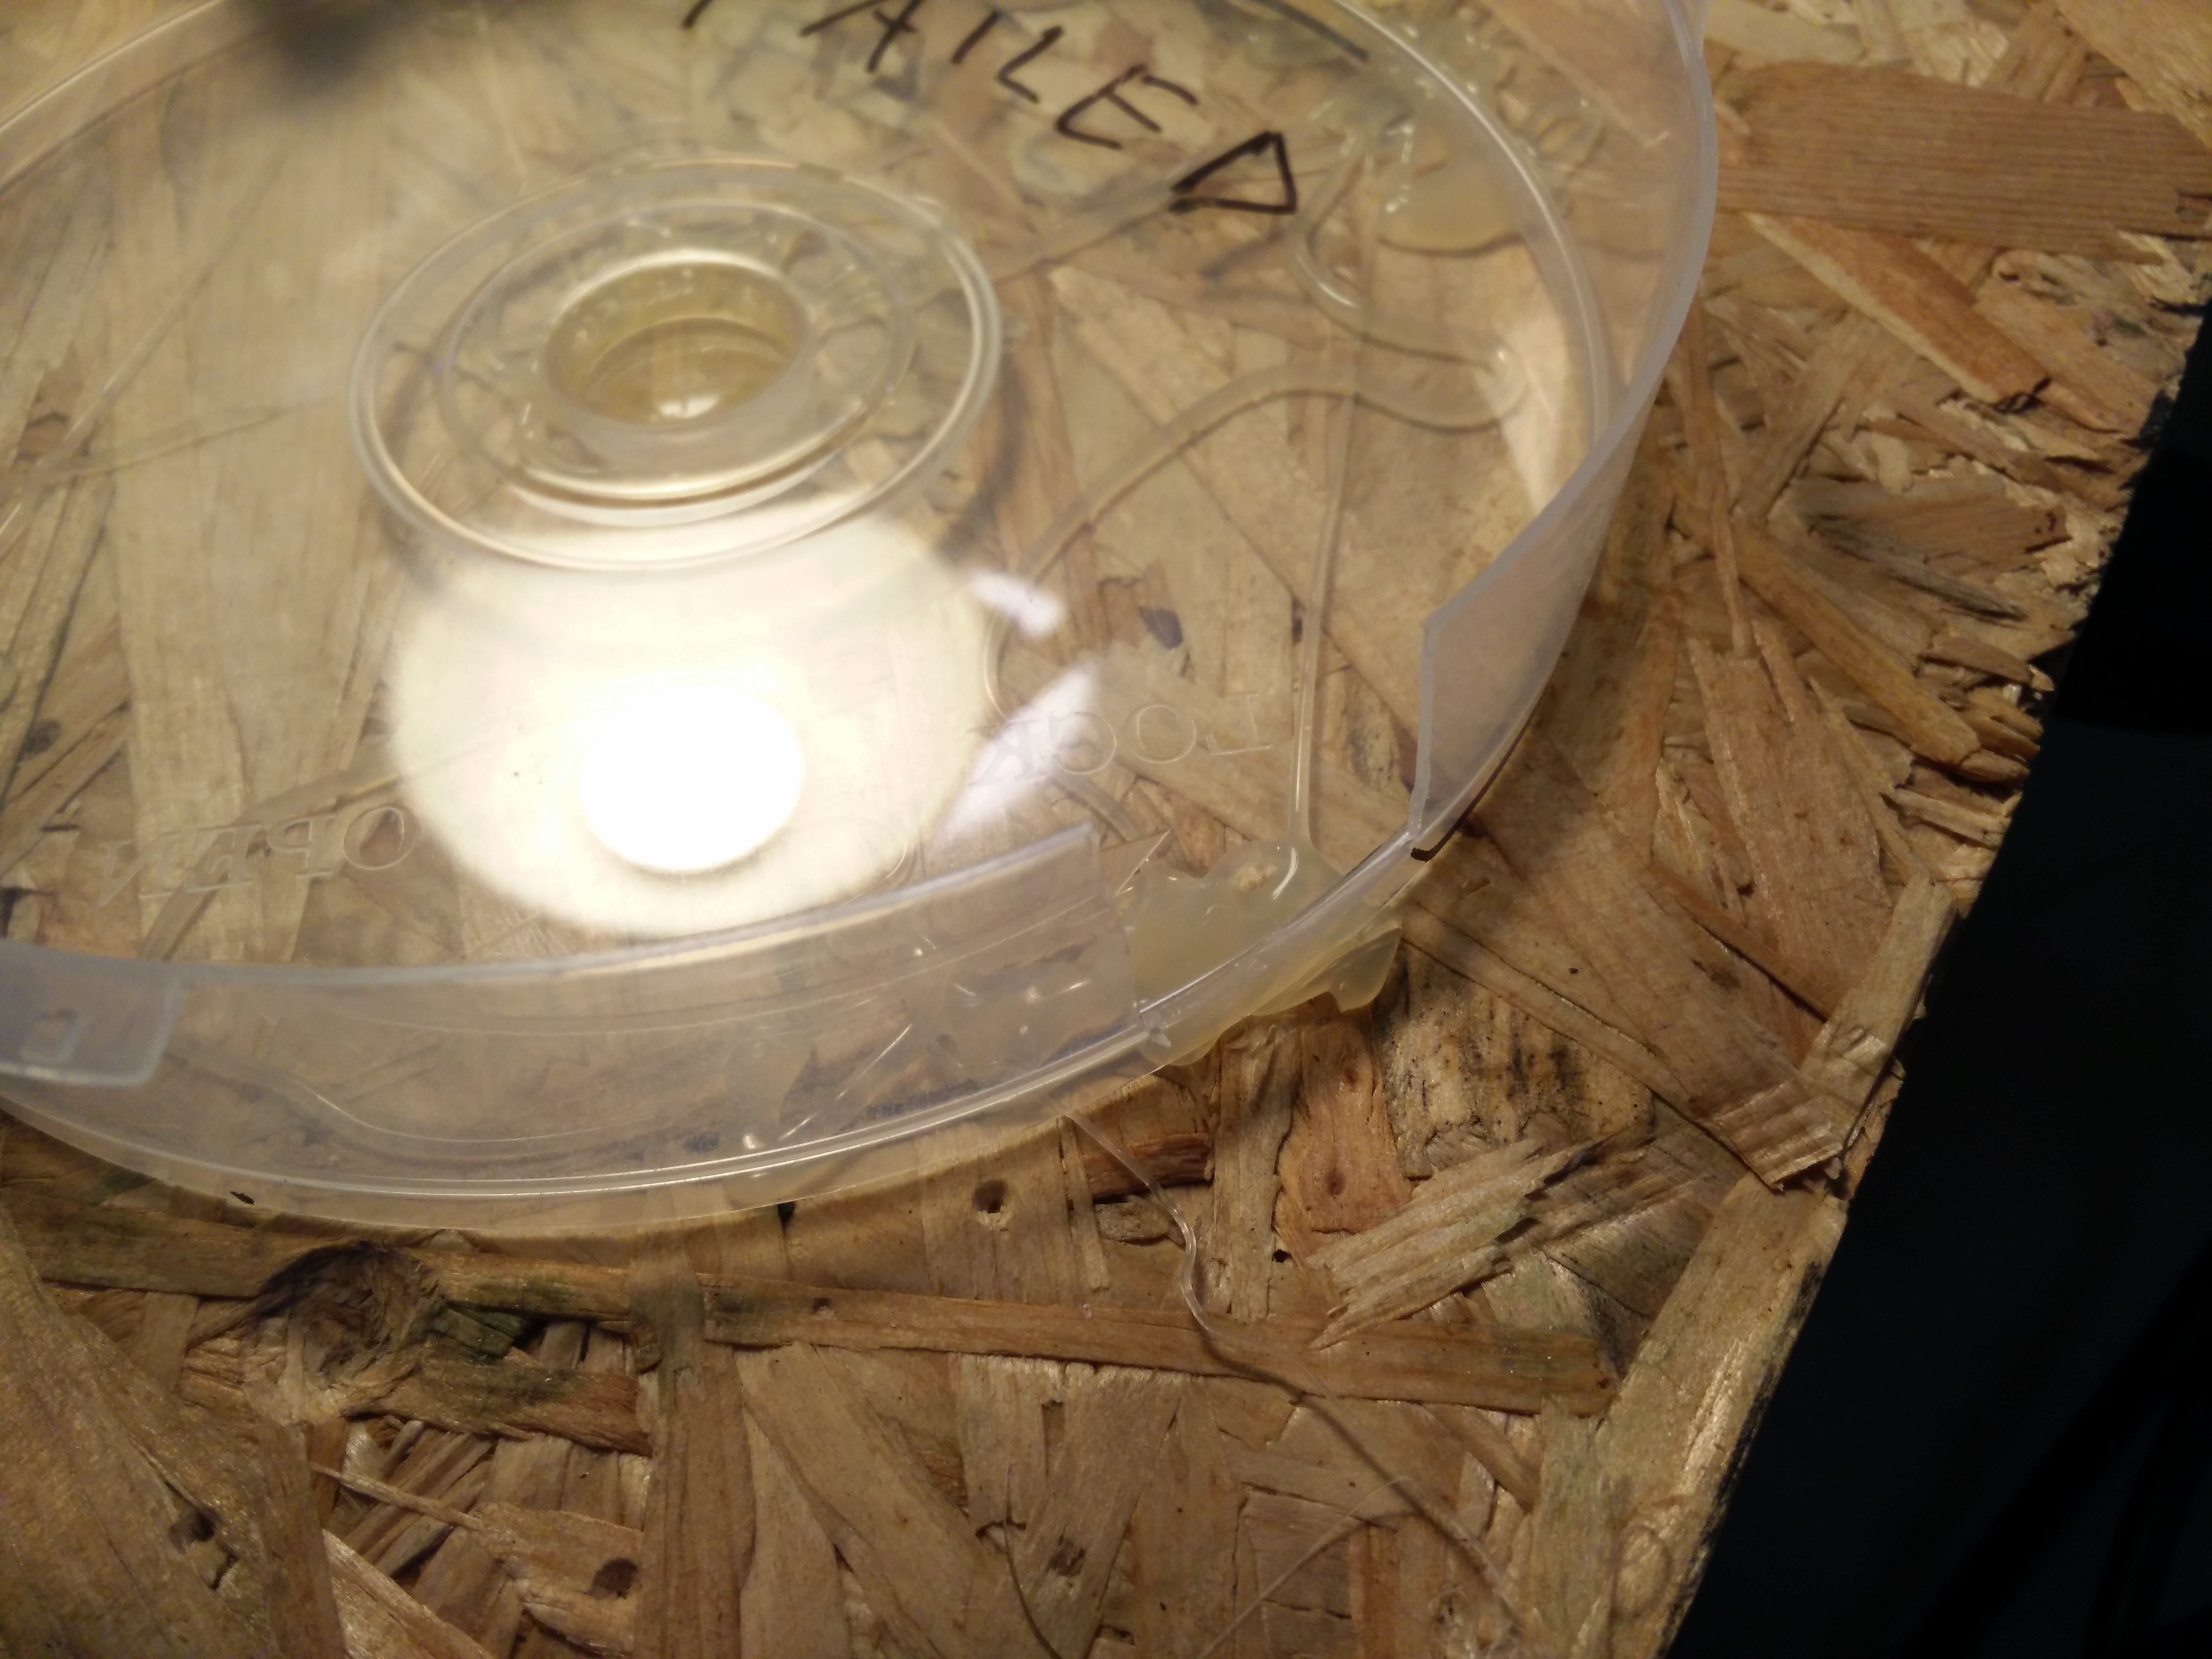
- the "SOURCE" tray from which discs are picked up. This tray also contains one of the disc presence sensors (the working one).
- the "DONE" tray to which discs which have been successfuly ripped are dropped
- the "FAIL" tray to which discs which haven't been successfuly ripped are dropped
As a protip it's good to make the job of picking up discs easier by cutting two slots in the "DONE" and "FAIL" trays:
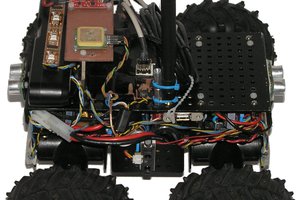
1.1.4 The arm
The UArm I used was perfect for the task as it had a vacuum pump and suction cup which made it possible to easily grab and manipulate big flat items :). Because the arm is the only place where I have digital output GPIOs and ADC inputs available, this is where I decided to connect the disc presence sensor circuits. These allow the robot to know if there are any more discs to archive or if the destination tray is full. This task is achieved thanks to TCRT1000 reflective optical sensors and as CDs are pretty reflective this works rather well :). The connection schematics for a single sensor are show below:
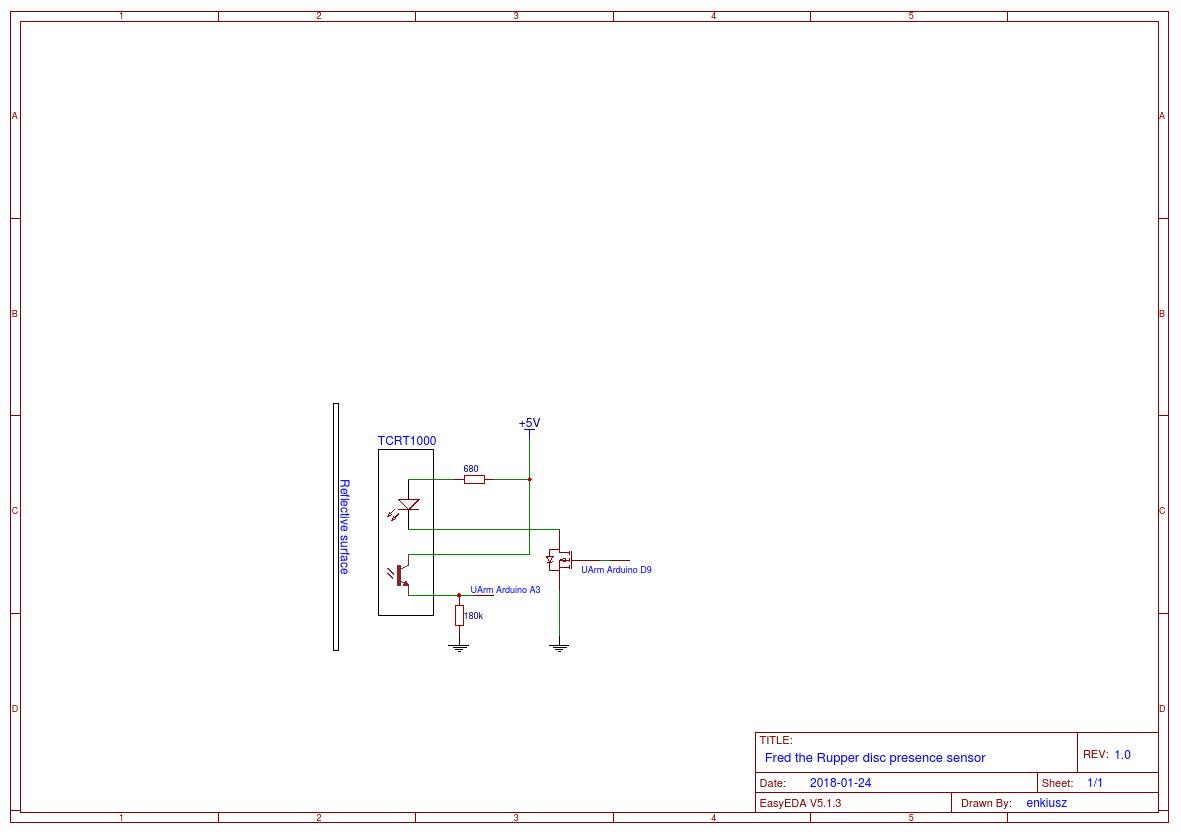
In the above circuit the ADC voltage across the 180k resistor will be proportional to the current flowing through the phototransistor and thus the amount of light reflected. The disc detection is simple: little light reflected means there is no disc in the tray, a lot of light reflected means there is a disc present. Unfortunately the simple approach doesn't work beacuse of current generated in the phototransistor due to ambient light. Depending on the conditions this can easily cause false positives in disc detection. In order to combat this we need to take two...
Read more »

 Apollo Timbers
 Tim Wilkinson
 Jack Qiao