frankstripod
-
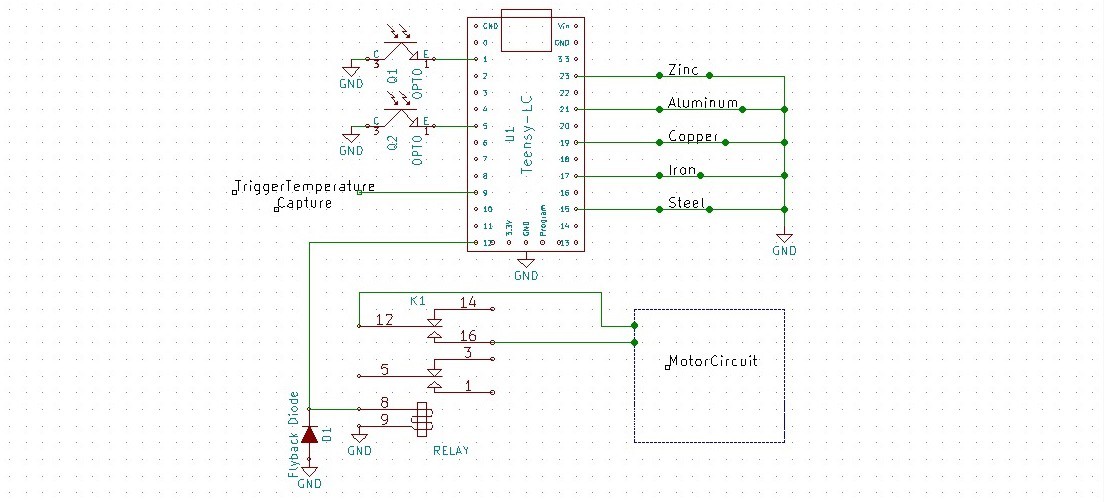
Implementing The Teensy-LC
06/08/2015 at 17:53 • 0 commentsI want to thank Hackaday for the Teesnsy-LC I won in the "We're Giving out 125 Teensy-LC Boards this Week", part of the $50K IN PLAY contest! Thank you! I am excited to use this FREESCALE based part!
![]()
Implementing The Teensy-LC
1. To track the sun, aligned photo transistors or solar cells will connect to the Teensy-LC, which will relay a motor to rotate the lens. I decided a one axis tracking system would be the easiest and cheapest for now, and I will deal with the disadvantages of having to setup the correct angle of the sun each day.
2. To find the melting point of commonly found elements, as mentioned on https://hackaday.io/project/5537-measuring-extreme-temperatures, by setting up fuse type system, breaking a connection of the remotely connected Teensy-LC, to record temperature on an infrared thermometer.
First common conductive elements to test:
- Zinc 419 °C
- Aluminum 659 °C
- Copper 1083 °C
- Cast Iron 1260 °C
- Stainless Steel 1363 °C
I want to set these up as wires in rows on a firebrick, at a safe distance.
Also, if I can get the temperature high enough, I would also see if I could duplicate this sand conversion: https://hackaday.io/project/5230-solar-sand-converter-solving-the-sand-problem3. Eventually I hope to find an alternative solar device, because of the underestimated power of the sun.
I wanted a diagram, but being a little short on parts right now makes it difficult to nail down some of the details. I'm giving KiCad a try, so please excuse the mess:
![]()
-
Trying to Focus
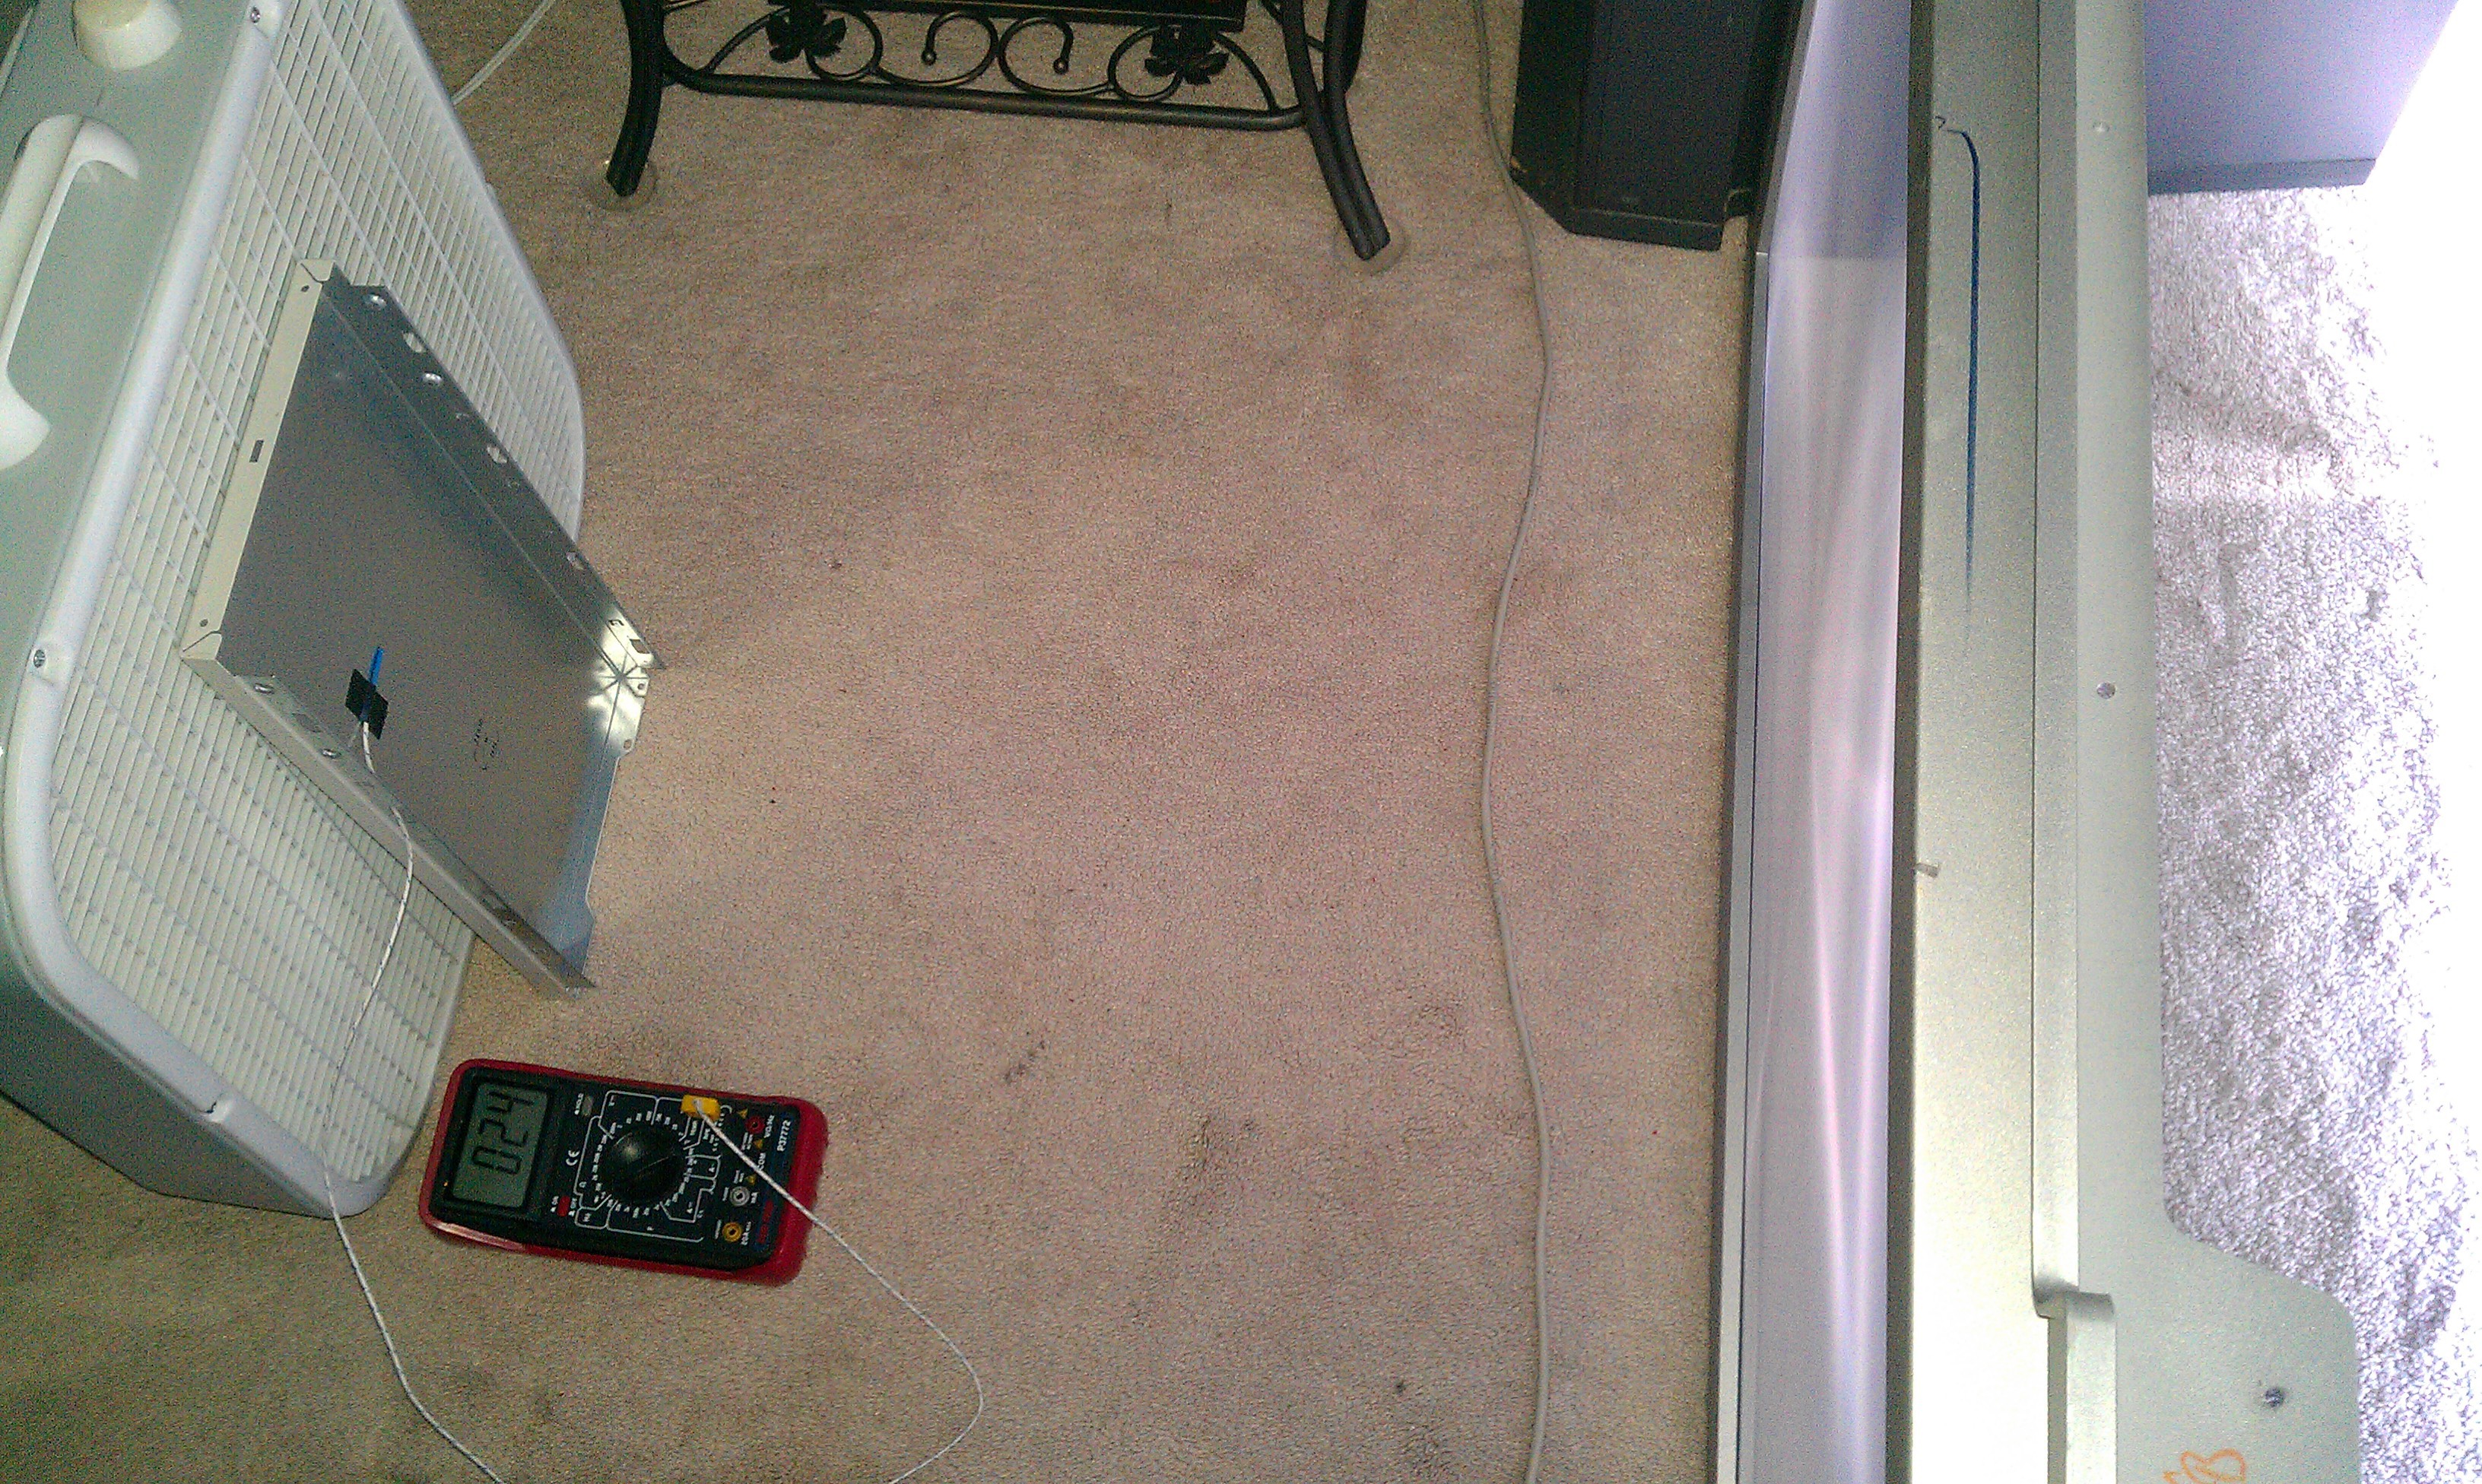
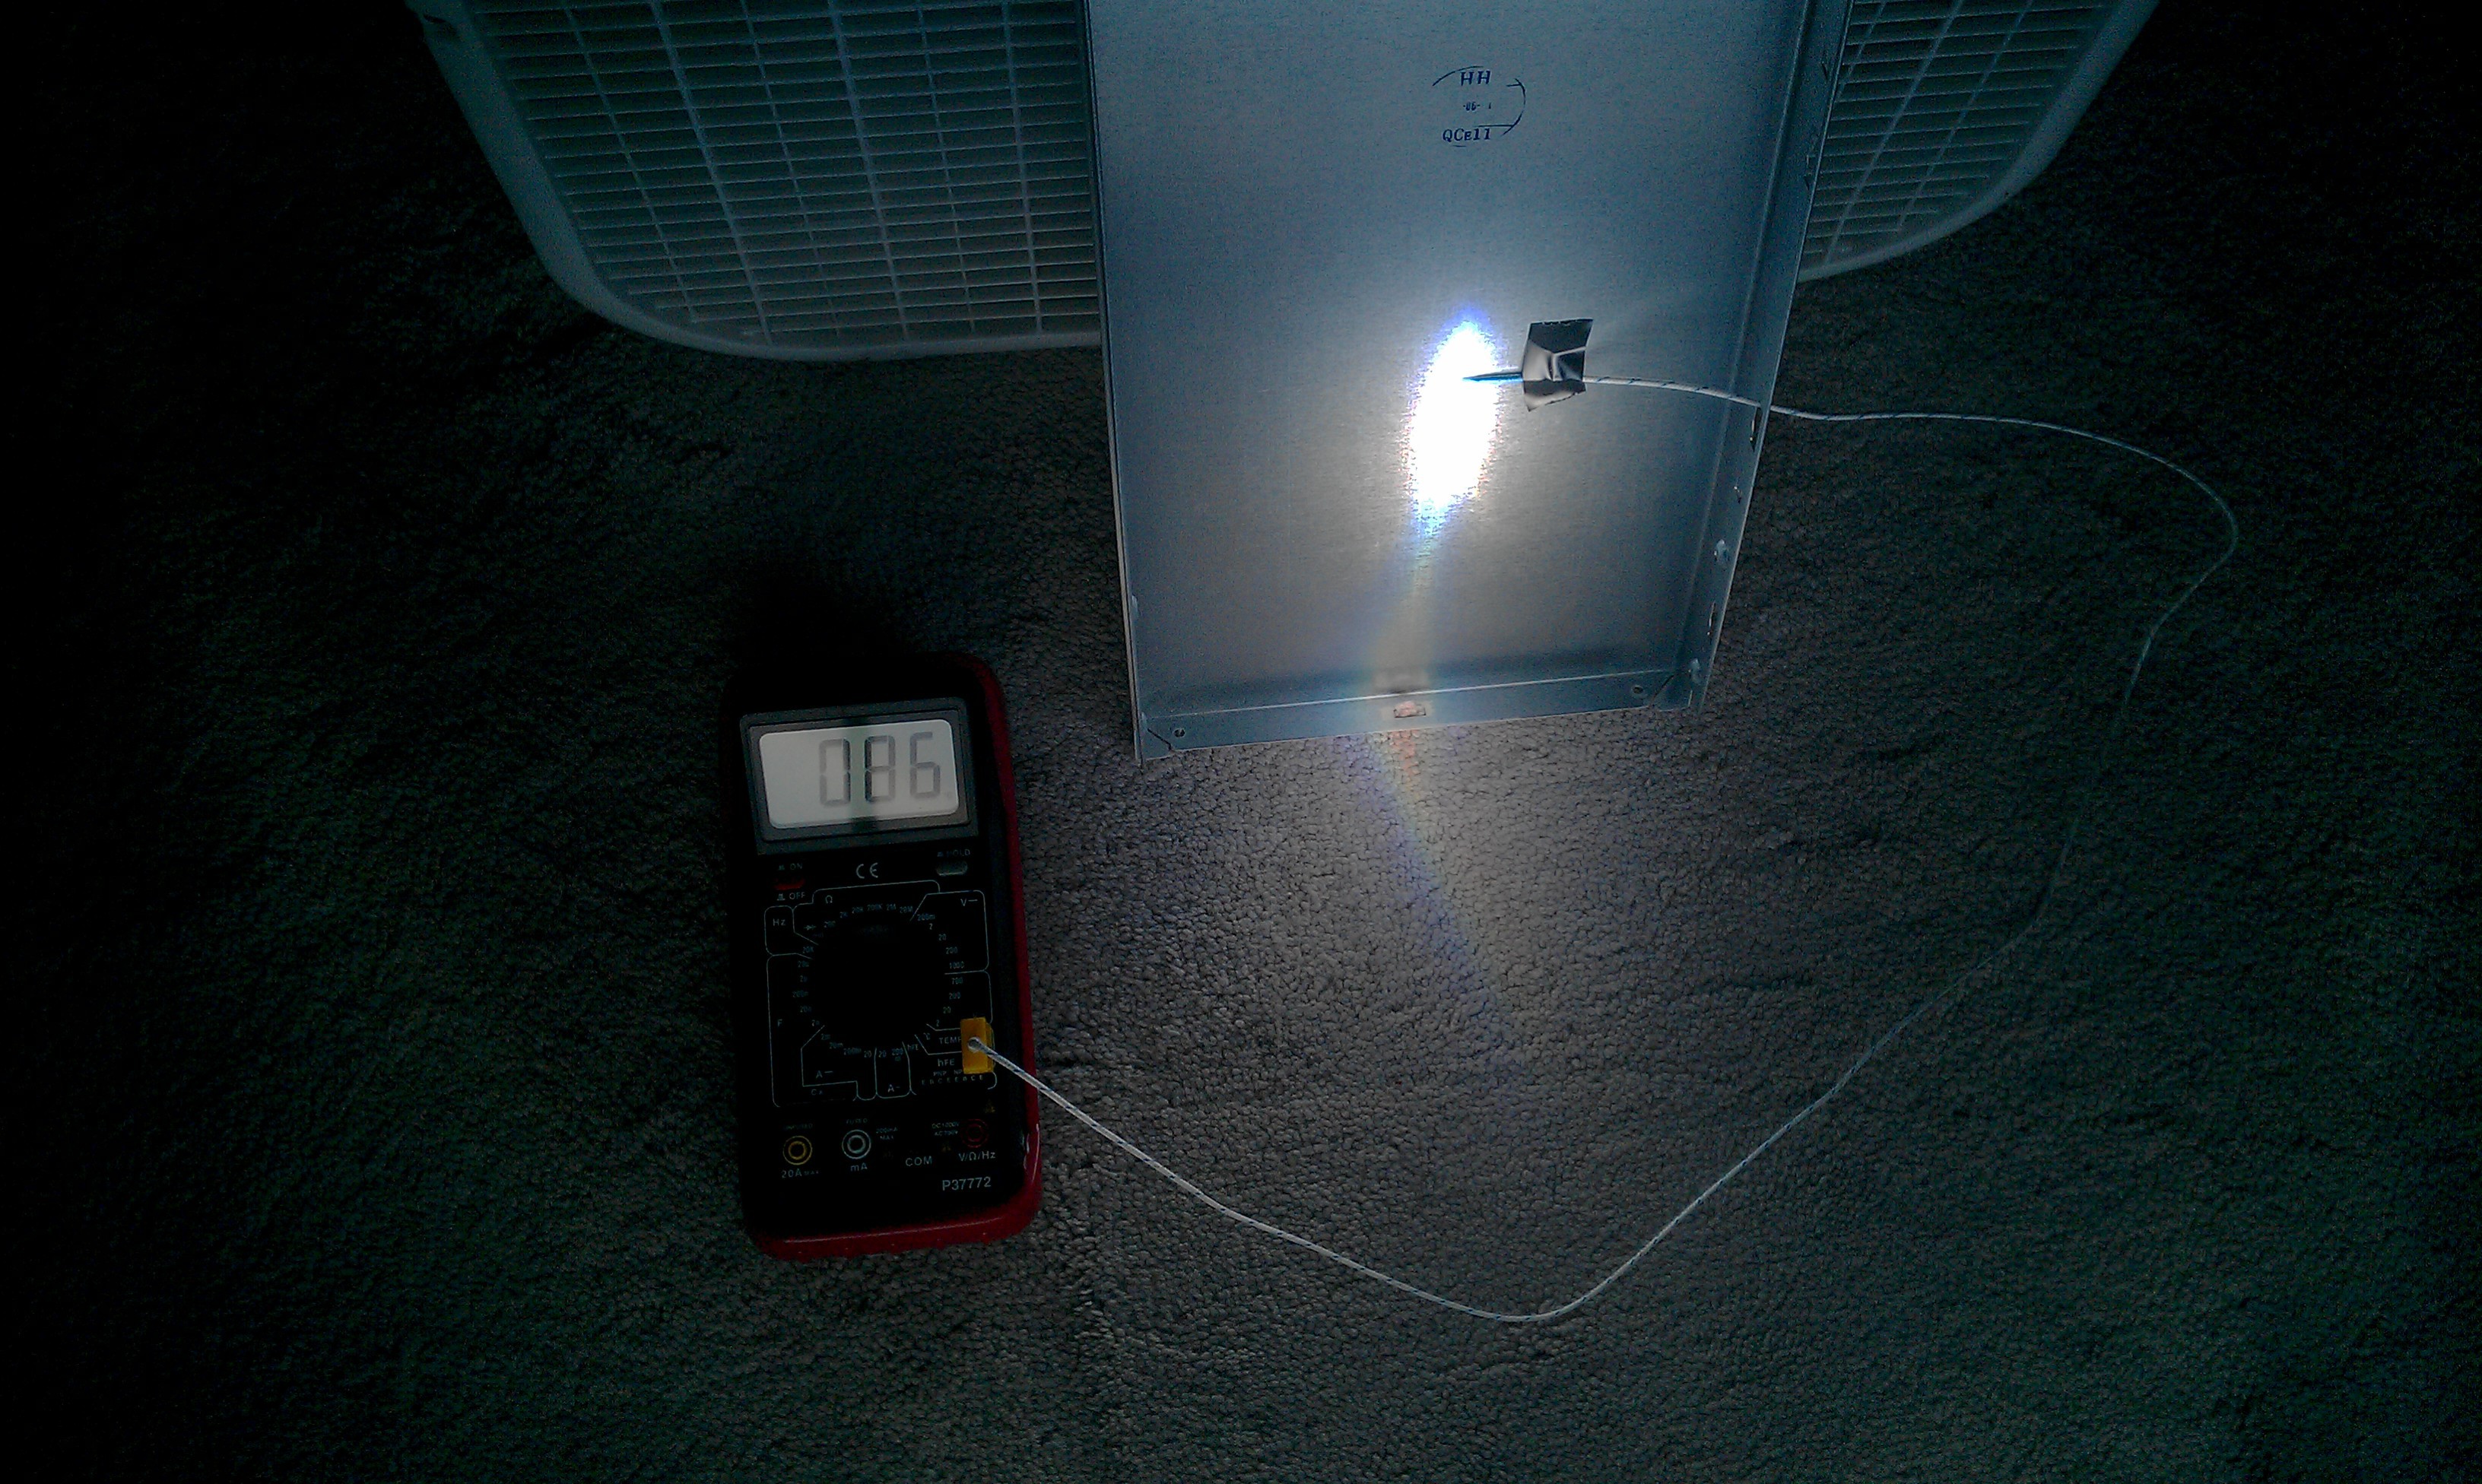
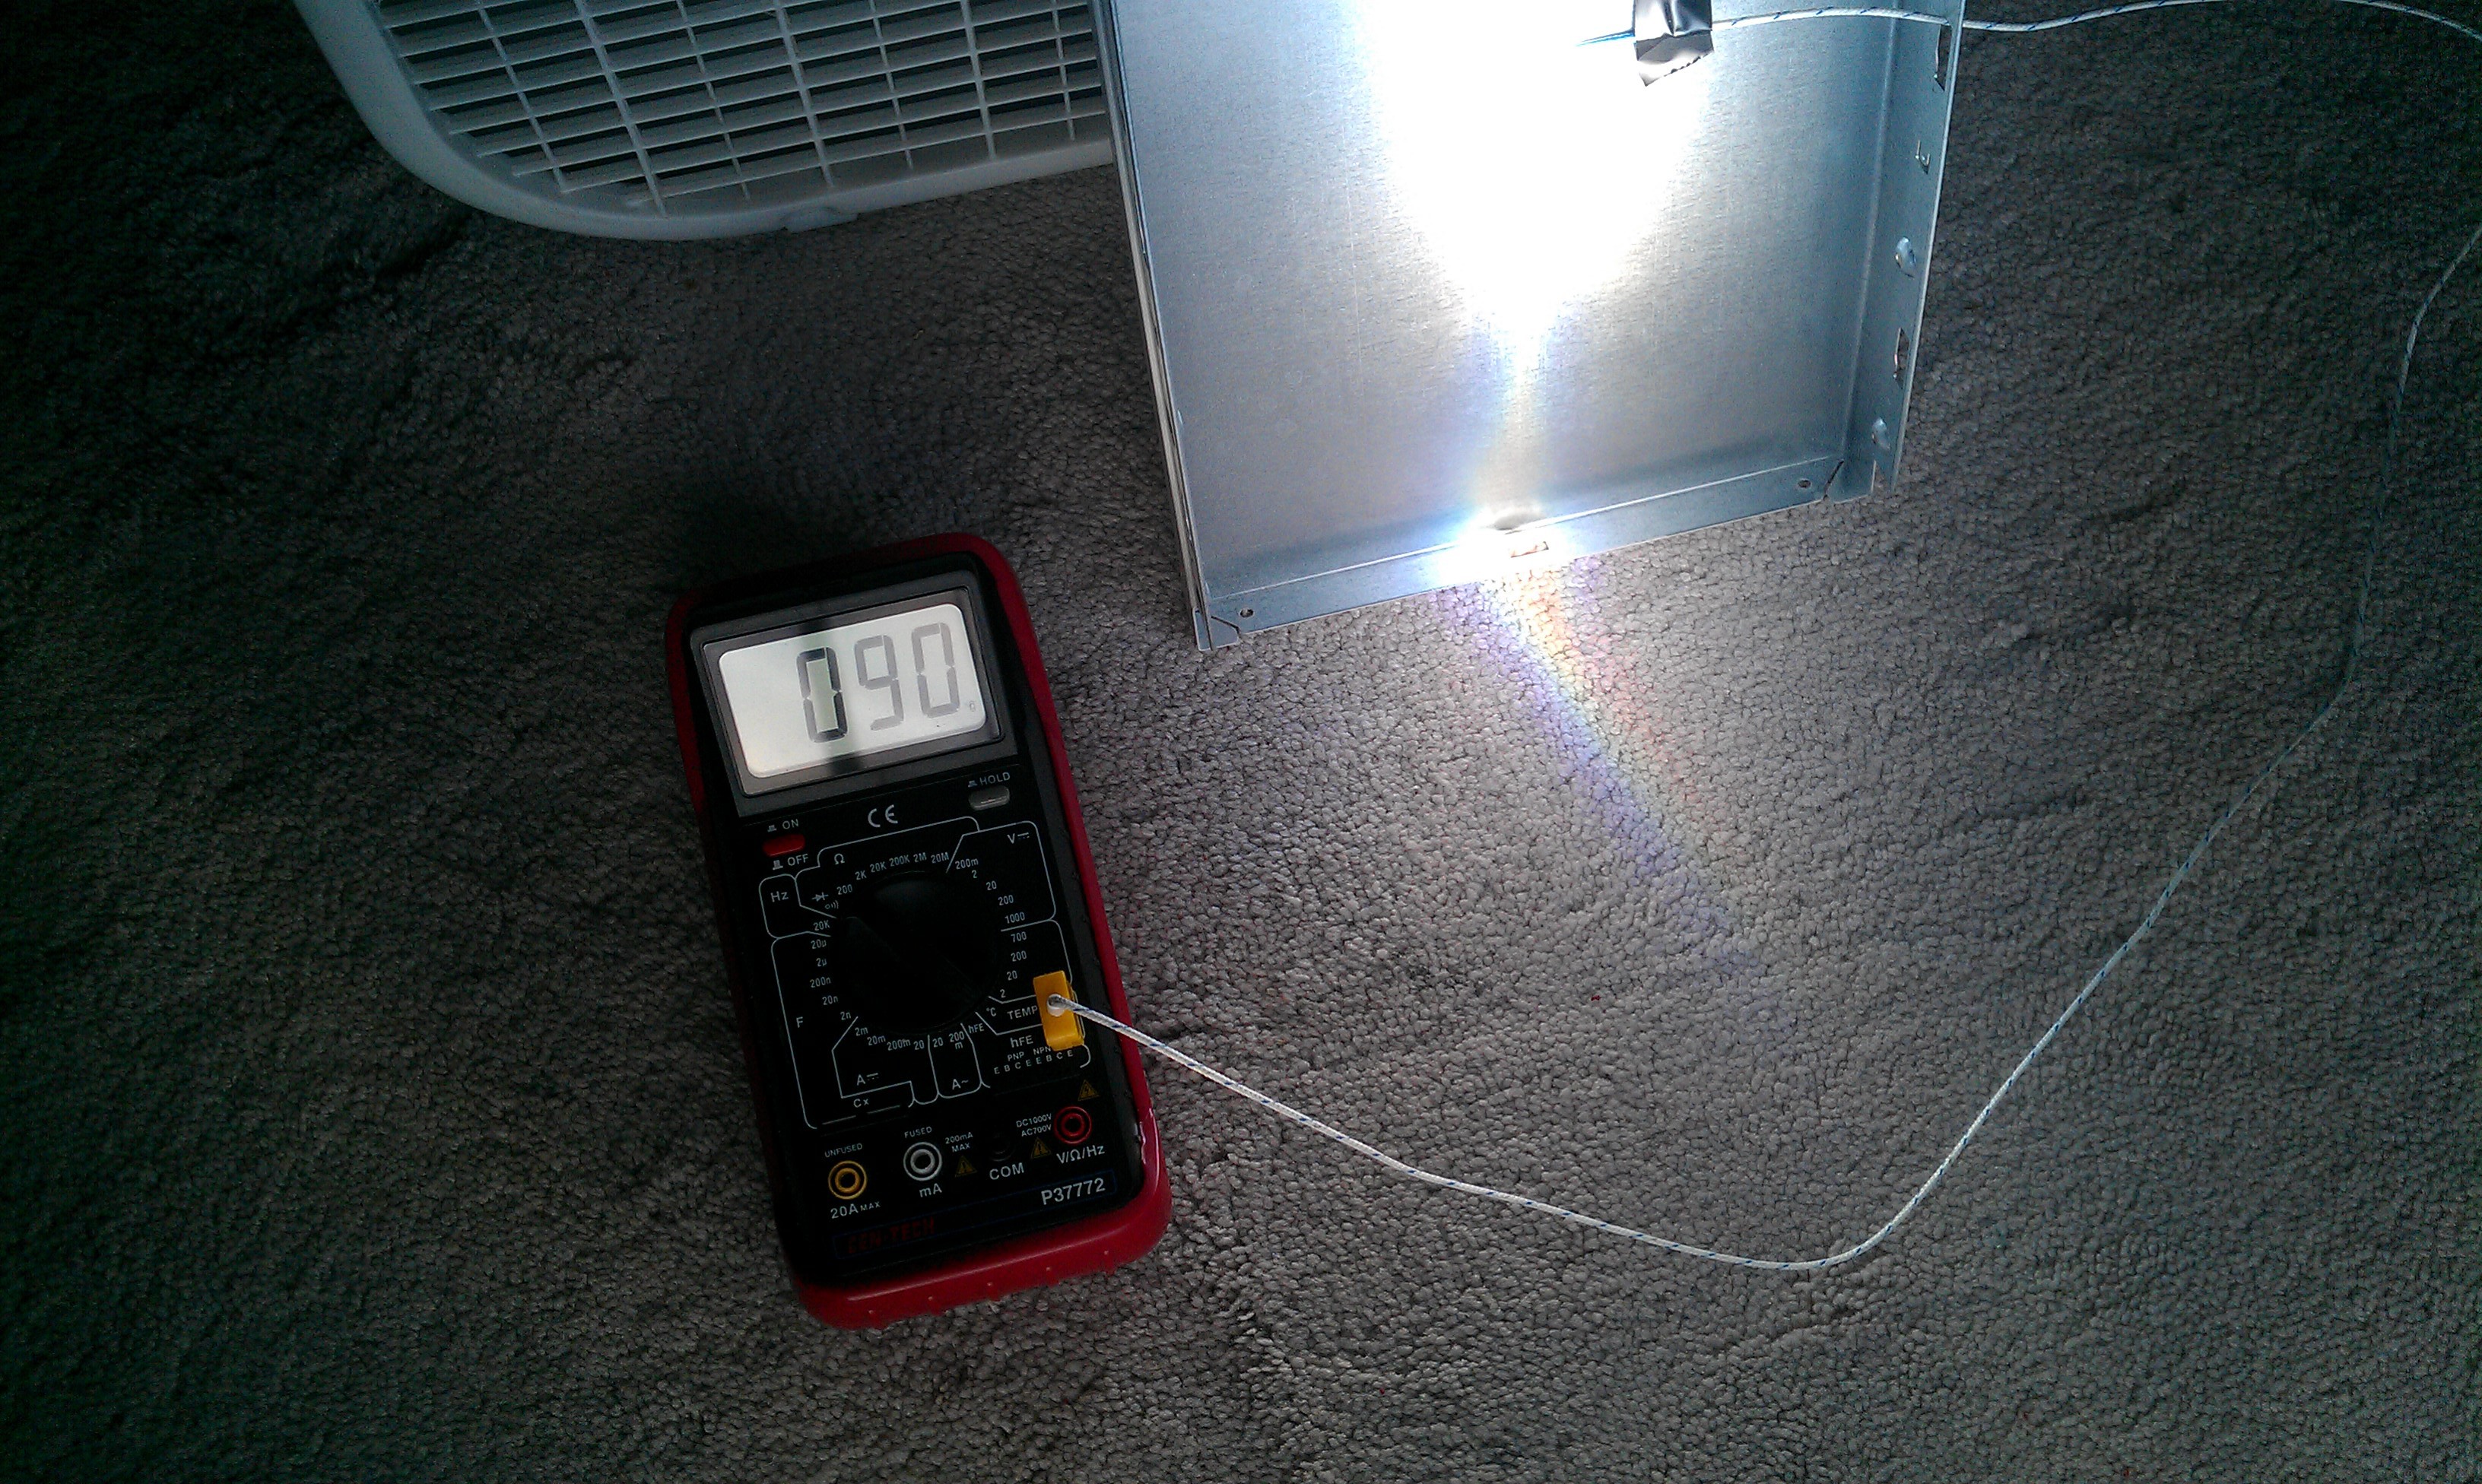
06/03/2015 at 03:42 • 0 commentsFirst Heat Test:
My $10 Harbor Freight Multimeter just happens to have a temperature probe that I'm sure is good to +/-25C, so I taped it to the back of an old metal PC cover and we are good to go for some in apartment testing before the wife gets home. Boring video alert!
I used my vertical blinds as shutters for instant light control. Turning the knob either way makes an almost instant change on the meter.![]()
![]()
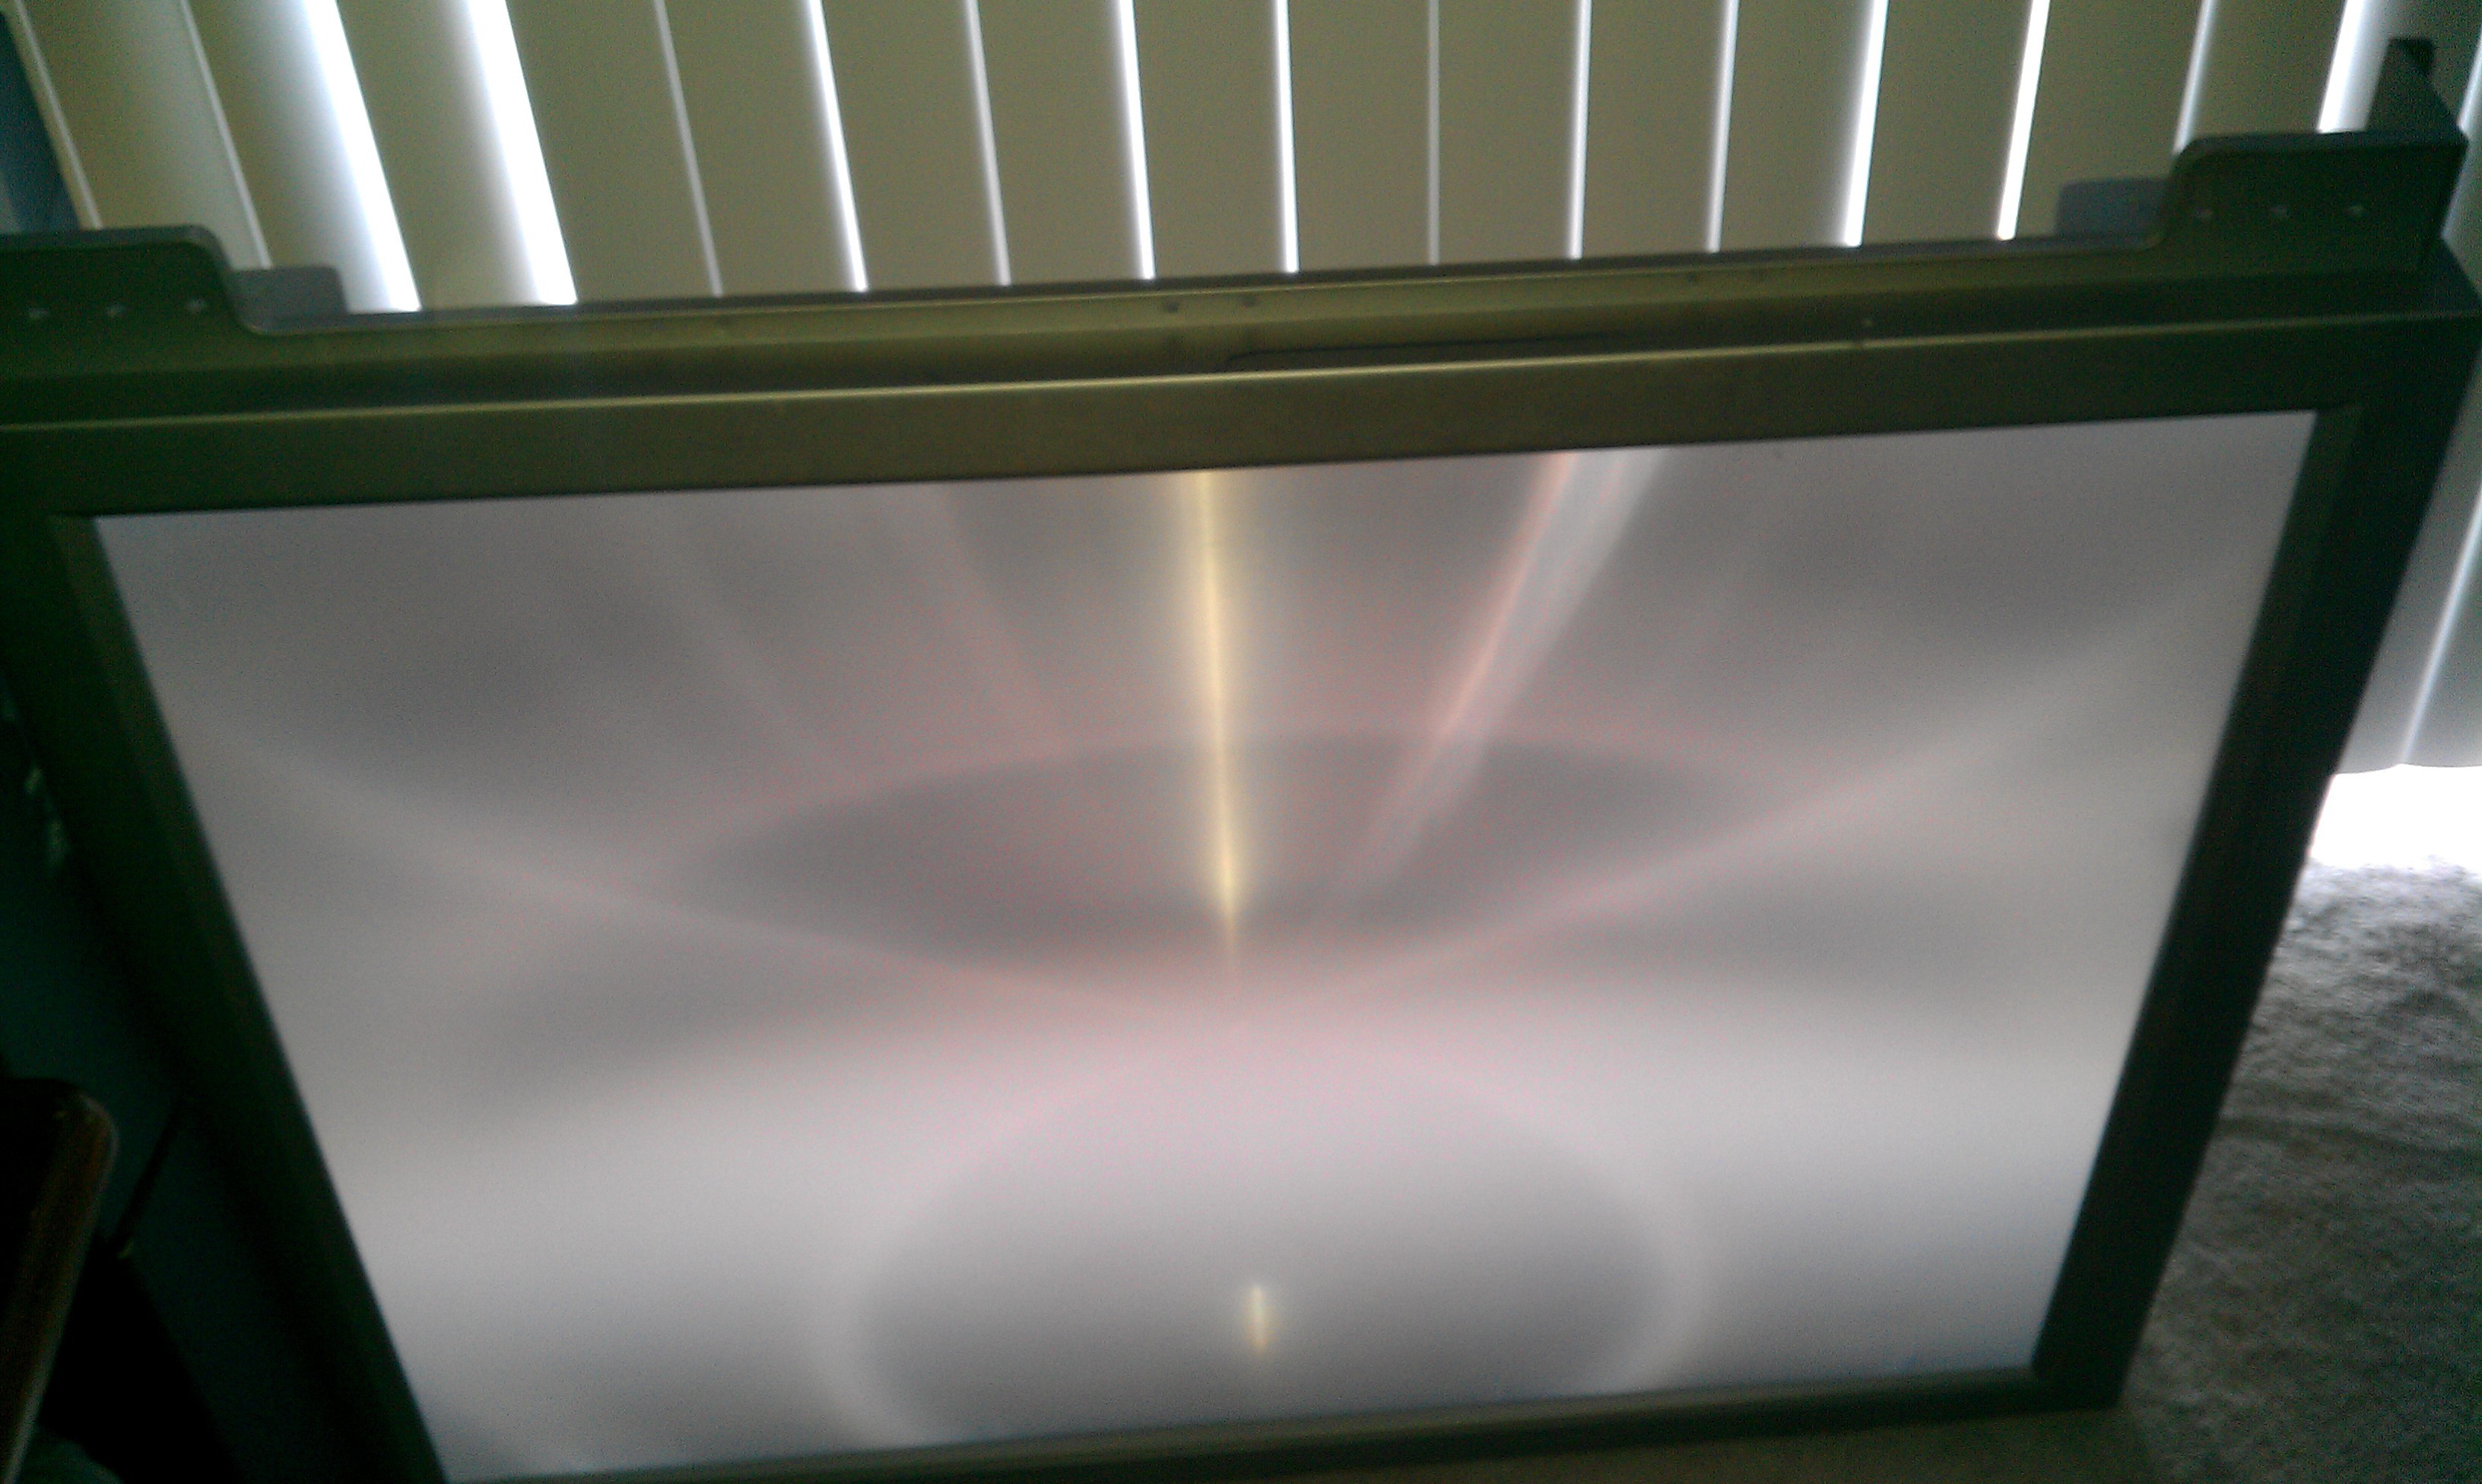
Focusing the slit:
I was able to get the size briefly down to 80 x 3mm. You cannot see the point in the video or pictures, even with the exposure turned down. It was a lot harder than I thought. I was constantly adjusting the position of everything, but couldn't get to a sweet spot. The key to me succeeding will be to find light weight and semi portable materials that will be ridged enough for near precision focusing.
![]()
Maxed out at 90C! (194F... OK, more like chickened out.)
Also the light was not fully direct so it was distorted towards the carpet, so I'm hopeful I can get much higher.
![]()
I SURE COULD USE A STICKVISE FROM THE HACKADAY STORE TO HOLD THINGS IN PLACE WHILE I TORTURE THEM!
http://hackaday.com/2015/05/28/50k-in-play-awarding-65-stickvise-this-week/
-
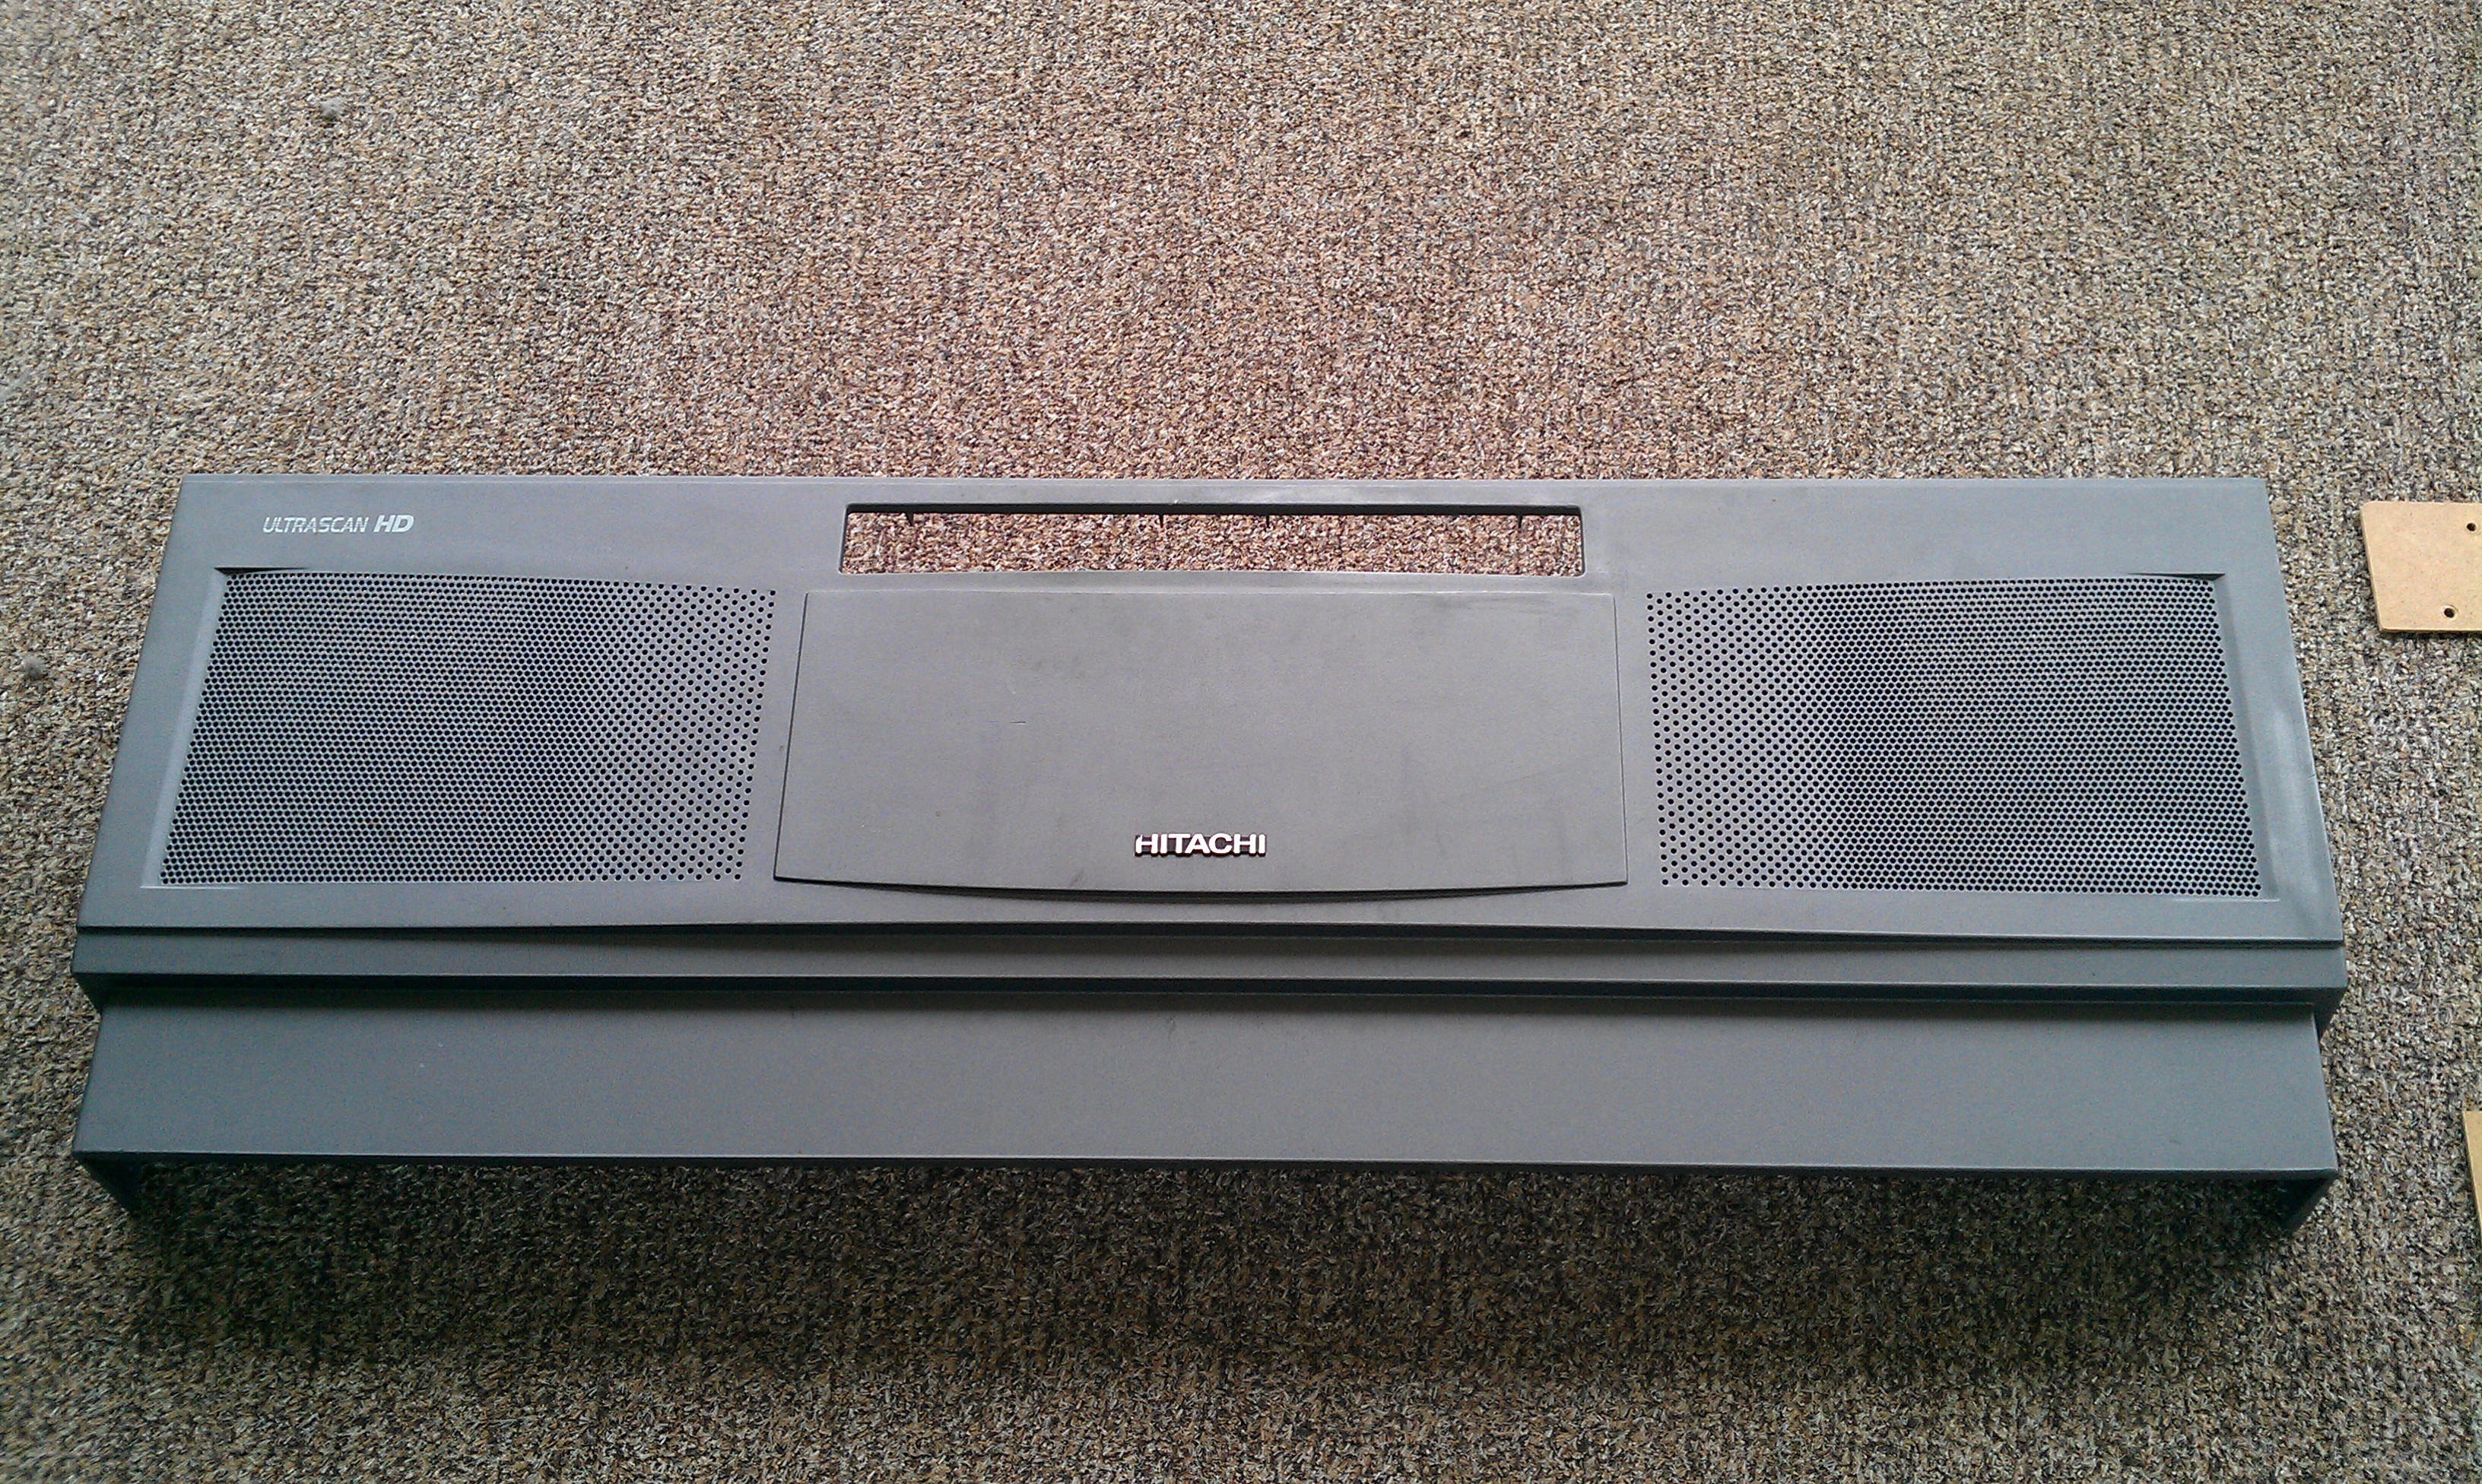
The Hitachi 43FDX01B Teardown
06/02/2015 at 08:37 • 4 commentsThis was too easy. There were no hidden screws, no hidden tabs snapping off, no tricky disassembly order, no blood and no cursing at all, so by definition its more like a take-apart than a teardown.
Please Help! If you can, help me figure out what other projects I could make out of these parts! I will be happy to take more pictures, like of the large caps. I would like to keep it all, but will eventually have to reduce the size :(Preliminary Focal Point Information:
- Screen: 43" diagonal, about 34.5" x 26"
About 109cm diagnal, 87cm x 66cm
- Focal point 26" from the lens. (66cm)
Closer than I imagined, so smoke on the lens will be a bigger problem.
- Common vertical slit shaped point
About 4" high and 0.5" wide in the middle (about 10x1cm).
I was hoping for a small spot, even though it was a long shot, but this is much better than an unfocused blob some get.
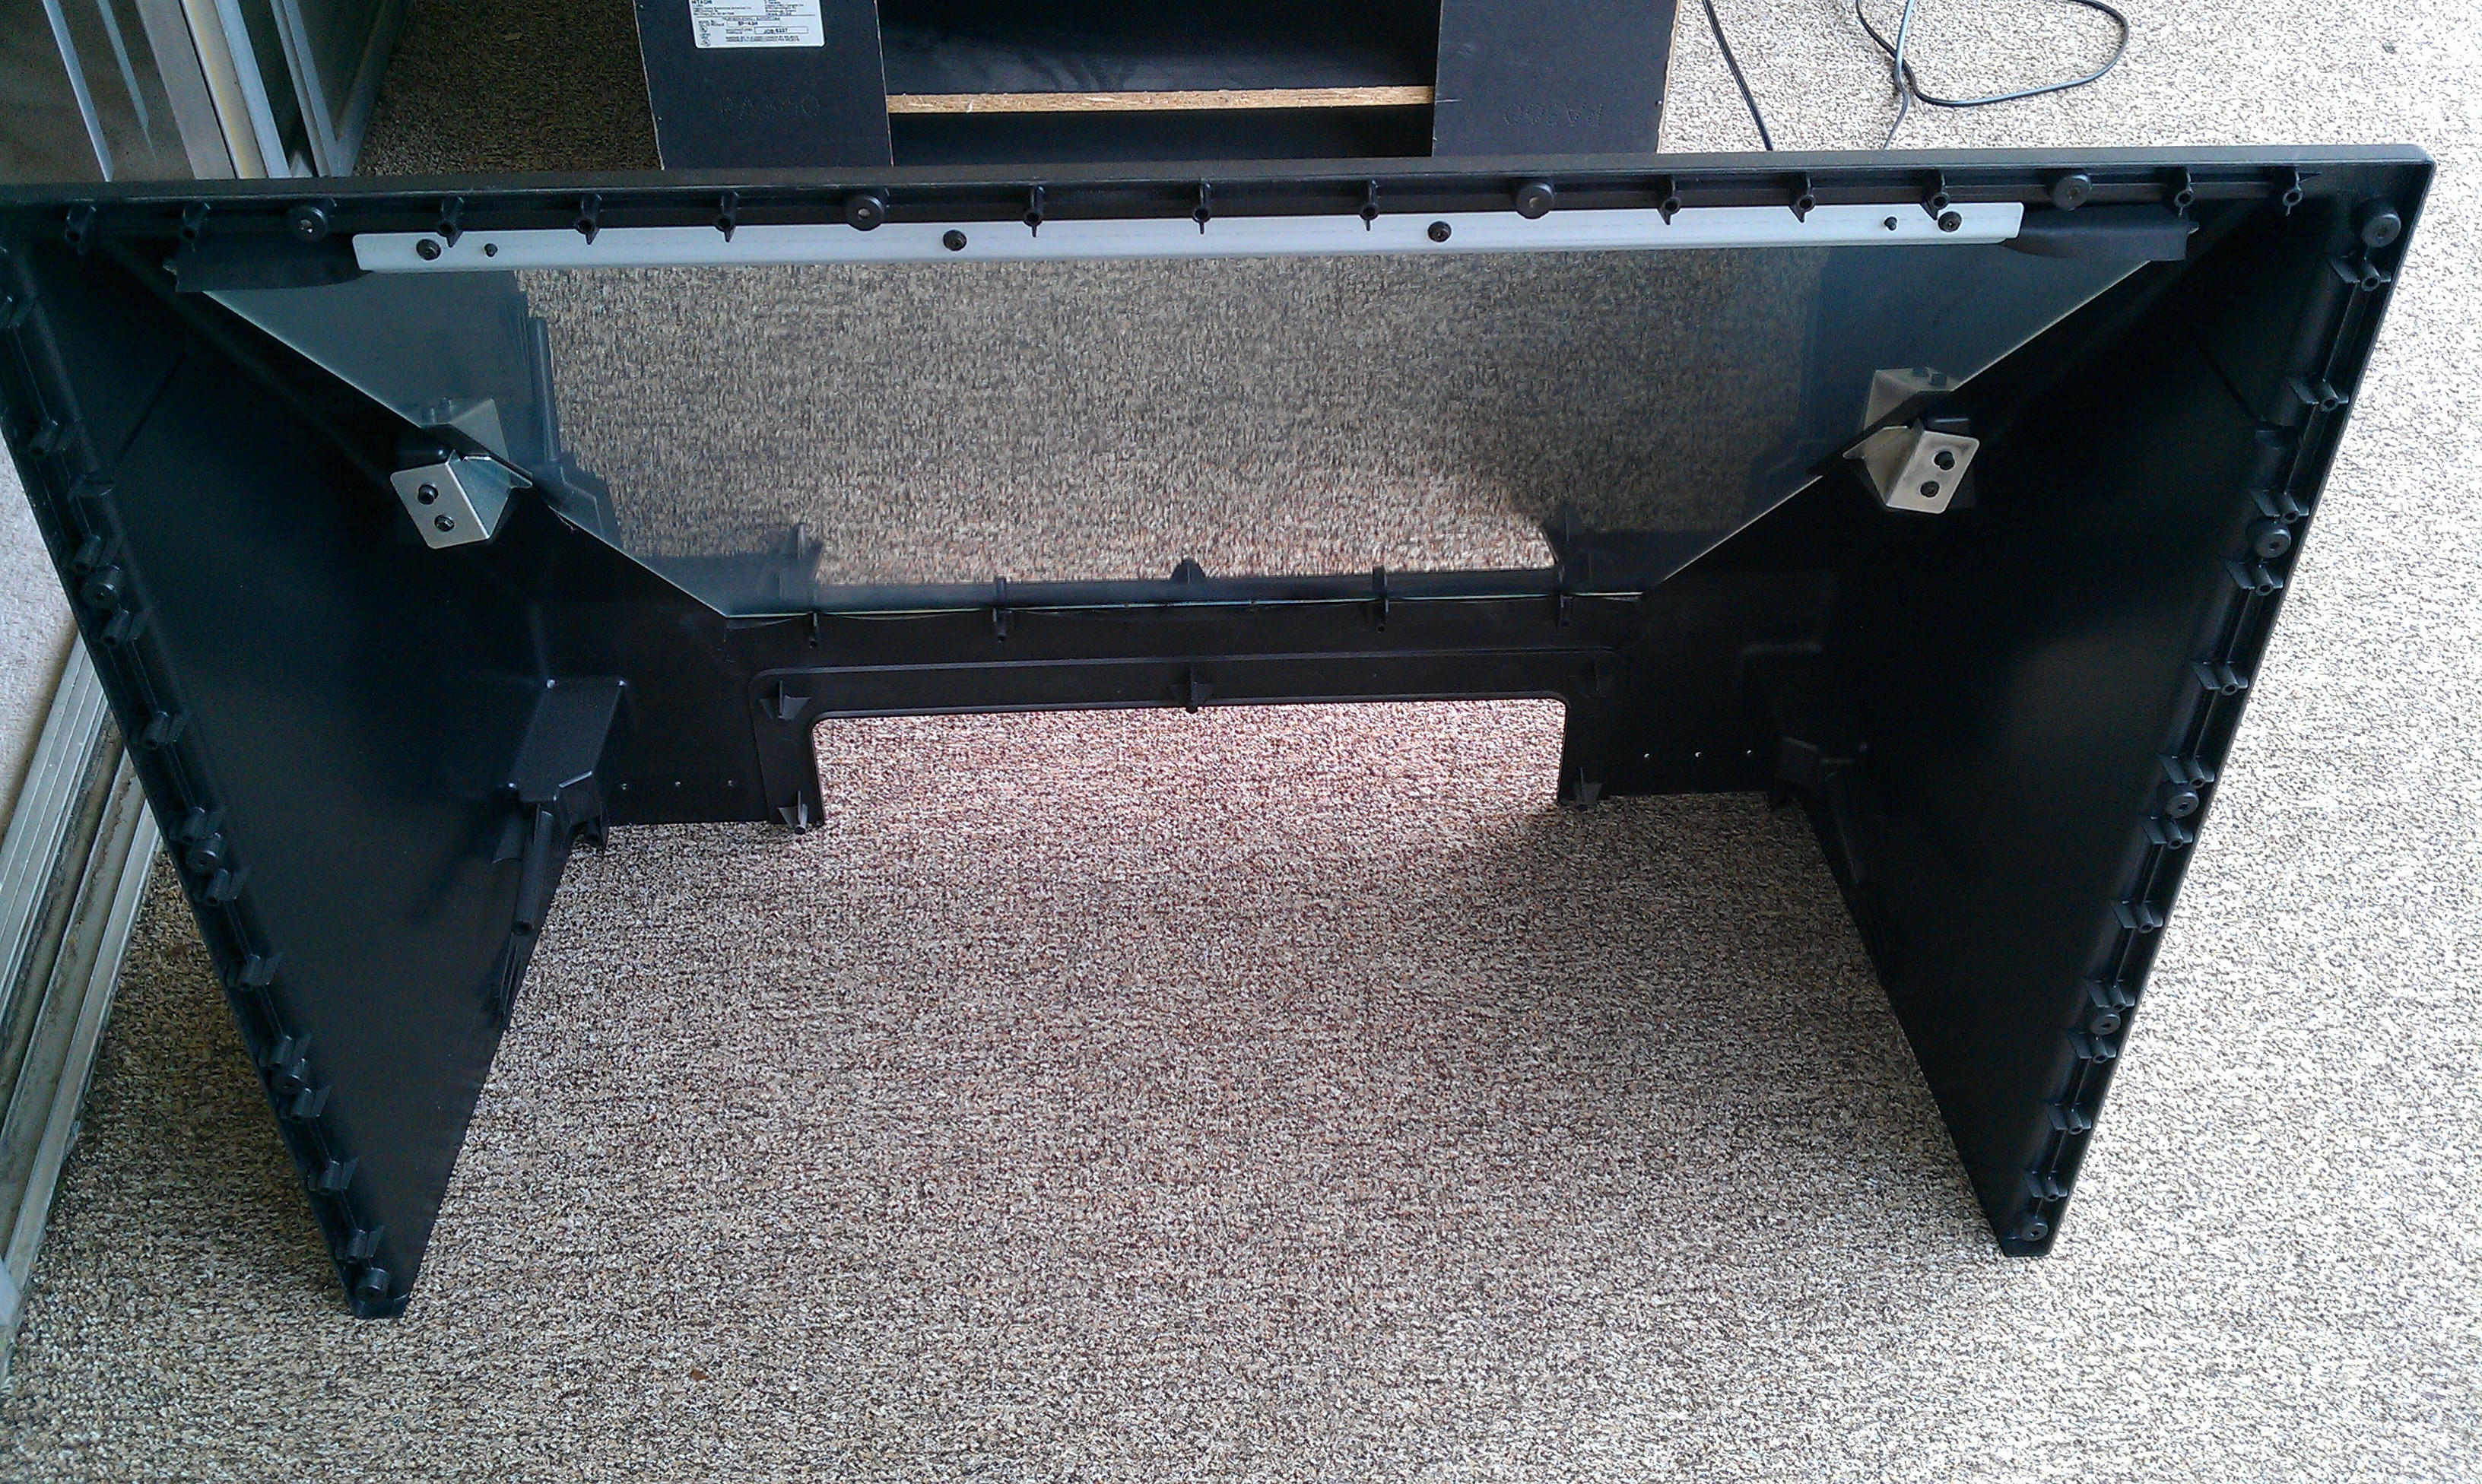
Lets start with the back.
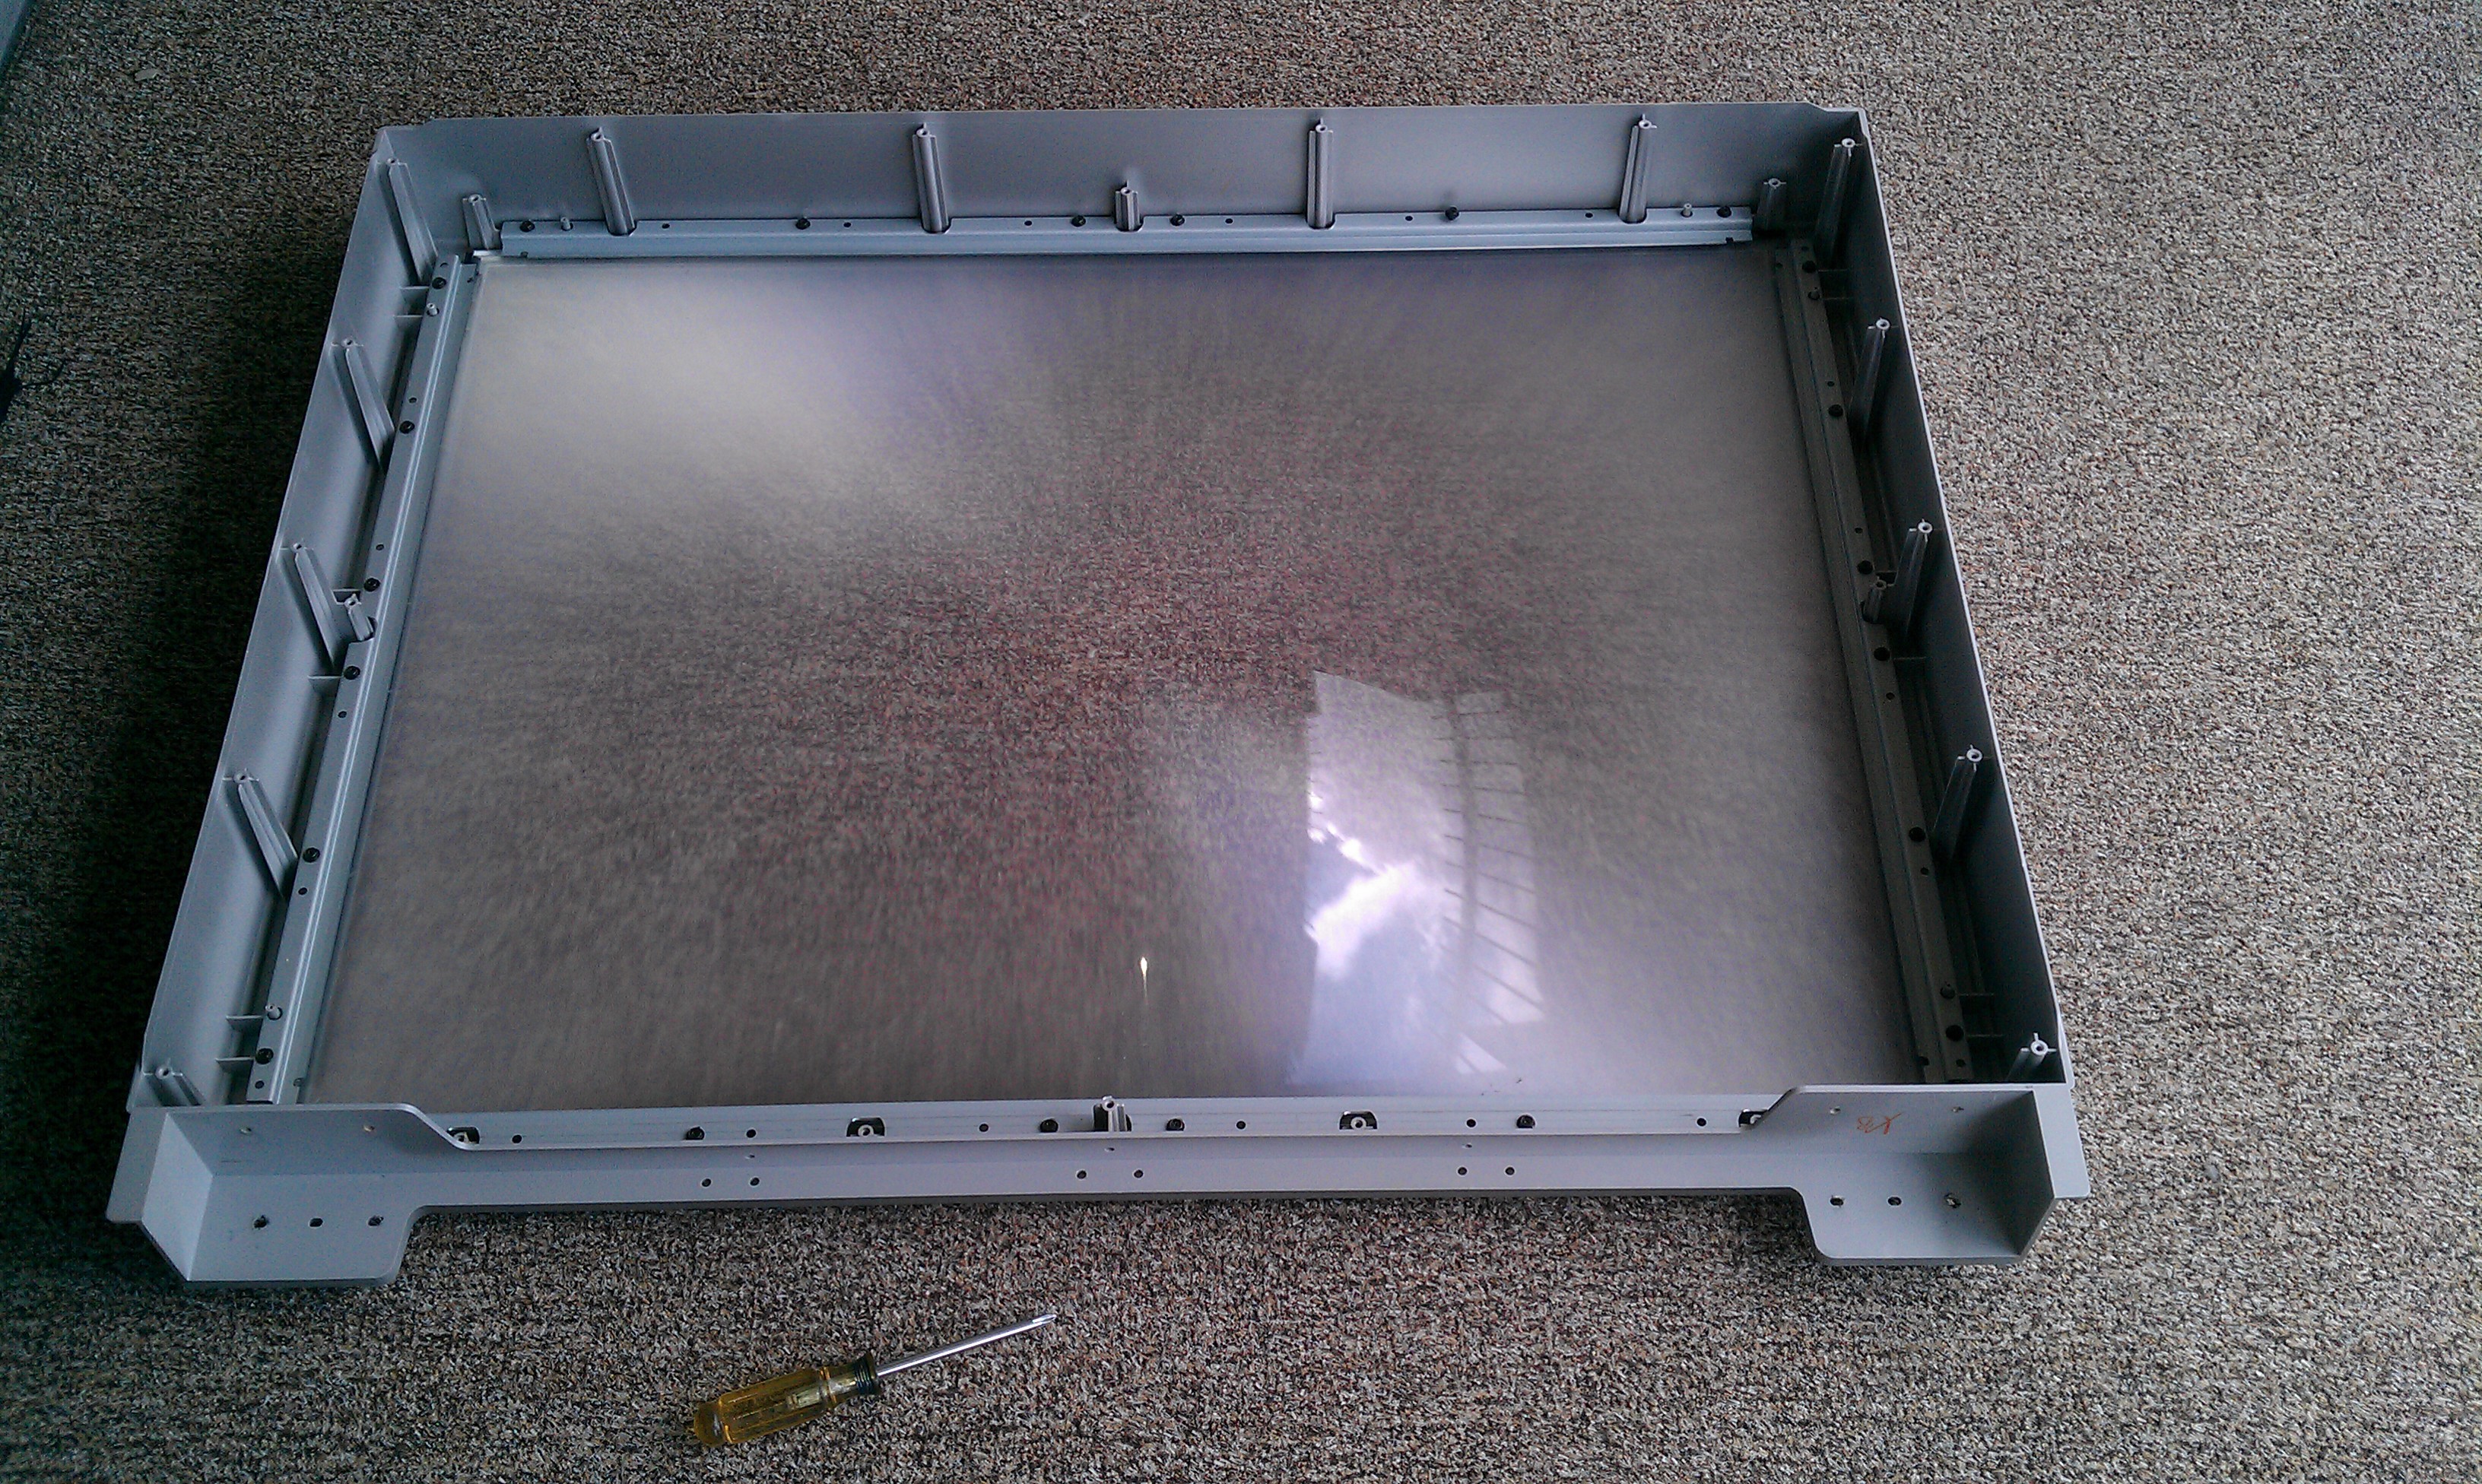
The front screen lens assembly is held on inside by four metal bars screwed into the front plastic frame.
![]()
Flash lens reflection.
![]()
![]()
Back cover mirror.
![]()
Very trapezoidal.
![]()
The mirror is nice and thick, but the backing is a thin coating. You can see a little flaking at the edge, but you cant see the hazy streaks from age in these pictures.
![]()
Someone spilled coffee in from the front (we are calling it coffee).
![]()
Most people would imagine a high tech inside, but most of the craftsmanship in this thing is in the woodworking!
![]()
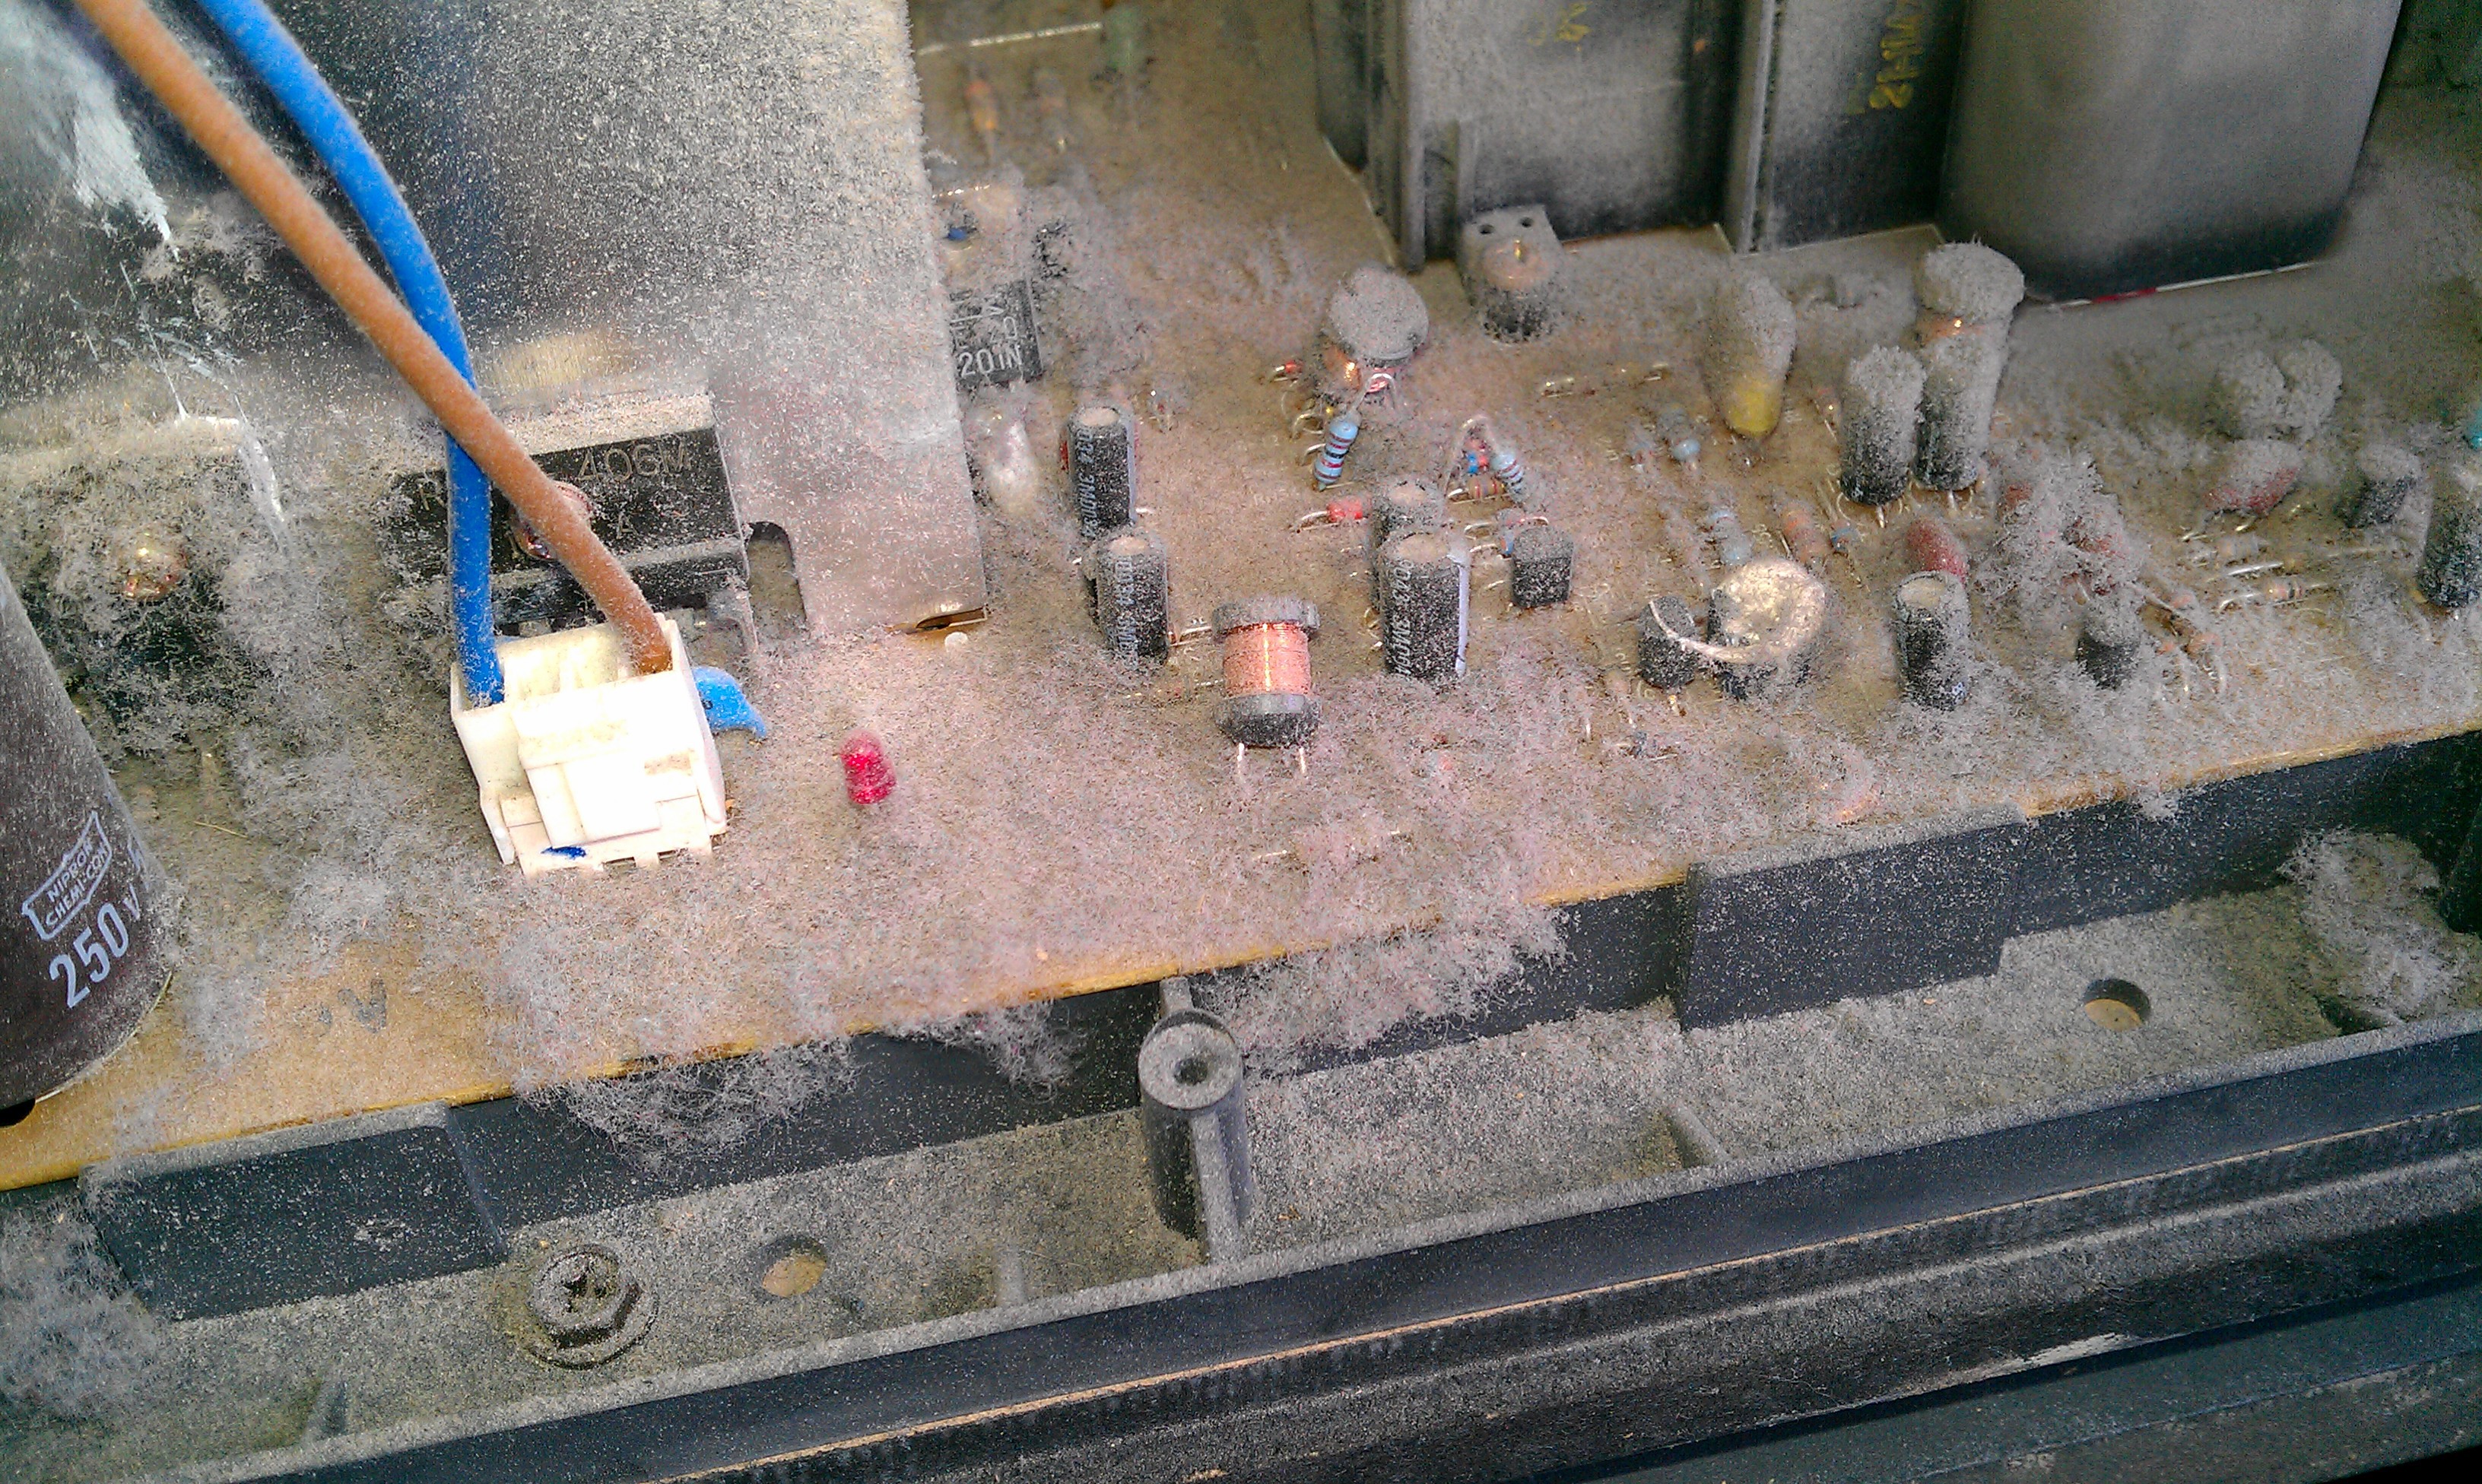
100 years worth of dust. I'm sure glad I always remember to teardown outside. I only found one dead bug.
![]()
Make that 200 years worth.
![]()
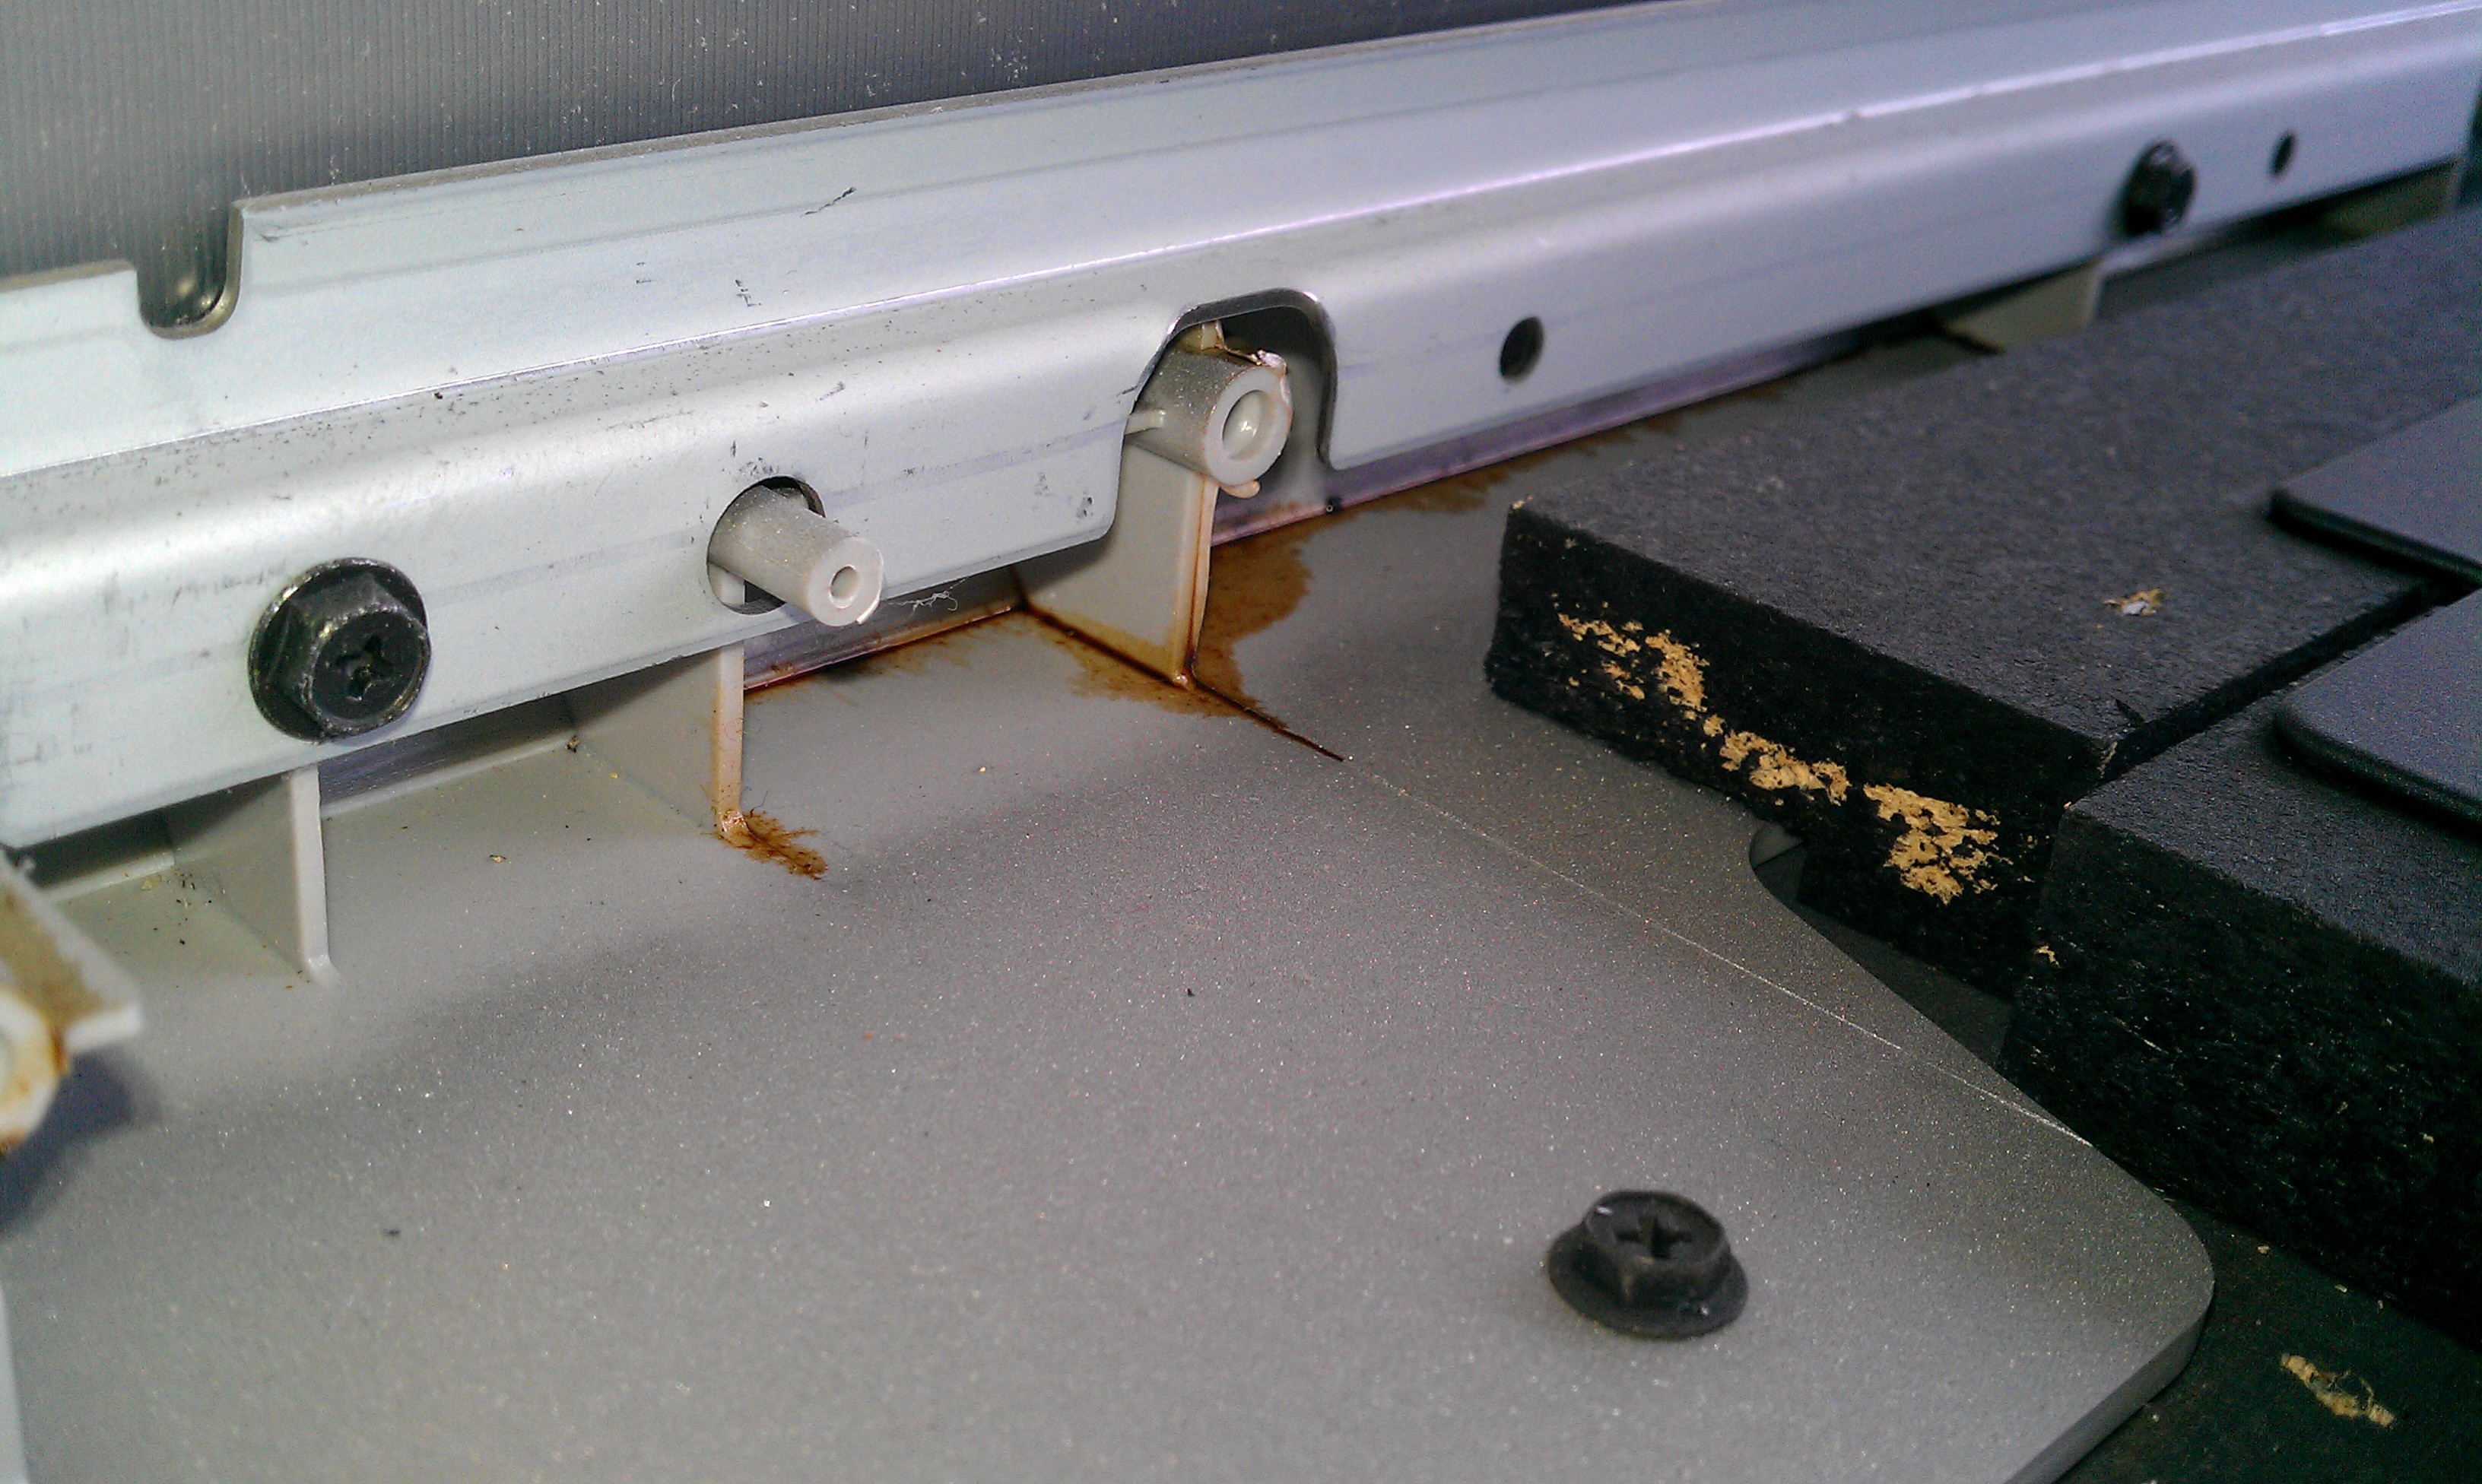
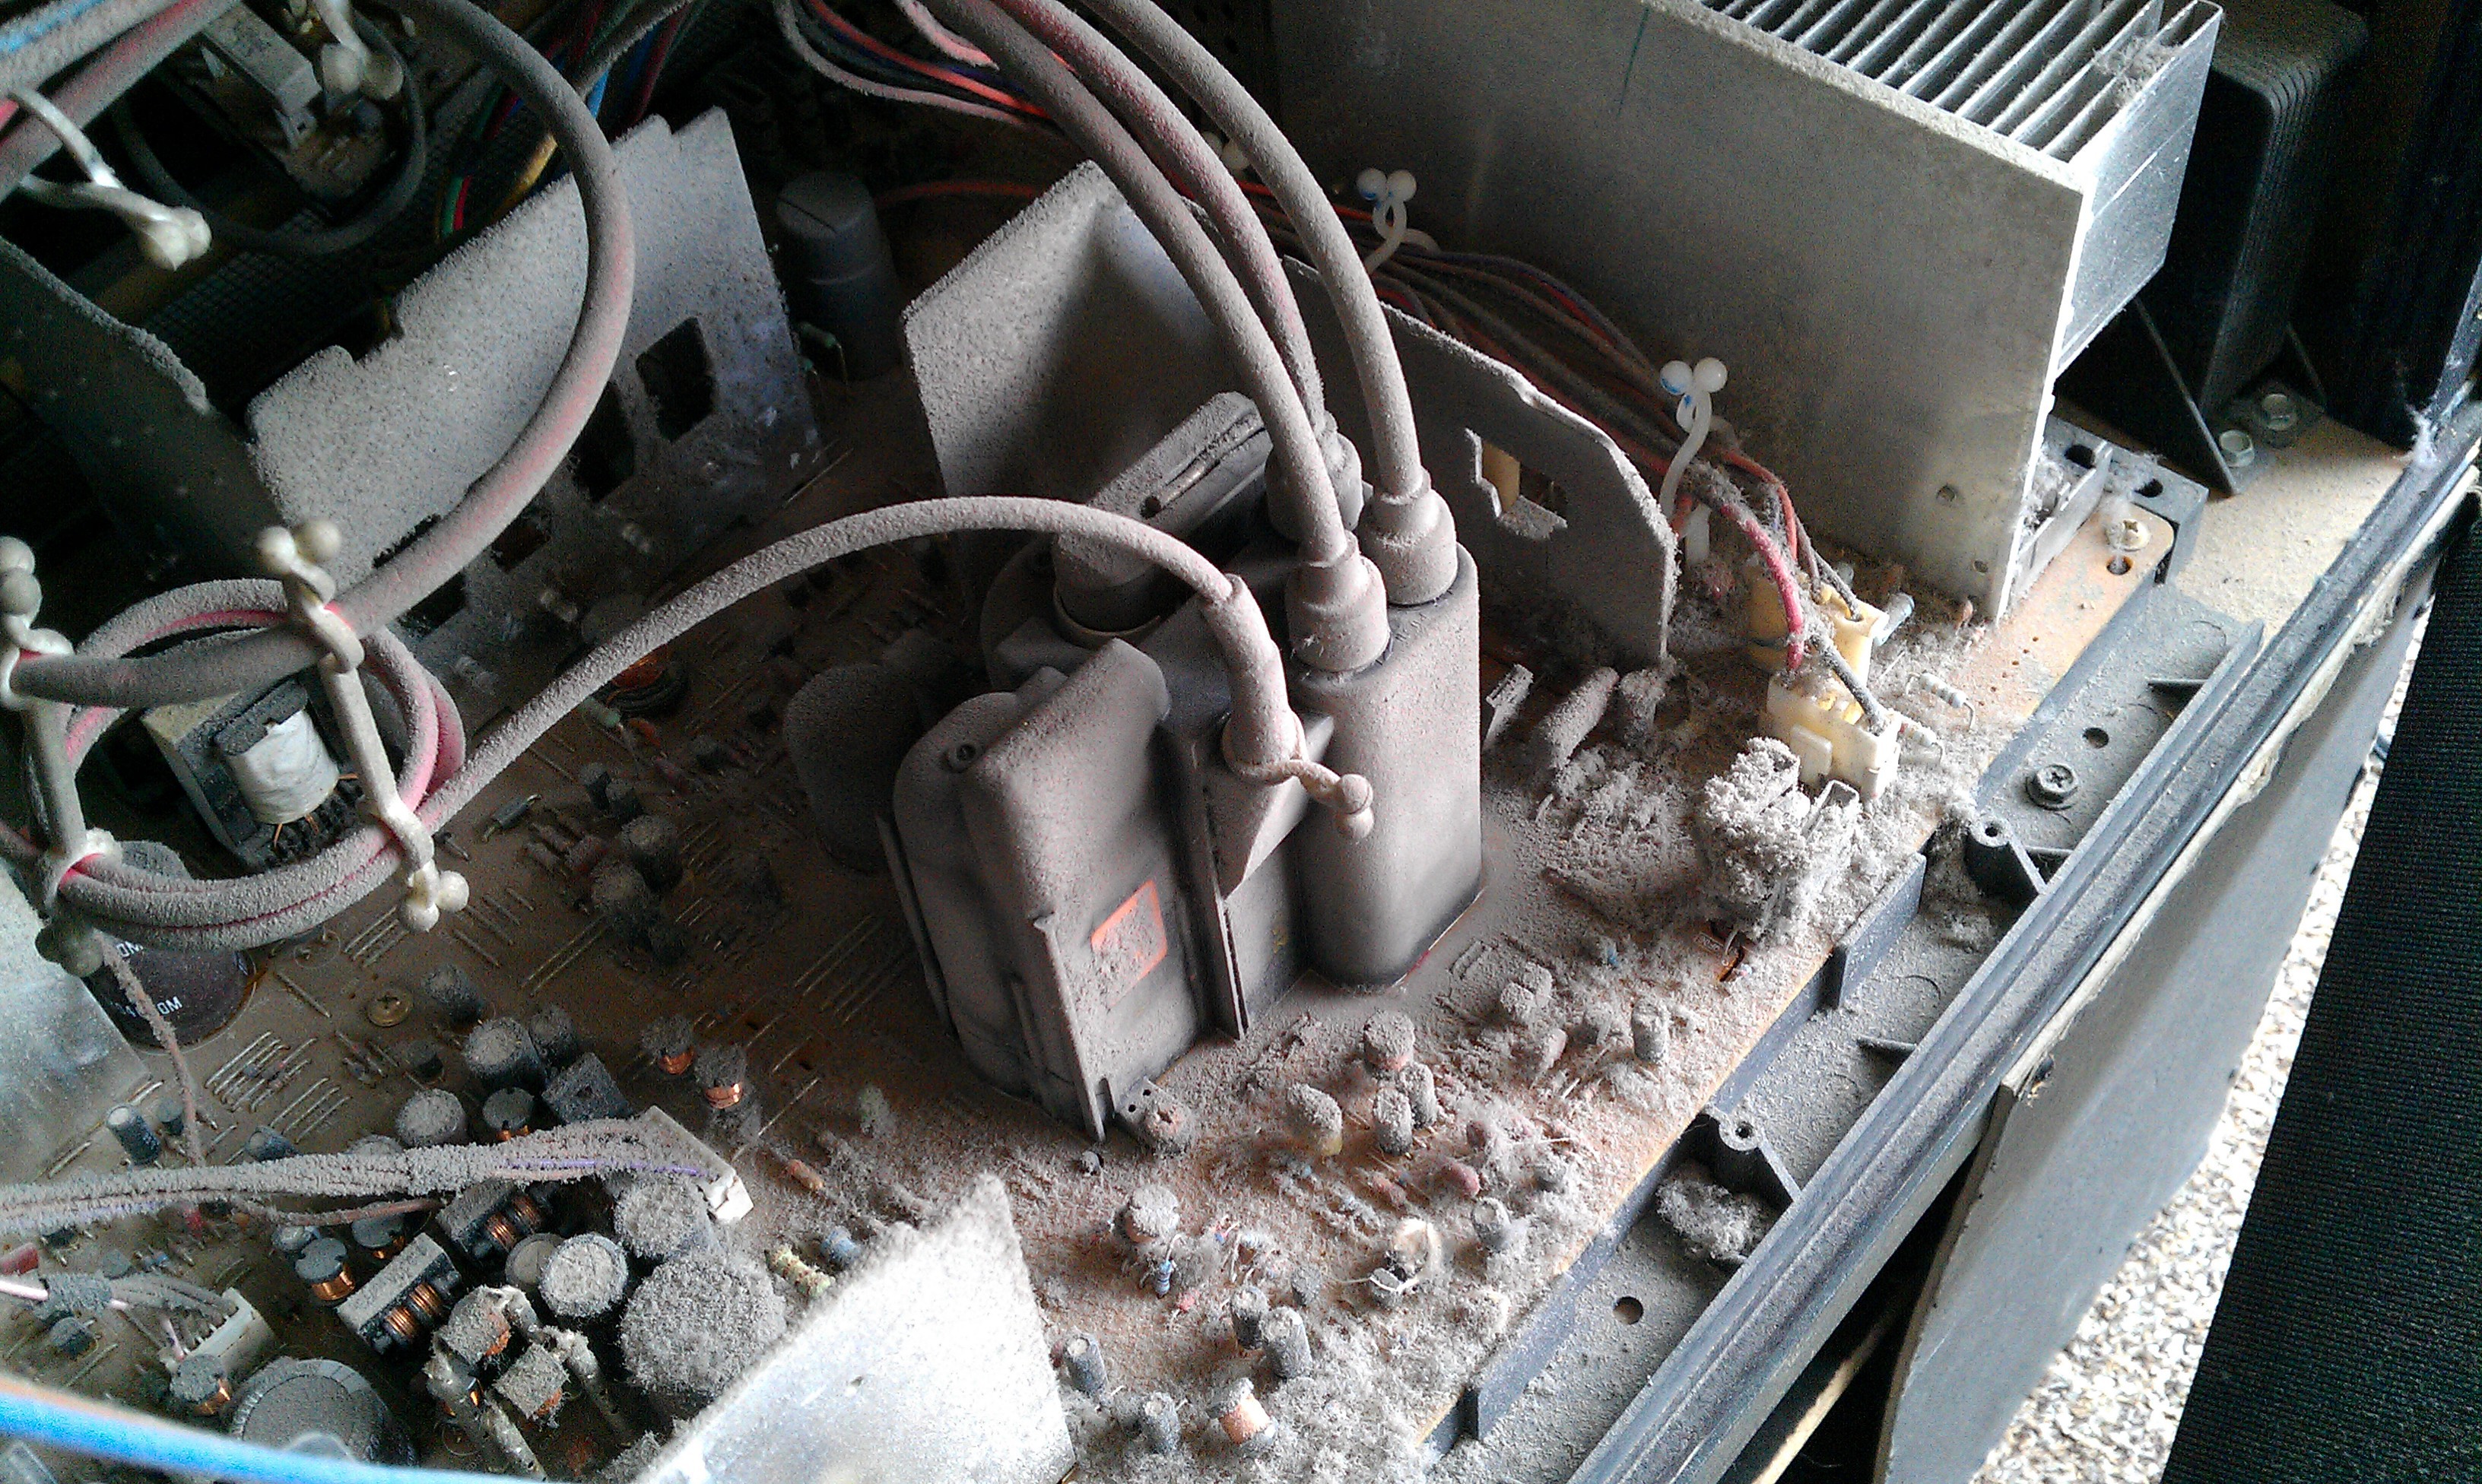
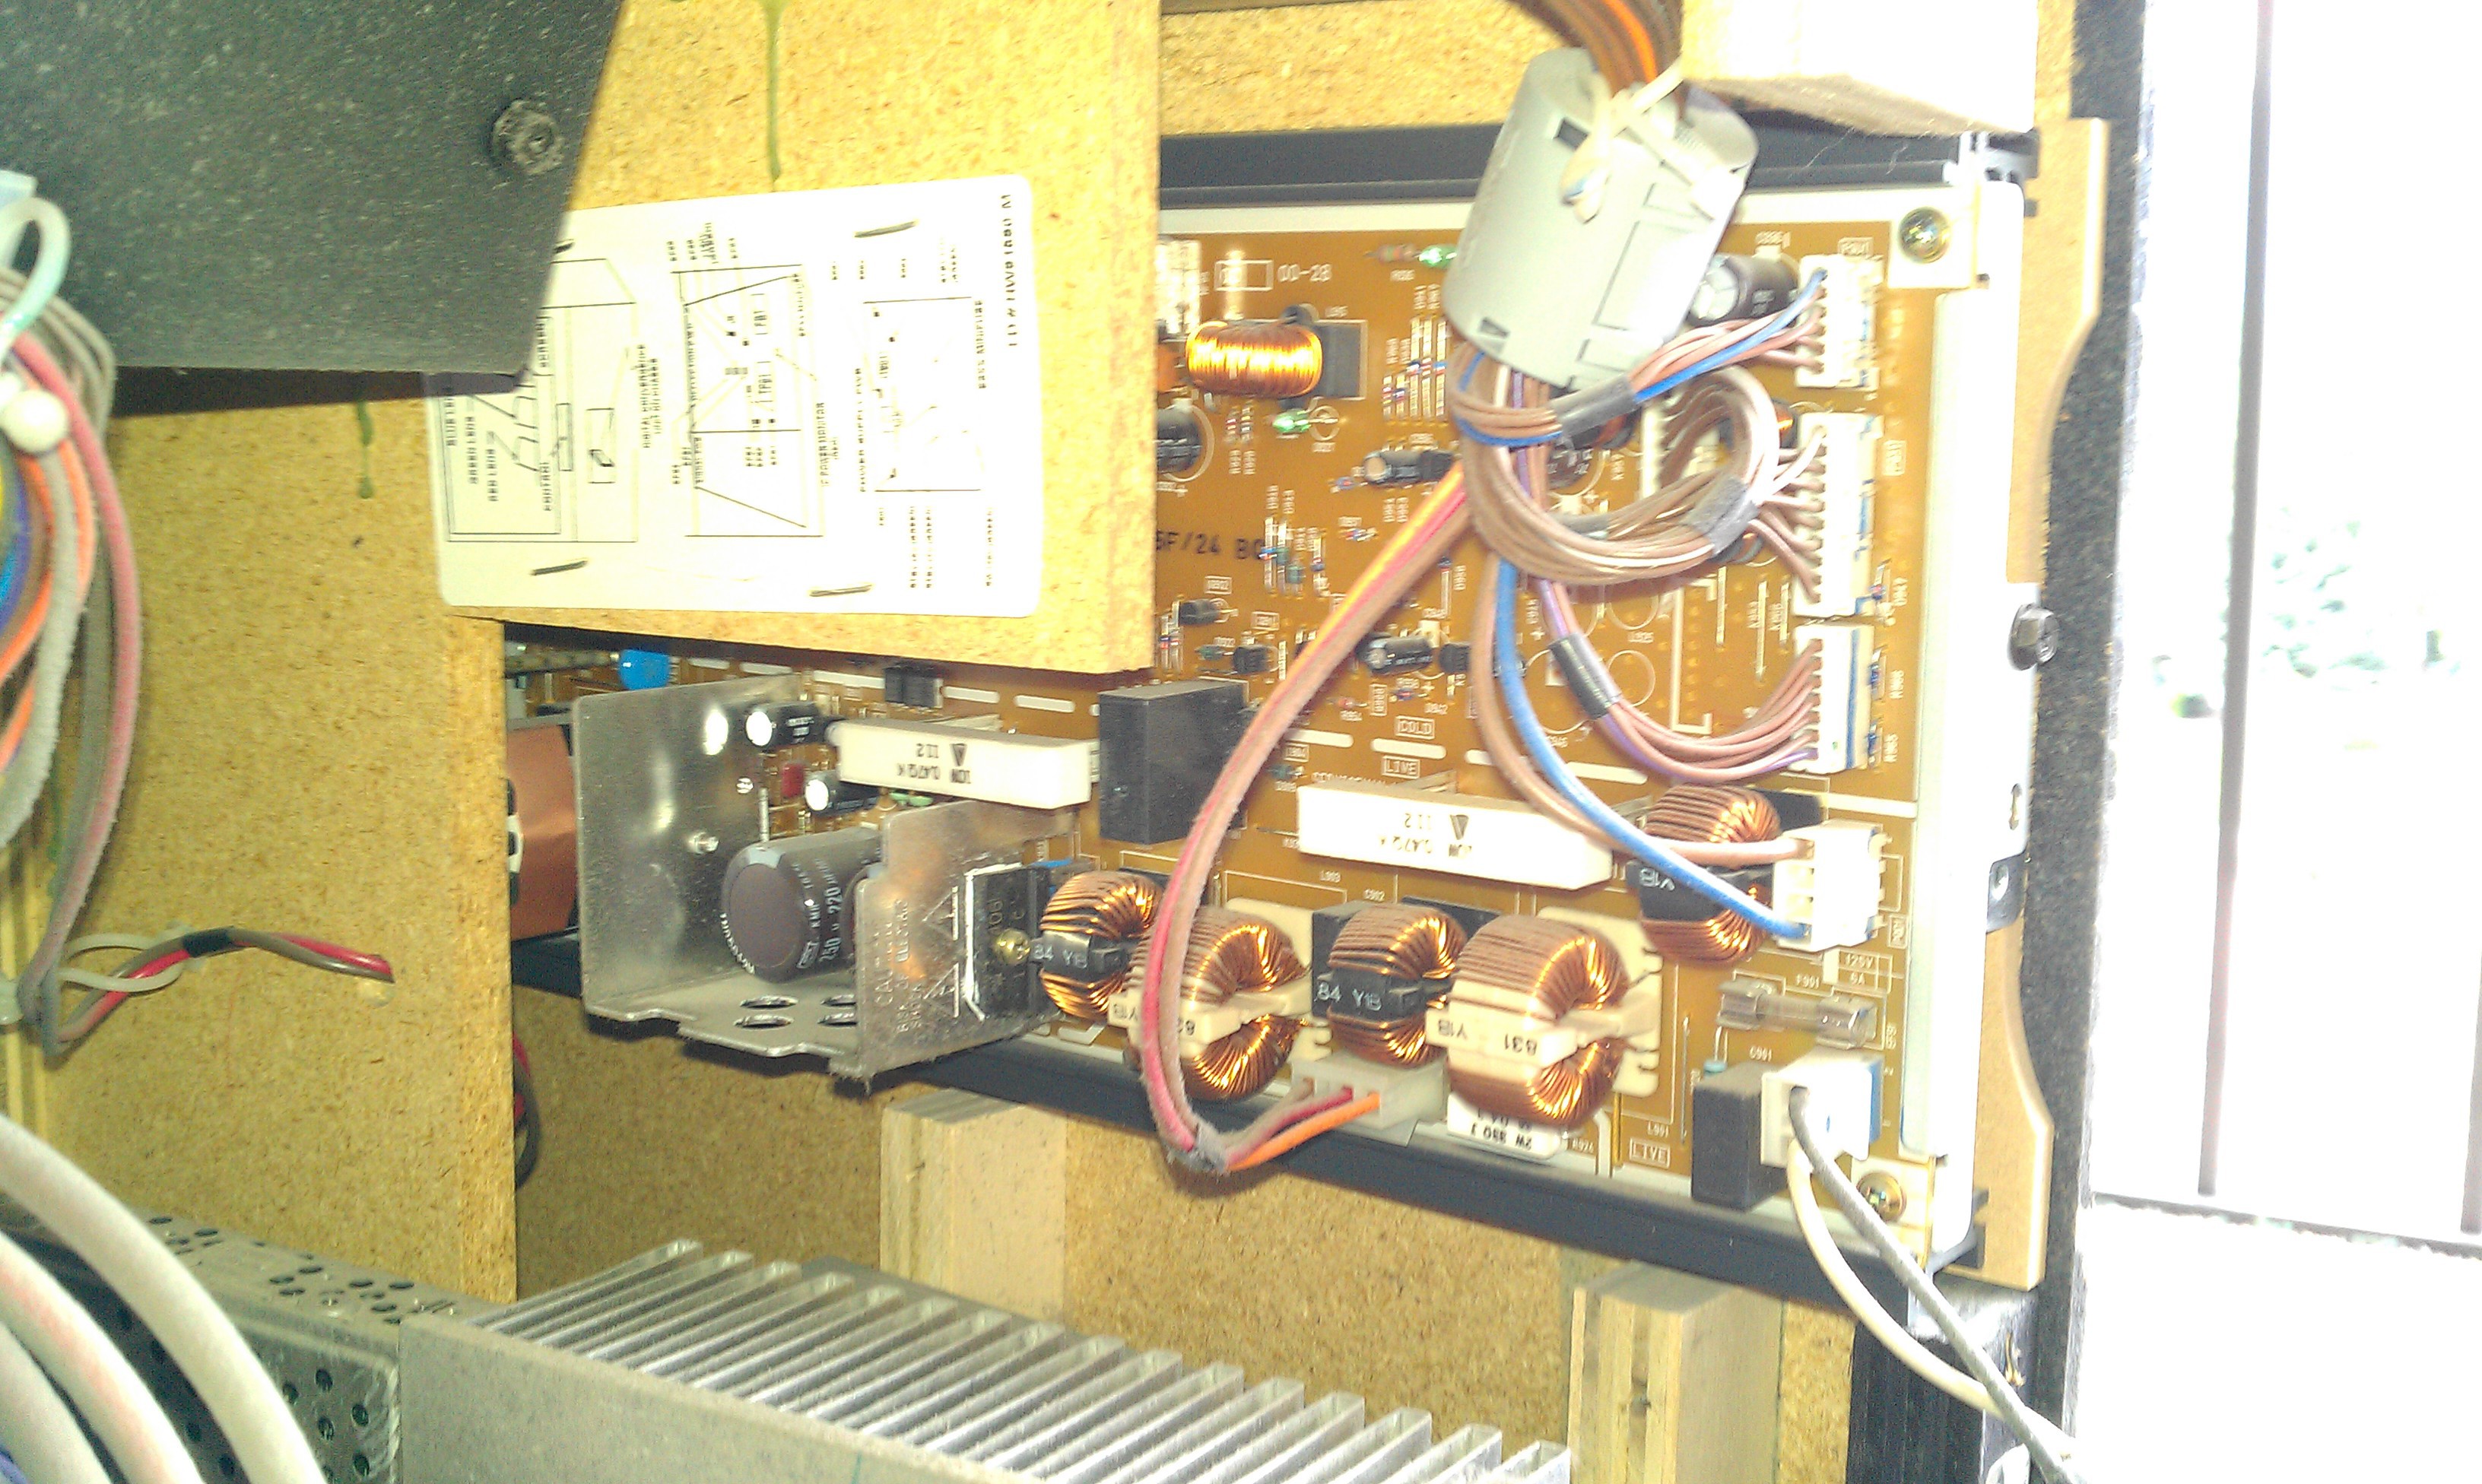
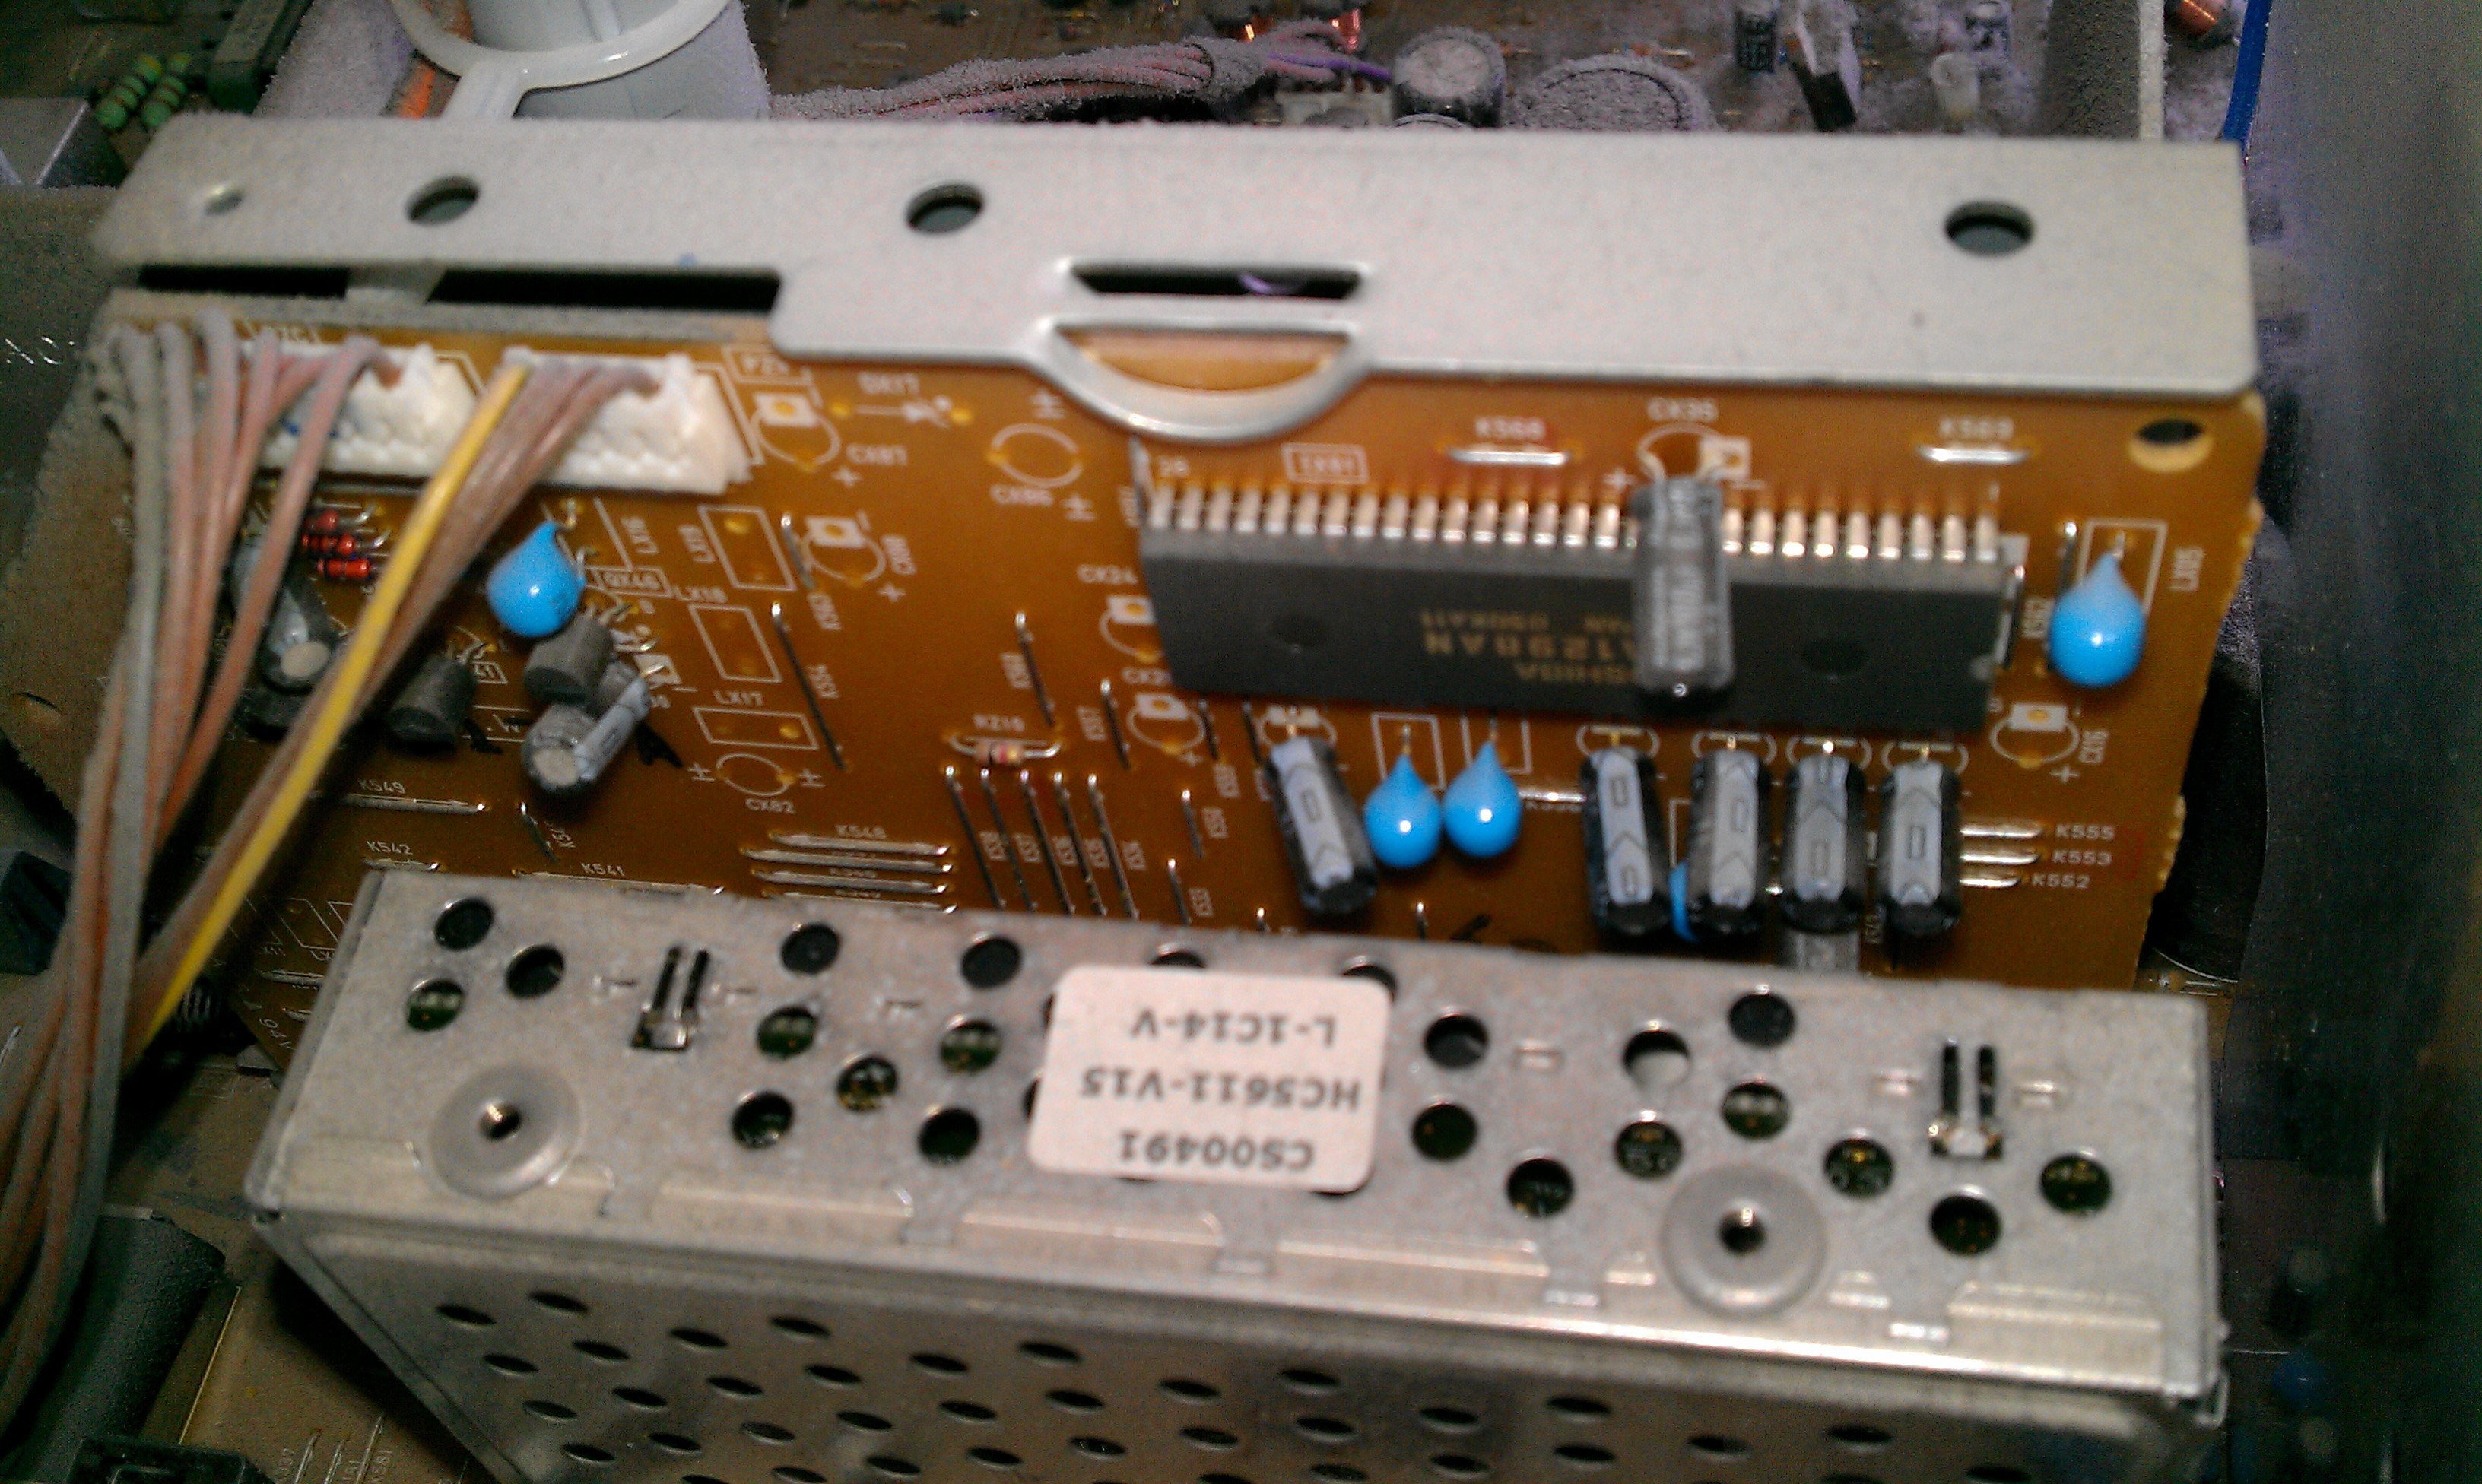
Lots of shielded boxes all over.
Wires and plenty of connectors.![]()
Power.![]()
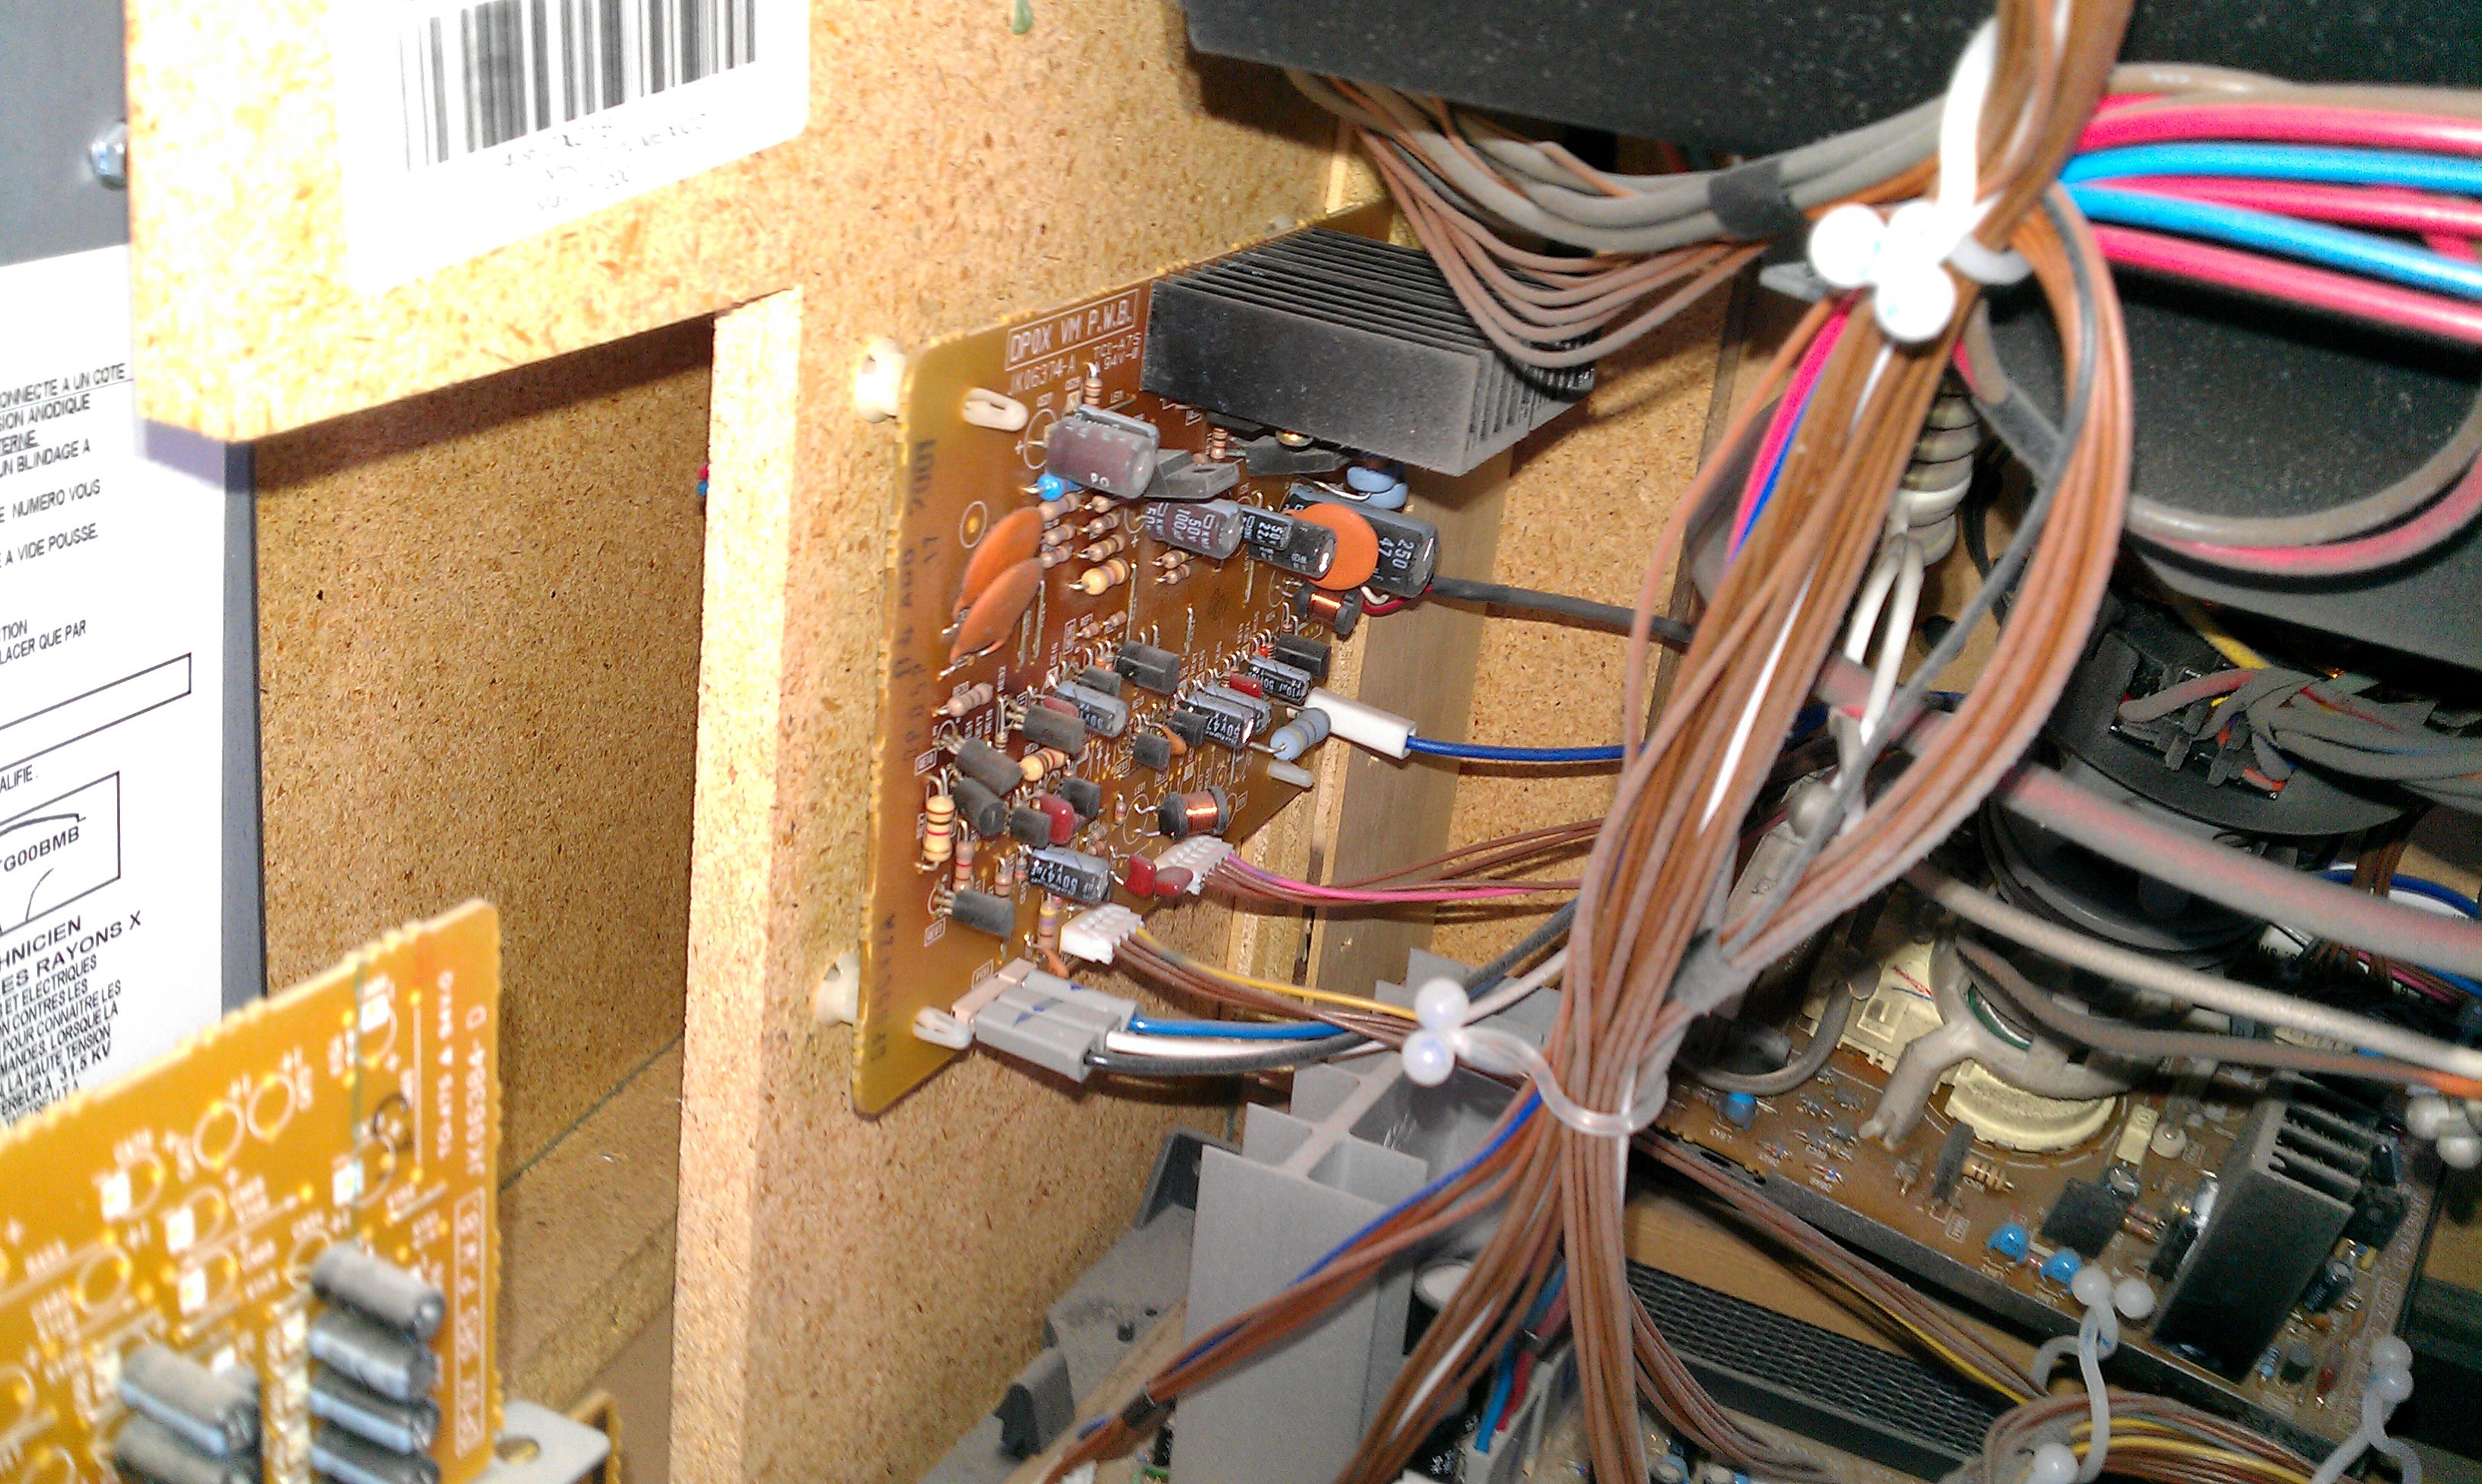
Many side boards and lots of caps and resistors![]()
Tube board.![]()
![]()
Original handmade wood strain relief.
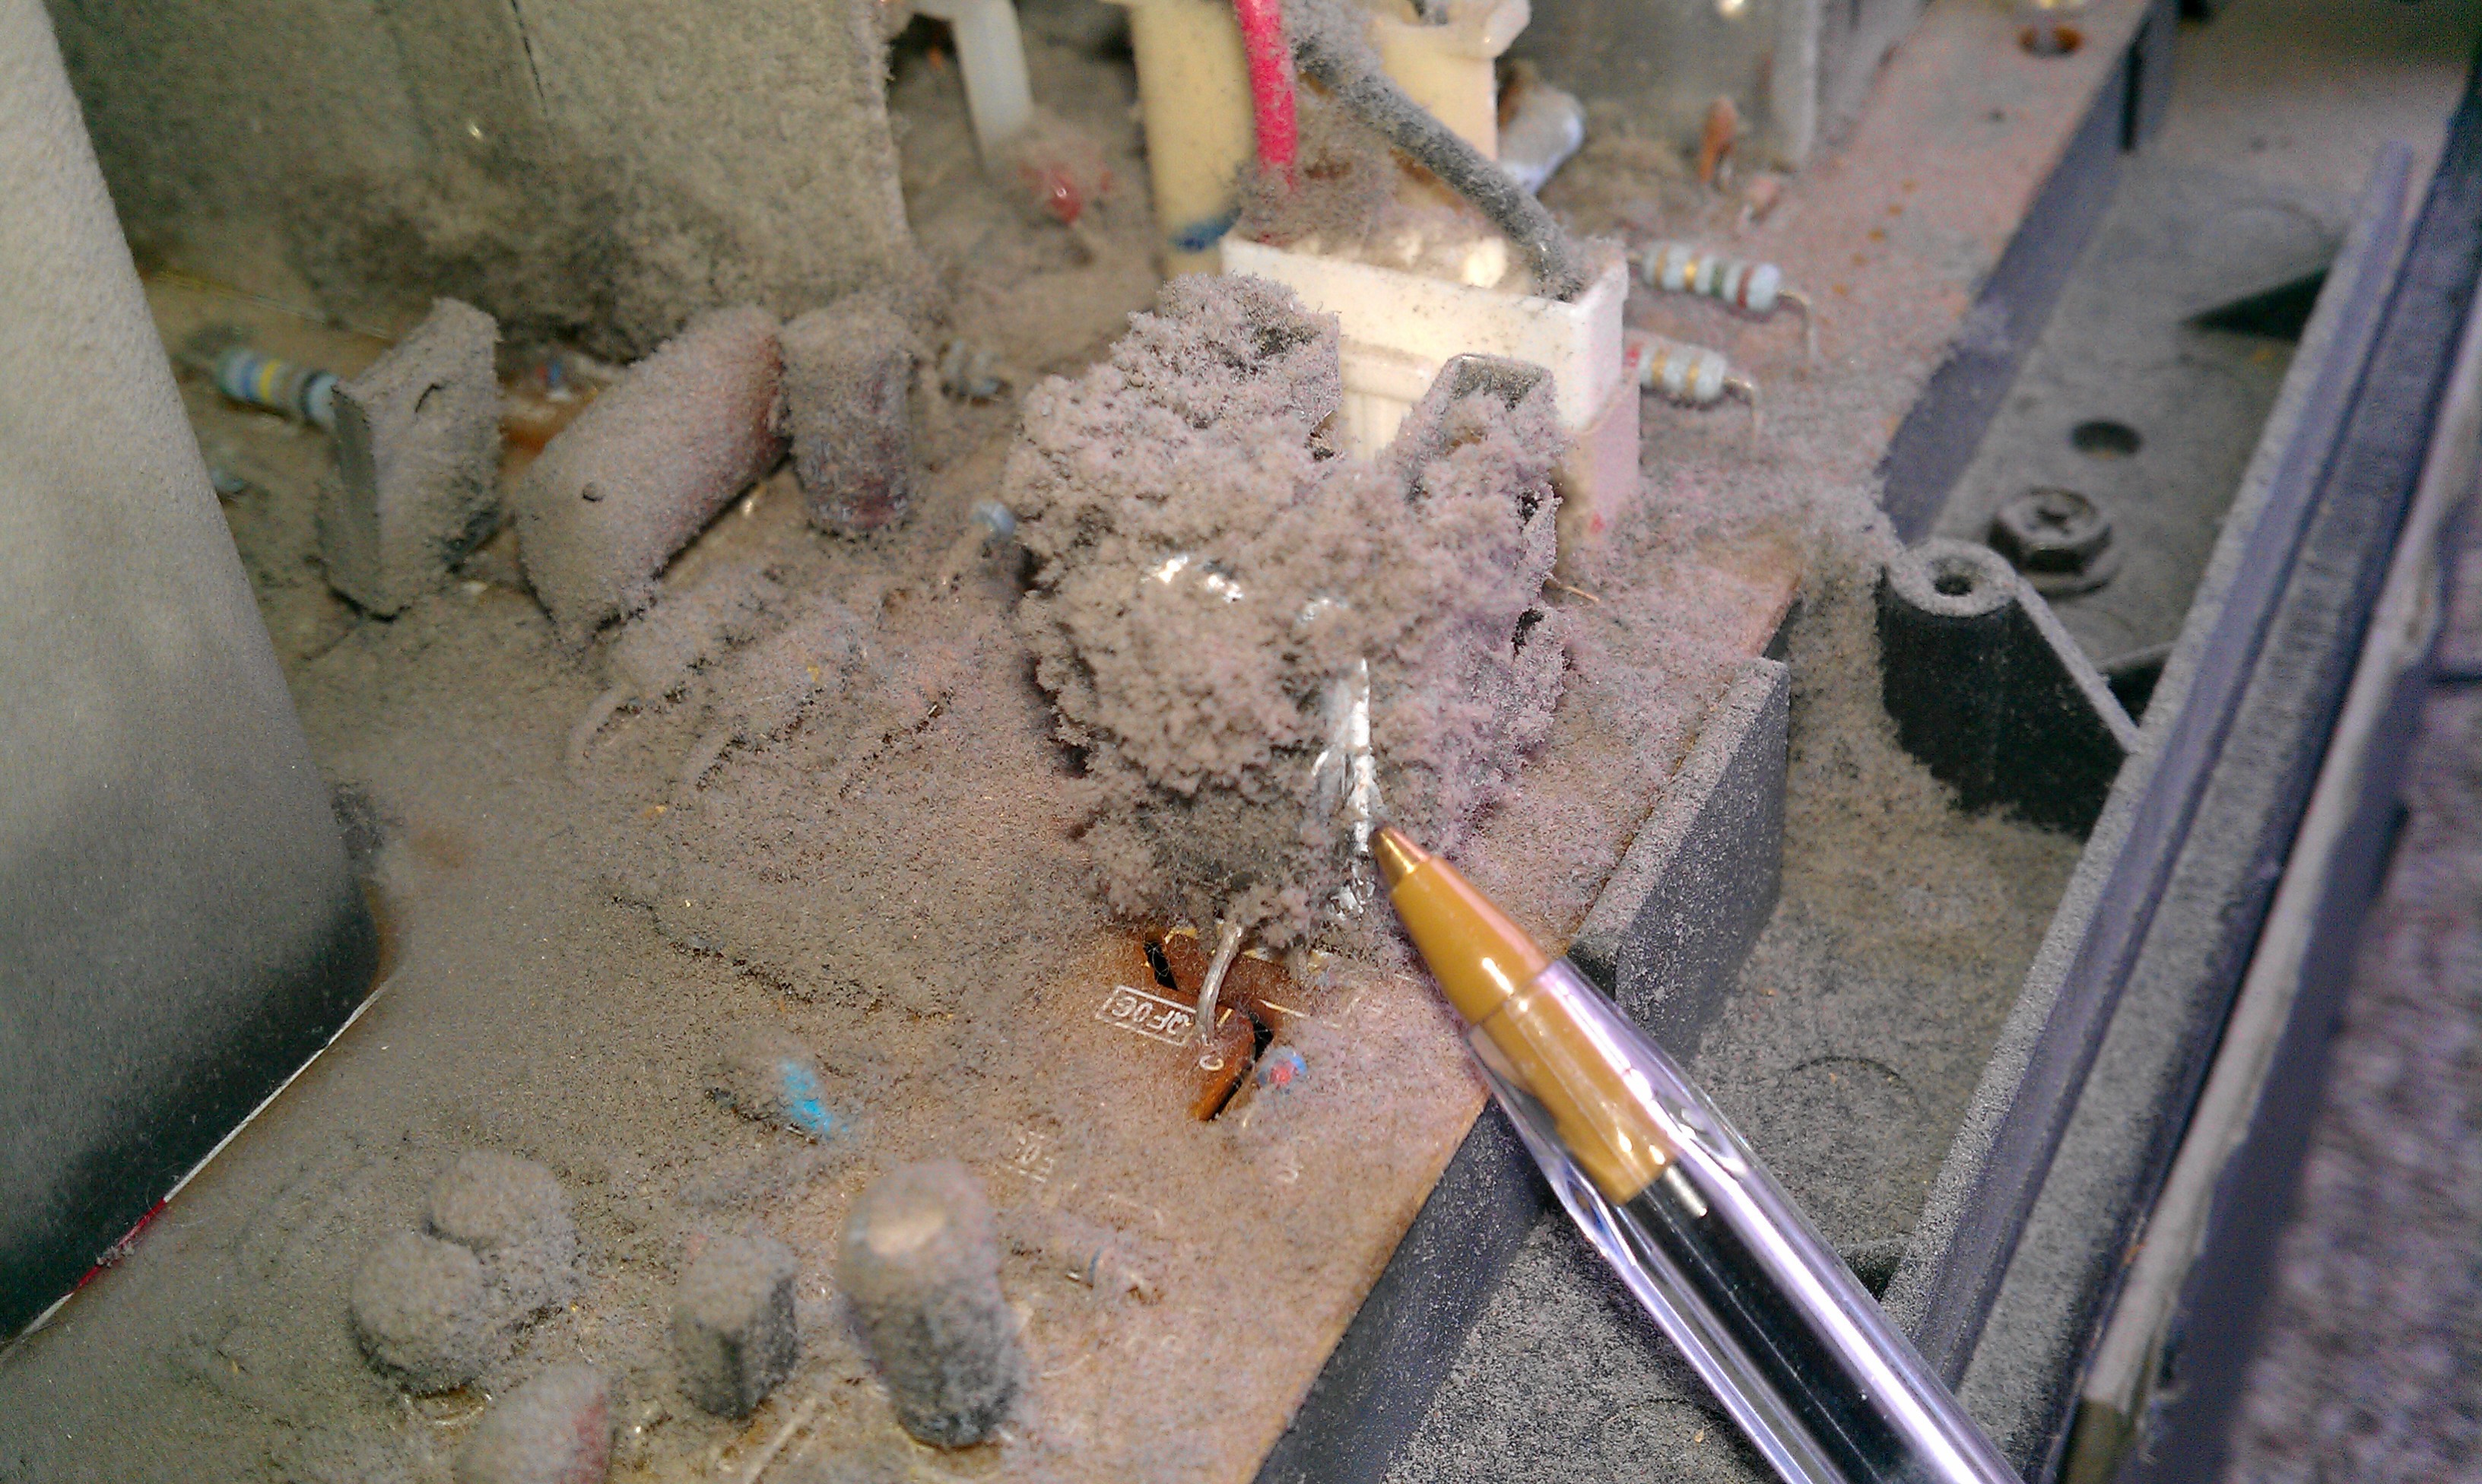
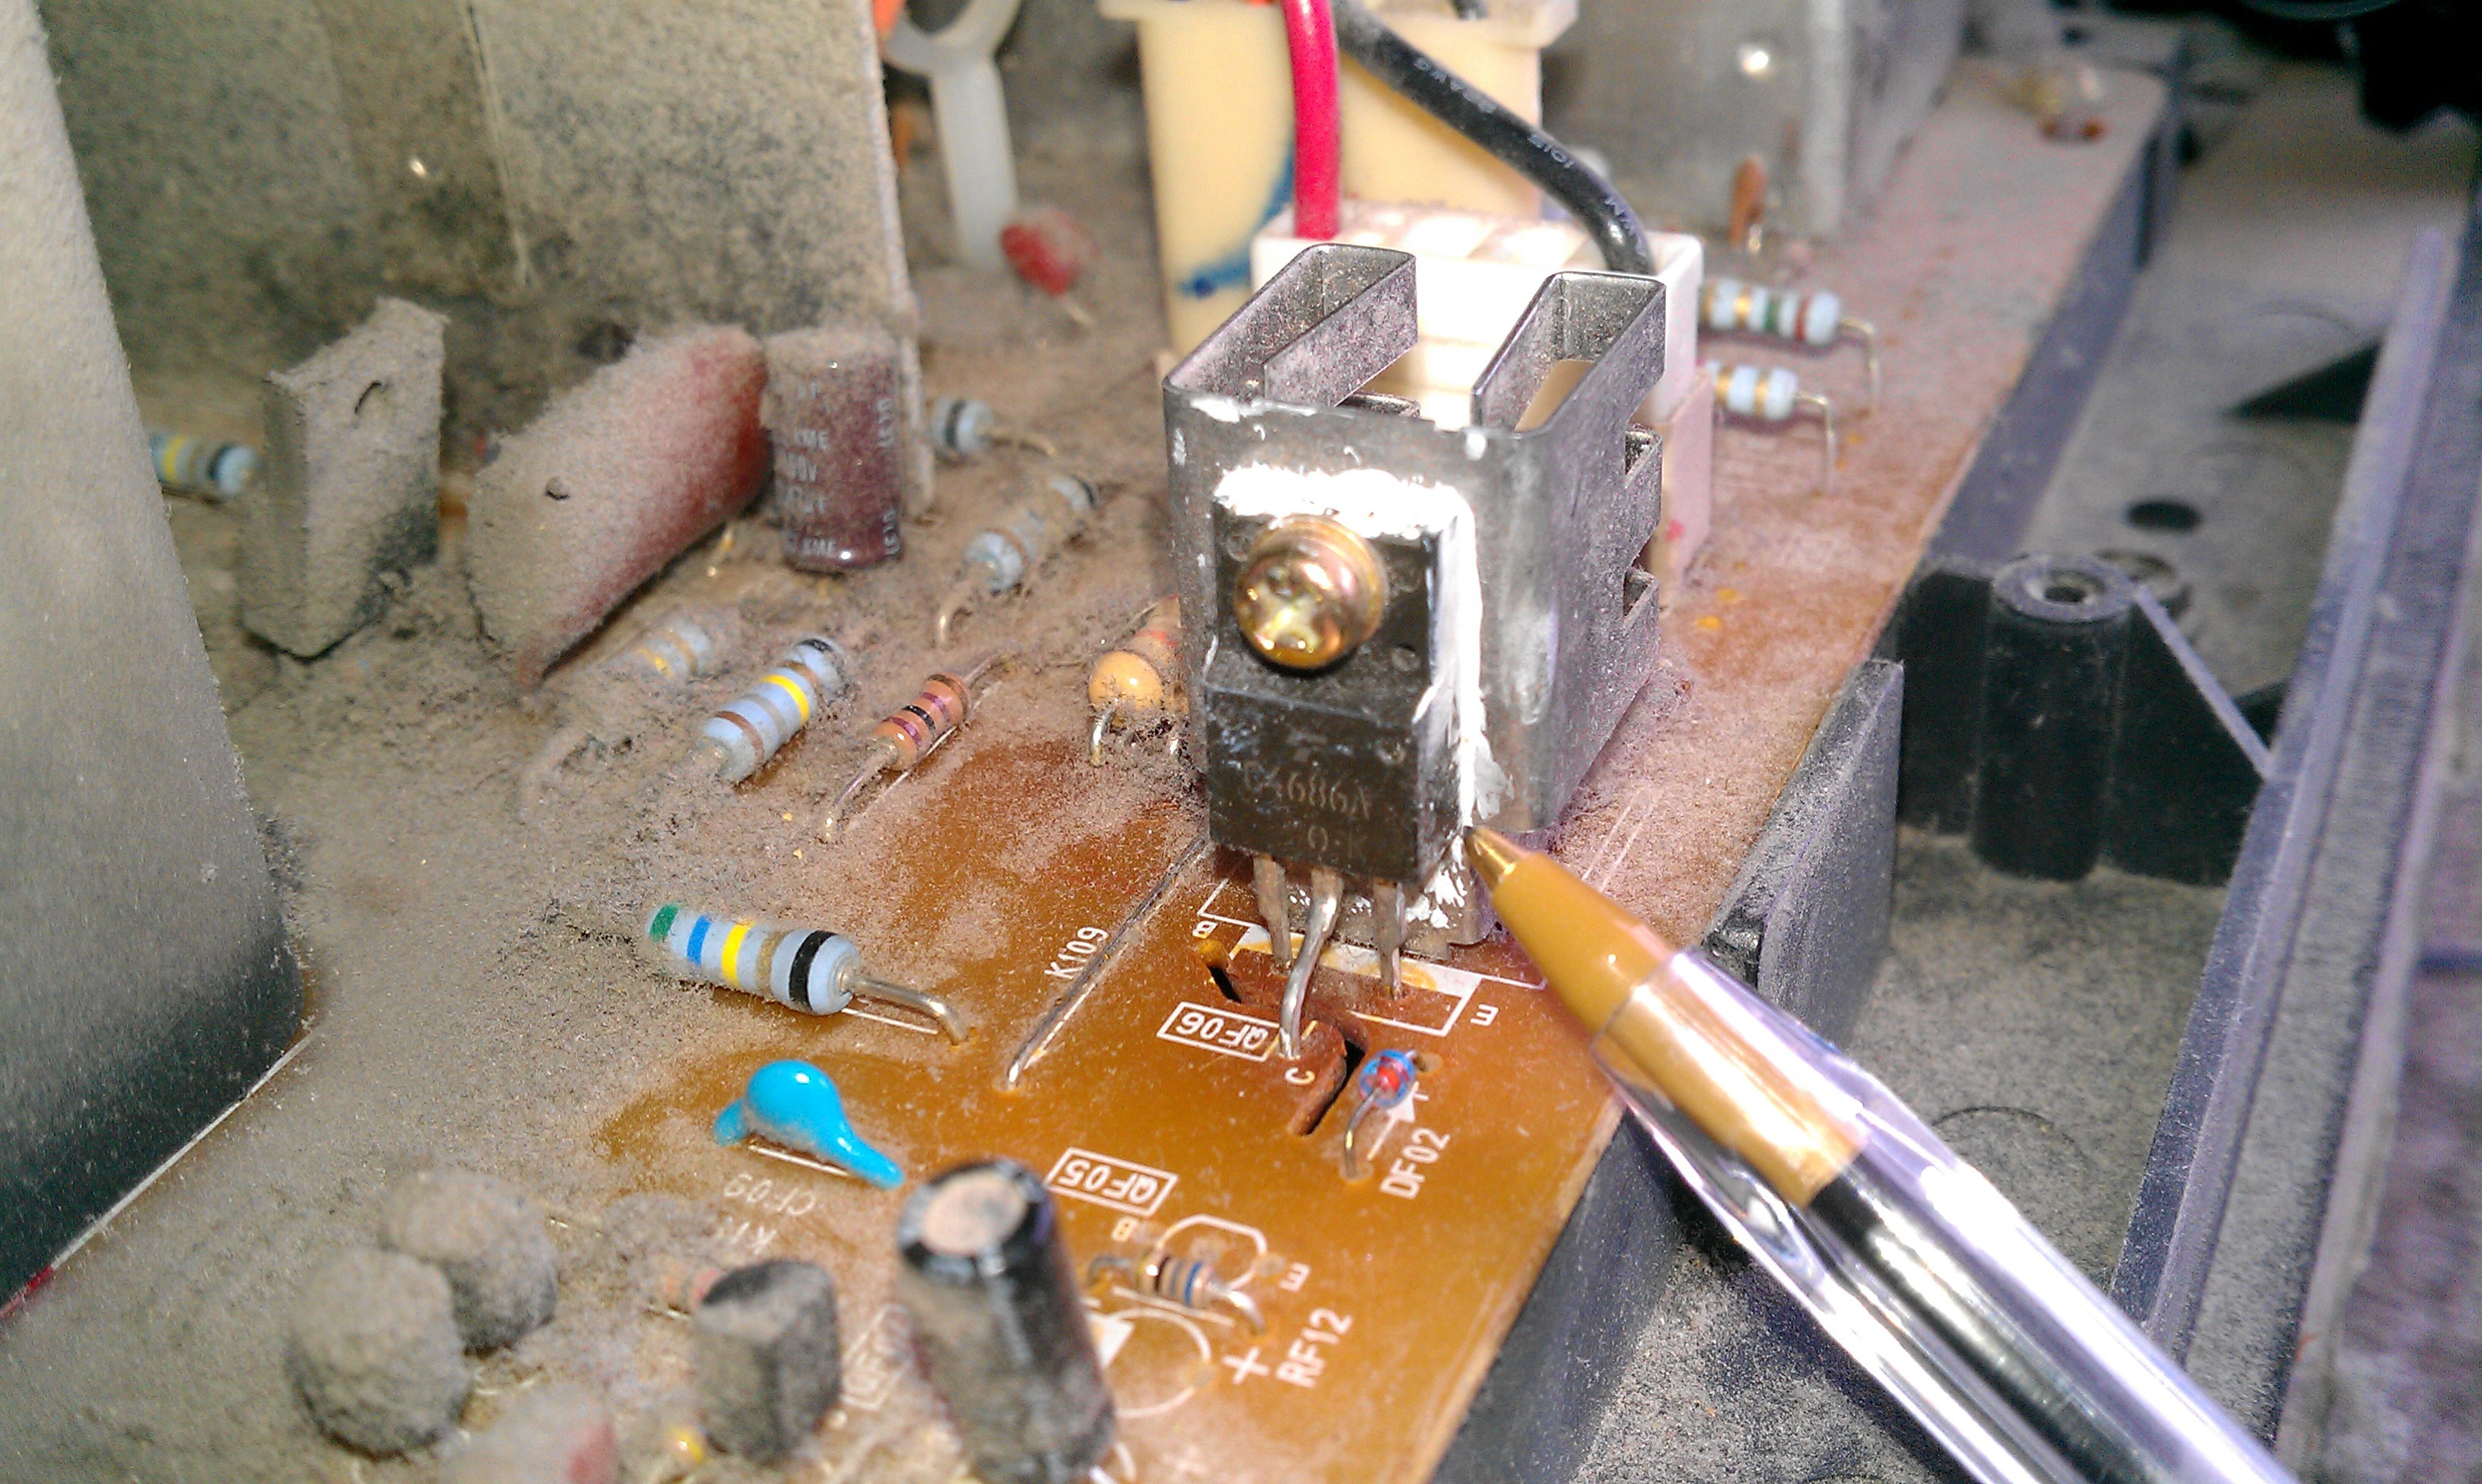
Lots of these furry things.![]()
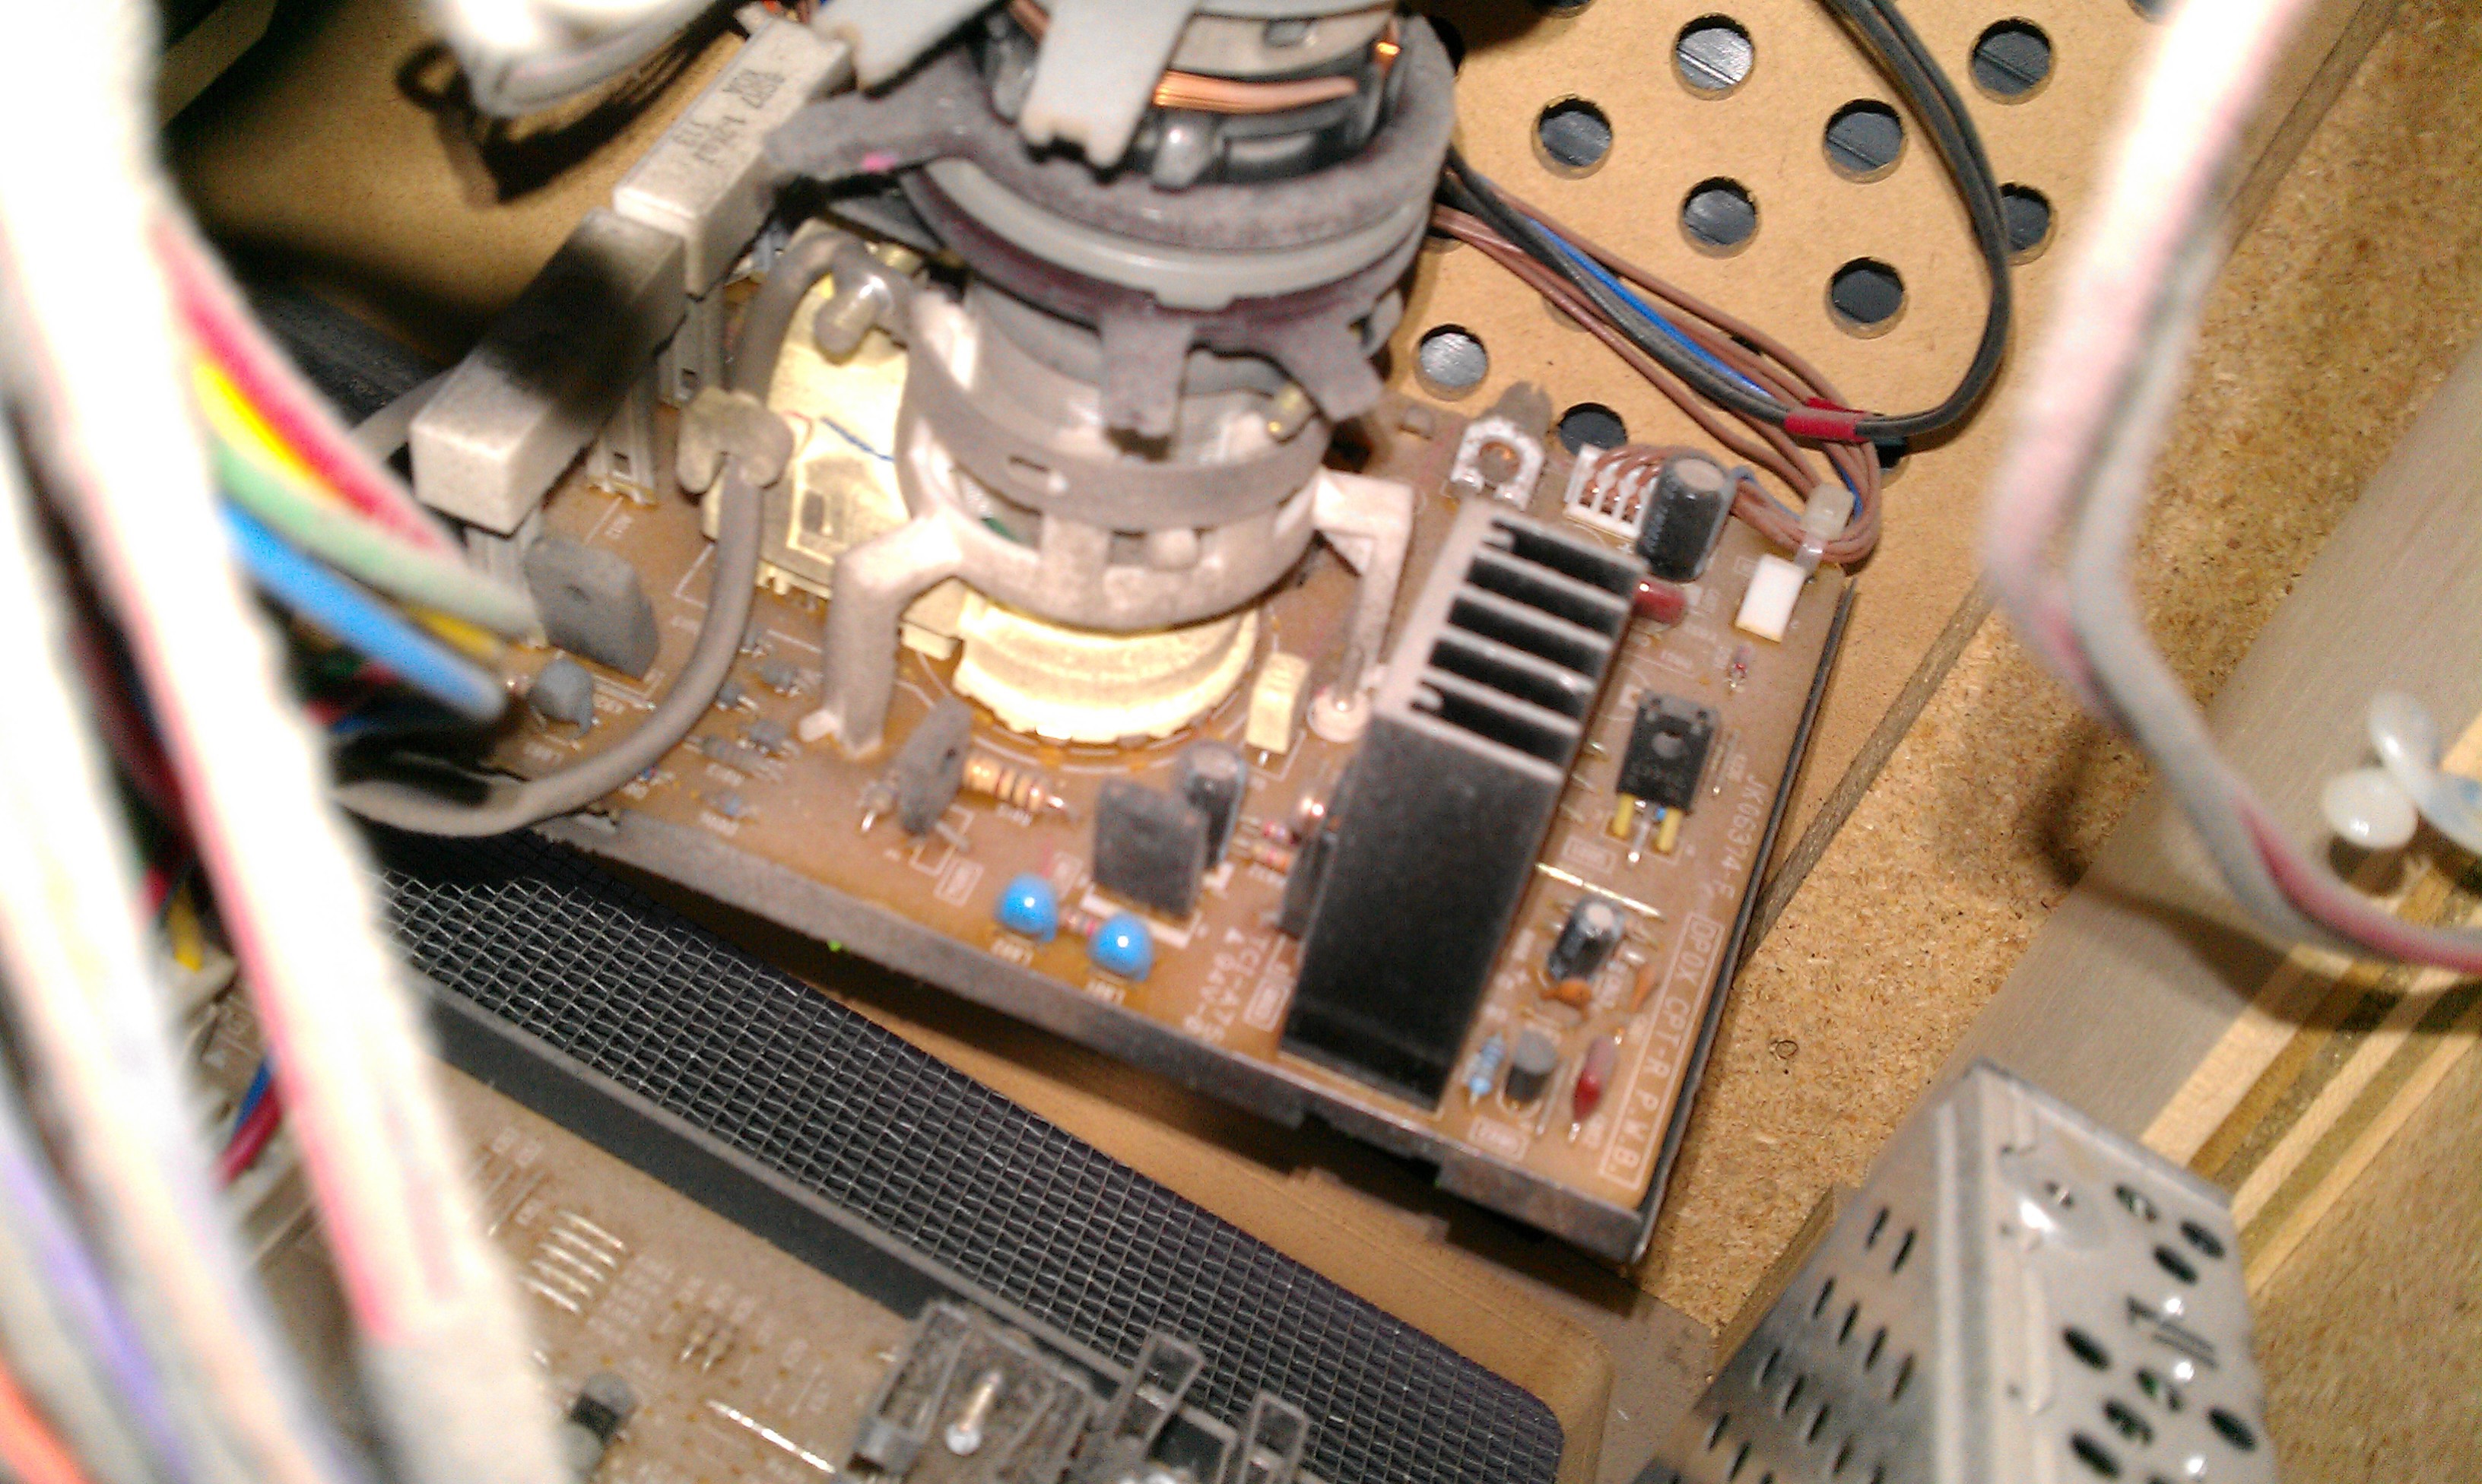
Turns out they are heat sinks! 04686A?![]()
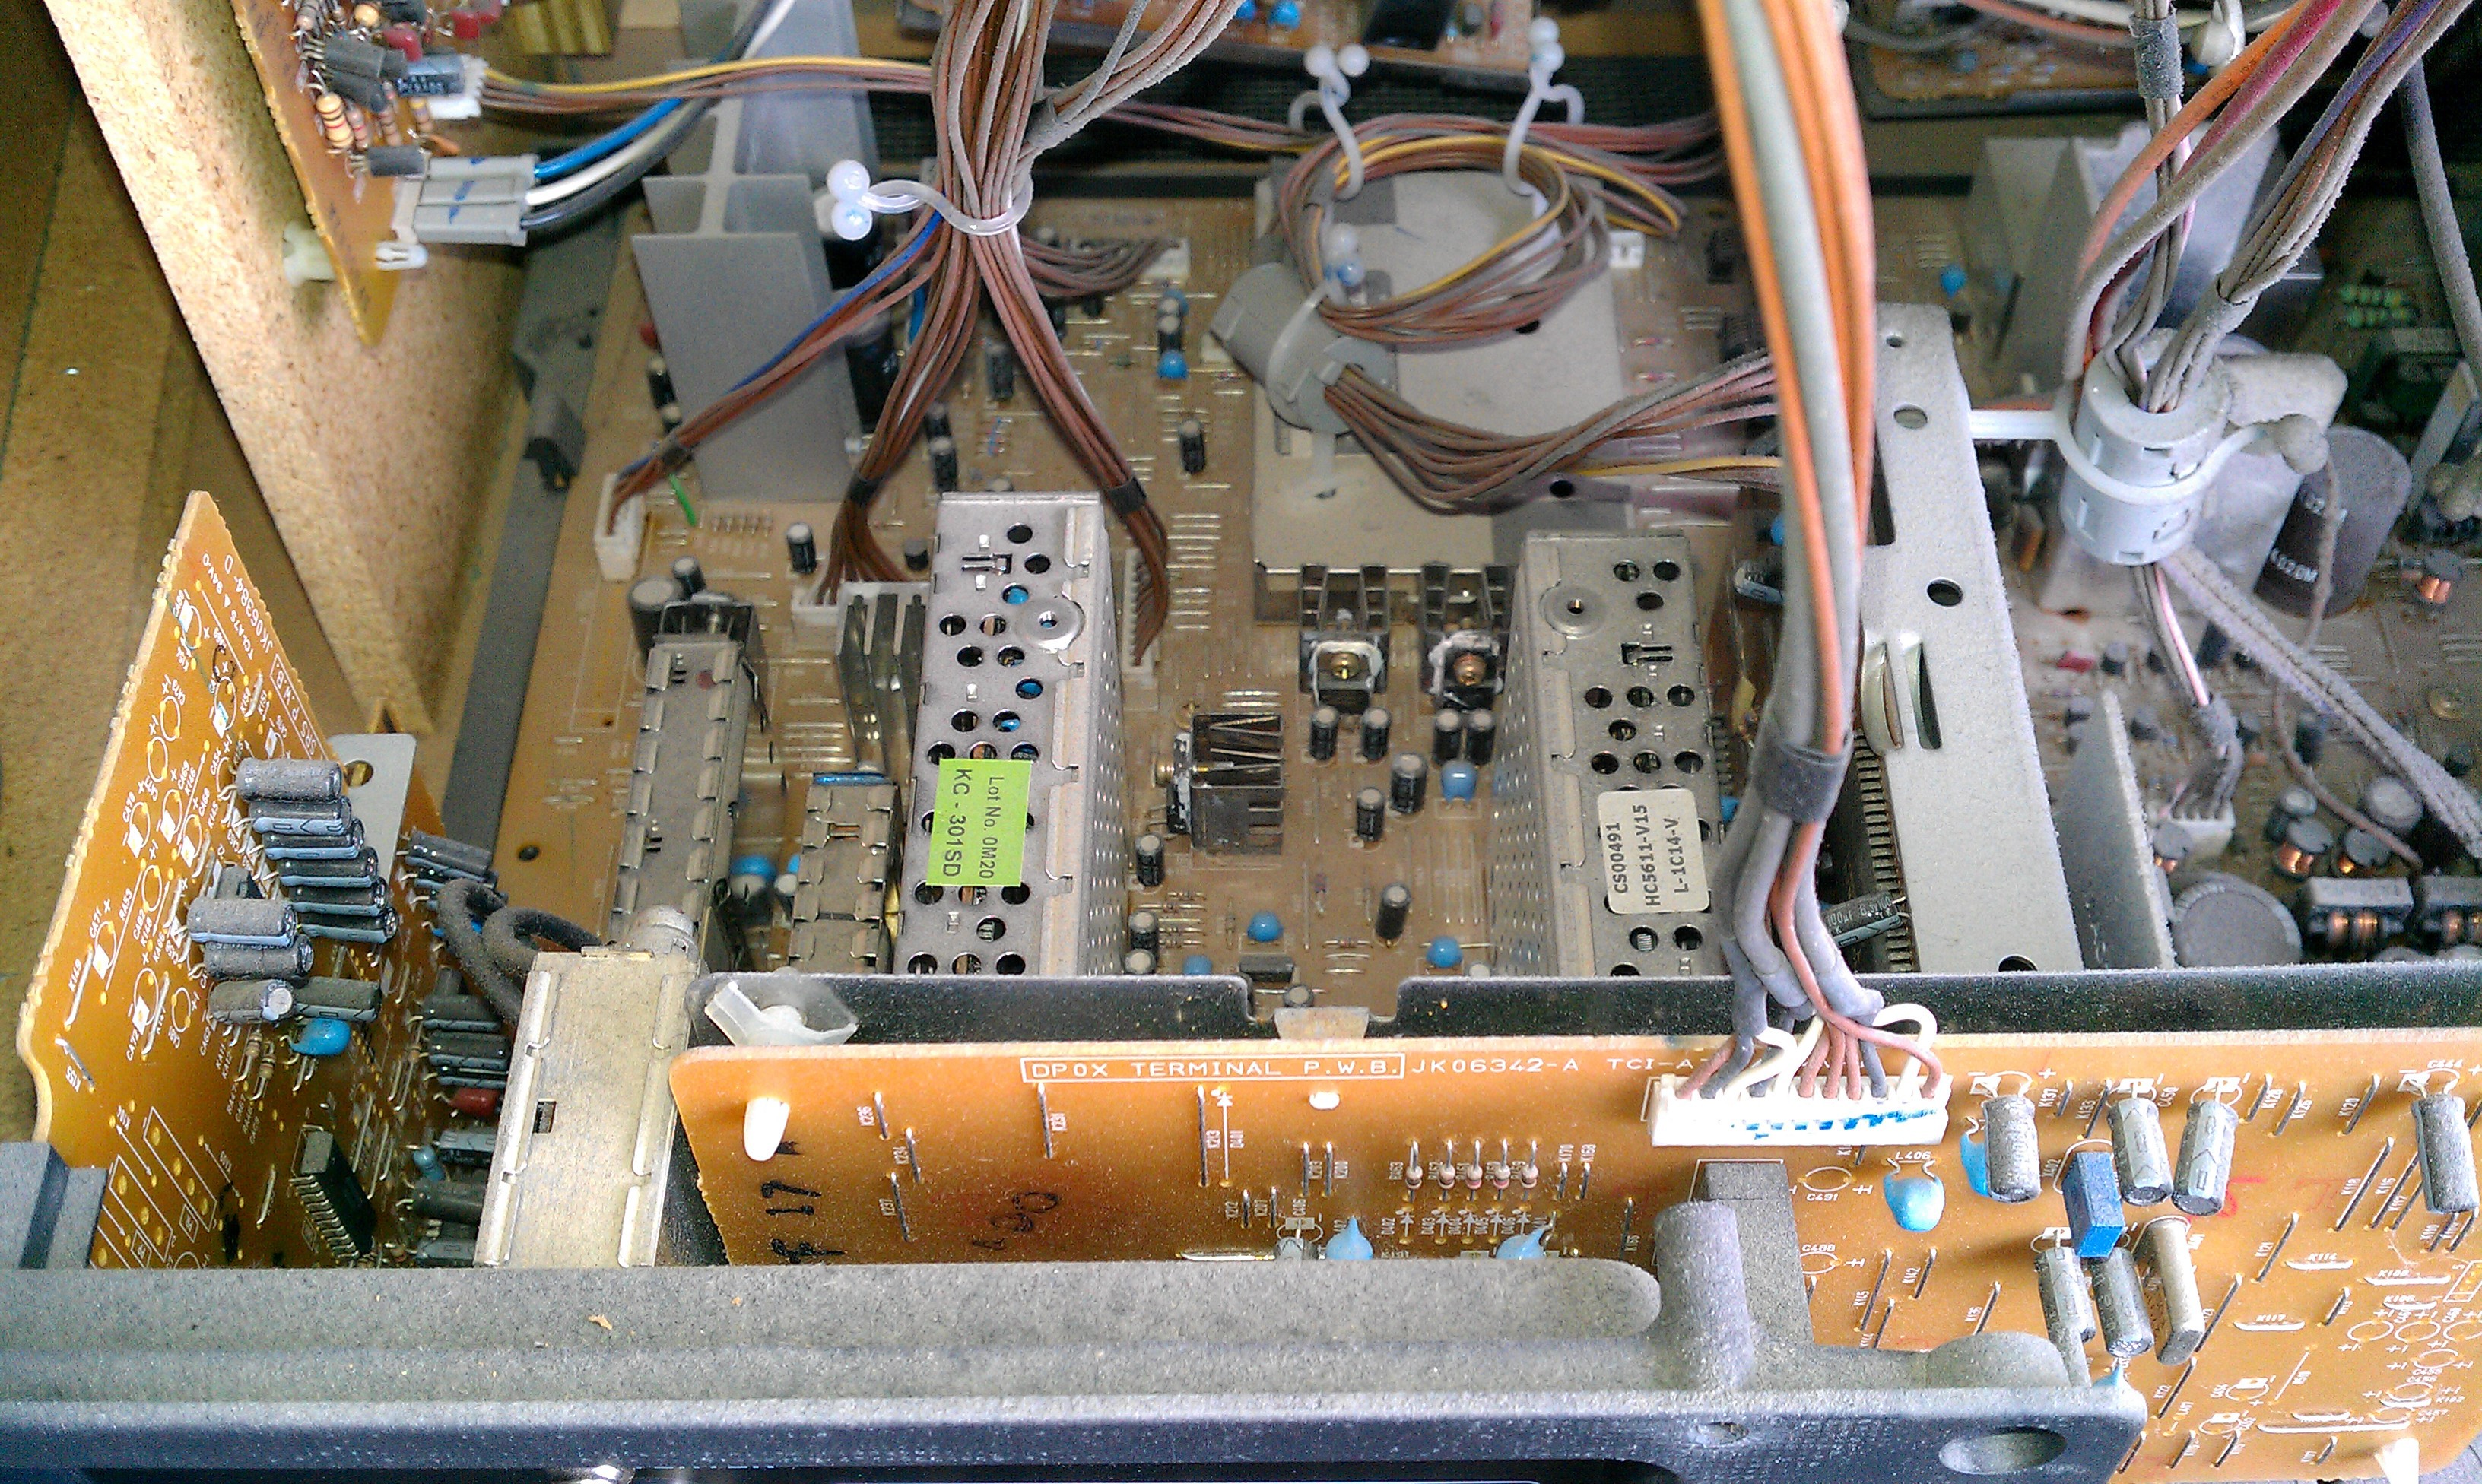
IC's everywhere.![]()
Front speaker panel, With traces of "coffee".![]()
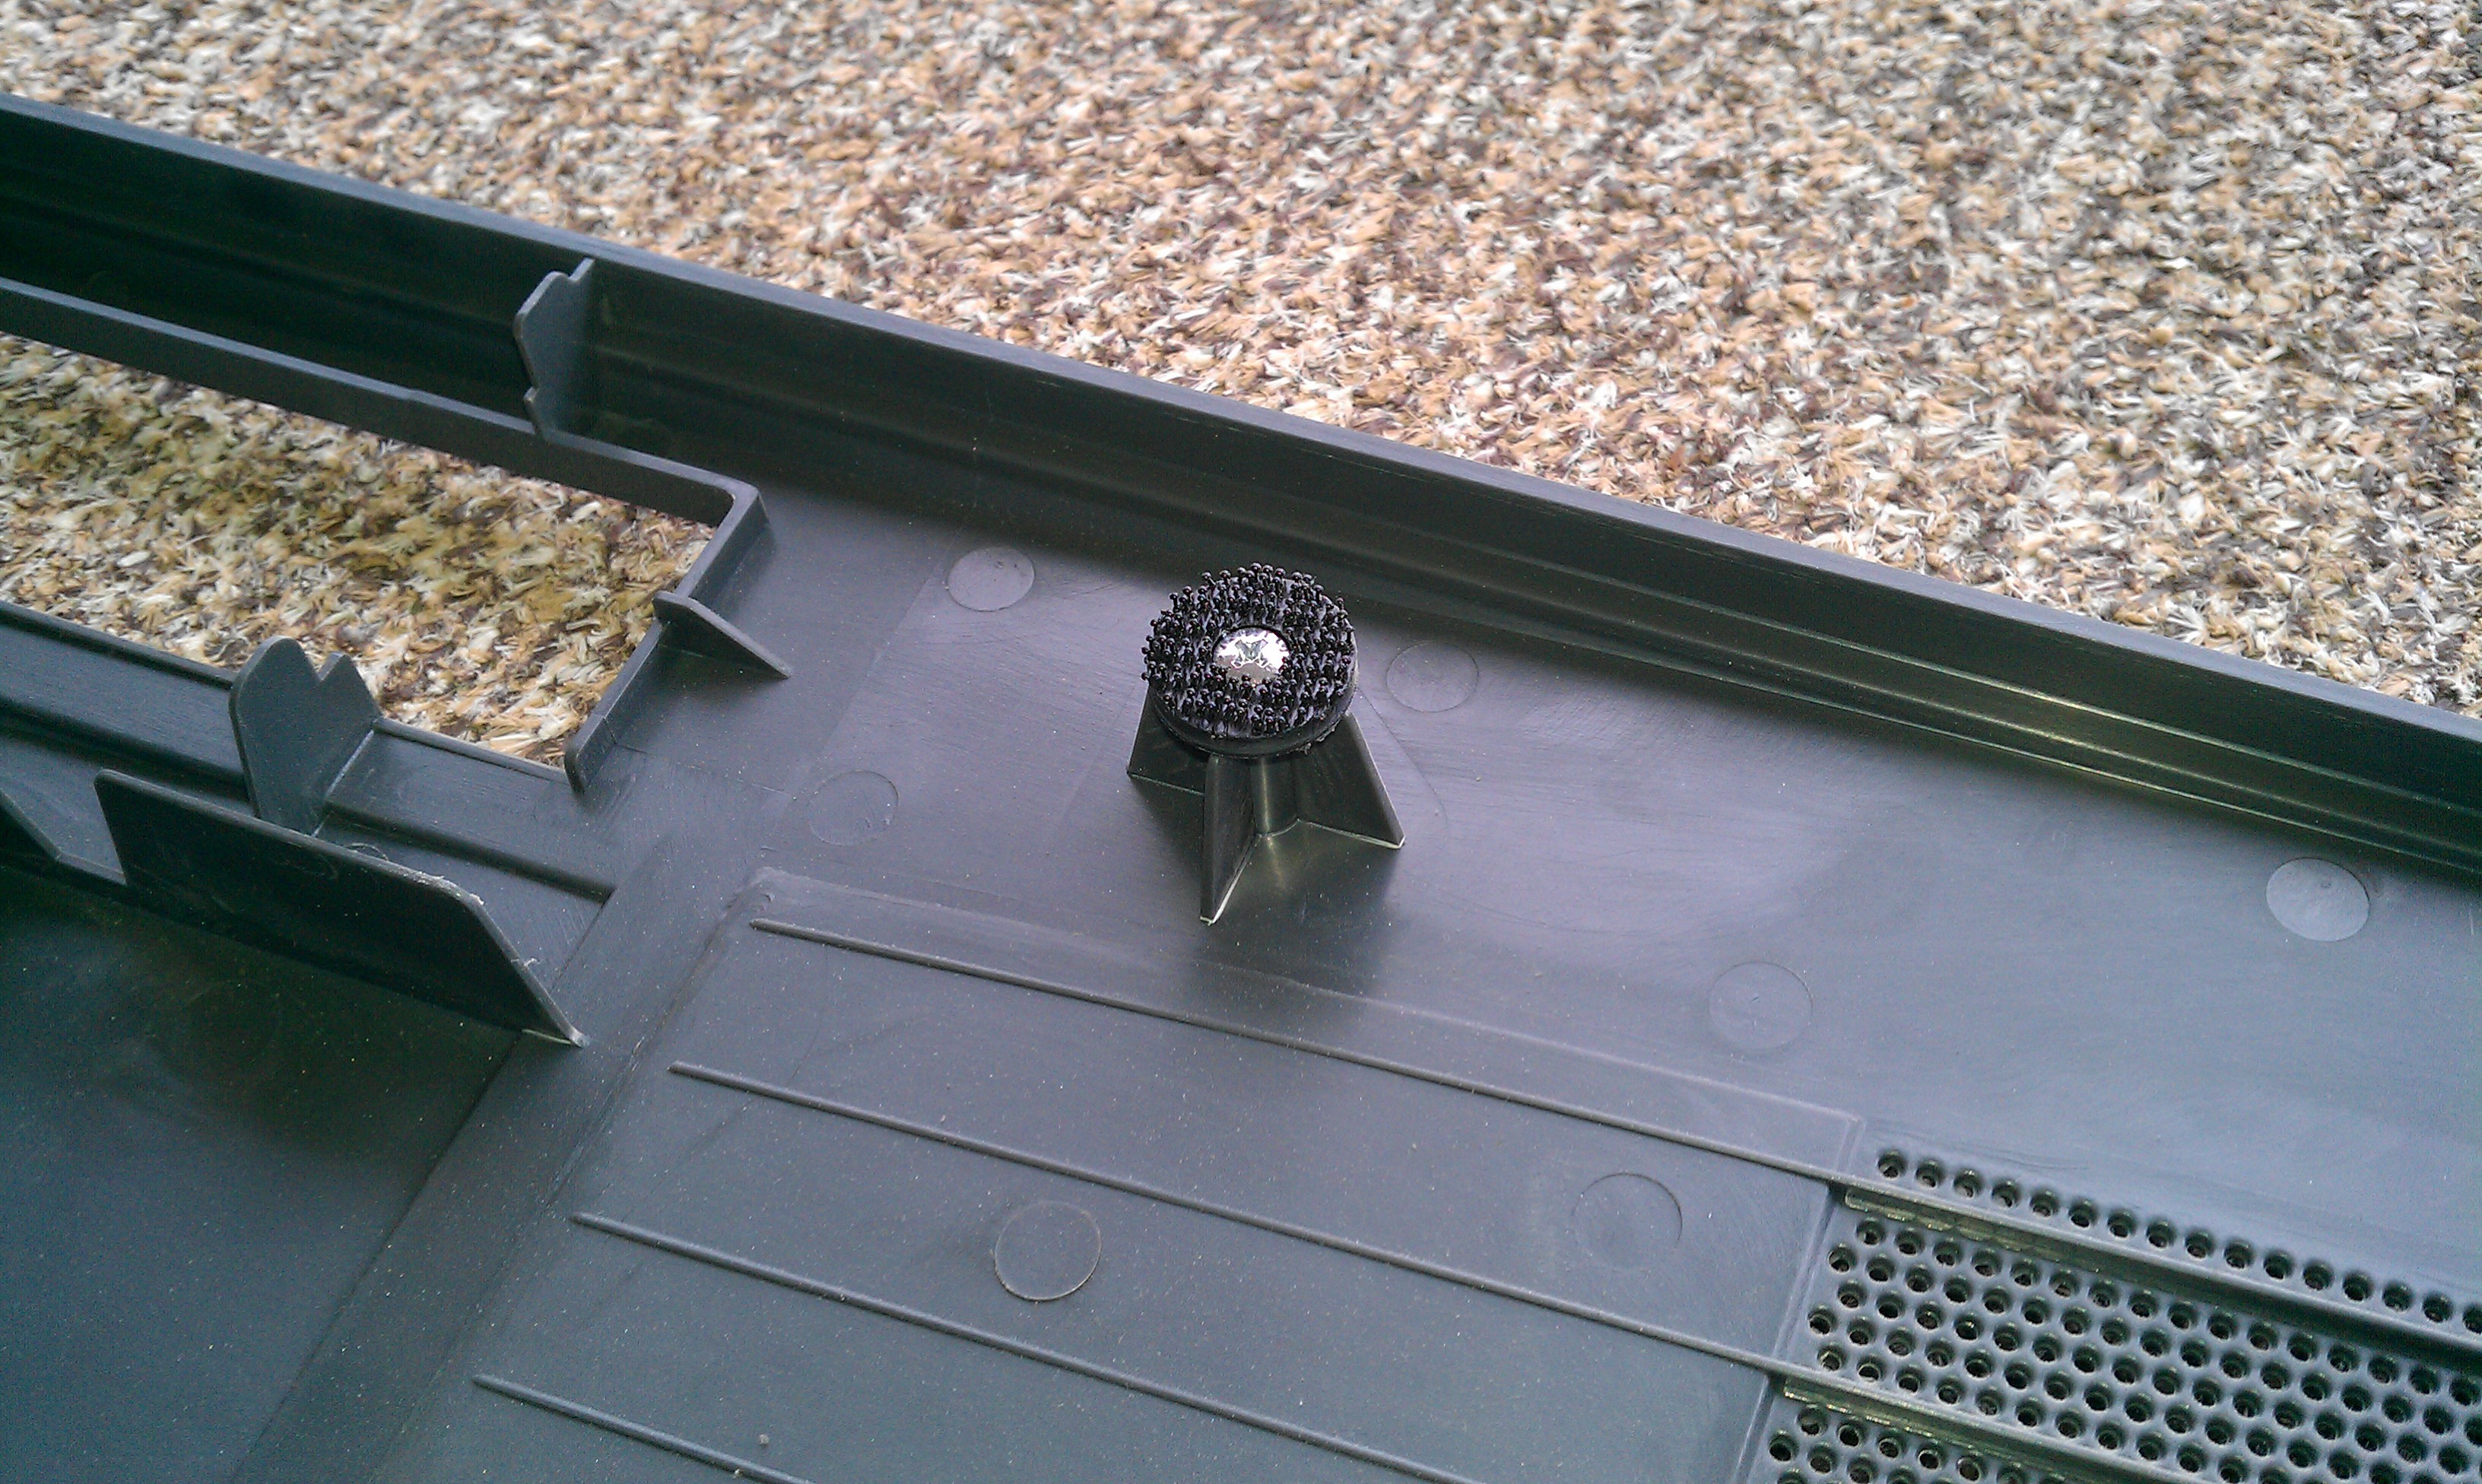
Front panel velcro.![]()
Engineer 1: "Just two pieces of velcro for the front, really?"![]()
Engineer 2: "Don't worry. It will hold for 30 years."
Yep, it still held for 30 years. Unfortunately the velcro glue backing specs had to be lowered for cost...
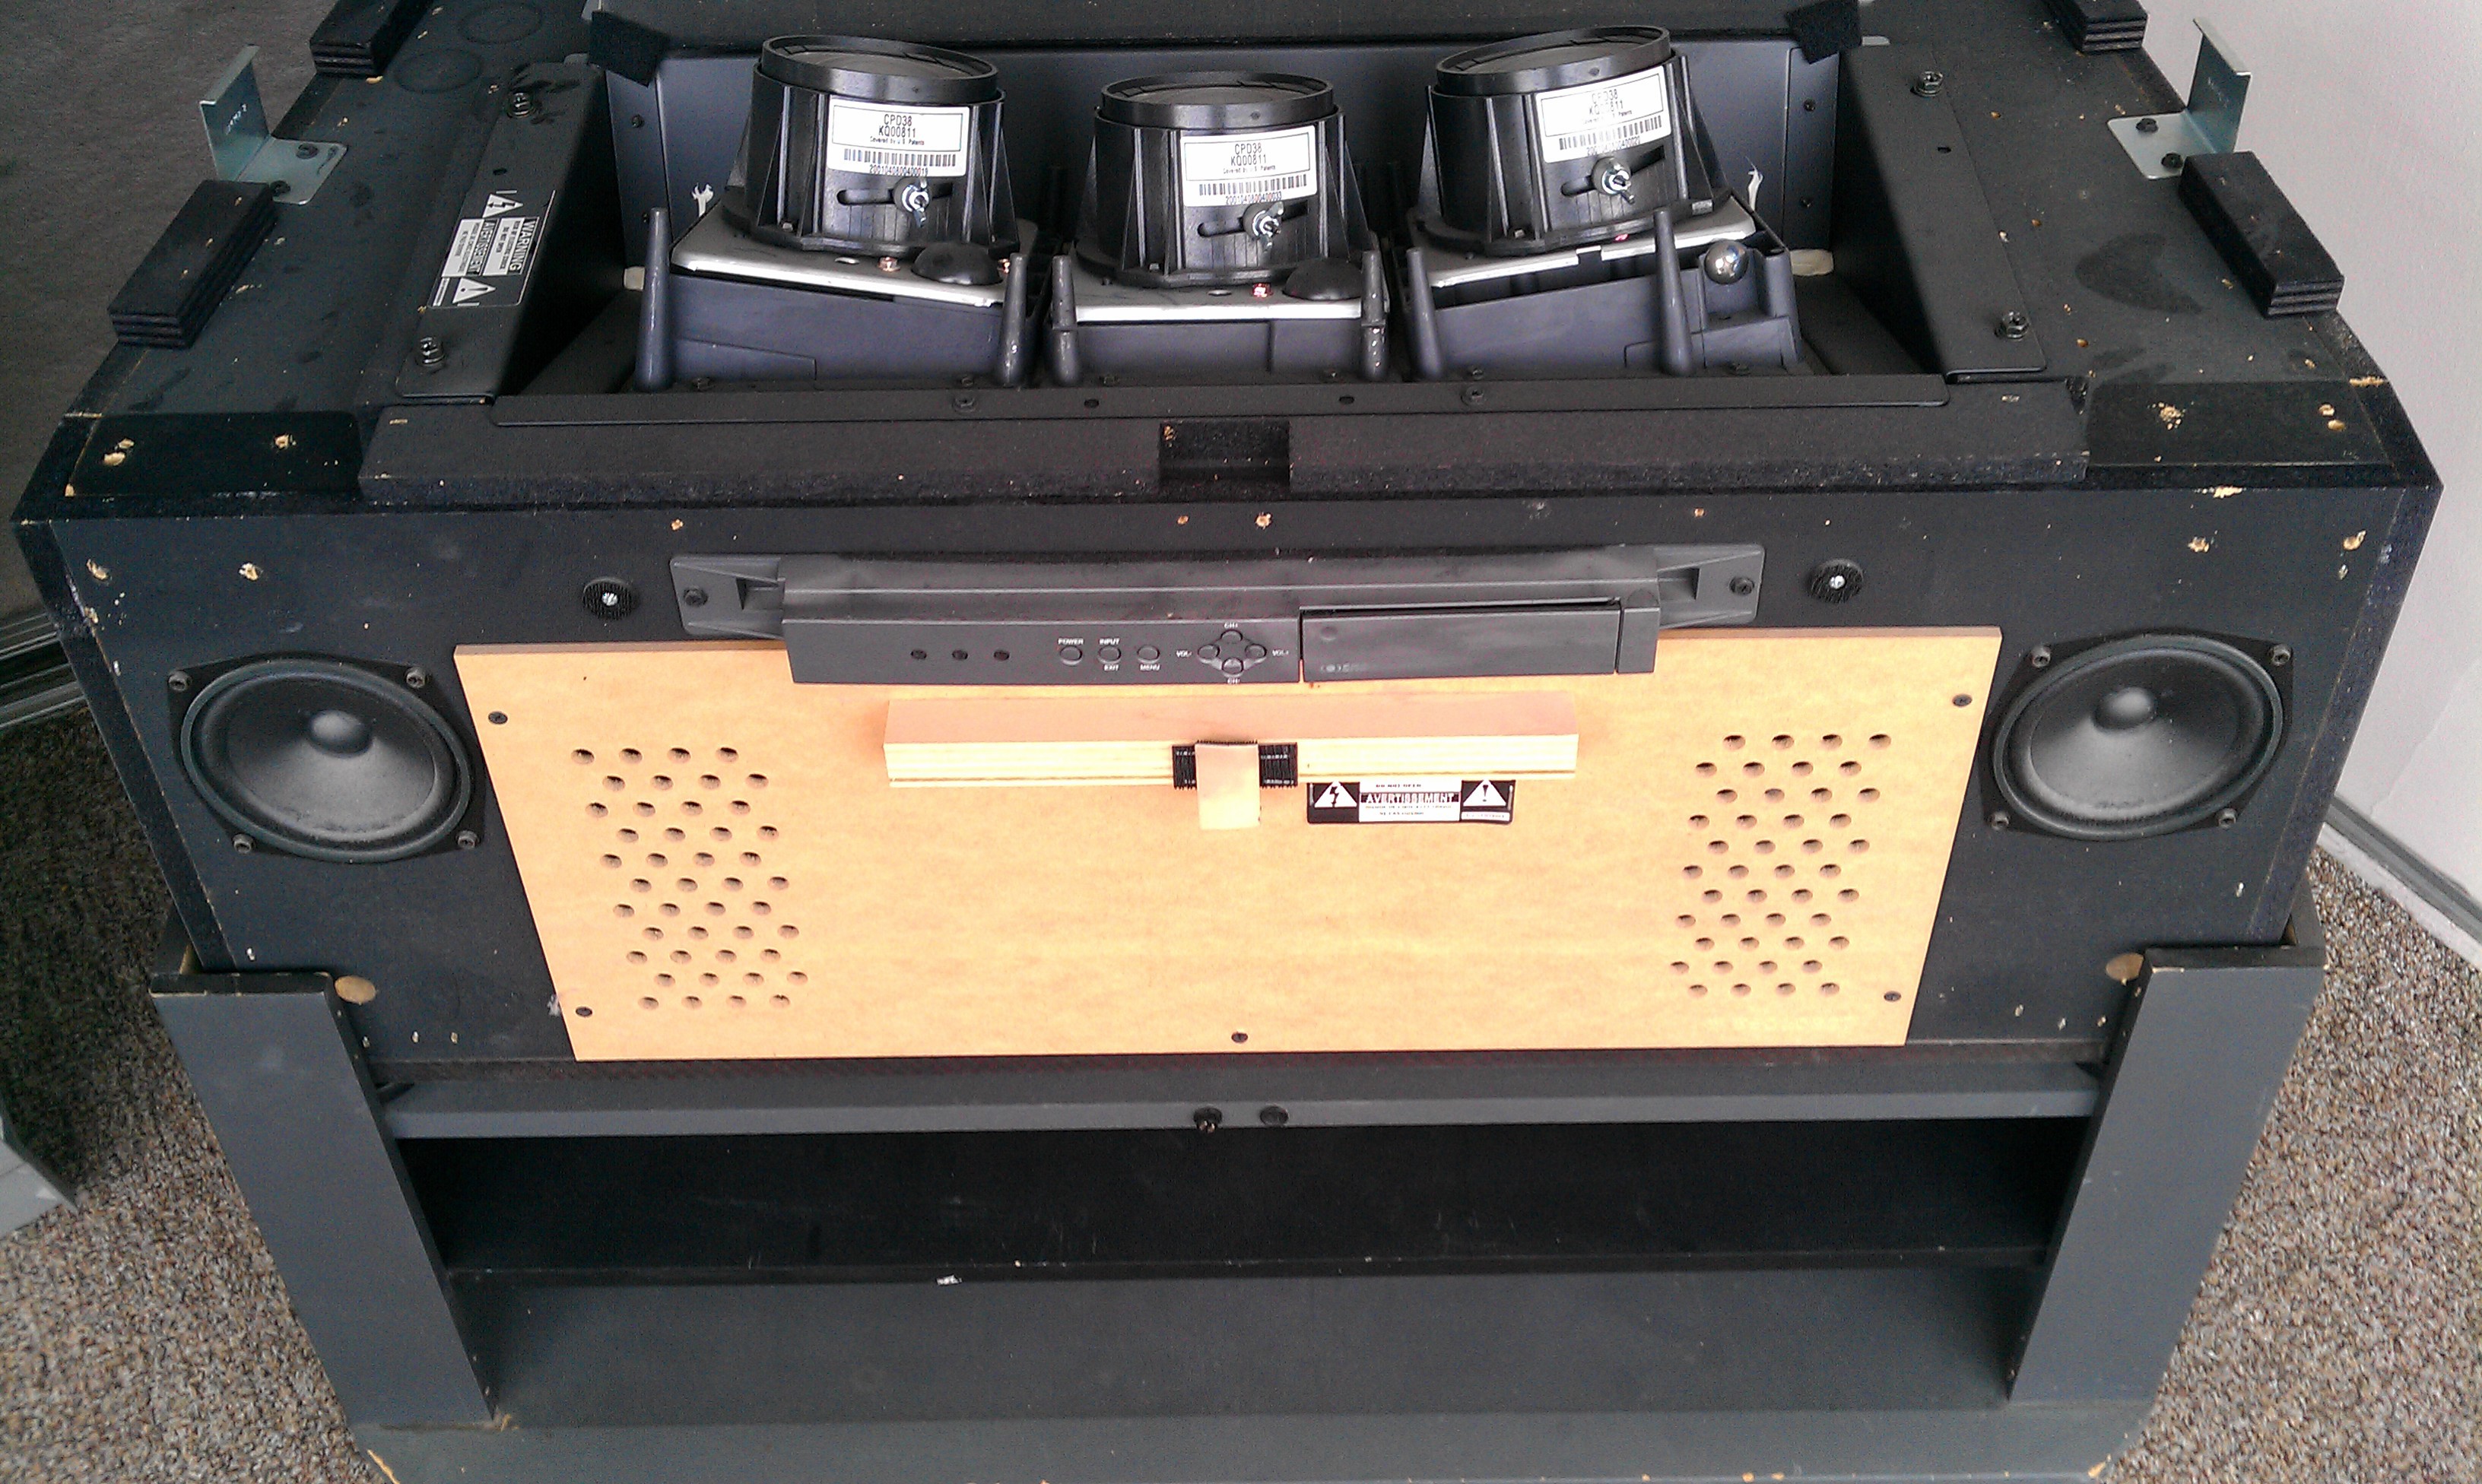
Two full range speakers :|![]()
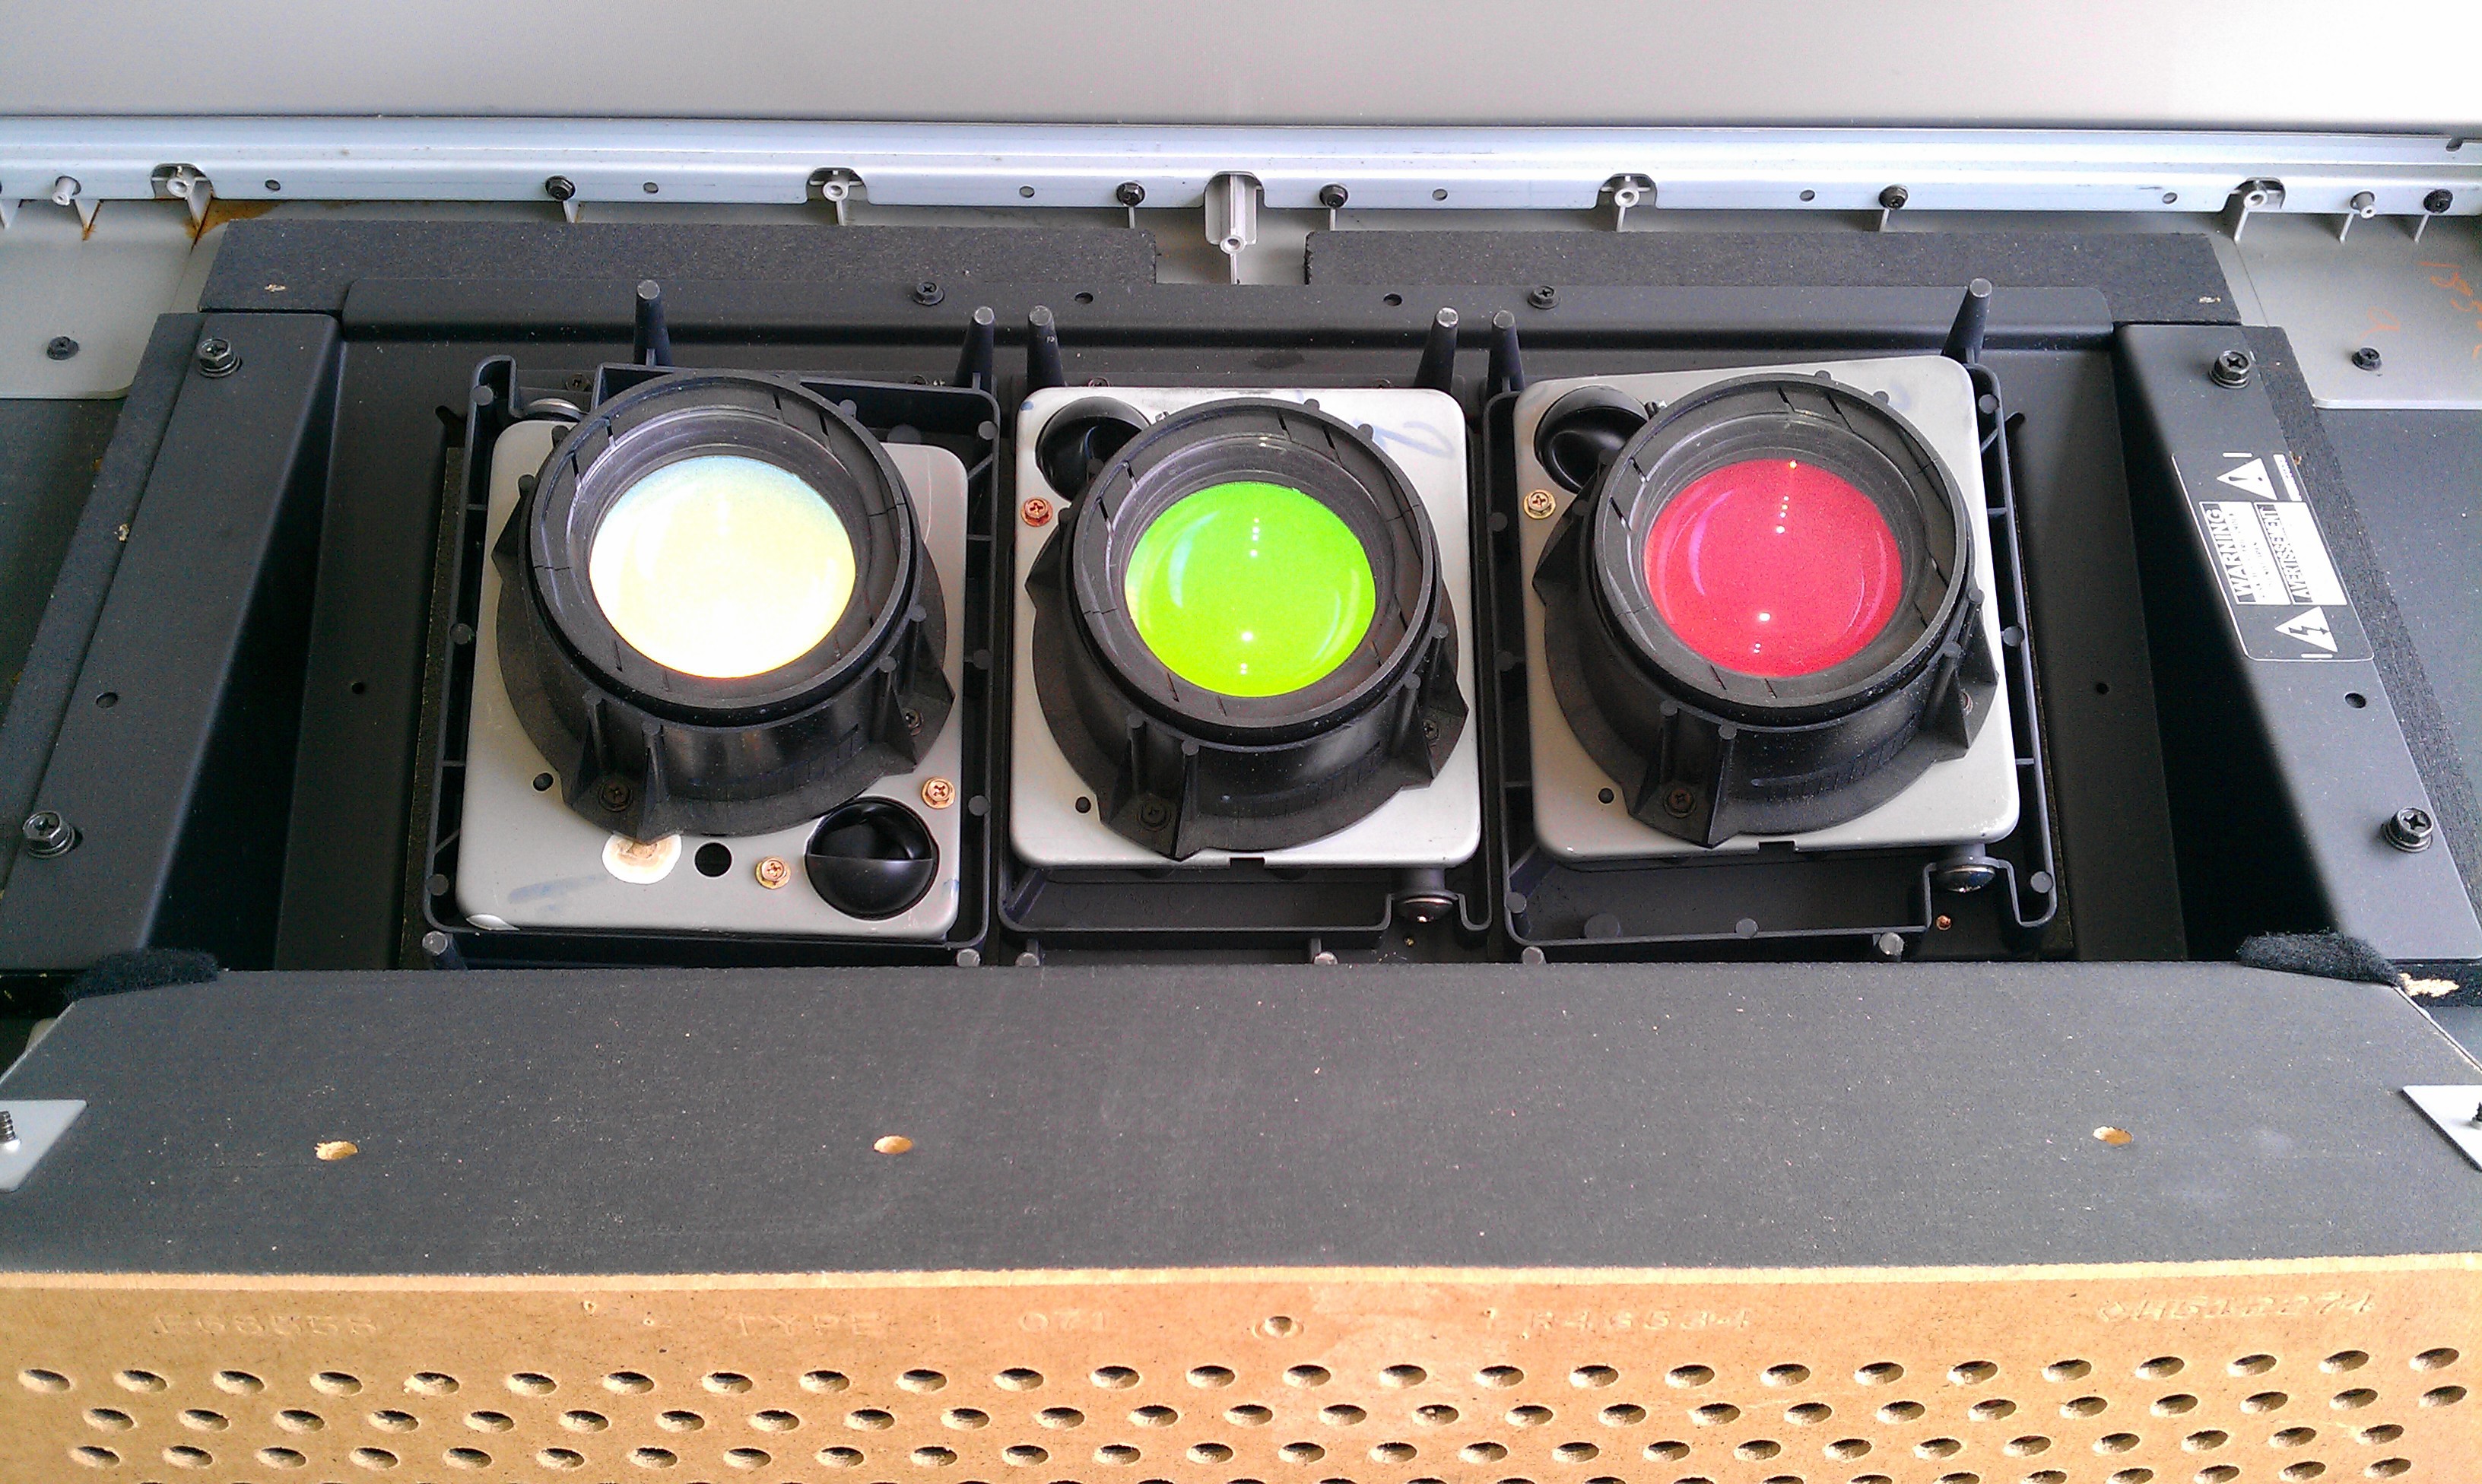
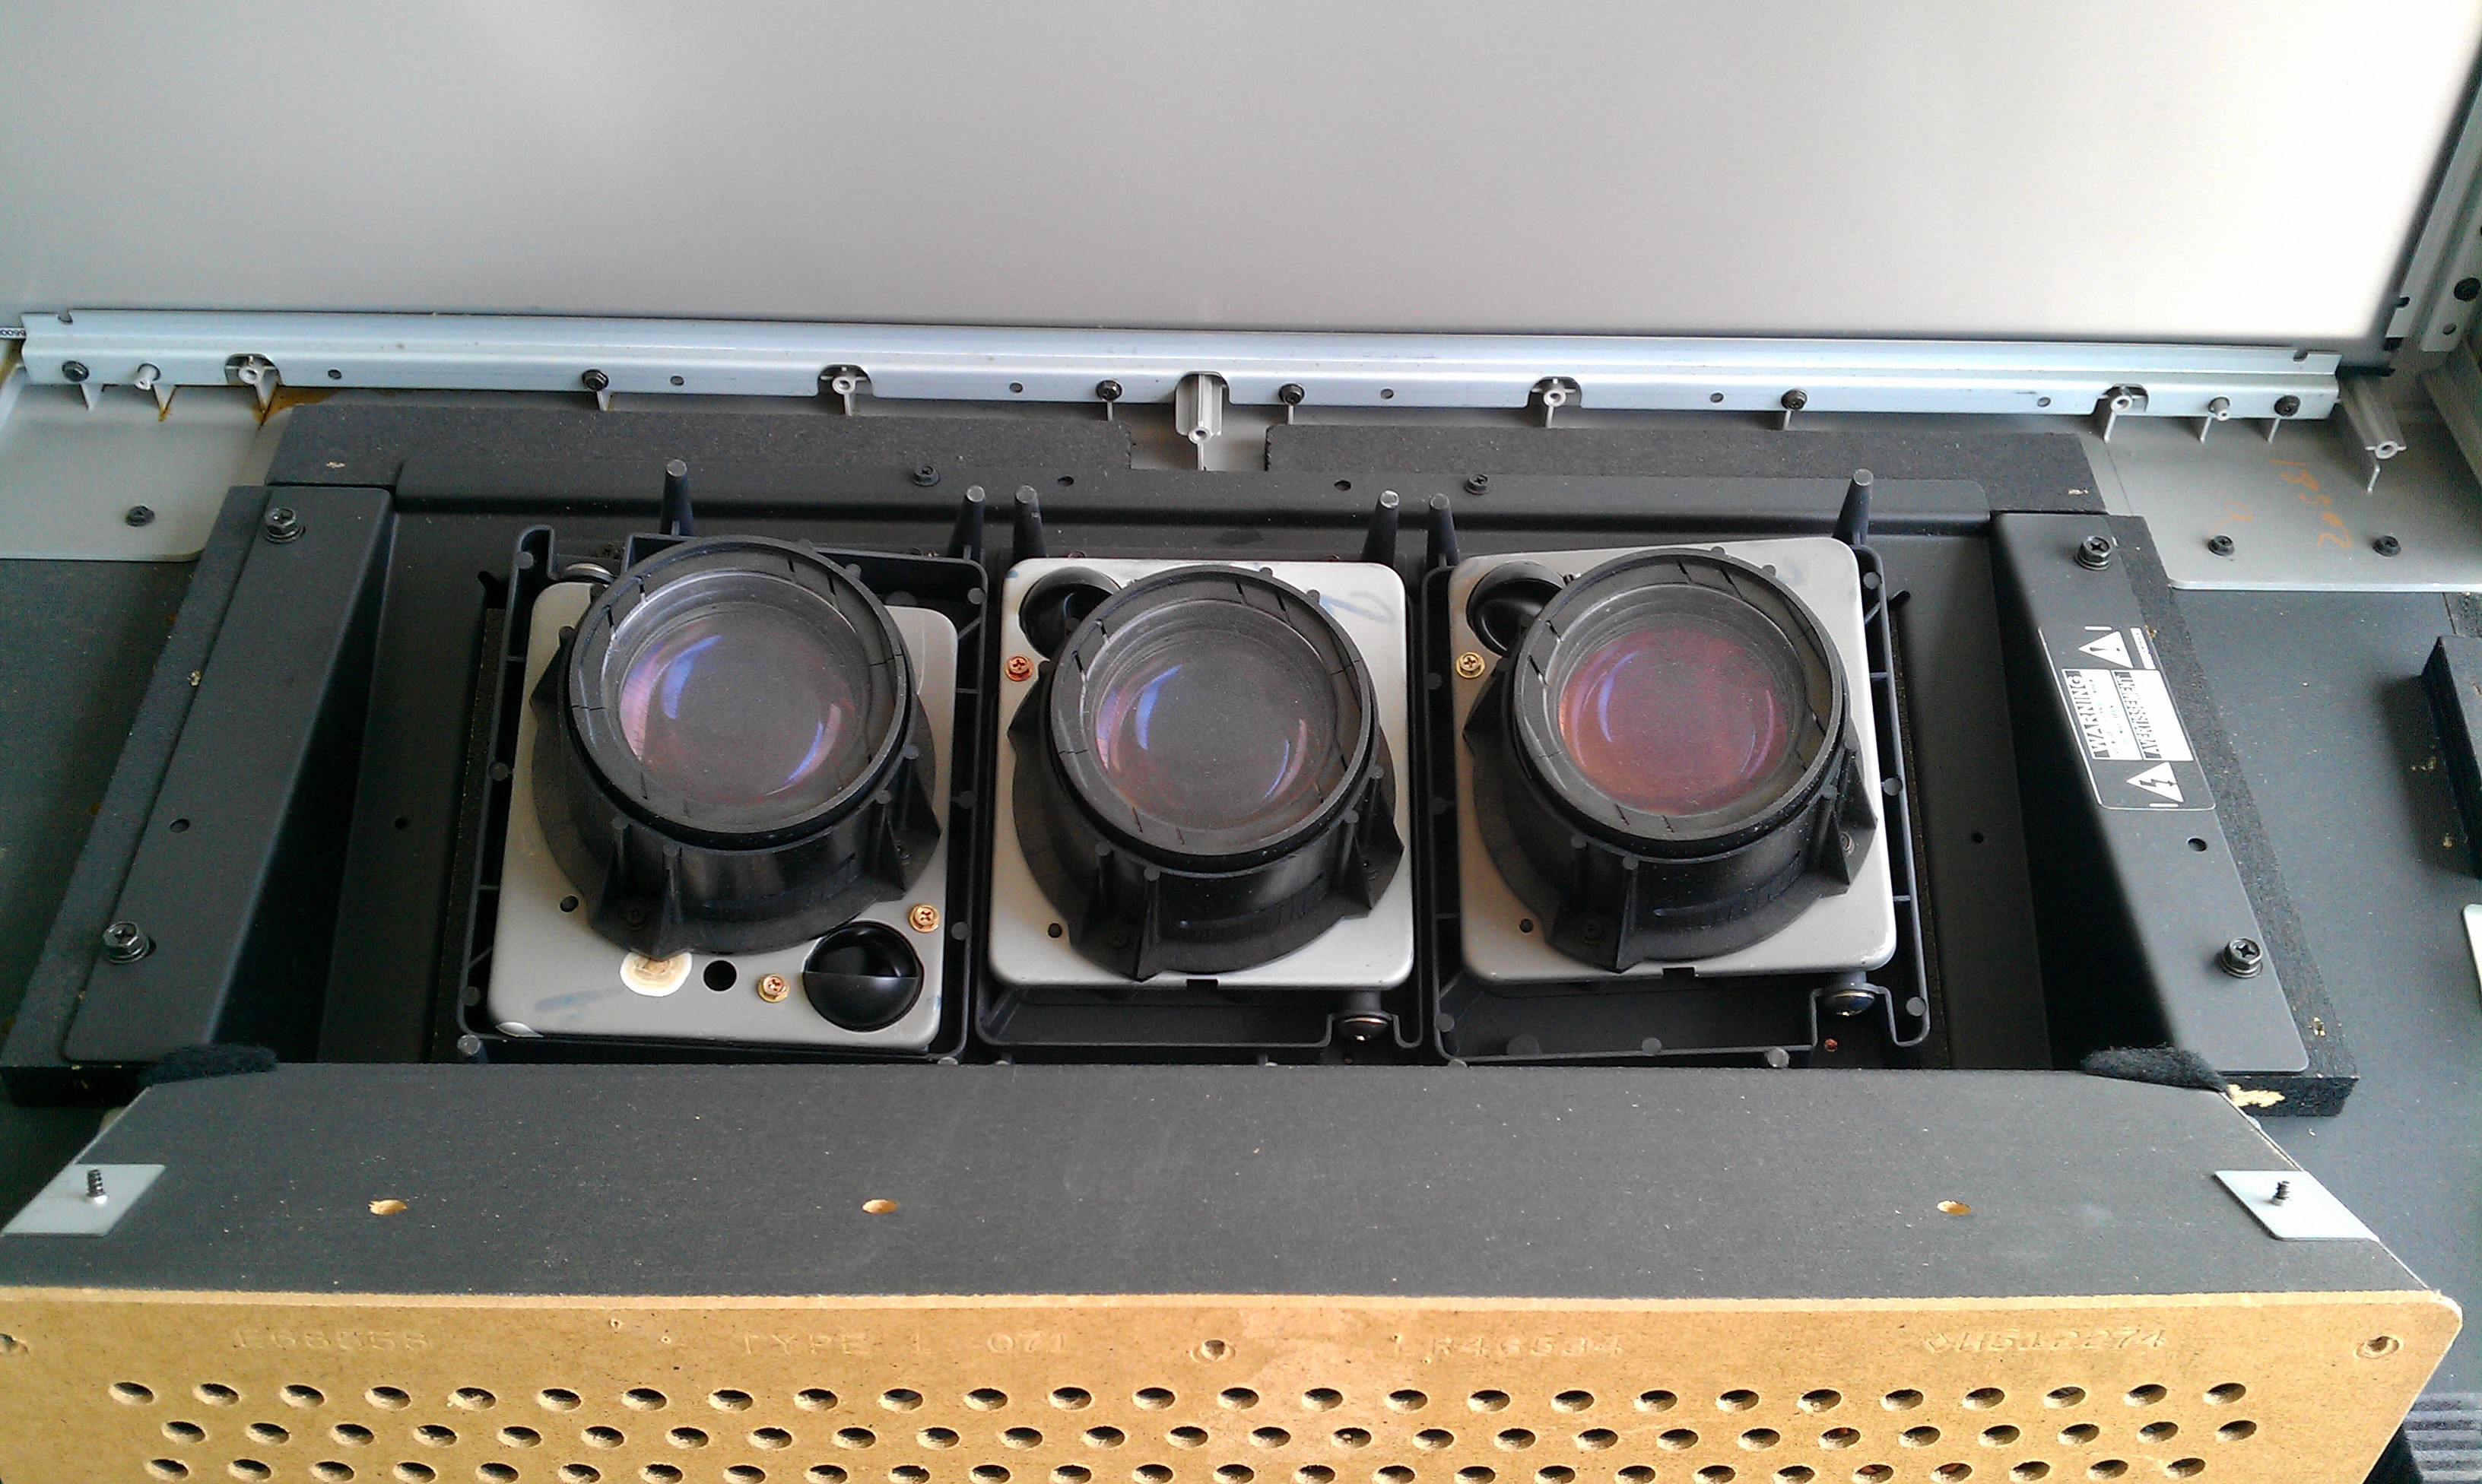
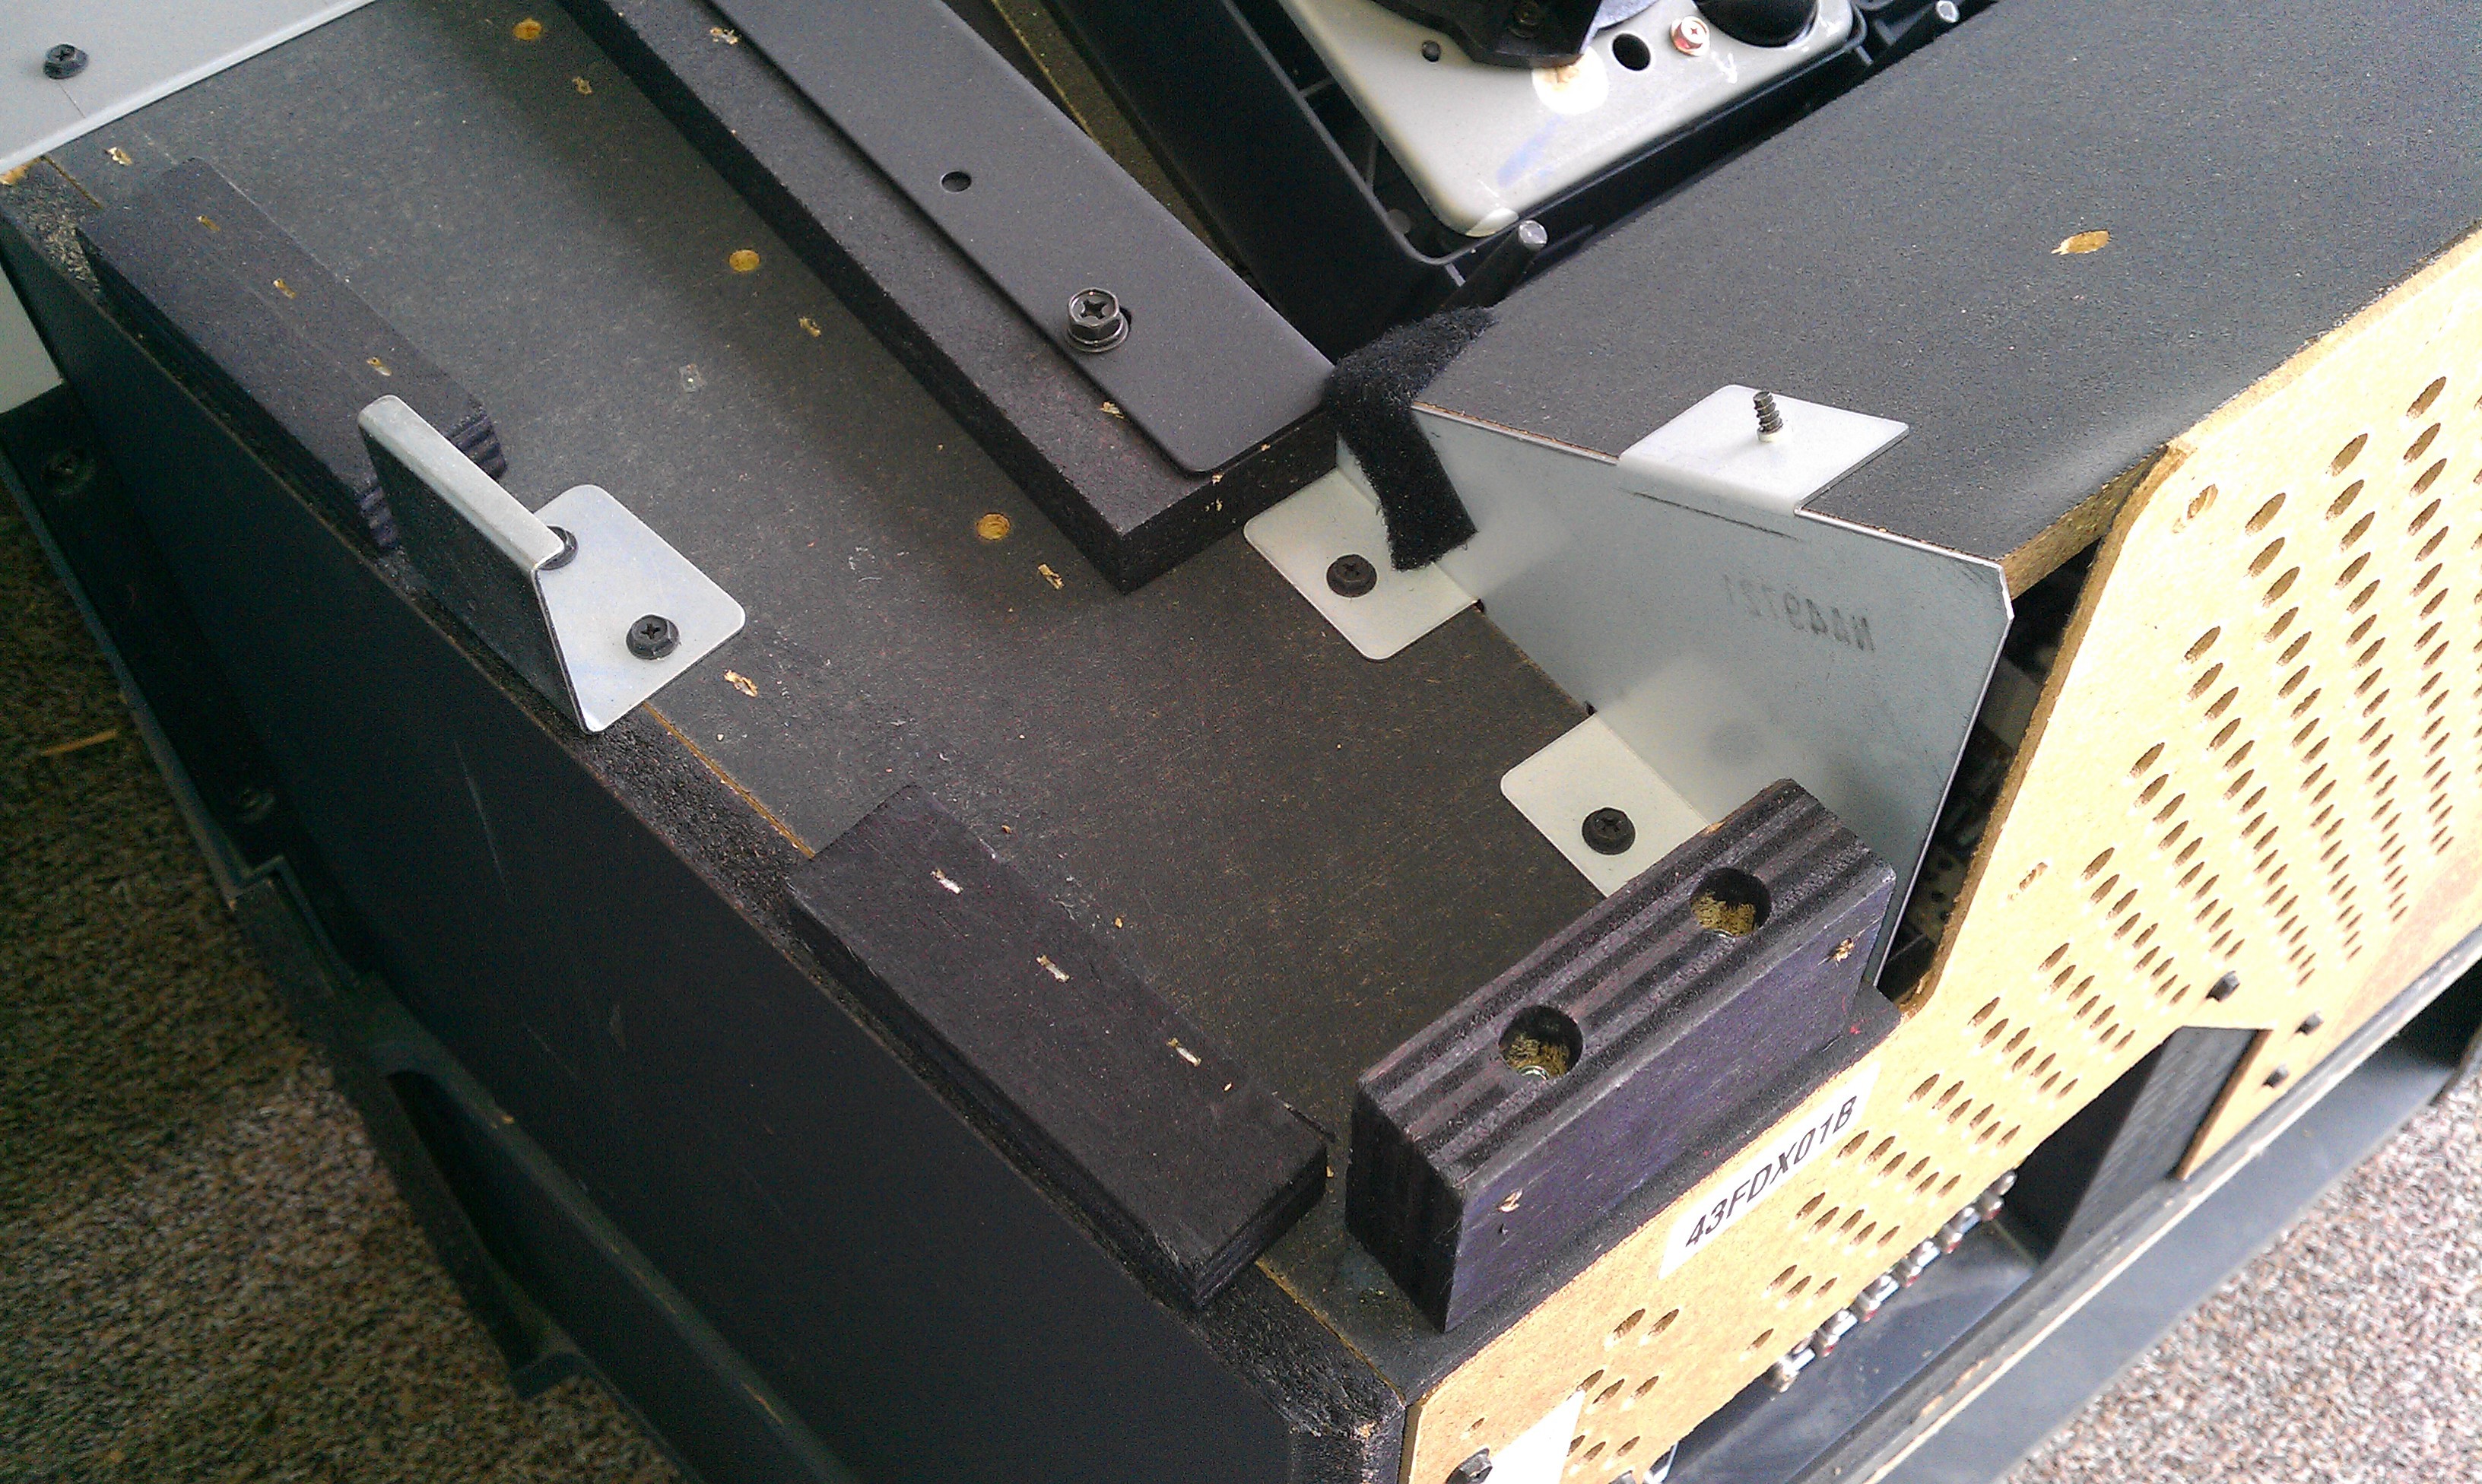
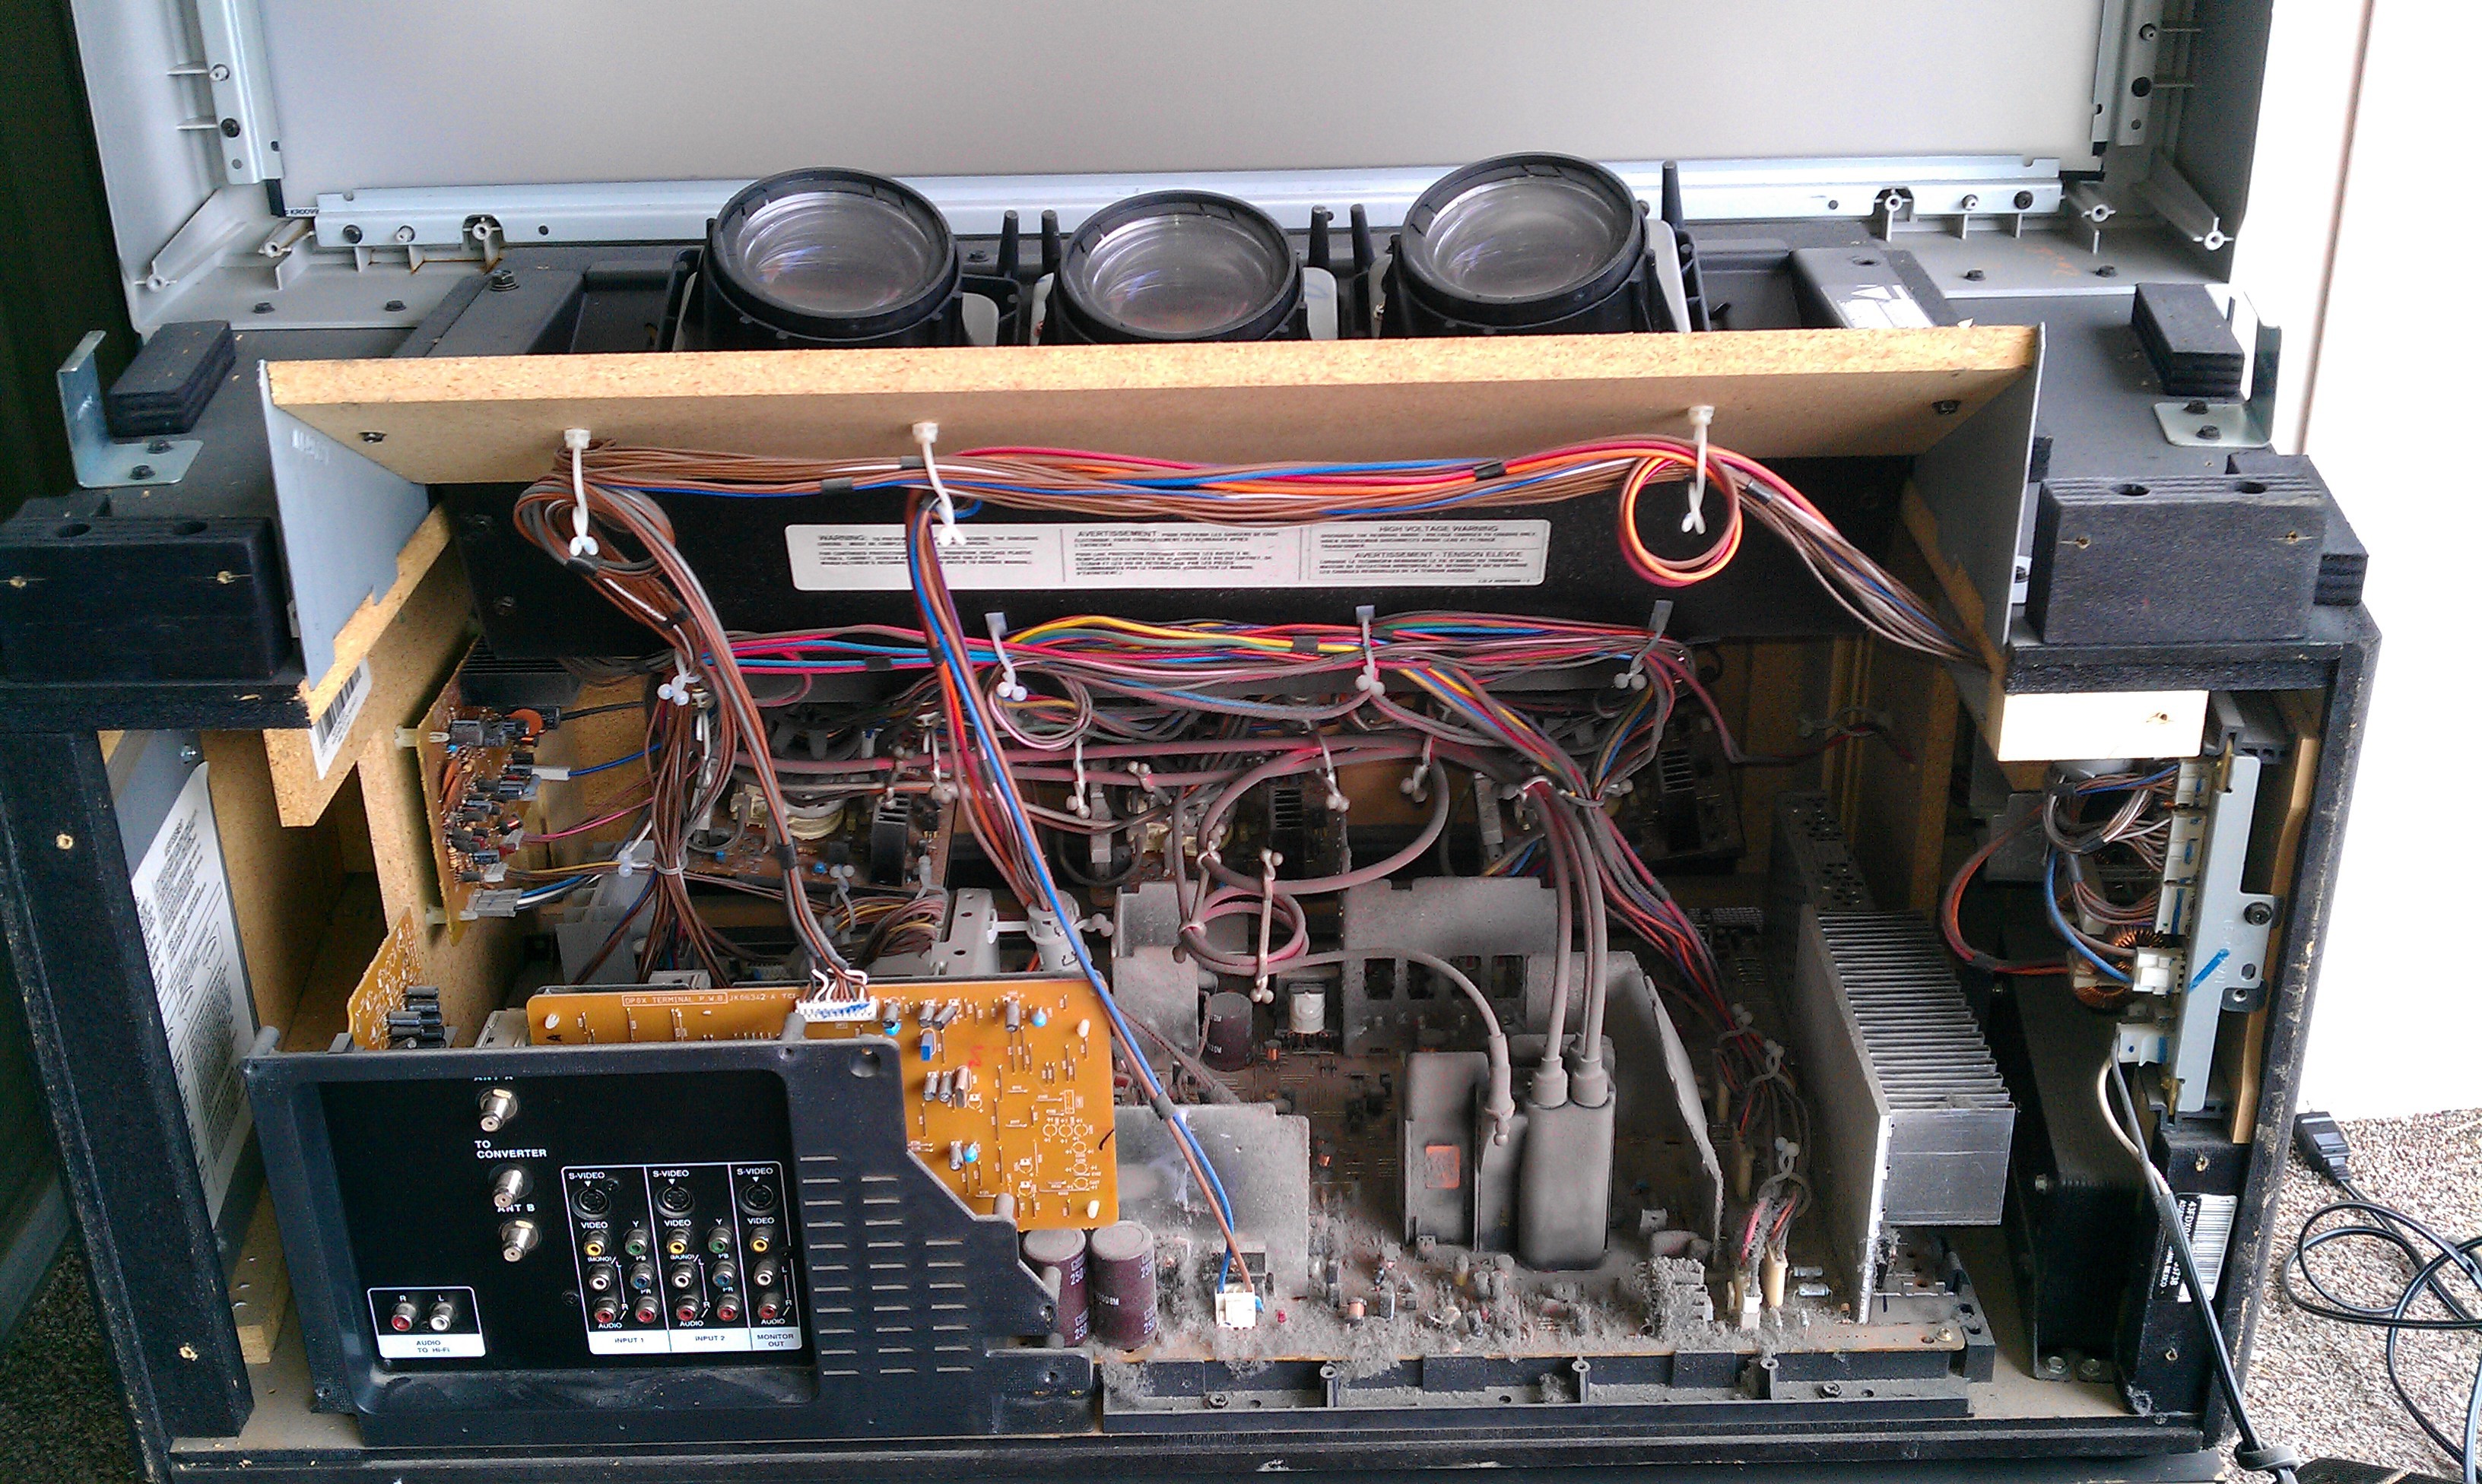
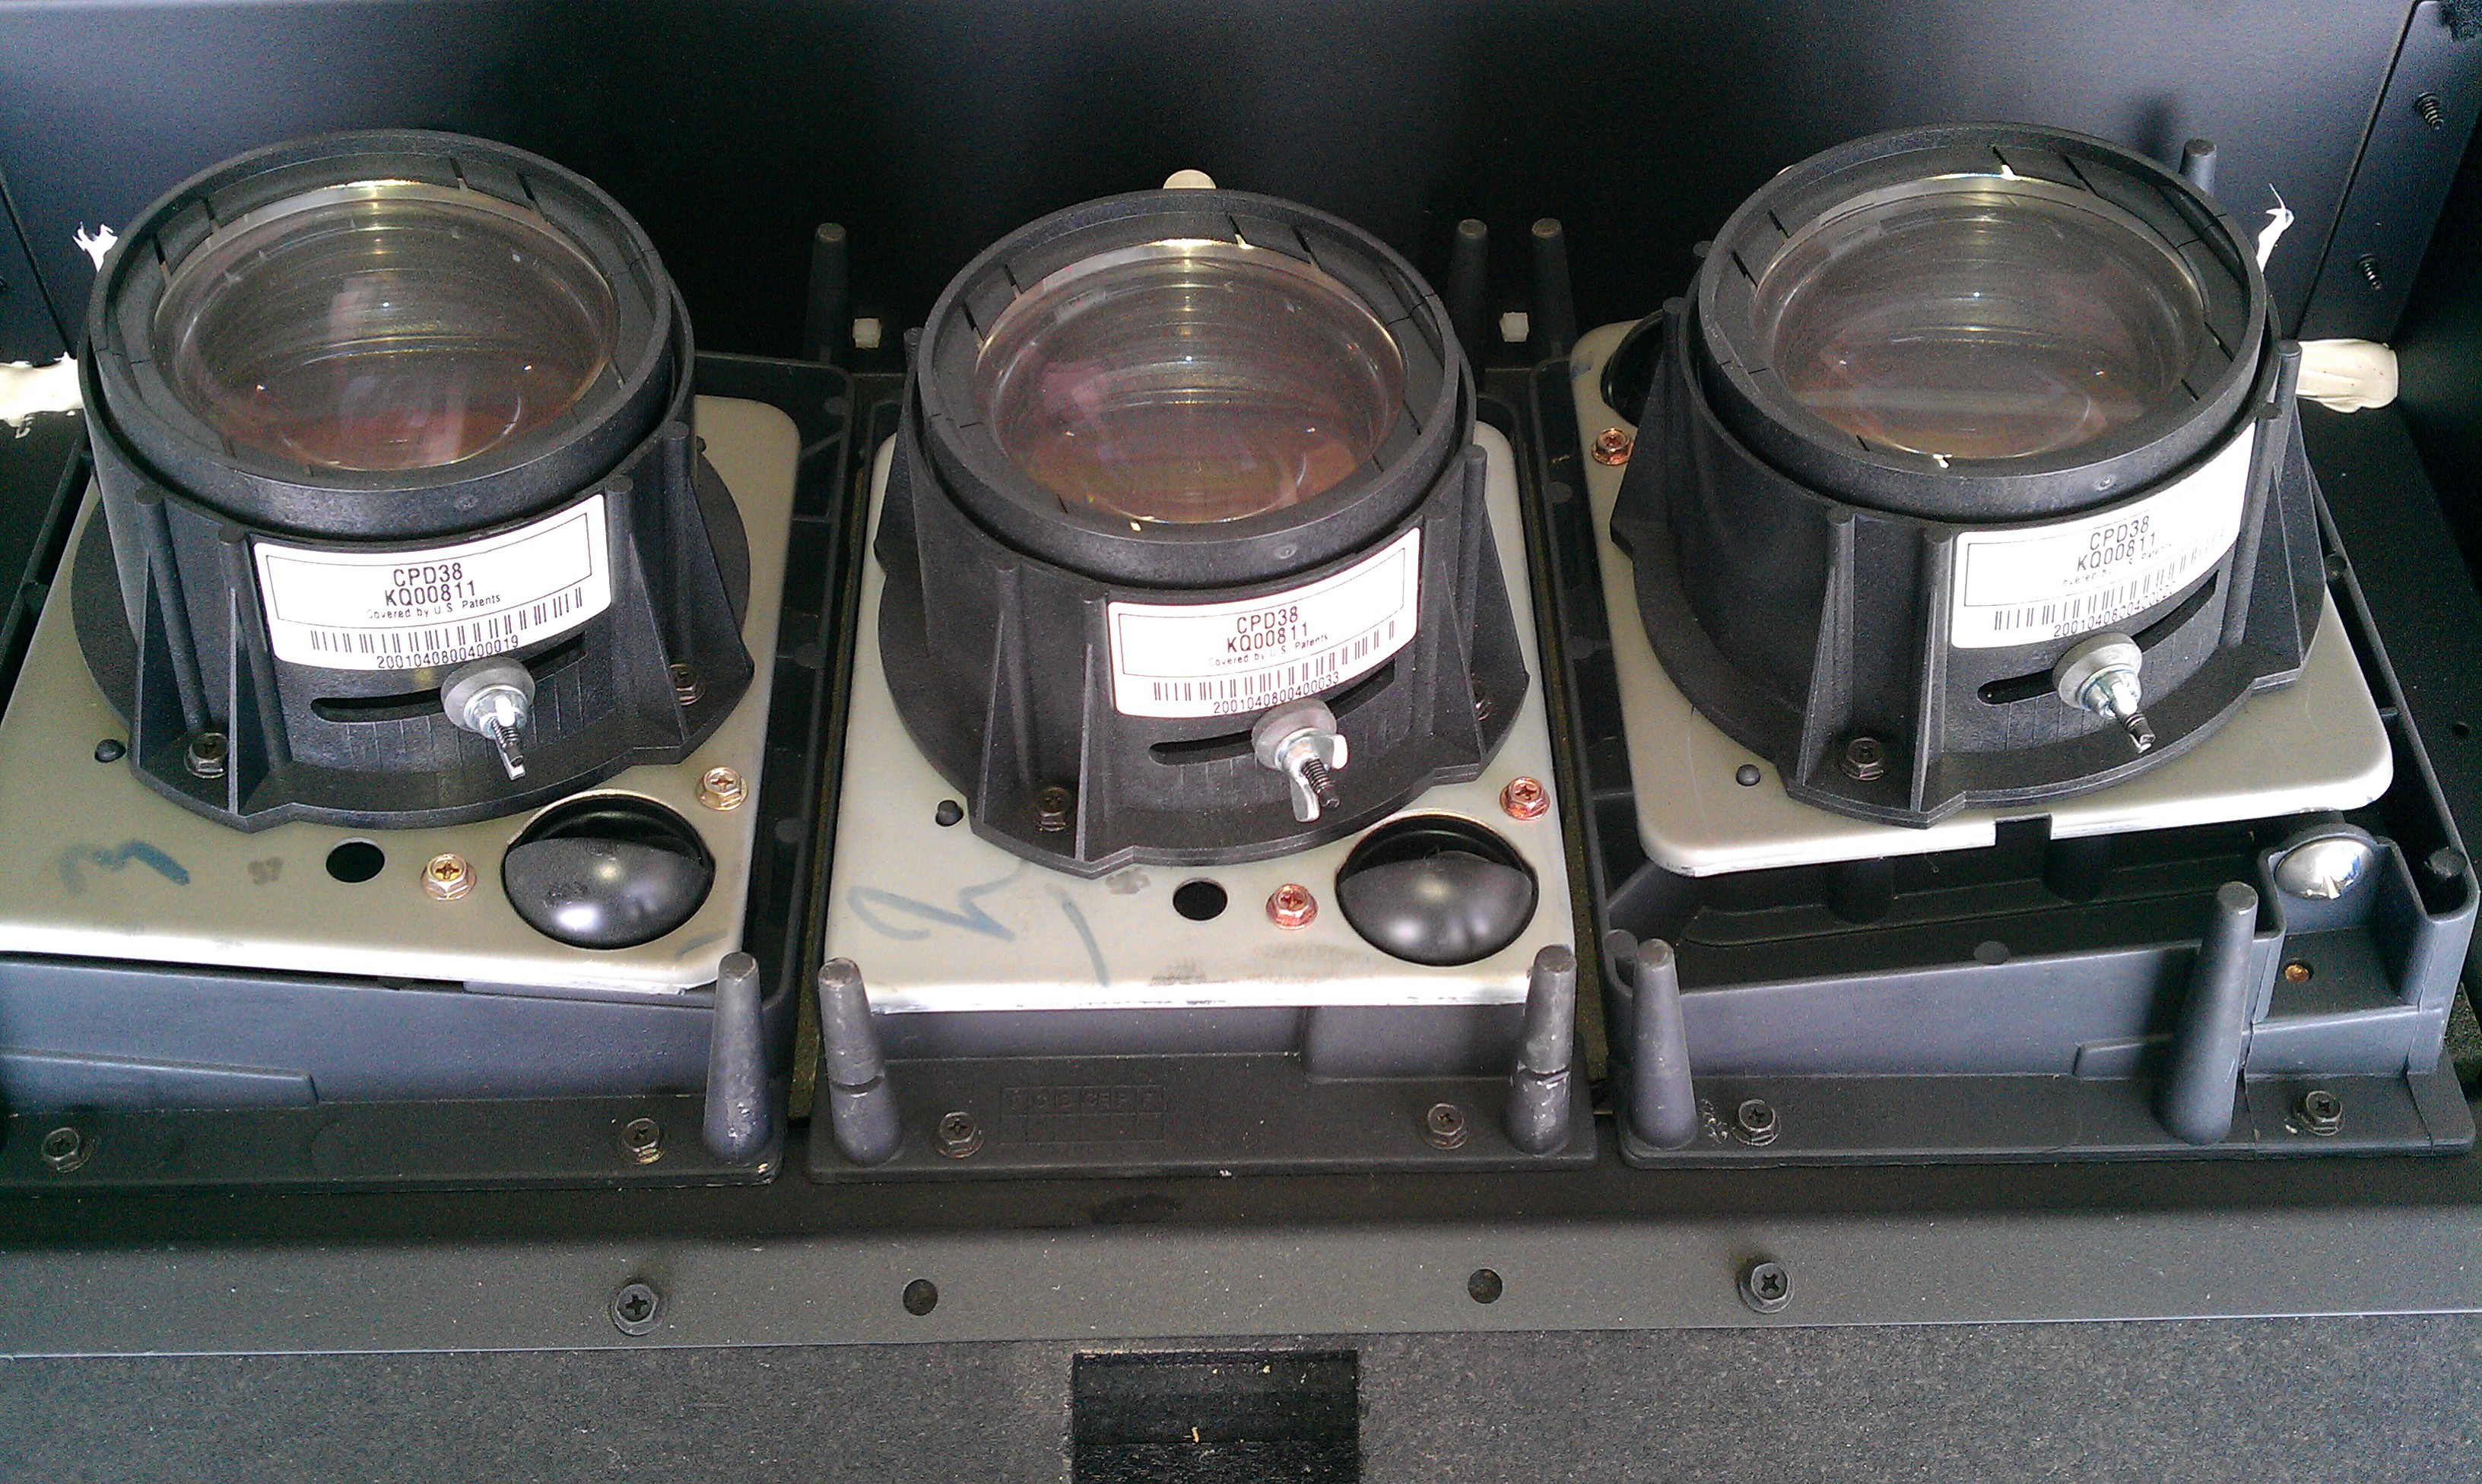
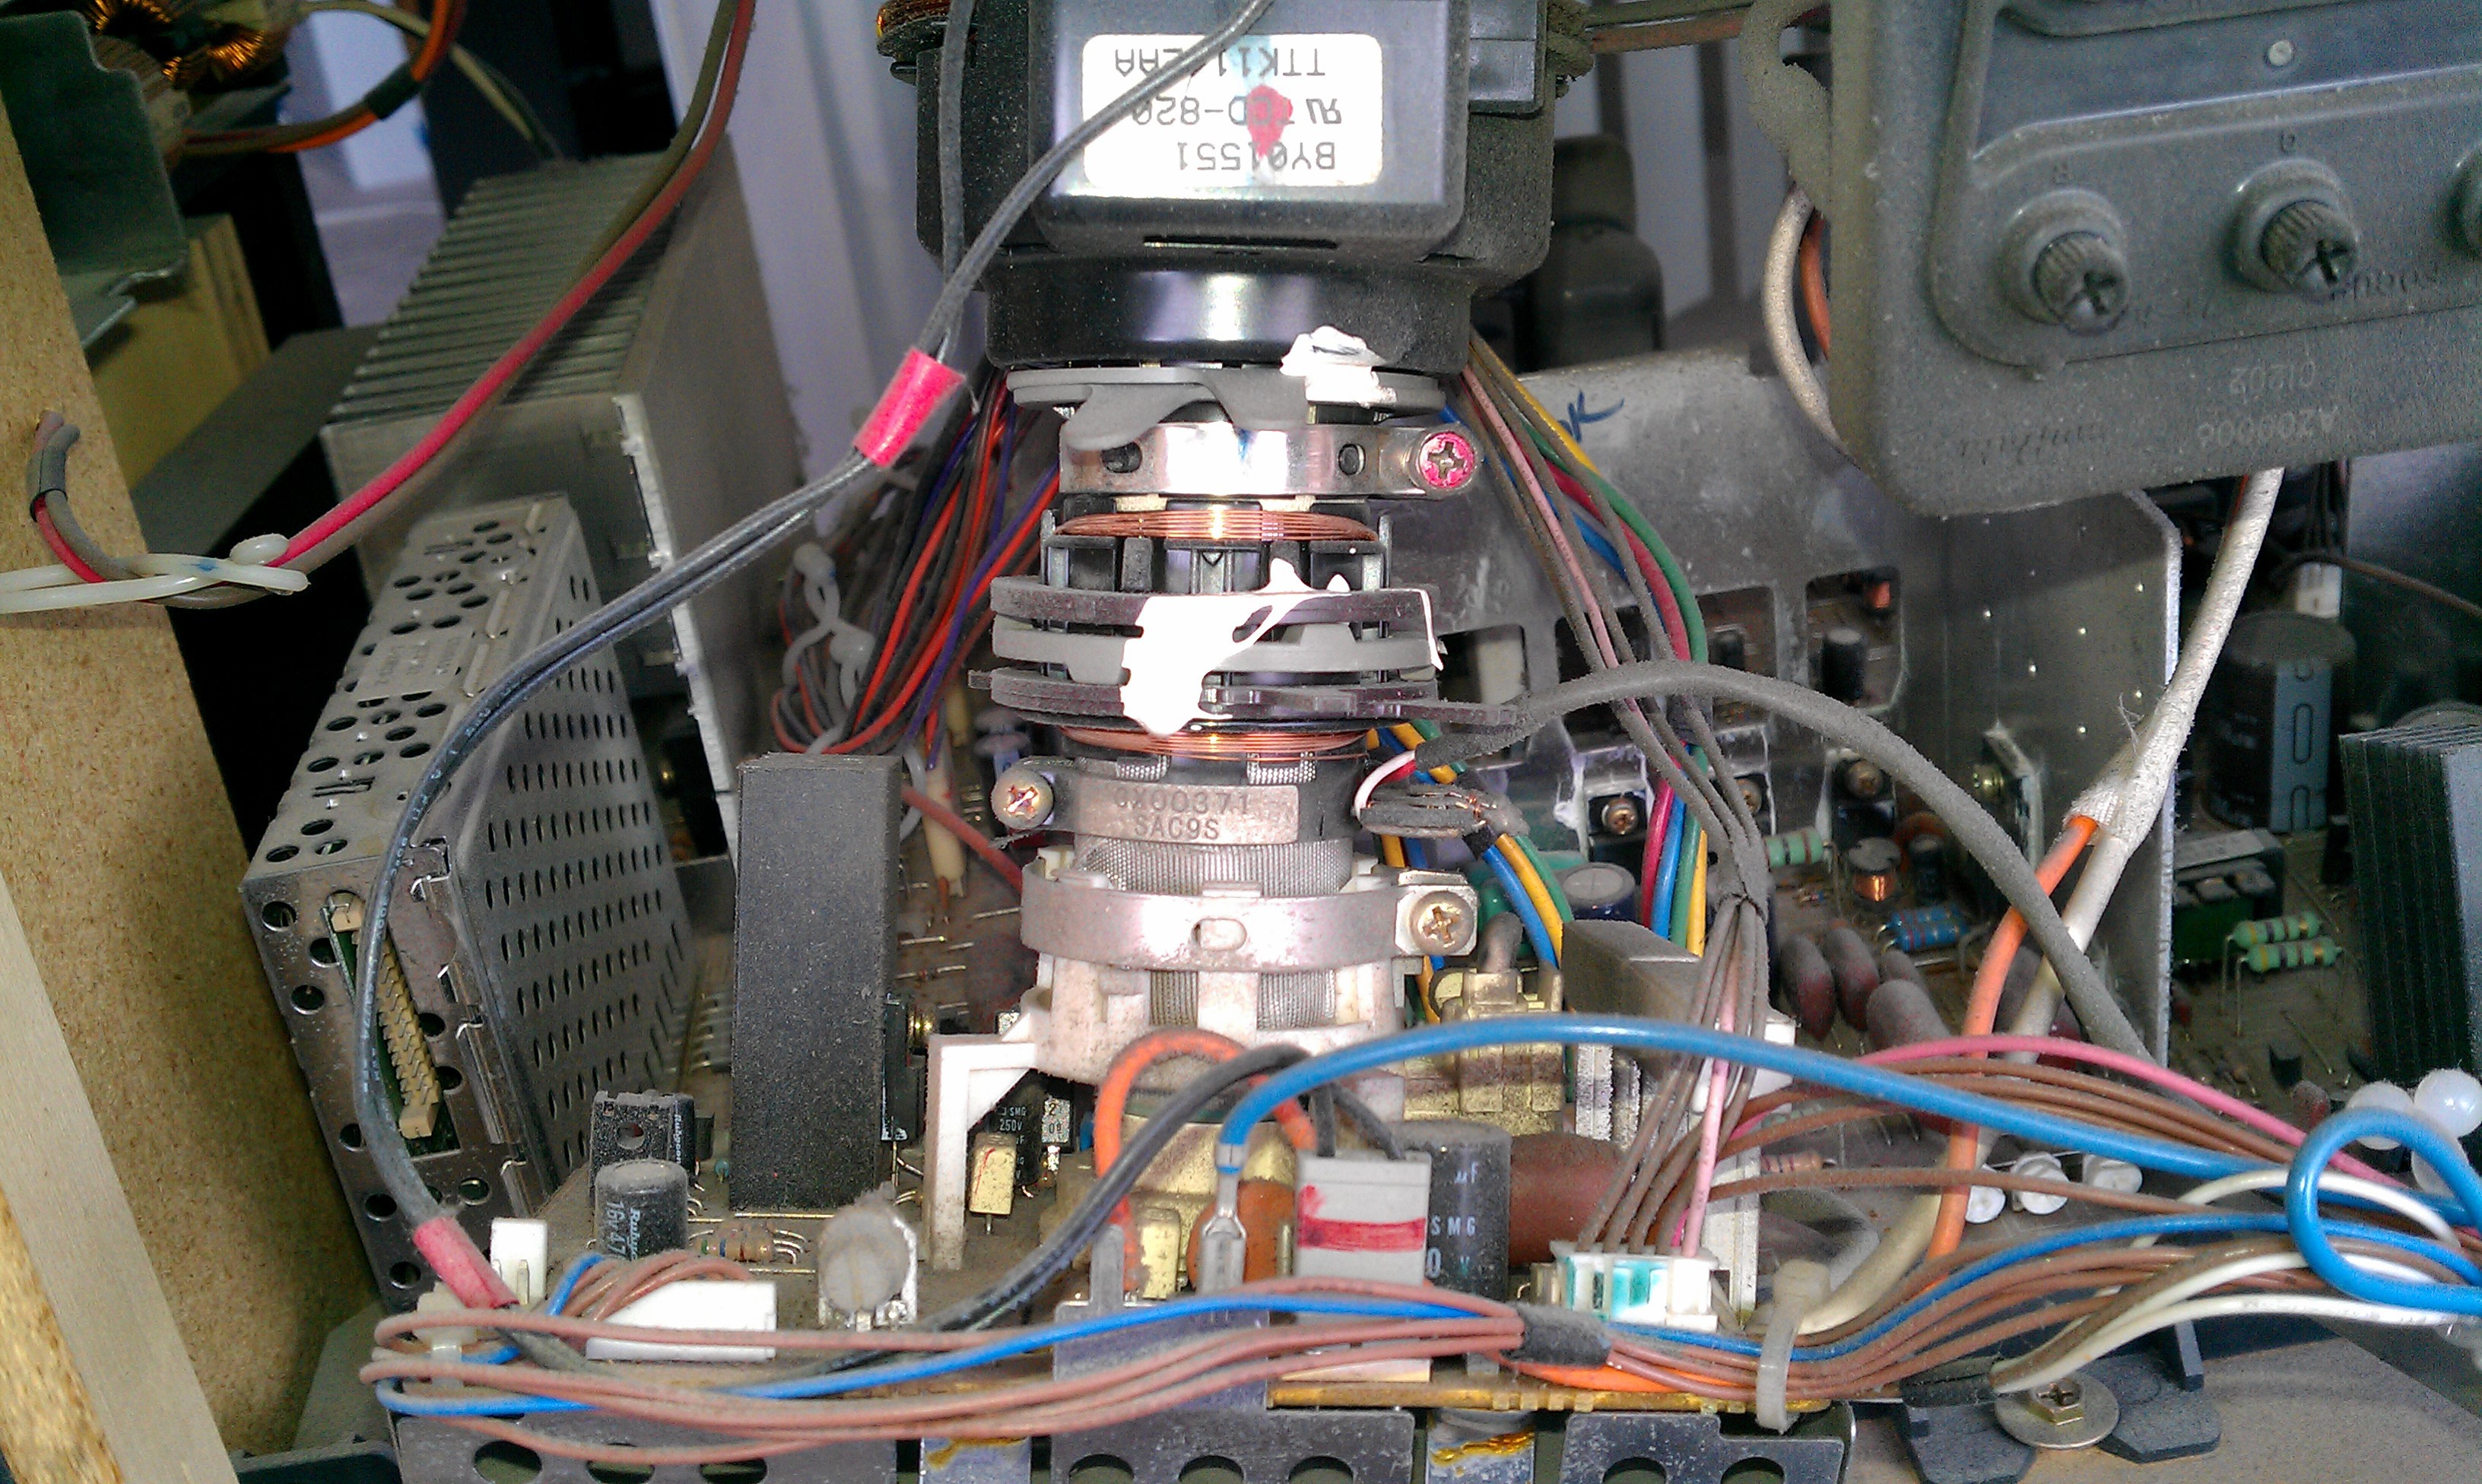
The adjustable side of the three projector lenses.![]()
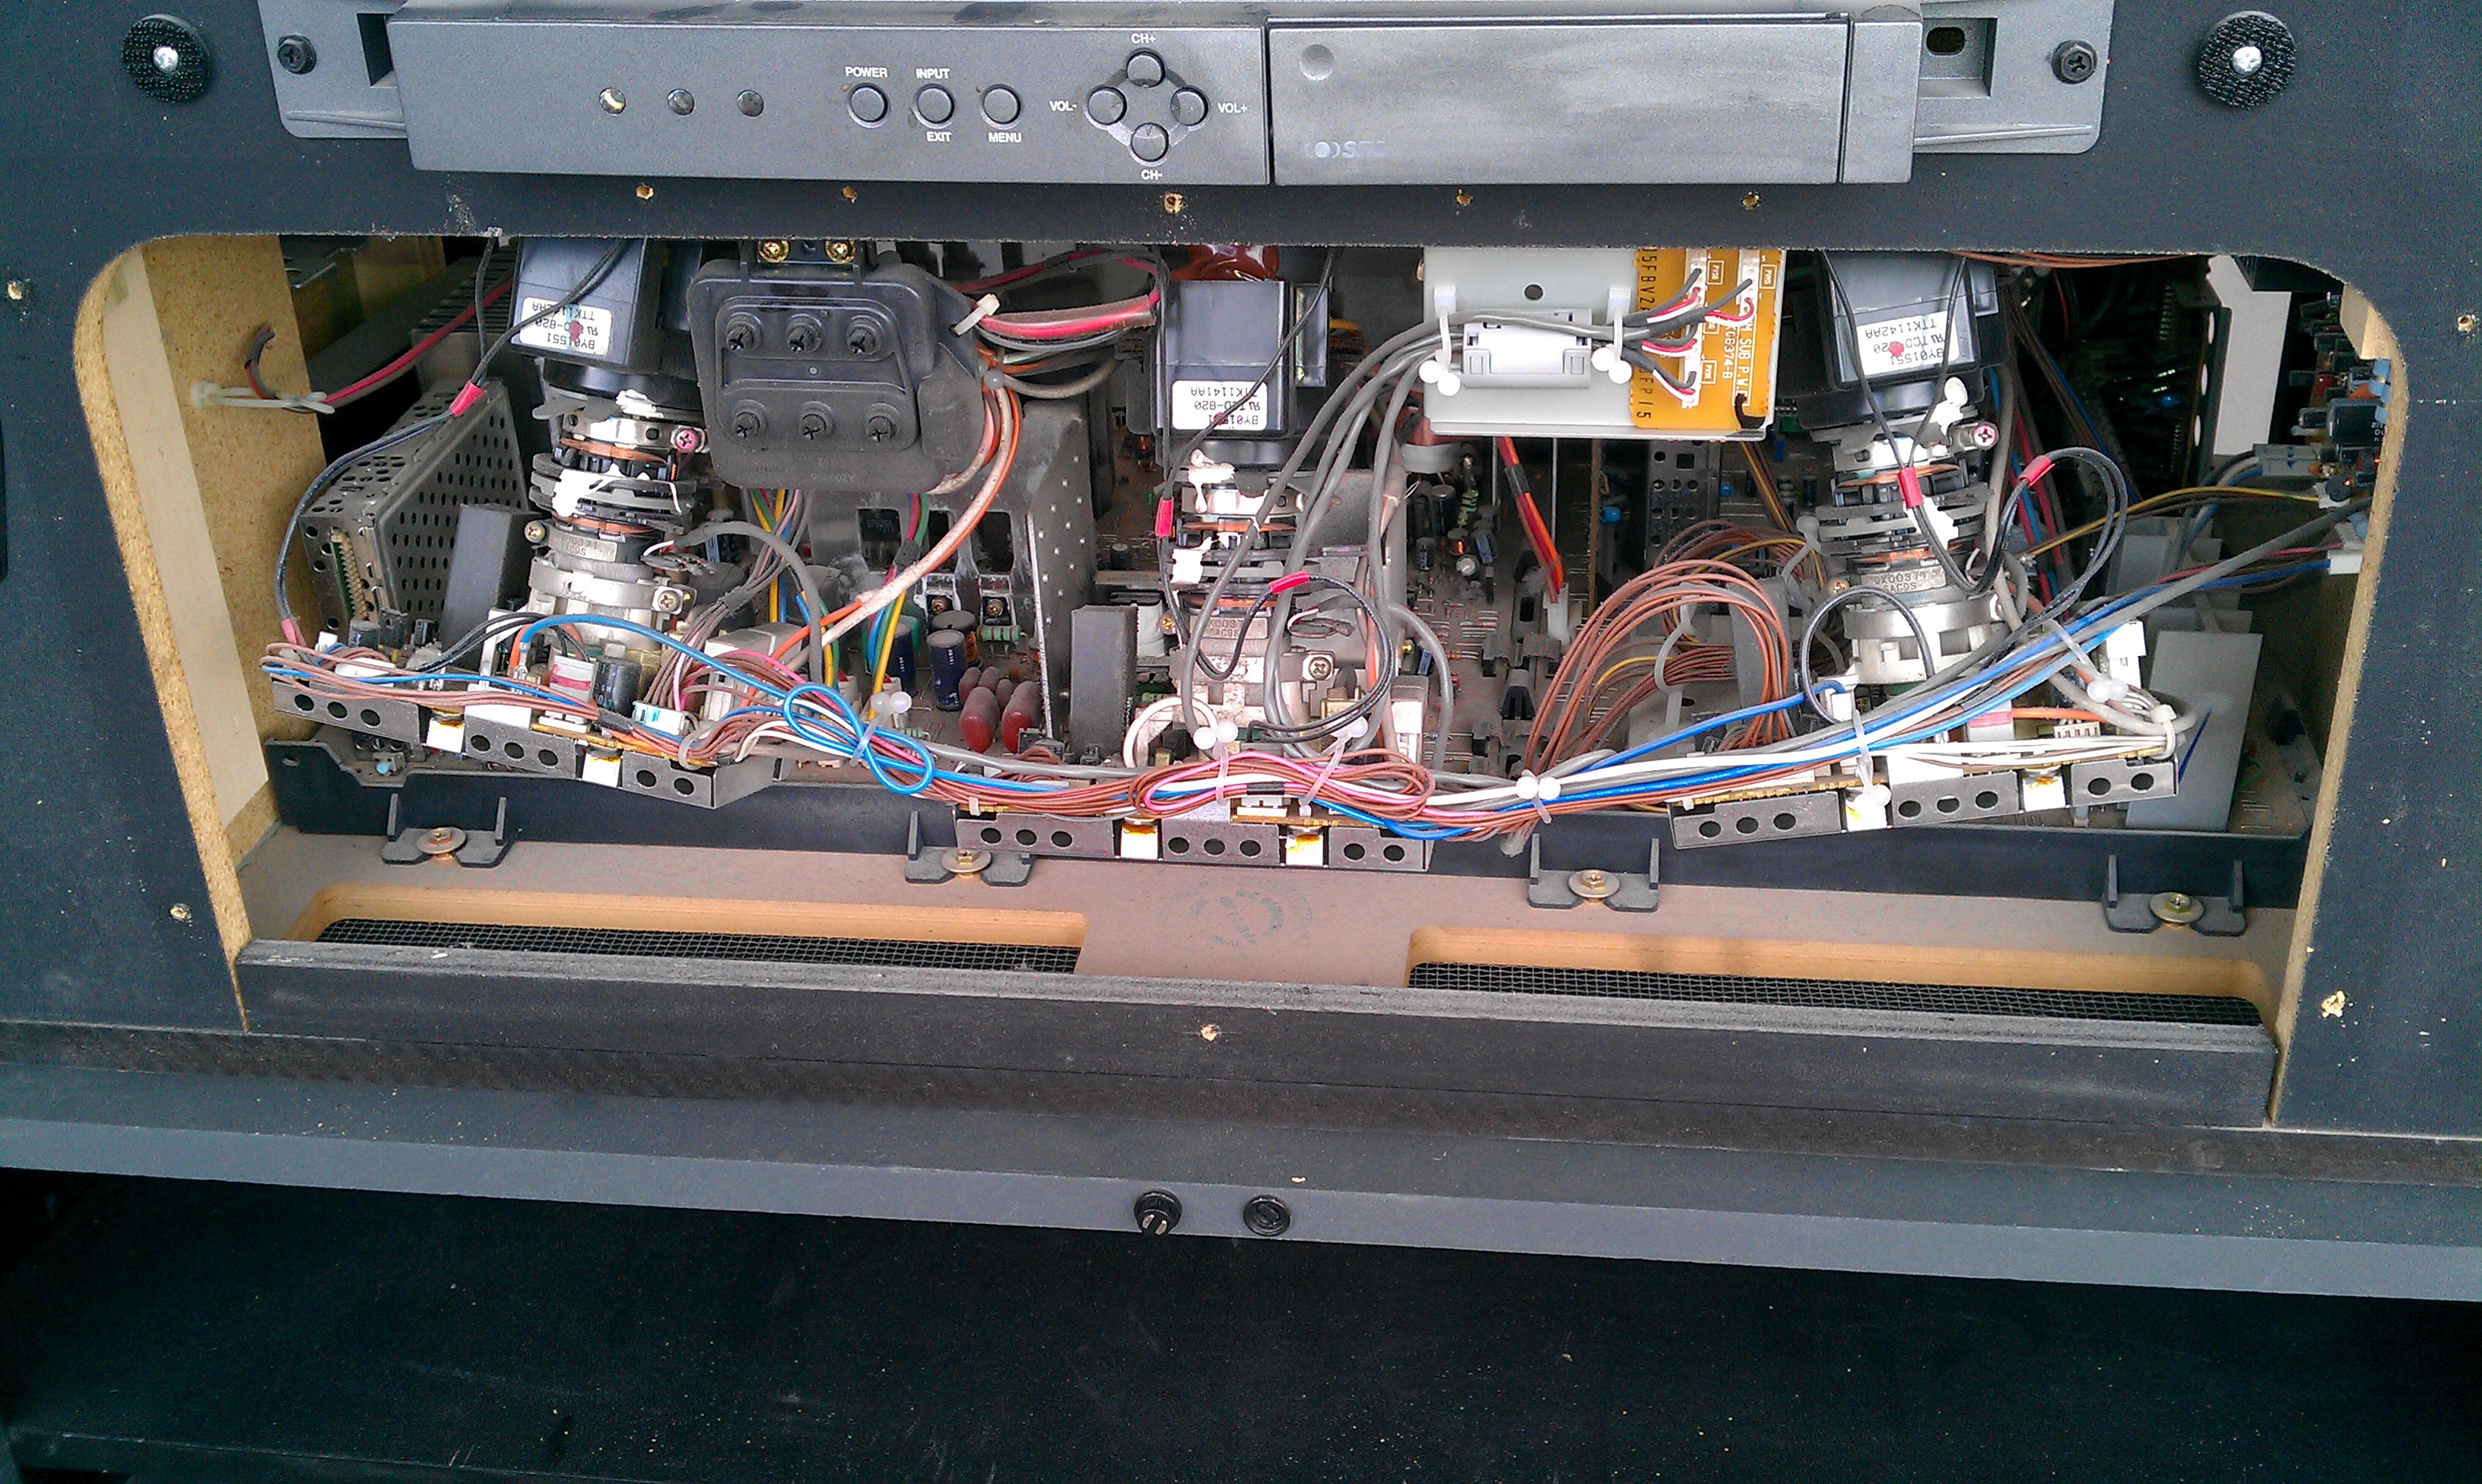
Underneath are the three projector guns with circuit boards and large metal shields with holes.![]()
Closer view.![]()
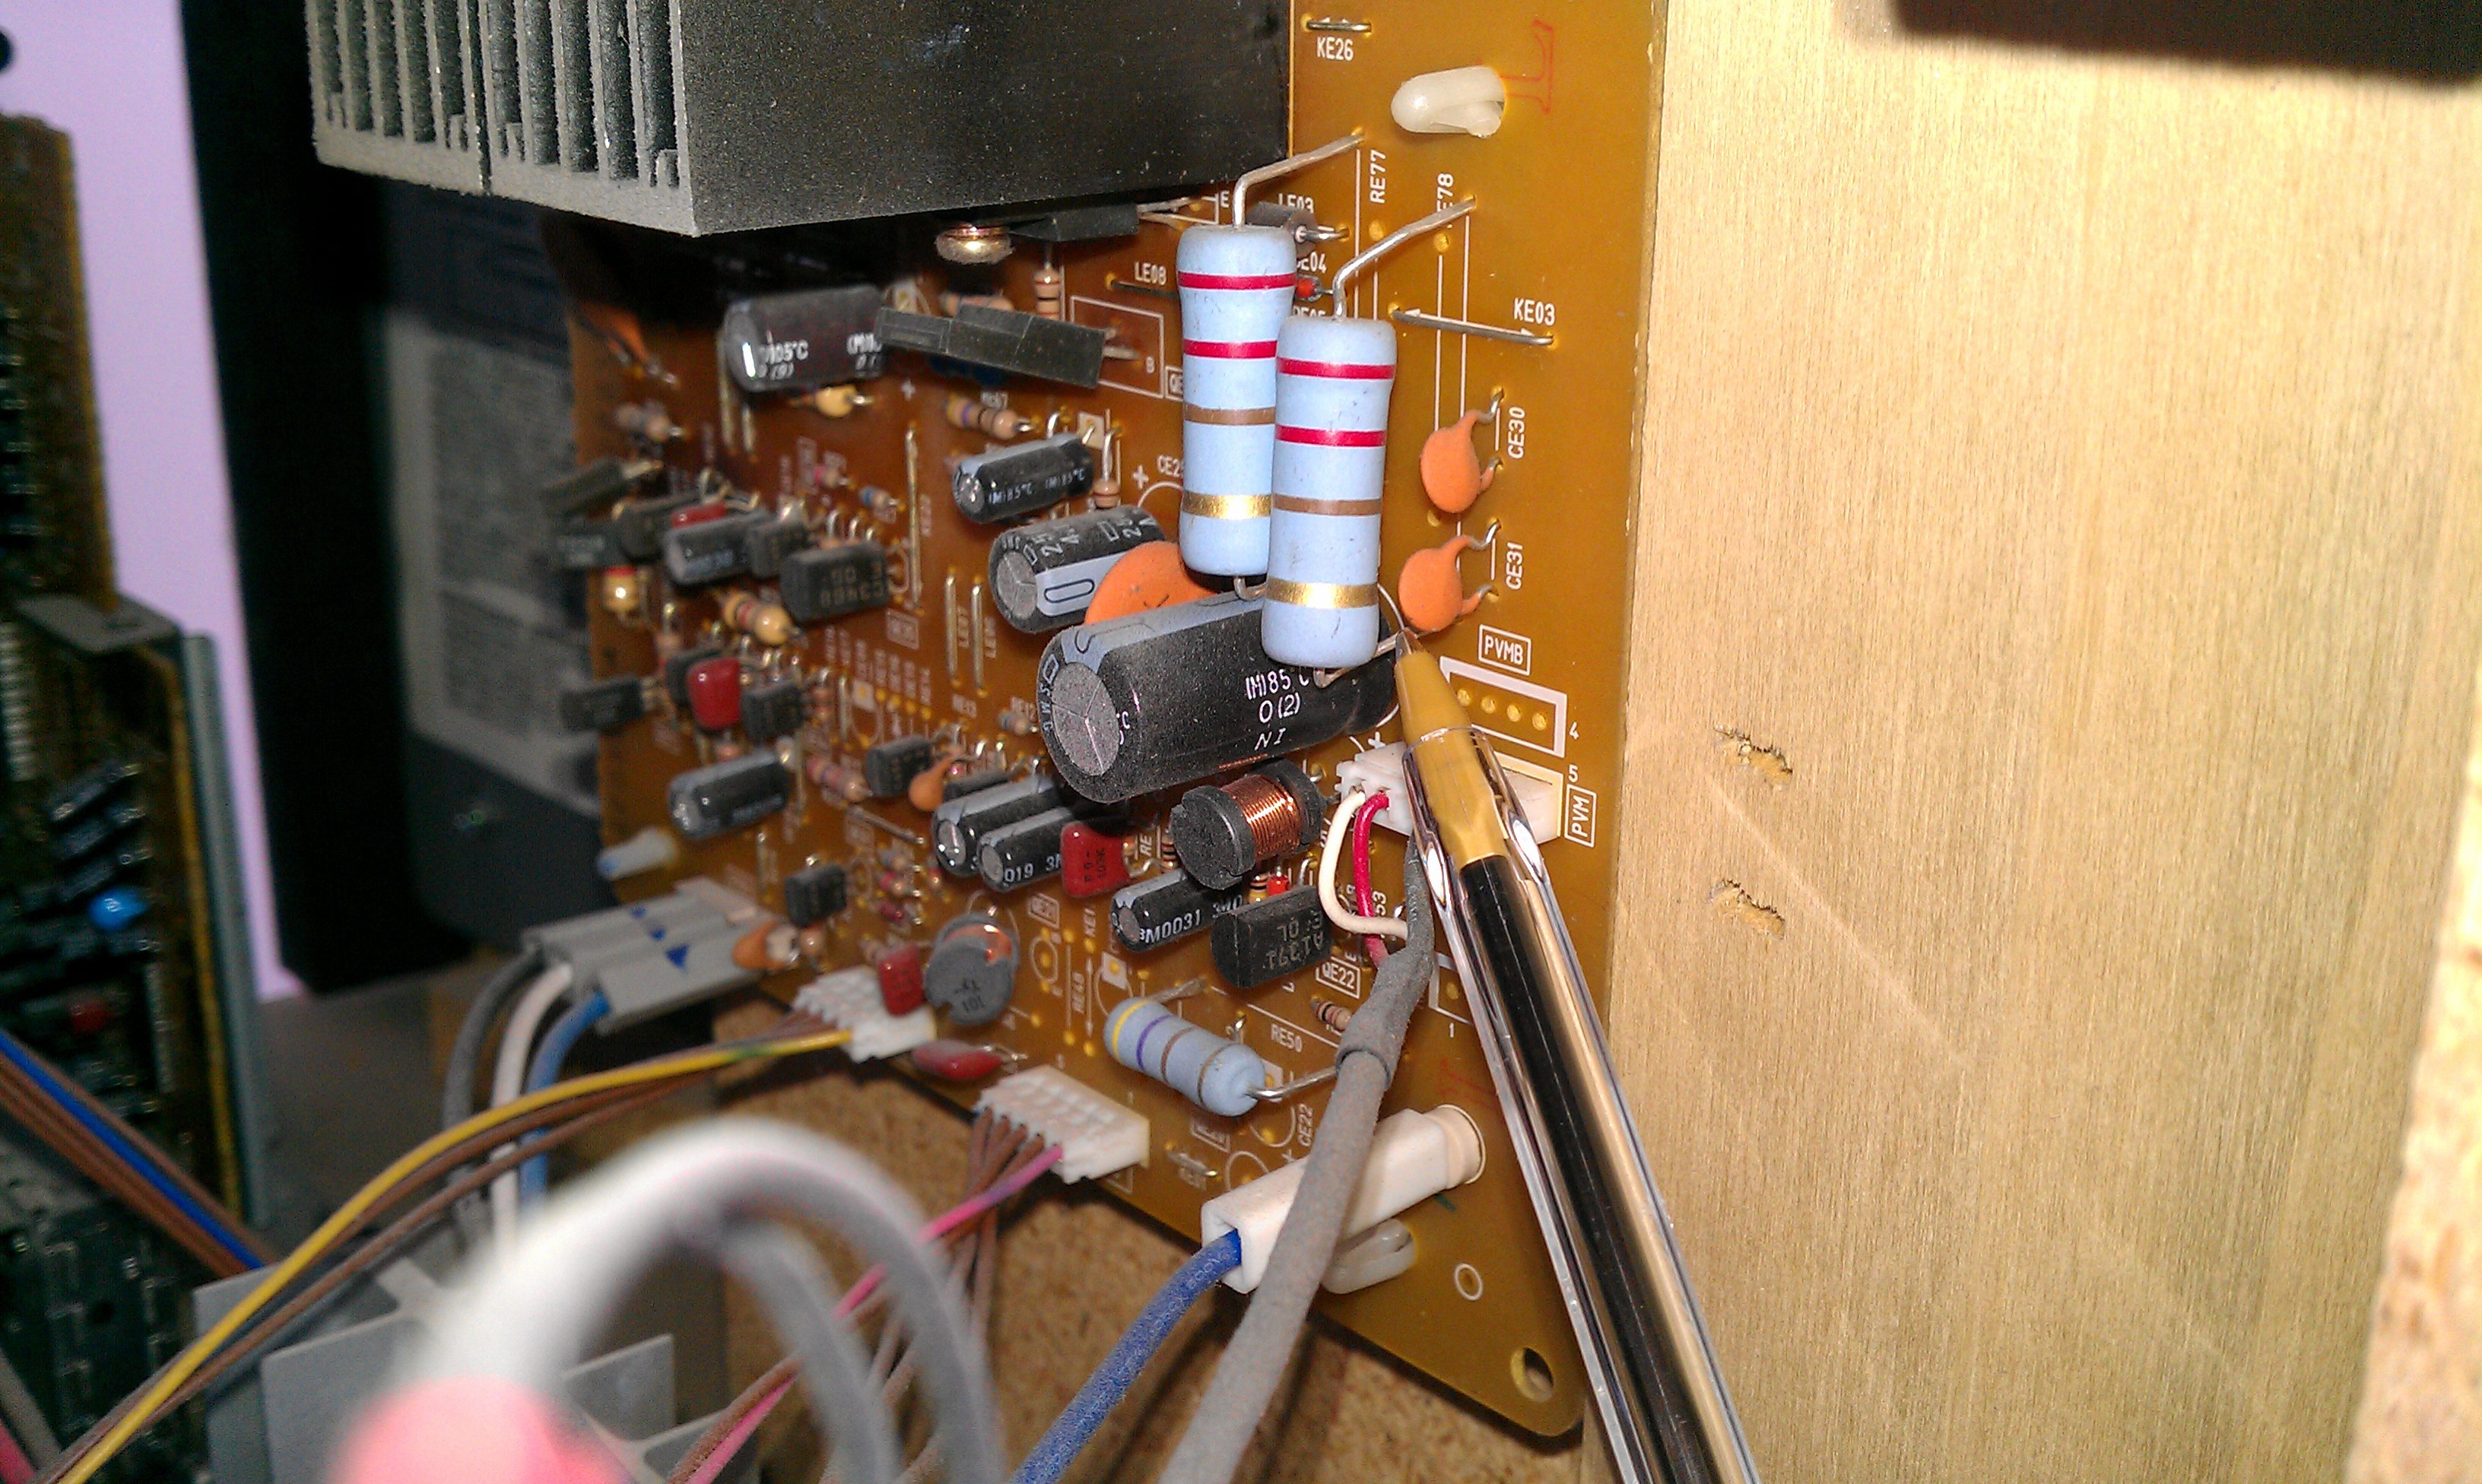
Holly resistor Batman! Now they can put three million SMT resistors on one real smaller than that gold band! Some of the caps are big also.![]()
![]()
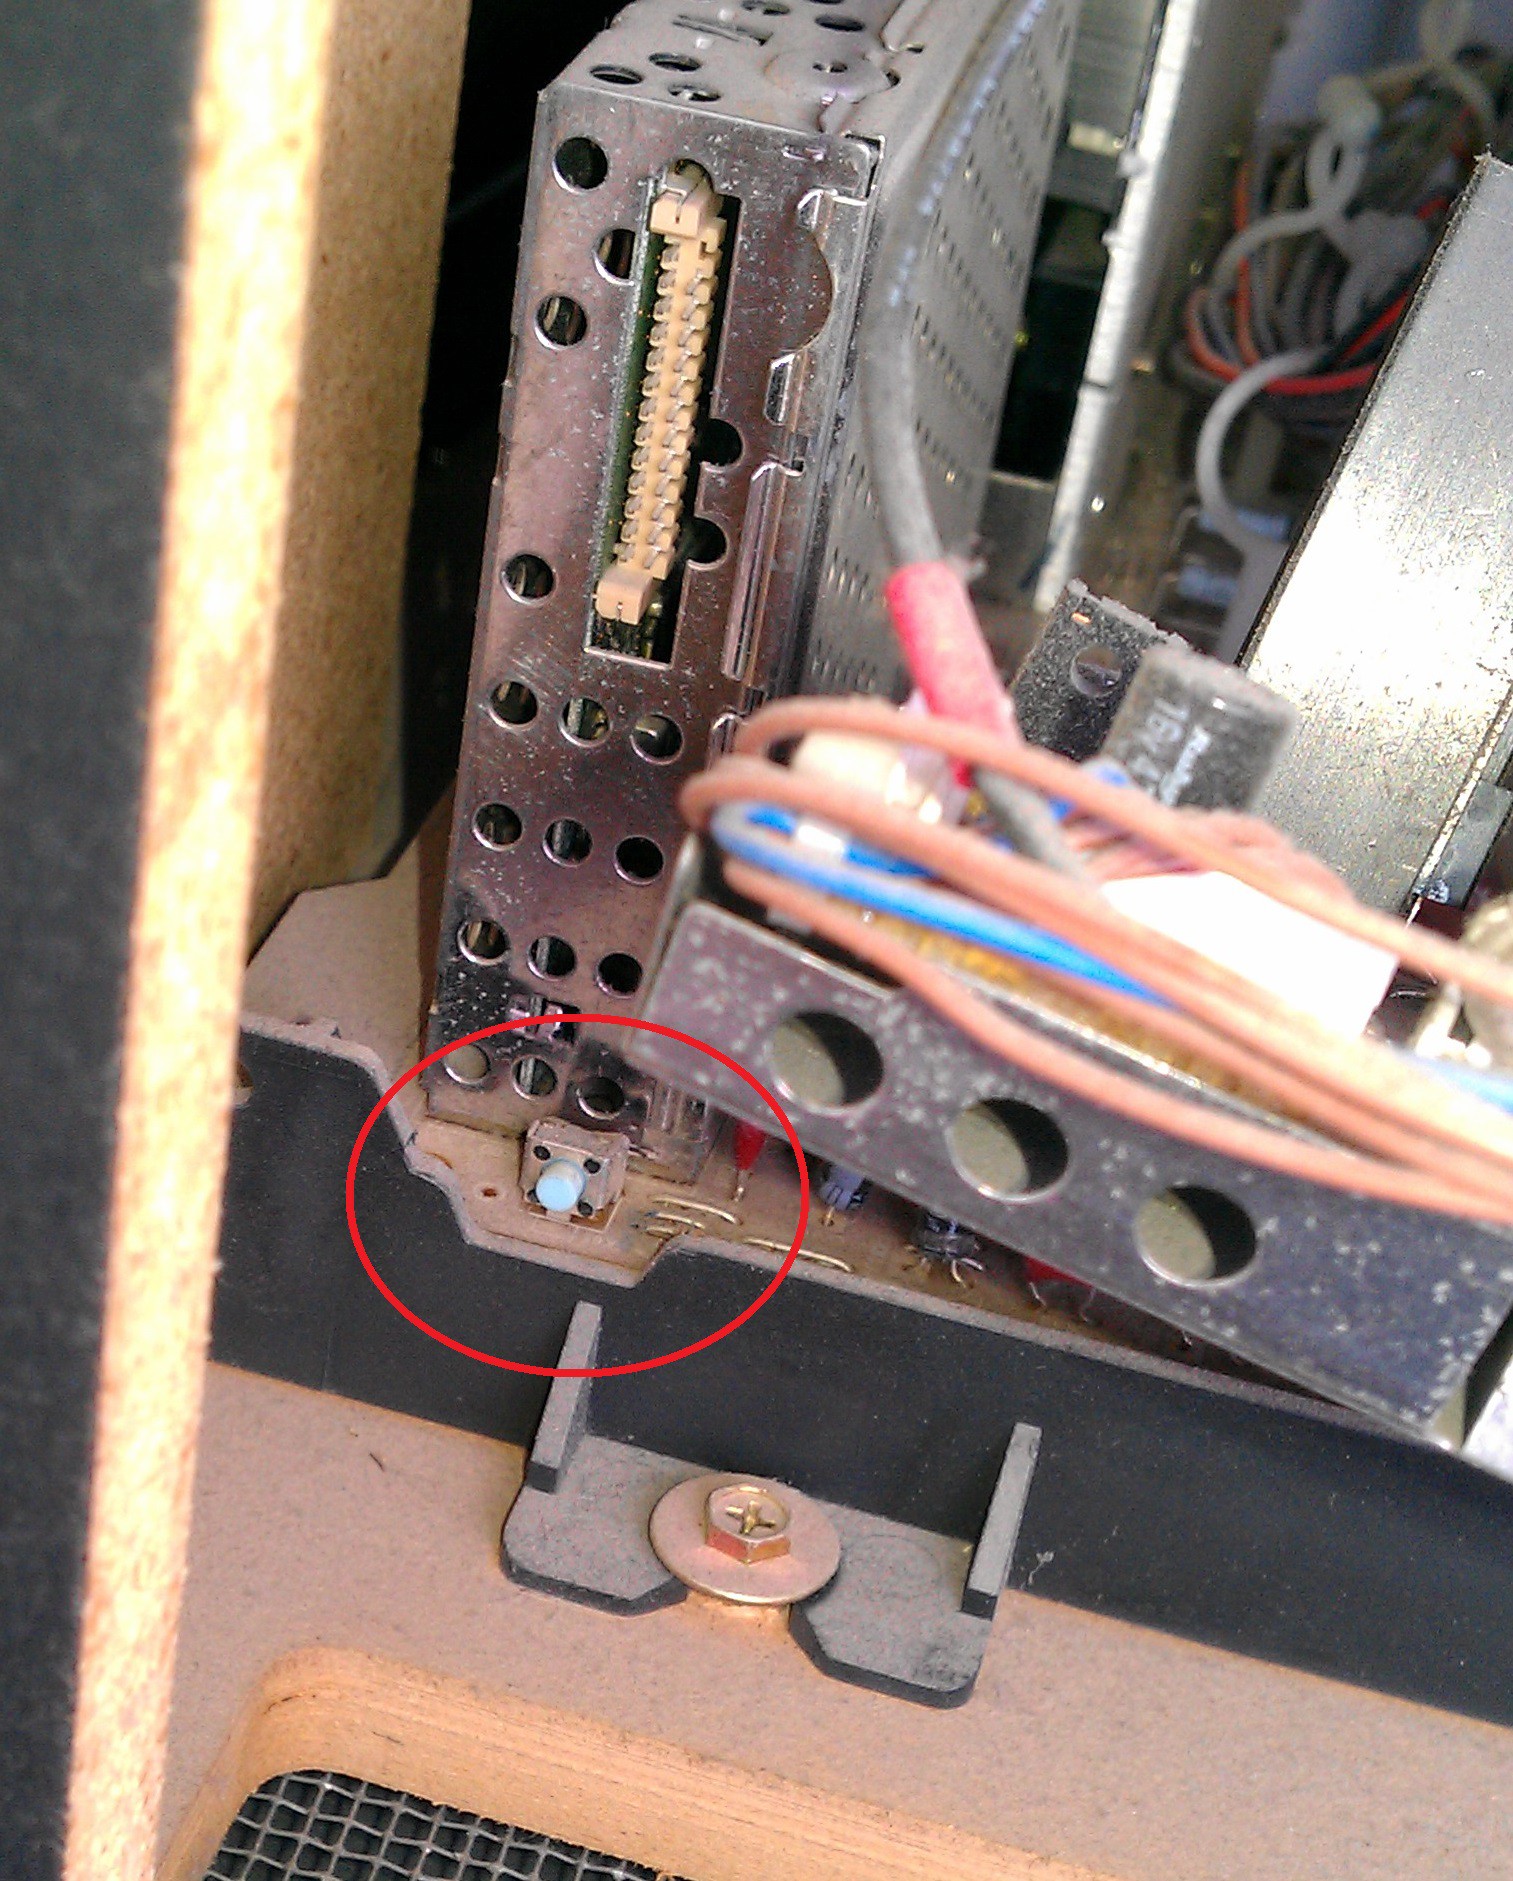
I finally found the reset button! Its right below that 90,000V line in the foreground. How convenient.
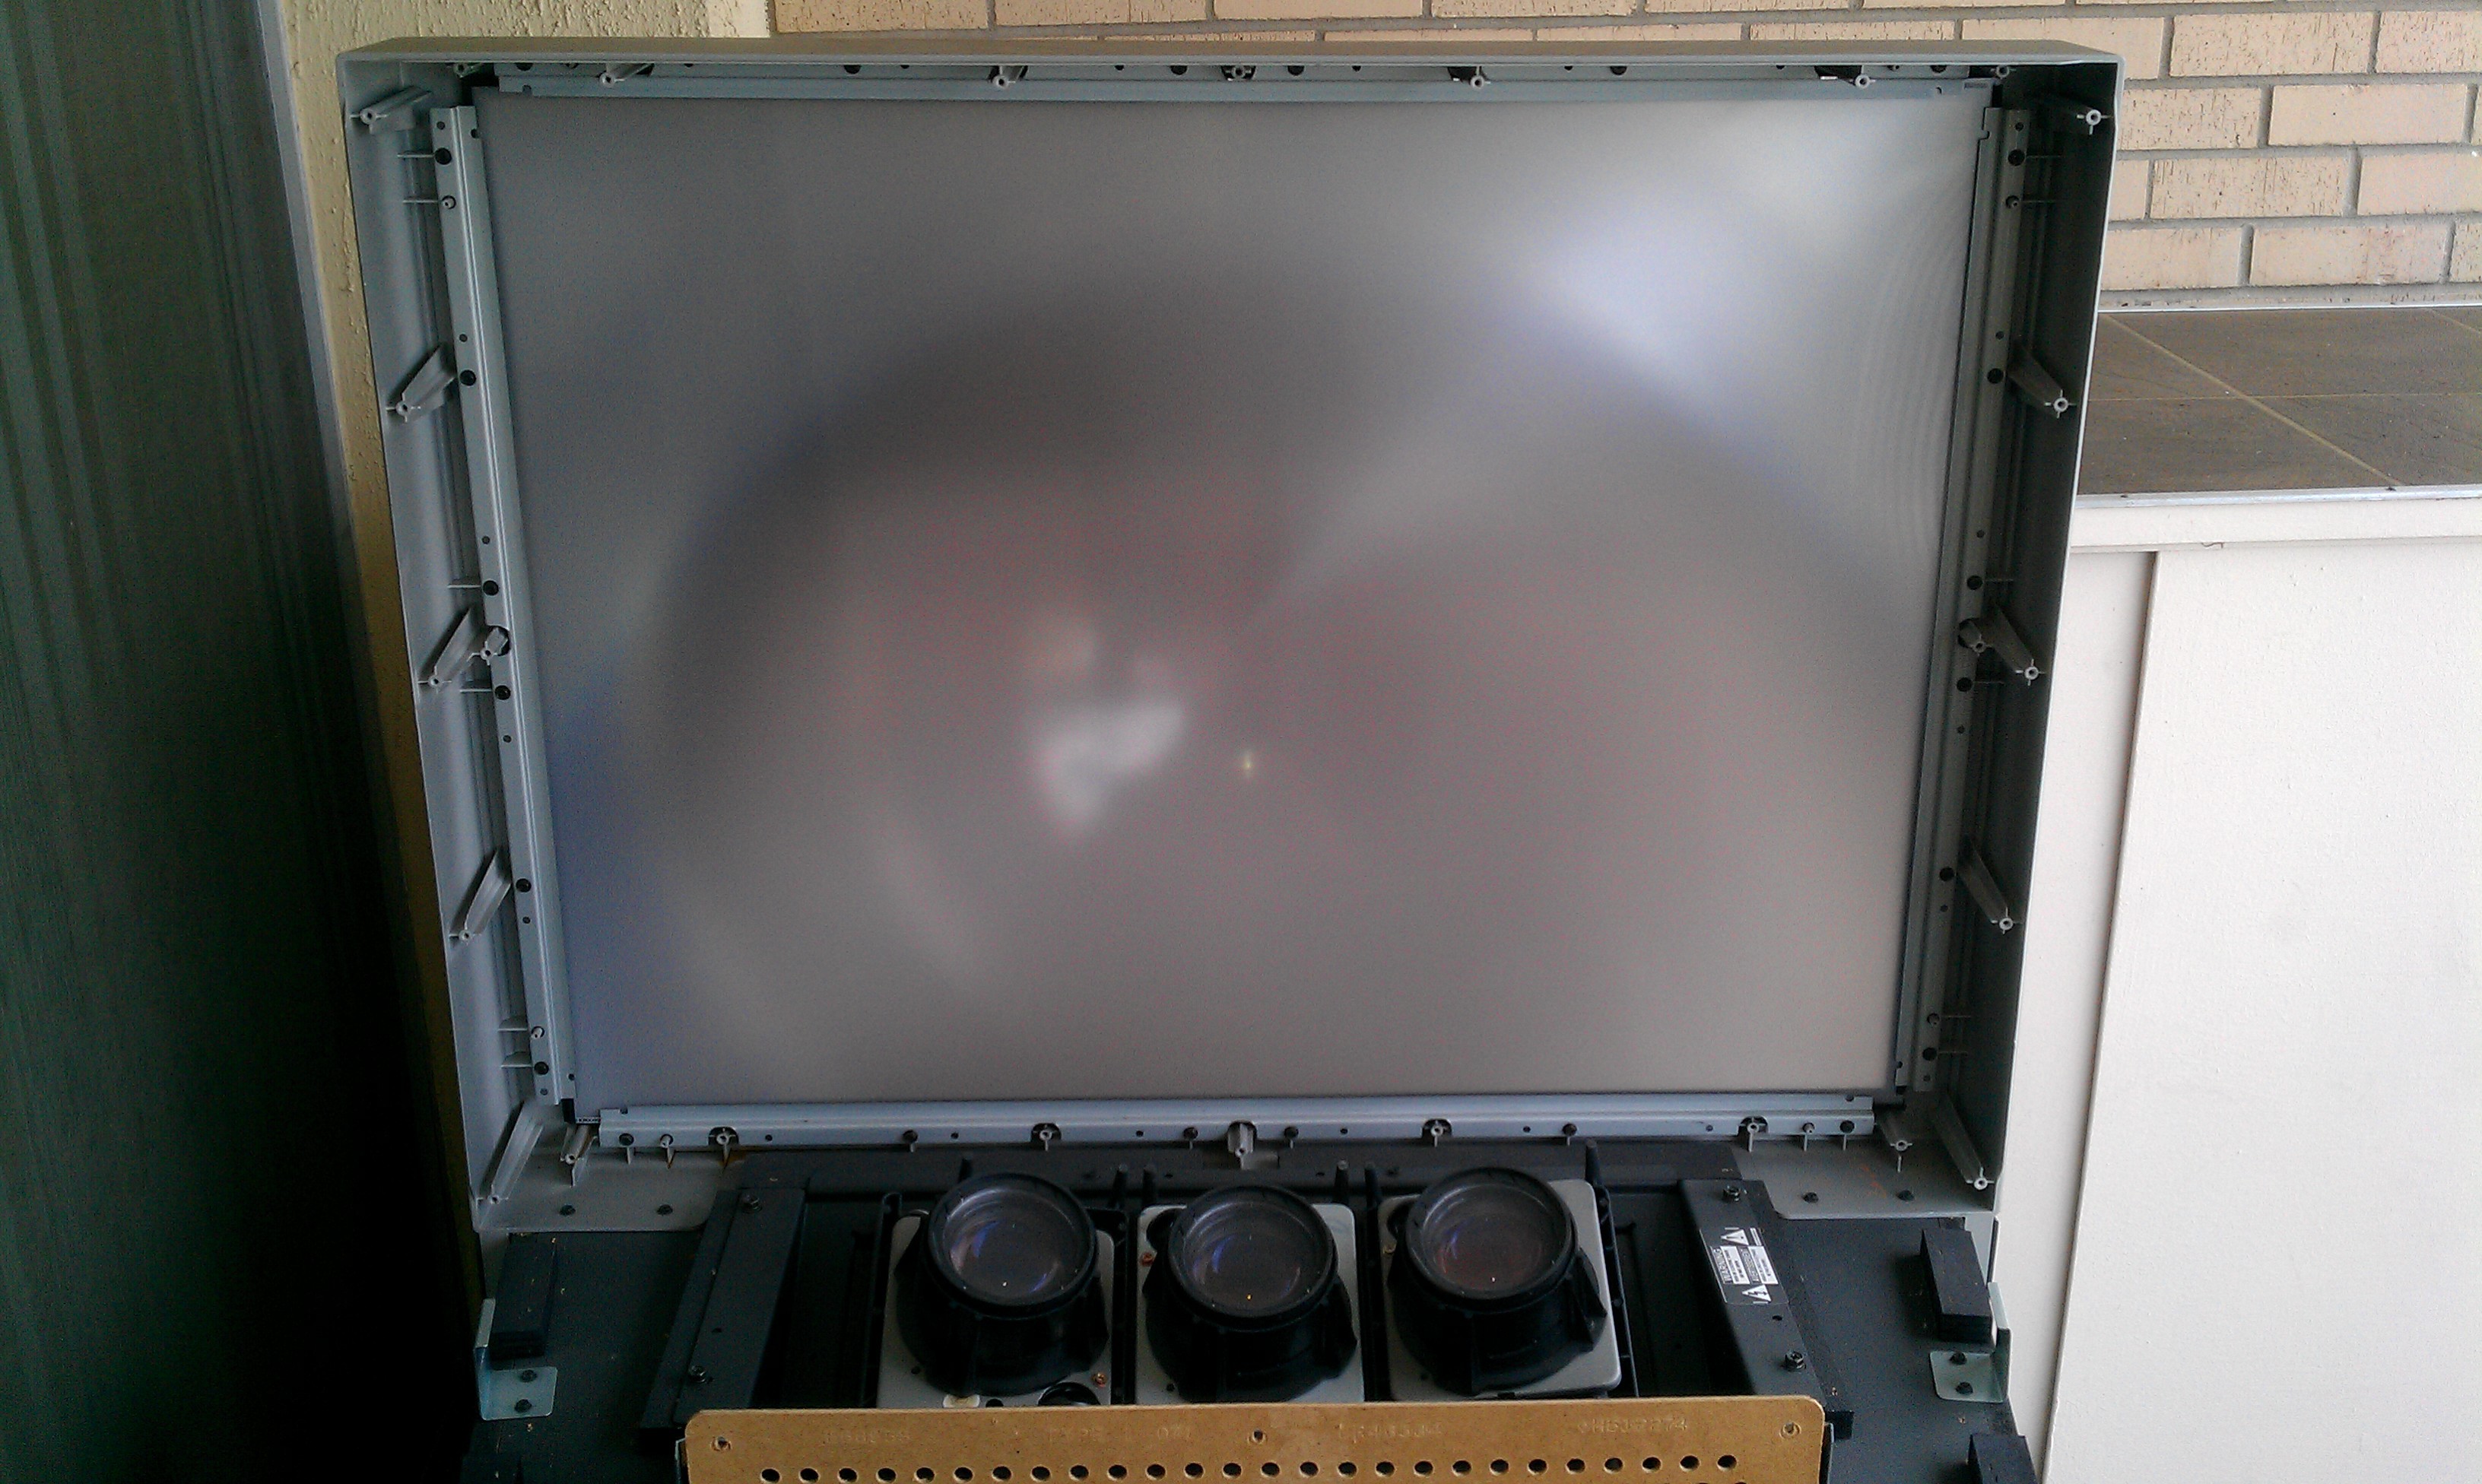
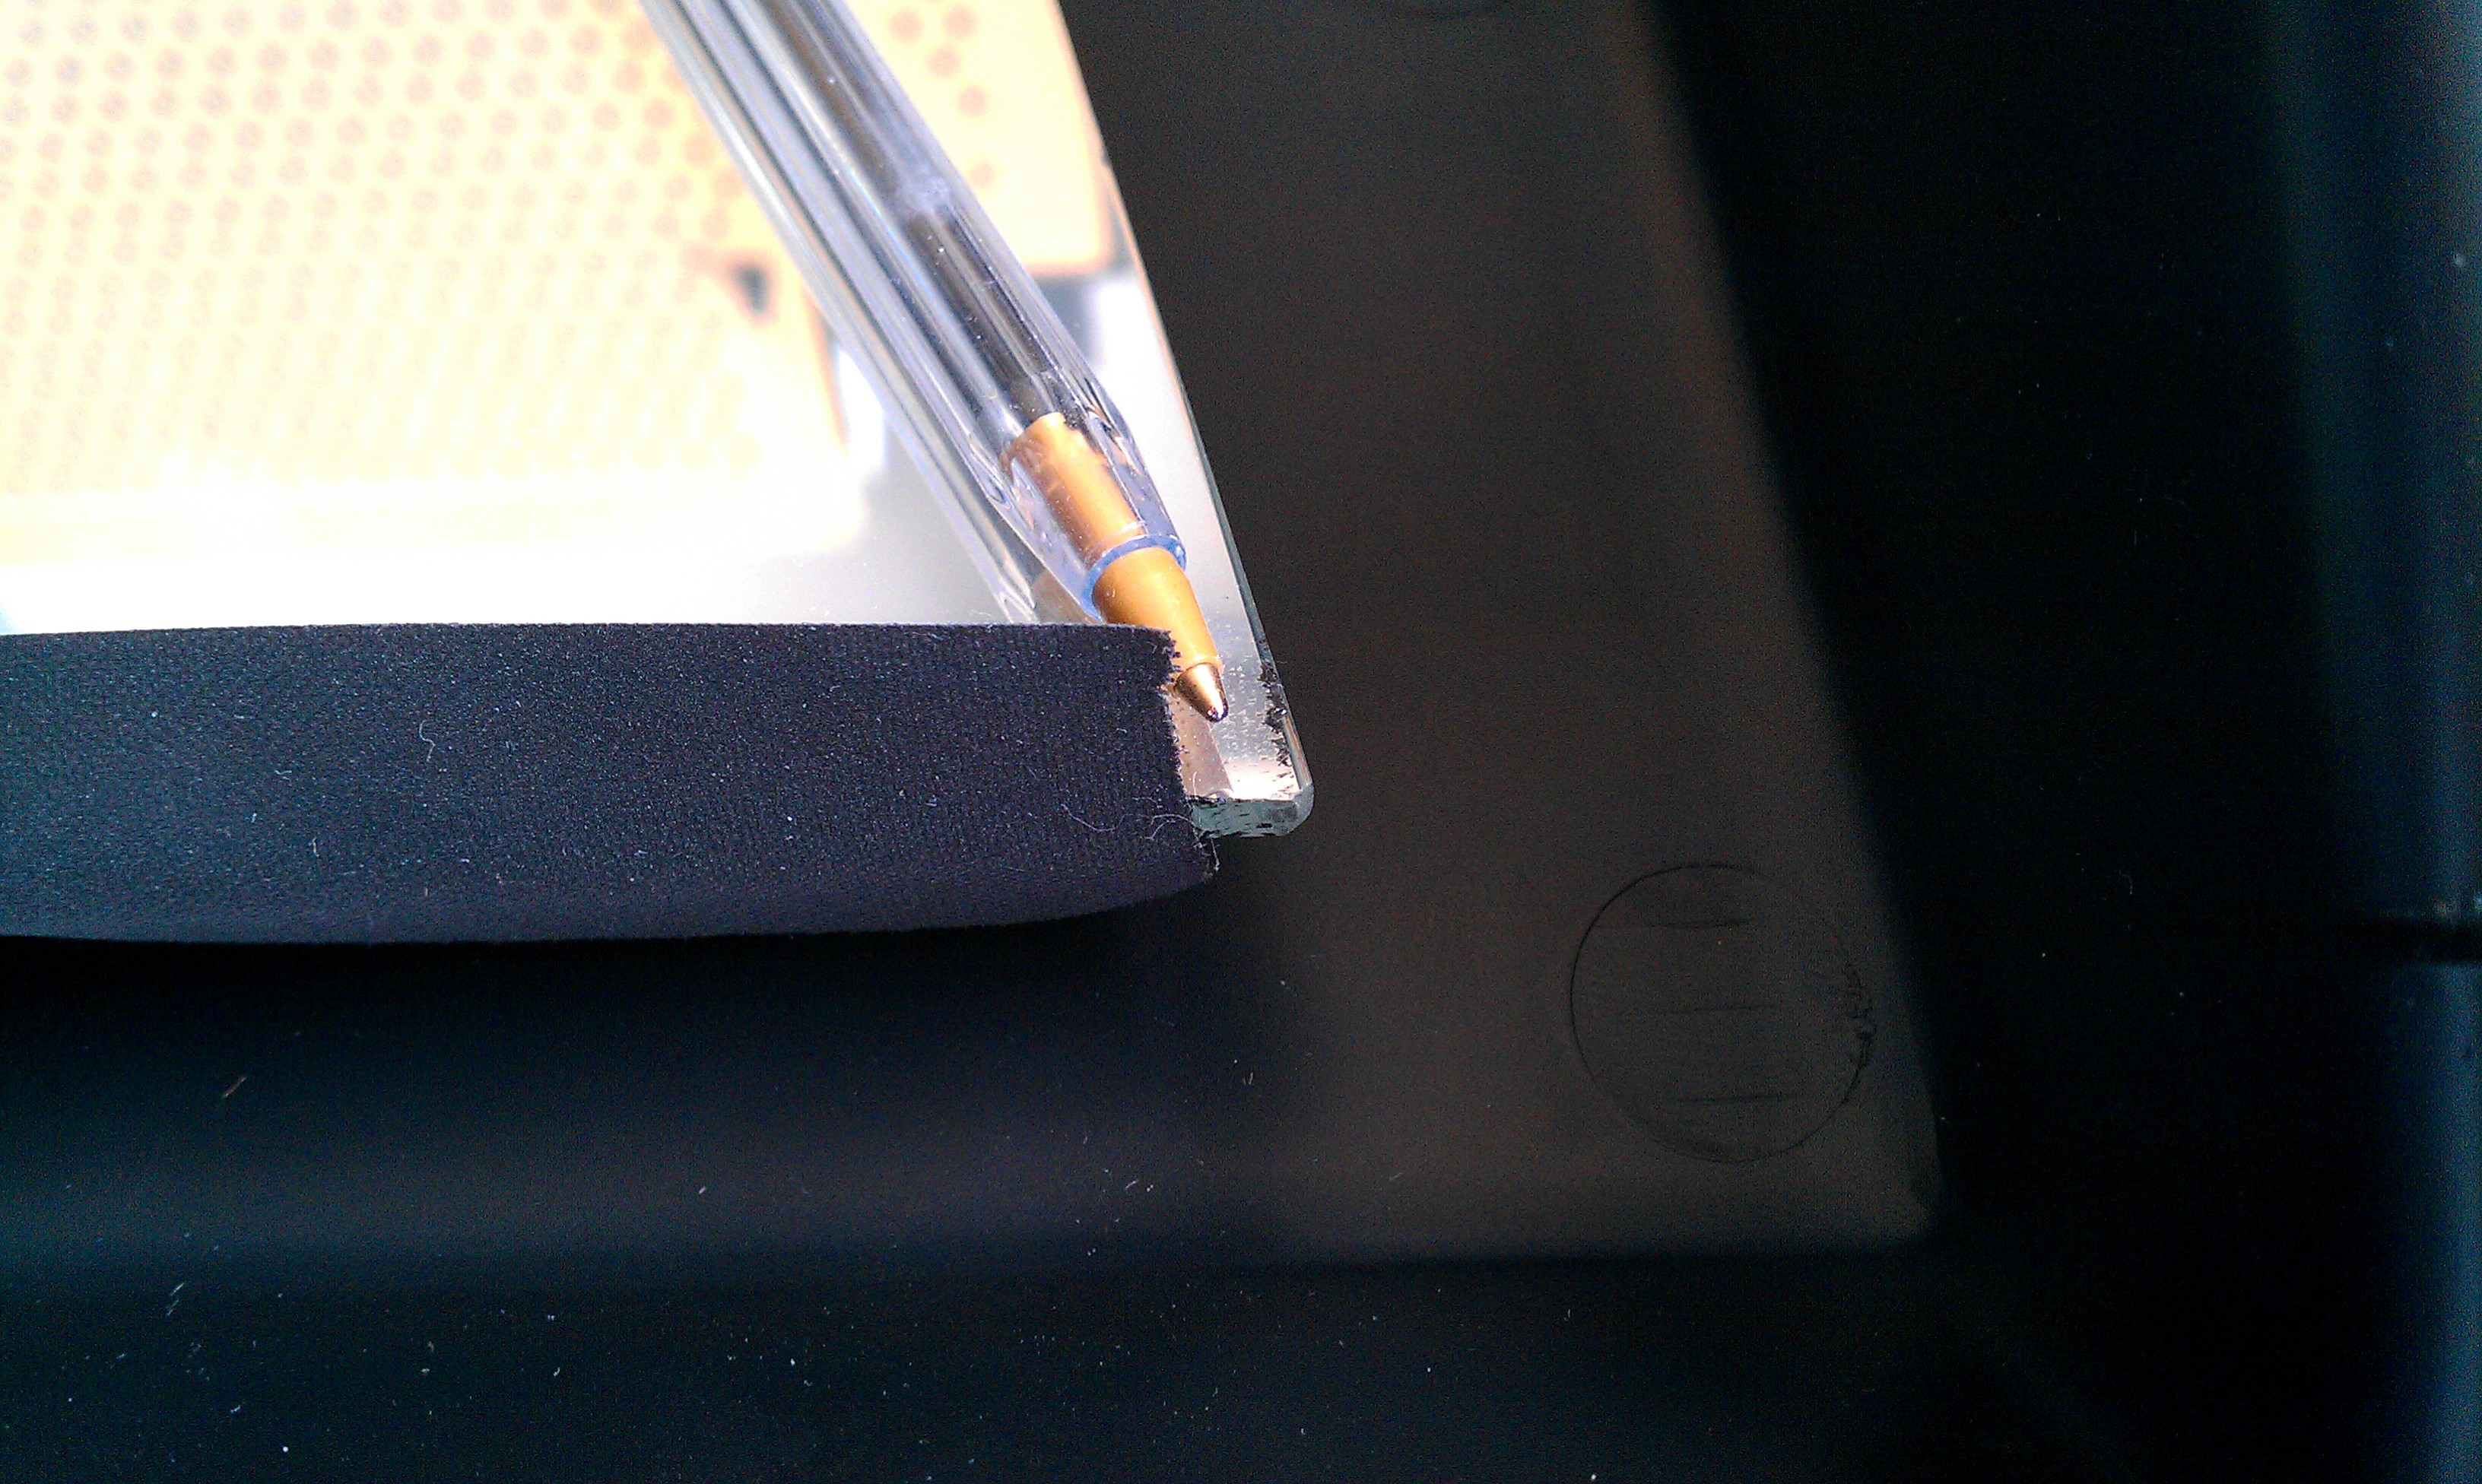
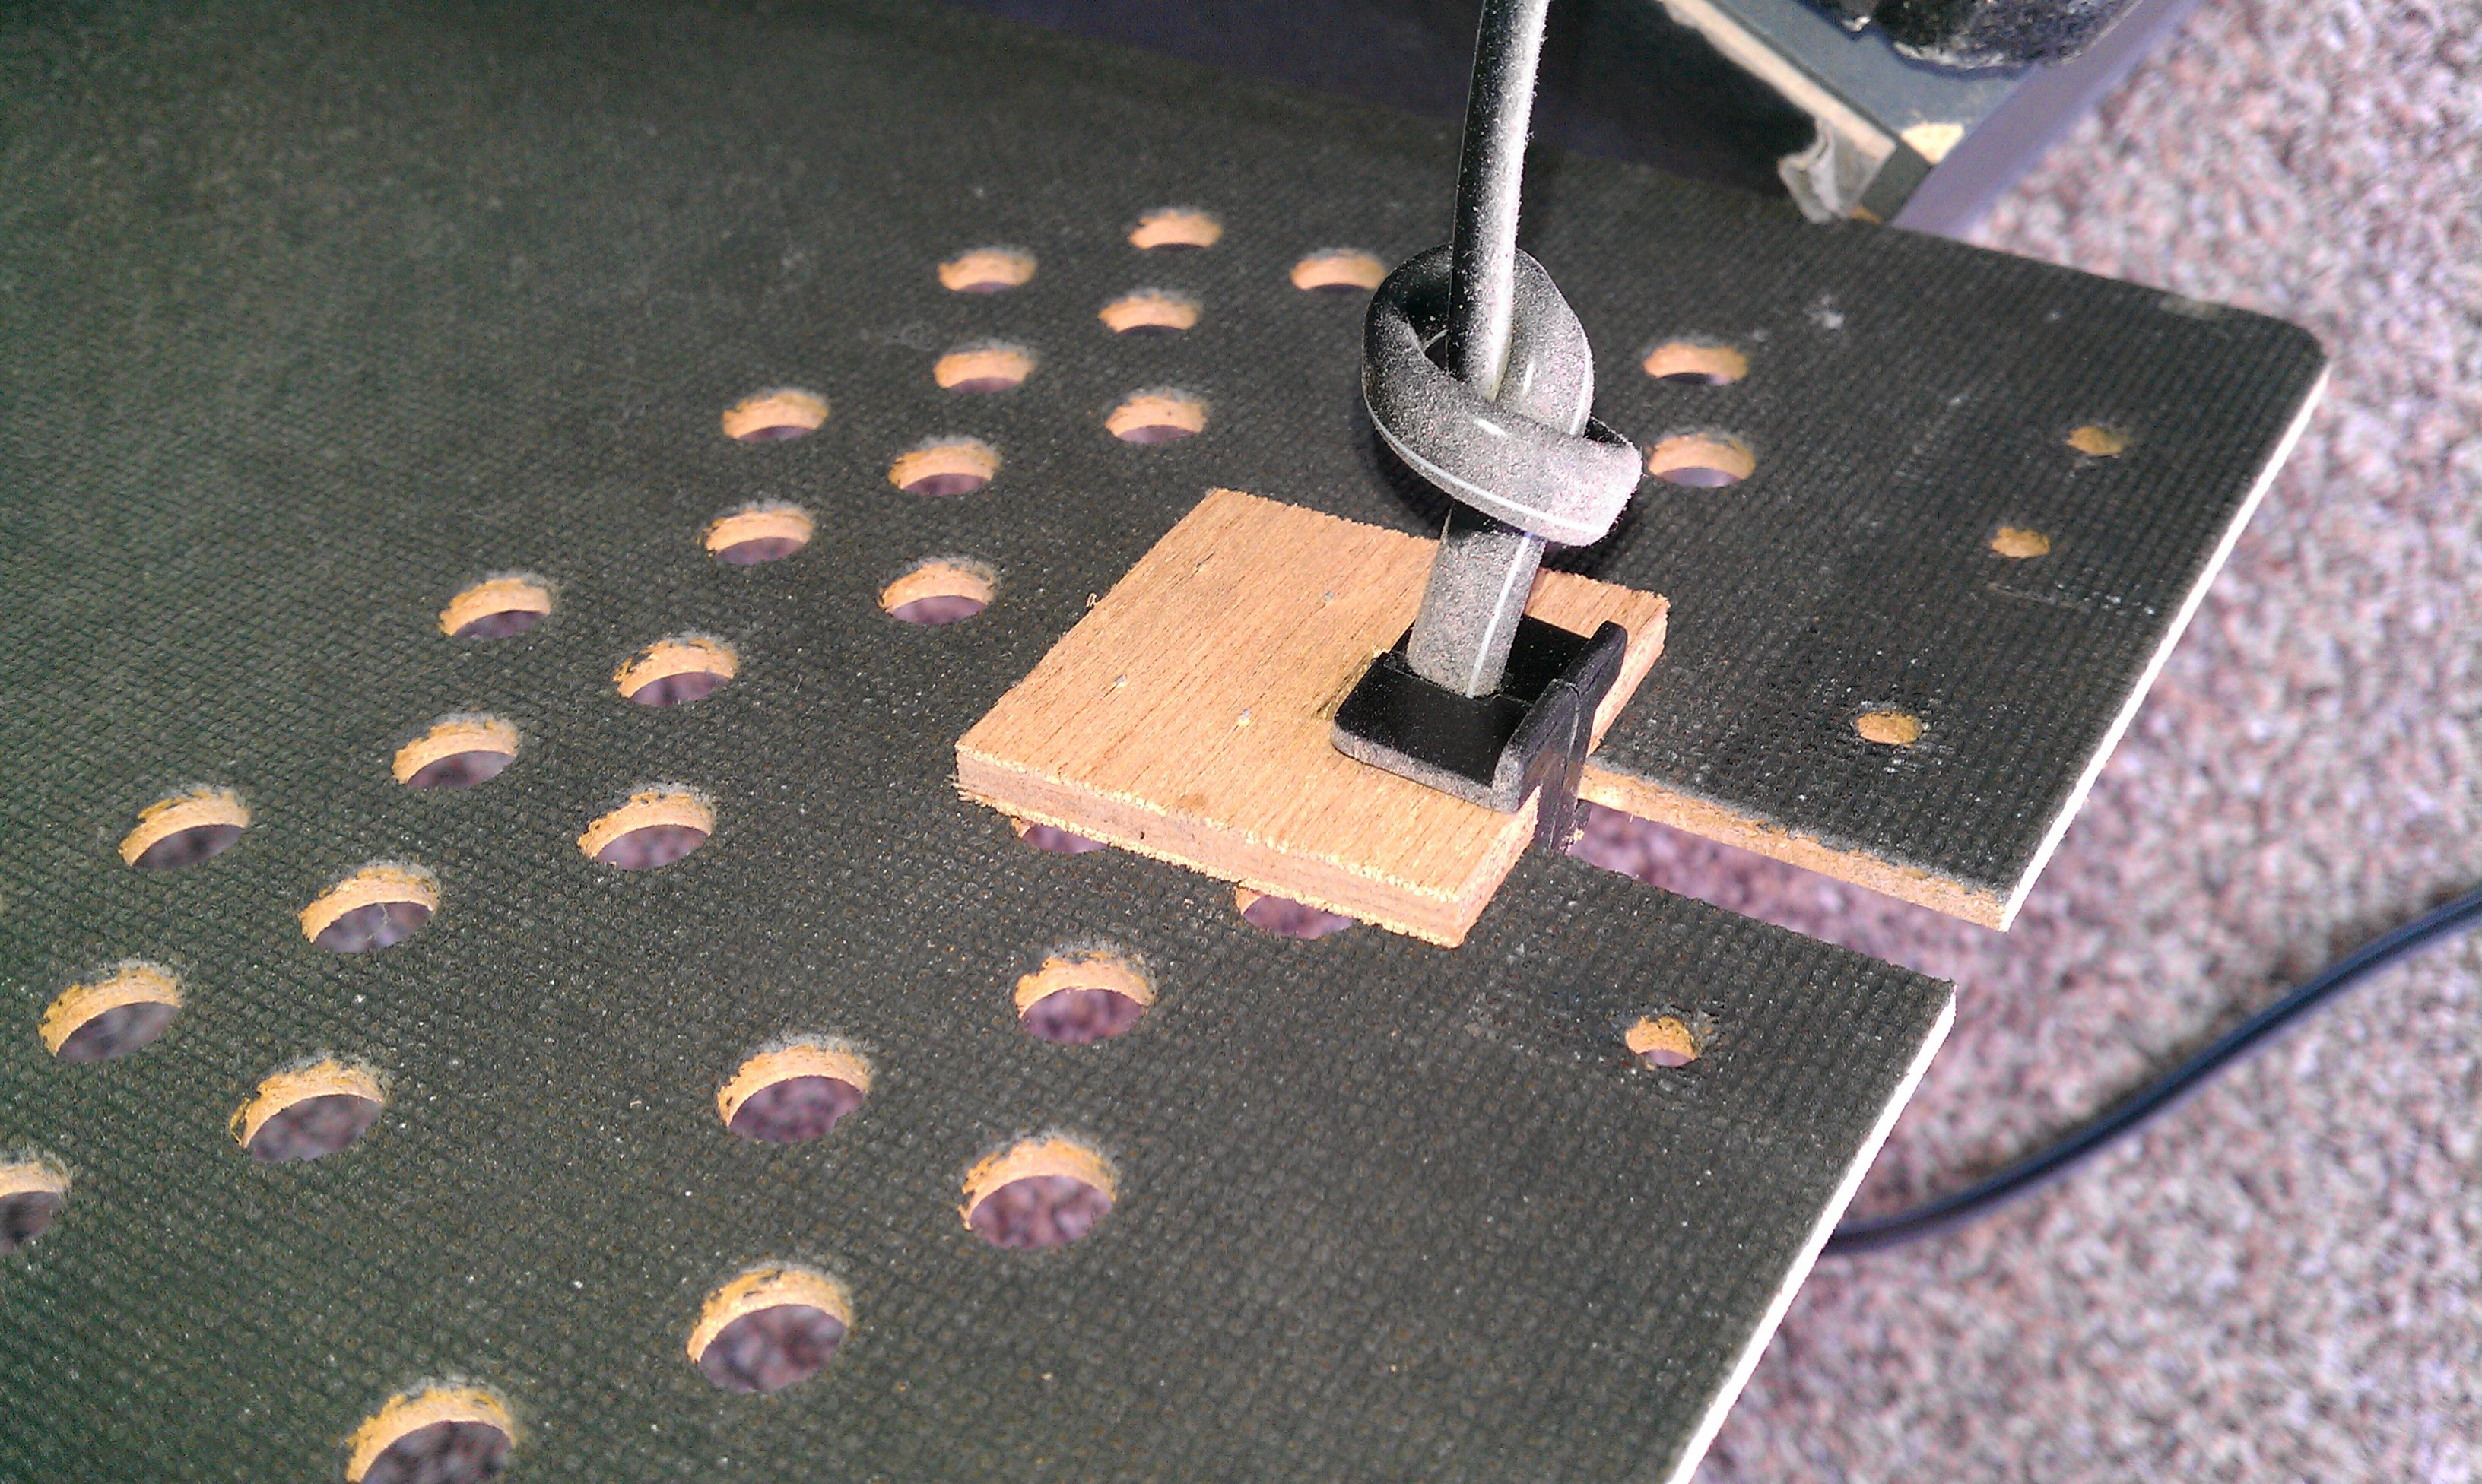
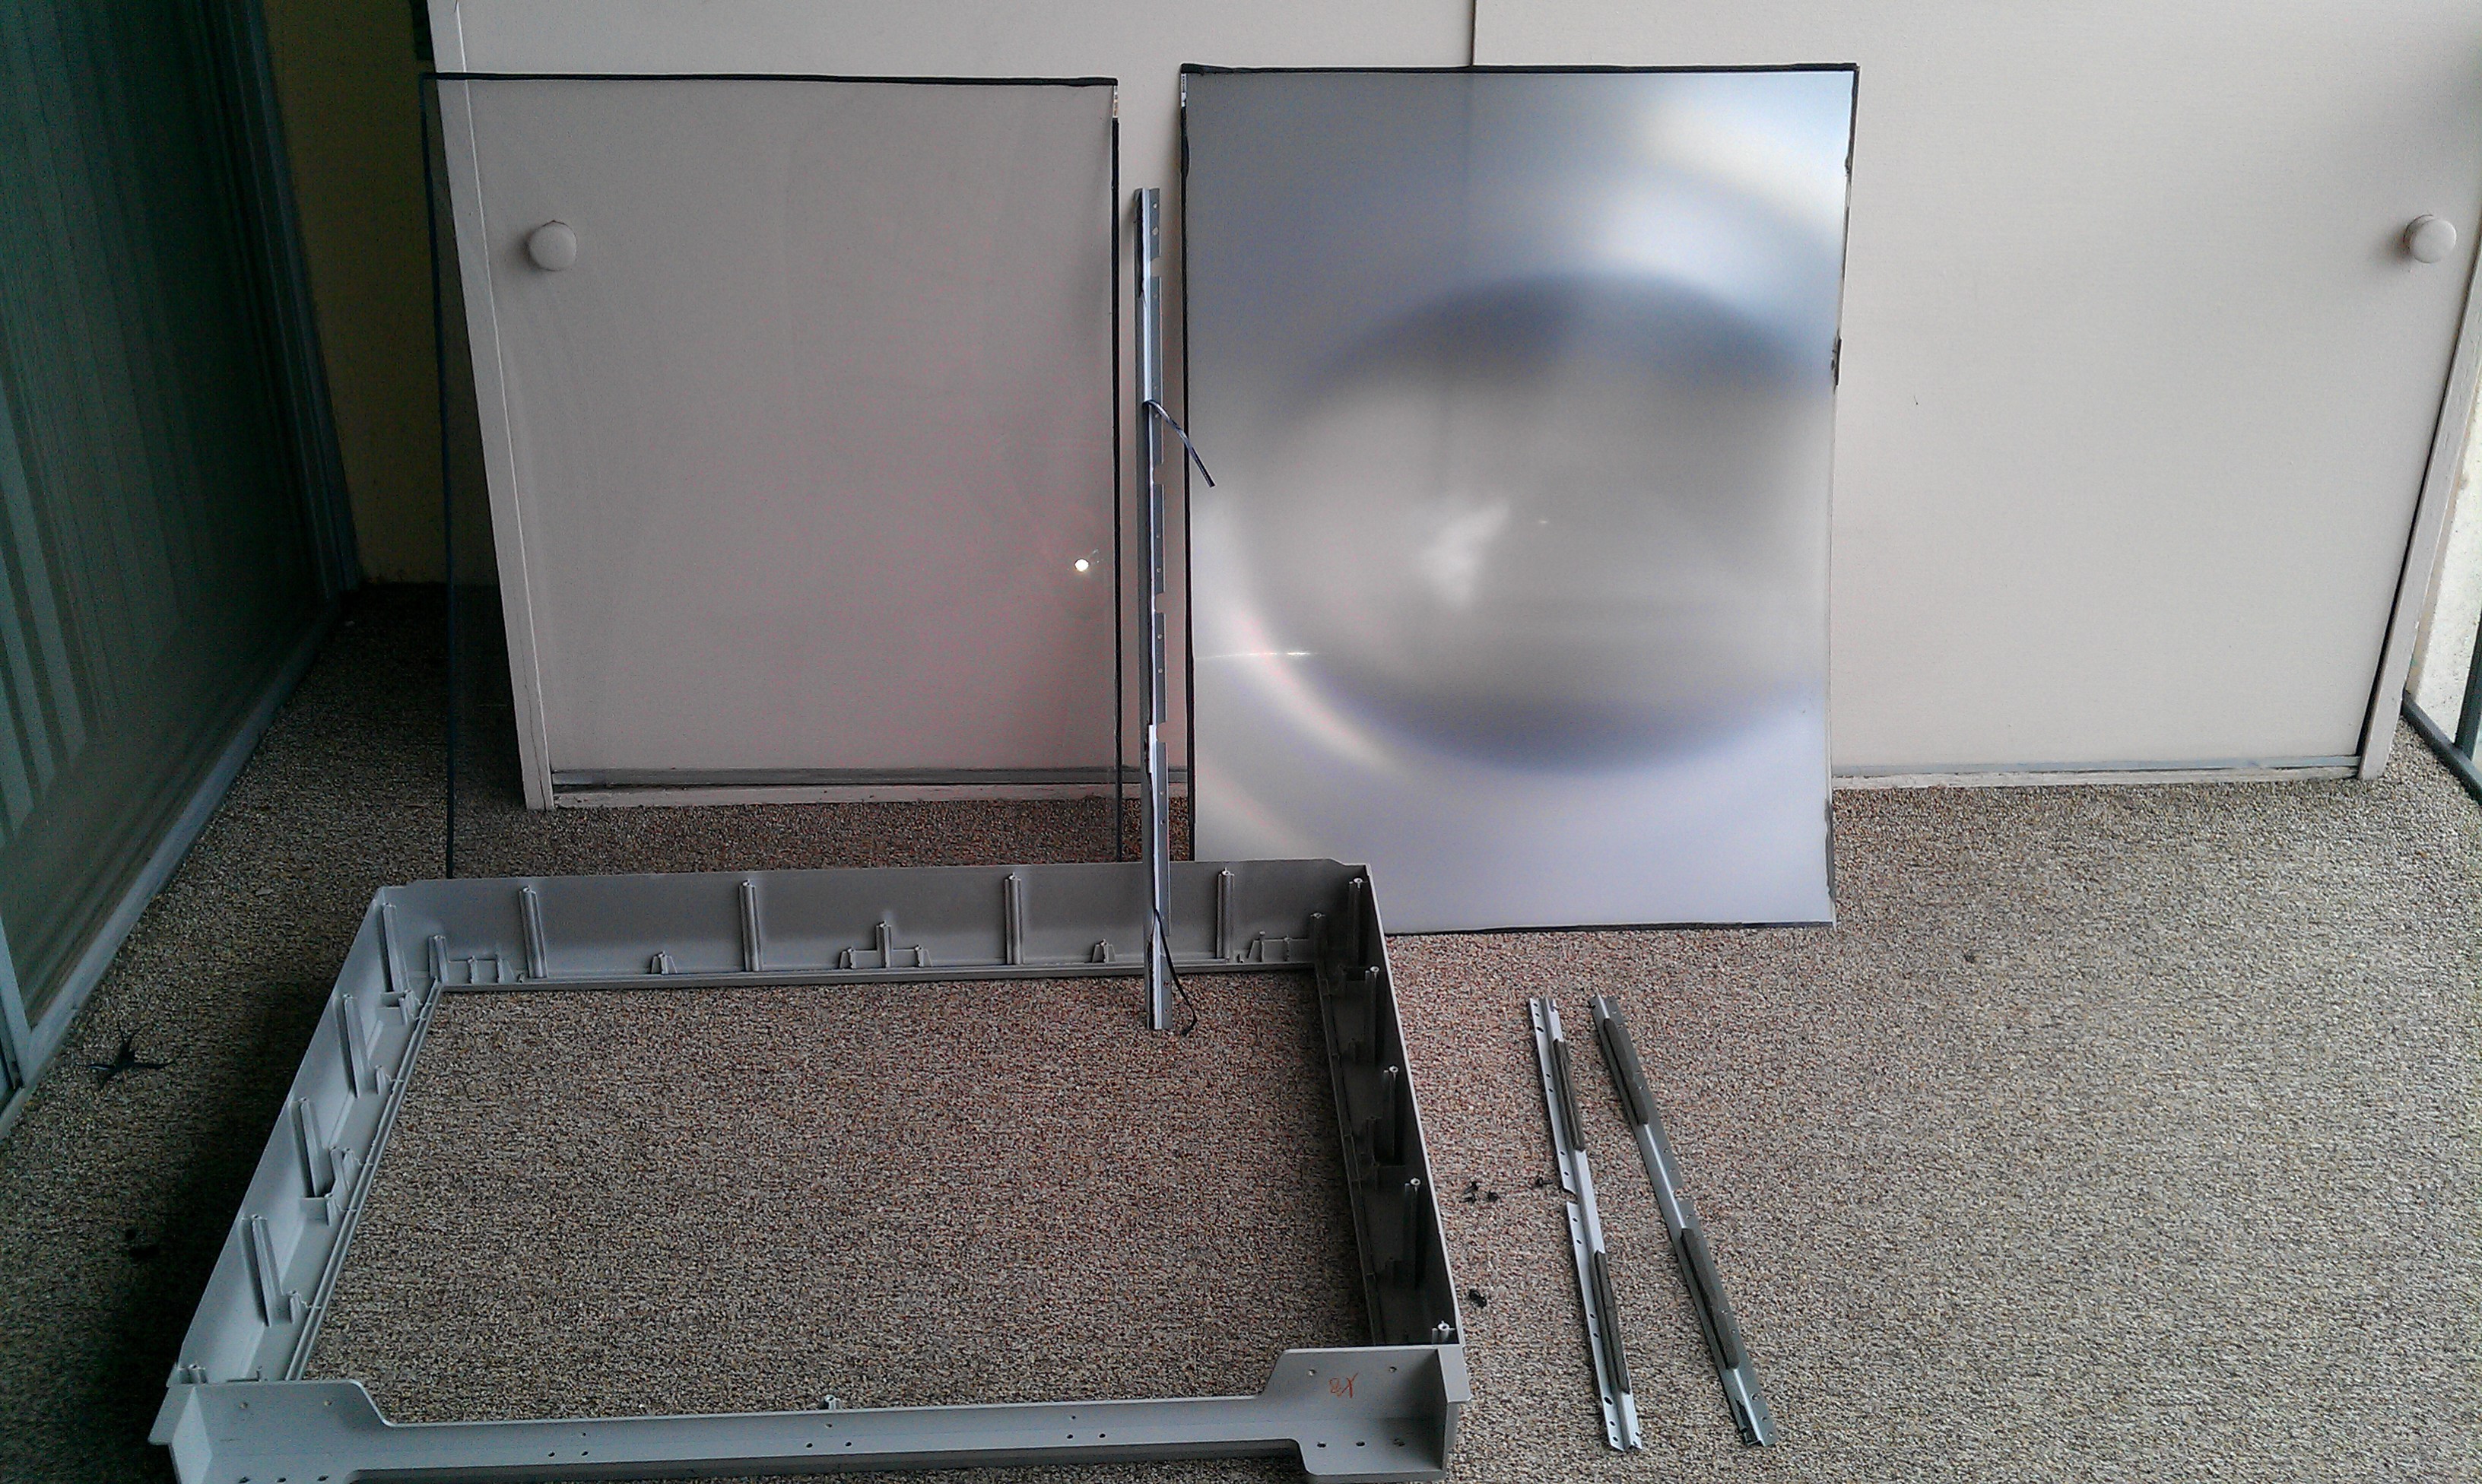
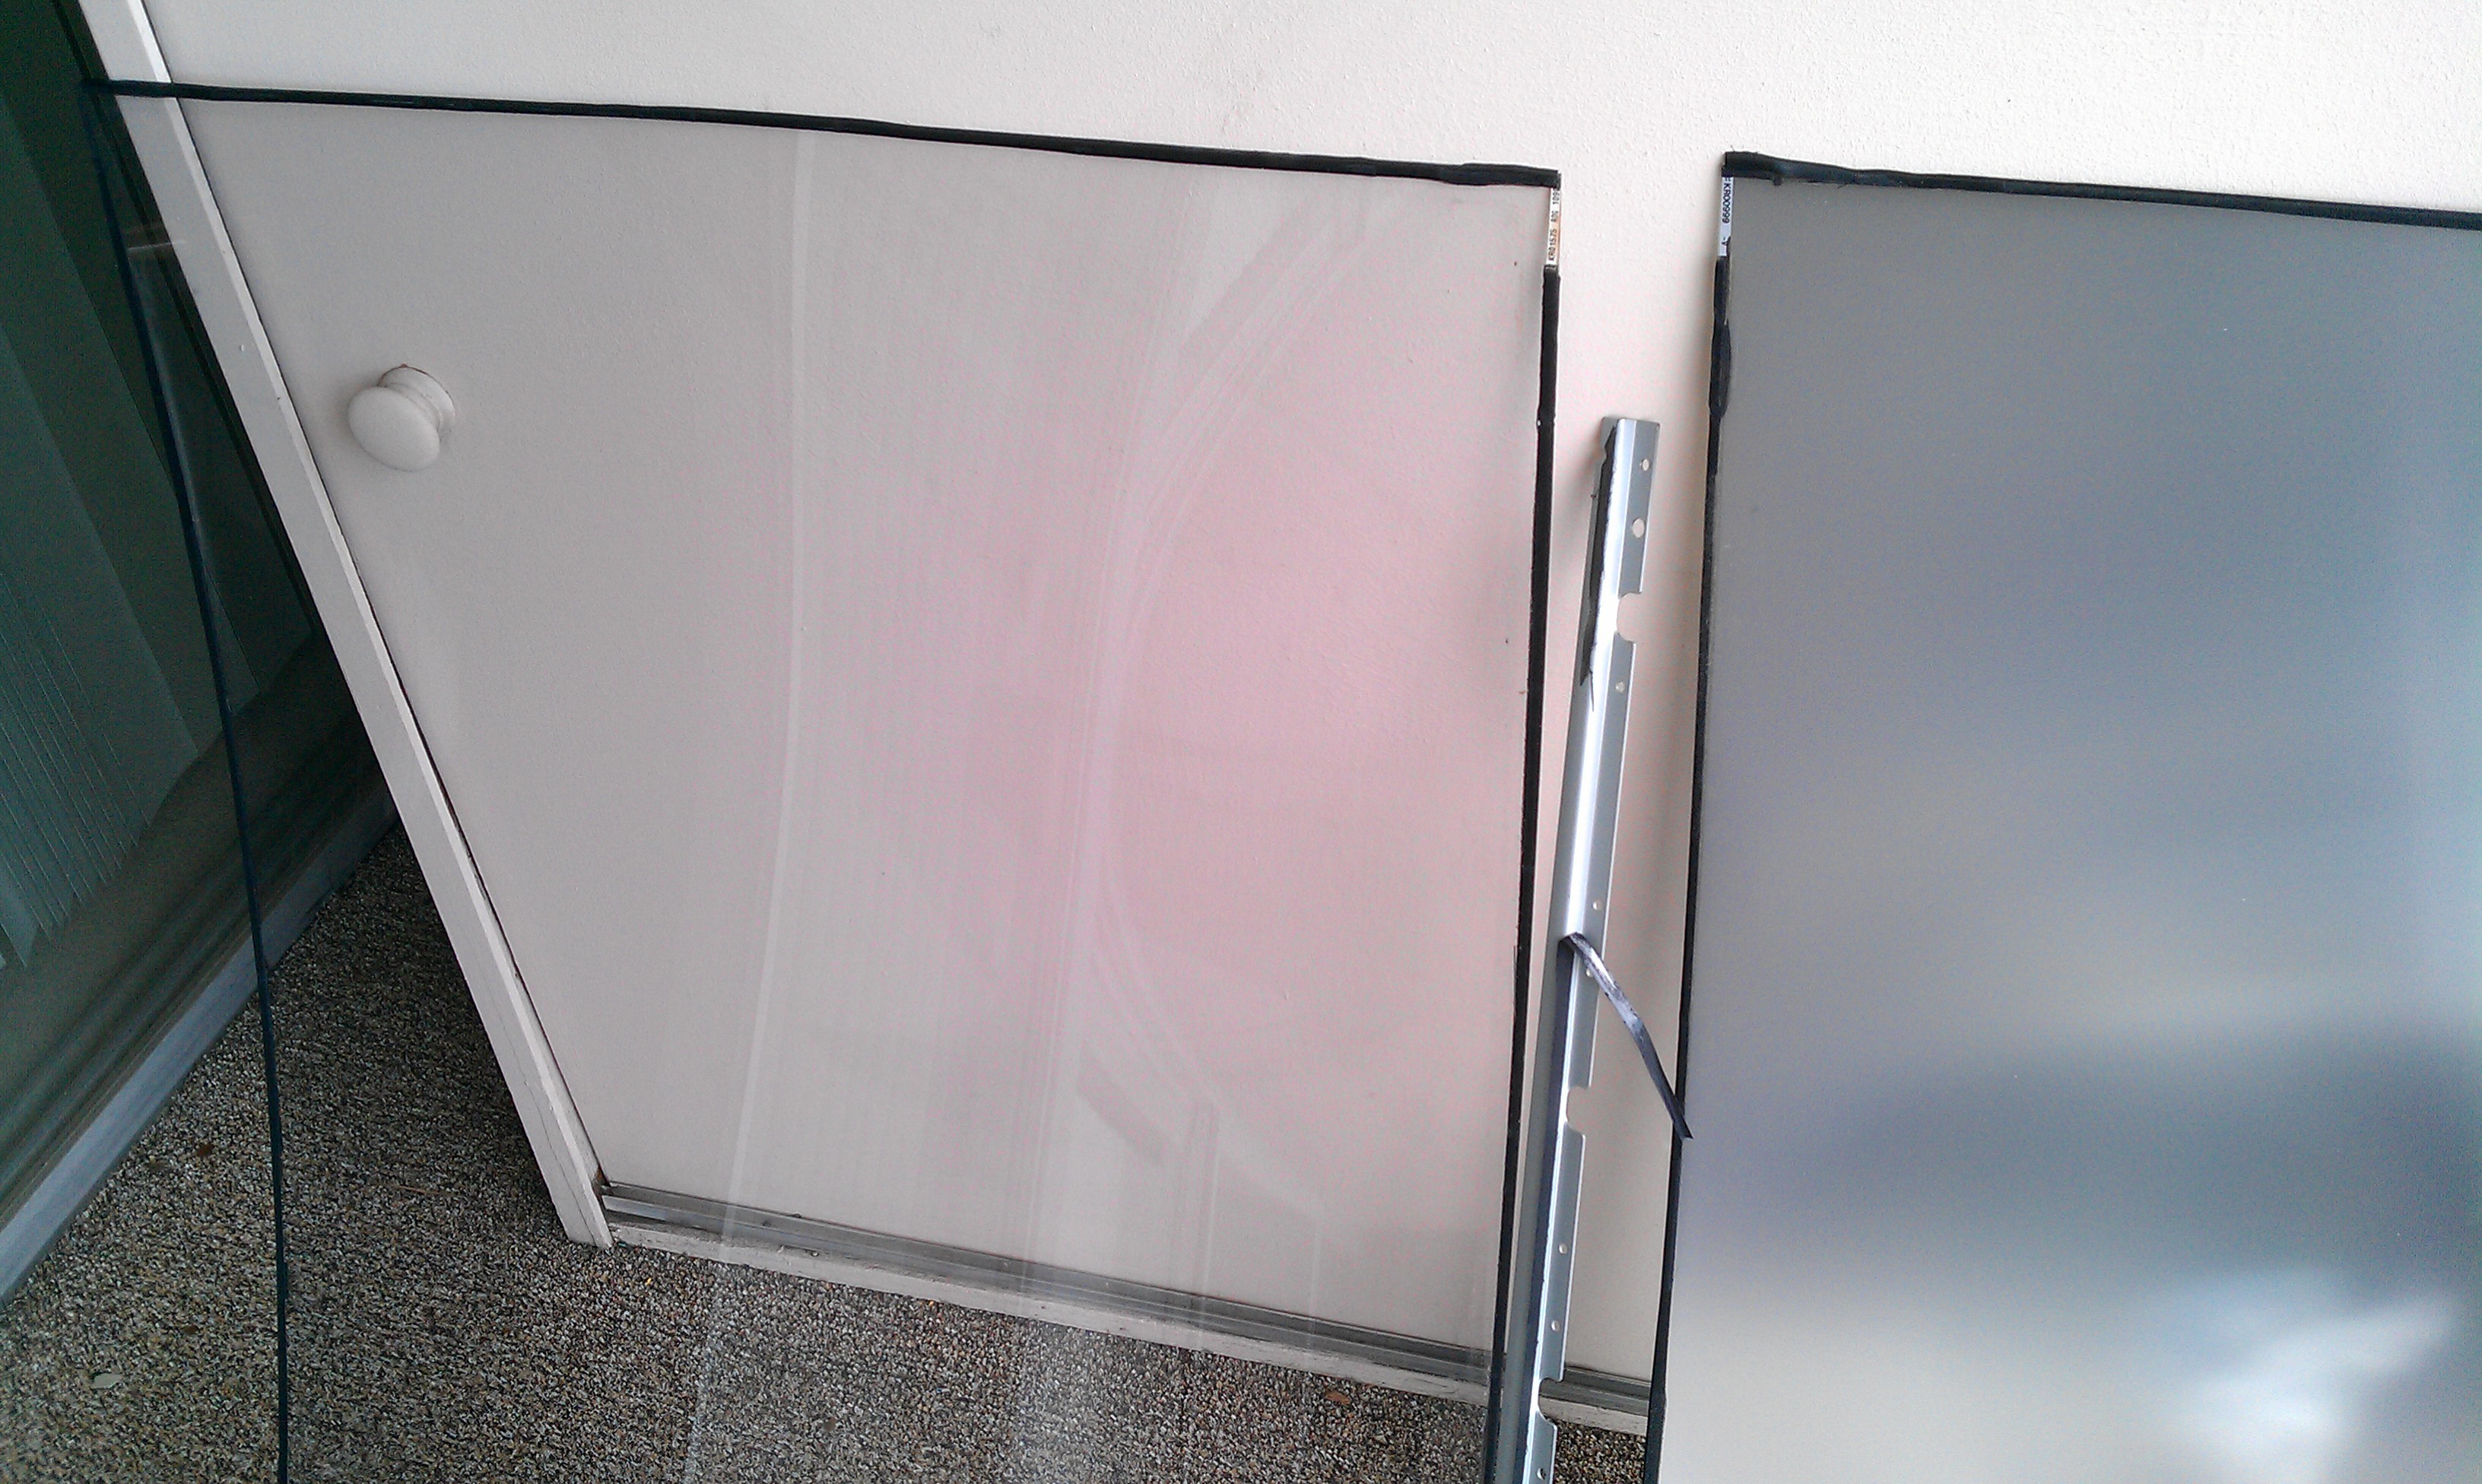
The four metal bars holding the screen are off and two layers of the screen are both taped together and are also glued together, about 0.25" in from all the edges. A razor blade carefully slid around all sides between the layers separated the two pieces below.![]()
The clear protector looking front plastic (UV?) was hard to photograph.![]()
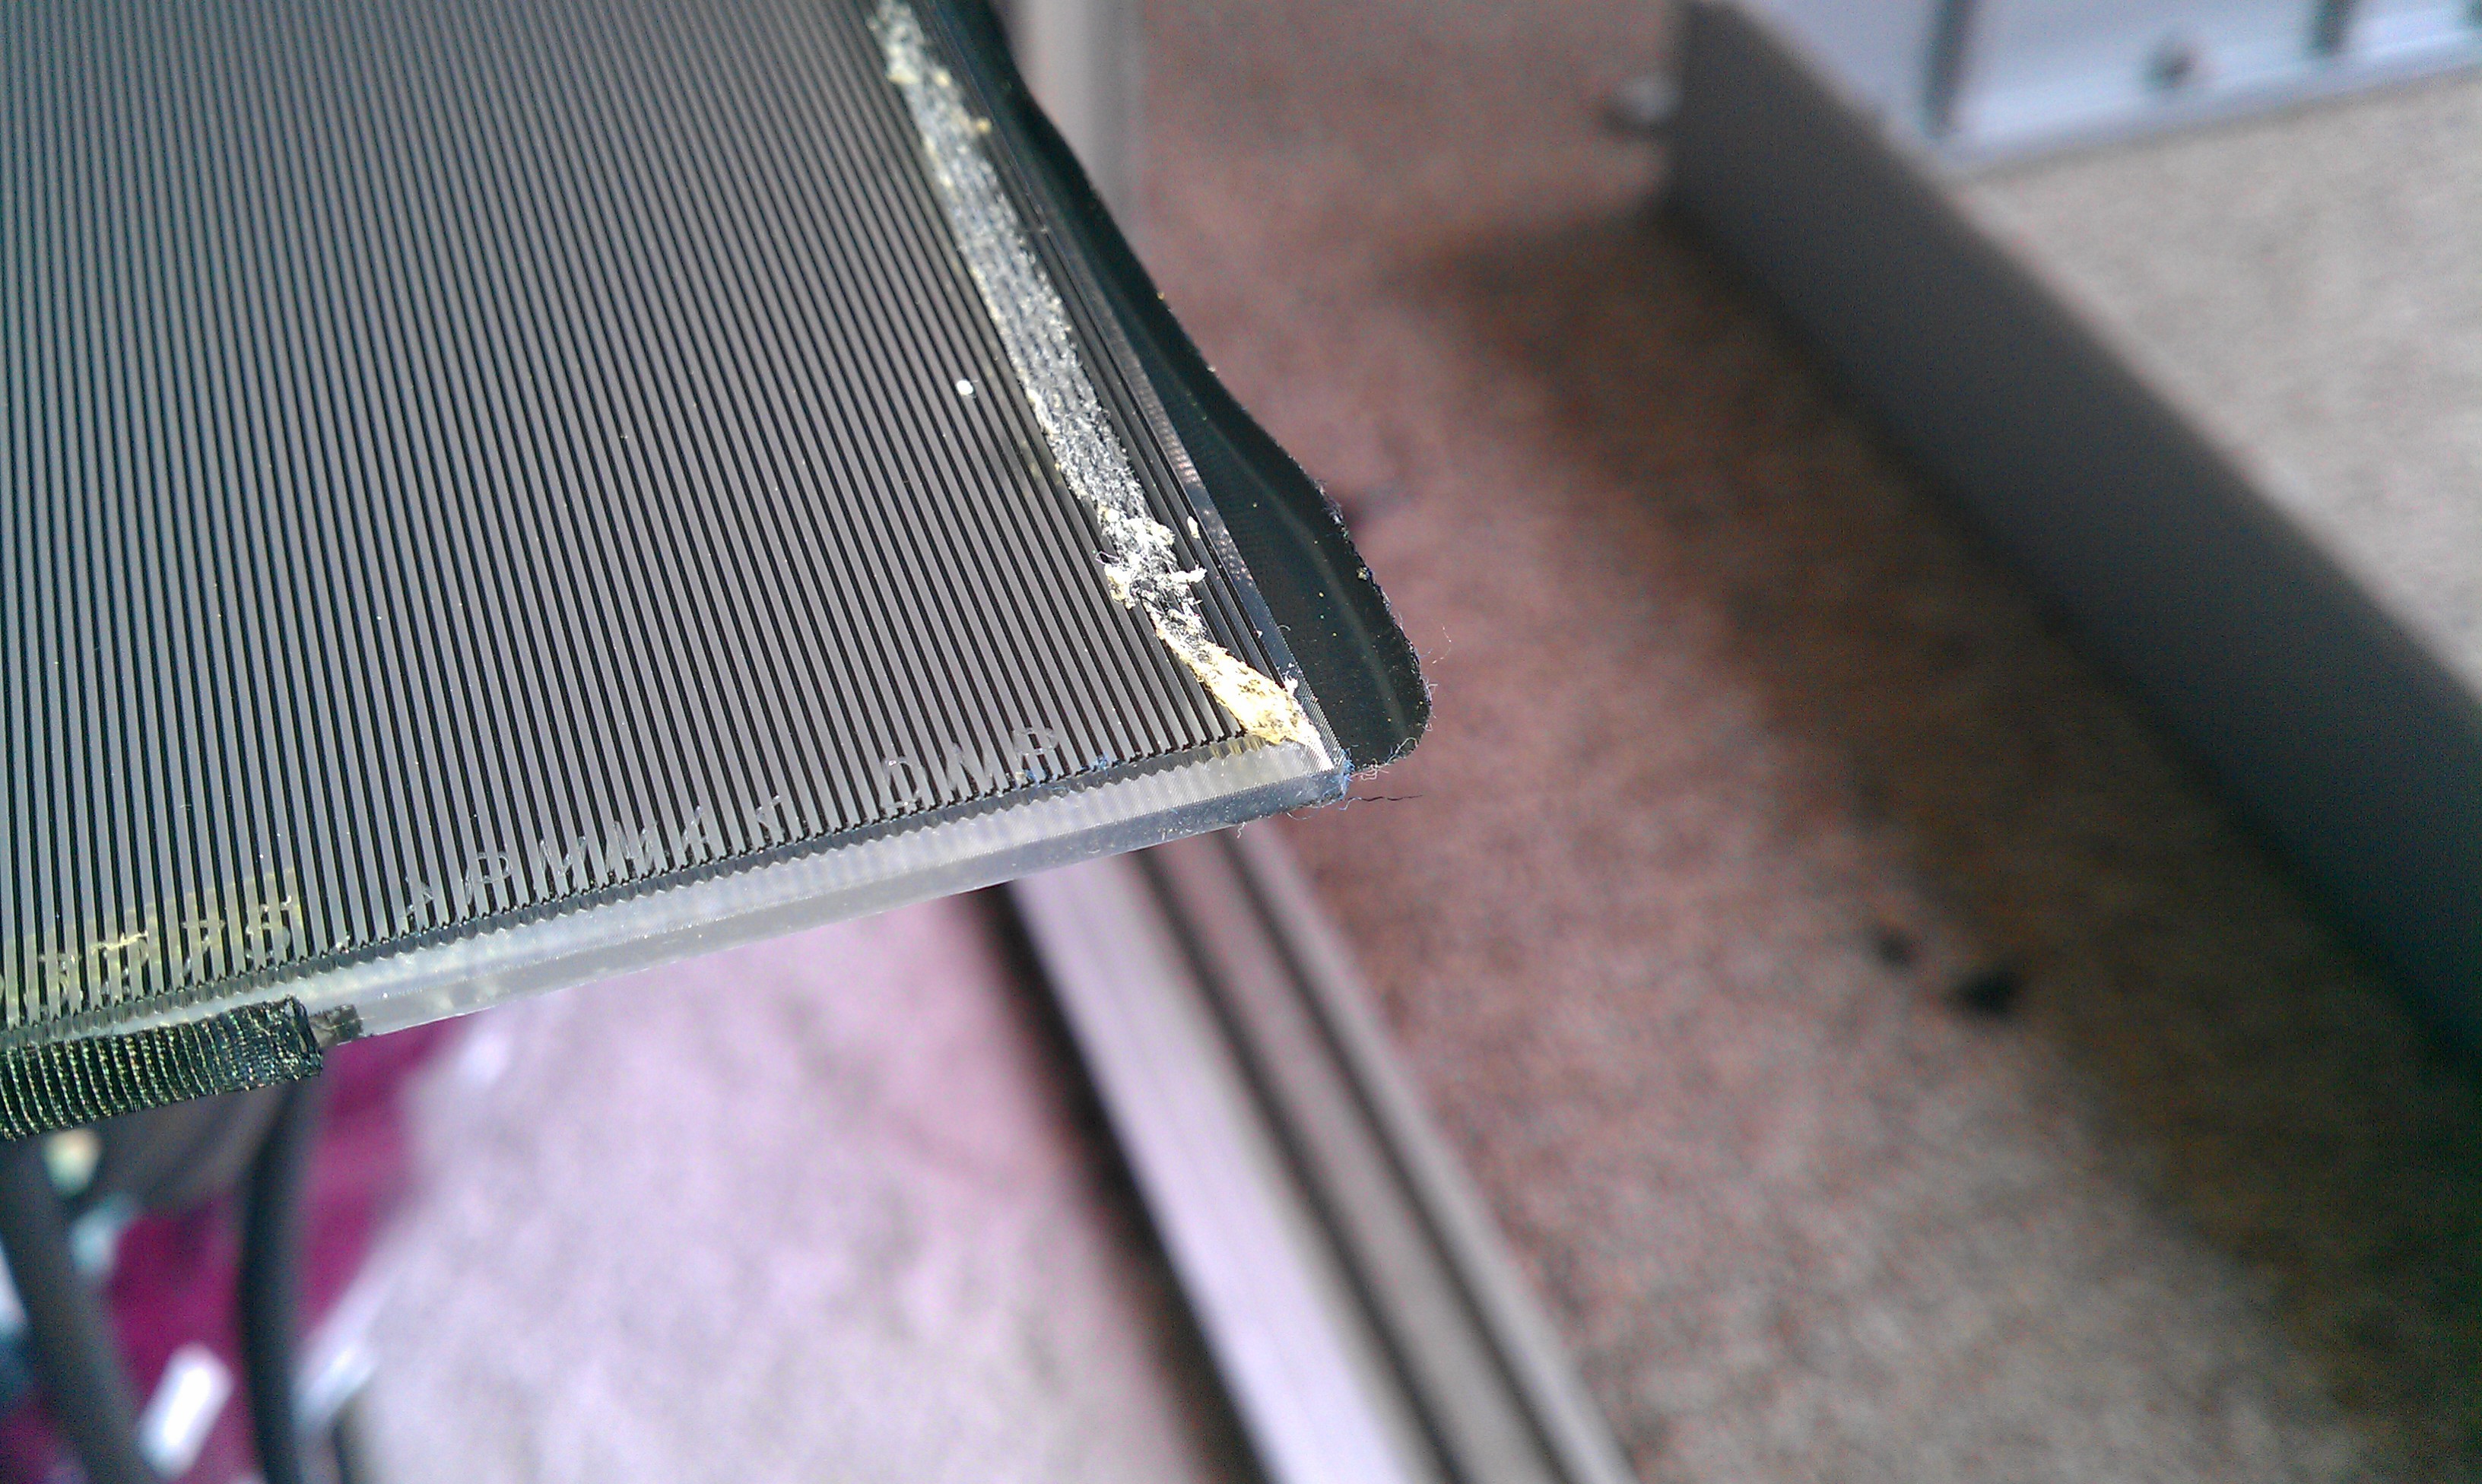
A closer inspection shows another layer glued to the lens I want. It looks like a diffuser. Once started with a razor, it pealed clean off the lens.![]()
Diffusing layer separated.![]()
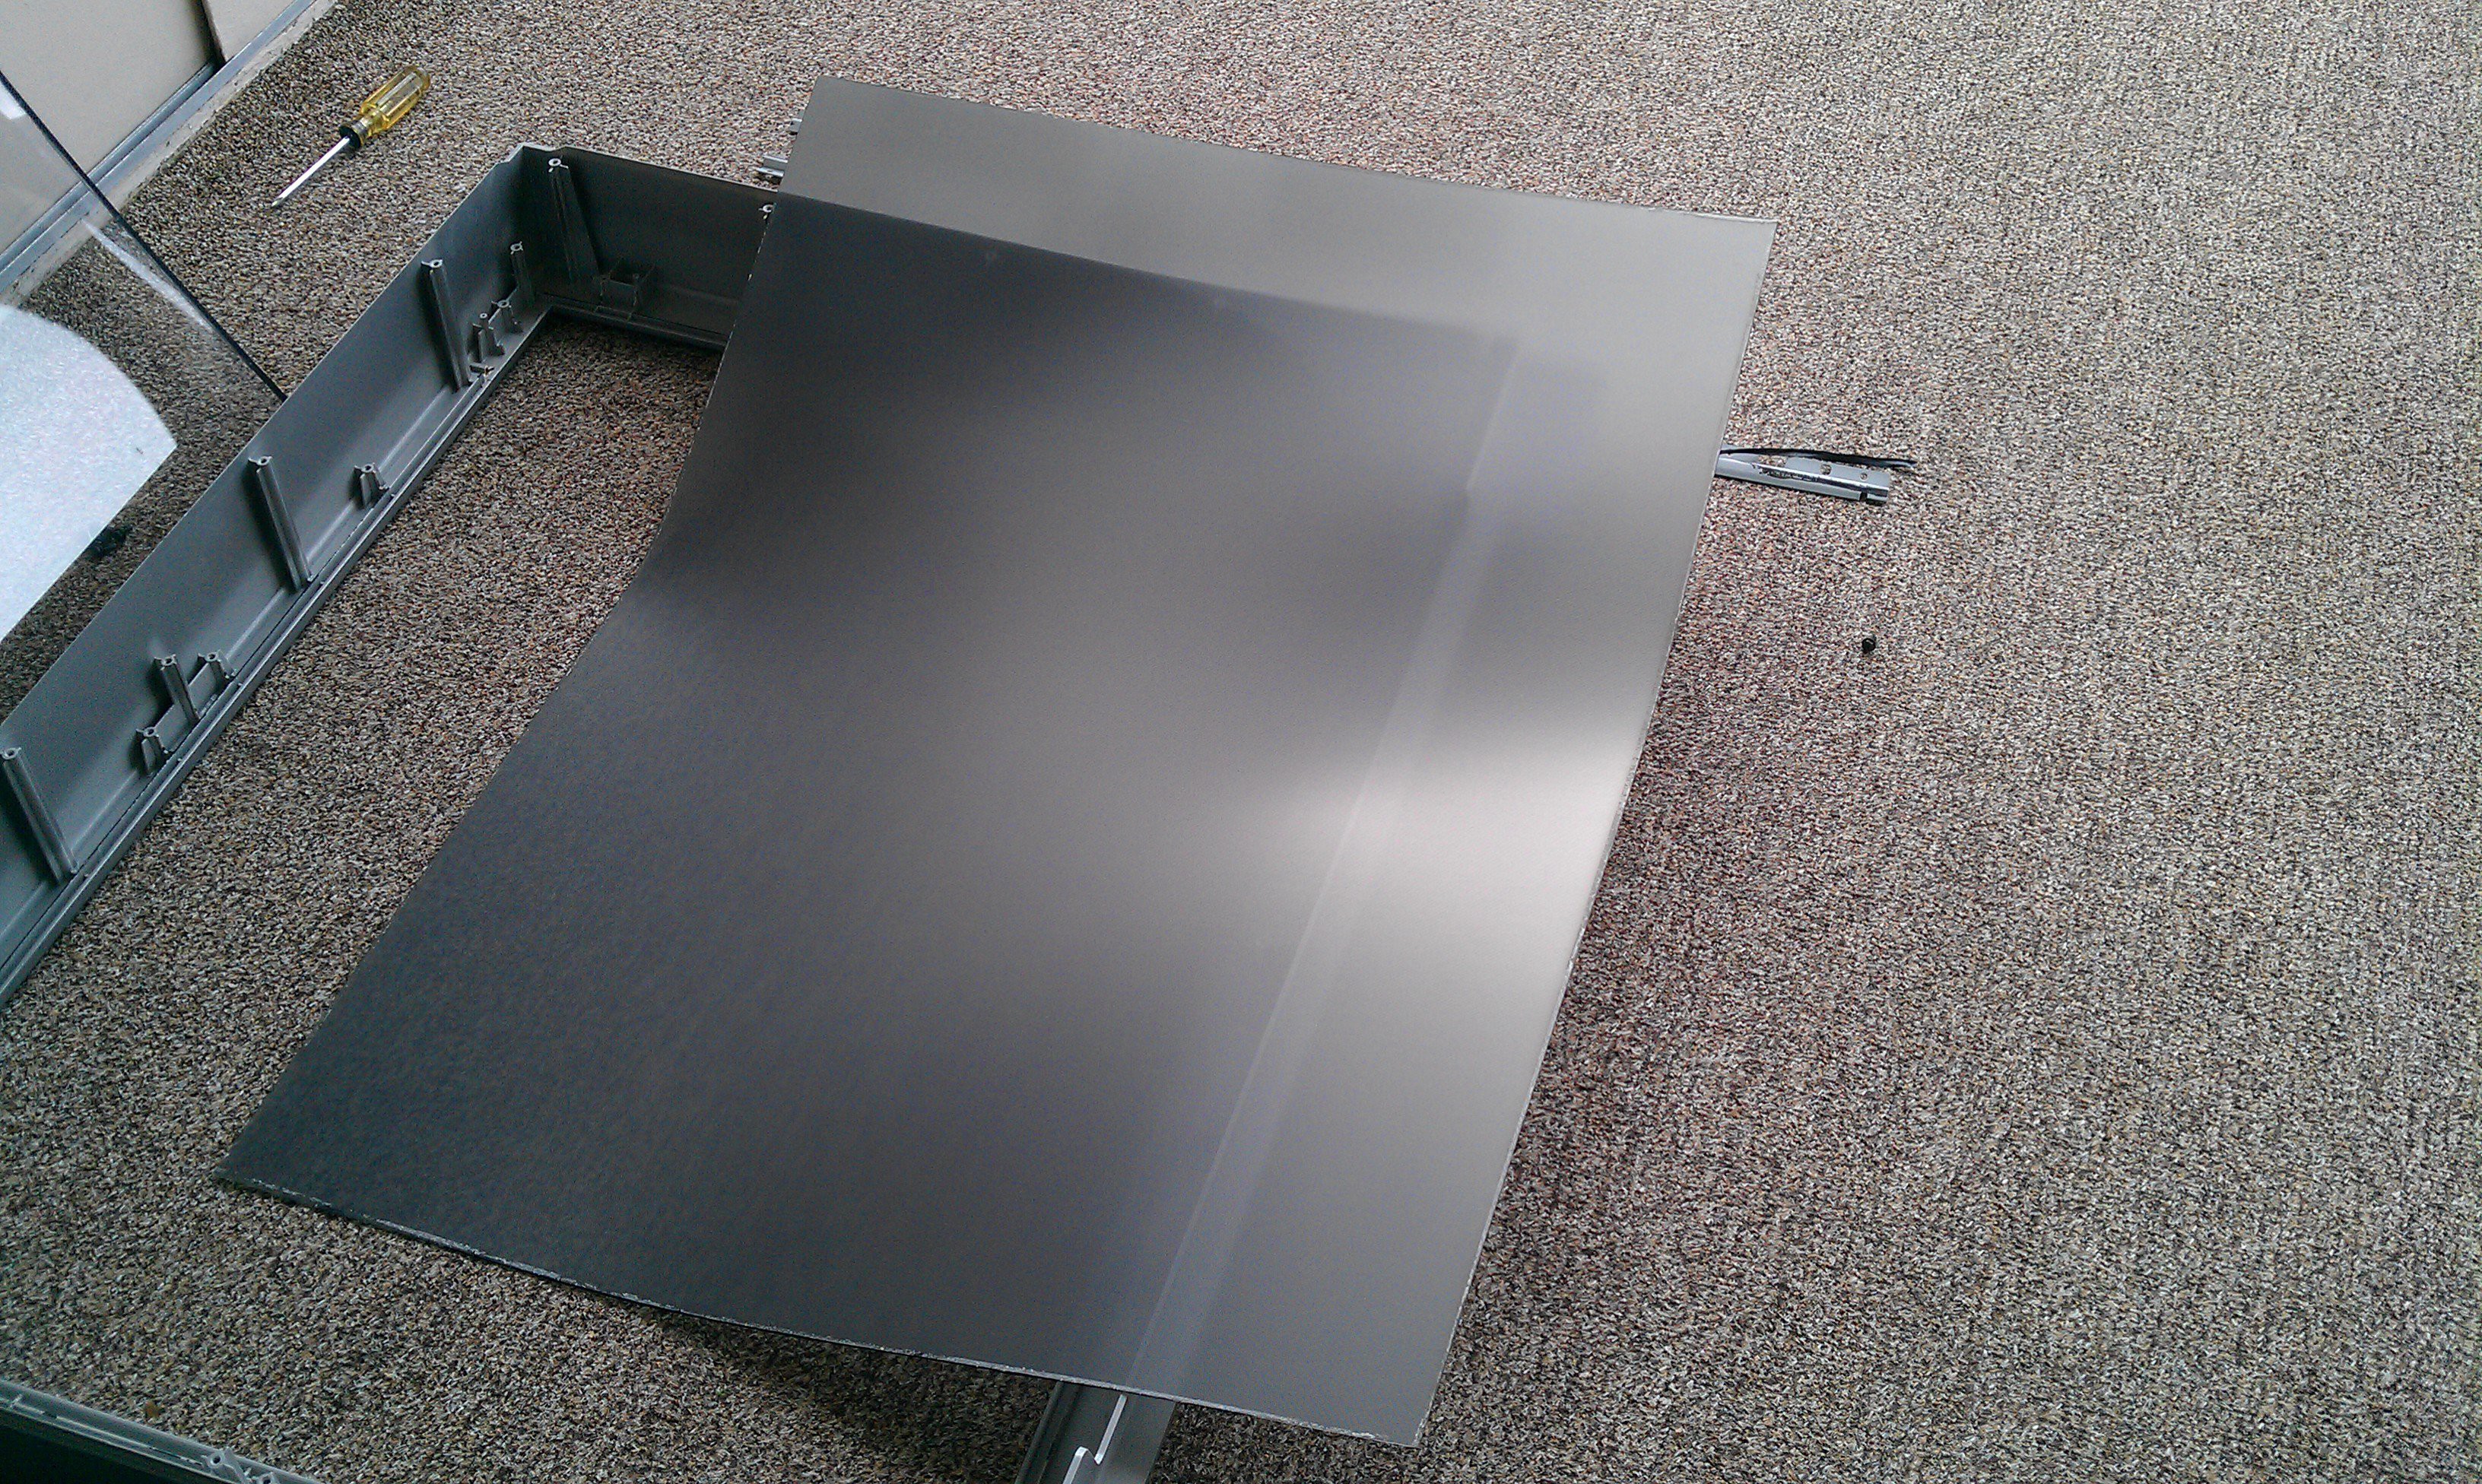
With the other two layers gone, I mounted the single lens back into the frame. Fits tight :)![]()
Above you can already see it magnifying the carpet and a kind of circular square section of sky in the reflection. I was hoping to use this frame, but it is much more flexible than I expected.![]()
The focus test (26") was quickly disrupted by rain and a quick clean up before the wife comes home to a mess and kills me. It only focuses in direct light, so weather permitting, maybe I can get some pictures of the focused slit tomorrow.
-
Missed the LightBlue Bean Givaway
05/07/2015 at 08:39 • 0 commentsI totally missed the LightBlue Bean board givaway this week :(
I could have used it to control some remote X, Y movements like this:
And upload designs to it from online files on an Android phone.
-
First Plans
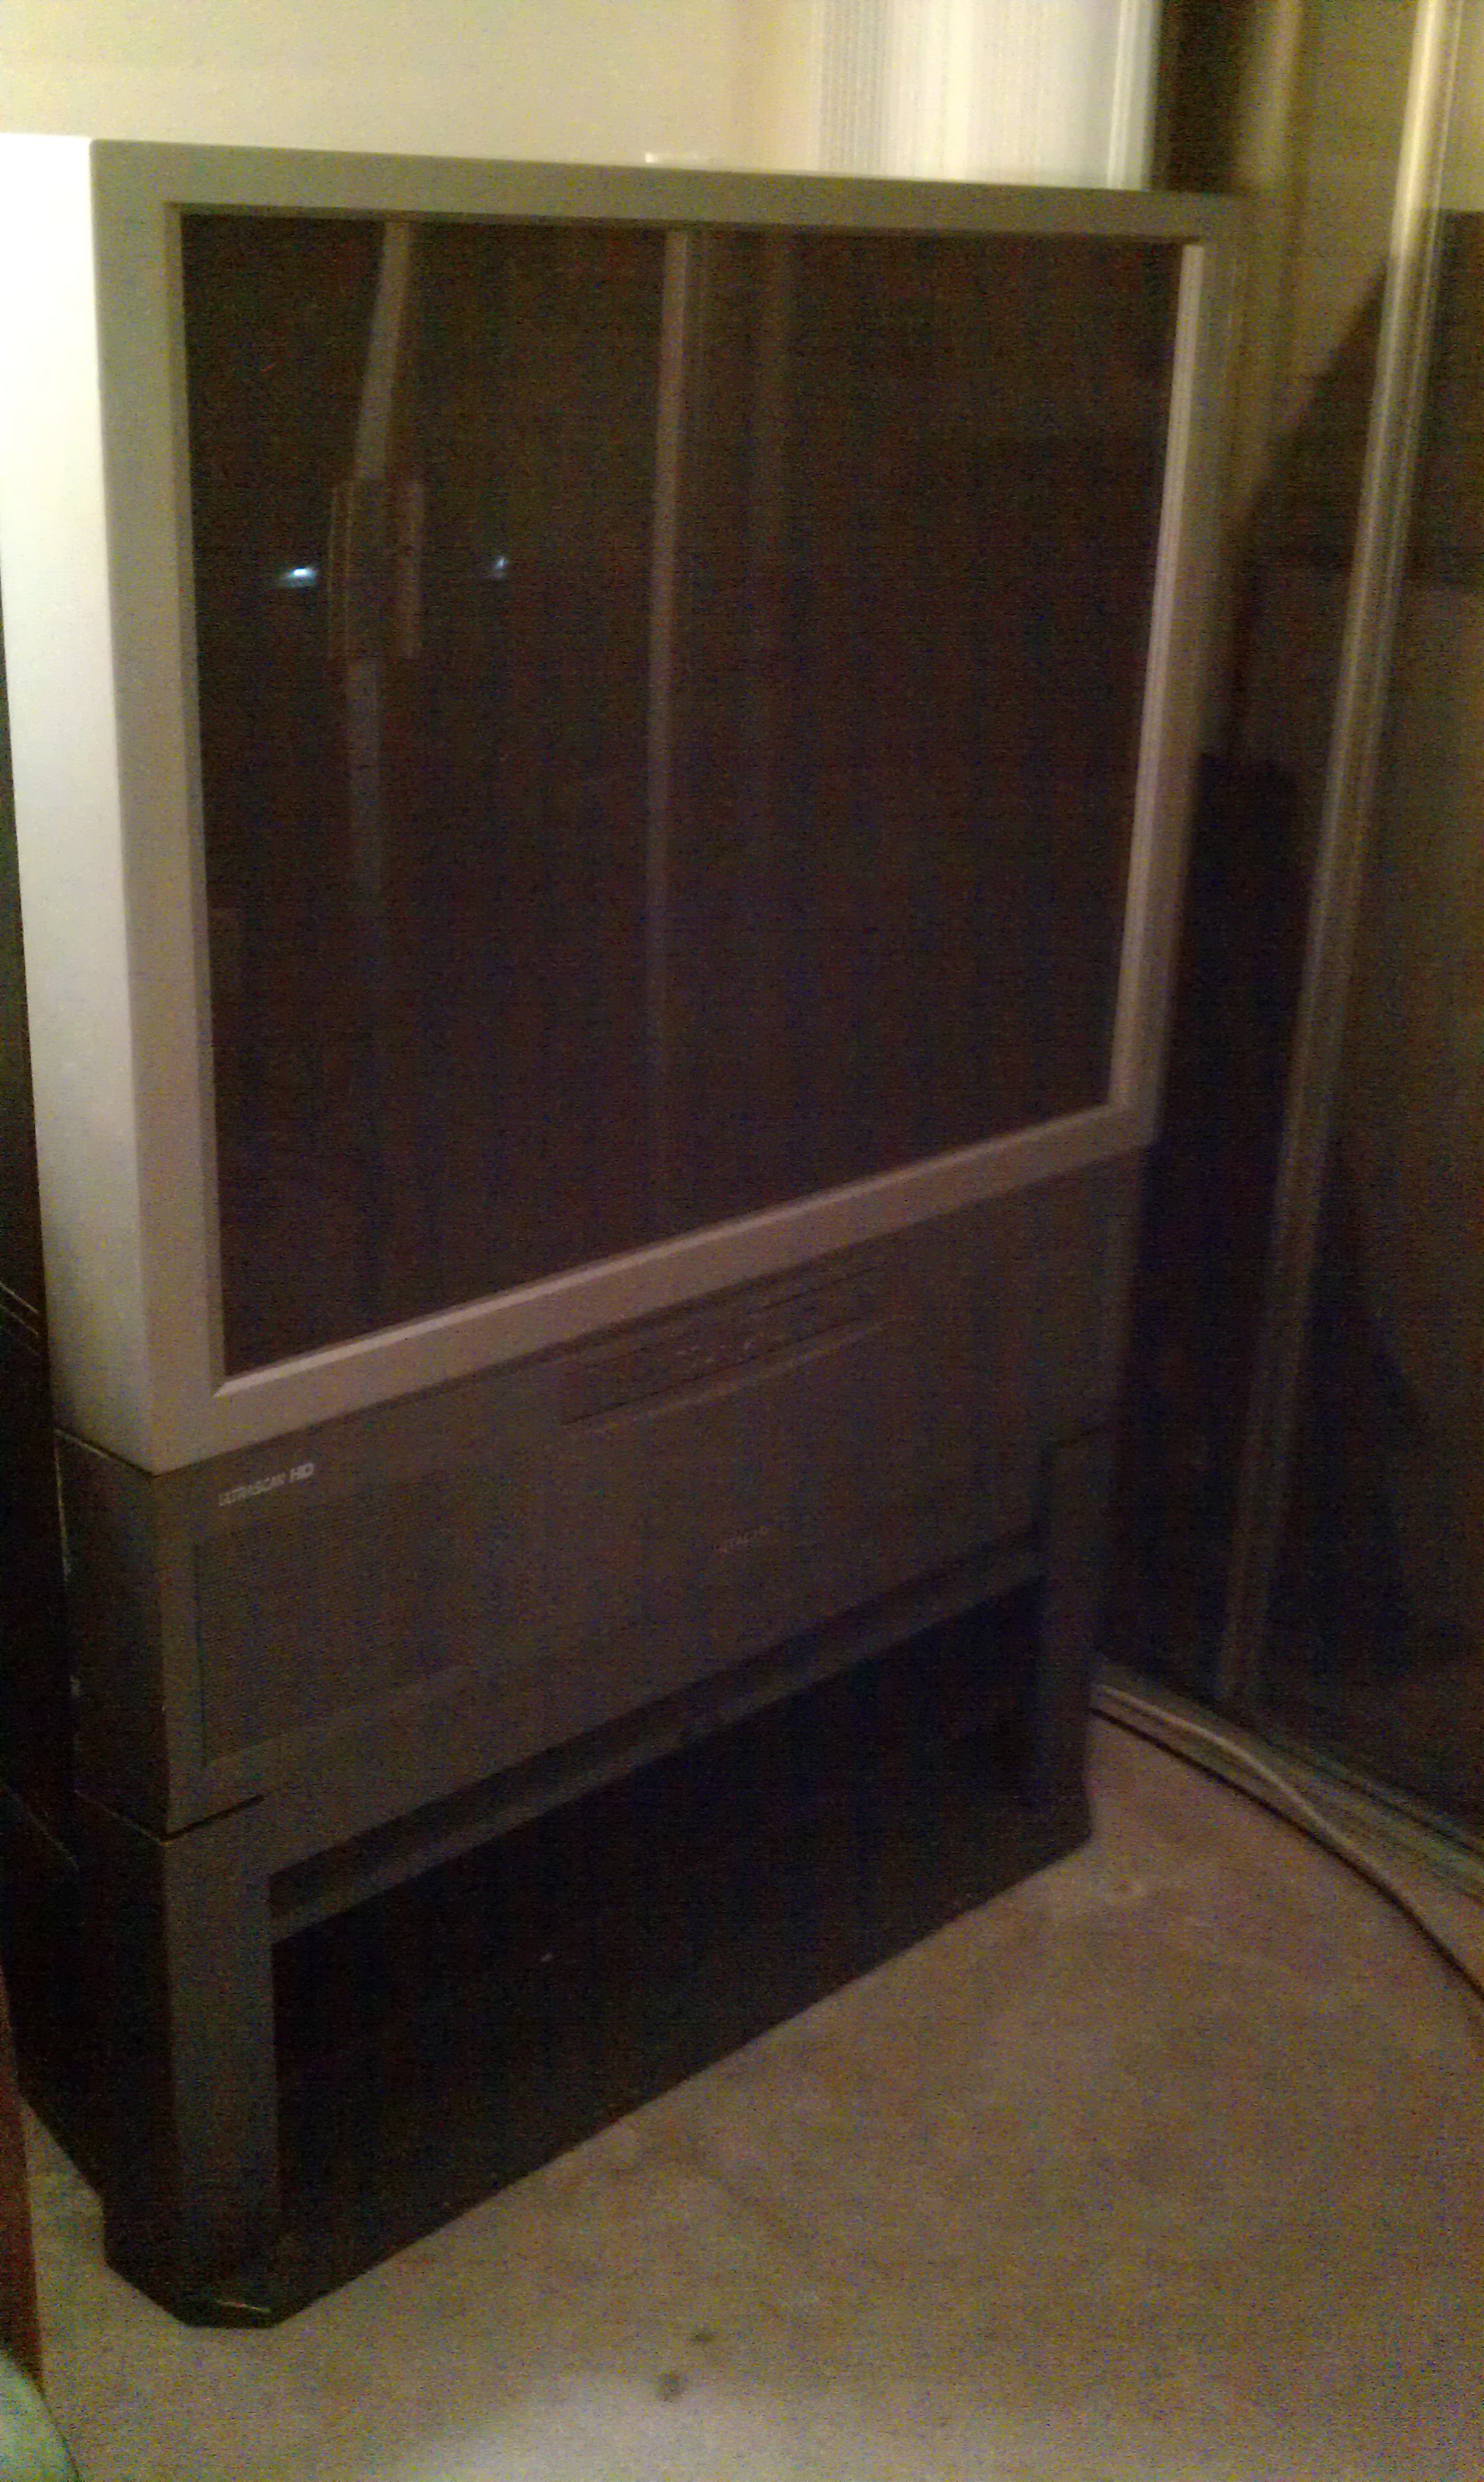
03/29/2015 at 11:22 • 0 commentsHere is the first item literally saved from a dumpster:
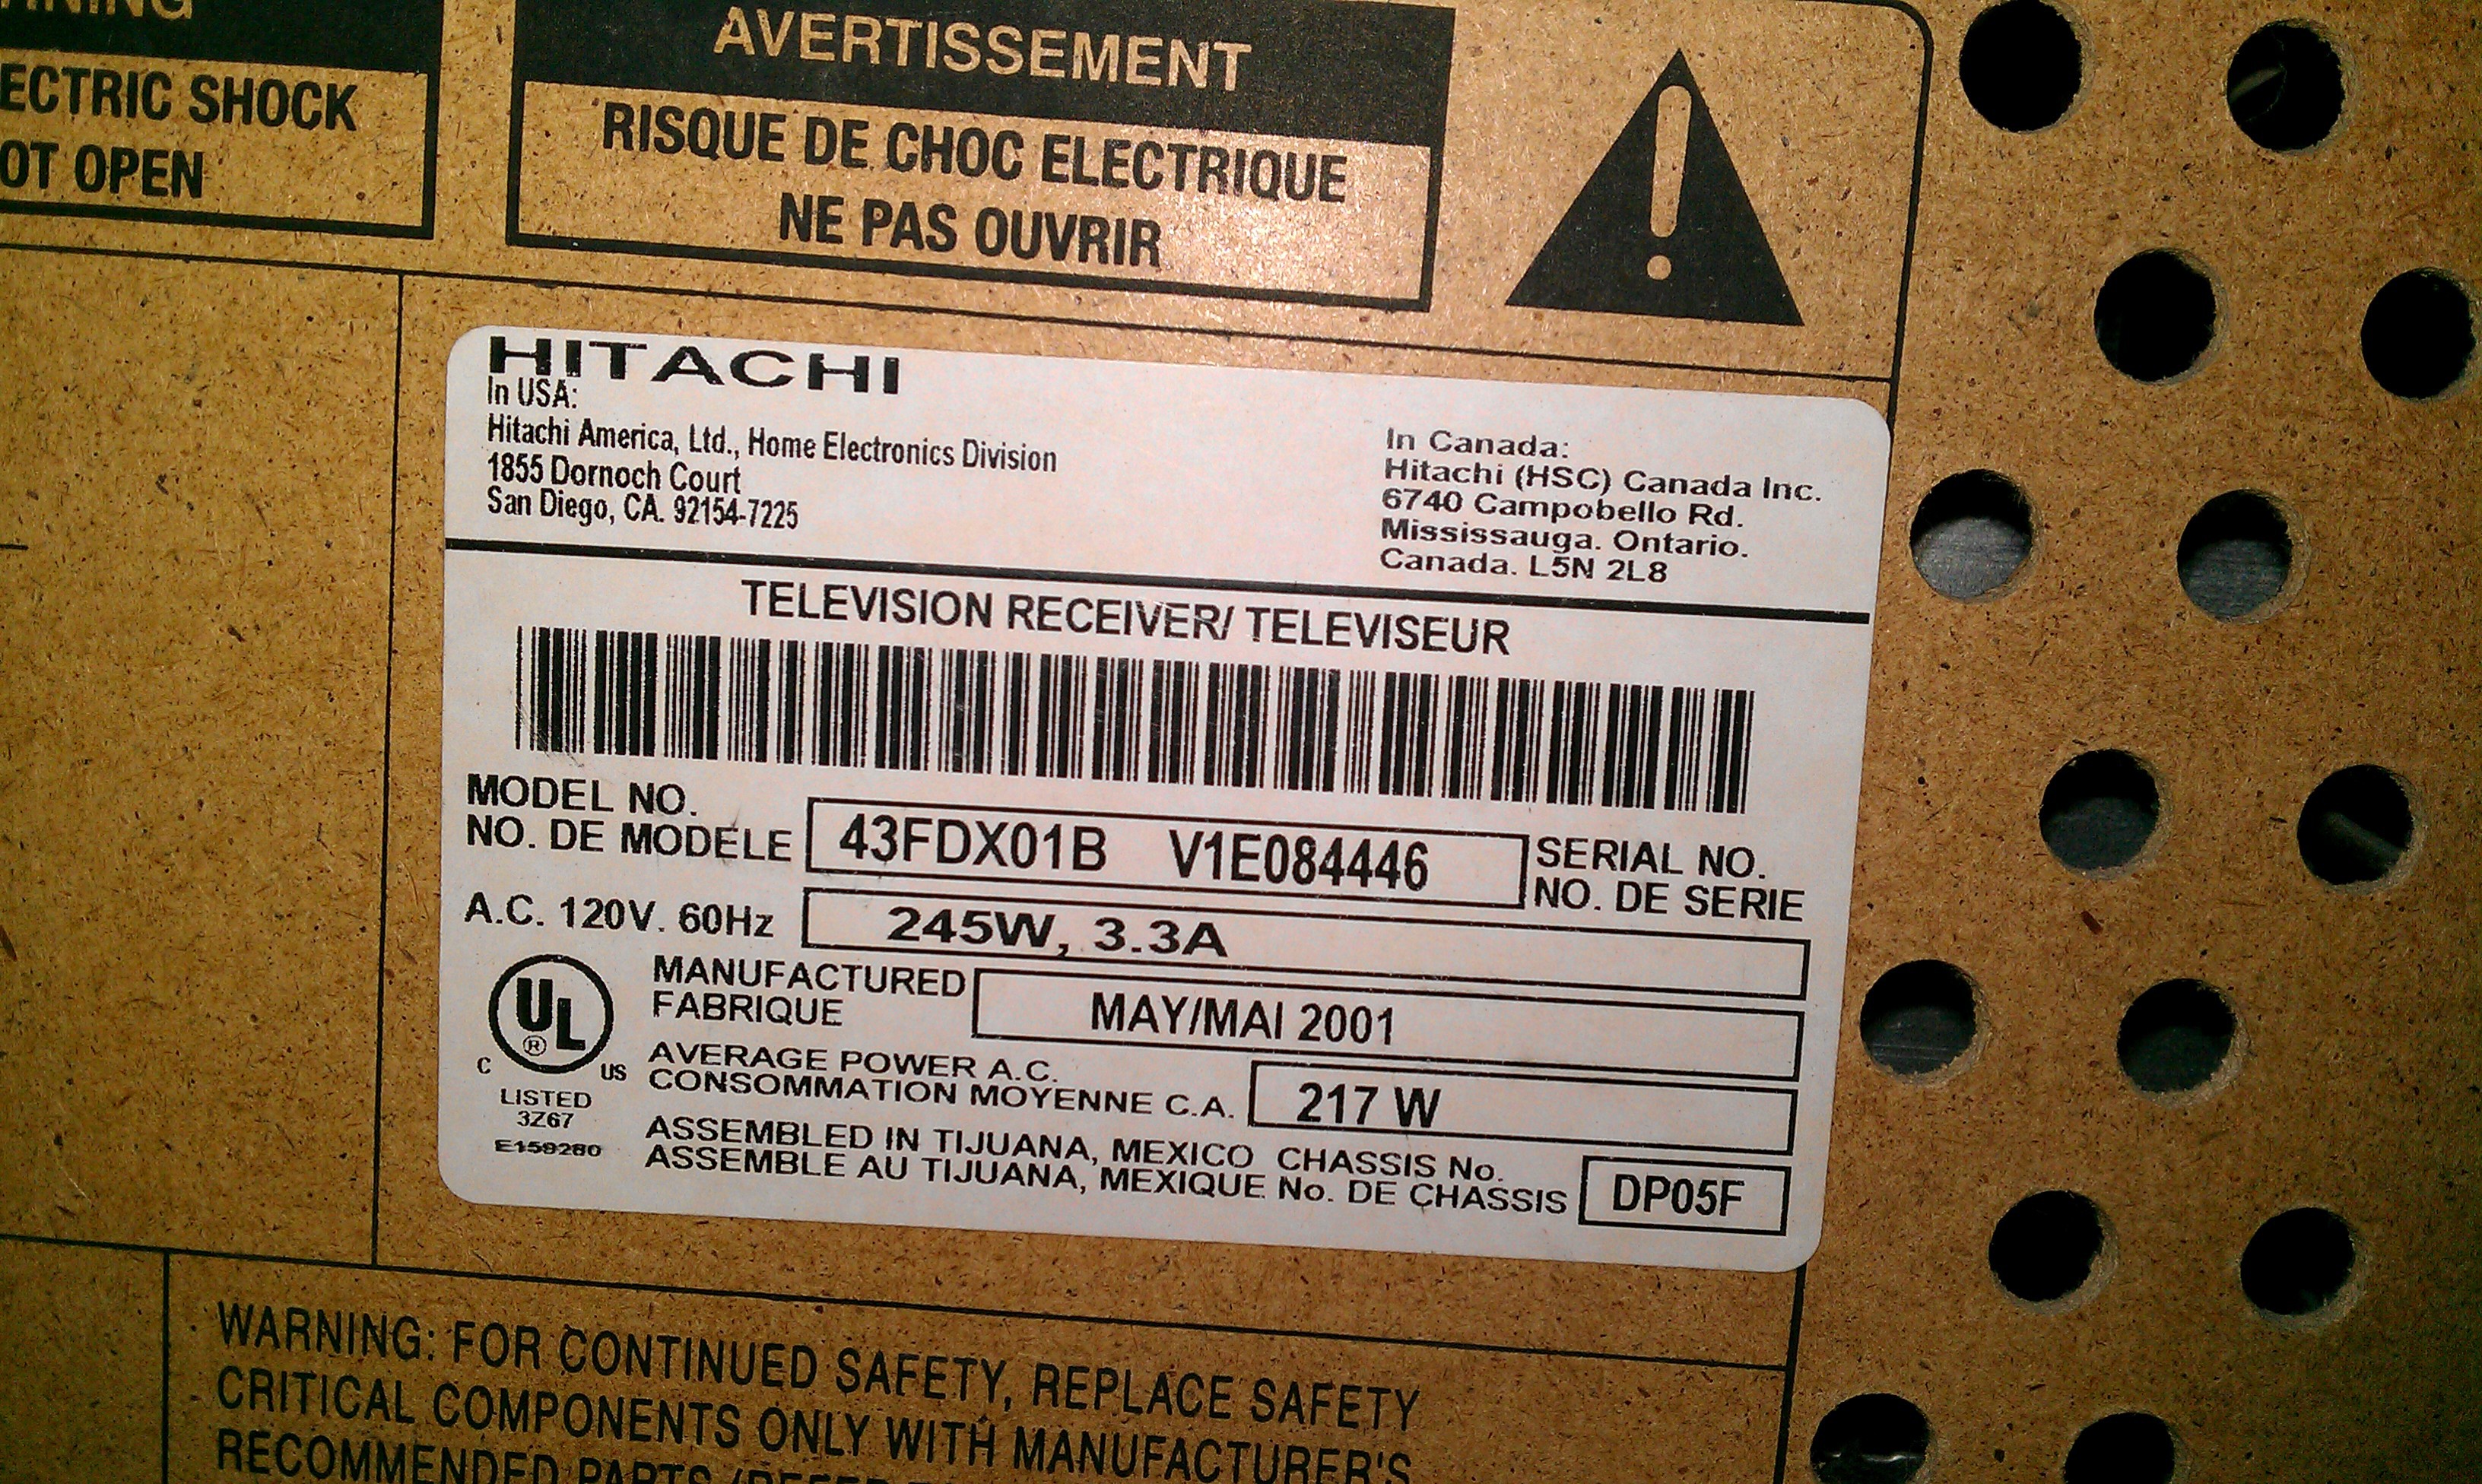
Hitachi Ultrascan HD 43" projection TV model 43FDX01B.Like most big screen projection tech from the '80's and '90's, every time you moved them there was a large risk of damaging the alignment. In this one the red lens is not only out of front panel adjustable alignment, but the red vertical scan wiggles, so I'm guessing there is a broken part in the red projector.
![]()
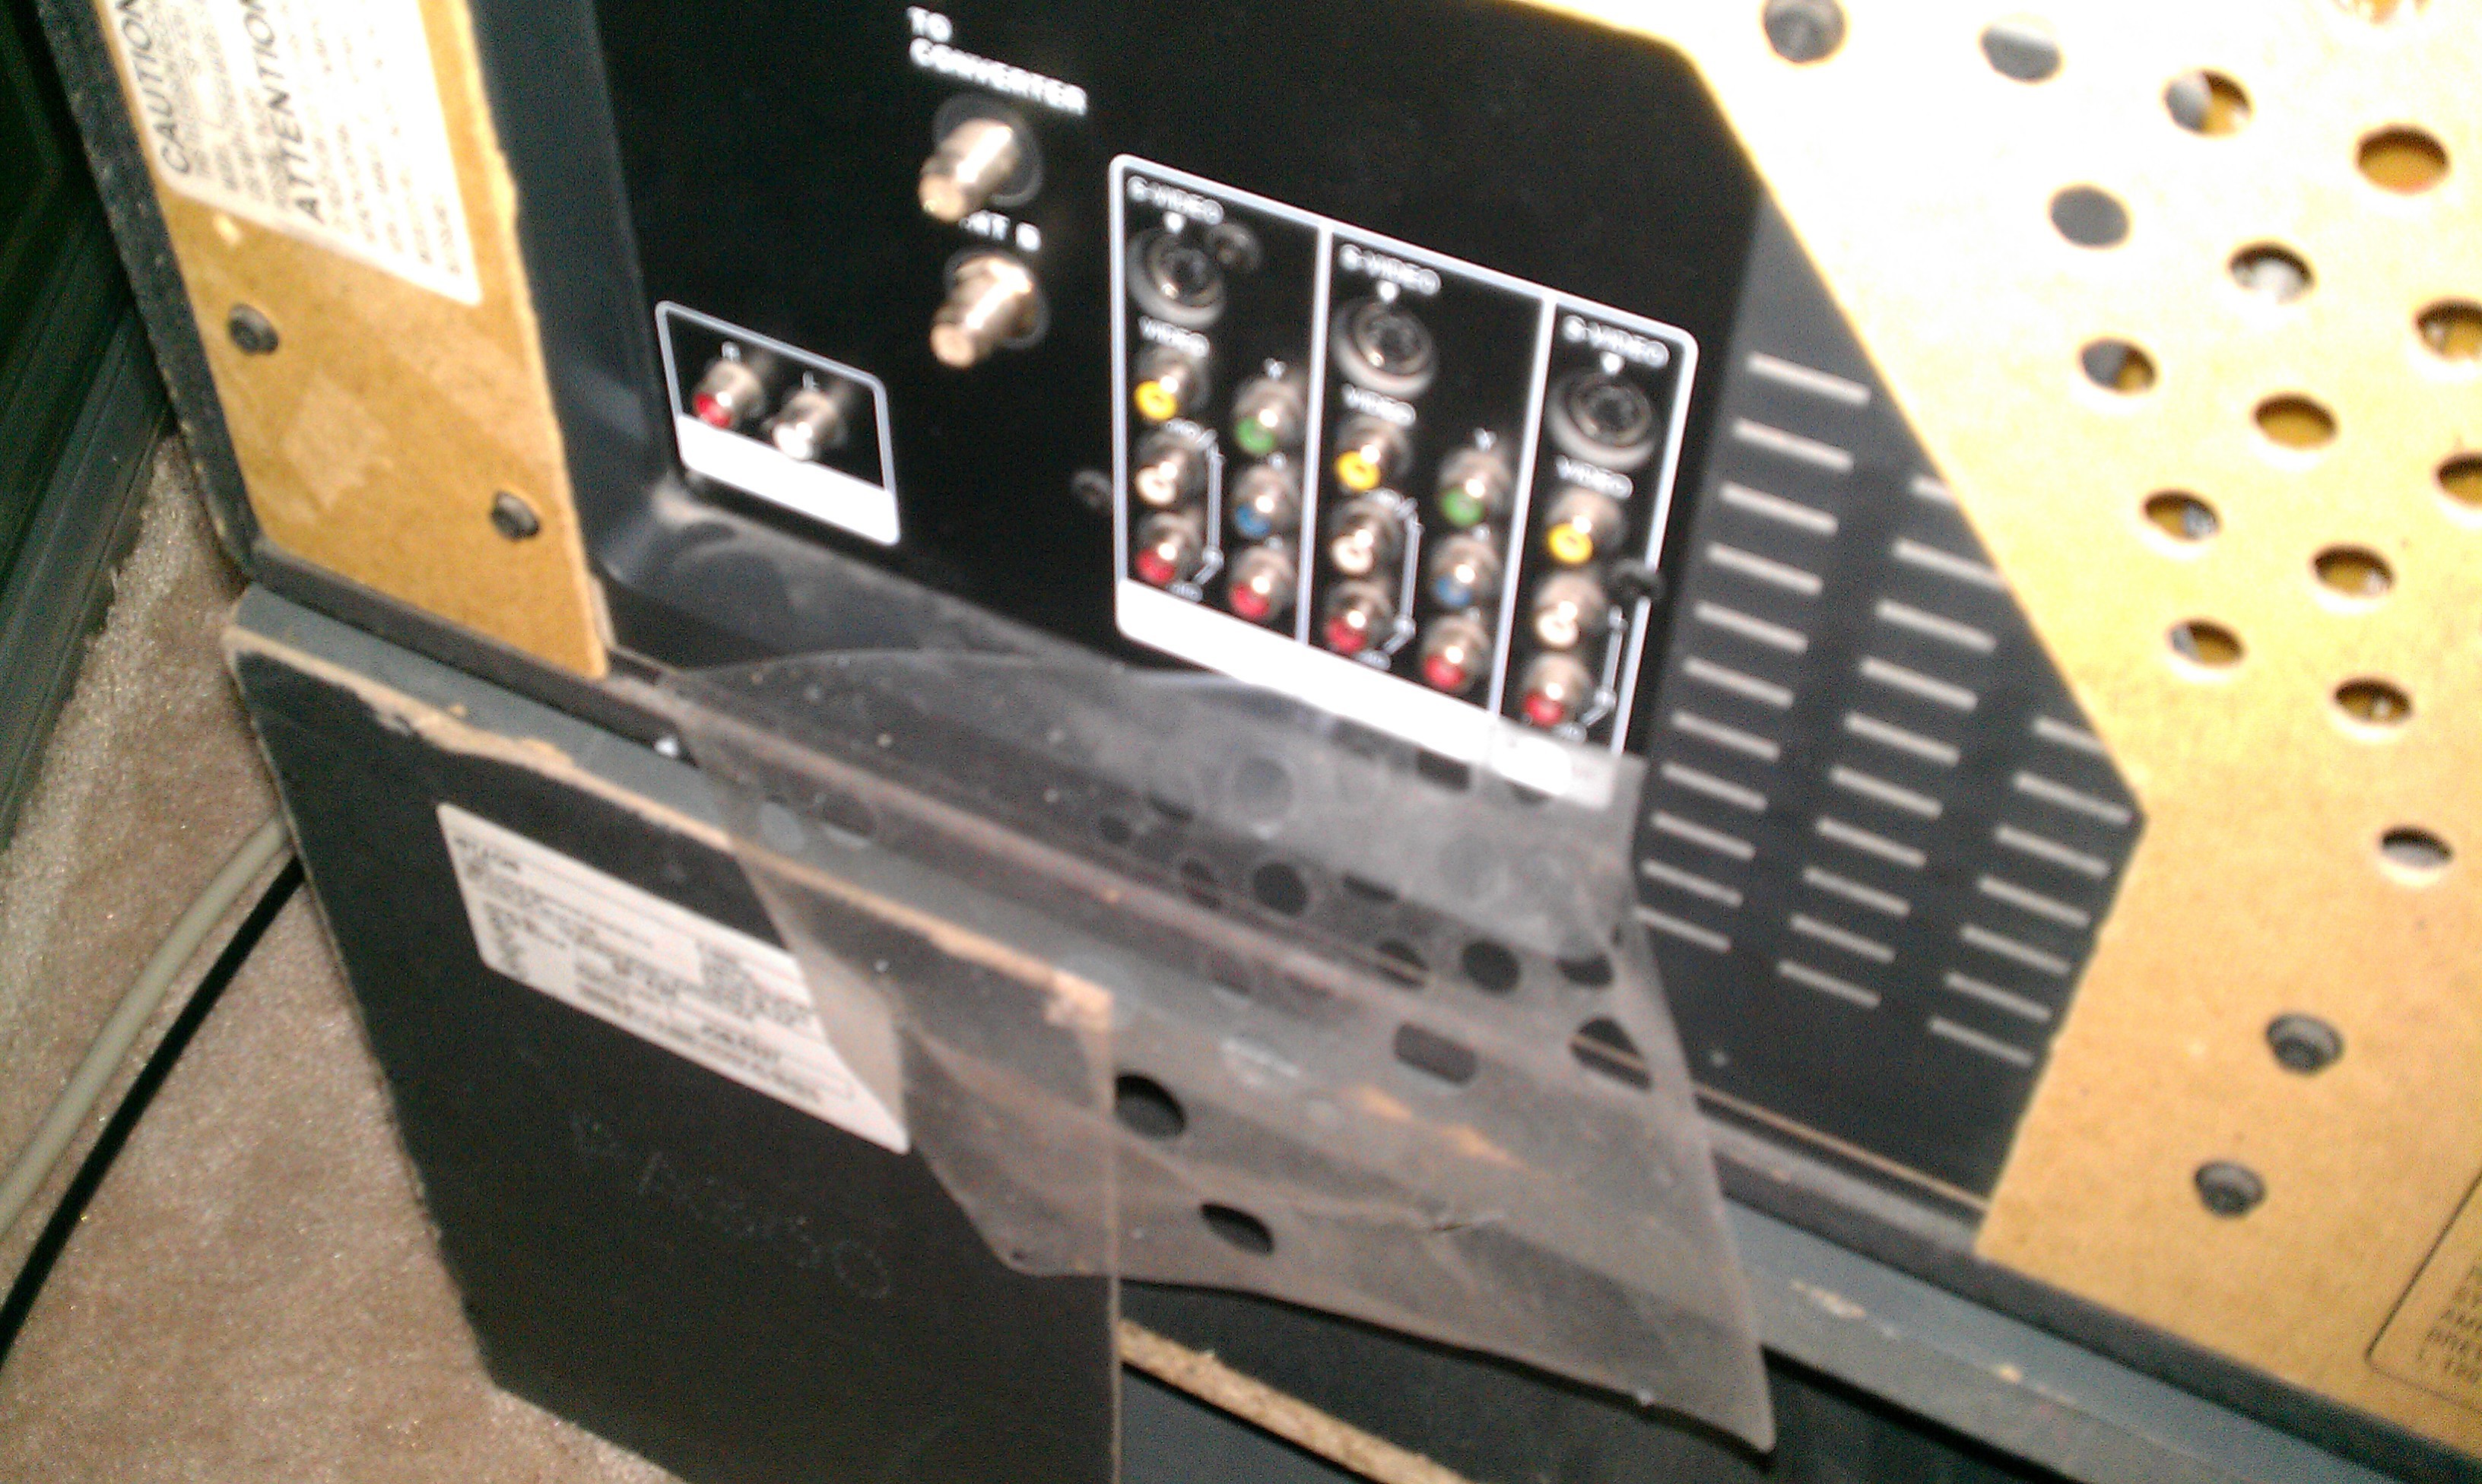
Peeling off and hanging on by a thread is the original packing sticker protecting the like new looking rear input panel.
![]()
![]()
First design plans:
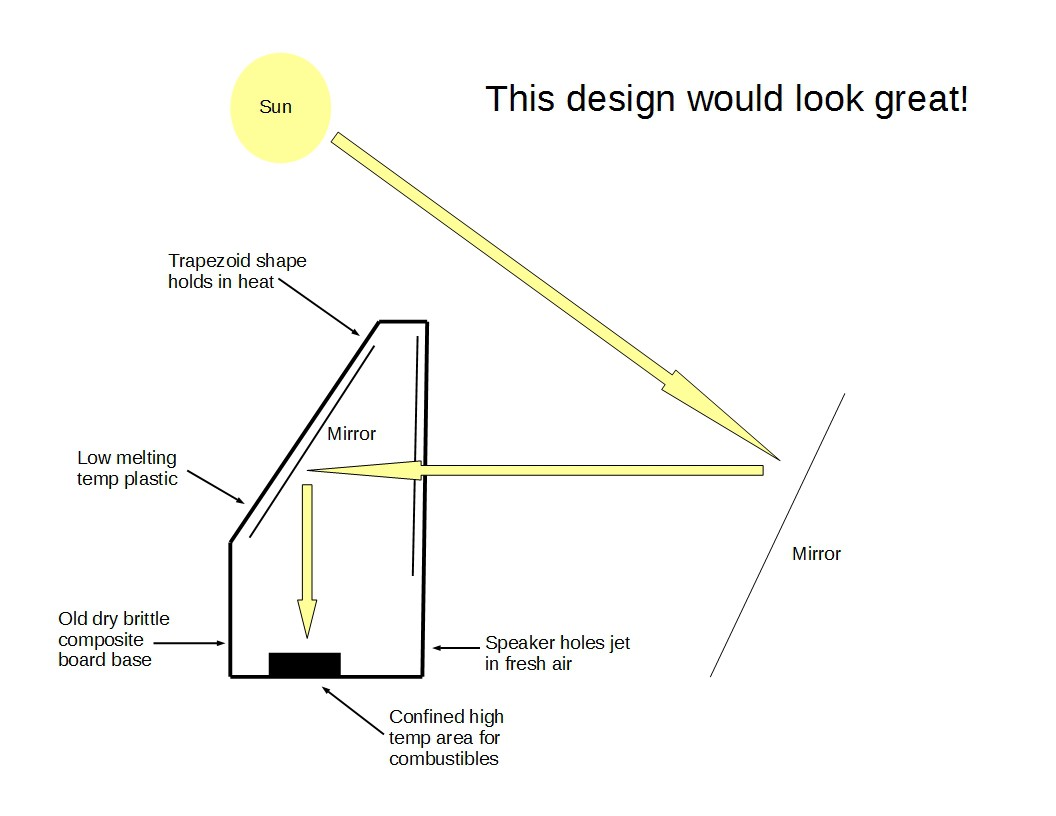
I thought it would be cool if I could reverse the direction of light and use the outer shell as the project case.
Lets skip that step, and the visit from the fire department, and move on to the next design.![]()