-
Wearing, debugging and thinking
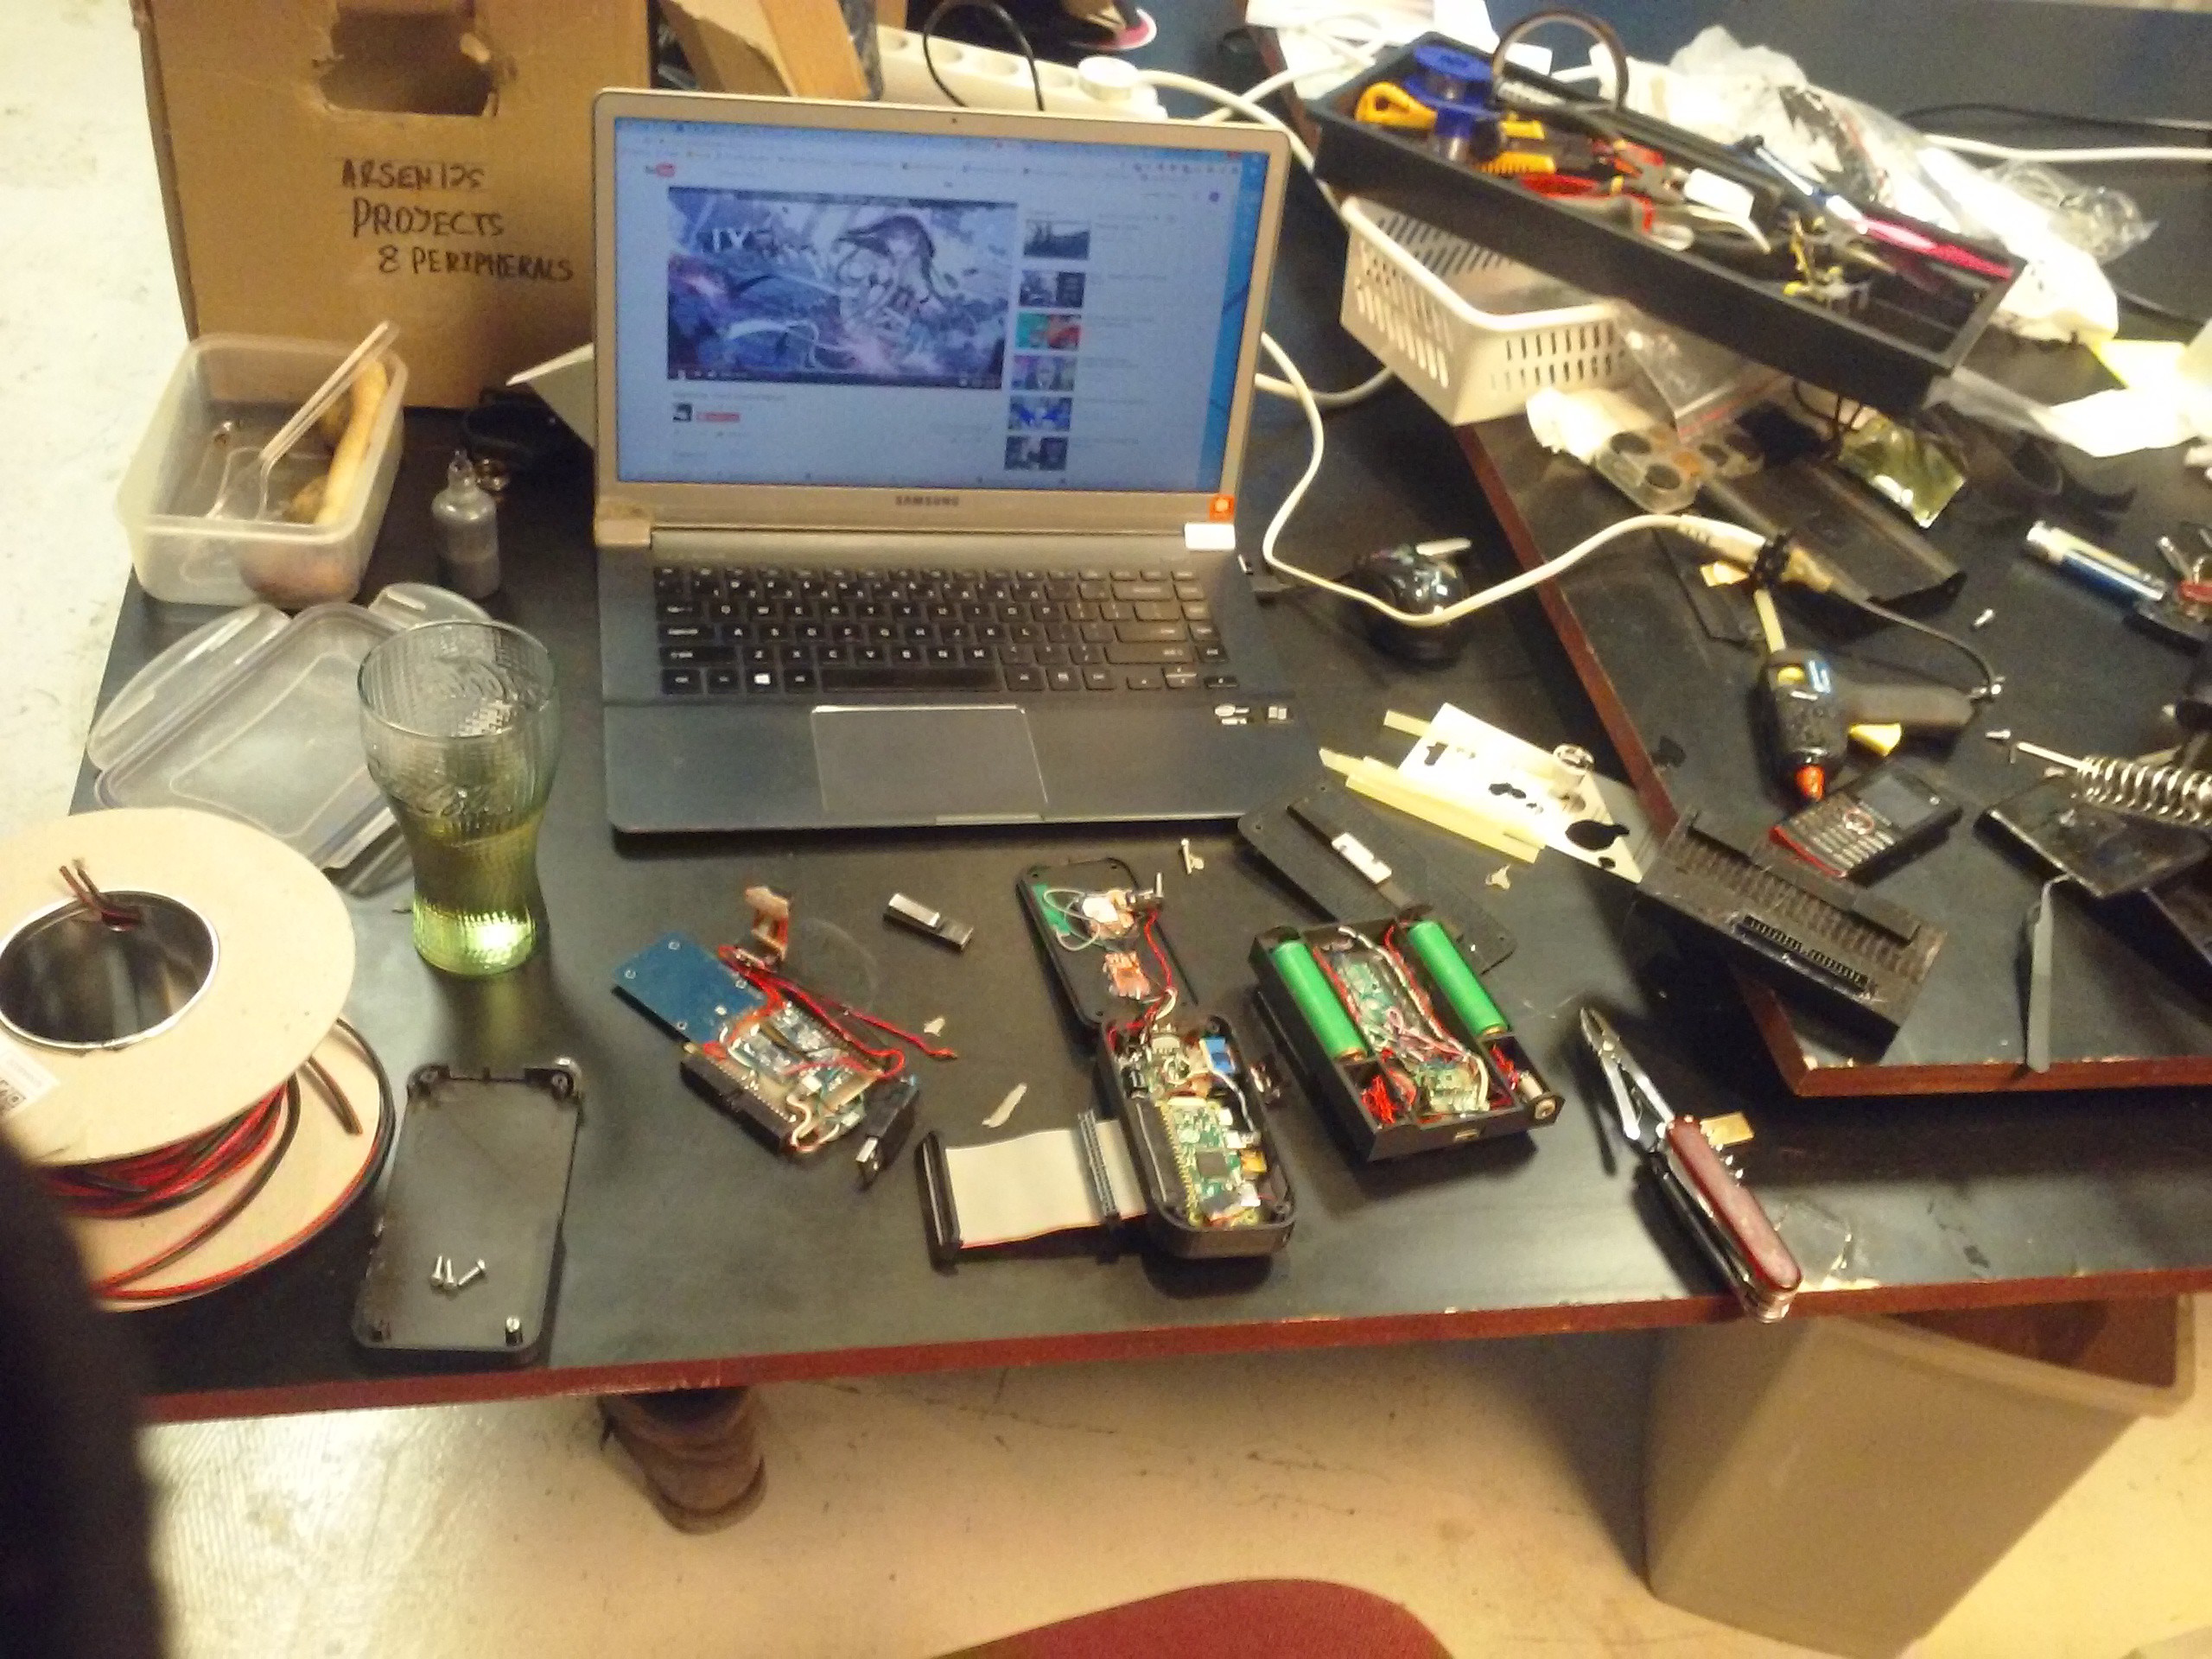
12/19/2016 at 03:14 • 0 commentsThe hardware works for some time. I can get 4 hours of battery life so far, which is nice, and extending it is the direction I'll be moving towards now.
![]() Issues and/or solutions so far:
Issues and/or solutions so far:- One USB hub heats up (and therefore wastes power), the other one doesn't. Solution I'll soon use: disassemble them both, study the schematics and undertand what makes it so. Also, overrride the built-in voltage regulators which are linear and therefore suck, especially given that I have 3.3V on board.
- I changed Pi Zero power source from 5V to Li-ion battery power. Looking at the schematics, it should be able to handle that. I just only did it today and didn't get it fully discharged yet, we'll see how it goes.
- Battery life halved. Solution - find the place where one of the battery wires broke, fix it.
- Rain- and snow-proofing the display module. Solution - glue the display lid to the display case with ABS glue. Pros: it's glued shut. Cons: it's glued shut. Buttons break away from time to time, falling out of the display, and now I can't fix it - will try a hack involving tweezers and glue soon. Also, I still need to rainproof the display cutout - even had a temporary display failure once (some lasercut thin transparent acrylic will do, as soon as I get to it)
- Buttons break. I should probably change the tab connecting them, or ask somebody to print them with flexible material.
- The USB charging plug's cable is prone to breaking due to its bend angle right to the socket. Solution: making thicker wires (which I failed the last time I fixed it). In the future, a redesign of the whole module is due.
- IDC-10 failed again. Solution - inserting actual wires in the sockets instead of a ribbon cable. Those wires can carry more current and should also be more resistant to bends.
- IDC-10 sockets would get all bent up during soldering due to overheating. Solution - take a small piece of protoboard, insert the connector in it, solder them together and solder the wires to it. Works very well now, and I did the same with 2x5 female headers I use for comm-to-power power cable as IDC replacement.
- I added battery level monitoring - through the GSM modem which you can get battery level from by using an AT command. Right now I took the modem out since it's temporarily unused and I needed it for another project, but the pyLCI app is here.
- The comm-to-cpu module adapters kept breaking. Solution: an unibody adapter. Even more ugly, even more of a hack.
- Replacing batteries on the go is a pain. A redesign is due.
Pomodoro timer app! It interacts with the Pomodoro daemon I wrote, it uses annoying sound notifications and pyLCI as control interface
I really really need some better power monitoring for this thing. I have tweaked the power consumption and such, but right now I can't really say if that changes anything. Also, there should definitely be power switchover circuits for when the device's charging, and individual cell monitoring, and individual cell switchover, and easier cell hotplug...
However, I'm currently using it to make a project that'll help me to make money to make a living. Once I'll have some rest from it, I could finally redesign it.
![]()
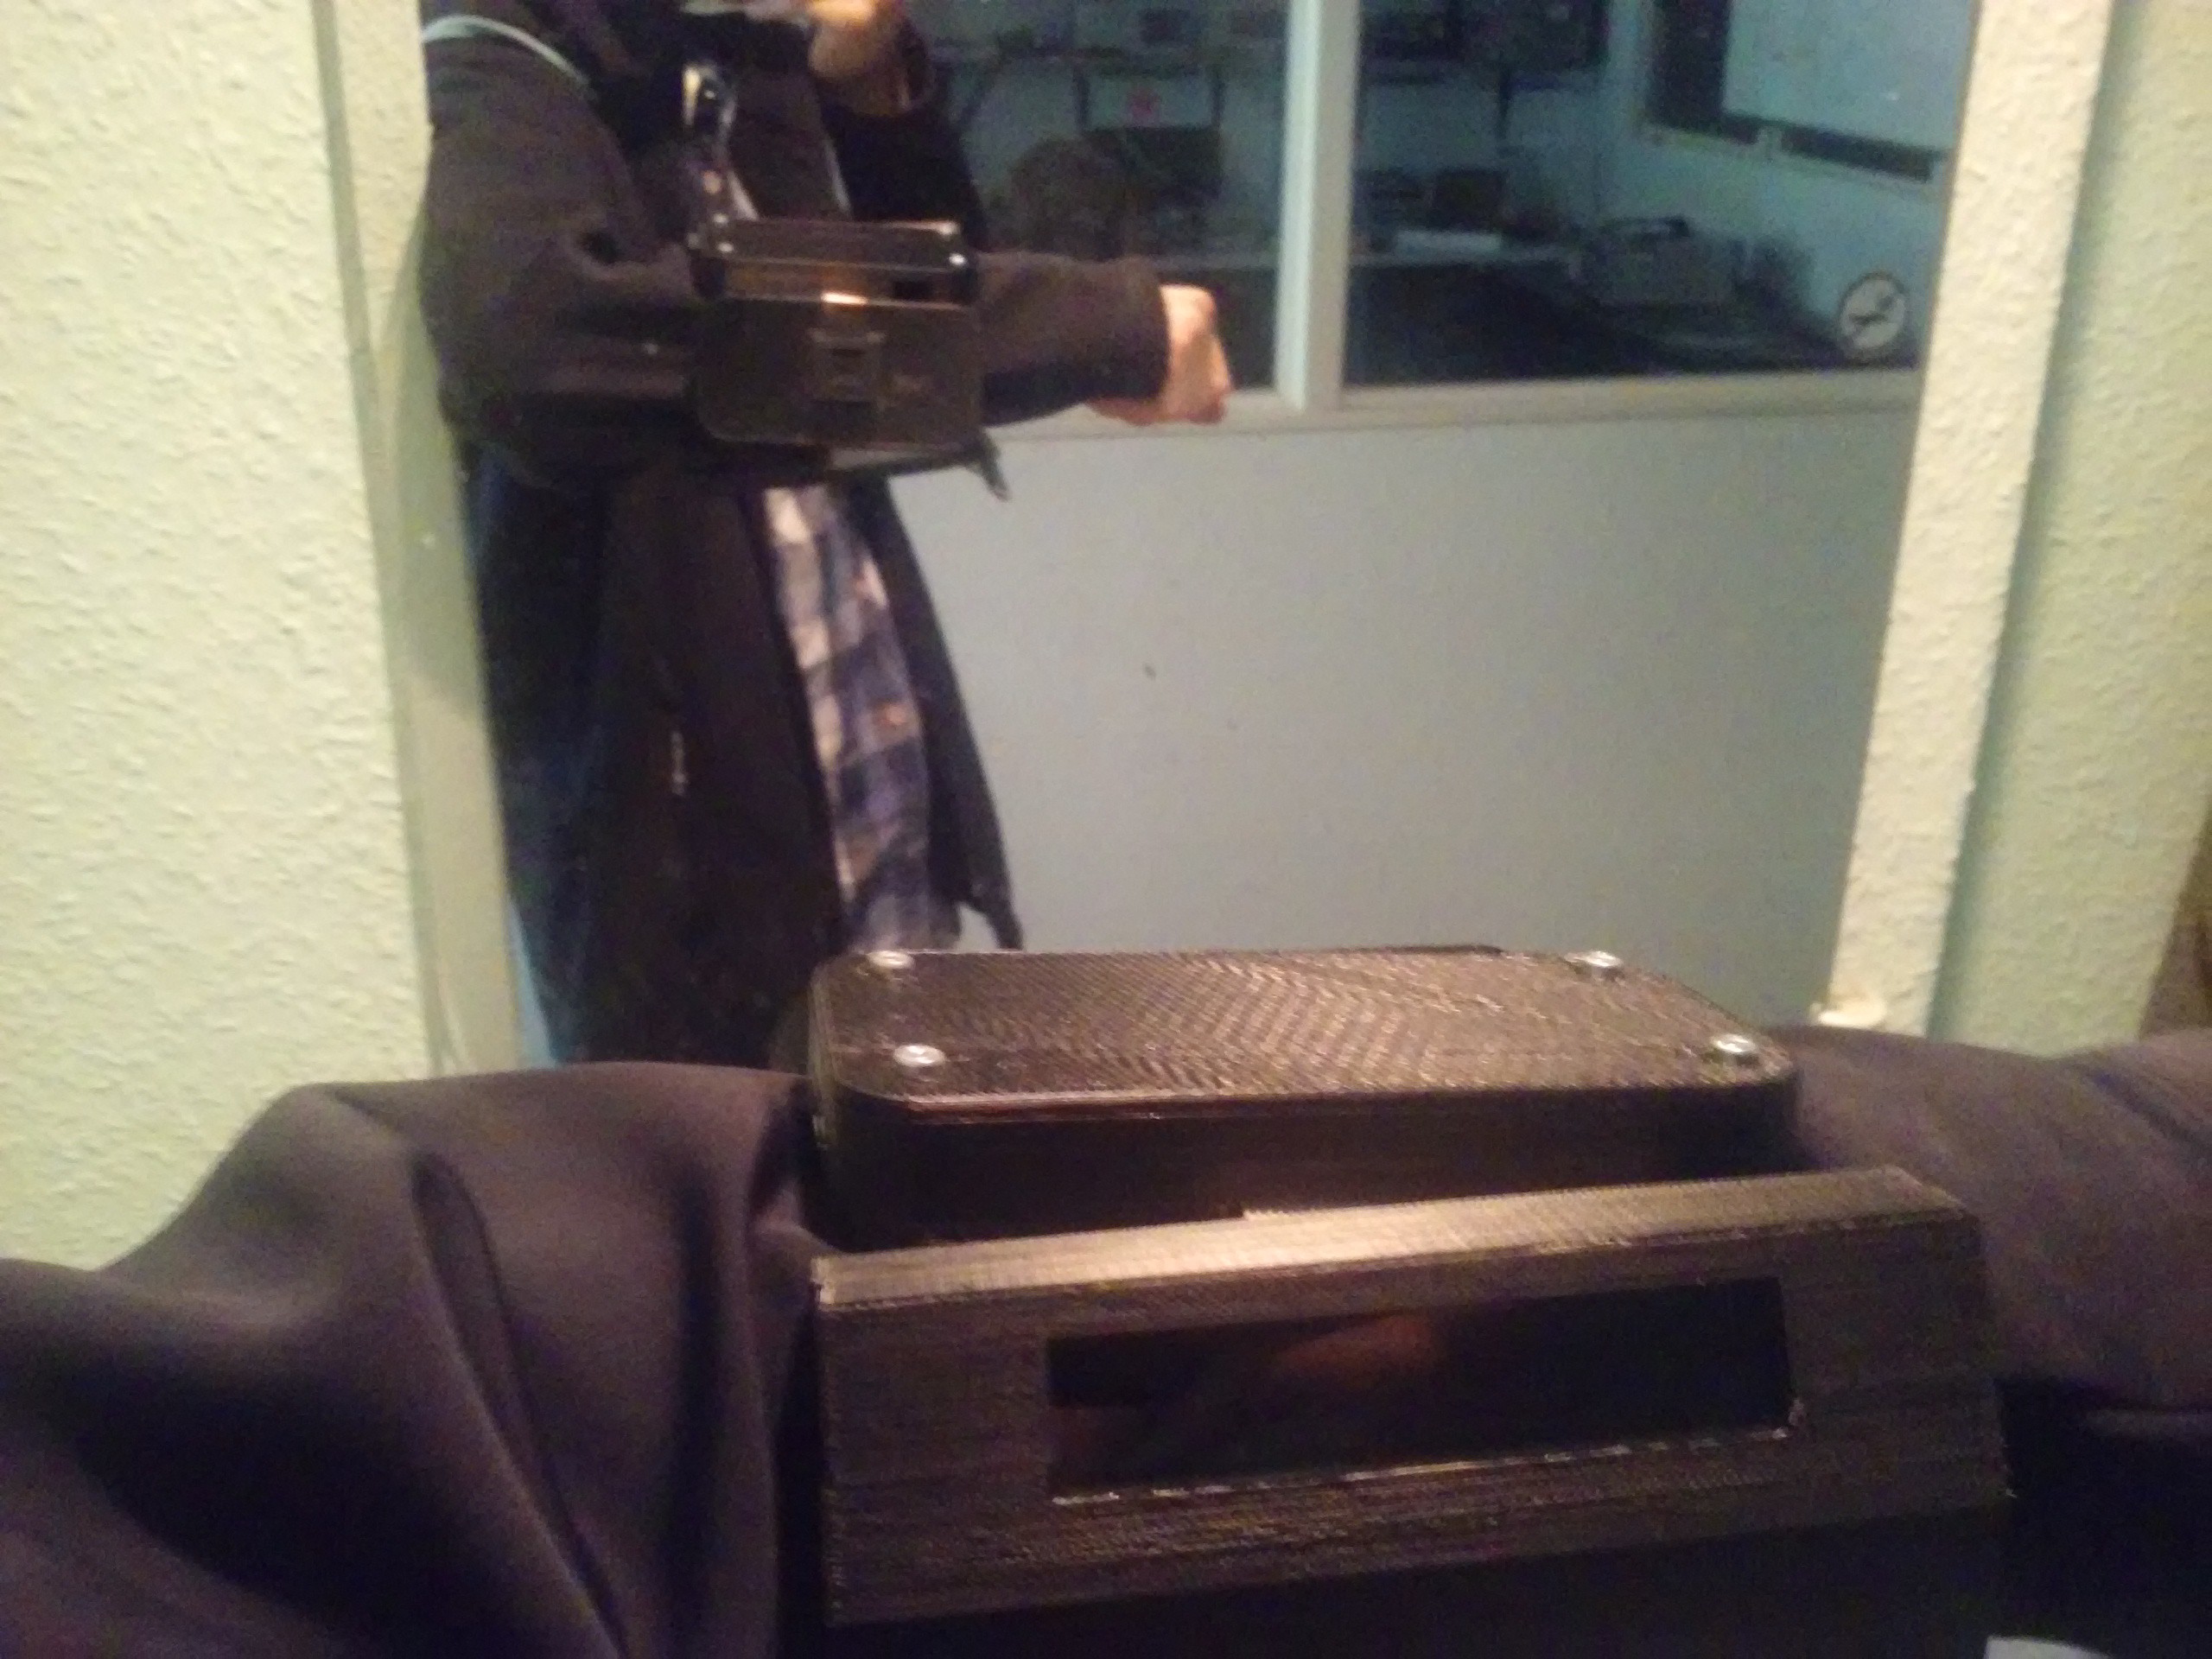
This thing is a very good development station. It's Linux-based, has pyLCI which I put in most of my projects, is battery-powered and thus easy to move around, brings my music with me anywhere and generally is a fun thing to show people. It just needs to be better-looking - that means being more sleek, more unibody and less blocky. I can do that eventually =)
-
Wearing, testing, debugging and learning
09/25/2016 at 11:20 • 0 commentsThe hardware is mostly finished. I'm starting to wear it. Now is the time for initial tests. Battery life, hardware quirks, ergonomics and ease of use - everything is to be considered. I'm also starting to enable its functions one by one.
I've solved some issues with the display board - some unshielded contacts were touching each other. Oh, about that...
I'm doing "shake tests". Basically, you shake the thing while it's on your wrist and bang it on all surfaces until it breaks, then fix and strengthen what's broken. Else, you just wear it for a week or so and problems will surface anyway. The issues I've found were:
- A bad quality IDC-40 cable which eventually developed a crack in 3.3V wire, causing display to lose power and therefore become blank. Solution: found a reliable cable in my hackerspace (salvaged from some industrial-grade board), should be good for 2 more breakages. IDC is not the way to go though. =(
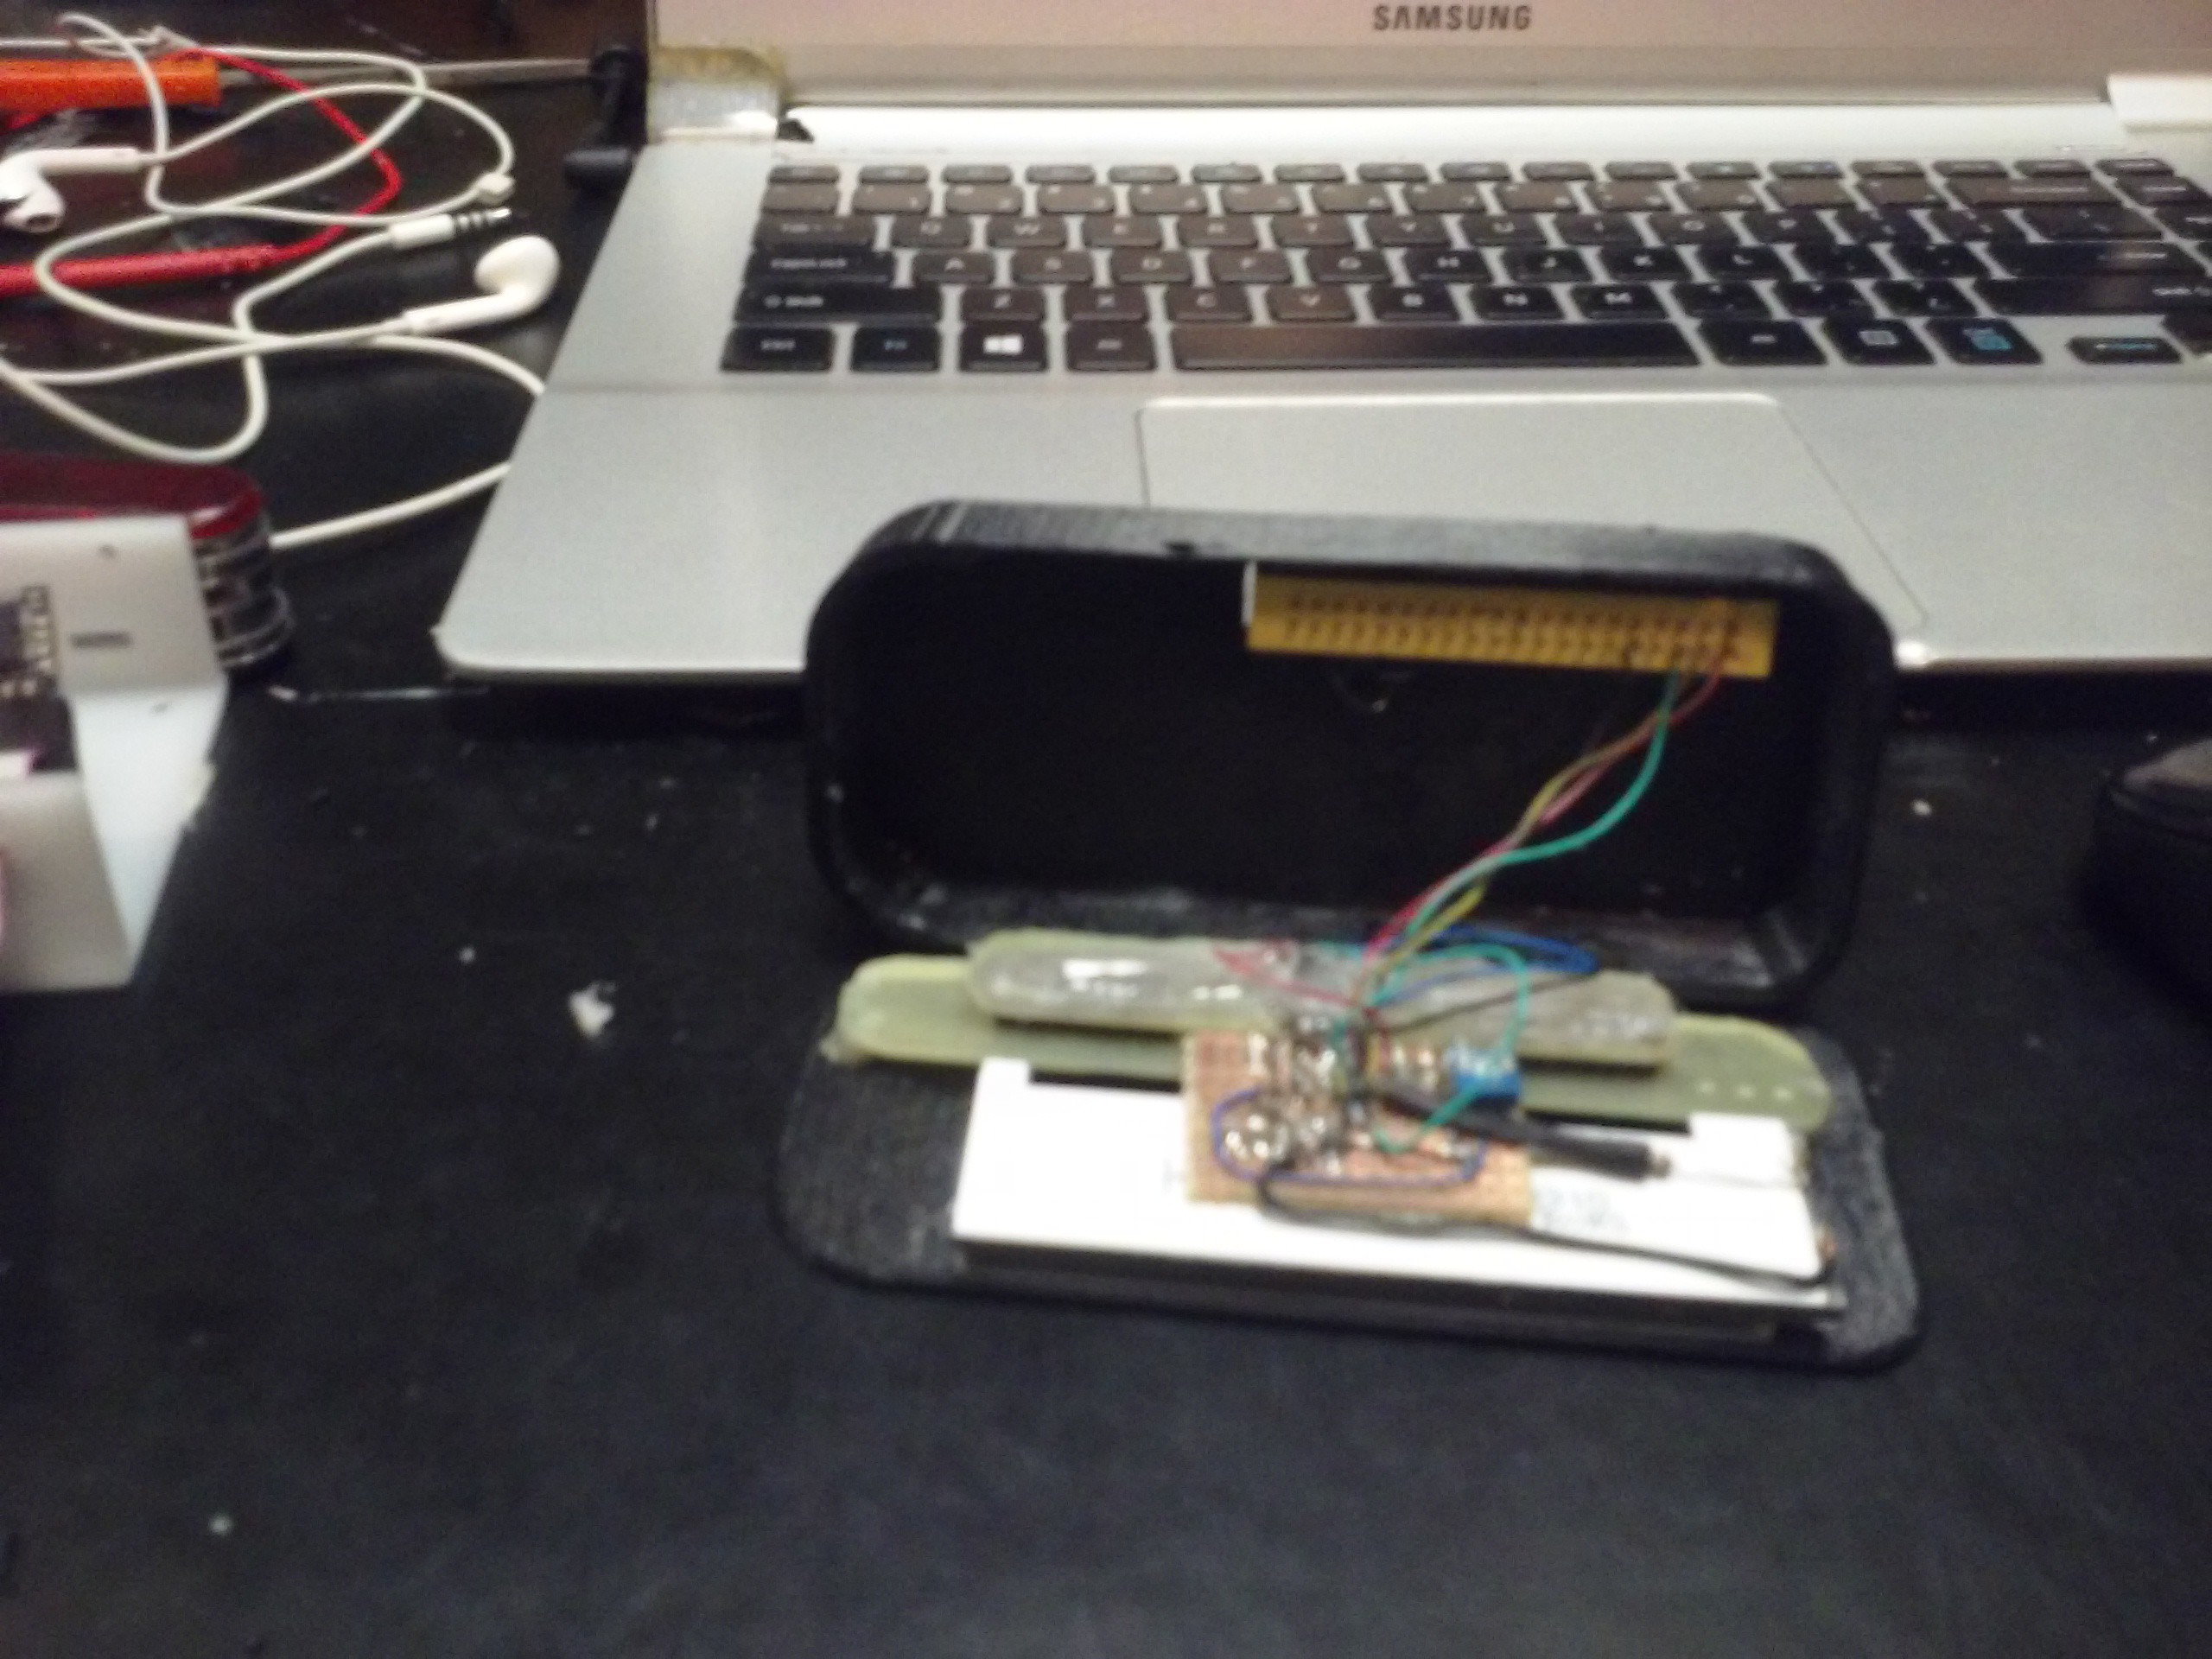
- The protoboard on which I've layed out the display capacitors etc. had some loose wires which'd touch occasionally. Solution - kapton and soldering.
- The display board falls off if bracelet is dropped. I consider that a nice feature till the next display module prototype. Maybe some hot glue would be a good temporary fix.
- IDC-10 cable which carried power and USB connections to the CPU module was under stress and eventually developed cracks as well (didn't help that it was single-strand because of my oversight). Solution - replace the cable and also get a nice socket from the same industrial-grade board.
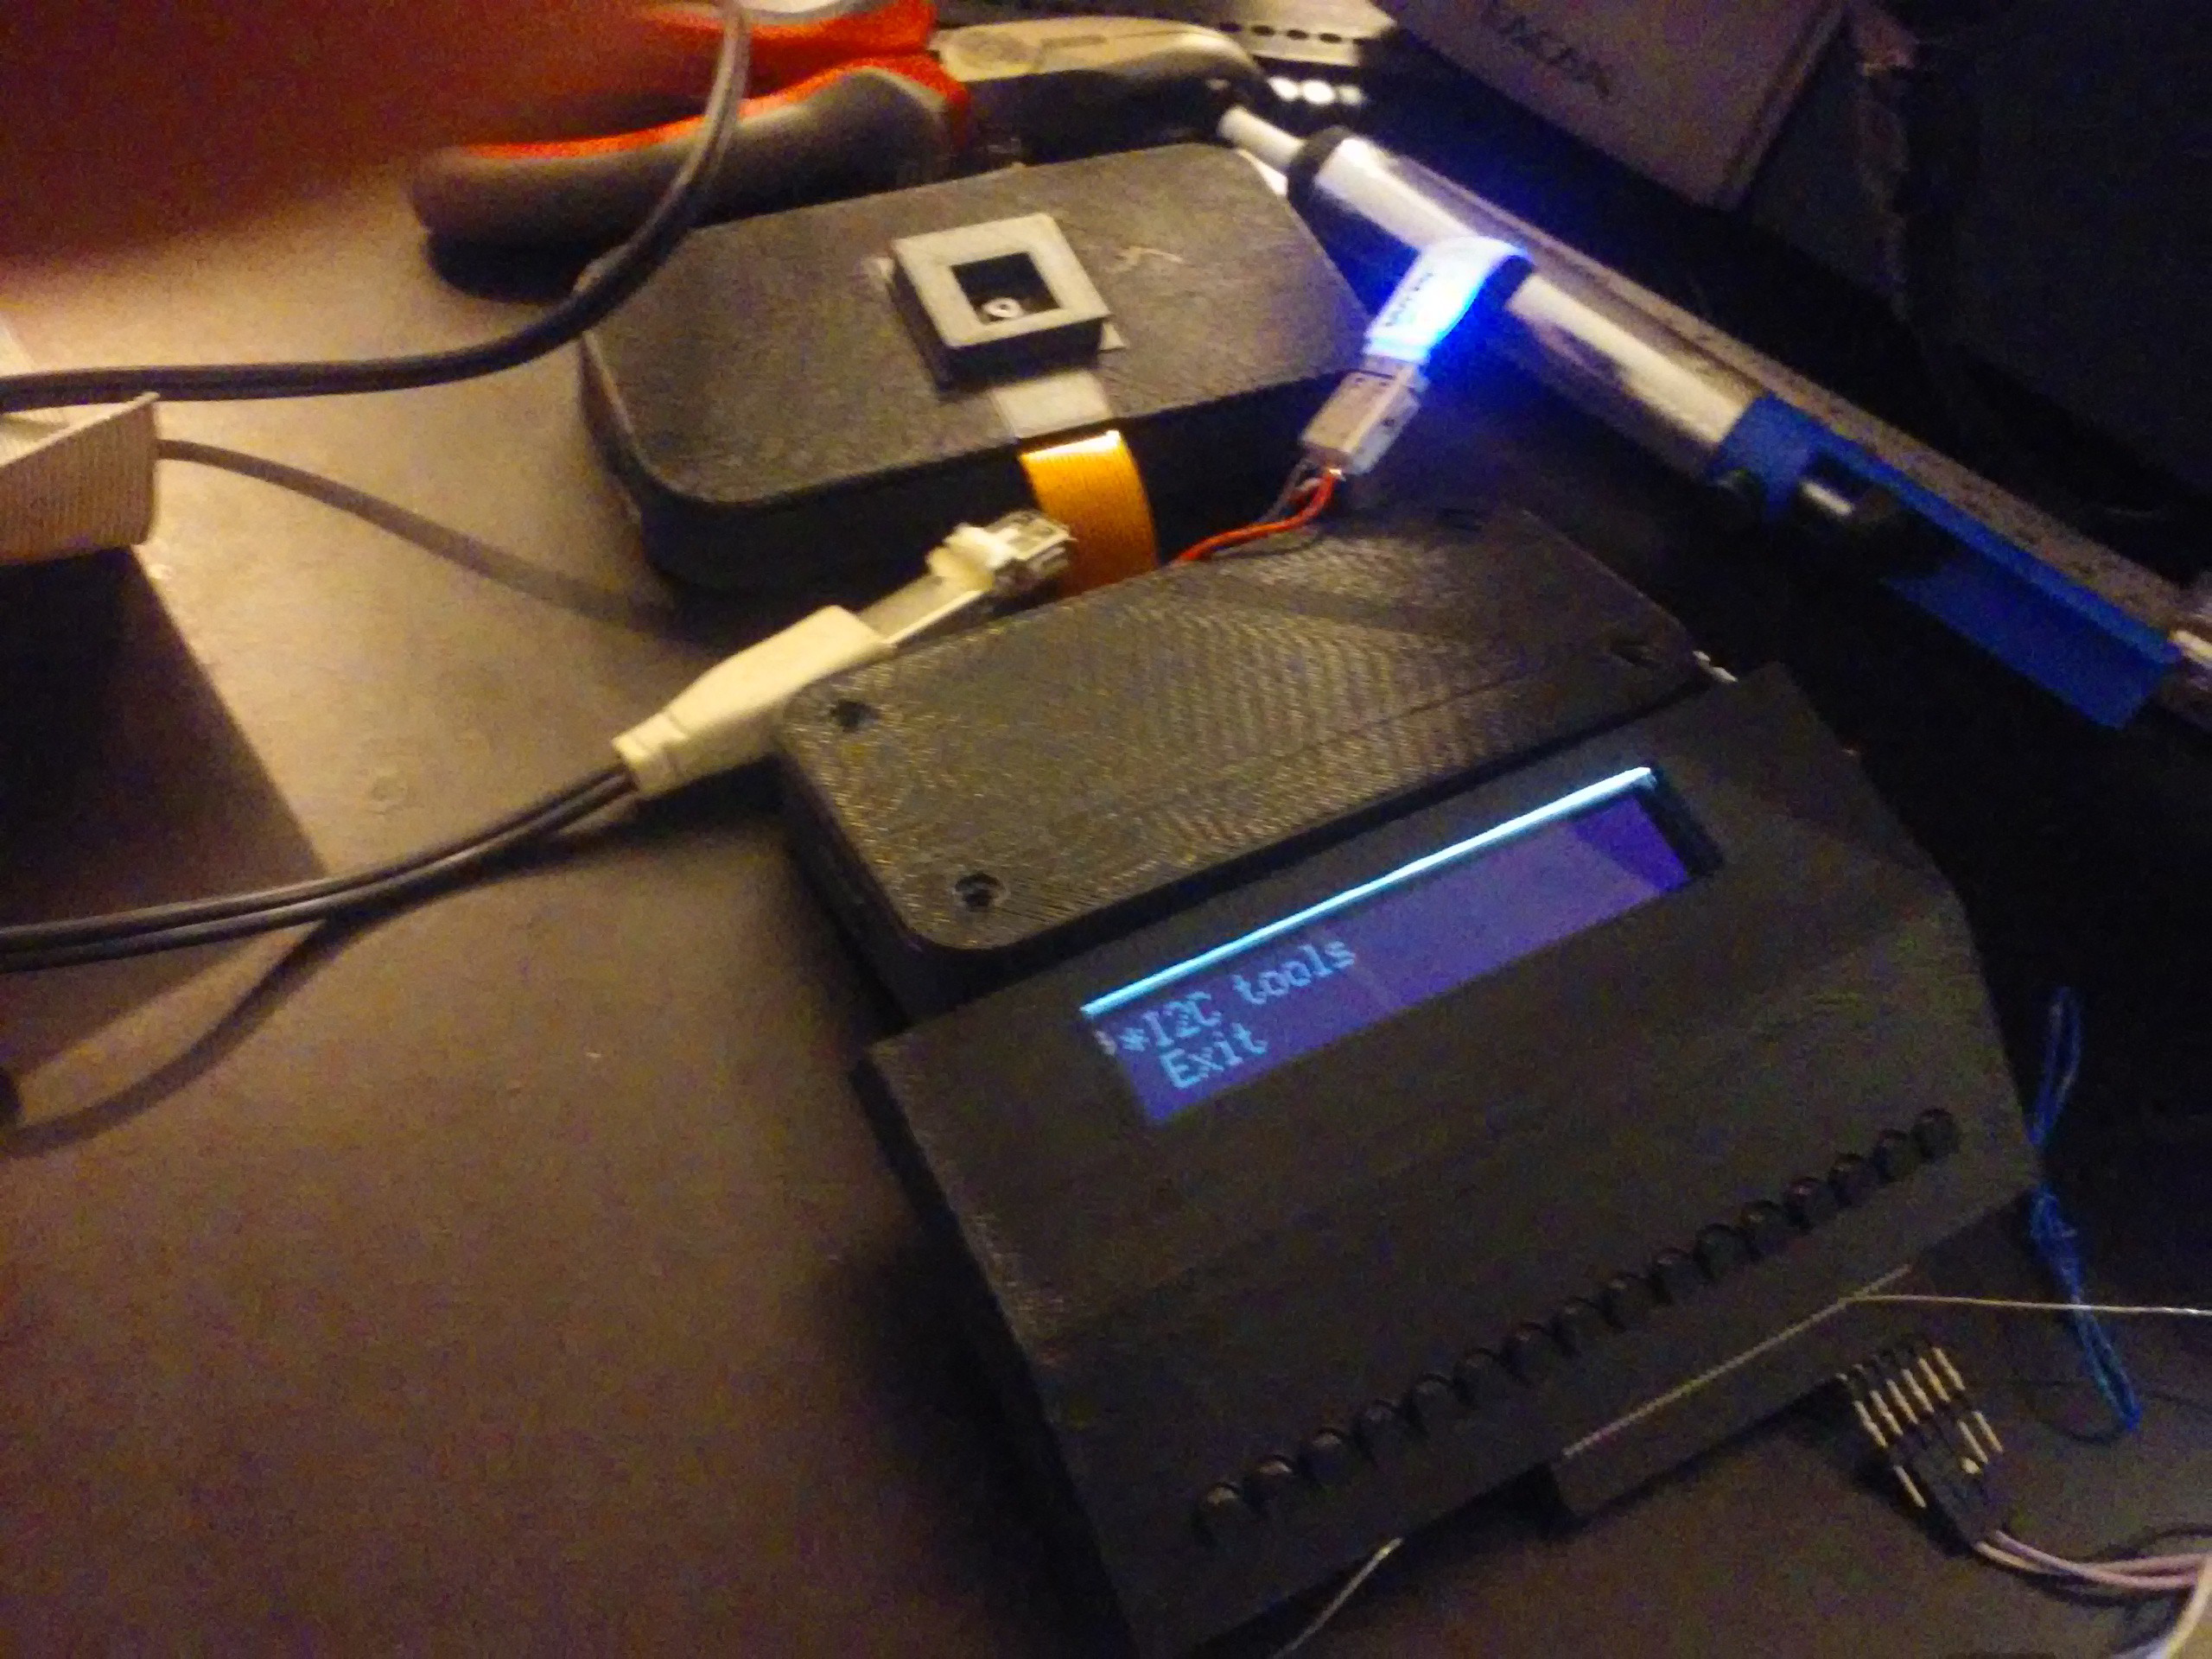
- If USB hub with the soundcard, flash drive, BT and WiFi is disconnected, device crashes hard. If booting without USB, it doesn't get to the console. Not yet debugged but I have some pointers. ^W^W^W^W^W (flash drive was in /etc/fstab and apparently that blocked the boot process indefinitely). Was fun to debug though, that crappy IDC cable would disable a USB line which'd crash everything without logs or anything
- WiFi card turned out to be crap which'd segfault occasionally. Solution: take casing off WiPi dongle and put it inside, replacing that piece of crap.
- Power-to-comm module power cable would fall out of socket. Solution: hot glue.
![]()
Some more problems:
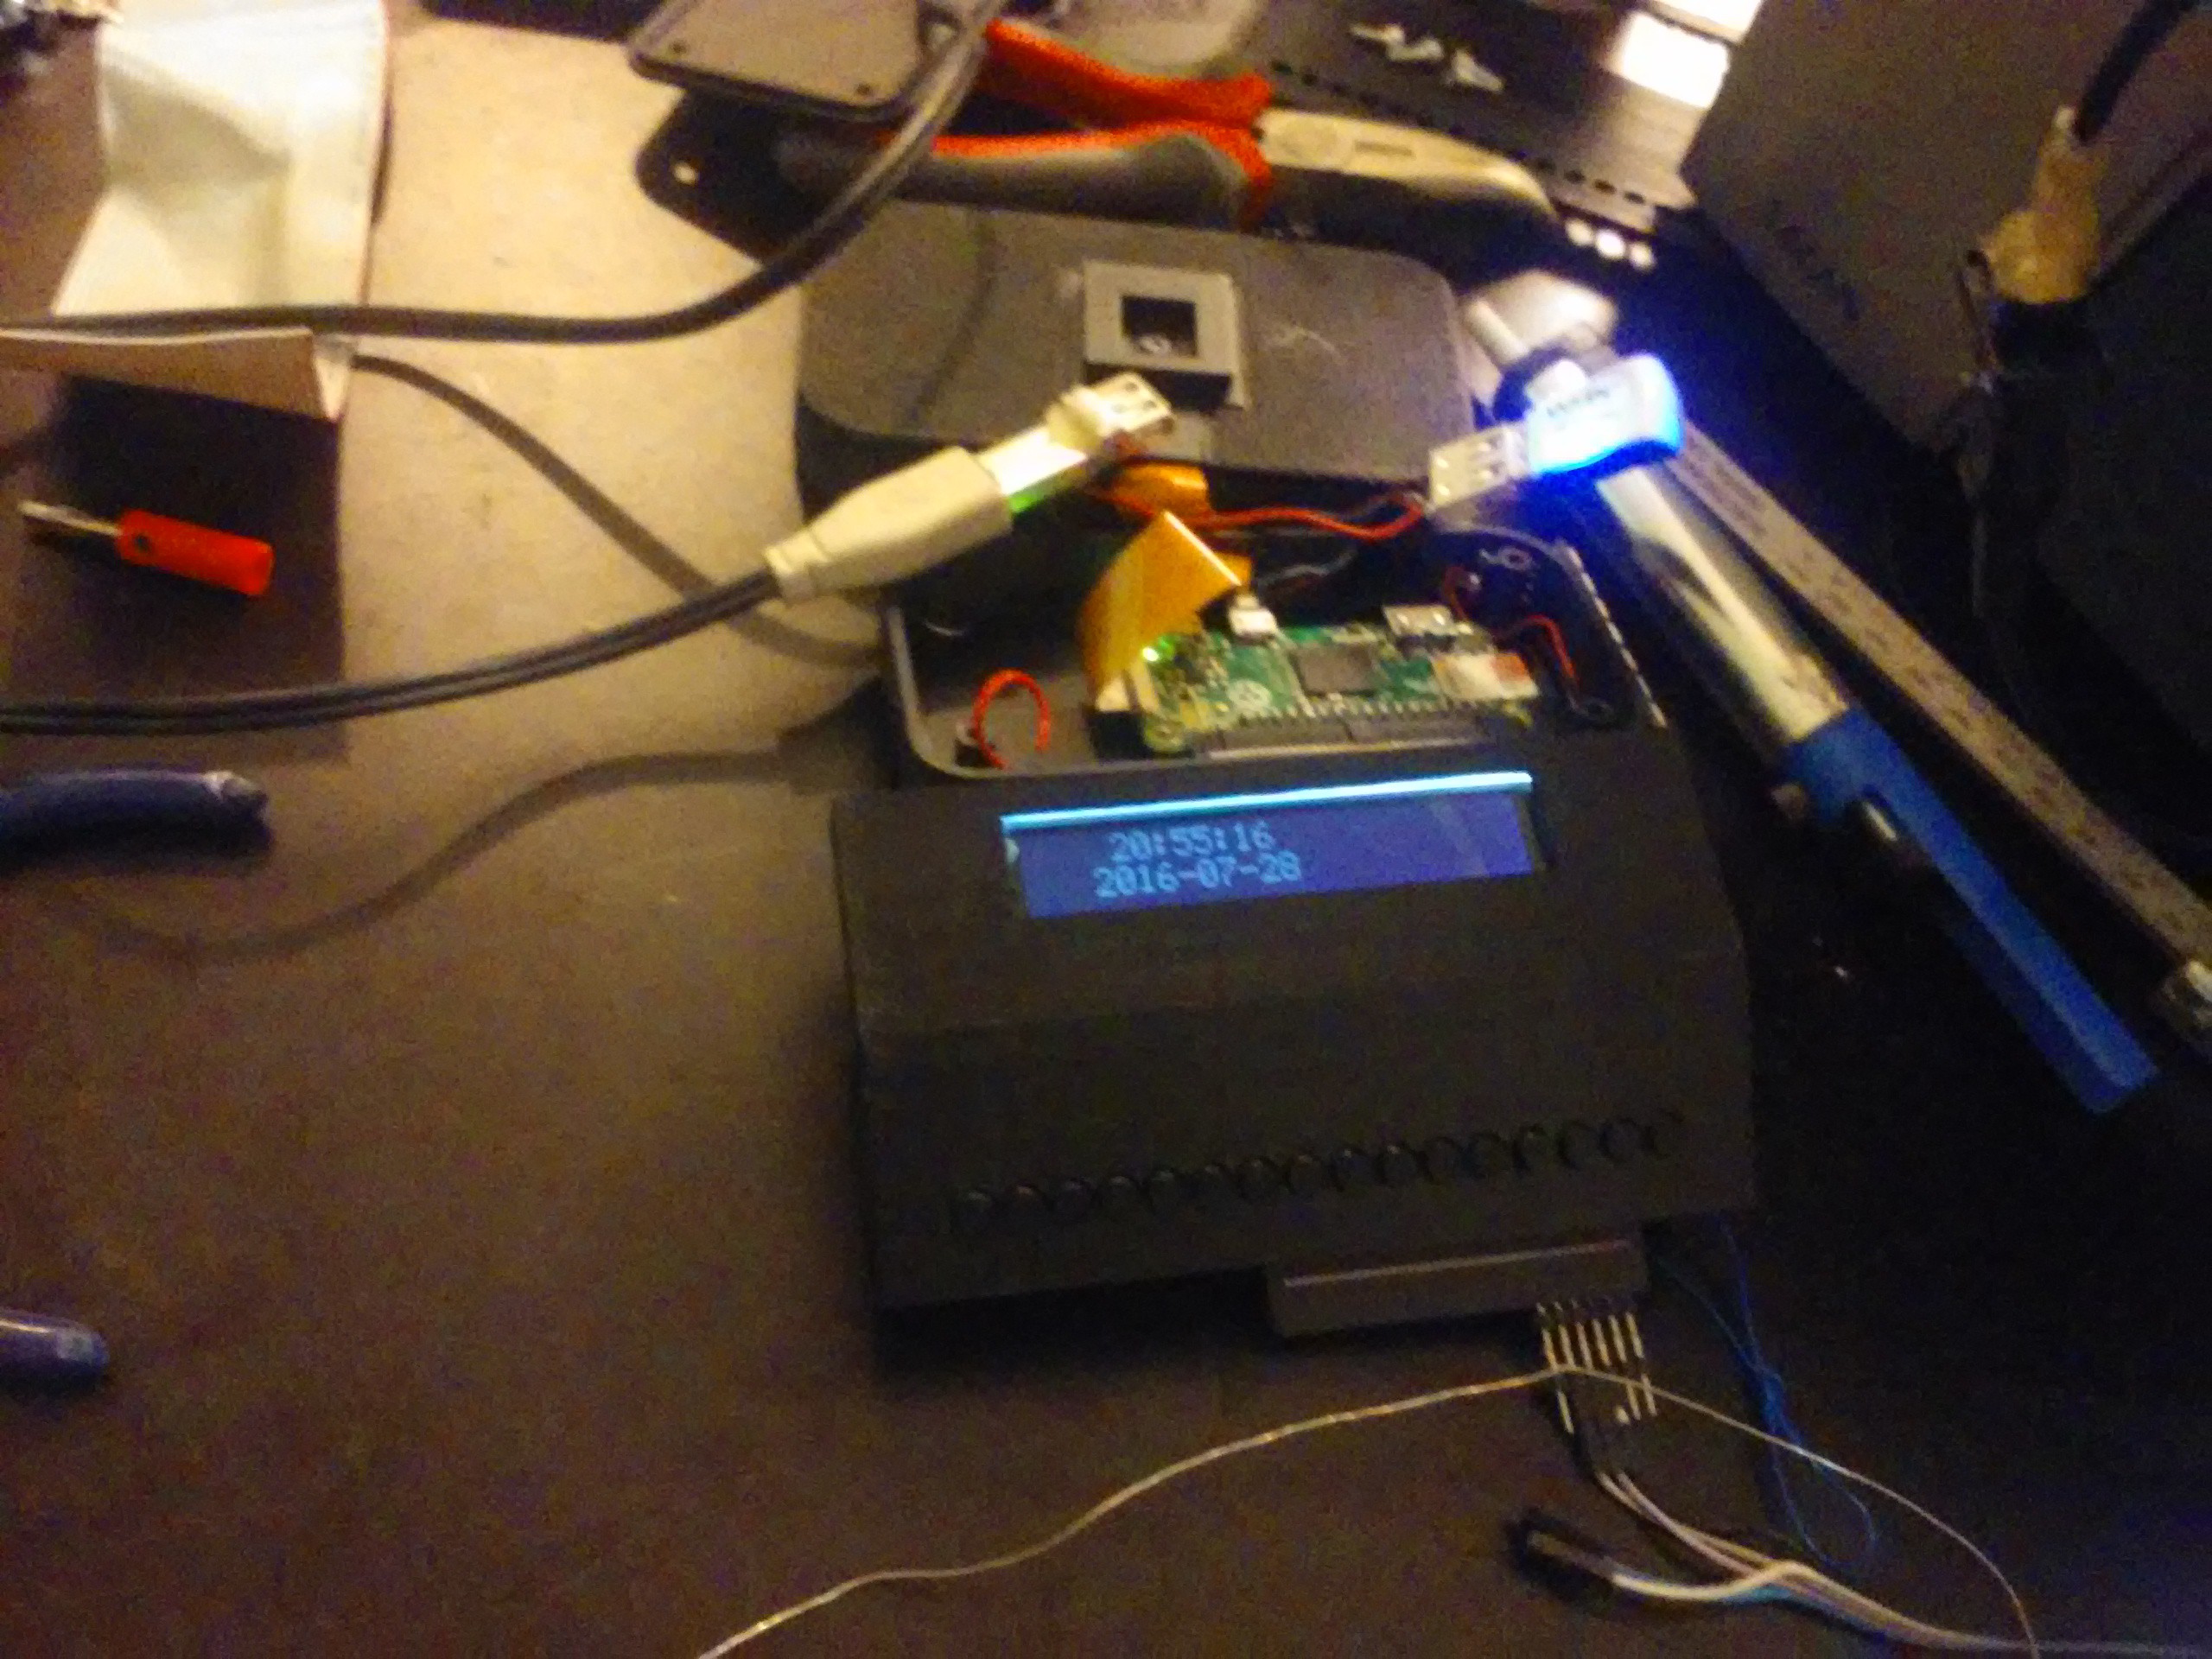
- RTC doesn't work. It's a DS3231 fake from China, configured using DeviceTree and if I try to power cycle it, it loses time, so I'm back in the 70s. Will debug some more when I'll finally implement some logging.
- IDC-40 just falls out of display module when adjusting the belt that holds the thing on my wrist. Happens very rarely though.
- Pi camera cable for Zero does not like being bent. I've got a replacement alright, but it's still not comfortable knowing that there might be shorts etc. eventually.
- It seems to be rainproof so far but I souldn't be too sure.
- There's still no battery level monitoring - just a matter of software, given that I can get the battery voltage from SIM80 through UART.
Nice features added:
- Added support for MLX96014 sensor. Code is here, pyLCI app is here. Now I can walk around, point my finger with a sensor at something and measure its temperature (when the sensor doesn't glitch - it's pretty picky about the obstacles where it'd work).
- Added microUSB socket in power-to-comm module which goes to a USB-UART adapter connected to Pi's UART. Debugging made easy!
- Added backlight switching support with a transistor and some pyLCI wrapper code. Now it turns off after 3 seconds of inactivity. Saves energy, makes it less noticeable in the night.
- I've put a current sensor in the power module so that I could measure device's consumption, even though the sensor isn't connected to anything yet.
Lessons learned:
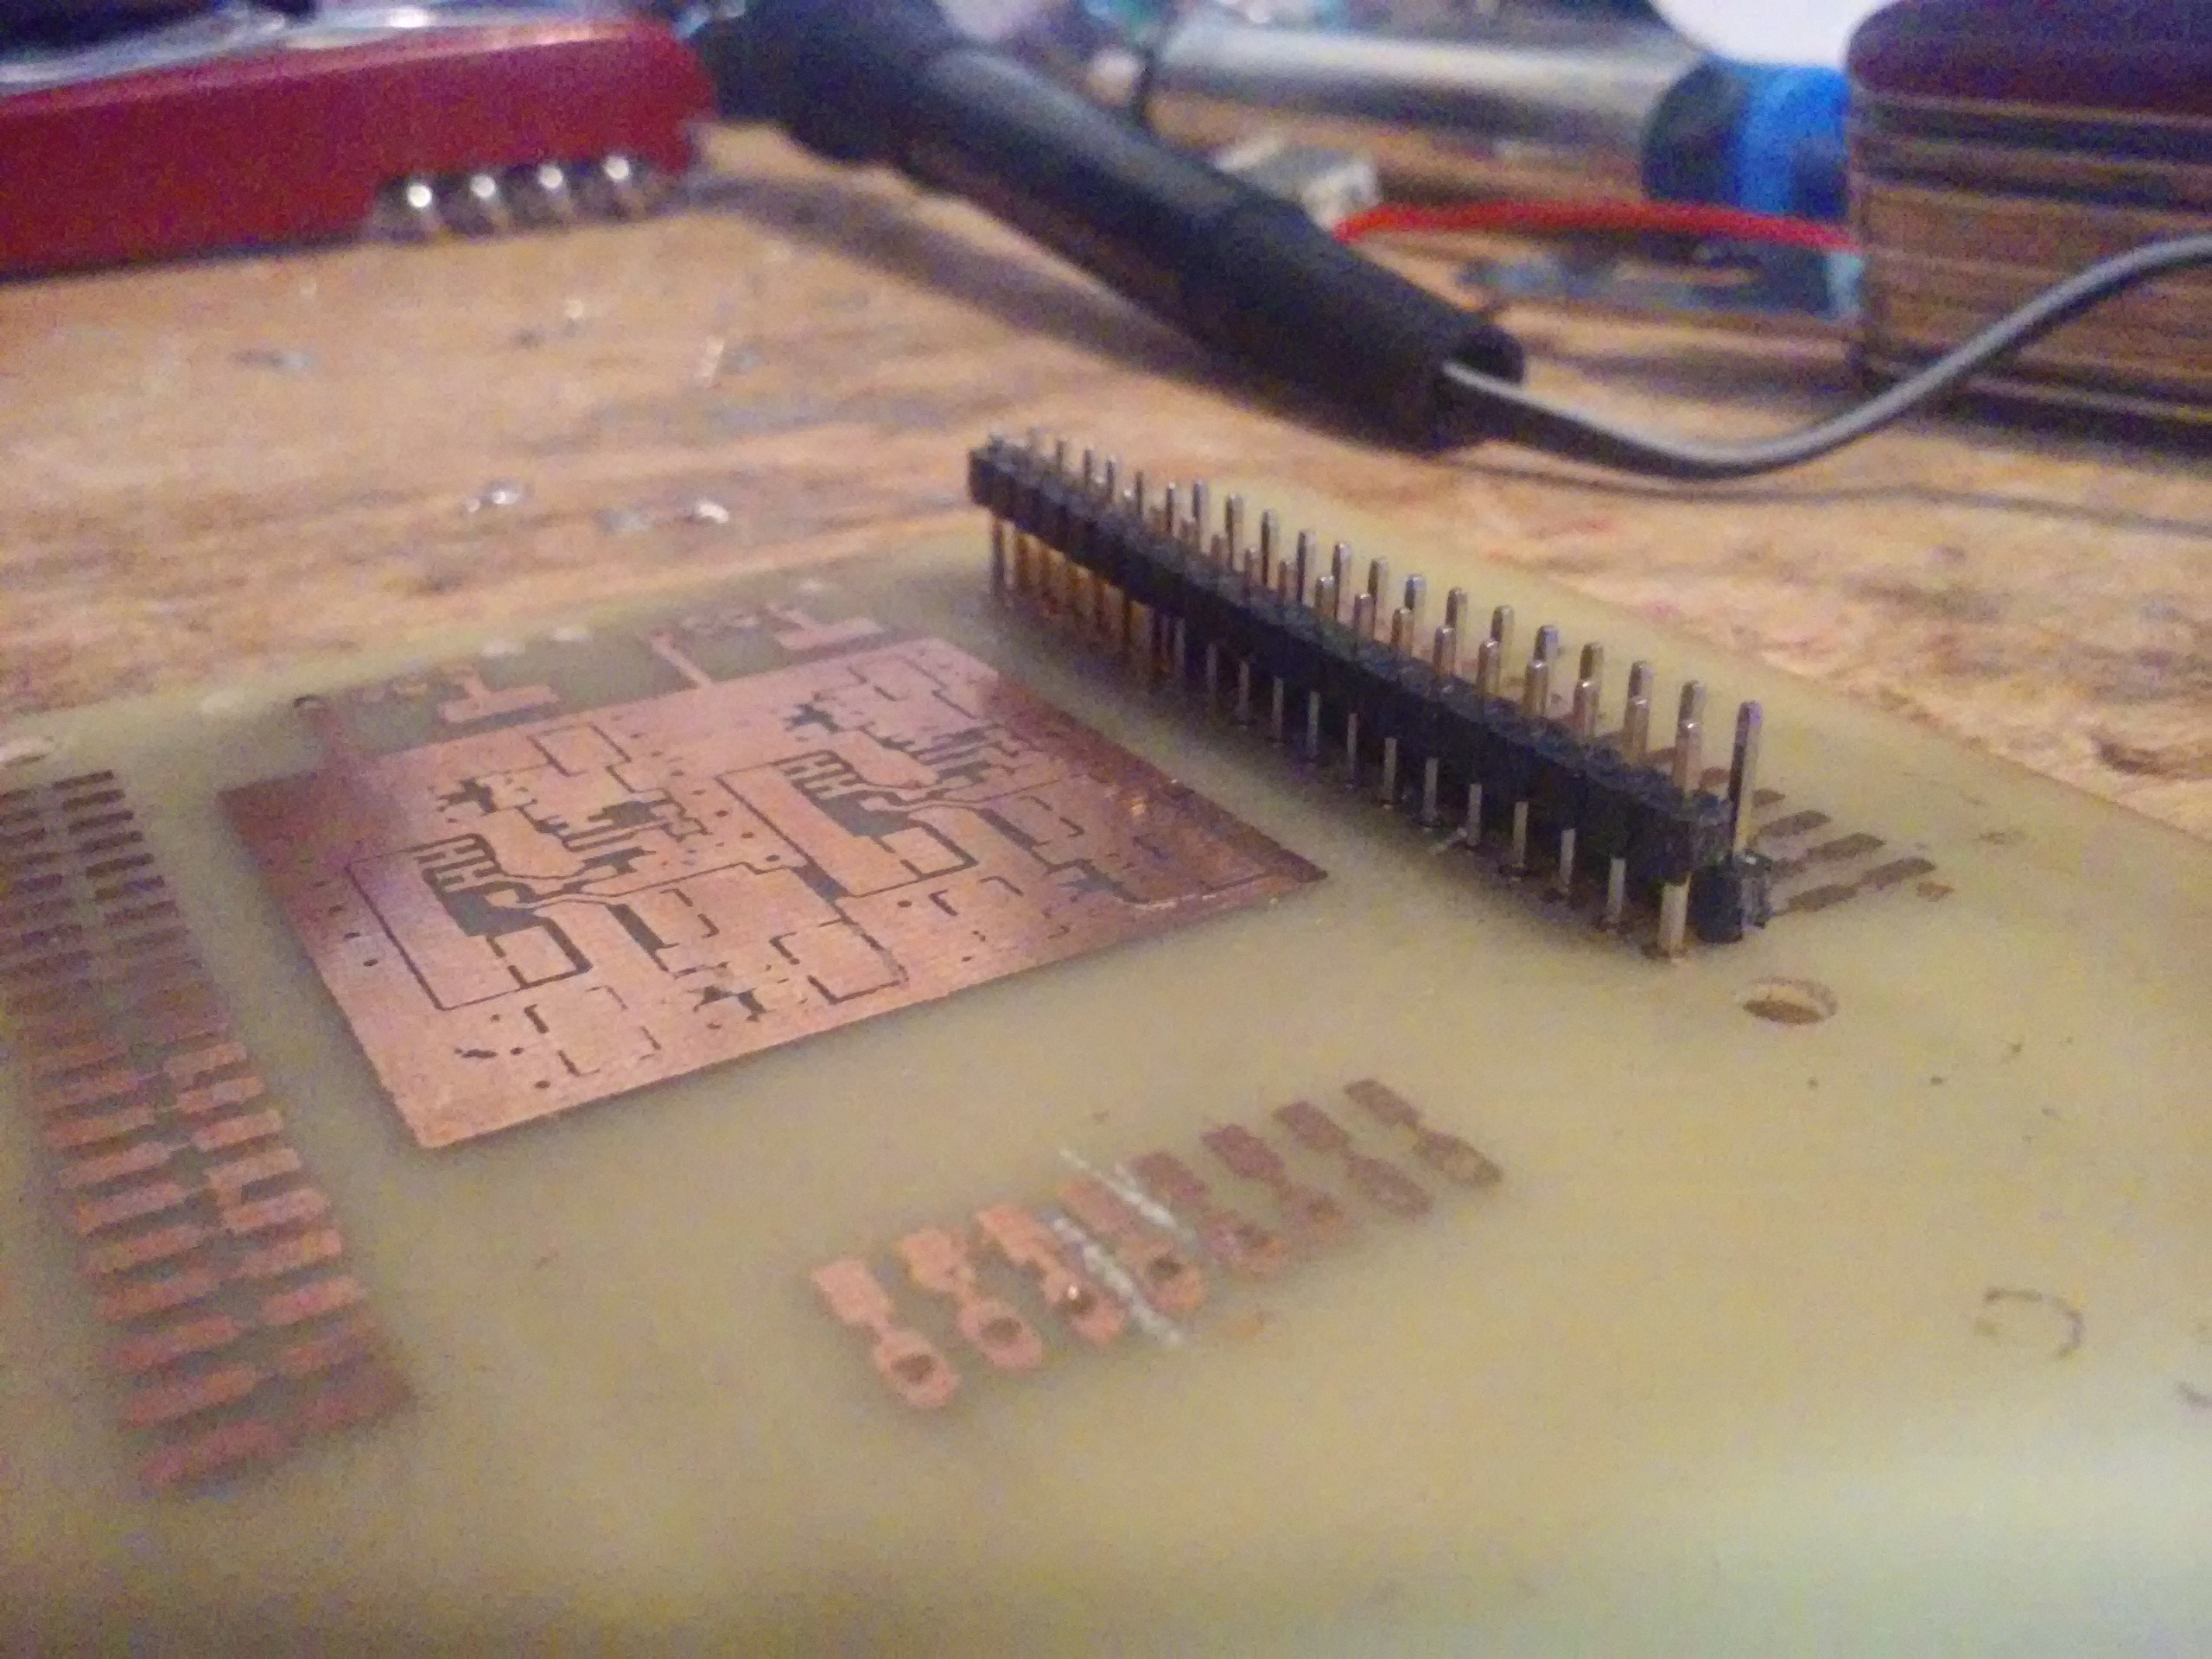
- It needs more custom PCBs. Soldering boards together with wires is not a good way even for a prototype, given hostile-ish conditions. Very possible that the CPU module PCB is to be first to be made. I plan to make DIY PCBs before ordering anything though - they won't fit in 5*5, and I don't want to pay 25$ for 10 copies of my mistakes.
- I need to study more about cables and connectors. I feel like it still needs to be done with IDC-xx if repeatability is important, but for improved versions I might need some tradeoffs (and IDC-40 are just huge).
- Software is very, very important. You can develop any kind of hardware but it's likely to be useless without software tailored for it.
Other than all this, it's very nice. I listen to music a lot using it, I've even written a server mimicking savefrom.net which downloads music from YouTube straight to my music collection flash drive. At this point, I take the bracelet off while charging, working and sleeping - it's still big enough to cause discomfort. I'm also thinking about the next version, going through the ideas in my head and waiting for my 2kg of filament so that I can try out some of those.
![]()
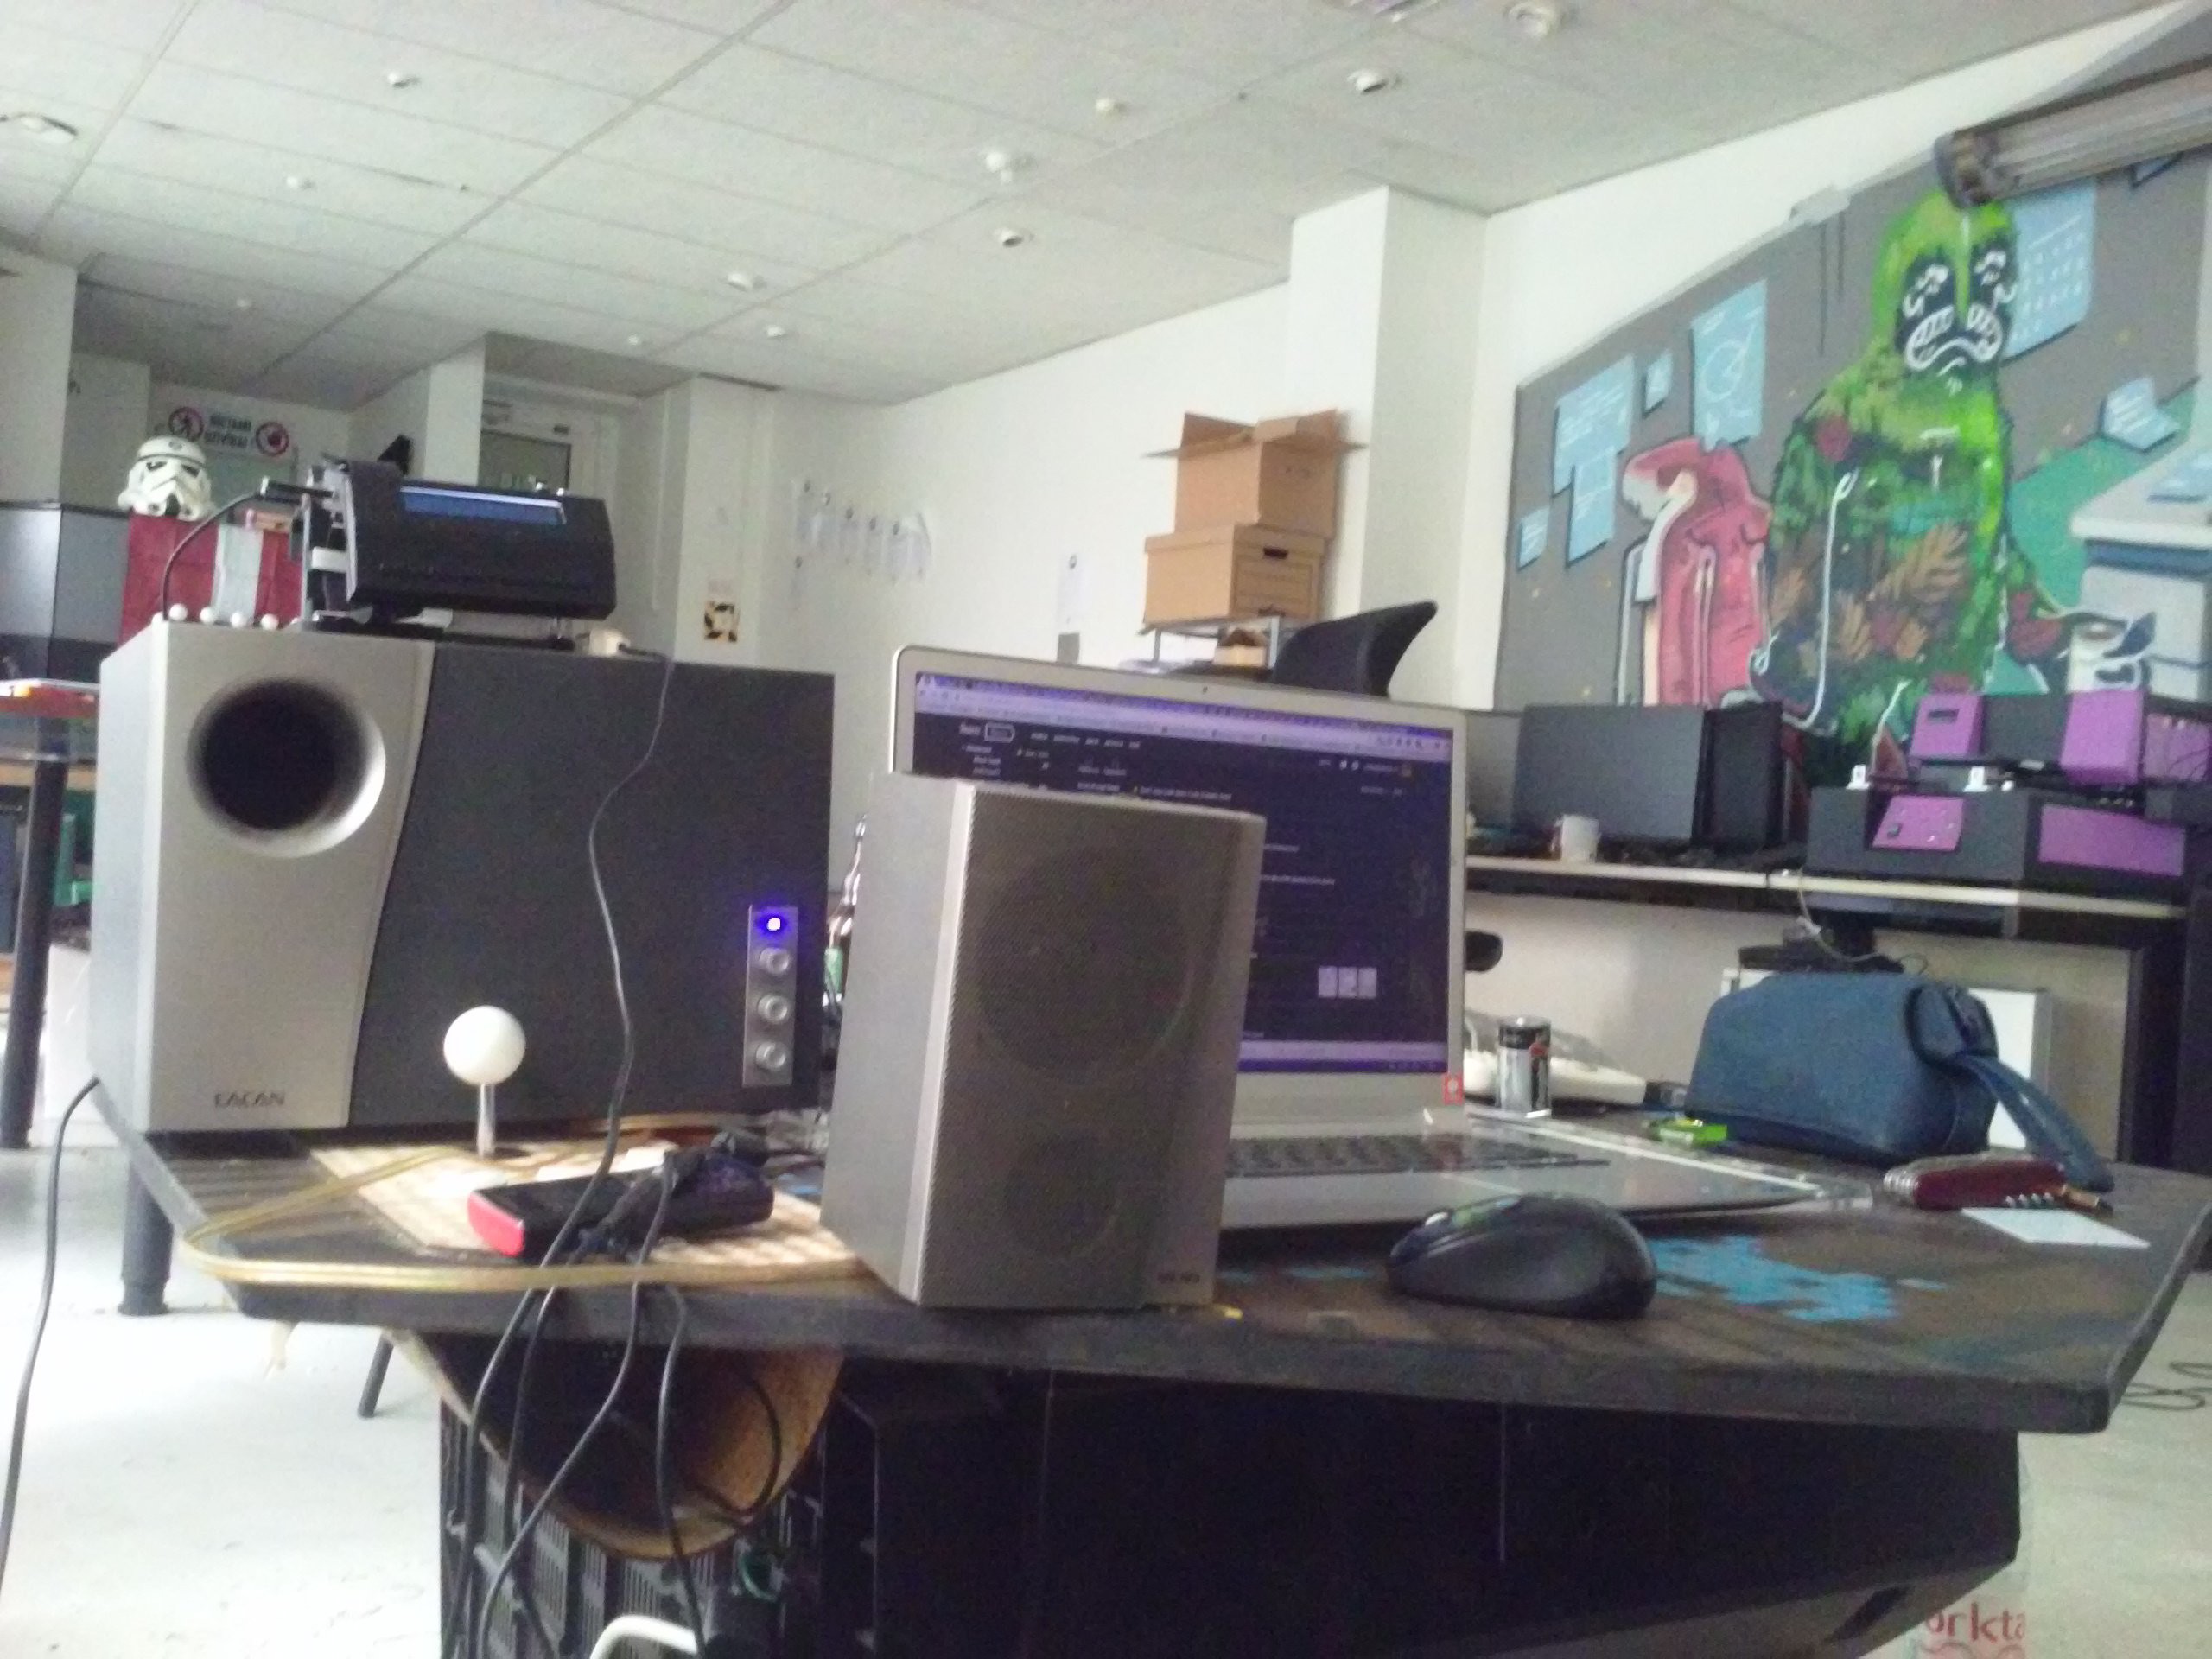
Connected to big speakers and waking me up in the morning (at our hackerspace)
-
Software side - first thoughts
08/31/2016 at 00:16 • 0 commentsFirst batch of device-tailored software is due to be written. Ideally, it should make me wear the thing without ever taking it off.
Music player
The soundcard I've added has been waiting for too long, and I don't have a reliable music player so this should hook me up. I just hope I have a flash disk big enough for all my music...
Task management software
I've got a TODO.txt app alright. However, it's not that easy to add tasks through pyLCI - generally, enter any kind of text. Maybe a 5$ small BT keyboard is to come soon...
SMS and call app
GSM modem, right? Time to put it to a good use. I just wonder if my modem's speaker output is toast - making calls might just get complicated.
BT device app
Bluetooth hacking is something that I want to do. I also want to employ my numerous Bluetooth peripherals, such as keyboards, headsets and phones.
pyLCI app-like architecture
This will be a little more complicated. Menu-driven systems might be good for system management interfaces, but for systems with high levels of human interaction, such as aggressively used UIs, contexts are necessary. My plan is to make true "apps" communicating with pyLCI over sockets, as well as being able to switch between them on the fly without exiting another apps first. This also somewhat helps improve security, though not very well - it creates some kind of "sandboxes" on the machine, at least if I launch separate apps as separate users, giving no more privilege than necessary. Honestly, it just feels like another system at this point - should it be called "WCS", as in "Wearable Control System", just like the previous version did for some time?
More sophisticated input system
I'll need to input things, such as messages and notes, a lot. I'll also need to combine various input ways - my goal is to even be able to use OCR and QR-codes, not to mention USB and BT keyboards.
Thus, I think I need to implement a menu-driven input type selector, with an ability to attach inputs on the fly.
Notification framework
Goes well with the "app-like architecture", as well as this thing being a goddamn wearable that needs to notify me about events.
Reader app
I also would like to be able to read things on the screen. It'd work the same way those "read things quickly" apps do - one or two words at a time on the screen. Would go well for some blog posts I read from time to time, as well as things such as short books and tweets.
It's not going to be easy writing all this, but it's not going to be hard either, given that pyLCI covers all of my interfacing needs and I can expand it whenever I feel like it's limiting me =) Also, the more code I write, the better!
I wrote some cool libraries while developing pyLCI apps. I think they deserve to be released as separate Python libraries, especially now that I know how to release them =)
-
Hardware almost finished
08/29/2016 at 00:08 • 1 commentThis is an old log I forgot to post. Sorry guys ;-)
All the modules are finished, and the device is wearable. I'd be wearing it right now, but...
![]()
I forgot about batteries. I had quite different plans about the enclosure initially, and thus my battery holders were to be 4 aluminium cylinders with 18650s inside. Those cylinders are 25mm in diameter, which is not that great for the 3D-printed case I'm getting now. Thus, I'll re-make the communication module (throwing in a GPS module, as well). It'll be able to fit 2 18650 batteries, and I'll probably find a place for 2 more somewhere around the display module. I'll likely need to insert a small battery in the CPU module, just for the redundancy of some sorts so that I can swap modules quickly if necessary.
For example, I already have plans for a snap-on display module with a color TFT LCD working over SPI. I need to get some of those displays first, but the results should be good enough for GPS maps. Alternatively, I could make it snap on top of the CPU module, complementing the pyLCI controls.
![]()
This thing still needs a laptop when I want to develop things. Might be less of a problem than I think though. Also, I need some kind of an SSD holder - I want to include an SSD filled with music. I could make it wearable as well, but then it'd be a problem to take off the bracelet etc. If it proves to be a problem for the battery life I'll just hook it to my portable router or get a big flash drive.
I re-made the GPIO breakout & HAT module. Now it's much slimmer, oh, and has a thinner case =) The HAT feature is mising for now, though. I think I'll add it when I'll actually need it.
I also decided to finish the CPU module. What's inside?
![]()
- Pi Zero
- I2C RTC
- GSM module with USB-UART
- 5V DC-DC to provide power to the Pi separately
- USB hub connected to the Pi, with 2 ports going to the comms module, one going to the external USB port and one going to GSM module's USB-UART
![]()
There's really a lack of space in the CPU module because I want to add the sound card and a spare battery for redundant supply while I change batteries. I hope to solve this soon, maybe with smaller connectors and more tightly cramped things. As for now, it's full of boards and modules.
![]()
The new comms module received 2 18650 battery holders inside, complete with the charger circuits. I'm thinking of a circuit that'd connect and disconnect batteries to the main power line, according to their voltage. As for now, both batteries are constantly connected to 3.6V line from which the power goes to the other modules. Other than that, the module is basically the same as it's been before.
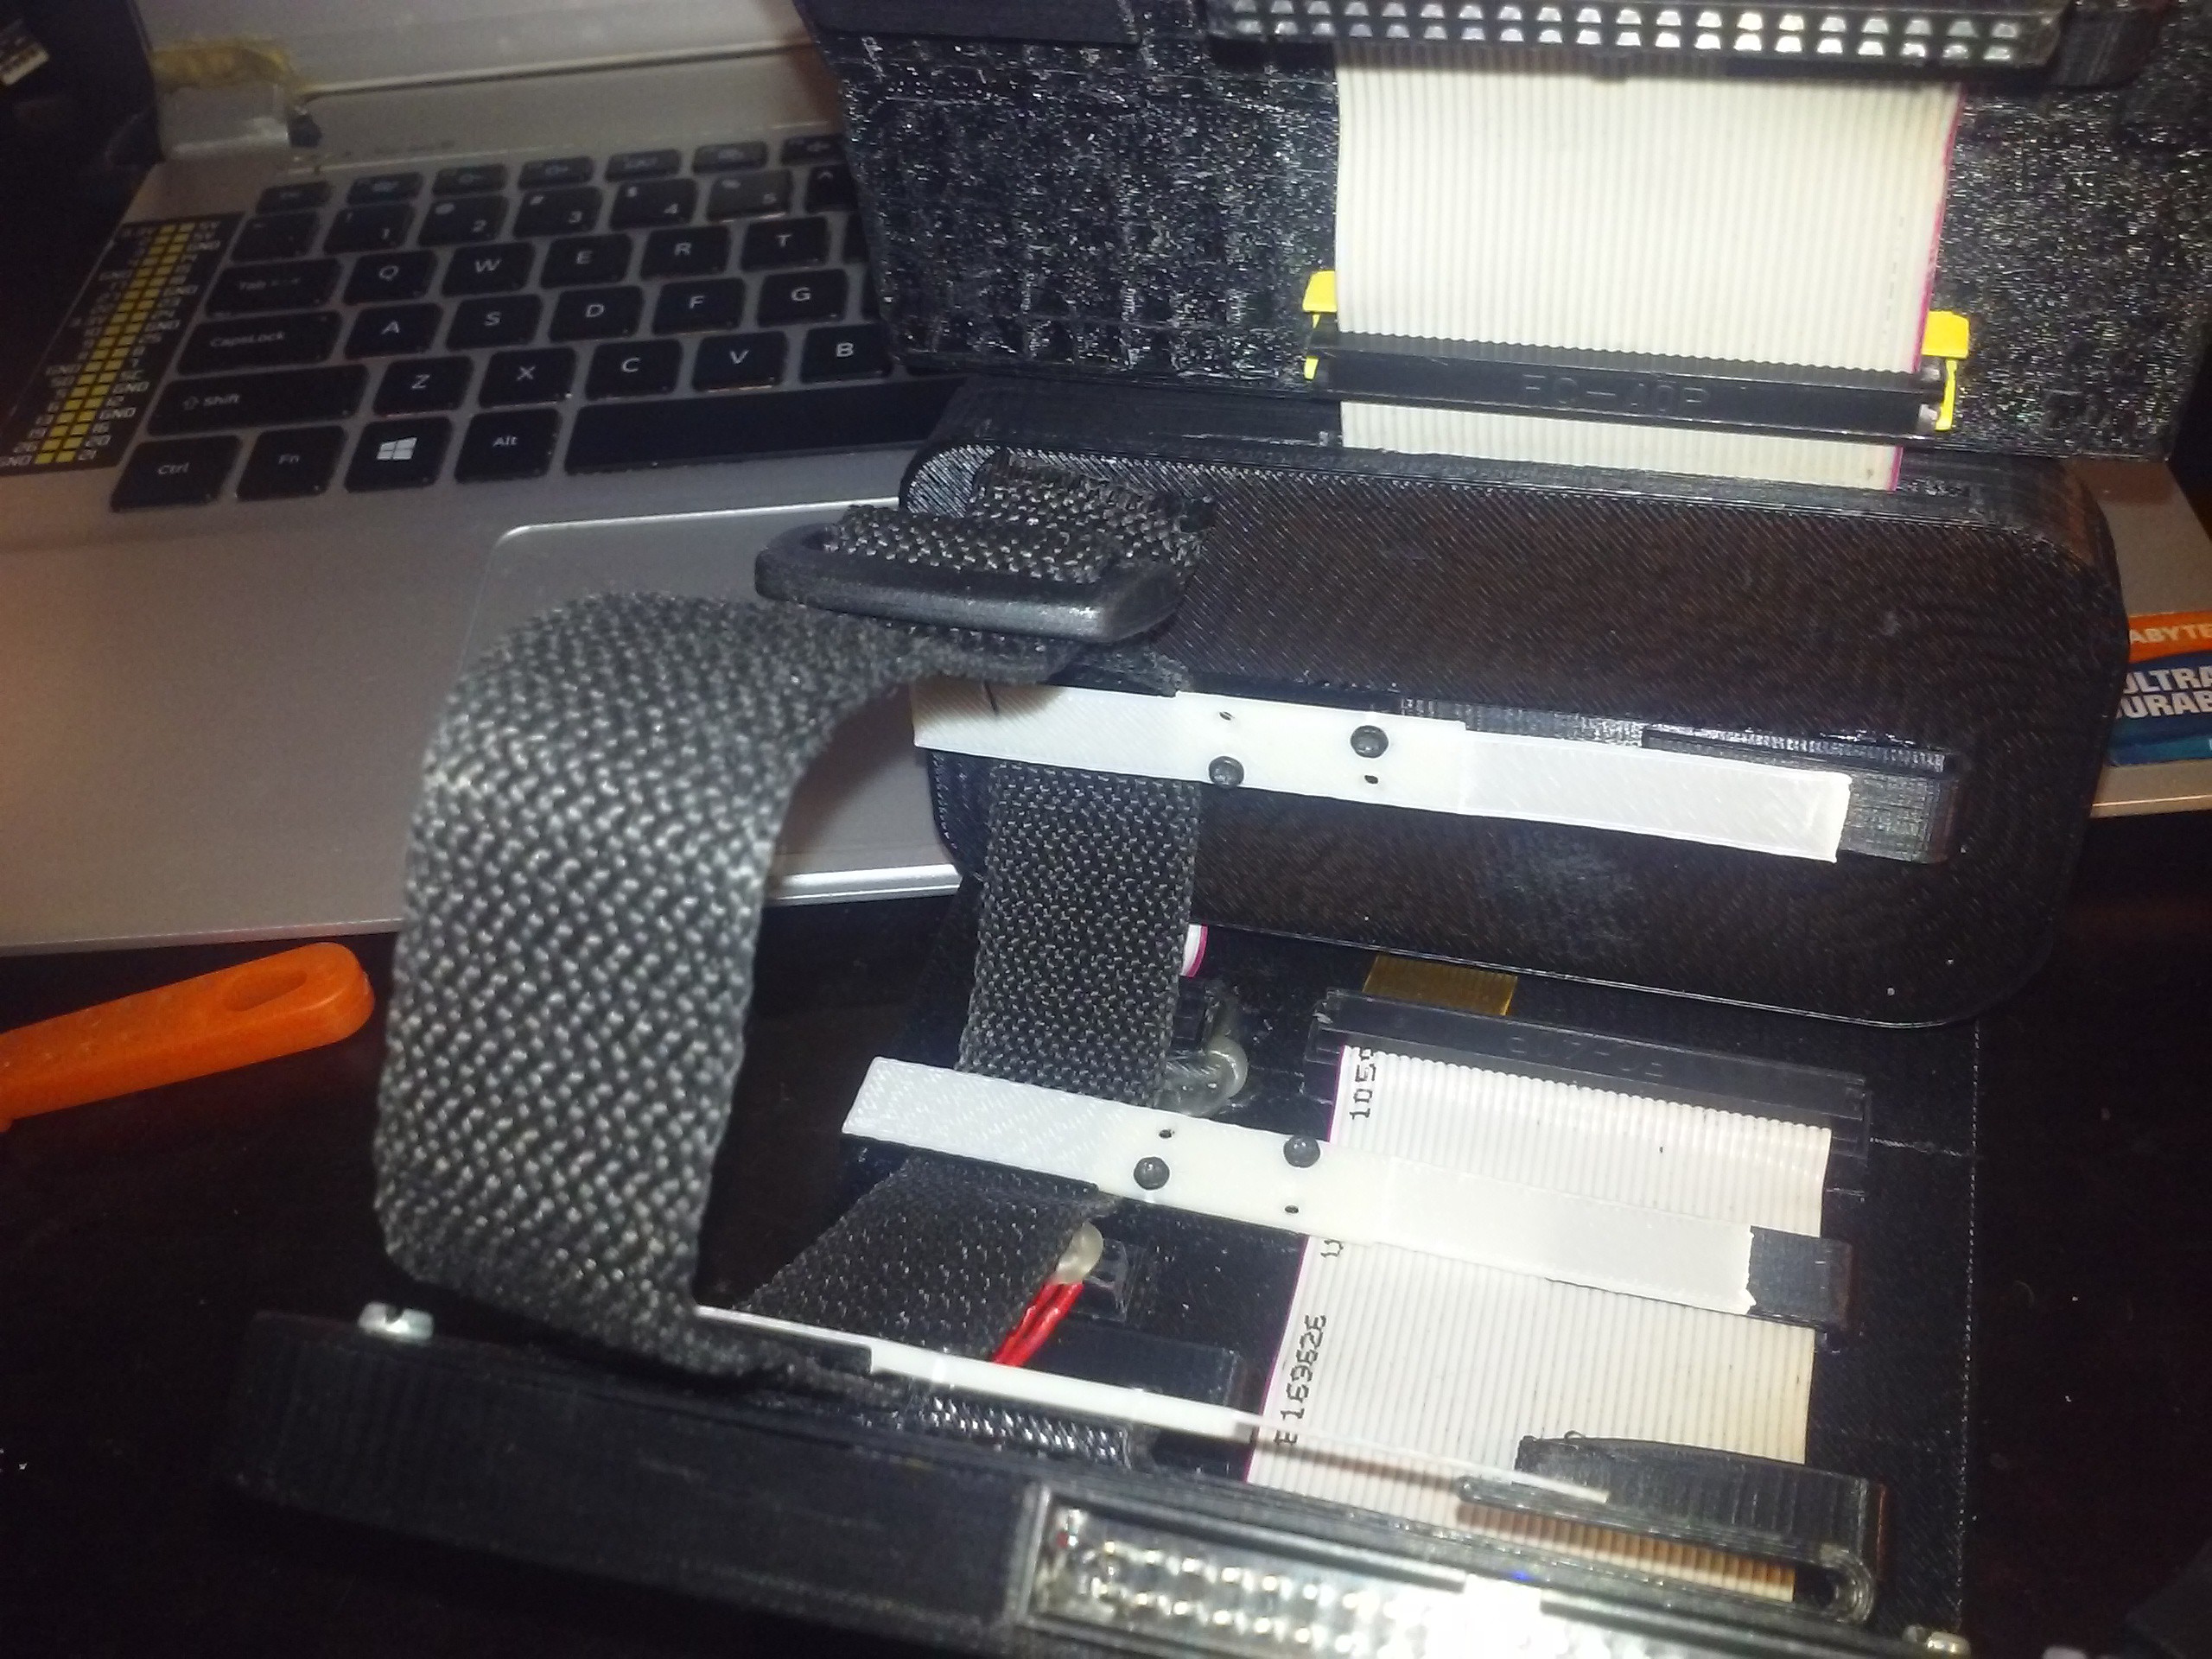
From the fundamental things, what's left is finding a secure way to attach modules to each other so that the contraption does not fall apart. Apart from the belt braces I'm gluing on back of the modules, I'm thinking of another way to make sure the thing stays together and does not fall from my arm. Maybe some stretchable fabric wrist thingies would help... Not in the heat of summer, though. Good that summer's going away and it seems I'll have half a year to figure the thing out.
![]()
![]()
Oh, and there's no 5V input for charging inside yet. It'll have to have a good cord - the thing can draw about 2A, like, real 2 amps at 5V, thanks to the battery charger boards. I'll measure the consumption, too. And I don't even have any power source switchover...
The battery switchover circuit... So, an Arduino at 3.3V with 4 ADCs and 4 FET-controlled channels connecting batteries to the common 3.6V rail, maybe an external 2.5 reference for stable measurements. If a battery is inserted which voltage is lower than the batteries' that currently power the bracelet, it'll switch it off until the batteries are at similar voltage level, so that there are no voltage surges when new batteries are inserted. Oh, and it'd be cool if it could report voltages, say, over I2C, and force switch channels off/on as well. The only unsolved problem is the way to power it up when the first battery is inserted... Maybe a "force turn on" button would solve that.
-
Continuation - 3D printing and assembling, part 3
07/28/2016 at 23:28 • 0 commentsI didn't have time for this project for quite some time. However, after I've finished work on some other projects that had higher priority, I decided it's time I finish this project. Let's do a writeup on how it looks now:
![]()
So, first thing to come is 3D-printed parts. inb4 - just updated the files for download.
Modules
![]()
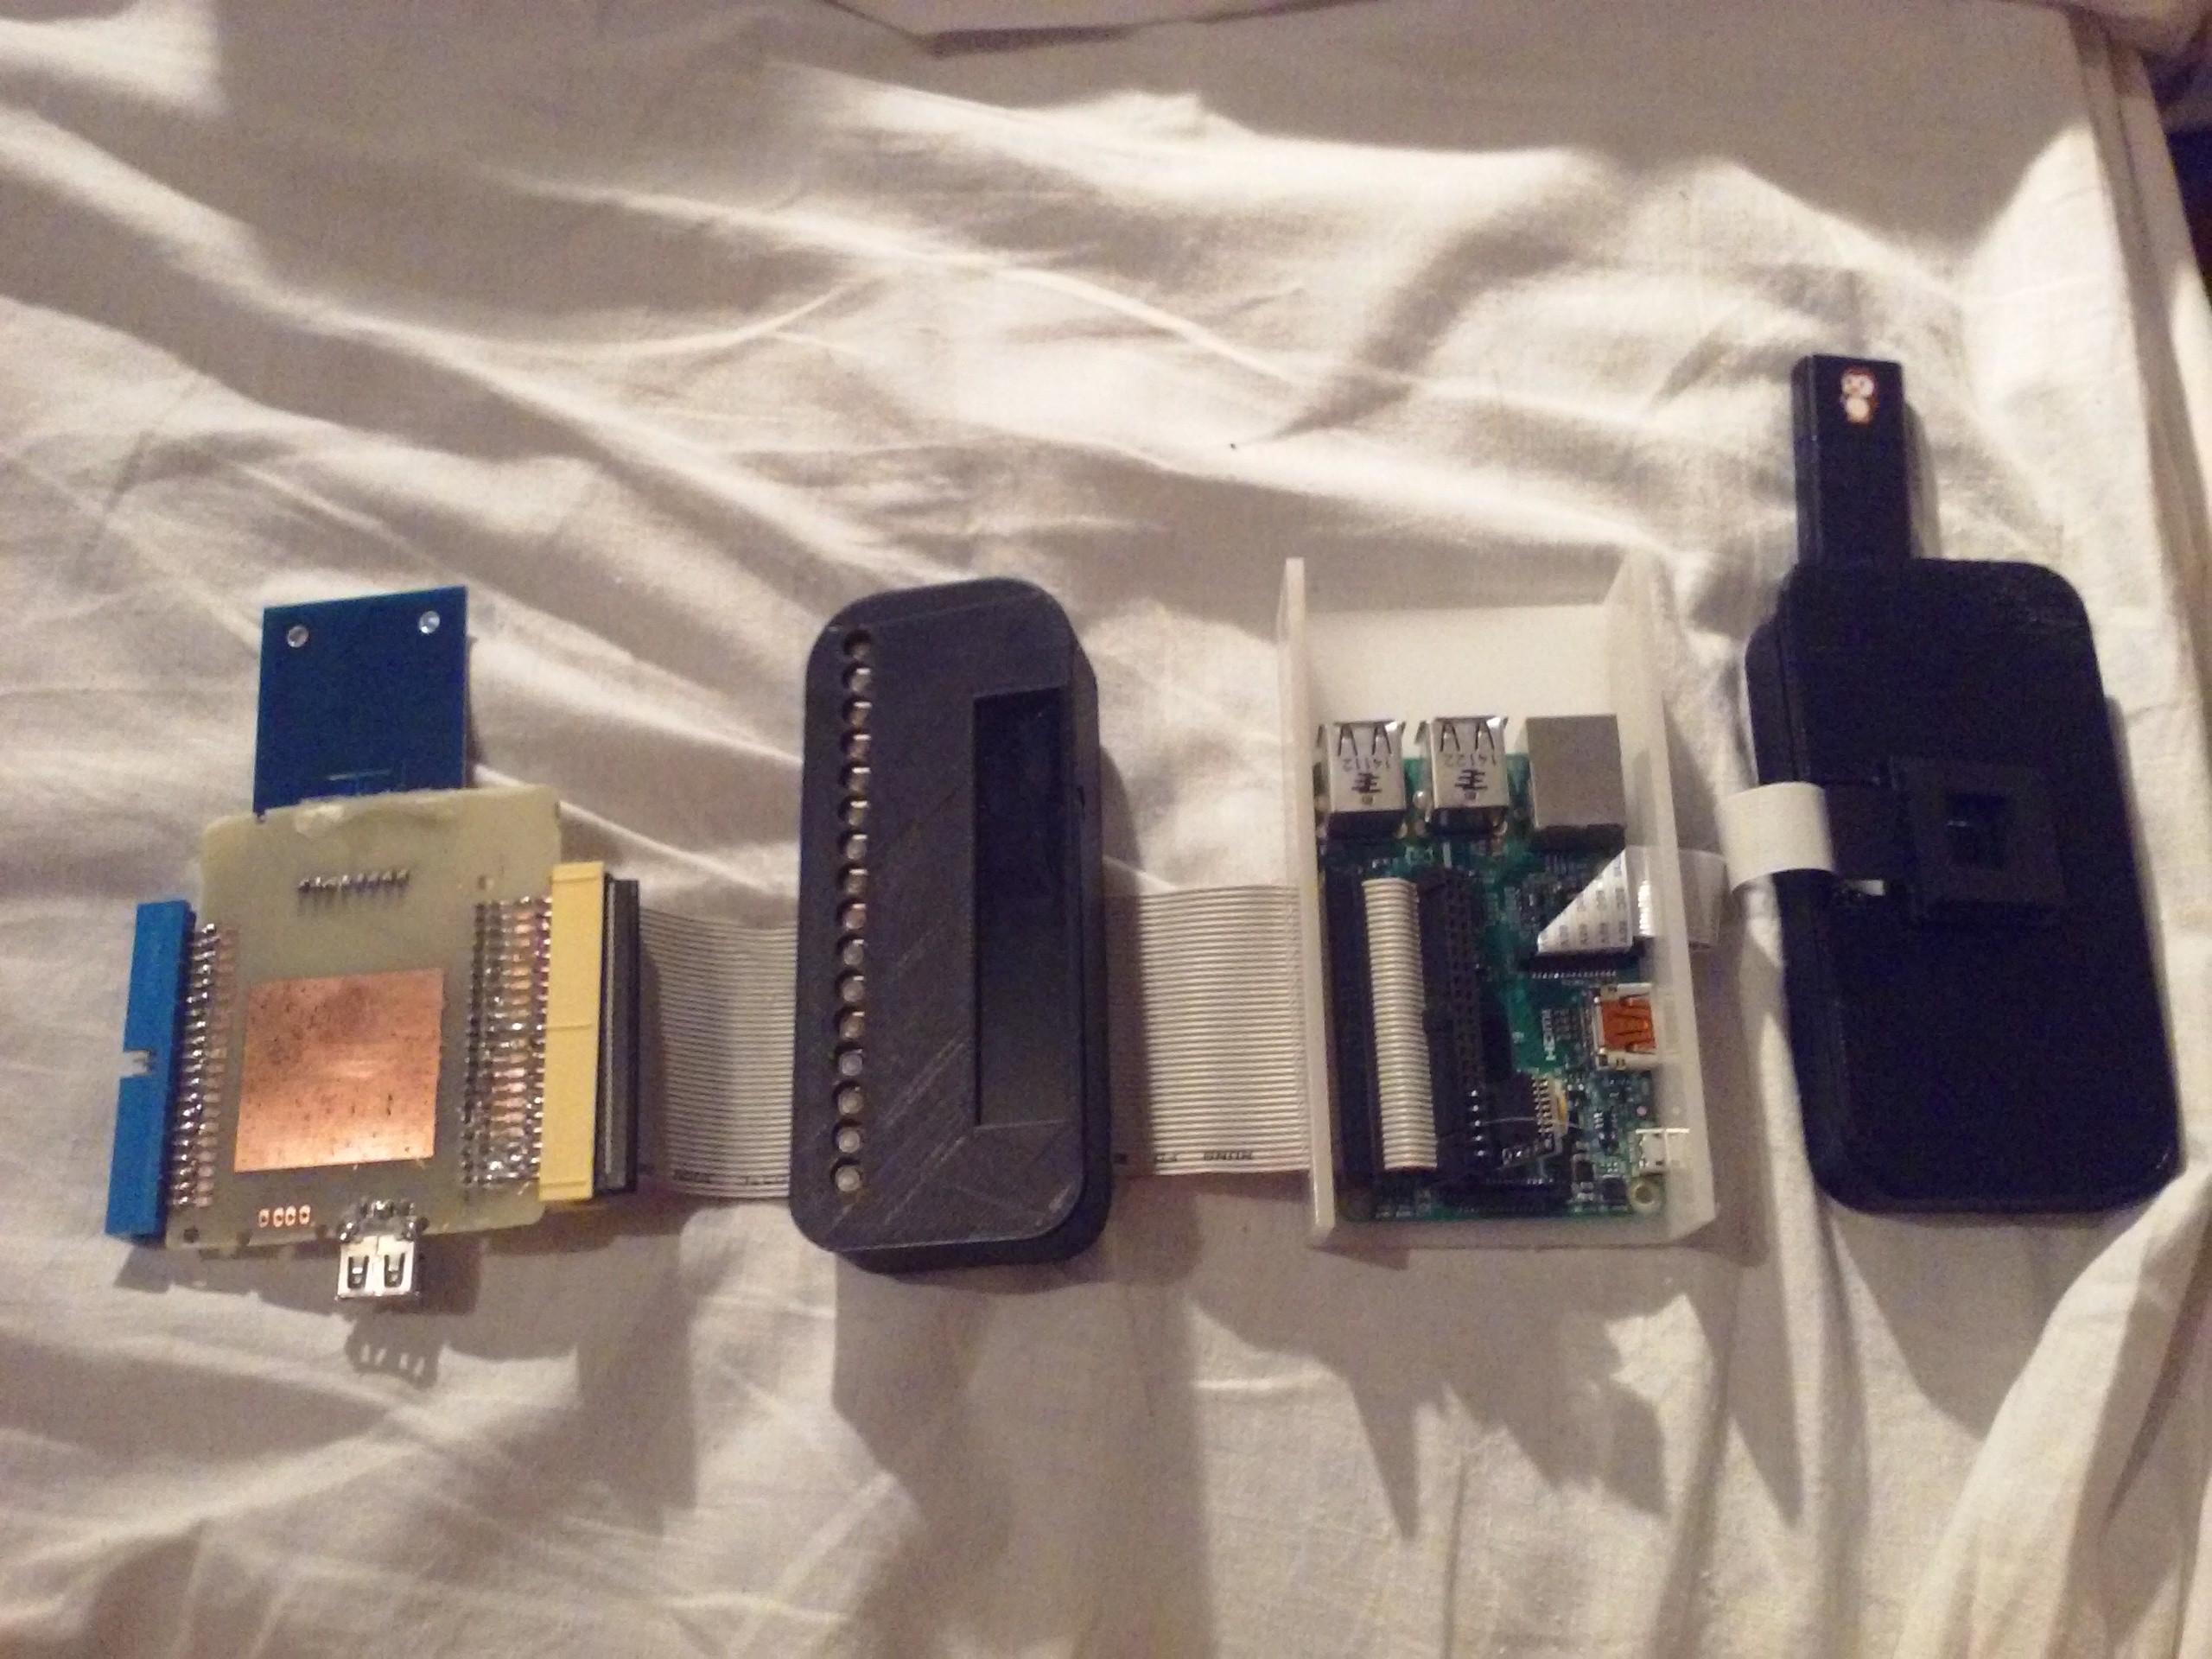
Main module (with the Pi board) got completely redesigned. Now there's a Pi Zero in there. I can still use the native camera with the adapter cable, CPU power is the same (I was planning to use a B+ anyway) and power consumption will probably be less than the B+'s (though a USB hub I'll add might just compensate for this). It's got a 3D-printed case which dimensions make this the smallest module, and I could make it even smaller. Some features:
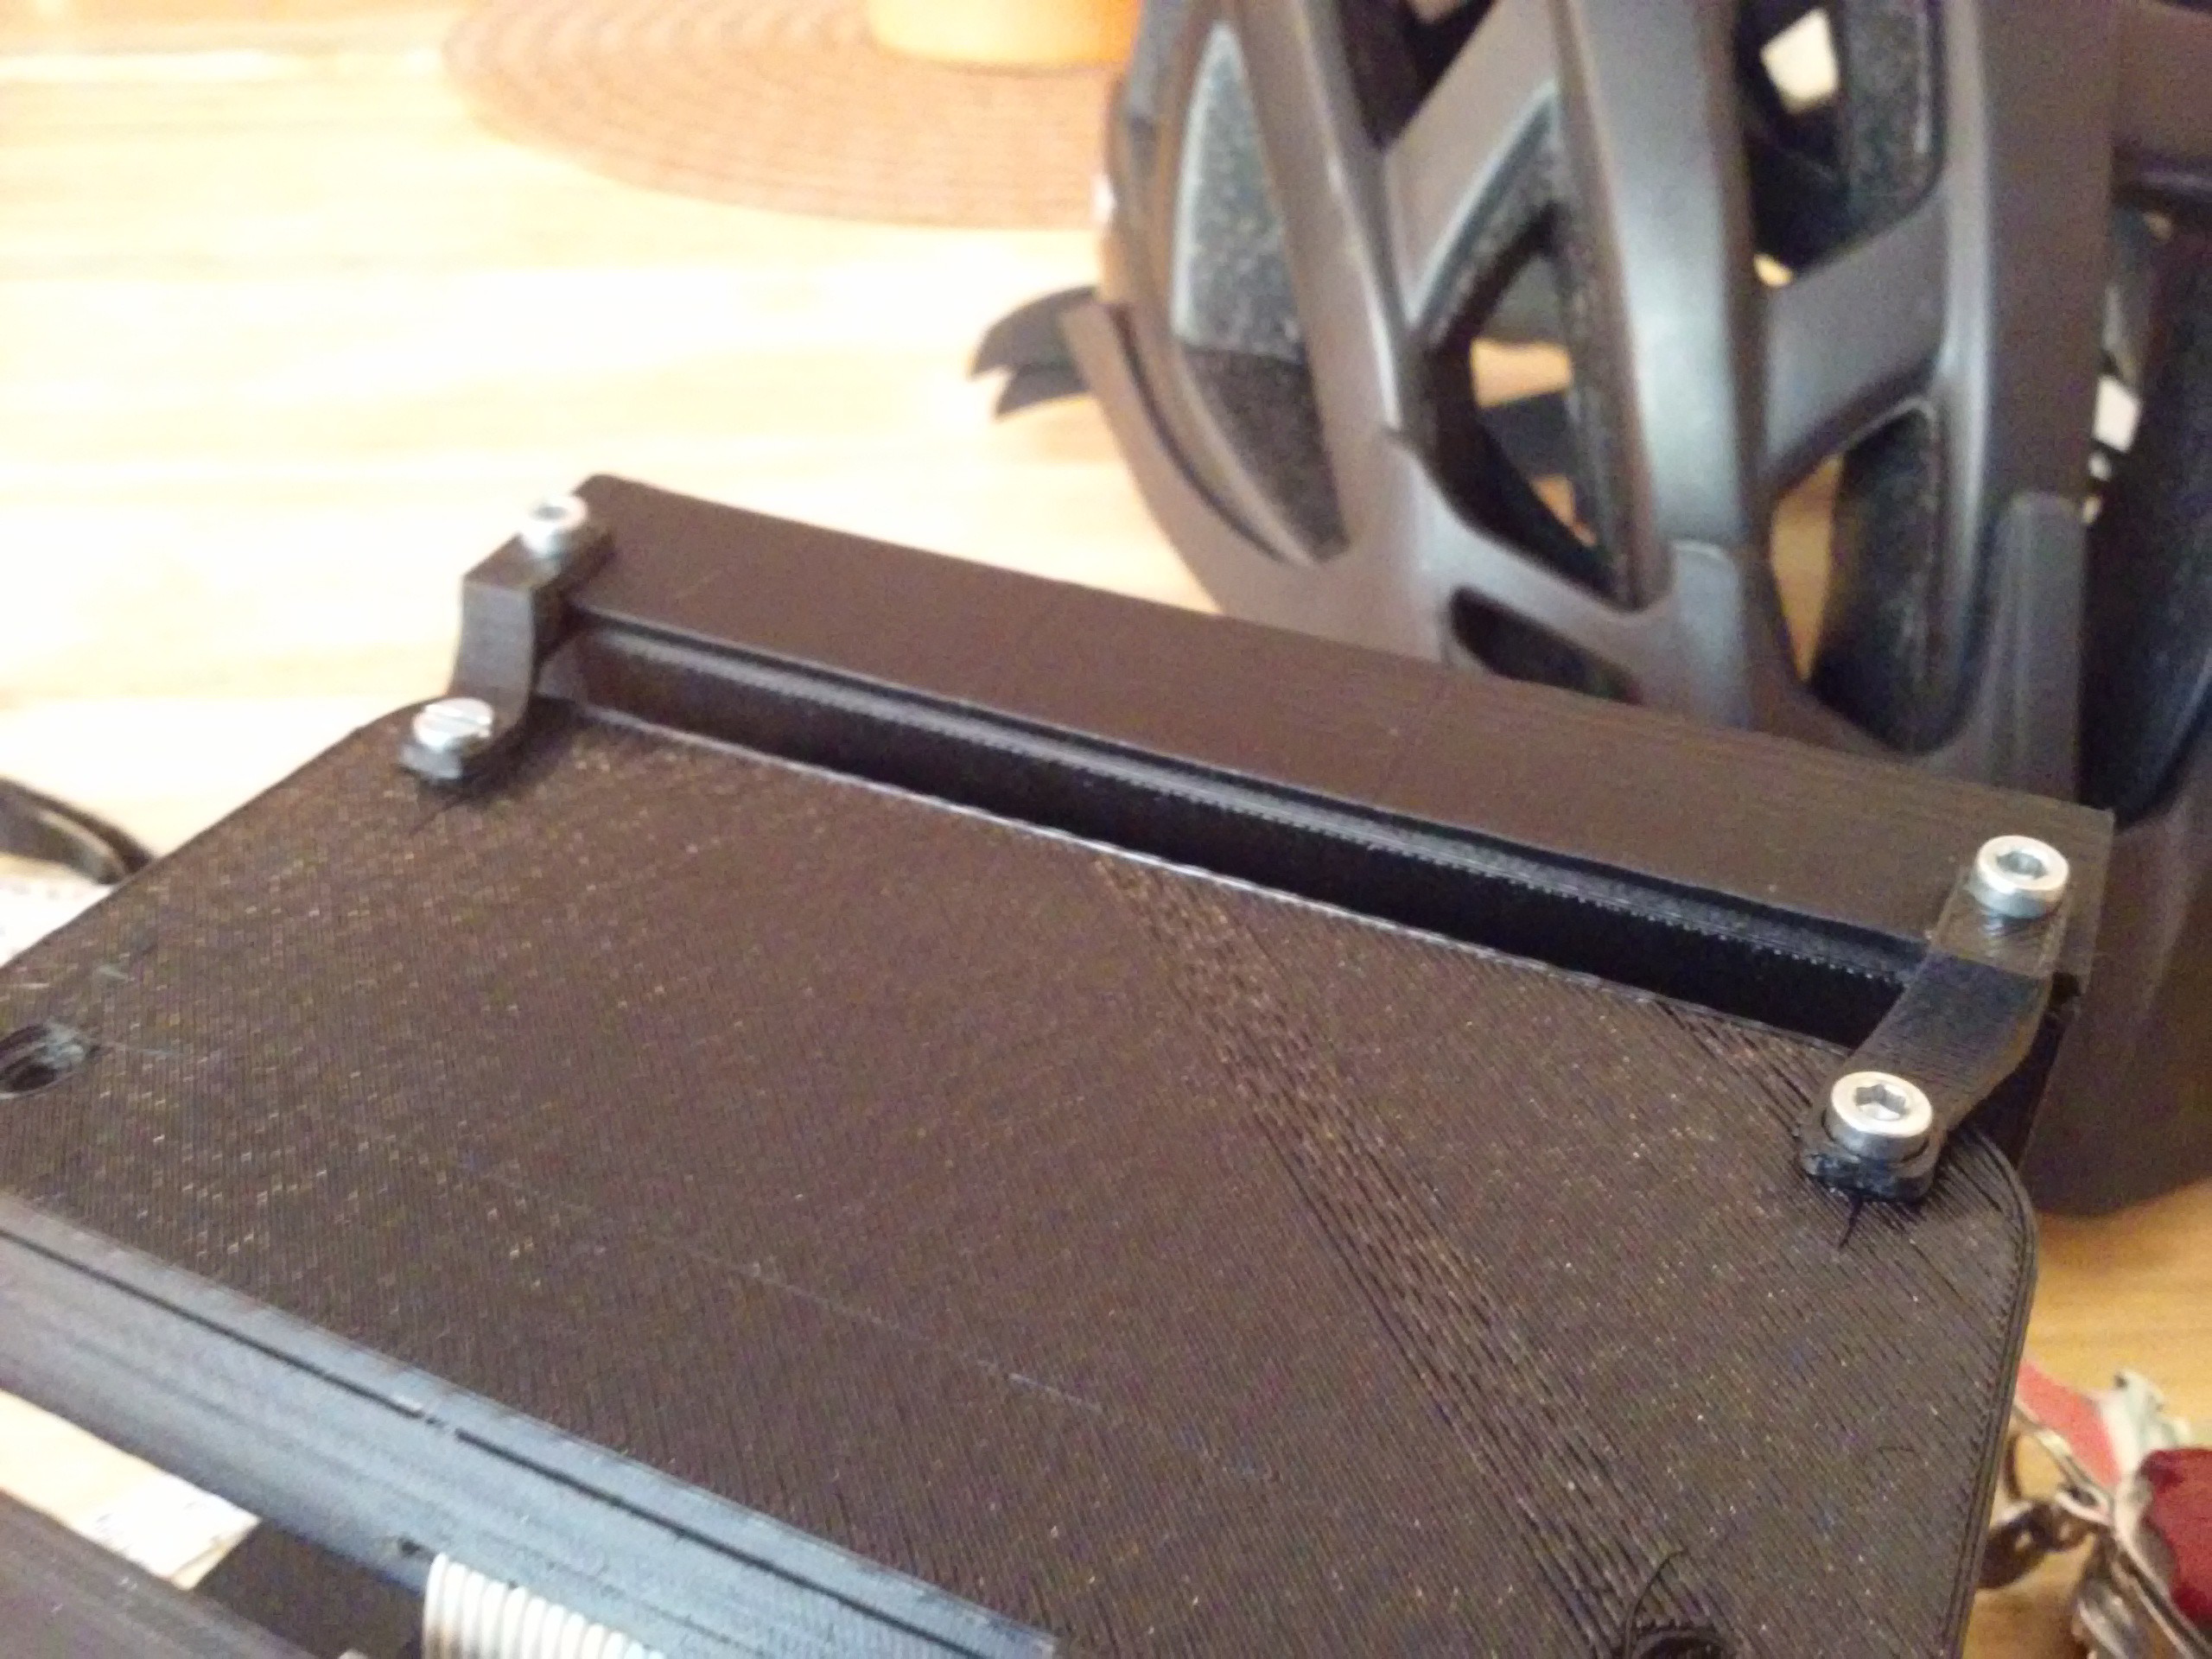
- Screw holes. The case lid is snap-on, but I've decided to add some screws, so it's now held by 4 nice M3 HEX screws (ones you'd need an Allen key for). I should probably color them black though, or just get black screws.
- WS2812 header. I got a "Neopixel Stick" knockoff from eBay and added a header from those. Now the flashlight is included in the CPU module. It's a little unsightly, but I plan to design a small piece which'd cover it.
- Accelerometer and gyroscope - with MPU-6050. I plan to add a magnetometer as well. I still need to connect them to I2C though, they're not connected right now.
- An external USB port.
- Later on, soundcard and a 3.5mm socket for headphones. It seems I'll make a hole for the headphones with a dremel, since the first version of the case has already been printed.
- A RTC for good measure
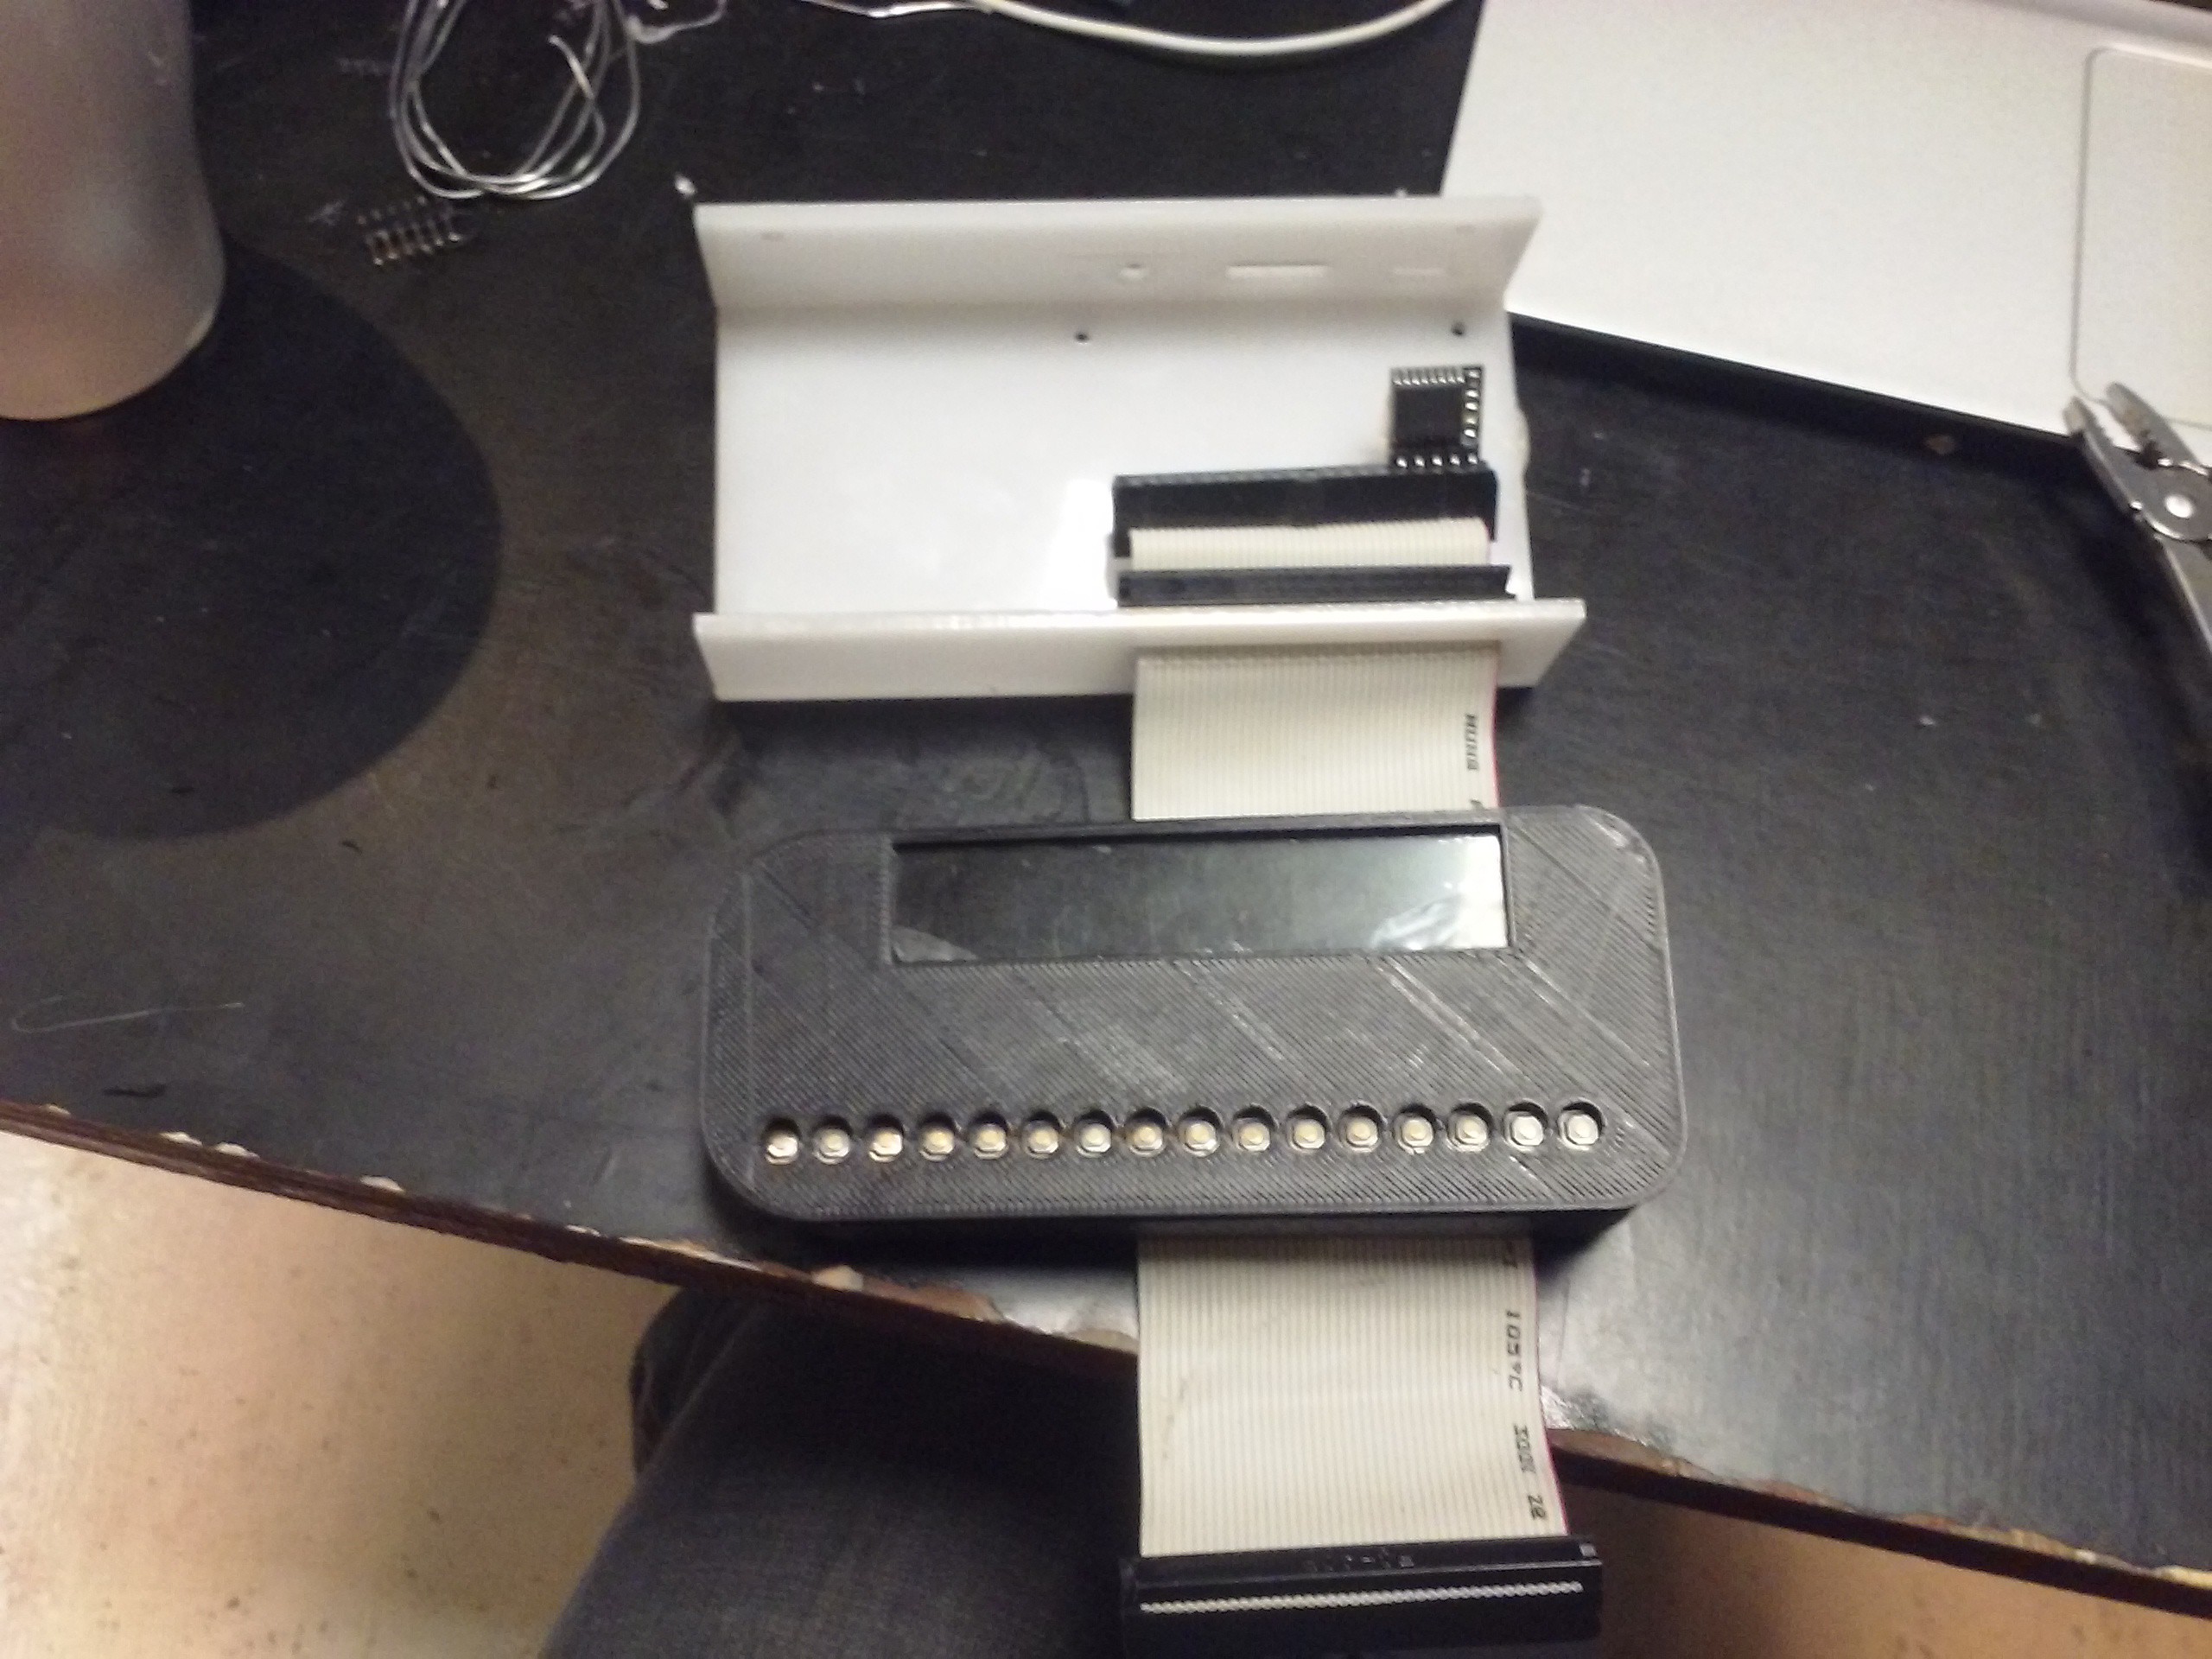
A IDE cable connects Pi's GPIO straight to the display module.
- A RX2402A display from TME.eu I got from a hackathon.
- A custom board with 16 keys and an I2C expander
Then, it goes to the power module:
- A HAT connector (I still might want to use some HATs without dismantling the whole setup)
- 2 GPIO connectors (IDE-style) - one goes to the display module, one goes to the communications module (they're not connected on board but instead have SMD pads broken out, it's so that I can choose which lines are connected both to the second connector and to the HAT connector)
- A RC522 card reader
- Possibly, some DC-DC modules for powering everything from Li-ion directly - when I finally get to this part.
- USB sockets for powering things
From the power module, another cable goes to the communications module:
- A Pi Camera connected to the main module's Pi
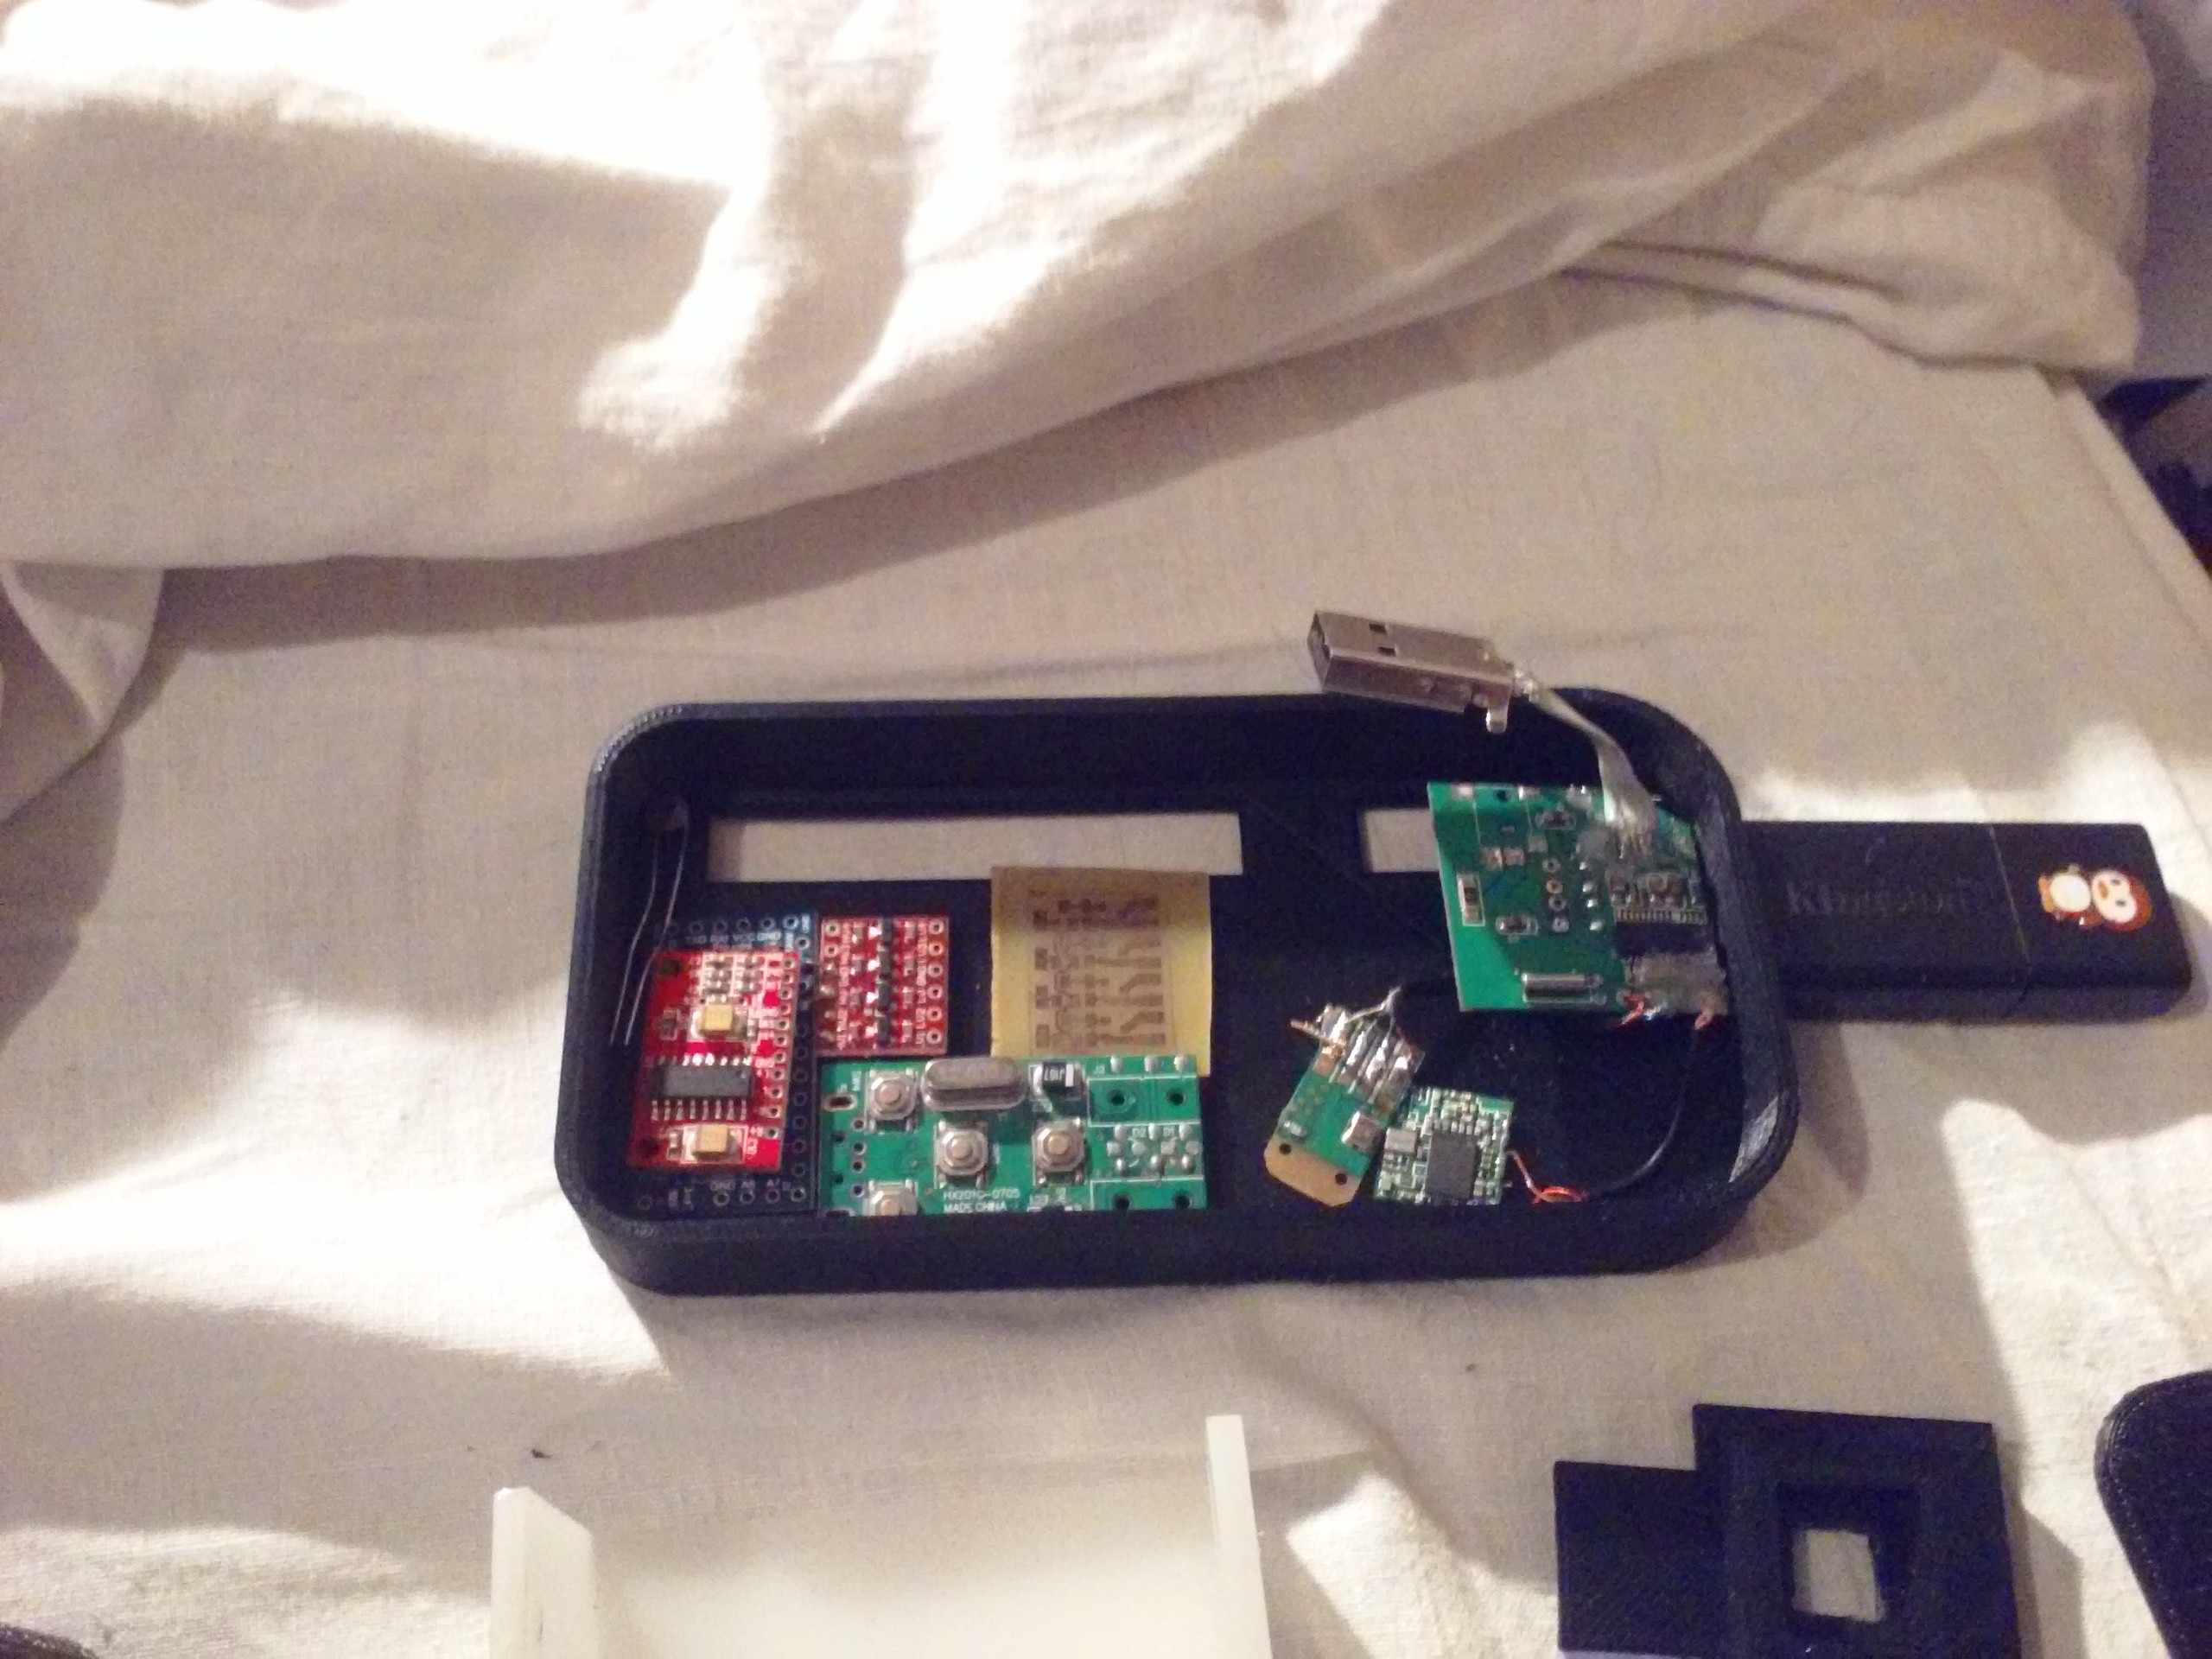
- A USB hub, connected to the Pi as well
- One USB socket accessible for flash drives etc.
- BT 4.0 dongle
- WiFi board
- Later on, an Arduino which would switch power to WiFi/BT/USB hub/soundcard/etc. using a small board with FETs
What's lacking now?
- GPS. I have a module right now, might just find some free place for it in the communication module.
- GSM. Ditto, another small module waiting for inclusion ASAP. I want a DIY phone, dammit!
- Sound card. One of the most urgent things, actually, since listening to music on the go is one of the most important things for this to do.
- Keypad glove. I've recently received a ton of buttons from China, but I'm still confused over how exactly I'd connect them. Will need to think about feasible ways - I'll probably choose a spare Pro Micro over USB though.
- Battery management. I haven't yet thought of where I'd be carrying batteries, much less about their management. I'll probably whip up something when it's time.
- Some kind of belt clips attached to the back of all modules so that the case can be held together by the belt that wraps around the wrist. It's now held by the IDE cable but this is not enough.
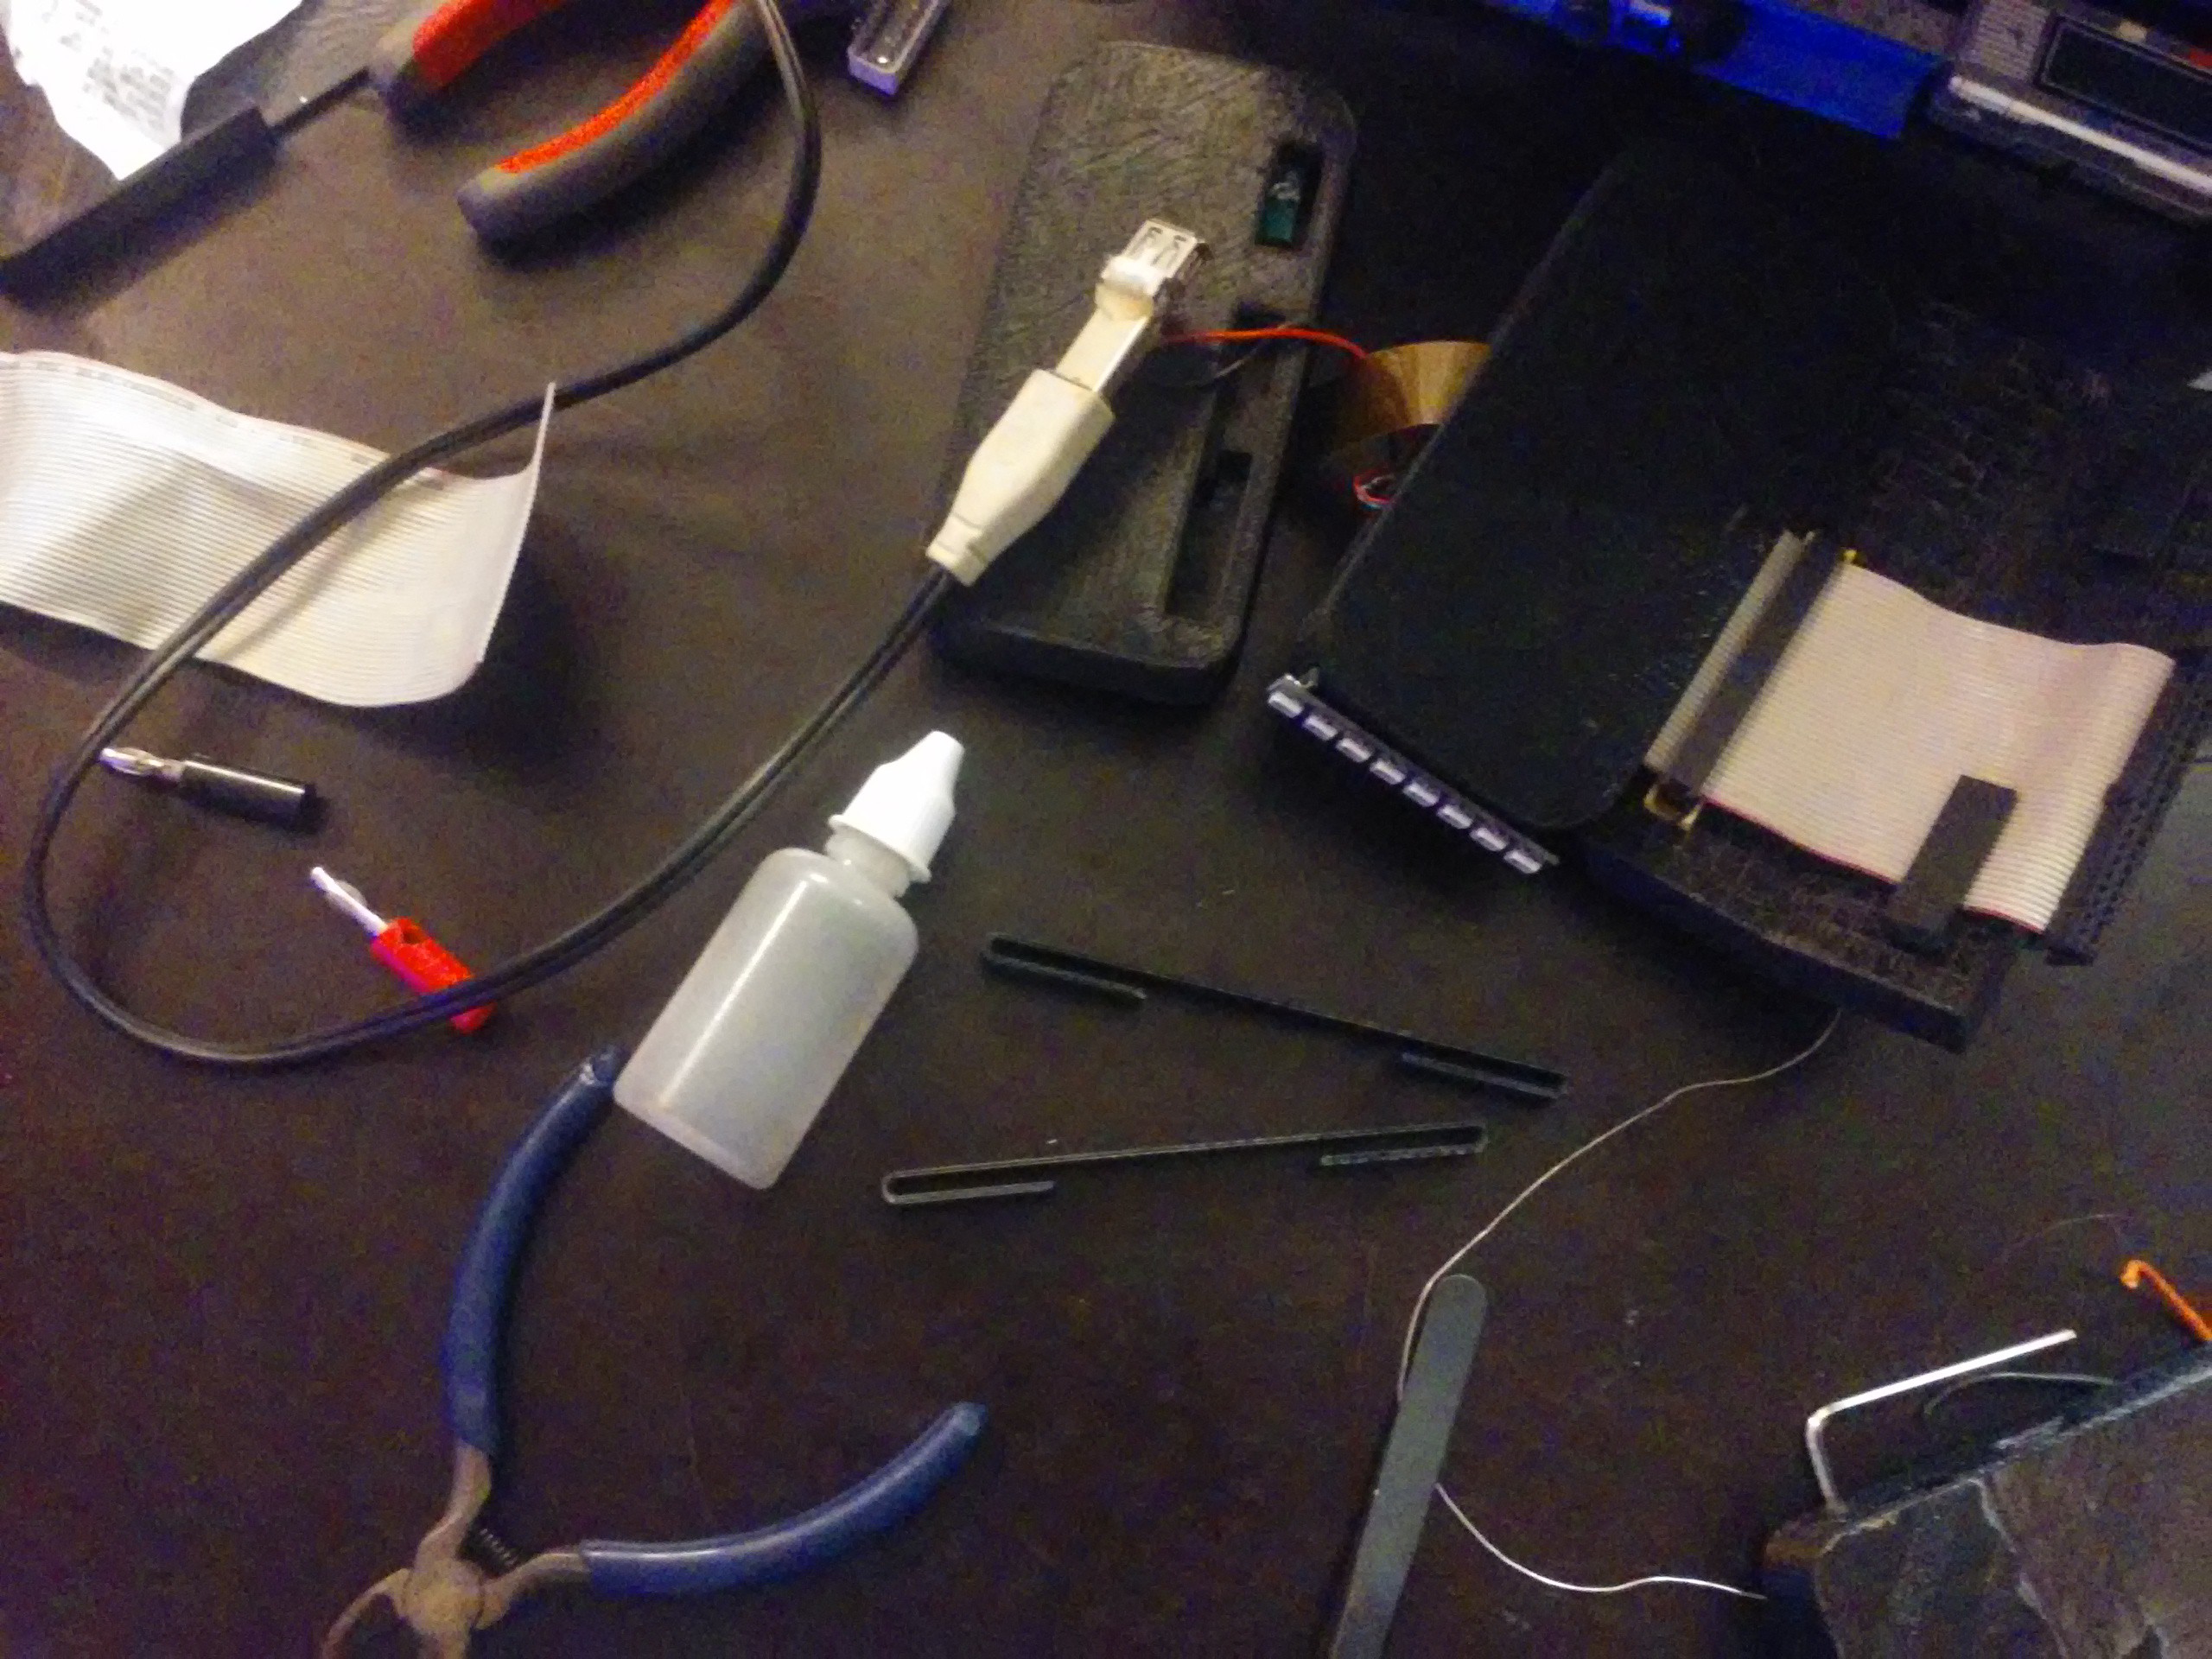
Some simple belt clips - to be glued to the back of each module so that I can attach belts:
![]()
See you soon with updates, hopefully.
-
3D printing the case - part 2
05/29/2016 at 22:46 • 0 commentsSo, I've been ill for a while. I like to think I'm feeling better. The project must go on! If not - what's going to remind me about pills I need to take on time and food schedule I need to keep on?
![]()
from left to right - power module, display module, main module and comms module
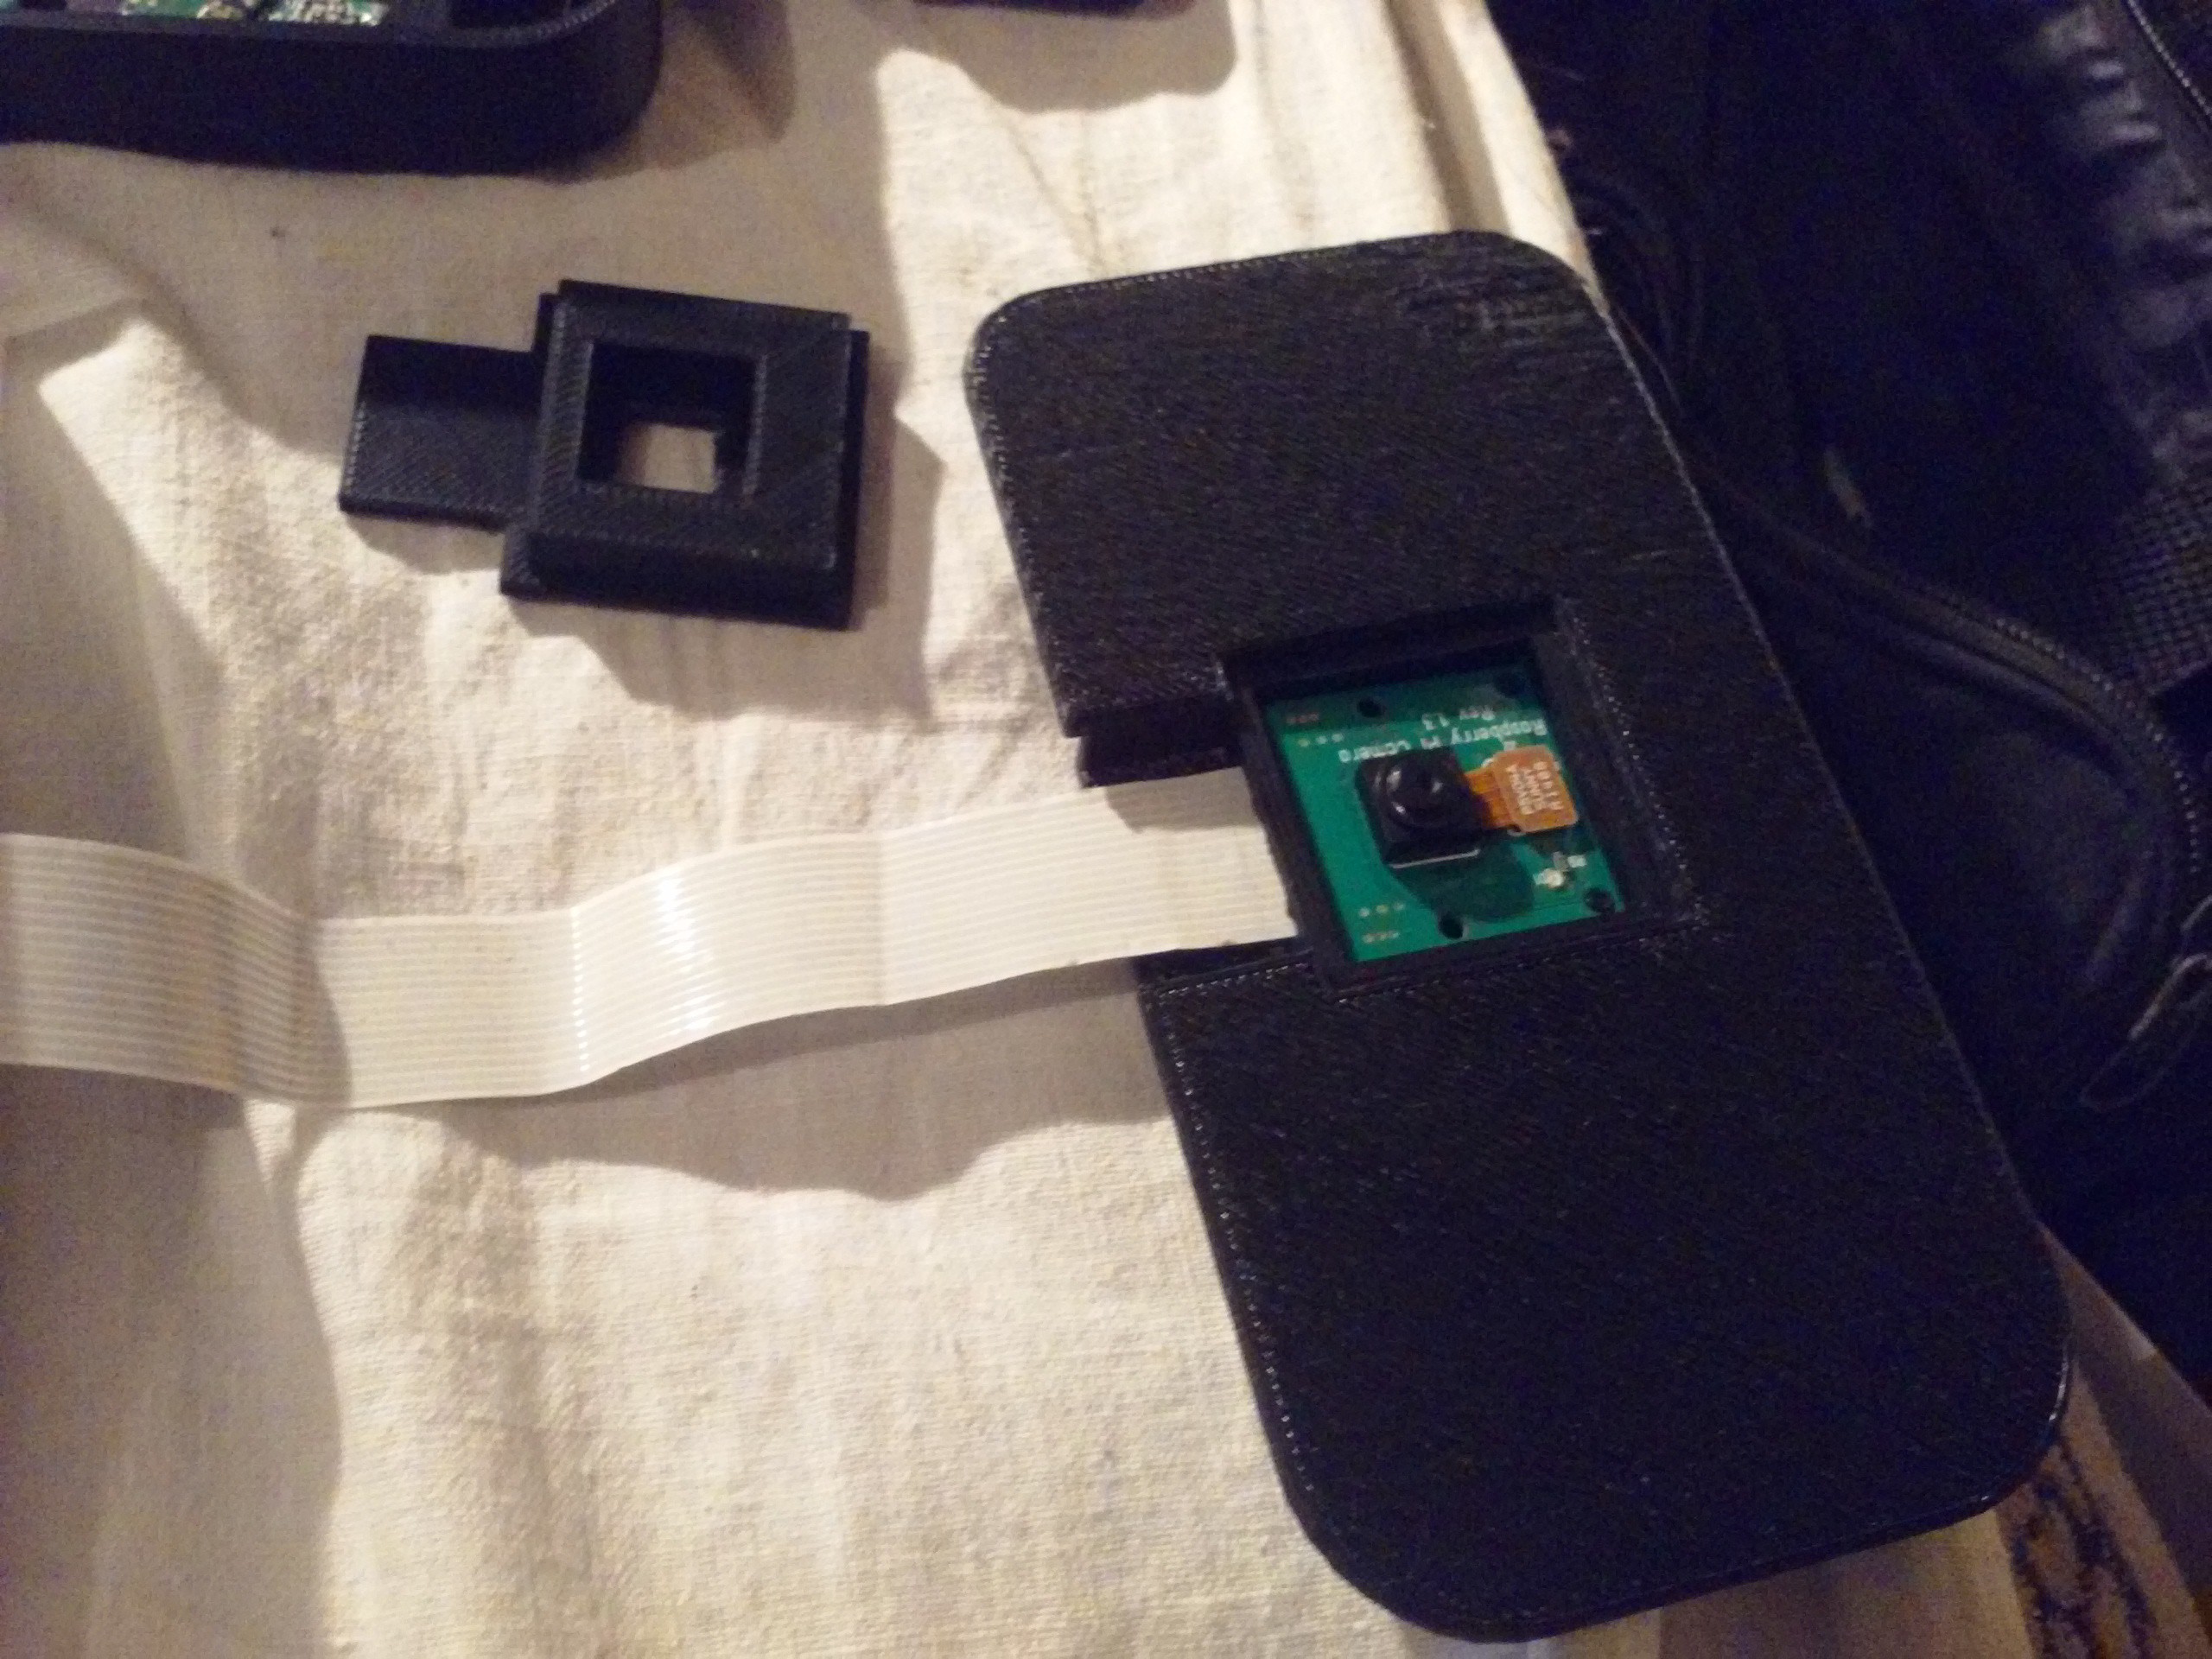
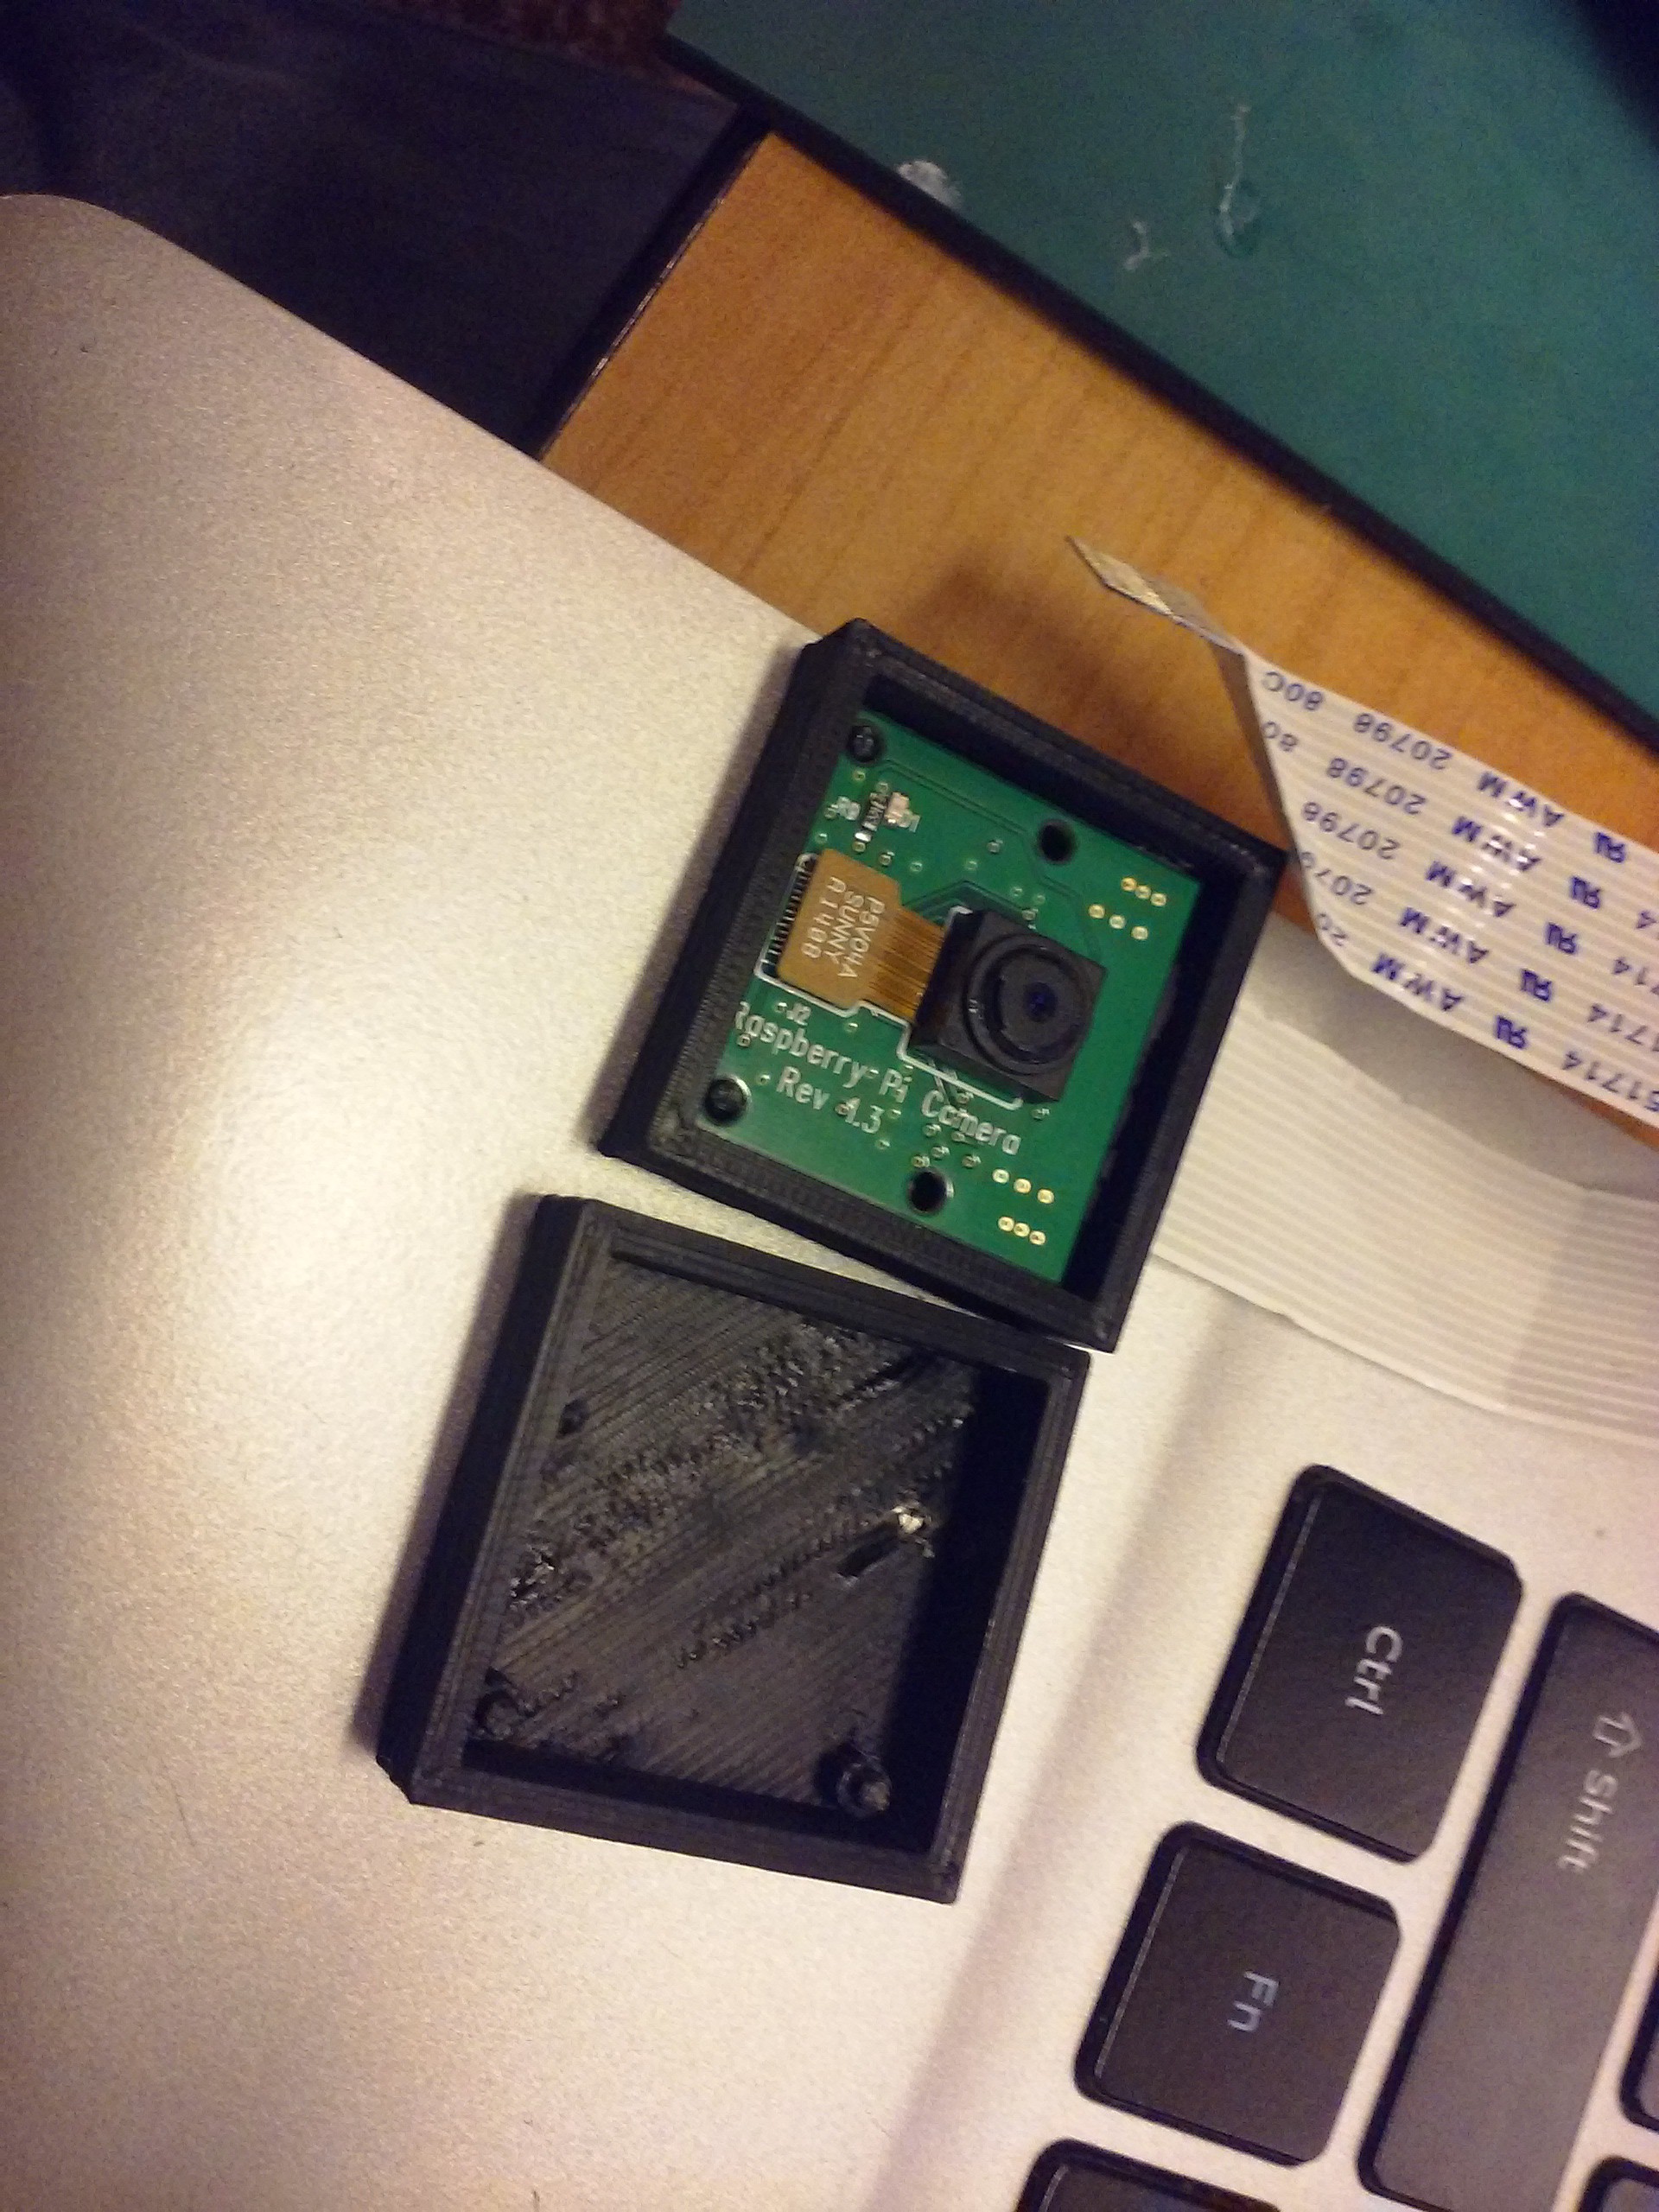
I've designed a comms module and a lid for it. The lid incorporates a Pi camera - I'd want to keep it hinged in the next versions, so it's in a separate fixture. It's also separated for safety - again, this is the most vulnerable part. Need to remember that for the future revisions, which there will be.
![]()
2 modules done, 2 to go. I'll start designing either the power module or the main module tomorrow. The main module, as you can see, is a prototype from laser-cut acrylics, from when the only thing I had available was a laser cutter. That was the start of the project and long ago. Now, I'll focus on 3D printing.
![]()
Now it just waits for a soldering session, oh, and some connectors.
After I do this build log, I'll publish the model files, for 3D printing and redesigning. Hope I don't forget to do this =)
I'll think about adding another display on top of the existing 24x2 one - for notifications and status messages, since that is going to be important. Will need to see about the I2C bus since the address will be the same as the existing display. I might just add another I2C bus from USB though, or invent another solution - such as an ATTiny-driven address changer that'd sit in I2C line between the Pi and the display and relay the requests =) If I'm doing that, I'm also adding some annoying LEDs to signify the importance of things I'm notified about.
![]()
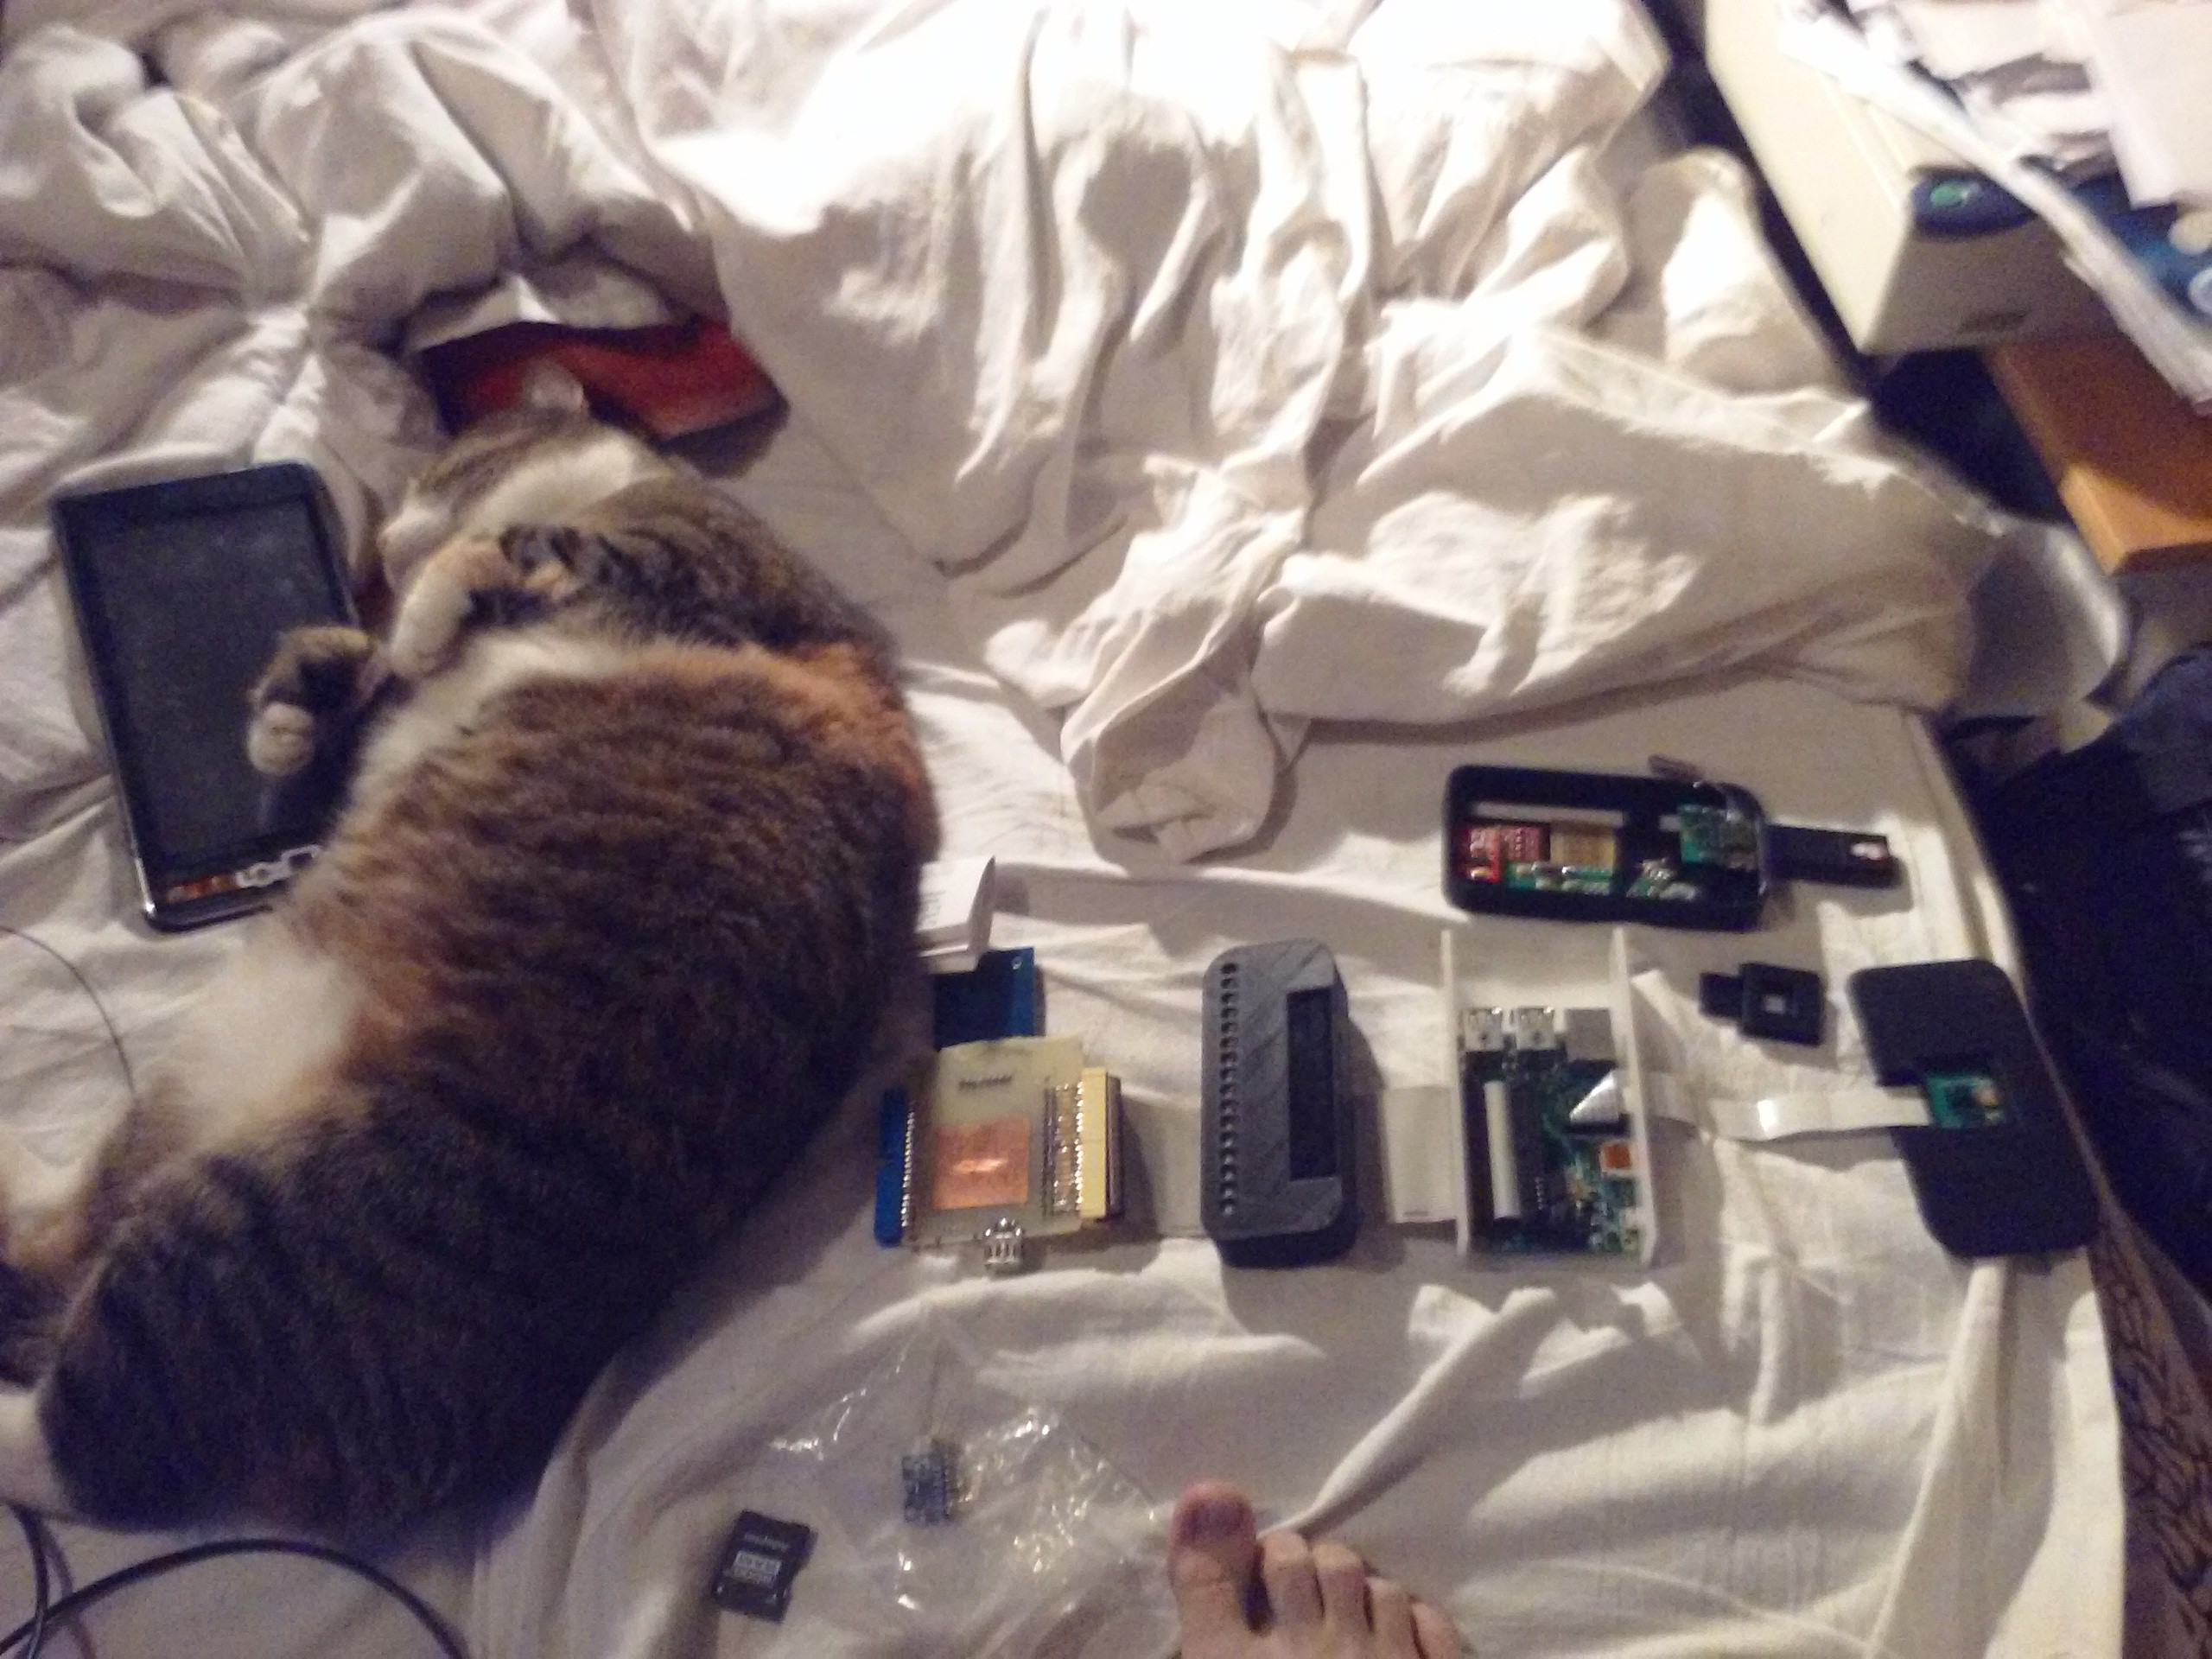
Is there such a thing as "a cat for scale"?
I'm using a Pi B+. Just that, no 2s or 3s. Why? Power consumption. I'll be happy to have 10-14 hours of continuous operation with all the peripherals, I guess. Also, the fact that it's most likely going to be enough. If not, I'll upgrade everything - along with the power management system, I guess.
It'll need a GPS. I have one module I could experiment on, but I need to see about power consumption - I might need to buy a less consuming module later.
Alright, I'll go to sleep now as I'm feeling quite sleepy.
-
3D printing the case - part 1
05/25/2016 at 00:22 • 0 commentsWearable assistant is getting a nice black 3D-printed ABS shell. It seems to be sturdy enough, and a little bit of dremelling helps with most problems. With new case, comes the new mounting system. It's going to be mounted on a fabric belt or even two belts wrapped around the wrist, and modules are going to be attached to the belt(s) using clips, possibly, magnets. It's also going to be help in place by the 40-pin IDC connector, though I wouldn't rely on this too much.
![]()
I'm having a hard time designing the "front" module, which's supposed to contain the comms and the camera. It's the most visible module since it's at the front, and the camera has to point to the front as well, and it also will need to have some special functionality which's yet to be told about. One thing is clear - there will be more versions of it.
![]()
And the comms module case is done, now printing for the 3rd hour. I've also made a case for the Pi camera, which's meant to sit in the "protective shell" of some sort. No fancy lenses for the camera, I'll want to try fisheye lenses but for that the whole comms module case will need to be redone. I'm printing it with 100% fill - it's the most vulnerable part, for example, if I were to fall, I'm falling on it. Therefore, I need to reinforce the camera case lid. Future version will have even better reinforcement.
![]()
I need a fabric belt for assembling it all together - I've given mine to a friend for his project. I also need the main module, the power module and buttons for the display module designed and printed. Wonder if it all can be done in a day... And then, I need to make a new power module since I lost that one I've made. Guess I'll need to visit plenty of stores this weekend if I want this project finished by Sunday. Oh, and etching boards. I'm doing that tomorrow, a lot.
![]()
I'll also need to spend a day on pyLCI. Could be Friday, most likely will be. After that, I'm spending the entire week on it because it's the way my assistant will communicate with me and I suddenly need all the cool features I can implement in pyLCI apps so that my bracelet is not an useless piece of plastic.
![]()
I'm very sleepy now, just waiting for my 3D print to finish. I'll have the first case and I'll go get some components for assembling it tomorrow.
-
Wearable assistant manifesto
05/09/2016 at 05:03 • 0 comments- I love Fallout game series. I wish I was playing Fallout 4 now, but there's hacking to do. Eh. Maybe I'll get to it later.
- I love the Pip-Boy idea. It manages your resources, ammunition, tasks to be completed, plays radio broadcasts, has something like GPS inside and generally is a nice thing. Of course, the idea of a wearable personal assistant predates the Pip-Boy idea - but it's so far the most popular comparison to my project.
- Thus, my dream was born. I always need something to manage my task lists to stop forgetting about my assignments. GPS would be very nice given that I often need to get to places I've never visited even though our city is comparably small. I need something to playback music because I just love listening to music while I'm doing things. I also would like something to help me with my hacking. On top of that, if it tracks my sleep schedules, I'm golden. So far, nothing you couldn't do with a Raspberry Pi =)
- I love Raspberry Pi boards. The community is huge, main distros are well-polished and even though there are some quirks, it's an excellent base for my projects. Moreover, it makes them much more repeatable! So, I'll start with one. A Raspberry Pi B+ - I don't need too much processing power, but improved power management and 4 USB ports is a nice touch.
- I don't like modern phones. They're not hackable, and it very much sucks for me. The main reason - they're mainly not open-source. Not only it's a privacy/security concern, it's hard for me to change stock apps on phones, making them act however I want them to act. Moreover, hardware is not hackable either. Want to add a FM/IR transmitter to your phone? "Screw you, buy the newer one which may or may not have good support of this functionality, it might suck in many different ways and we'll stop releasing updates anyway." Or "Yeah, buy this FM transmitter, it might not work with your next phone though, we ain't giving you an API, just a limited app we made in a couple of hours". Battery life sucks, and extra-capacity batteries ain't that great of an experience. So, if I can put together a wearable personal assistant - it's going to be my phone, too.
- I'm developing #pyLCI - Linux Control Interface and it's one more thing for me to love. Connect a character screen, some buttons and you've got an interface which incidentally is quite good for Linux-based wearables capable of running Python. So, I'm using pyLCI with a character screen and a wearable glove-like input device which is currently in the "concept" stage. The screen isn't going to show me any graphics or GPS maps, though, but I think I can solve it with a web interface on an Android phone or something. Later, I can attach a HDMI/SPI screen and deal with the "graphics" part.
- I don't mind if this bracelet is kinda bulky. I'll work on making it more slim and it *is going to* become smaller, but so far a working bracelet is much better than a slim one. Besides, have you ever noticed how huge PipBoys are? Besides, initially, I'll add at least 4 18650 cells to it, so that battery life doesn't suck. Optimising power is a complicated thing, and not yet what I'm skilled at, so I'll just fix it by adding more batteries than a smartphone could spend in a couple of days.
- I like the idea of lifelogging. I often forget some details about things I just talked with somebody about, and wish I could replay our chat just to recall it. As I'm all about documenting my hacking, I take plenty of photos, I even have a separate phone for that but sometimes it feels like it just doesn't cut it. I also like the "lifelogging for safety" - the idea of having a photo of person following you on the street posted to your Dropbox as soon as he starts looking threatening is quite comforting.
- I hate apps which can access every aspect of my life because they have access to my phone. For example, Android doesn't make open-sourcing code necessary (neither it should, of course), and you never know what an app could do - you might never know if it sends your call or message history to third parties, especially with all the long permission lists most apps have. I also know that there's a ton of open-source software for Linux, and the only way they can send my data somewhere else is through a third-party attacker targeting specifically my device. That's much, much better and about as much security for my money as I can get.
- This whole "bracelet" idea looks like an idea with big potential to me. Not only in a "I'd wear that" form - it's a freaking open-course portable computer you control and you can modify. Your imagination, skills and the scientific laws is just about your limit in making it do what you want to do. Besides, nothing says "a creative engineer" more than a huge electronic device on your arm.
Last but not least, I have the skills to hack this thing together. So, with all the reasons listed, why wouldn't I?
-
No time to explain, look at these pics
05/03/2016 at 20:02 • 0 commentsHi everyone! So, I'm building this thing. Building first, documenting later.
This worklog spans across 4 24-hour intervals. I won't call them days because I typically associate them with some kind of schedule, and my schedule is fucked up beyond recognition. It's all long hacking sessions with random sleep breaks.
You remember the saying: "One picture is worth a thousand words"? Well, this worklog has 15 000 words. Go ahead, try to top that.
![]()
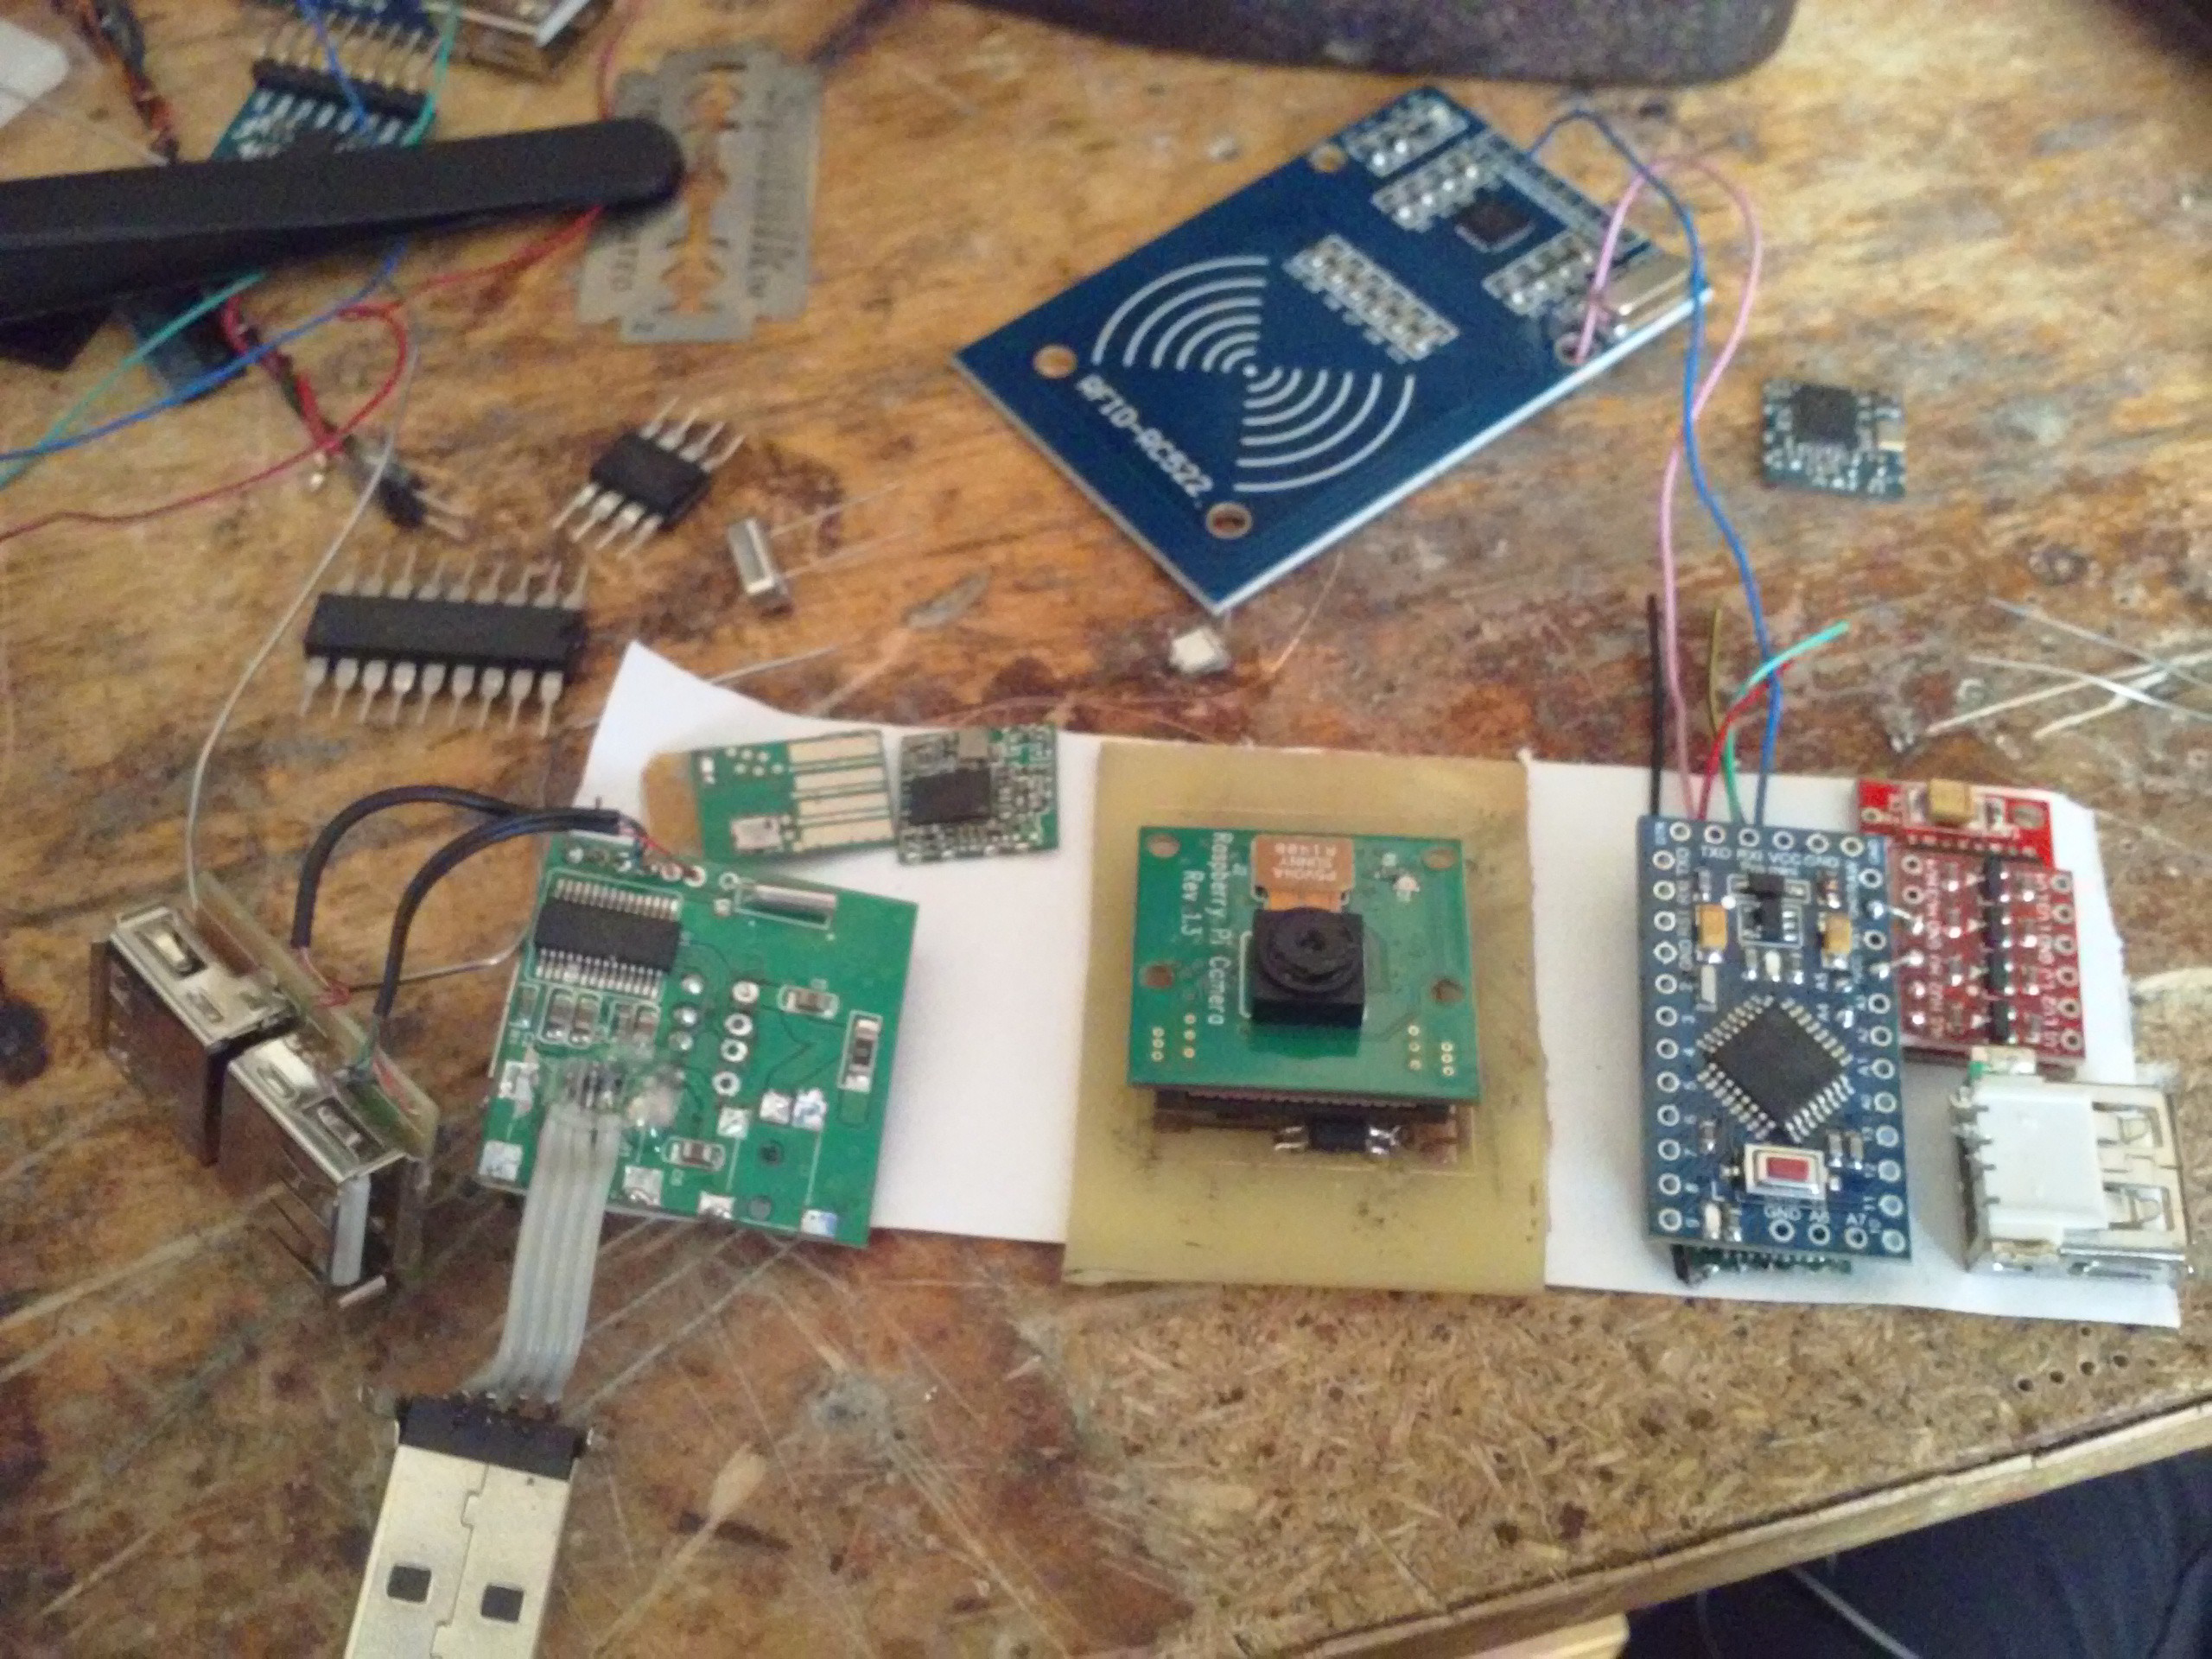
A pile of stuff soon to be interconnected and turned into my bracelet
![]()
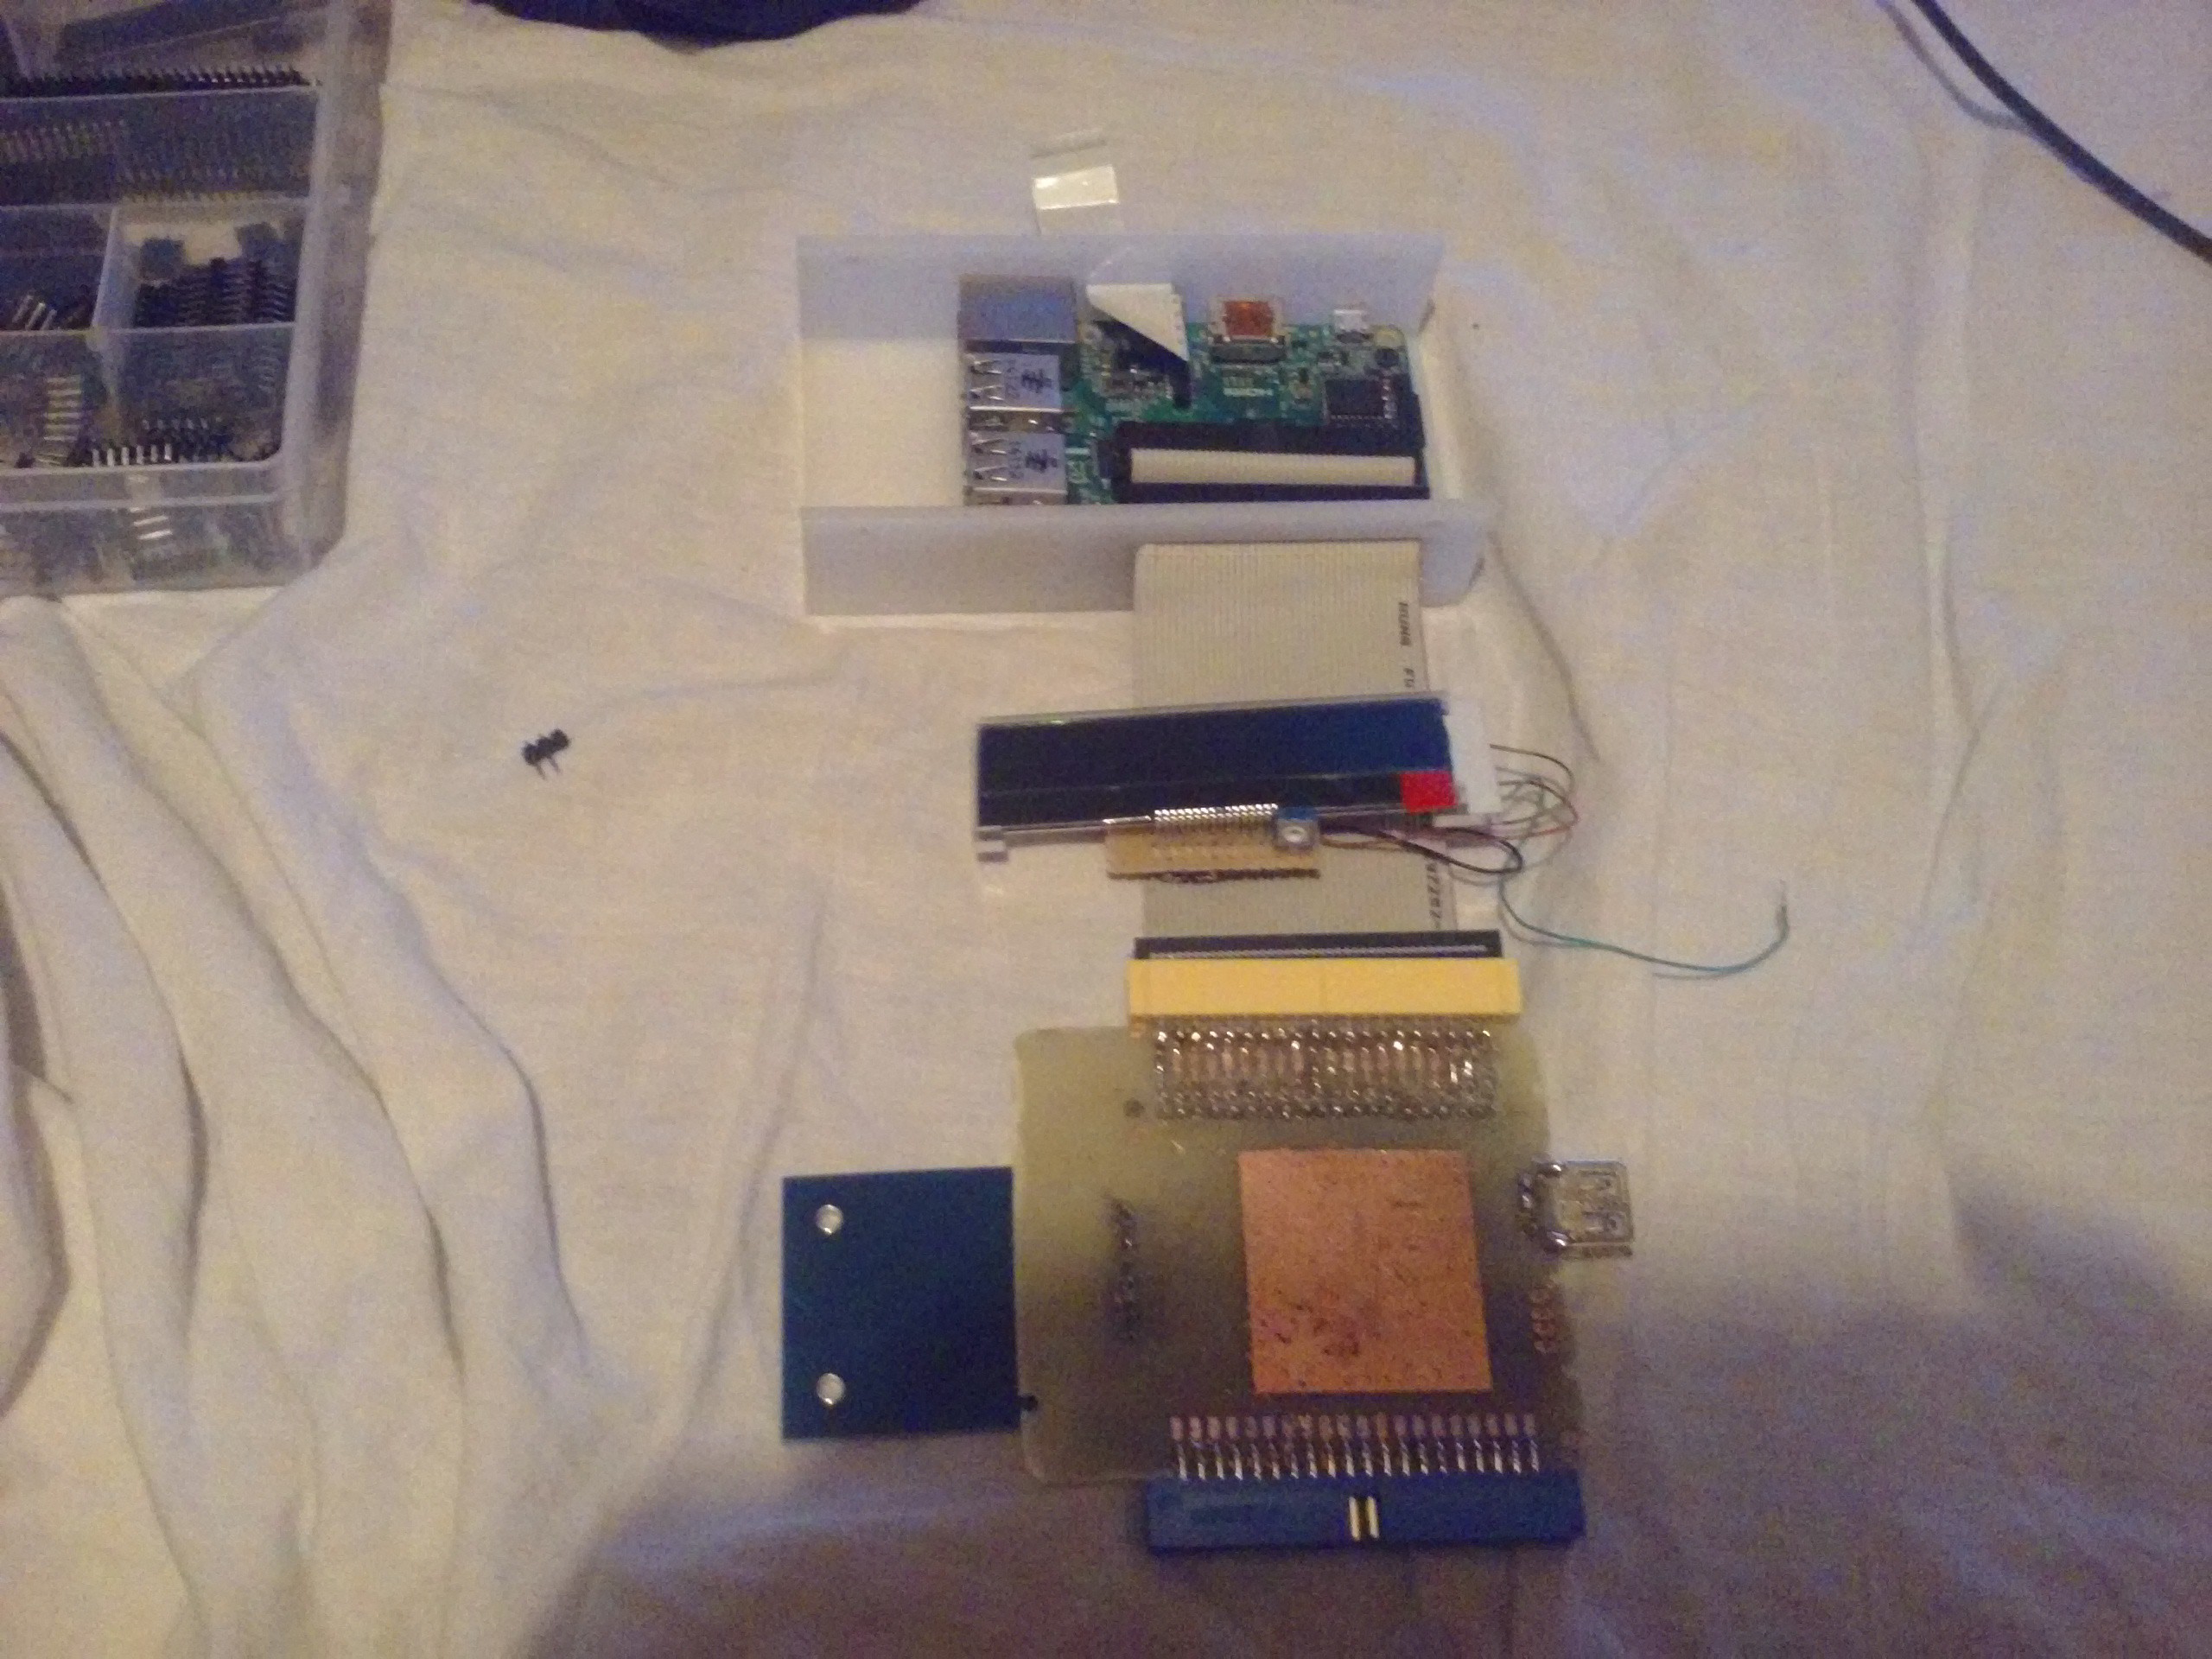
Starting from top: display module, power module, comm module, base module
![]()
Connecting the cable to the Pi. Oh, and a RTC connected to I2C
![]()
USB hub added and soldered in, some more boards&stuff
![]()
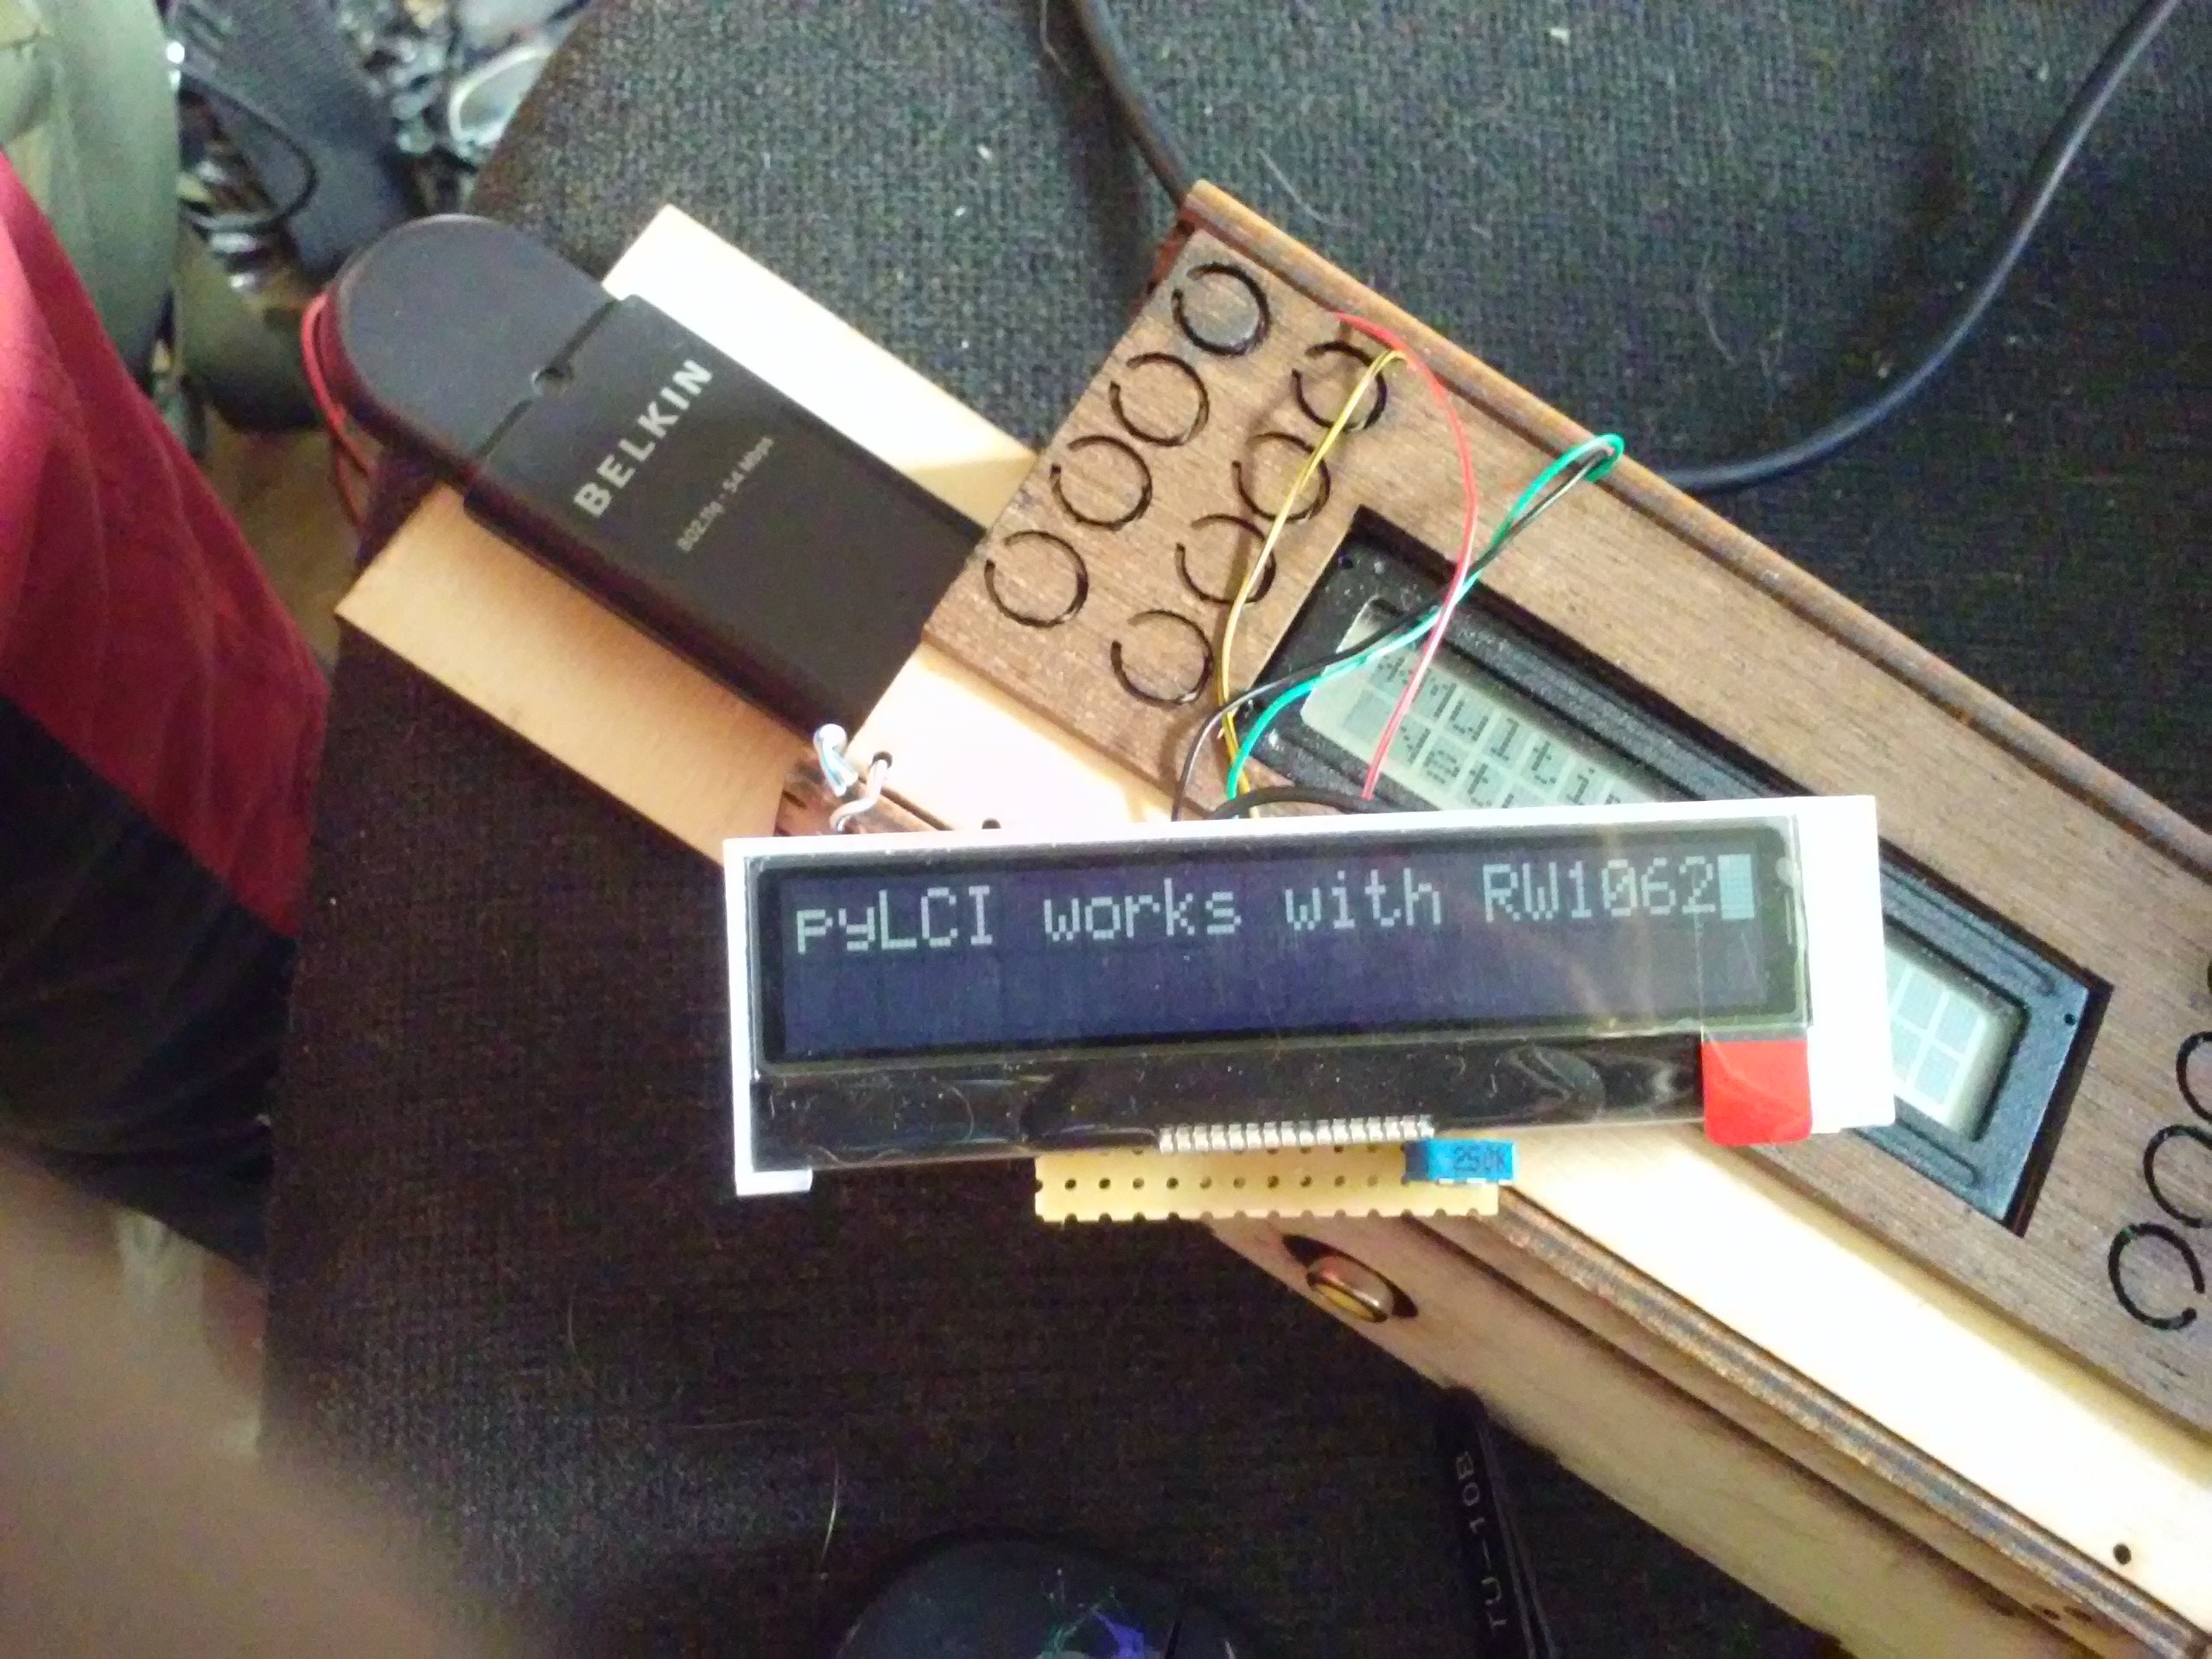
Adding support for RW1062-controlled I2C displays in pyLCI - to my knowledge, first publicly available library for I2C RW1062. 5 hours of fuckery.
![]()
#Raspberry Pi portable workbench(Project Christoph) running #pyLCI - Linux Control Interface with RW1062 displays
![]()
The power board. Layout for 2 DC-DCs from 3.7V to 5V to power everything from 1SxP Li-ion cells. ALso, Pi GPIO header - fully accessible! Just doing the double-sided soldering stuff...
![]()
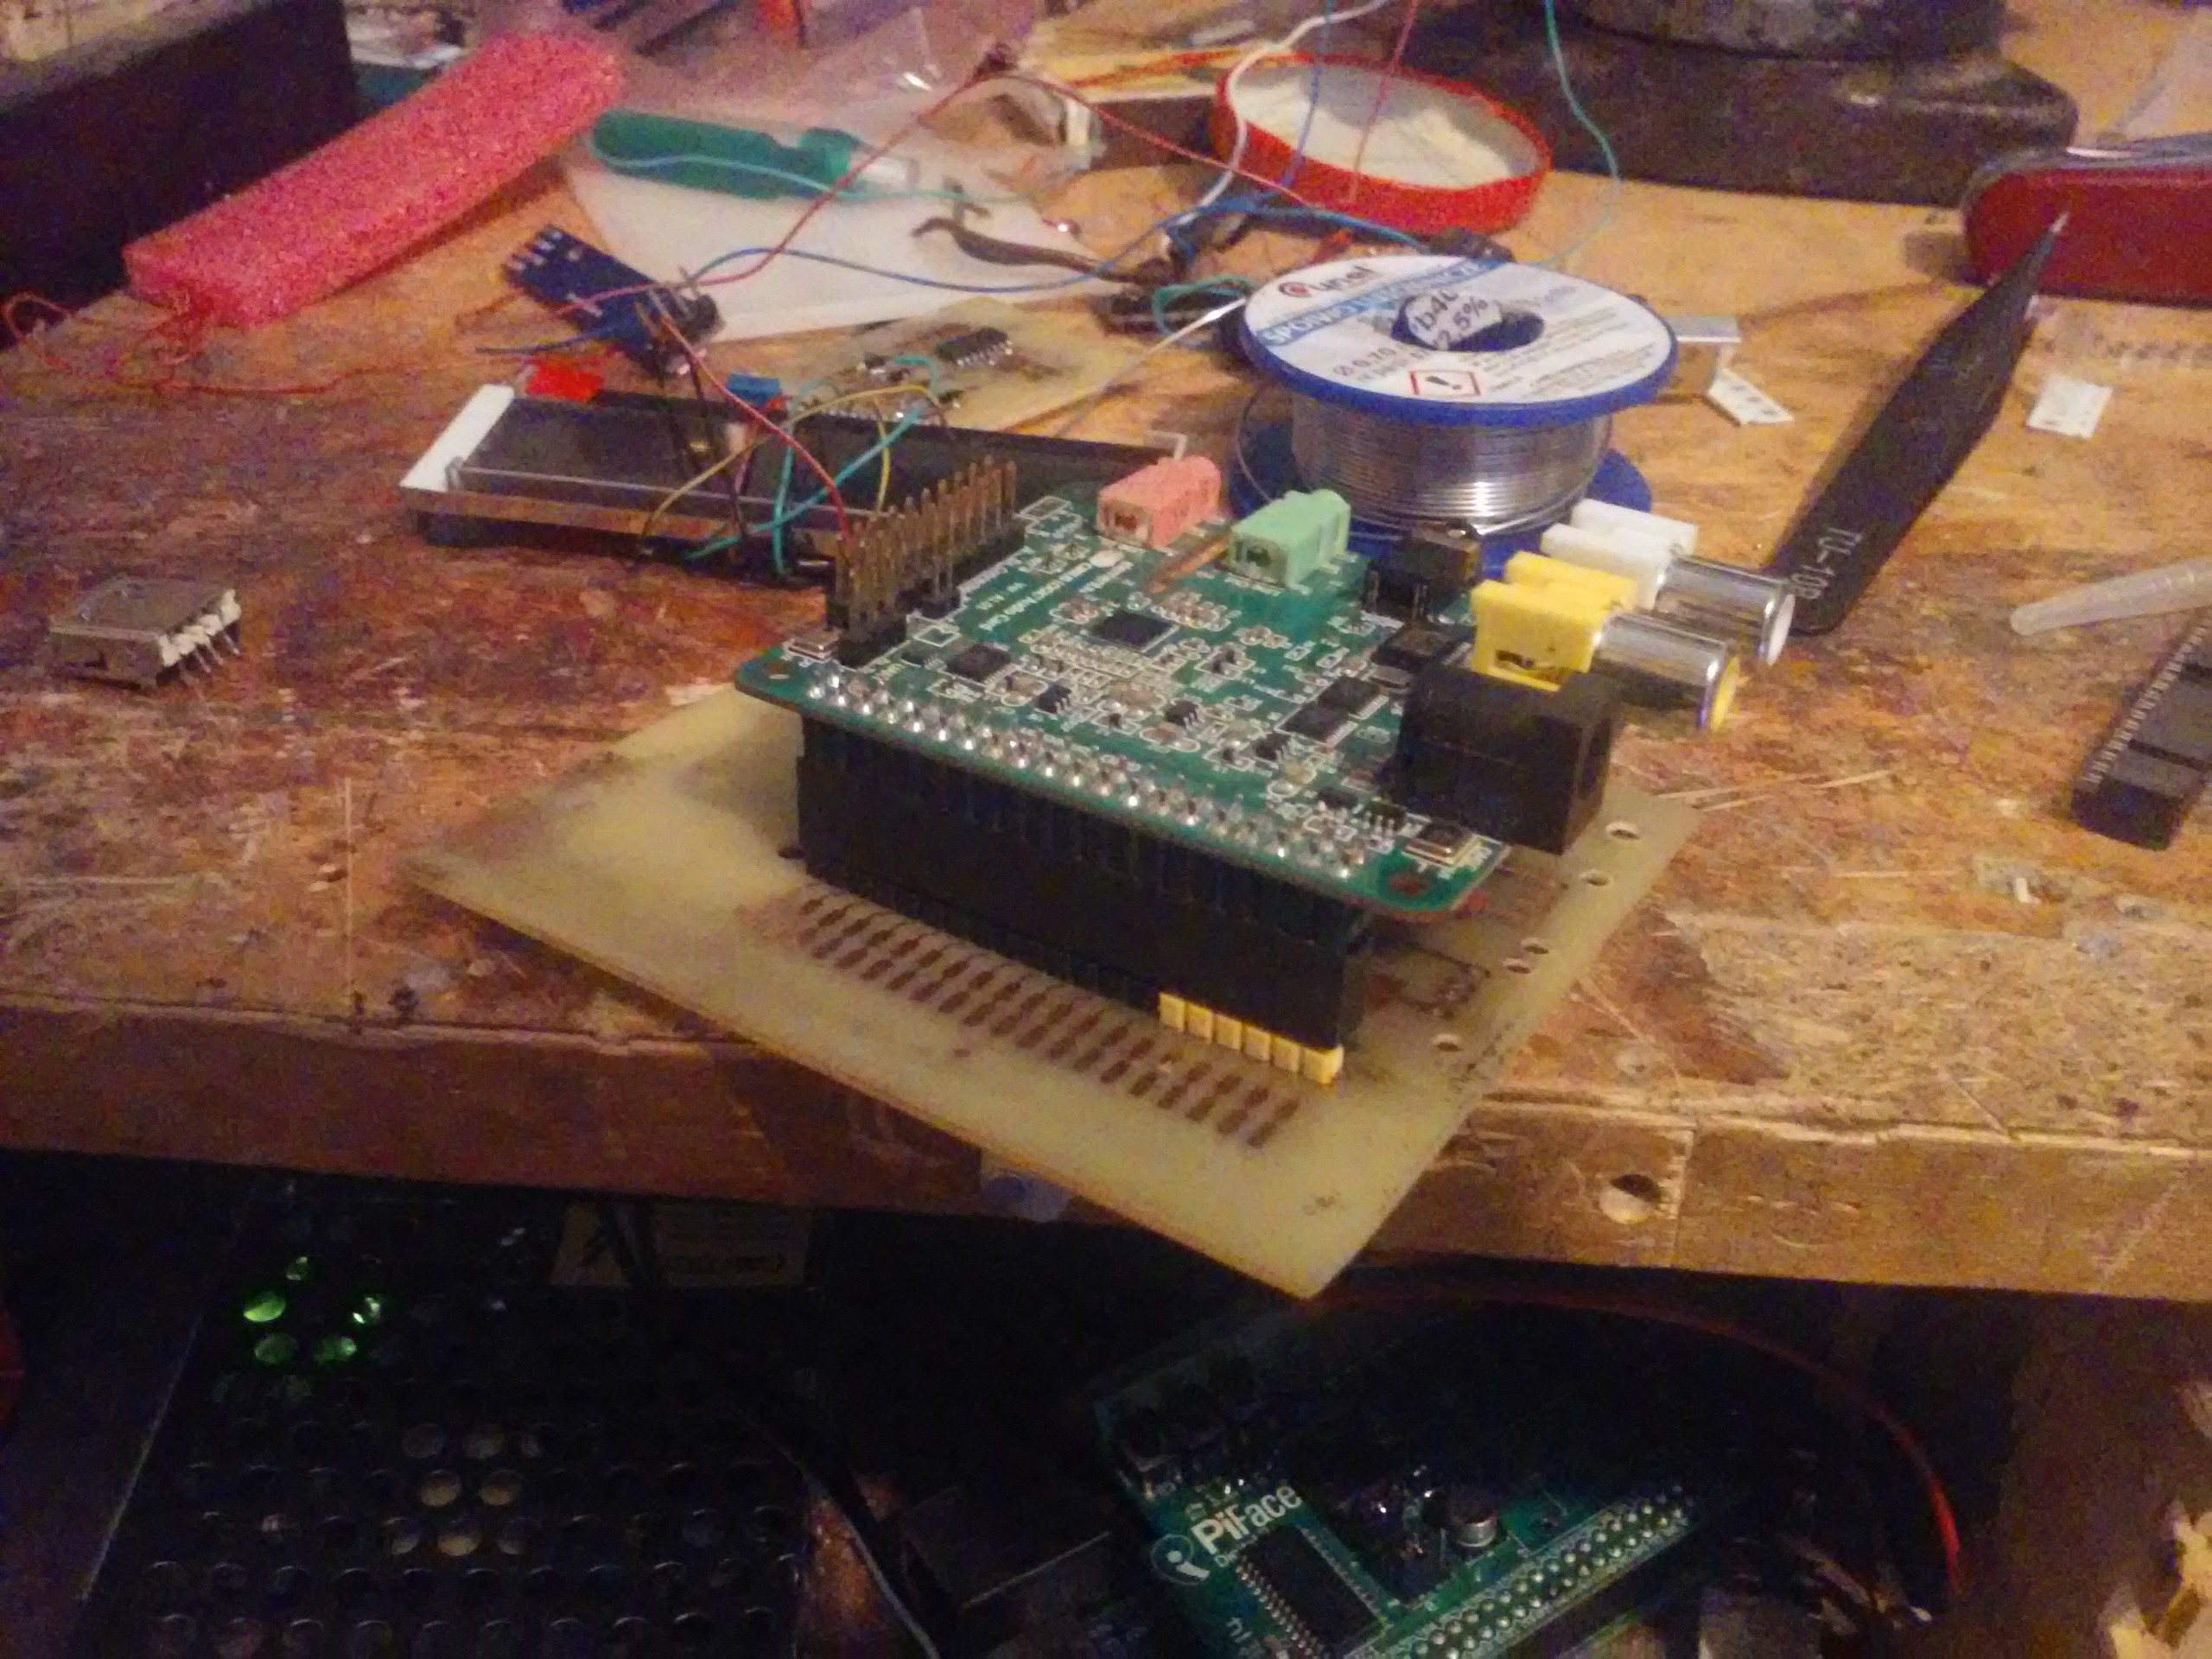
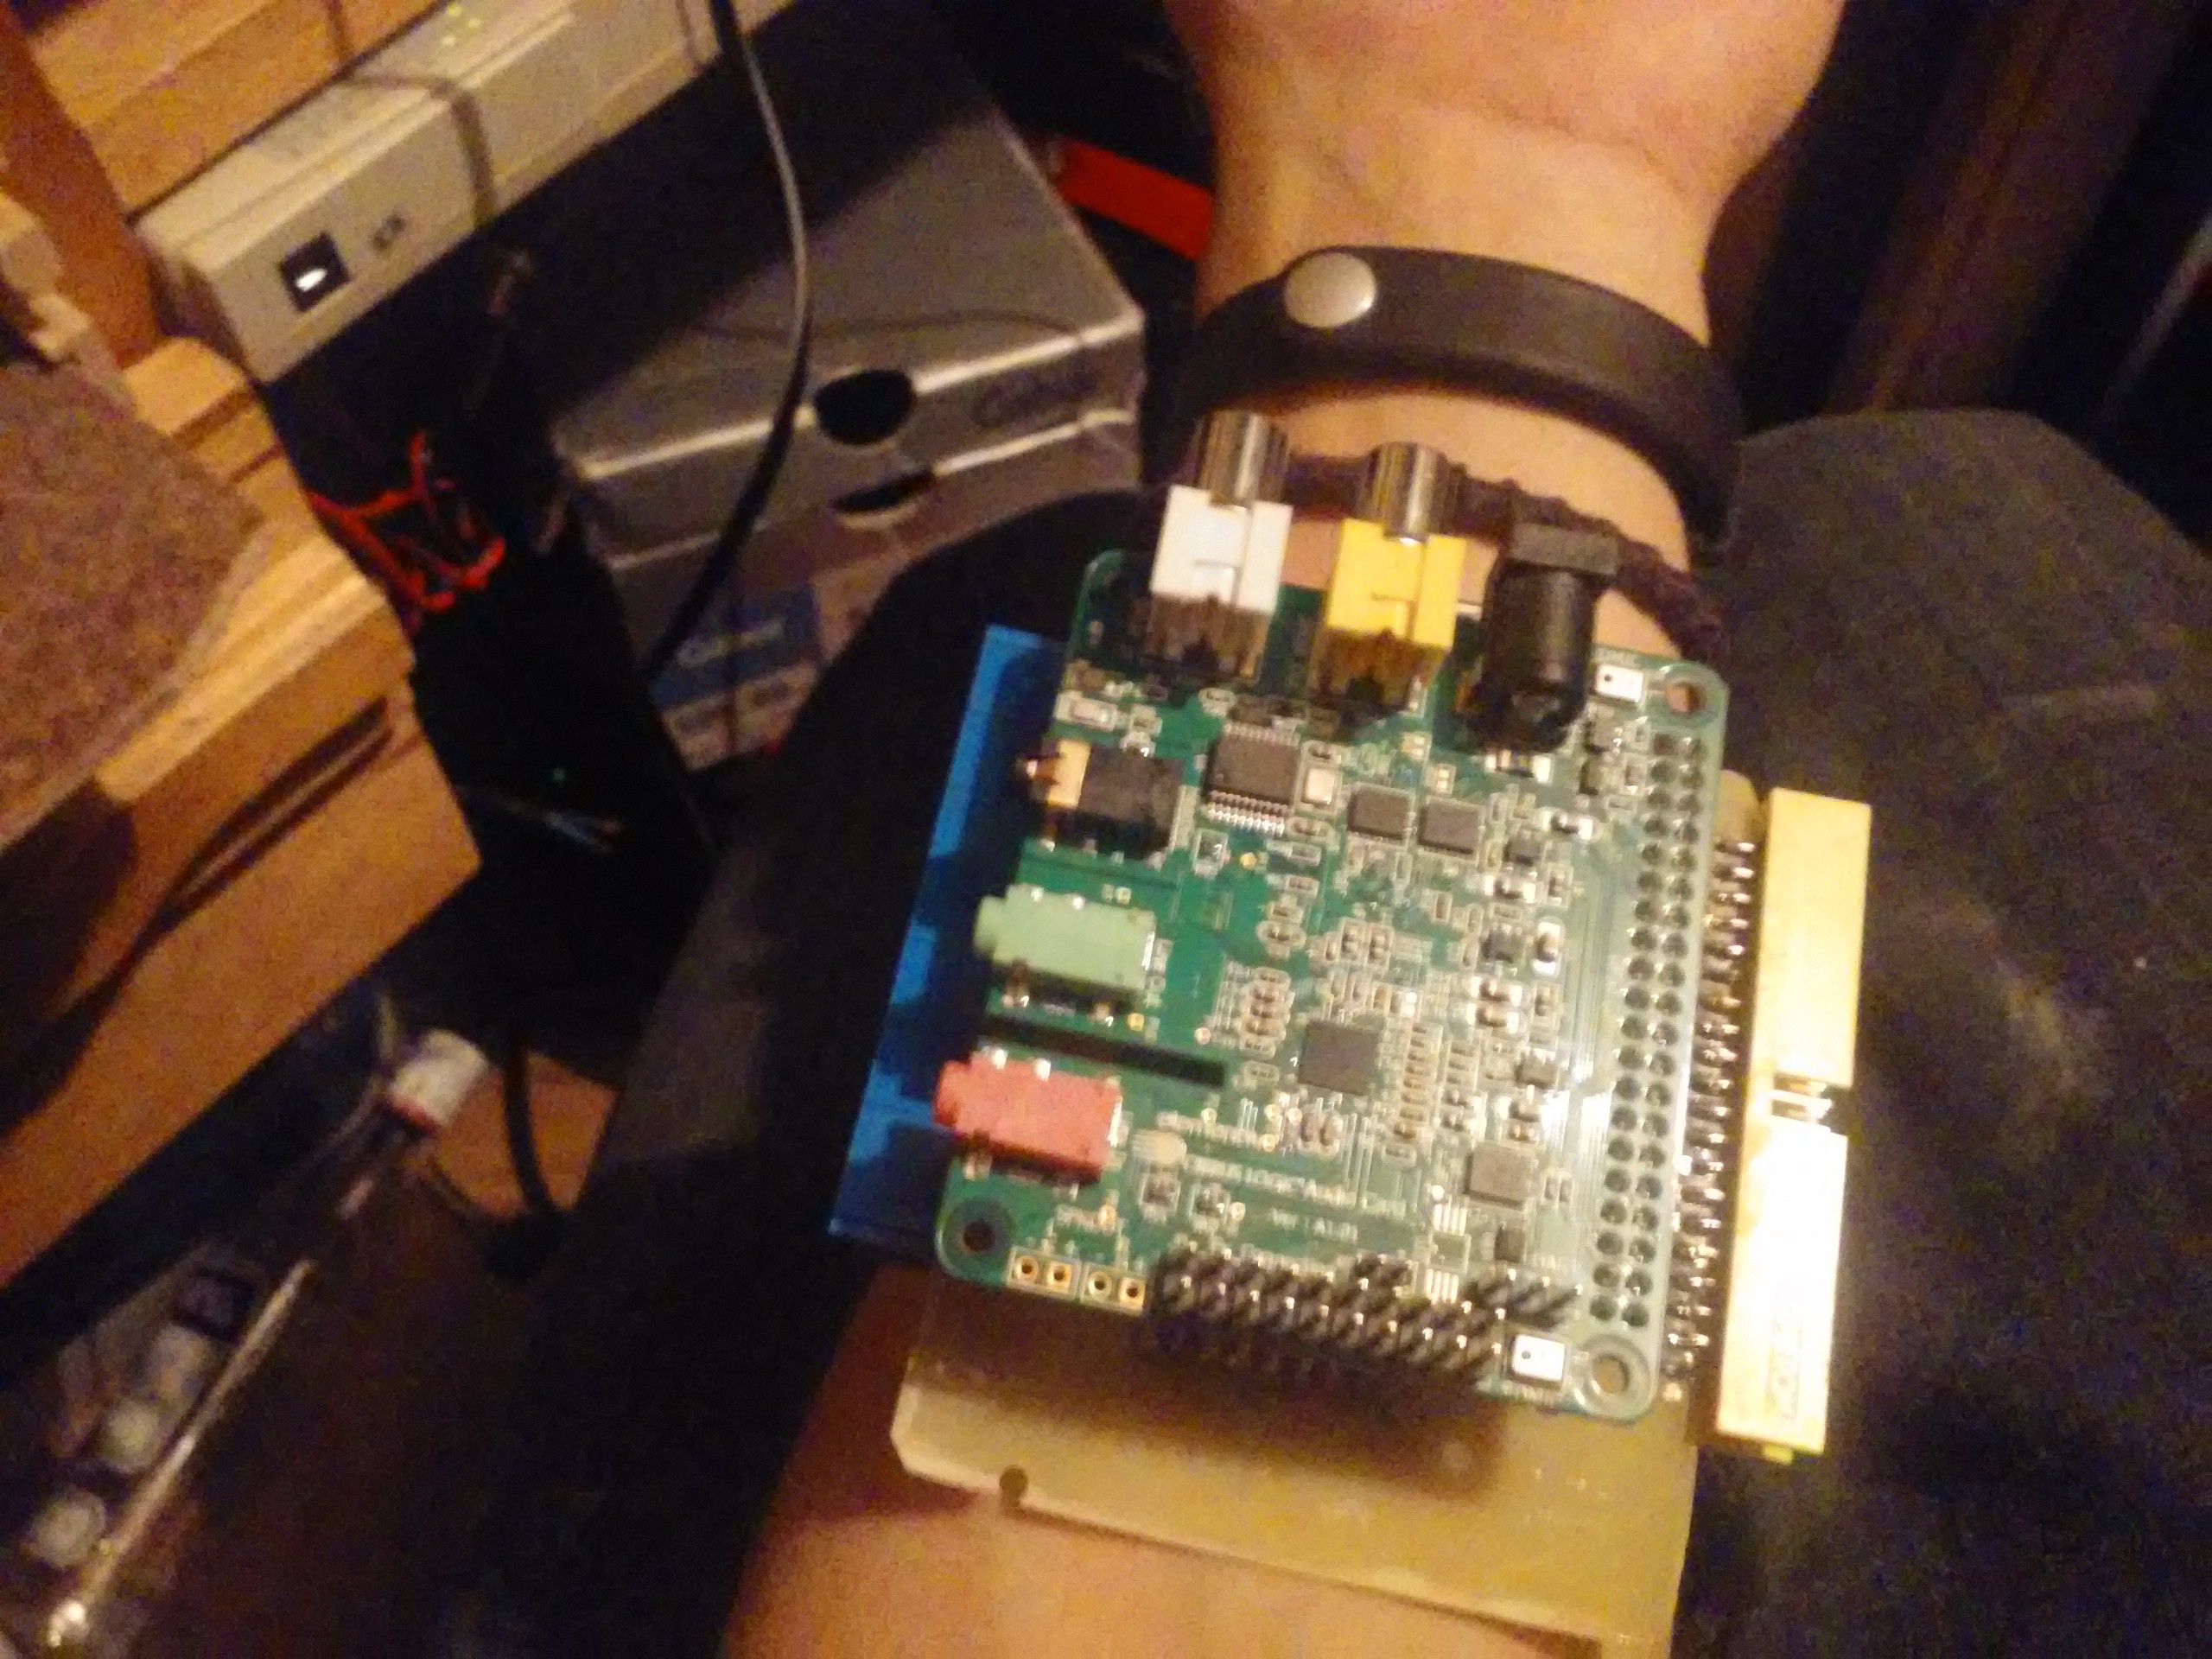
Done, all pins connected as they got to be, plugged in a nice audio card - just a proof of concept =)
![]()
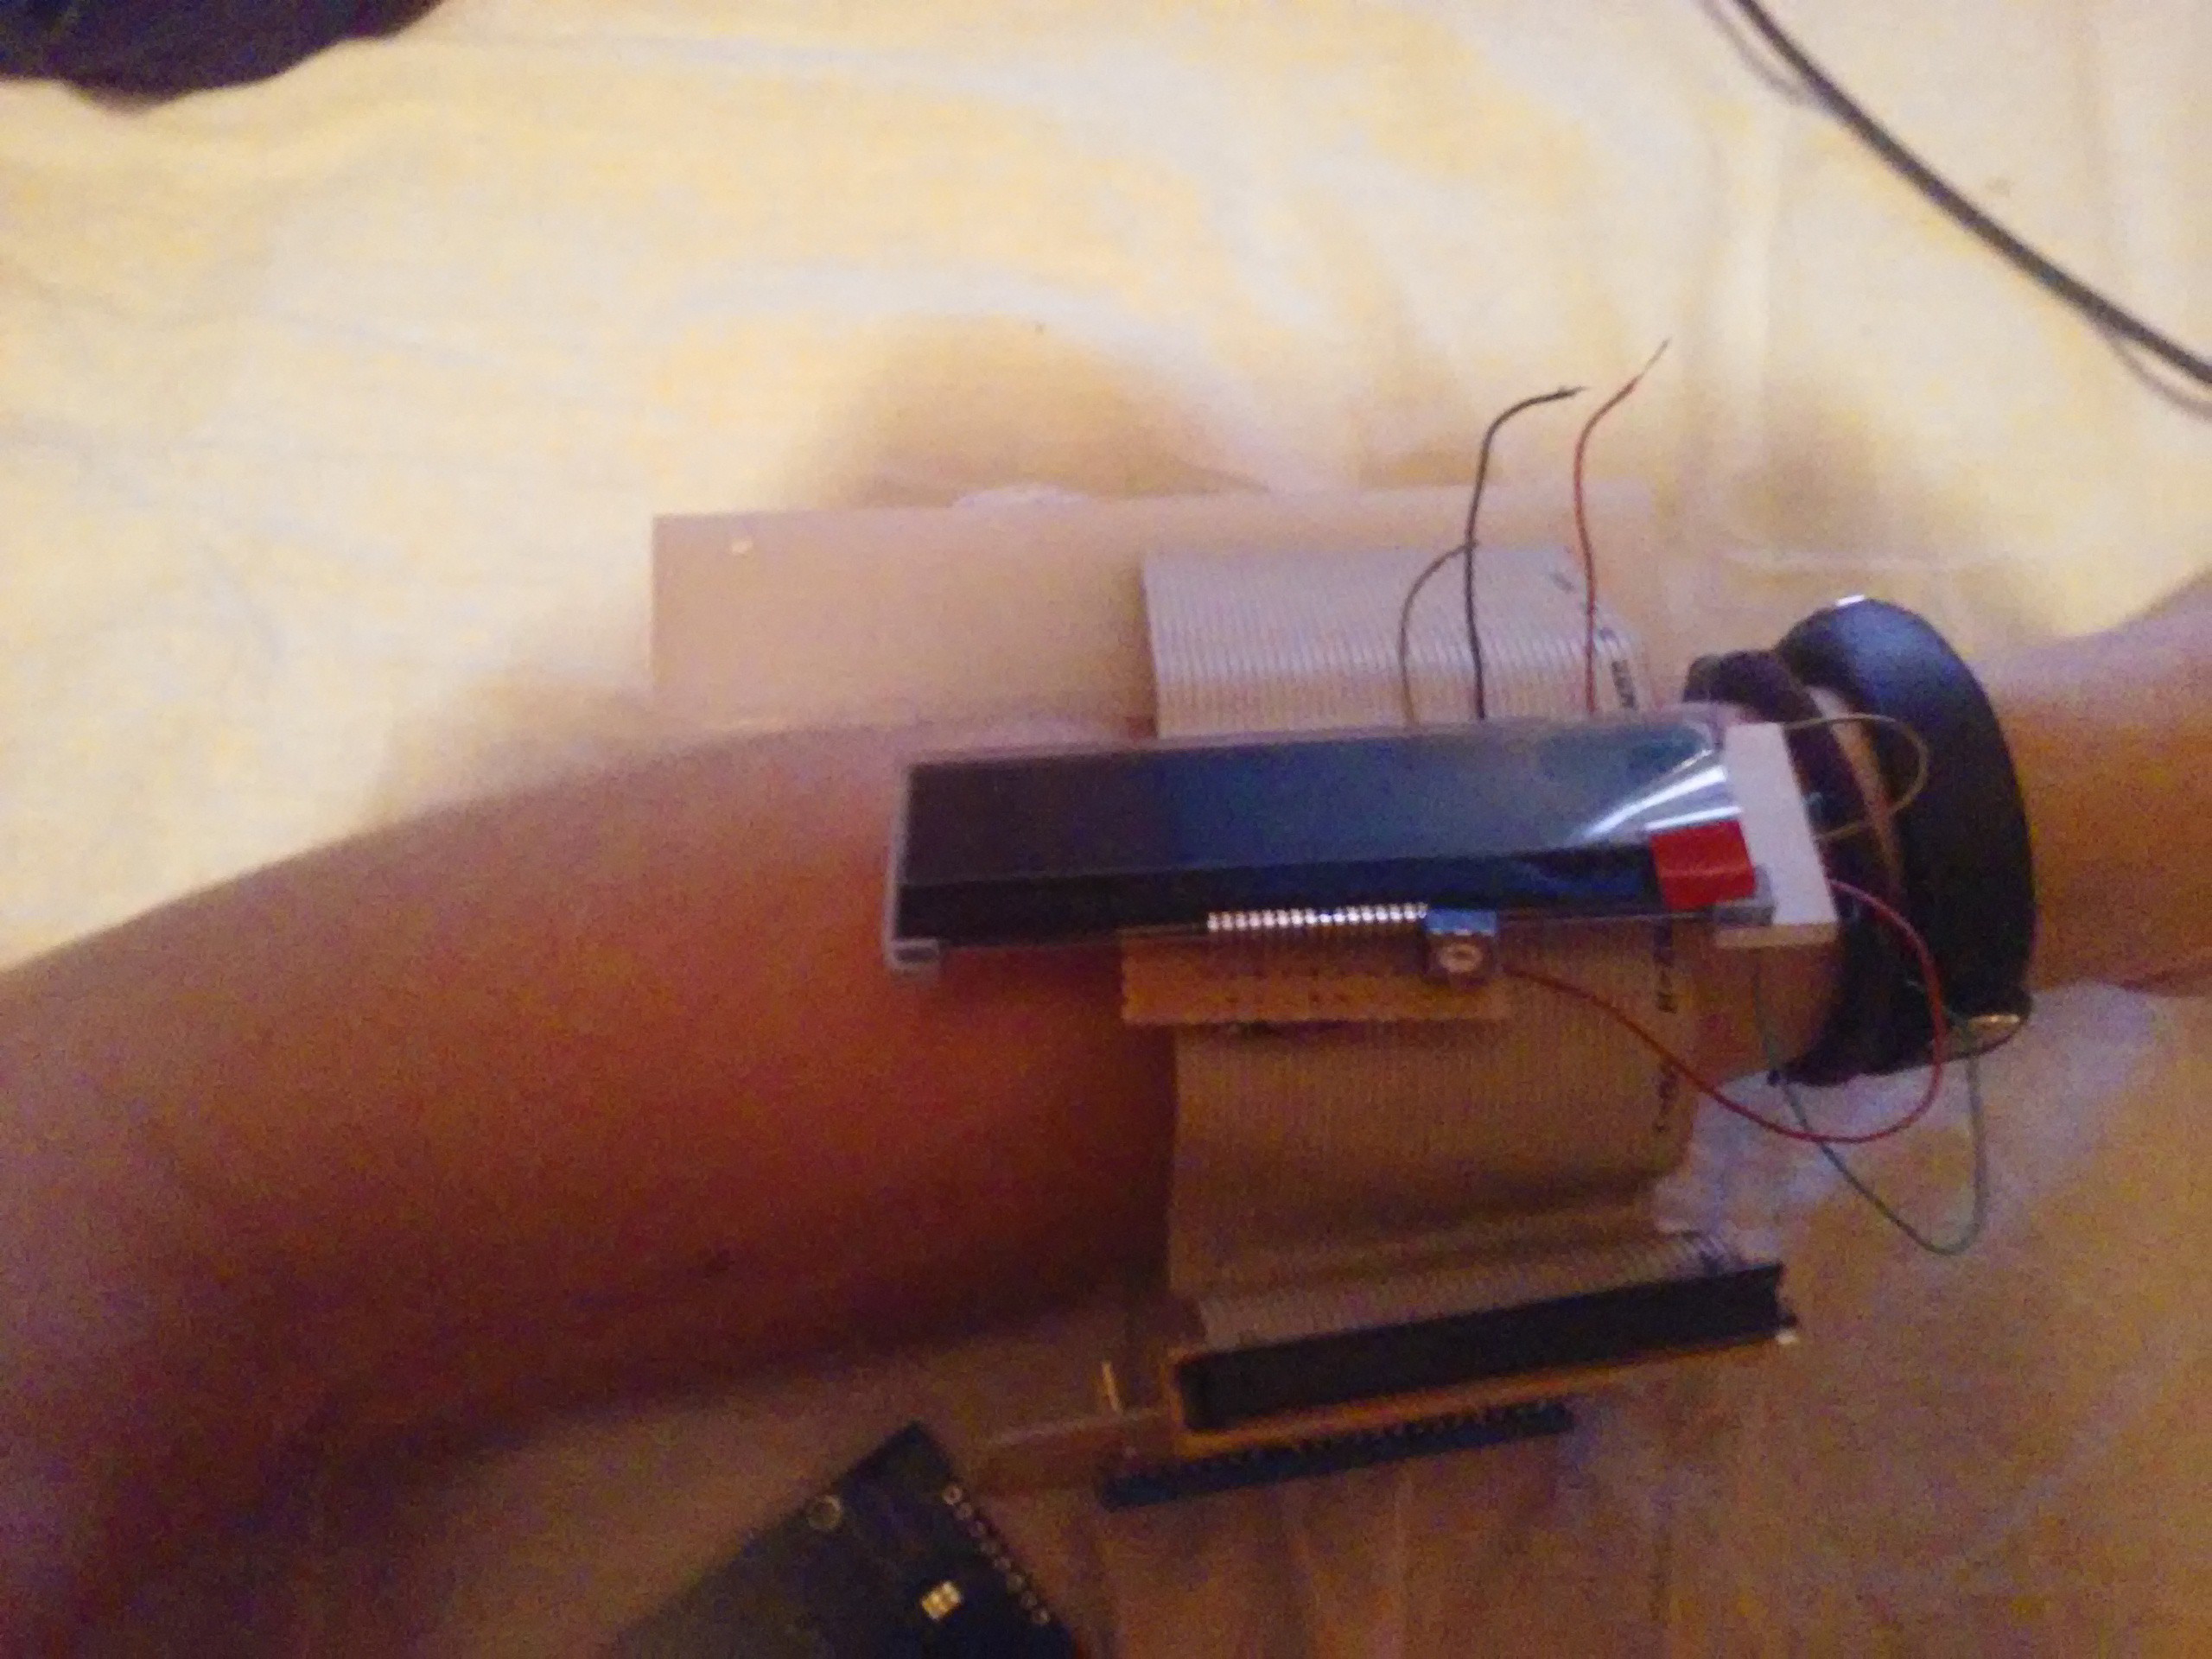
This thing *is* huge.
![]()
Very nice for a thing build from scrap. It does need to be more beautiful though.
![]()
Mom, mom, I broke a leg!
![]()
Either it's huge or my arm is just tiny. Maybe both.
![]()
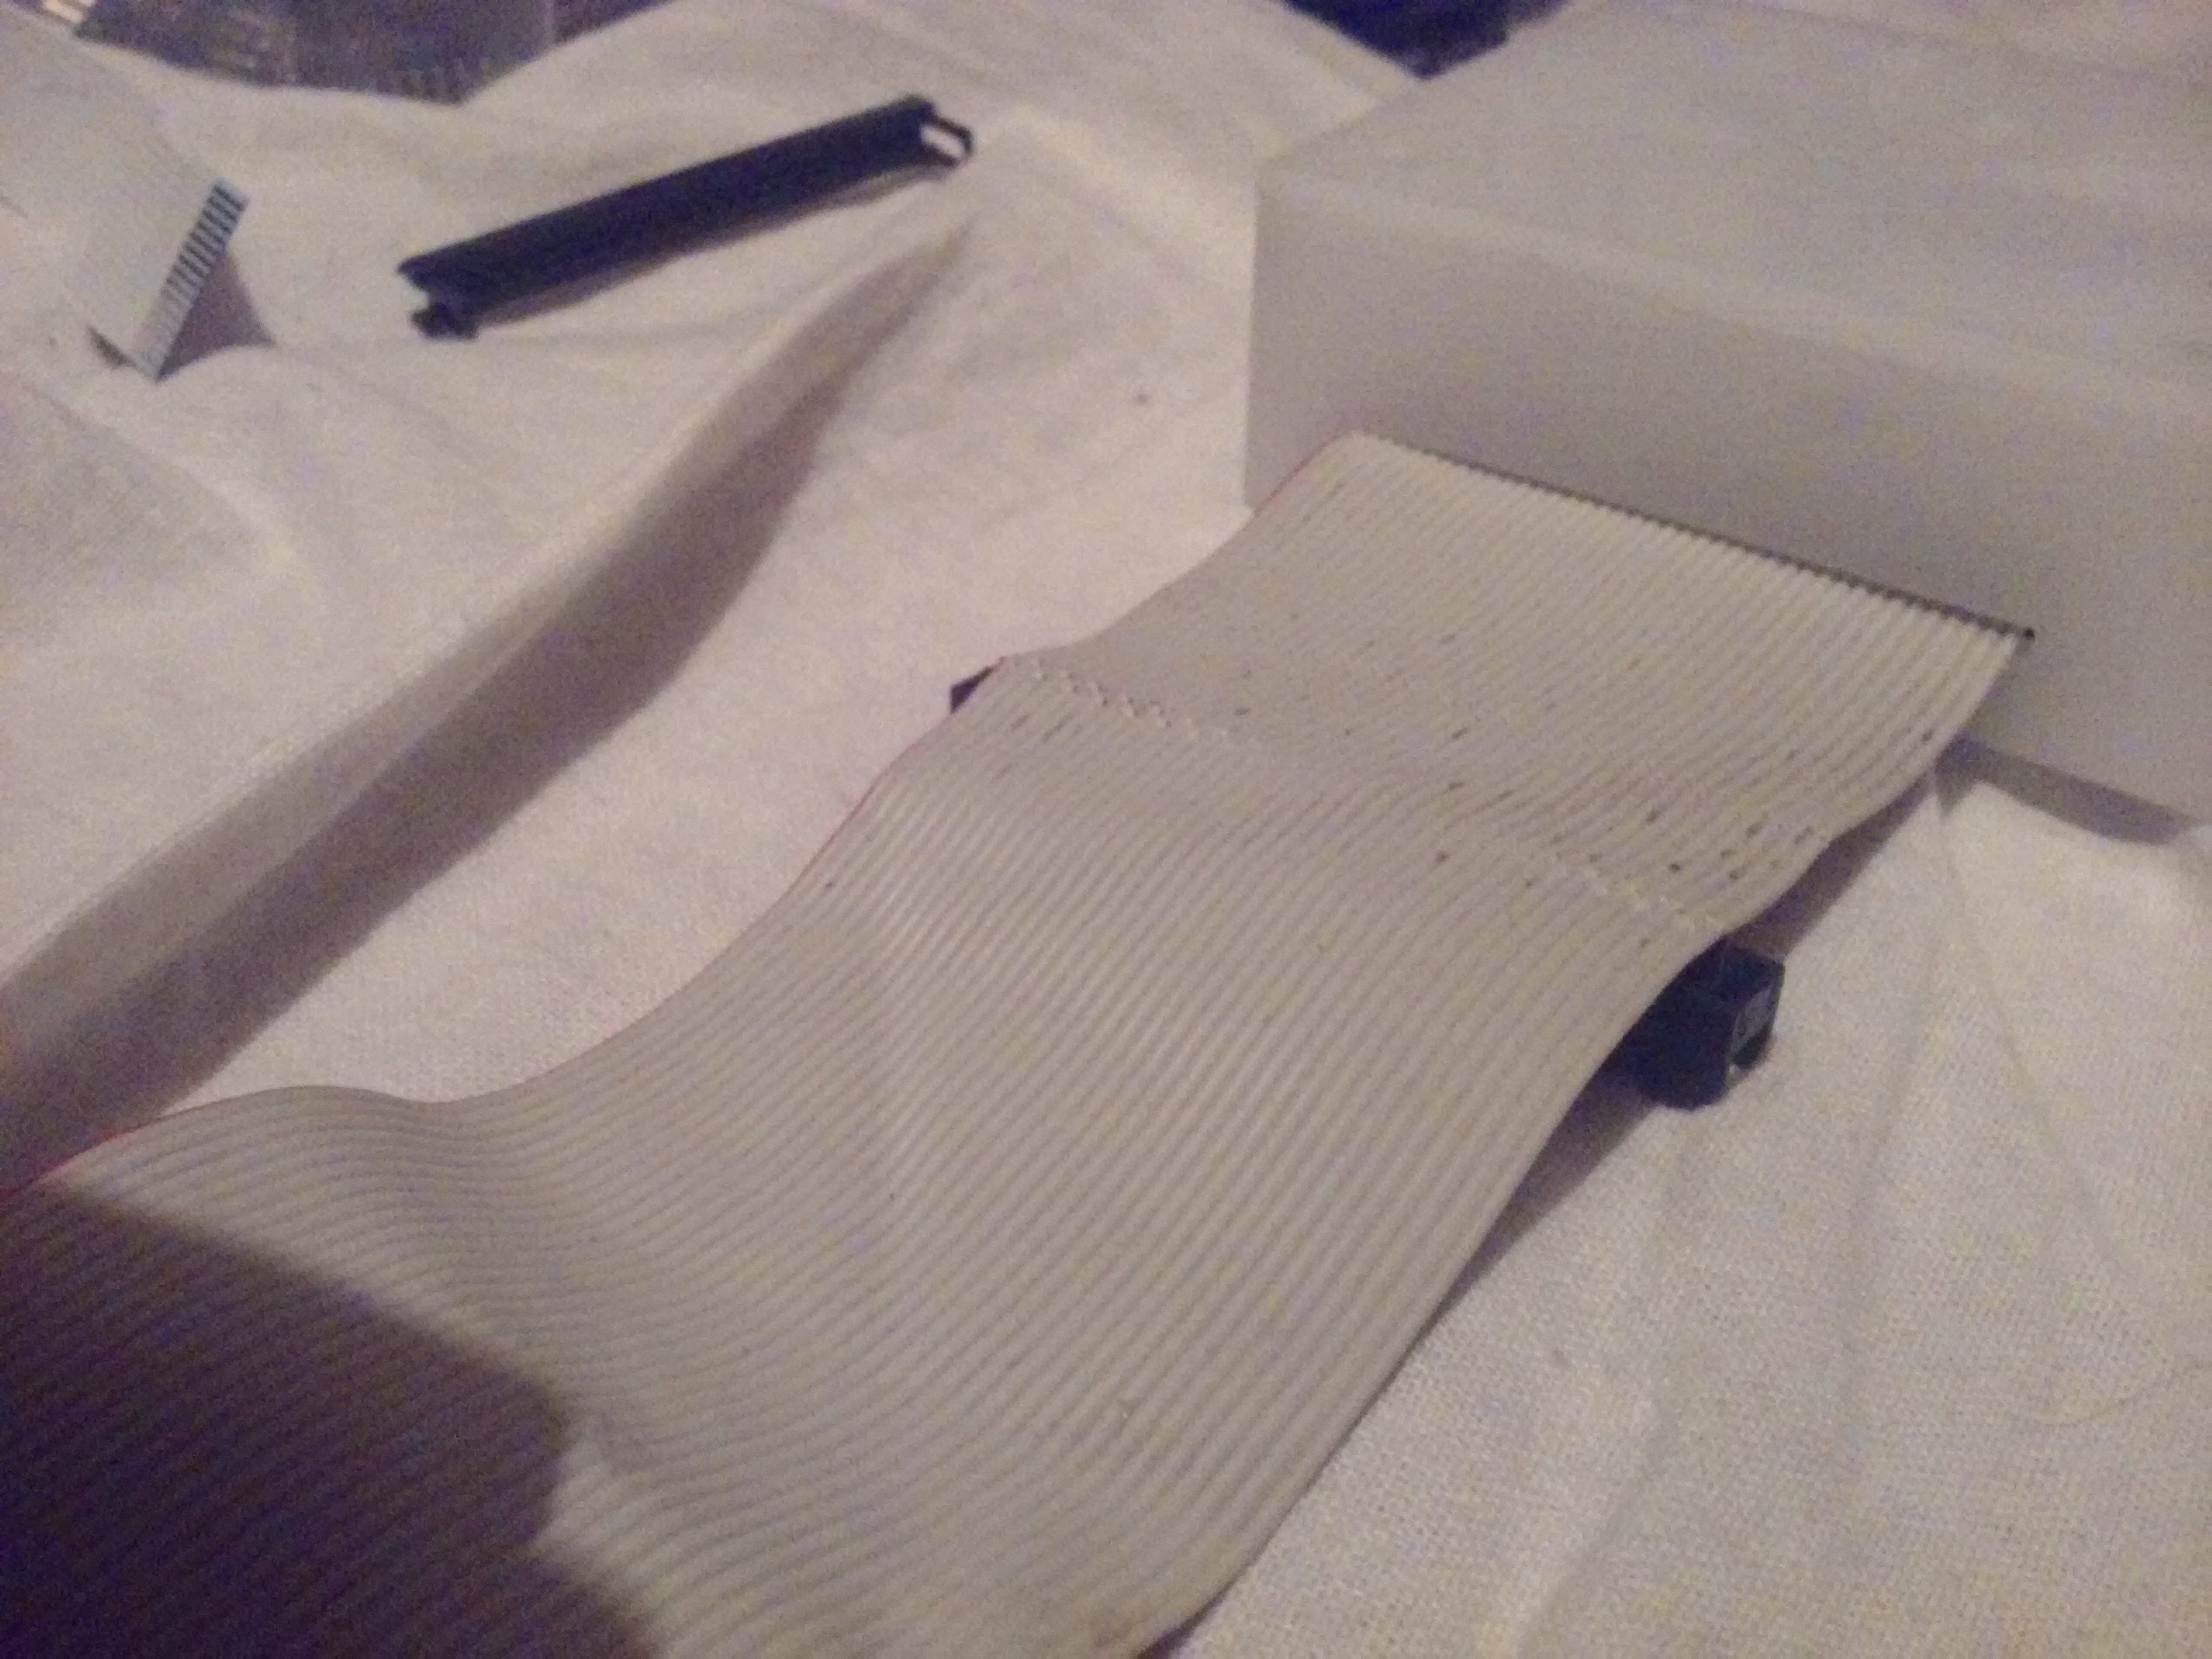
Adding a new connector to the cable. This is my personal OCD, it's not that easy to align them perpendicularly and if they aren't perpendicular, they are going to look like shit.
![]()
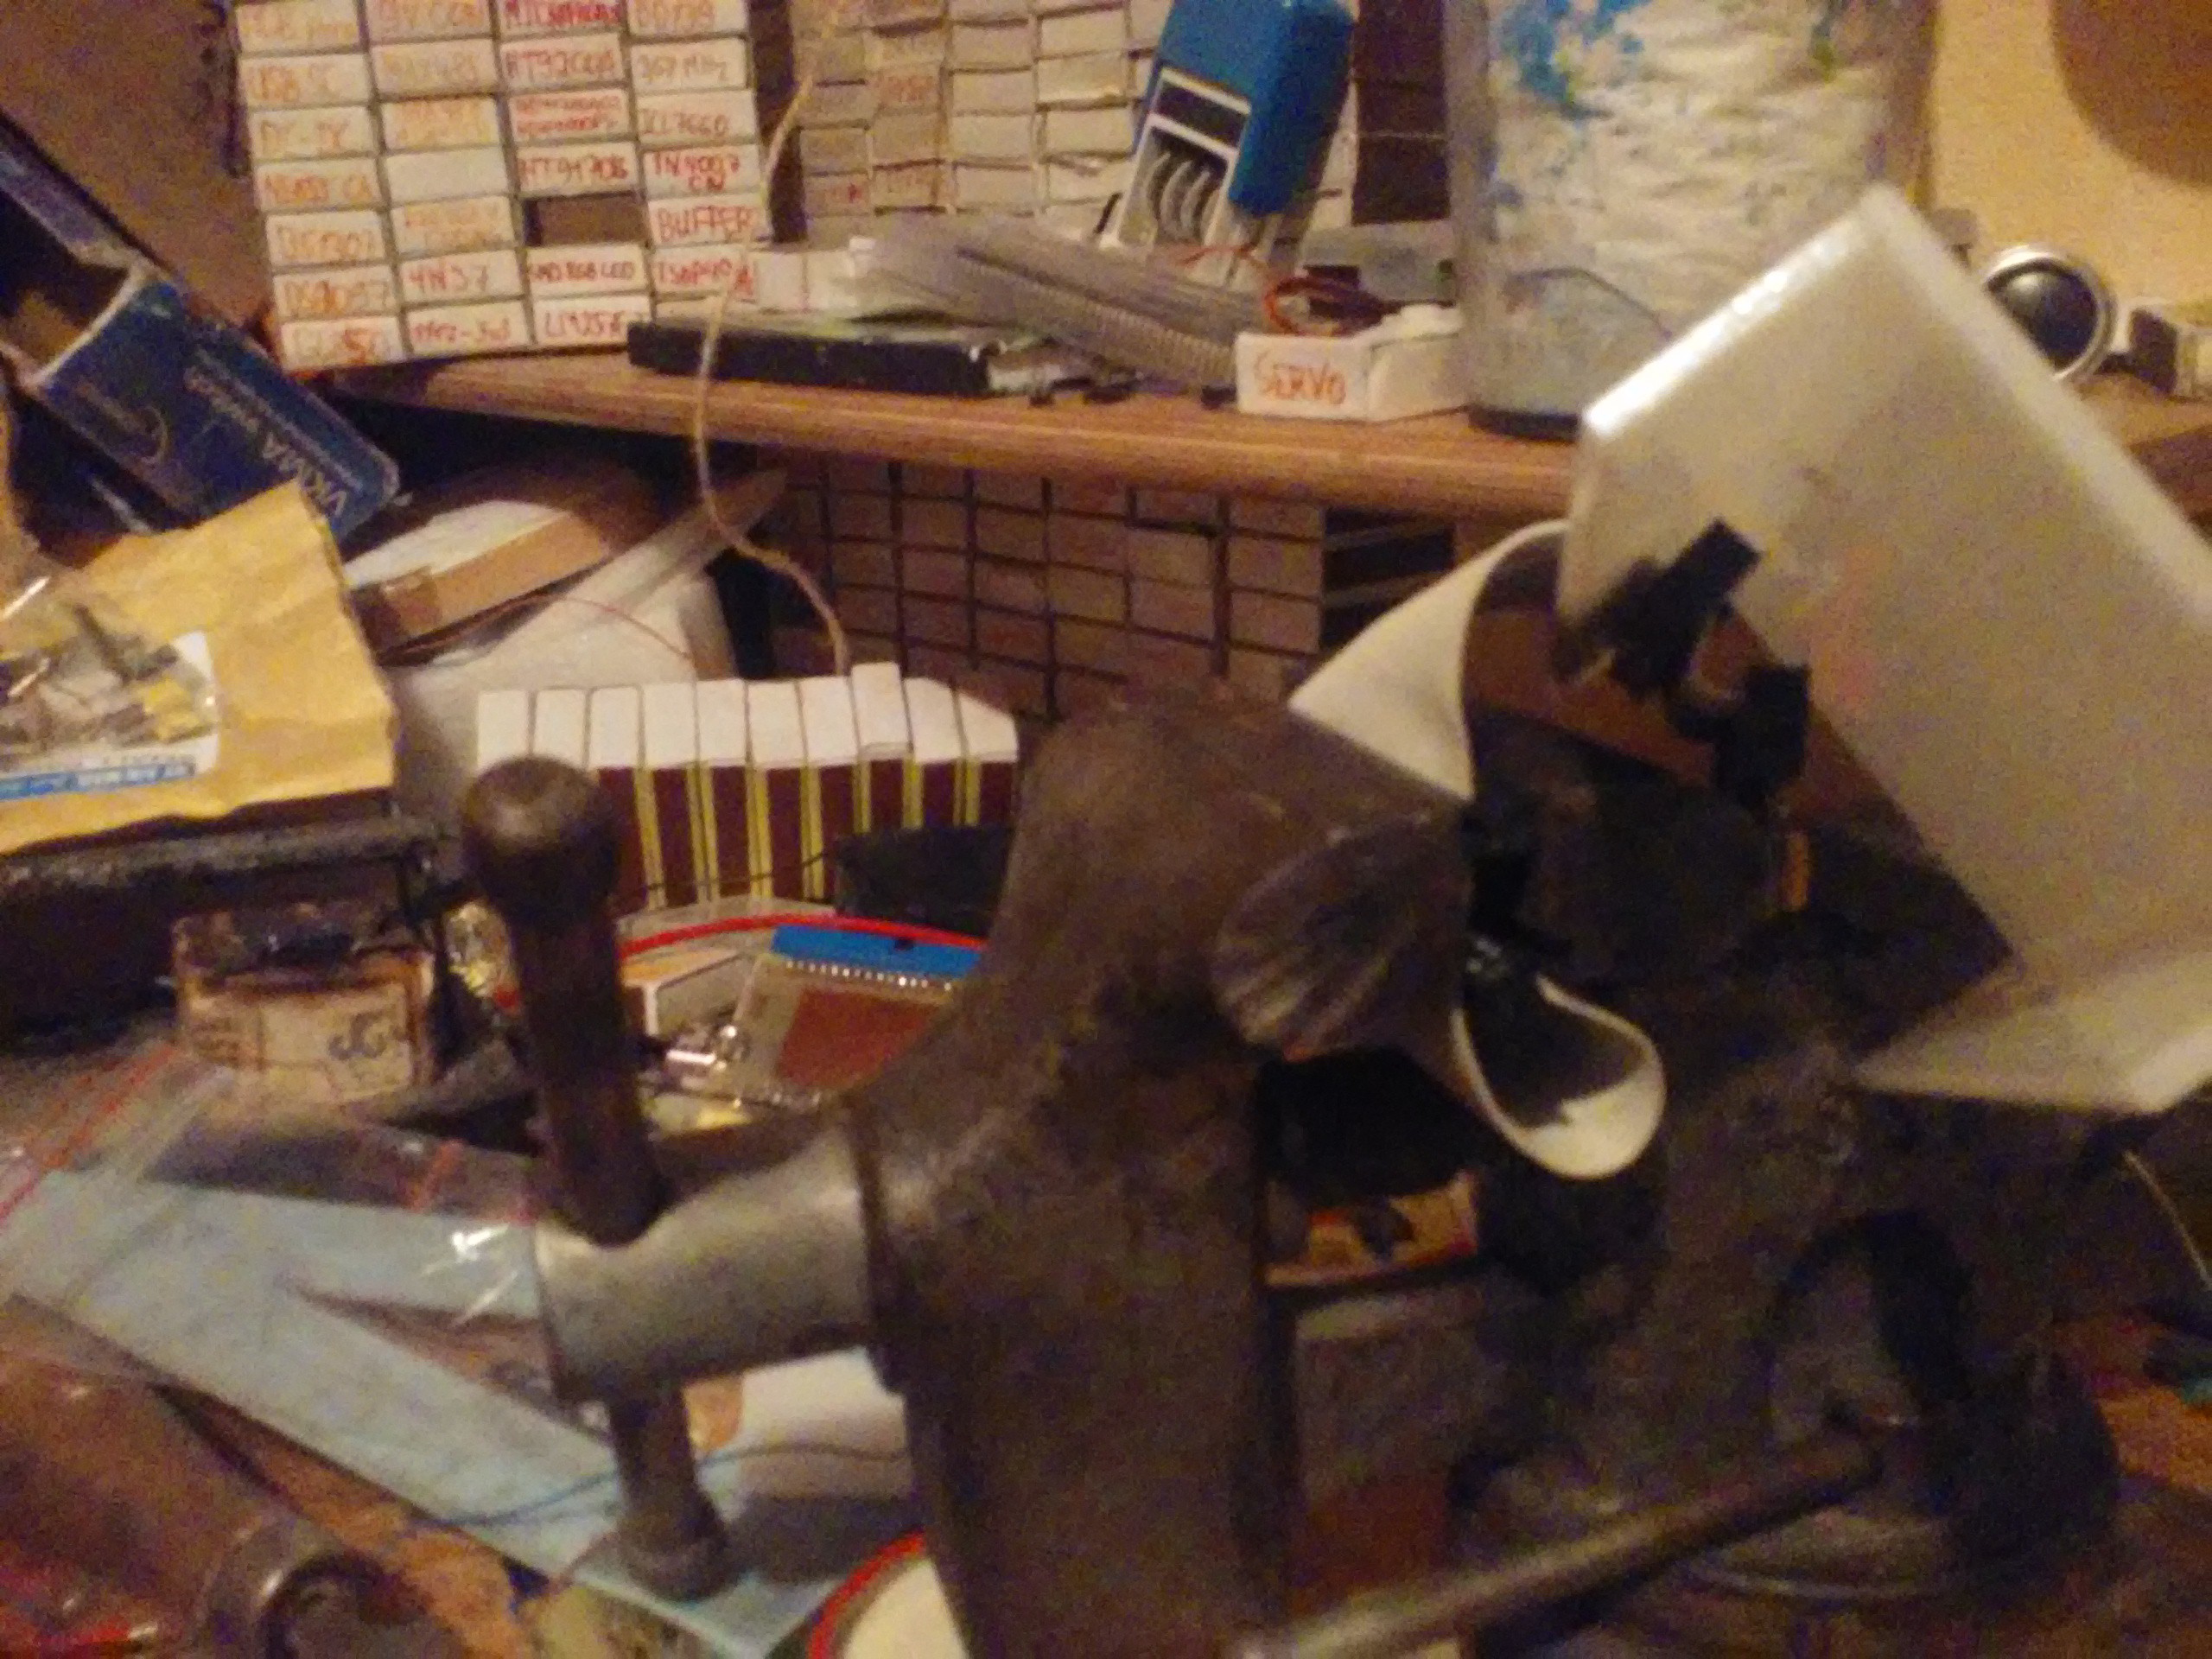
Crimping those headers is complicated. Fortunately, I have just the thing to help me. USSR tech to the rescue!
![]()
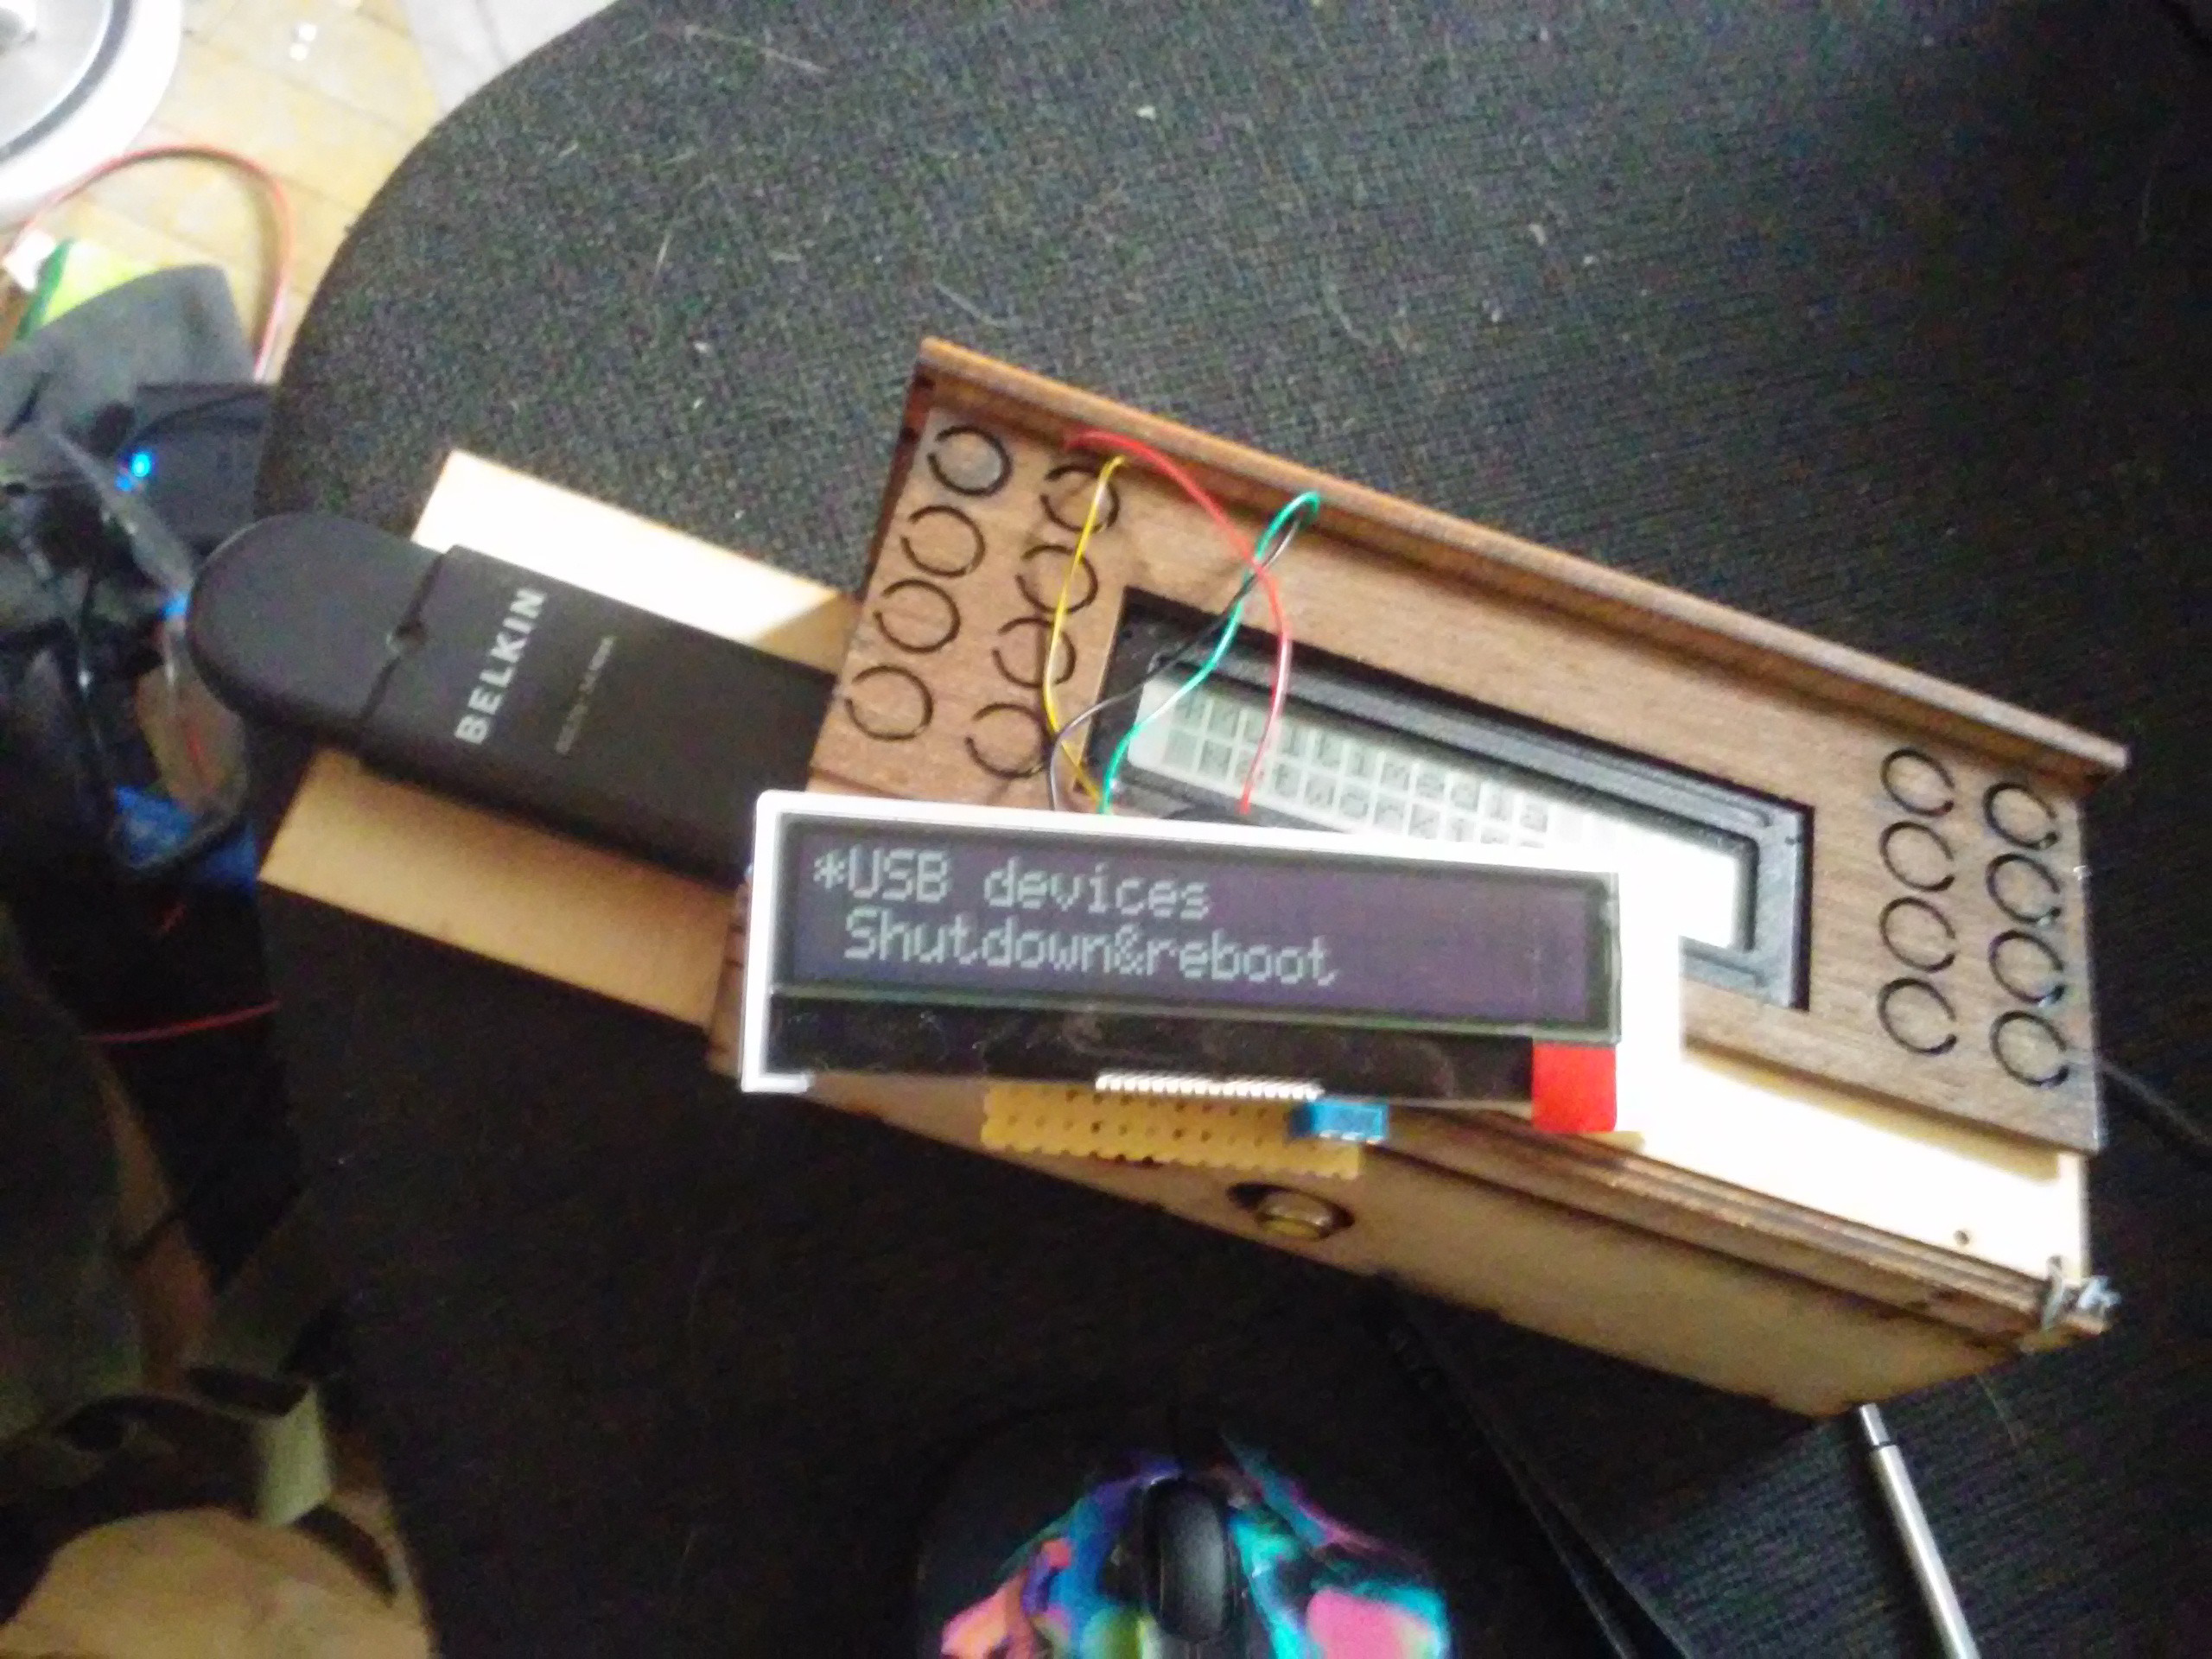
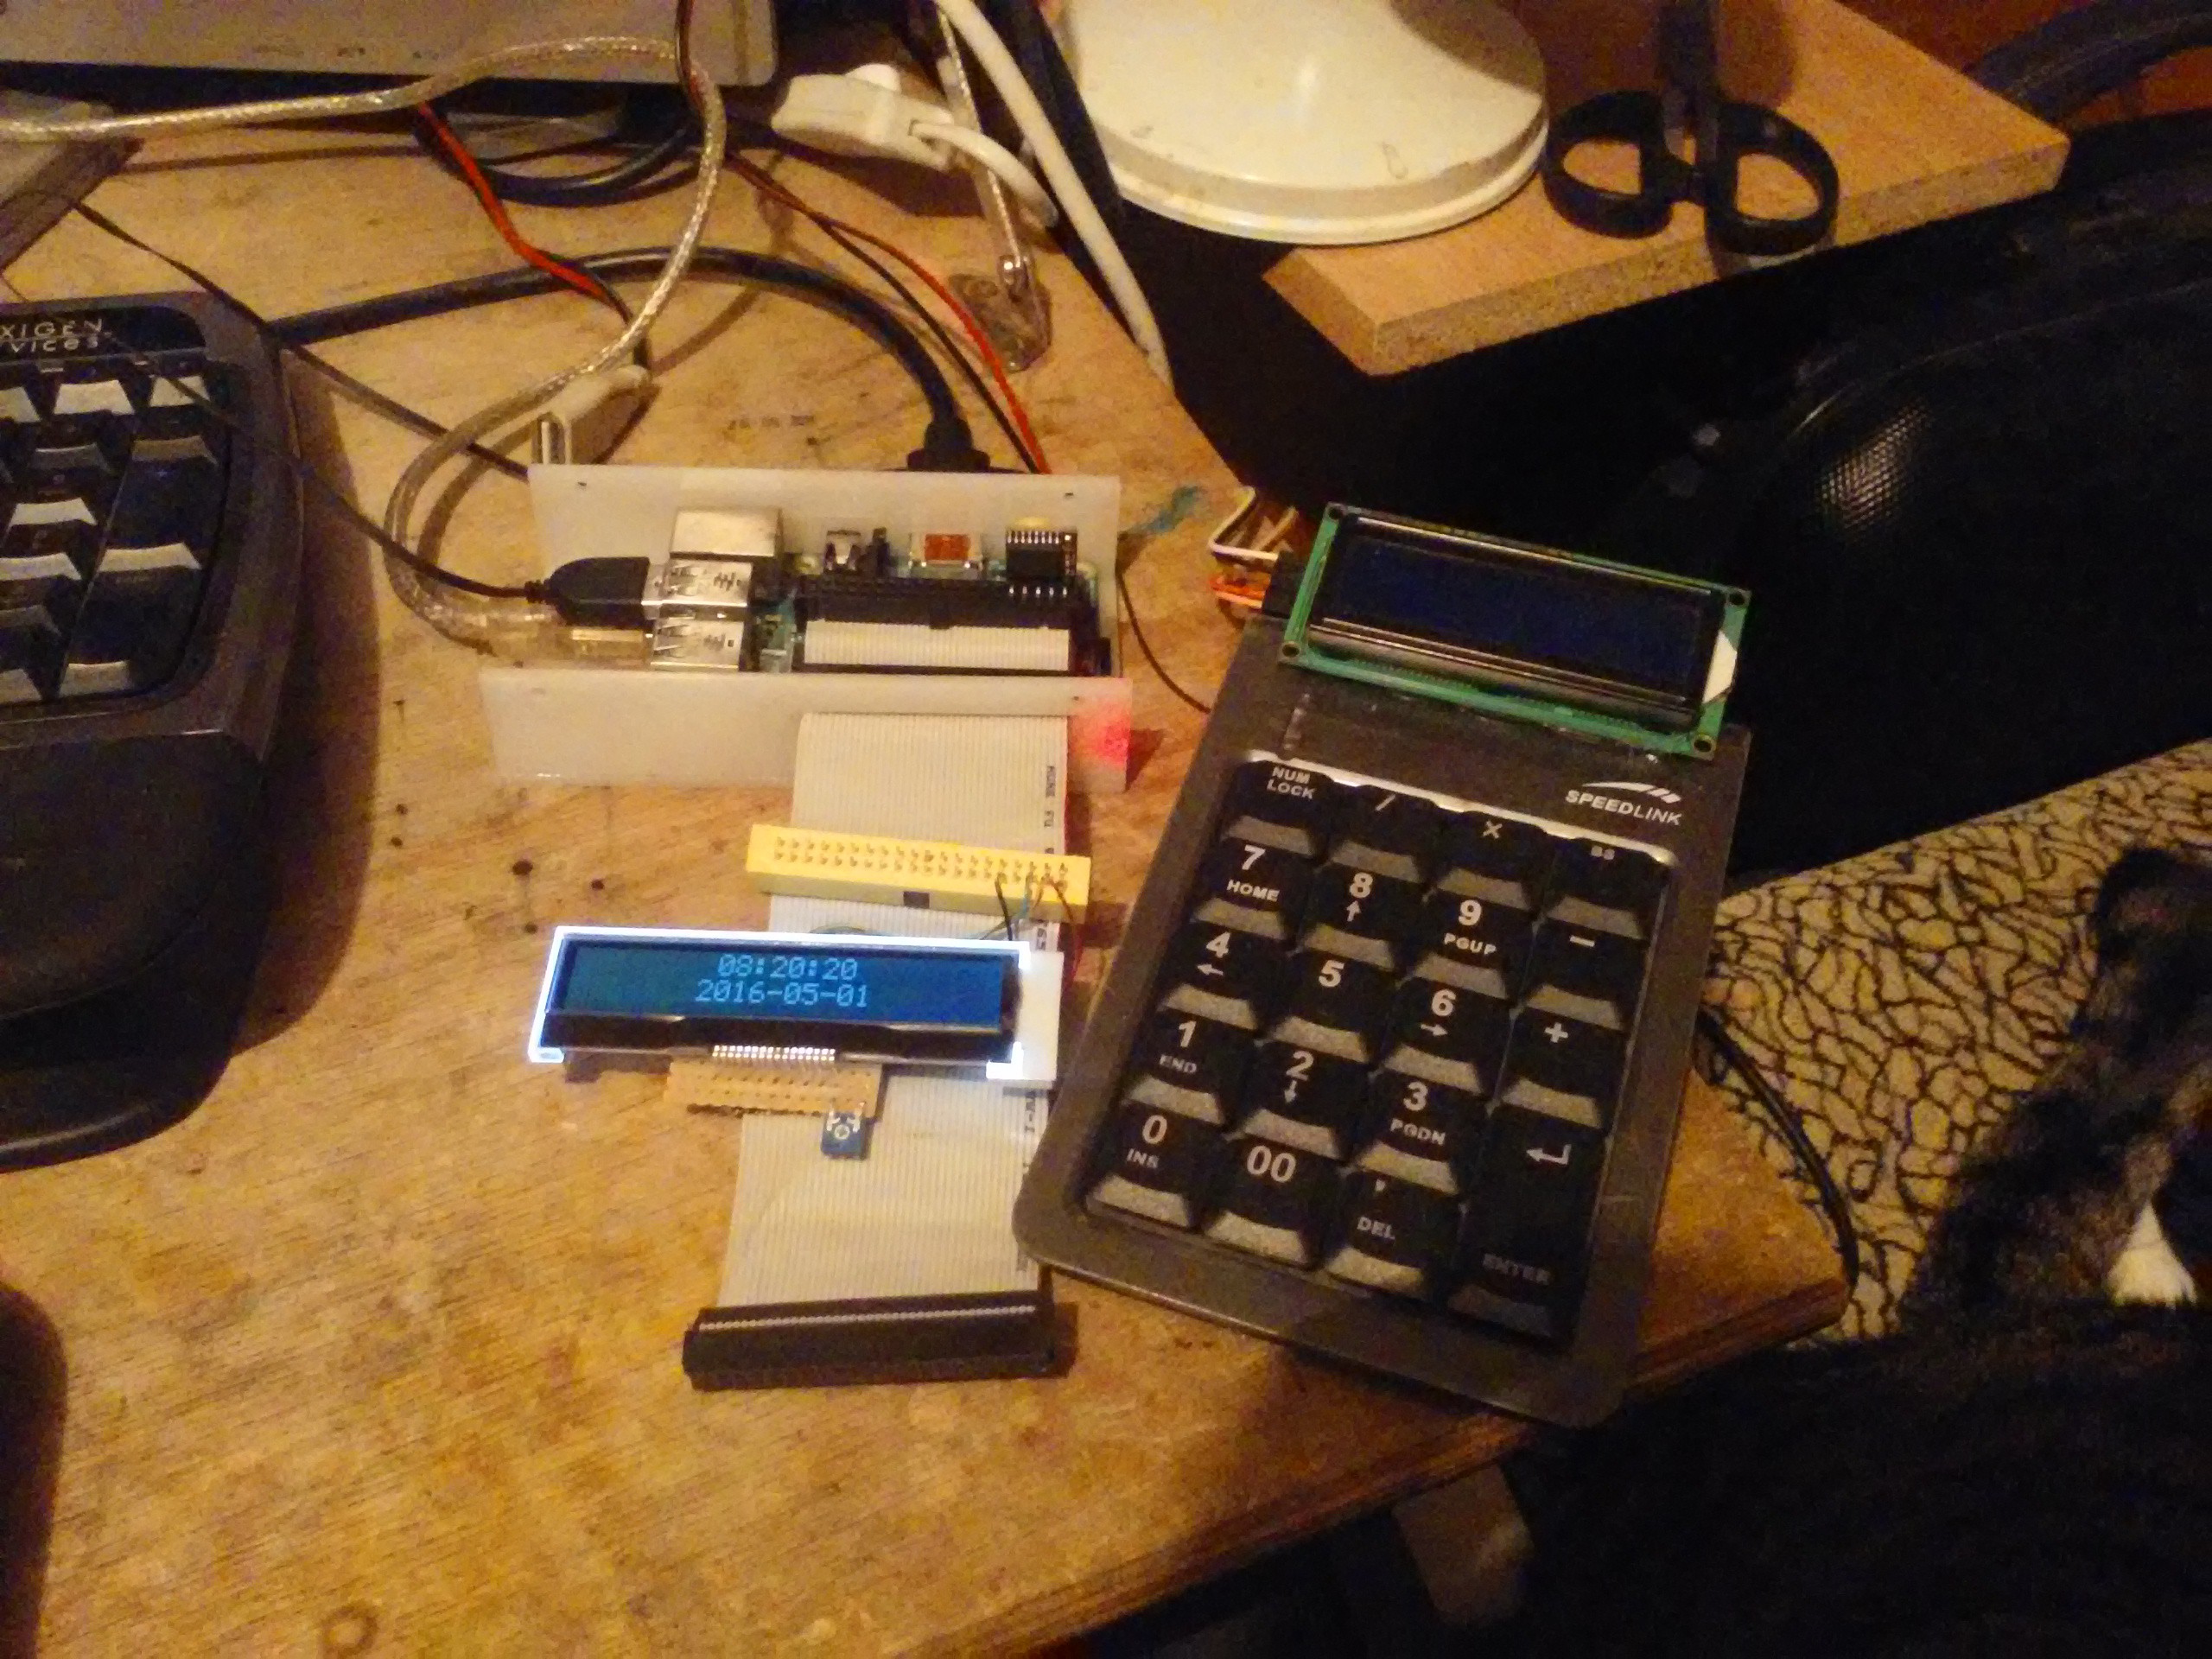
Testing the display and RTC with #pyLCI - Linux Control Interface.
Can you spot the cat?
I need a name for my project. Simply because "Wearable Raspberry Pi bracelet" sucks.
Wearable Raspberry Pi personal assistant
Powered by Raspberry Pi, Python, #pyLCI, 18650 cells and tons of peripherals.
 Arya
Arya Issues and/or solutions so far: