-
1Step 1
Get Some "Blueprints"
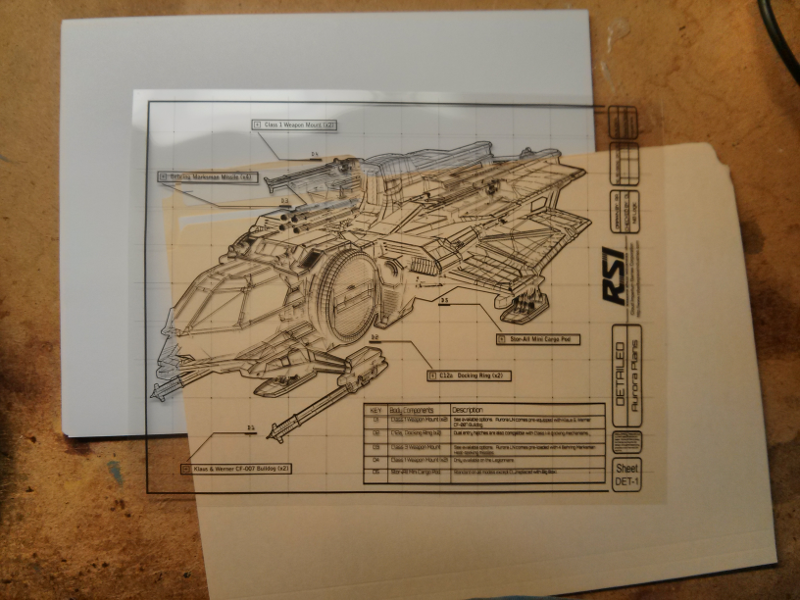
Find some schematics for your favorite fictional starship or whatever. I used this drawing of the RSI Aurora from Star Citizen. For something more from the appropriate era, you might go for the Nautilus. You could also obviously use some technical drawings you've made yourself or some other image entirely.
-
2Step 2
Don Your Lab Coat and Rubber Gloves
...because it is now time for science!
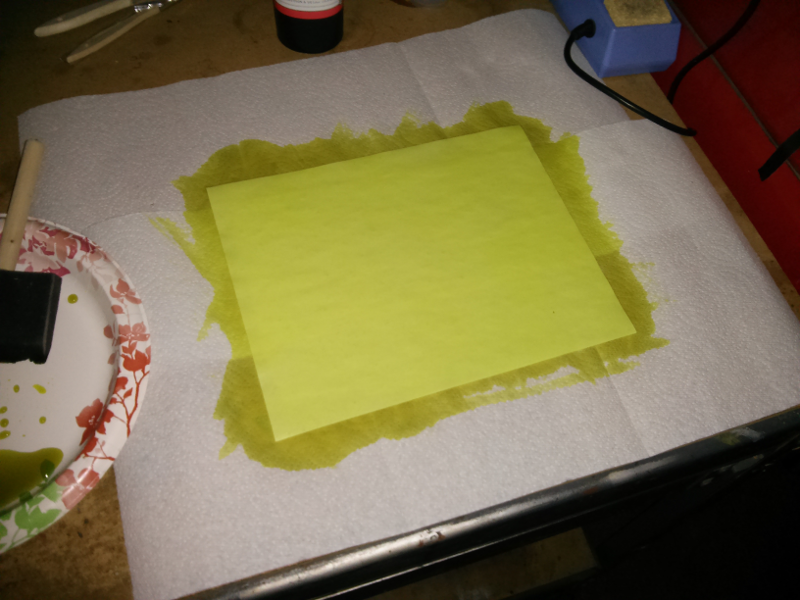
Mix equal parts of solutions A and B. You will not need much. I found about 5ml of each to be just enough for a full page. Spread the solution evenly over a sheet of paper. Those spongy paint brushes work well. I used regular printer paper but this process should work on just about anything, including fabric. Remember the solution is sensitive to UV light. It is best to do this in a dimly lit room, or at least a room with no natural sunlight.
![]()
Put the paper somewhere dark and let it dry. Wait for a couple hours. If the paper is not completely dry when you do the exposure, the image will come out fuzzy.
-
3Step 3
Expose the Image
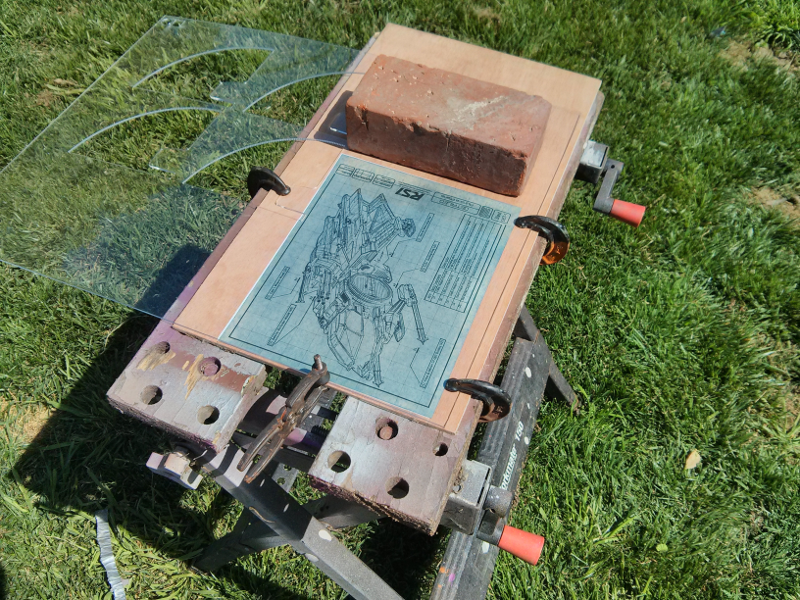
Lay the transparency on top of the photo paper and set it outside under a sheet of glass or acrylic. Professionals would use a UV light box (some of you may already have one for making PCBs), but 20 minutes in the California sun works just as well. Today we had a UV index of 7. Obviously it is best to do this around noon.
![]()
To keep everything flat, I used an old sheet of plexiglass I had laying around. Some clamps around the perimeter hold it in place. Cyanotyping is a contact printing process, so the positive needs to lay completely flat against the photo paper. If it is lifted even slightly, then the resulting image will be fuzzy in that area. This happened on my first try, so the text in some spots was unreadable.
-
4Step 4
Rinse the Paper
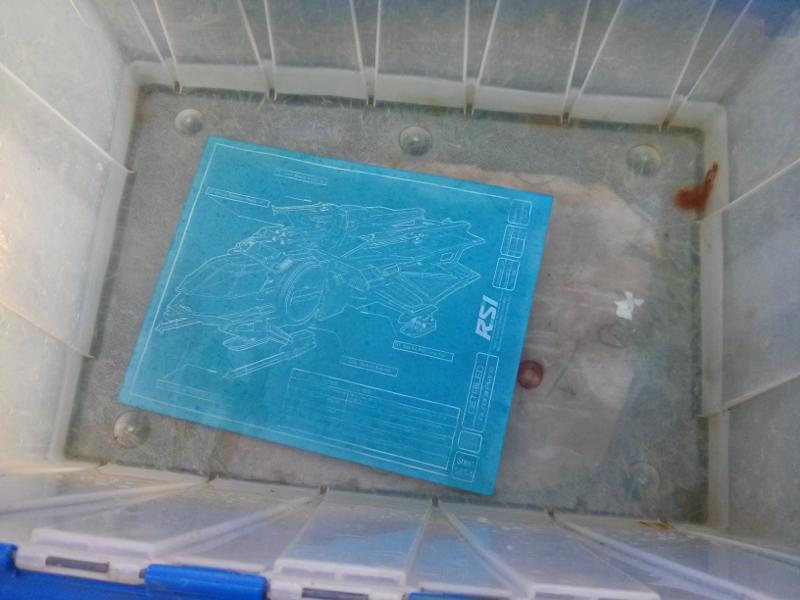
The paper will change color pretty quickly and get darker. It will not become the final shade of blue until later, though. So don't worry if it still doesn't look right.
After 20 or 30 minutes, take the paper out and put it in the sink or a tub full of water. This is basically like developing the film. Agitate it gently. The remaining chemicals will wash off and the colors will get brighter.
![]()
-
5Step 5
Let the Paper Dry
Use paper towels to absorb the excess moisture, then set the paper somewhere to dry for a few hours. You can sandwich it between two other sheets and put a heavy book on top of it to keep it from curling up. As it dries the blue will get darker.
-
6Step 6
Yay! You're done
Now go hang it on your wall or something.
-
7Step 7
Clean Up the Image
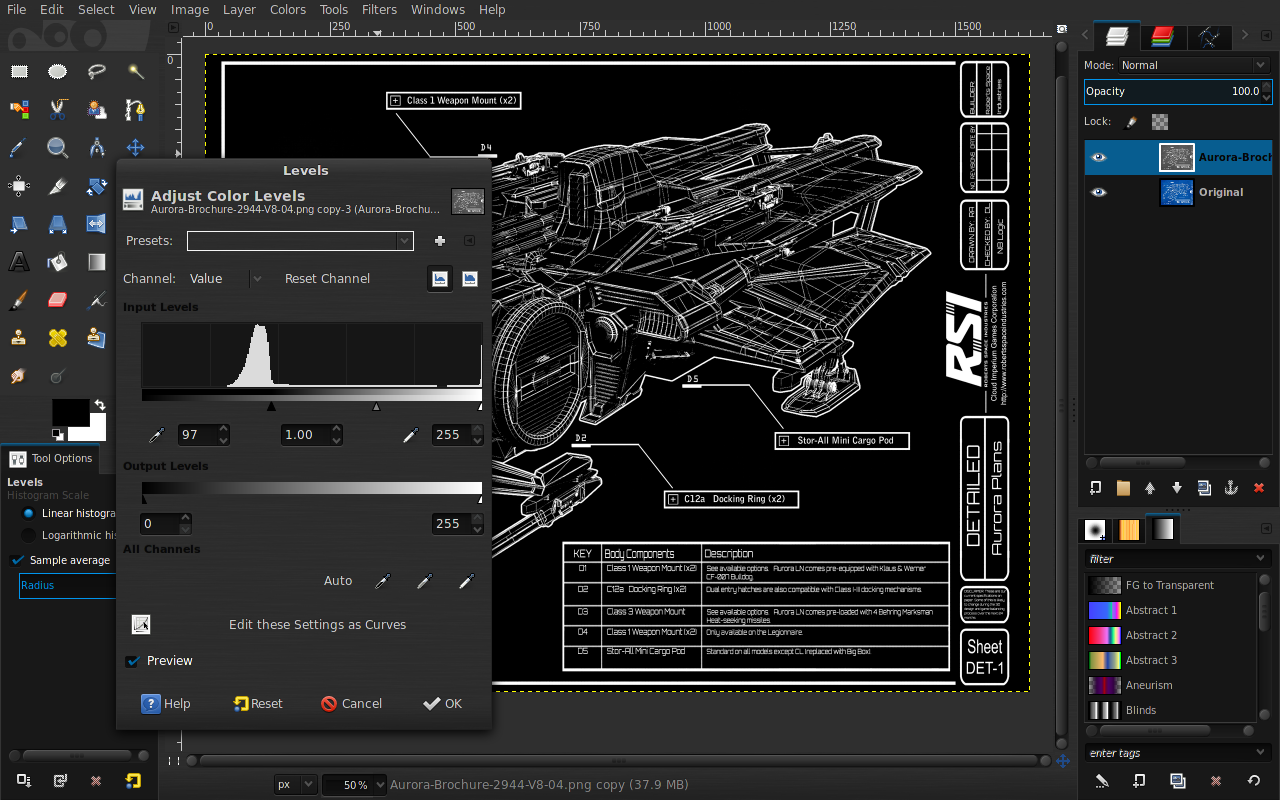
Open up the image in your editor of choice. We're going to have to make some changes.
![]()
1. Turn the saturation all the way down to get a black and white image.
2. Adjust the levels for maximum contrast.
3. Invert the colors. What you want is a "positive" (black drawings on a white background). The resulting blueprint will be a negative (white drawings on a dark background).
-
8Step 8
Print Your Image on Transparency Paper
Get yourself some transparency paper from Amazon. You remember, its the stuff they used on overhead projectors in elementary school. Don't even bother going to Staples or Office Depot. The guy gave me a weird look when I asked for it. He eventually found a pack in the deepest, darkest corner of the store and they wanted $50 for it. It was only $20 on Amazon.
In the old days, drafting would be done by hand on large transparency sheets. This would be the master from which all the copies were made. Since we live in the 21st century, we can just print it. But if you're feeling artistic, you can draw on the transparency with a sharpie.
Anyways, be sure to get the kind for copy machines. You must use a laser printer. Inkjets will just smear and make a mess. Print it out and now you have your positive.
![]()
 Tyler Anderson
Discussions
Become a Hackaday.io Member
Create an account to leave a comment. Already have an account? Log In.
Do you have a recommendation for when joining together multiple standard letter size transparency to make a larger negative? I have a 12 page print i'm doing for a large form blueprint with your method, but i fear using scotch tape might effect the UV process
Are you sure? yes | no
Also, to get that really prussian blue POP from cyanotypes, you can put about a capful of hydrogen peroxide (the kind you get from the pharmacy or supermarket is fine) in with the rinse water.
Are you sure? yes | no