I'm thinking about this project more than year. Now it´s time to make it real! Almost all parts are already sourced, so let's build it!
0%
0%
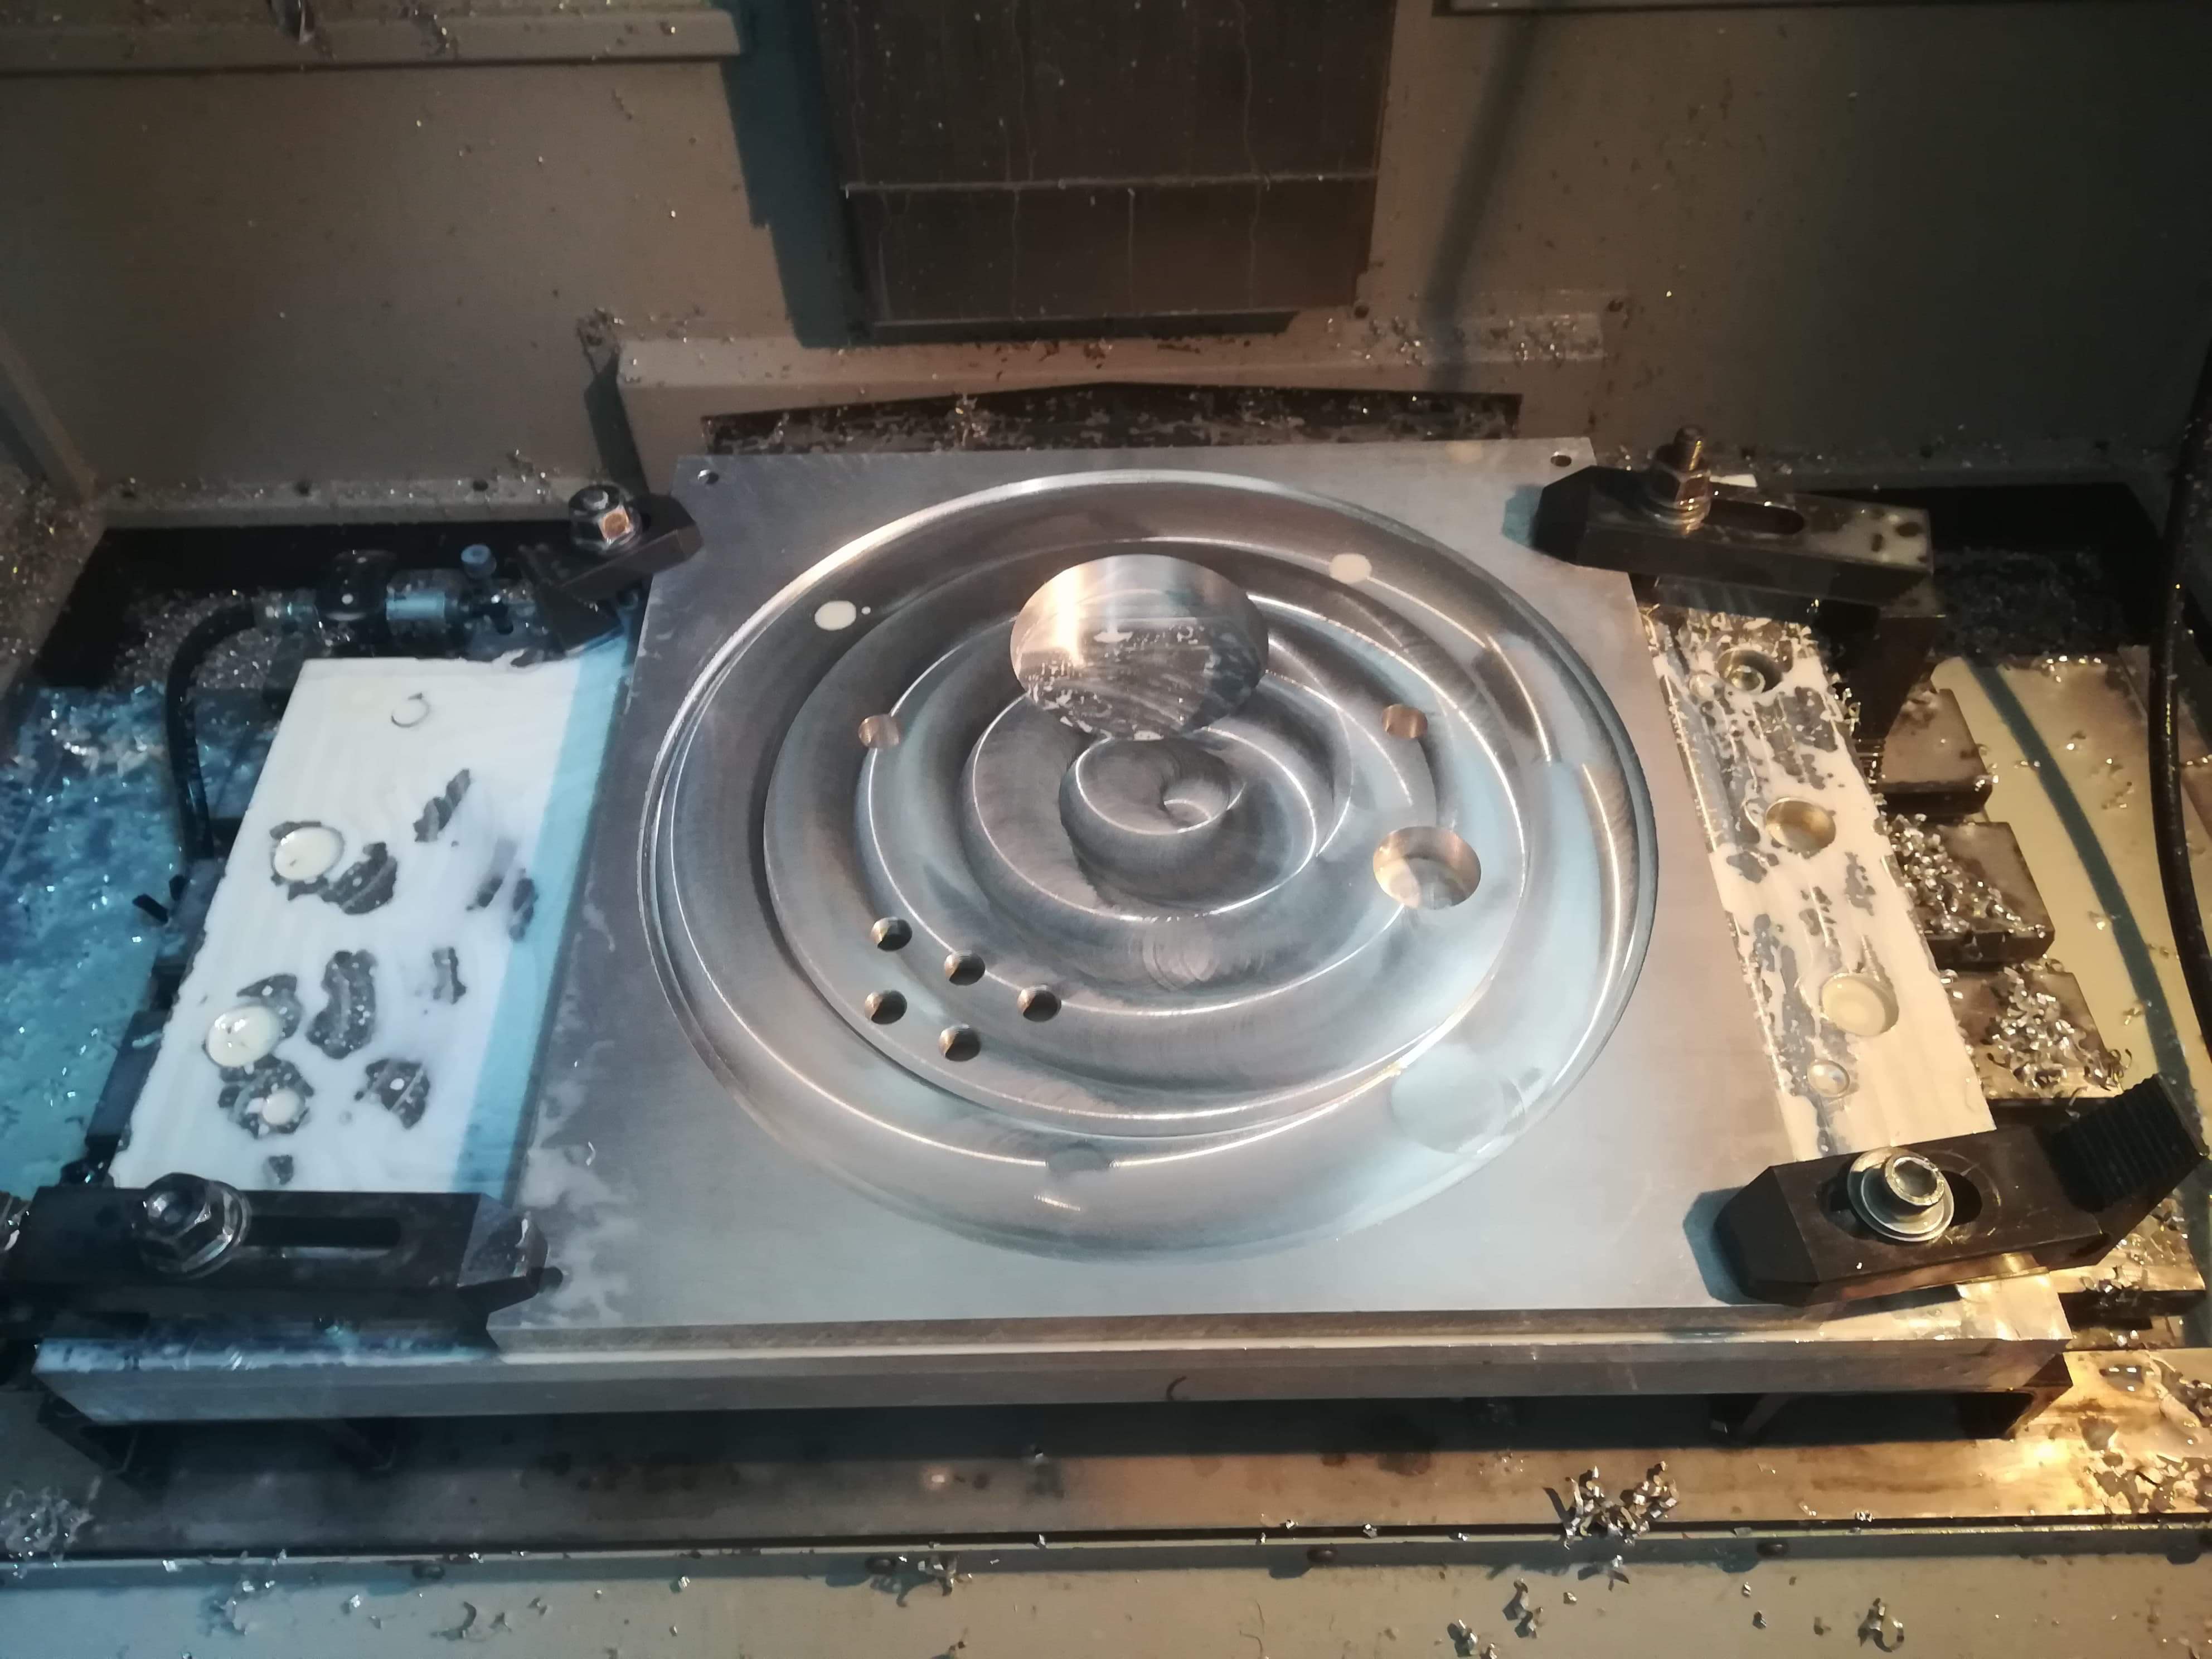
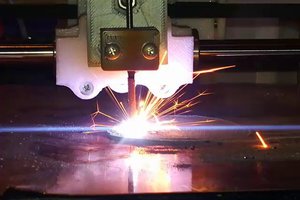
Metal 3D printer
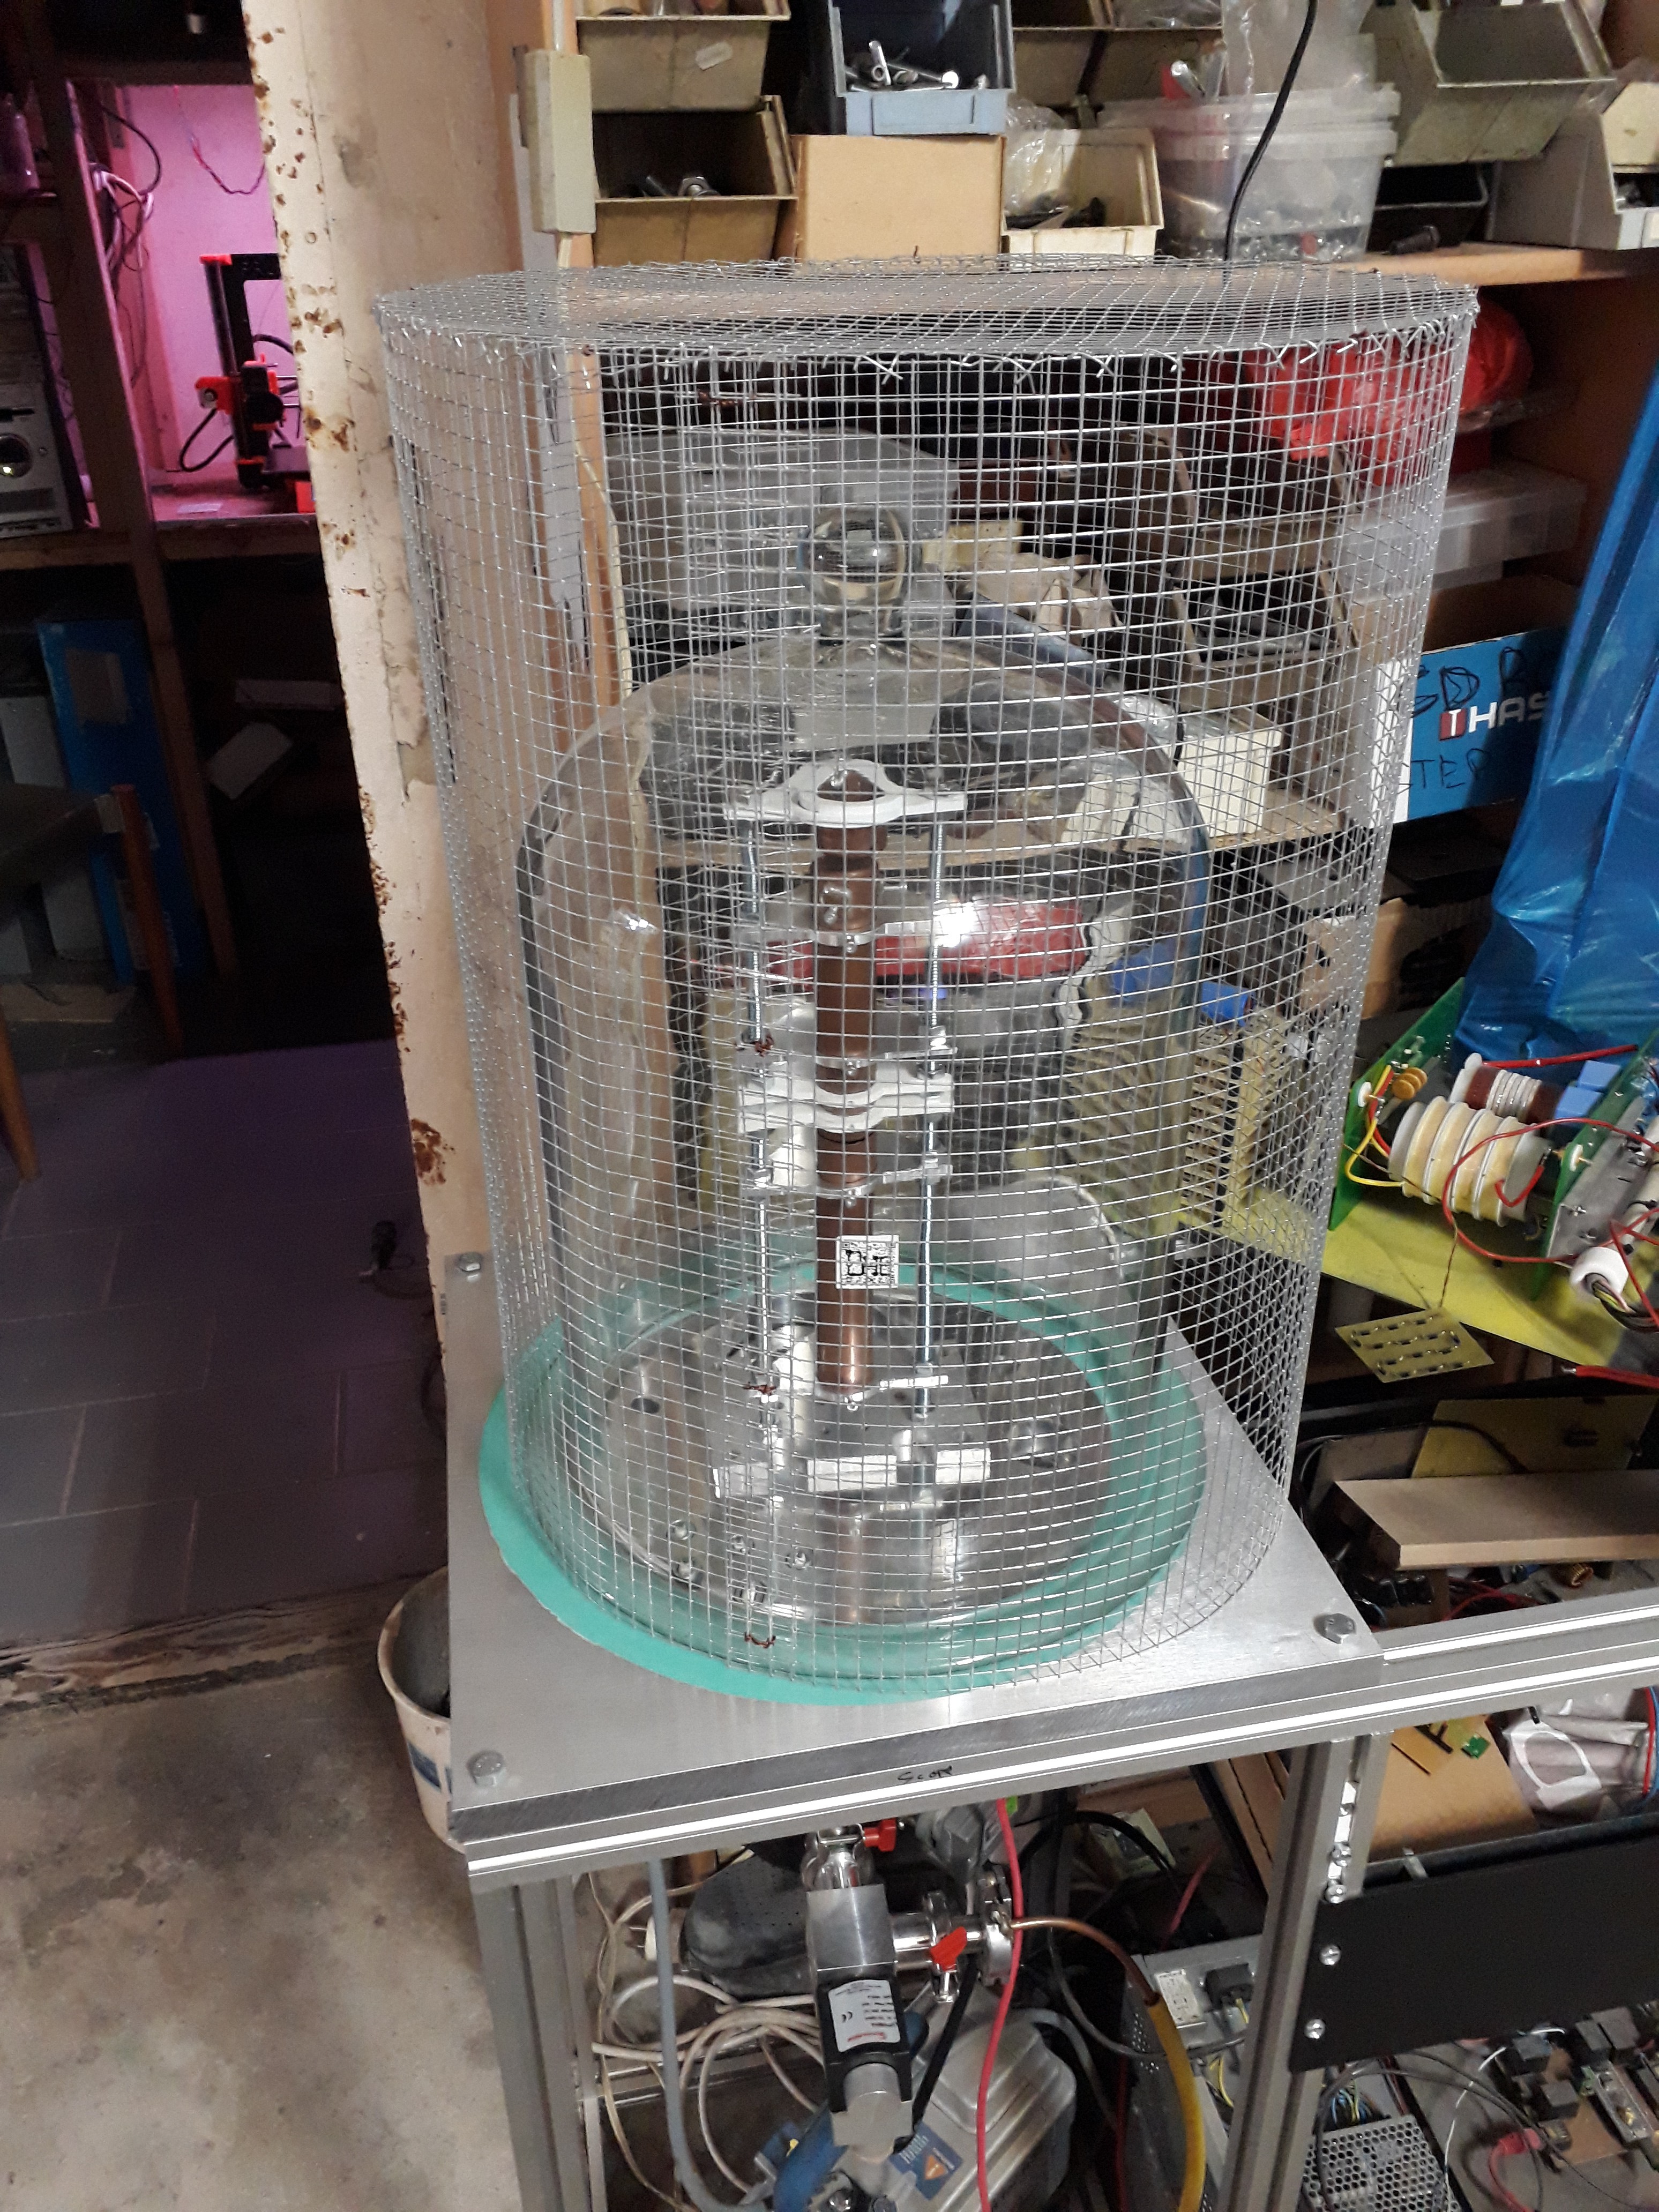
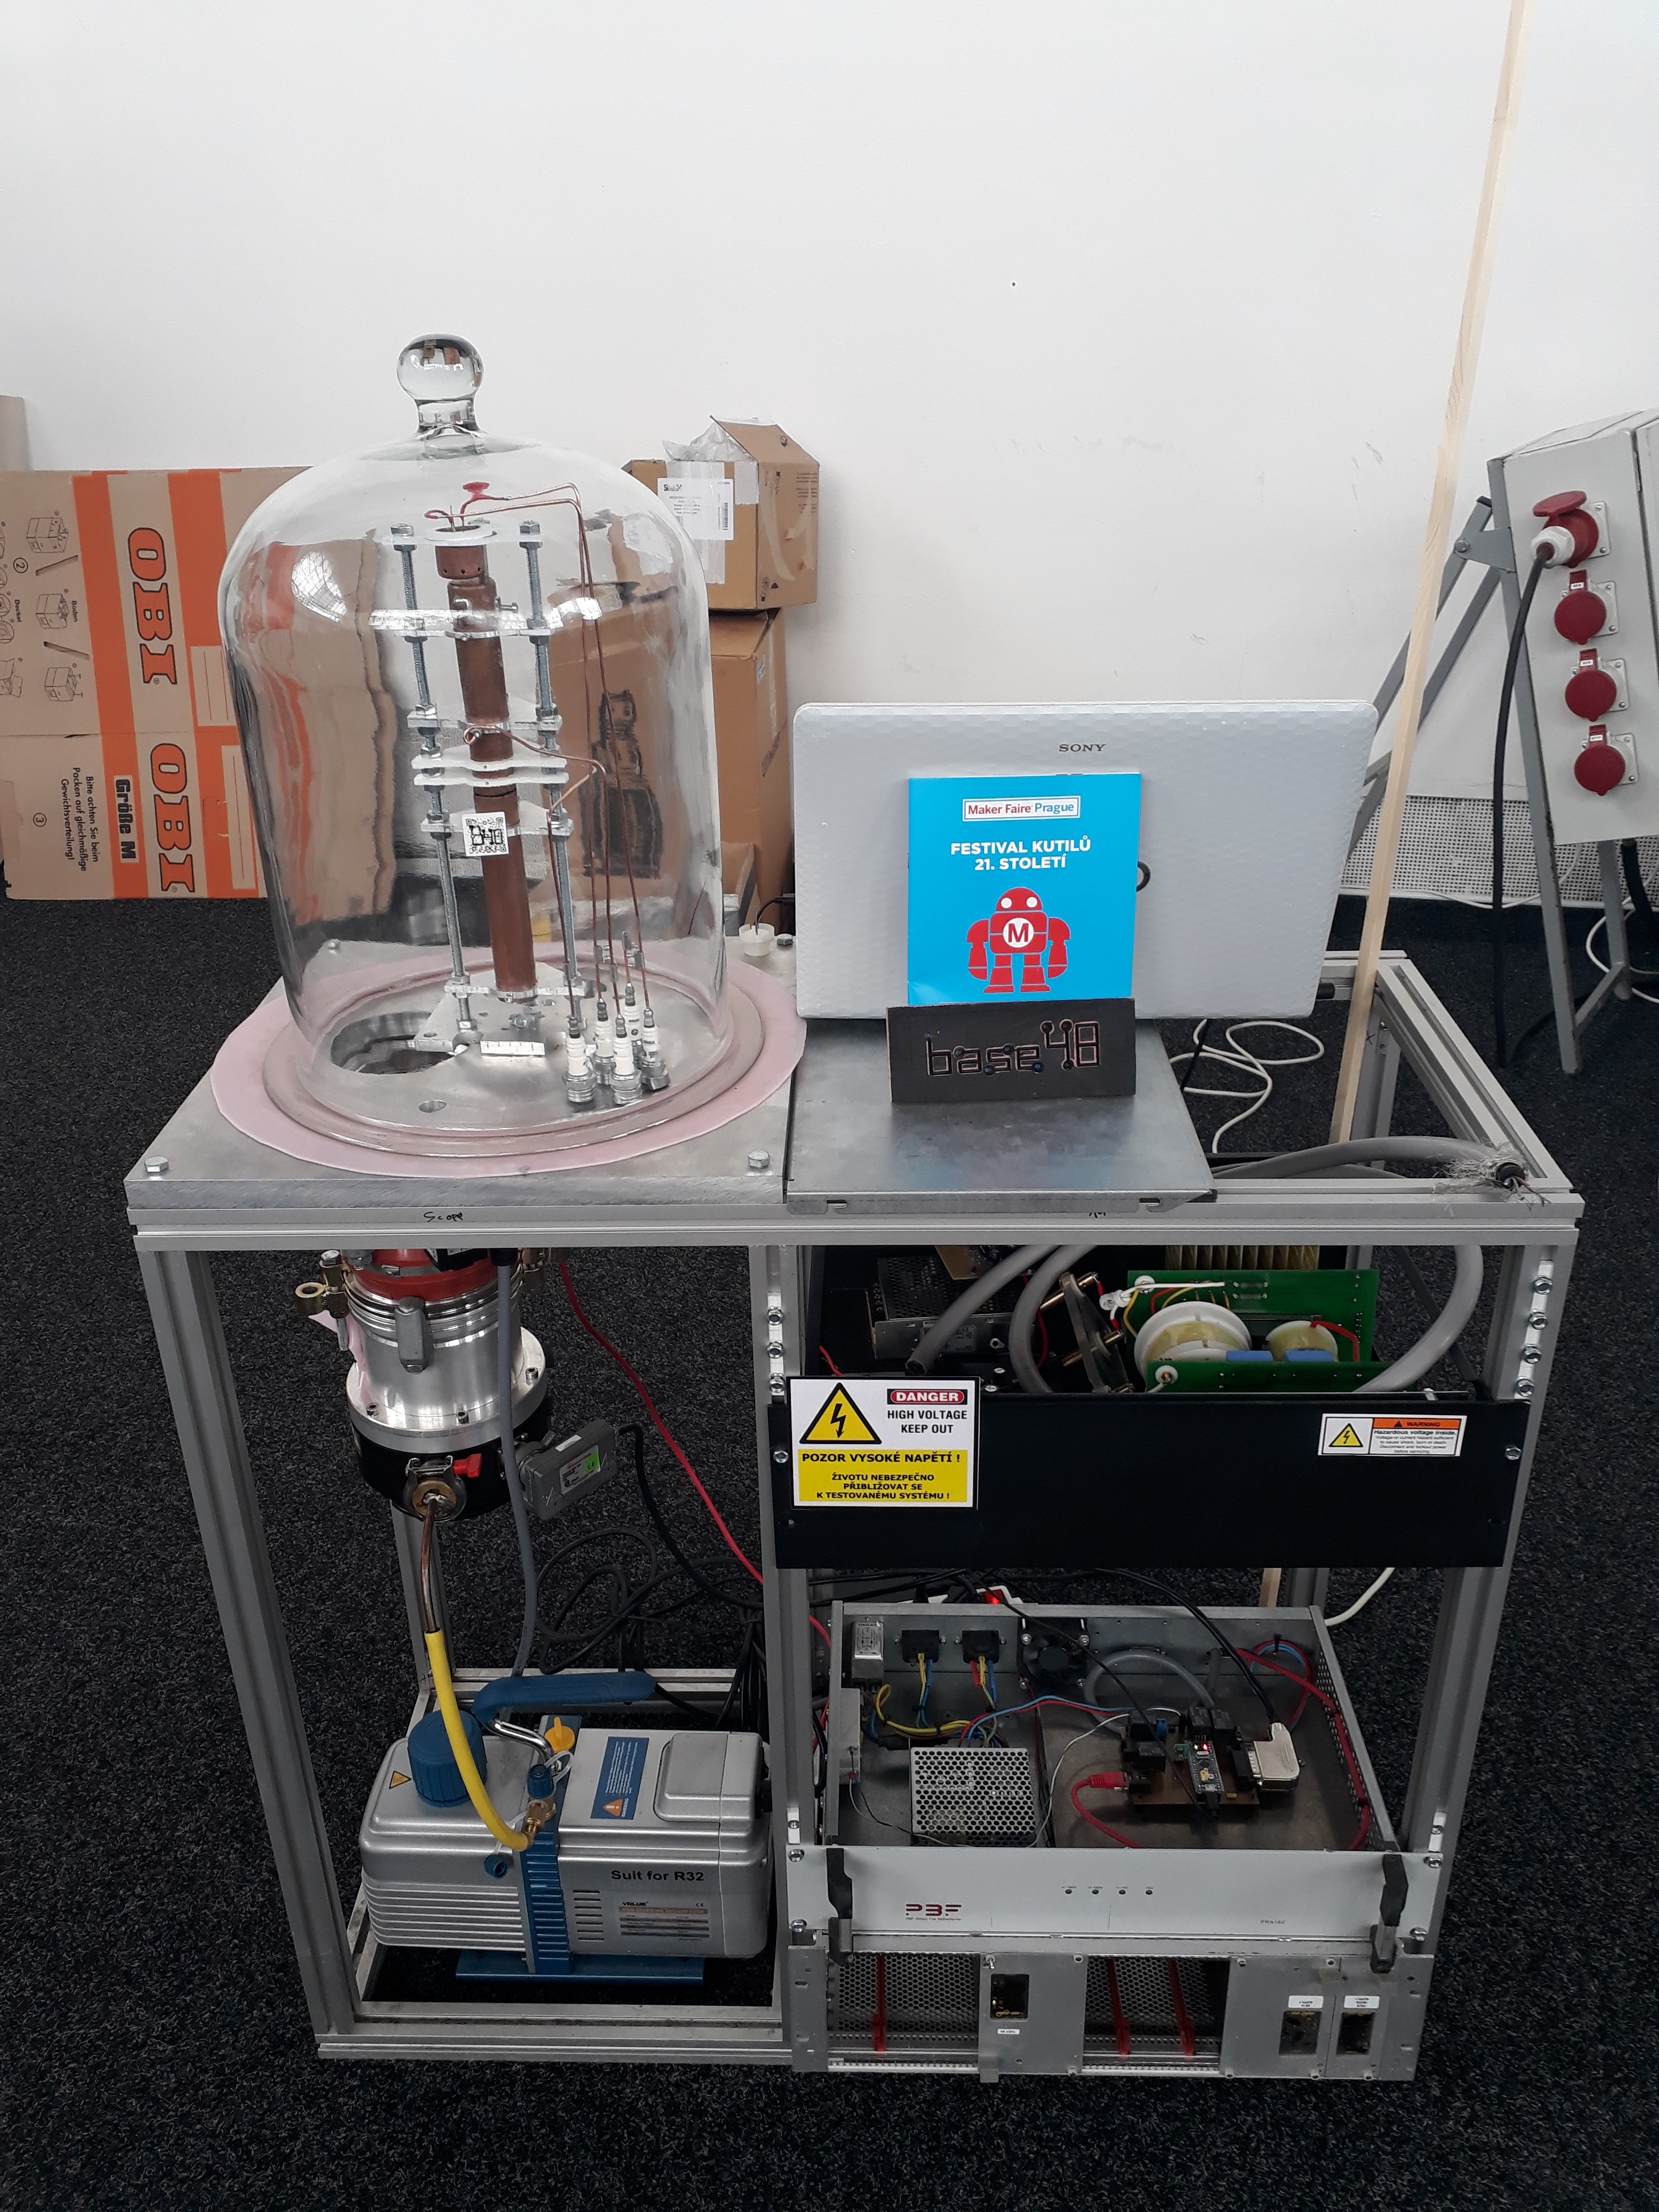
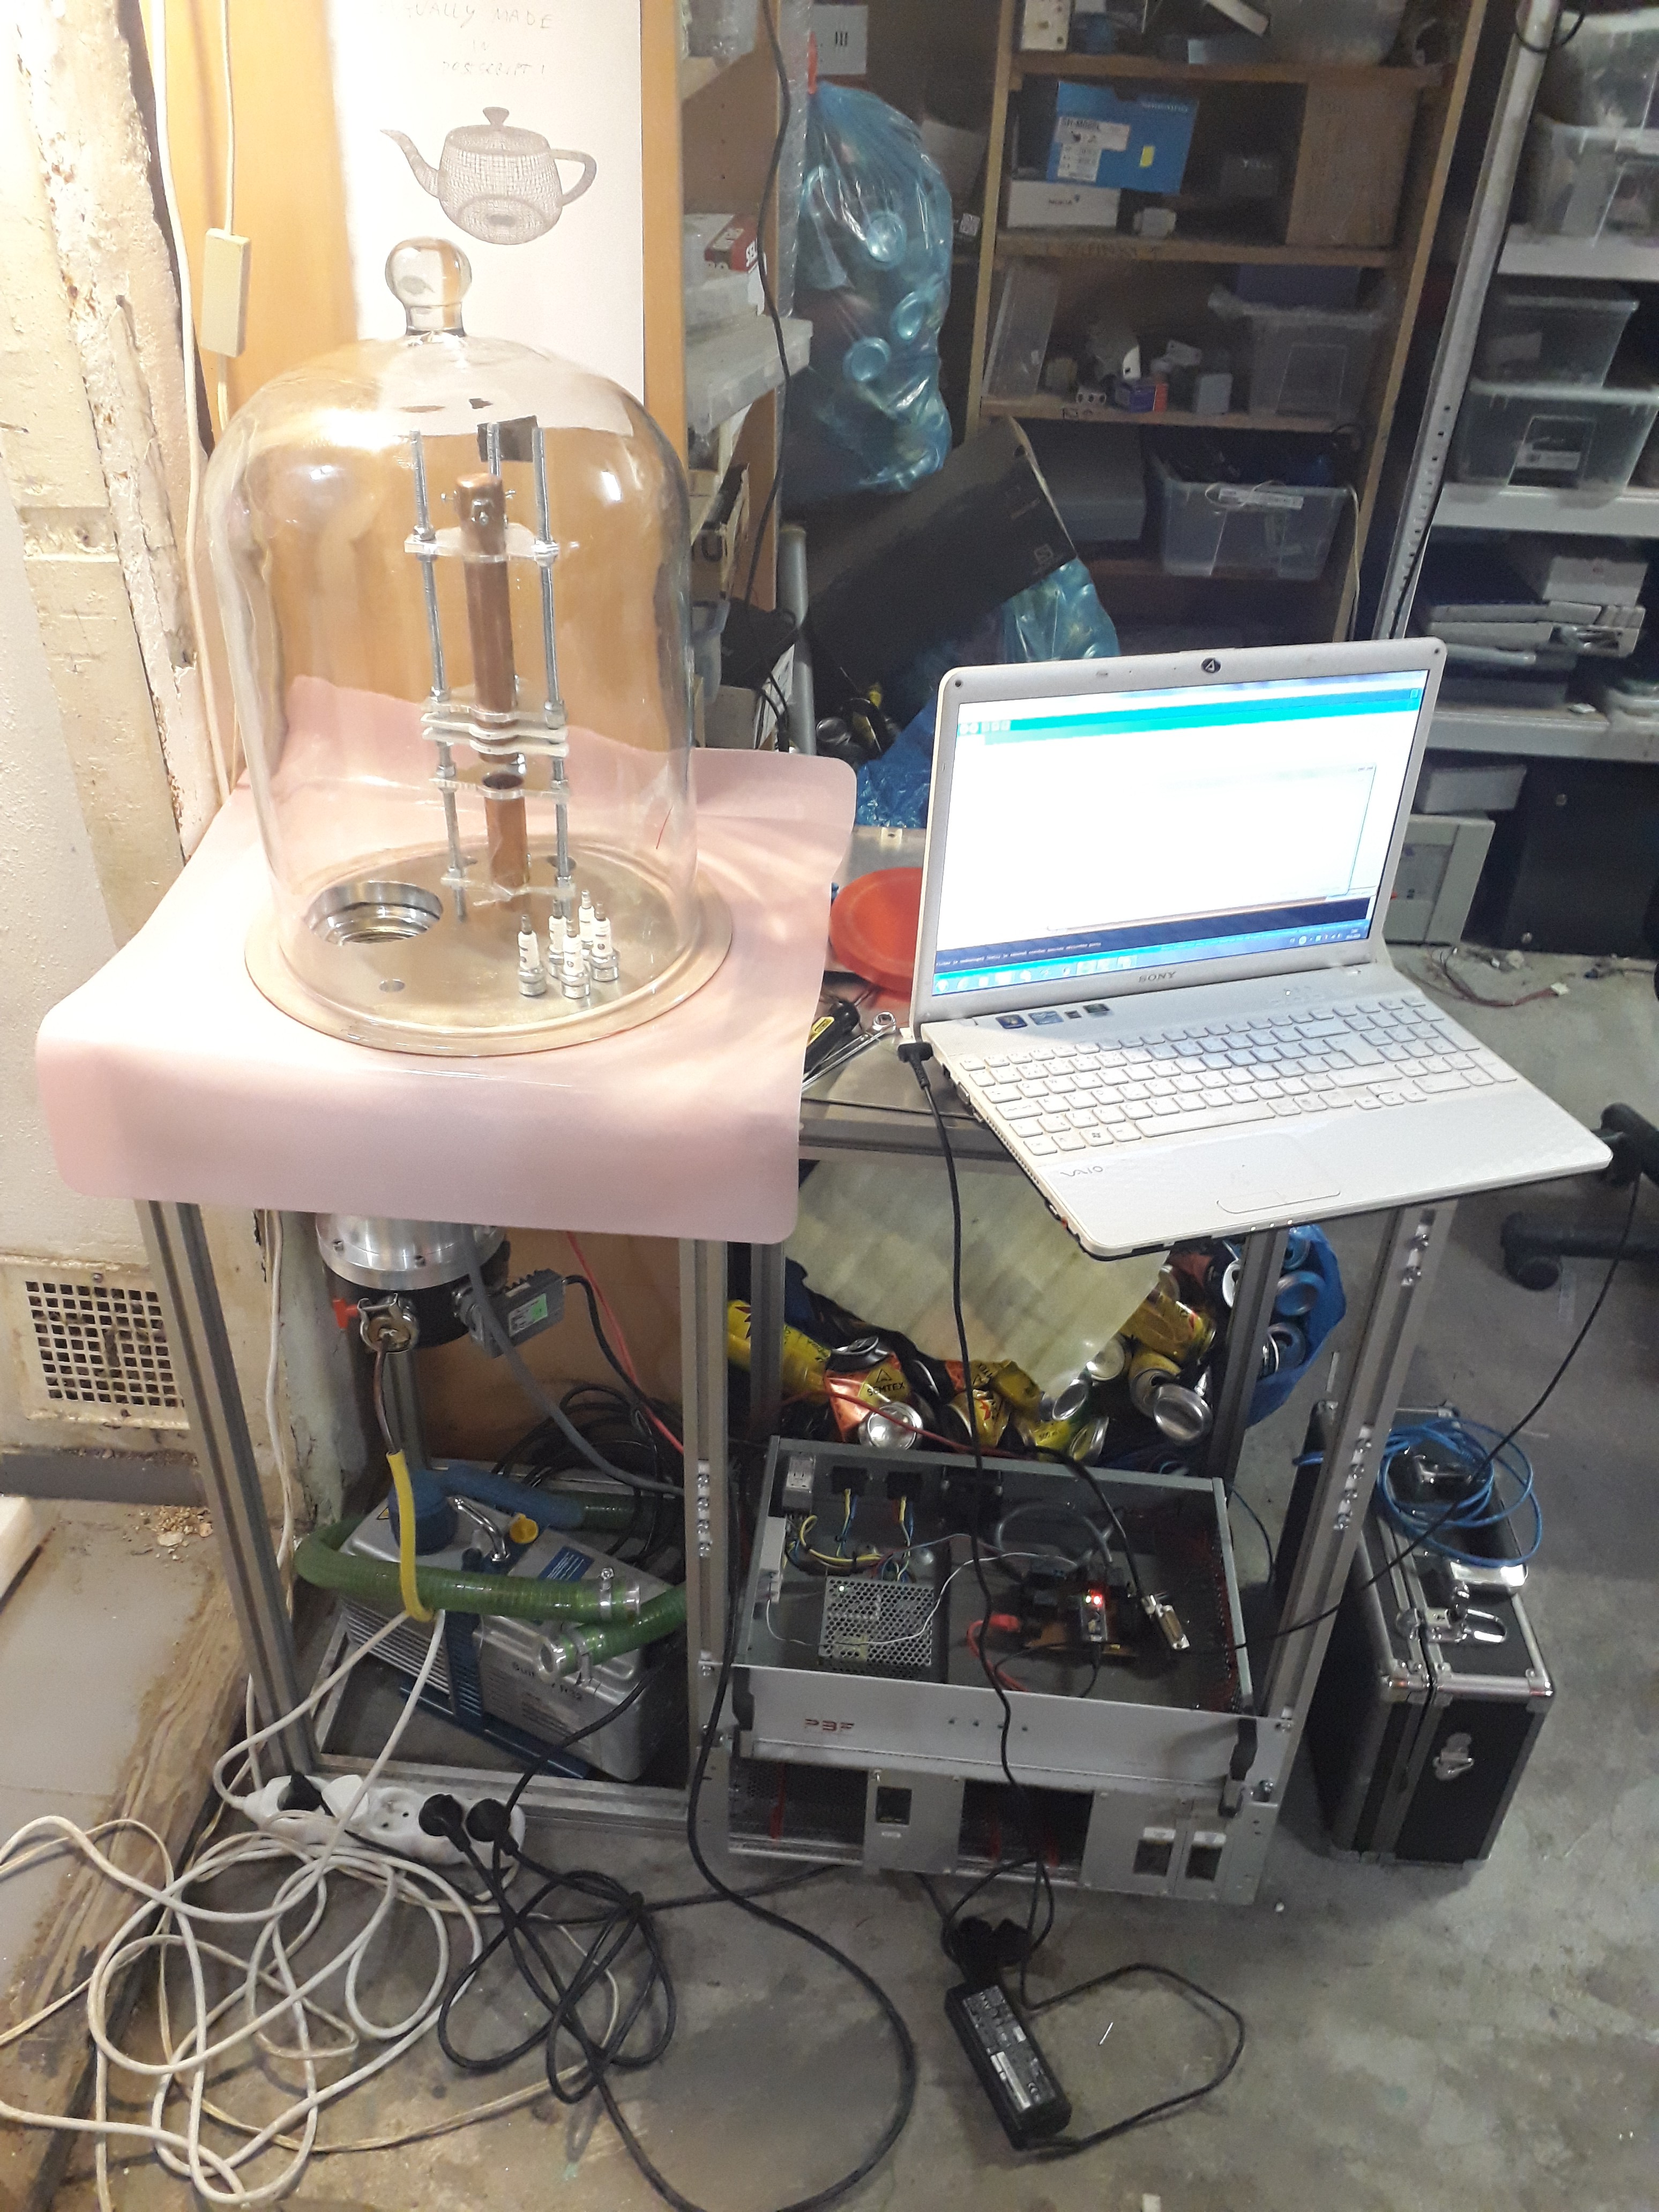
Making an electron gun is a first stage of my future plans - to make DIY electron microscope/EBM metal 3D printer.
Become a Hackaday.io member
Already have an account? Log in.
Just one more thing
To make the experience fit your profile, pick a username and tell us what interests you.
Pick an awesome username
hackaday.io/
Your profile's URL: hackaday.io/username. Max 25 alphanumeric characters.
Pick a few interests
Projects that share your interests
People that share your interests


 DeepSOIC
 Dominik Meffert
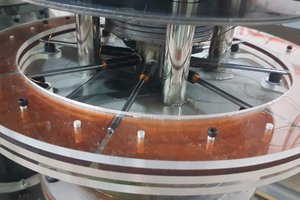
 Agustin Cruz
My friends and I would very much like to help you complete this project.