johnowhitaker
-
Attempted streamlining, laser driver burnout, plans moving forward.
03/22/2016 at 17:58 • 1 commentSO I had to leave most of the machine behind to save weight, but I kept the guts. In setting it up and playing with it, I wired something wrong on the laser driver circuit and let out some smoke. I was planning to update that part anyway, but this now means that for now I don't have a laser.
I also wanted to make a more compact frame. Before I explain further, some pics.
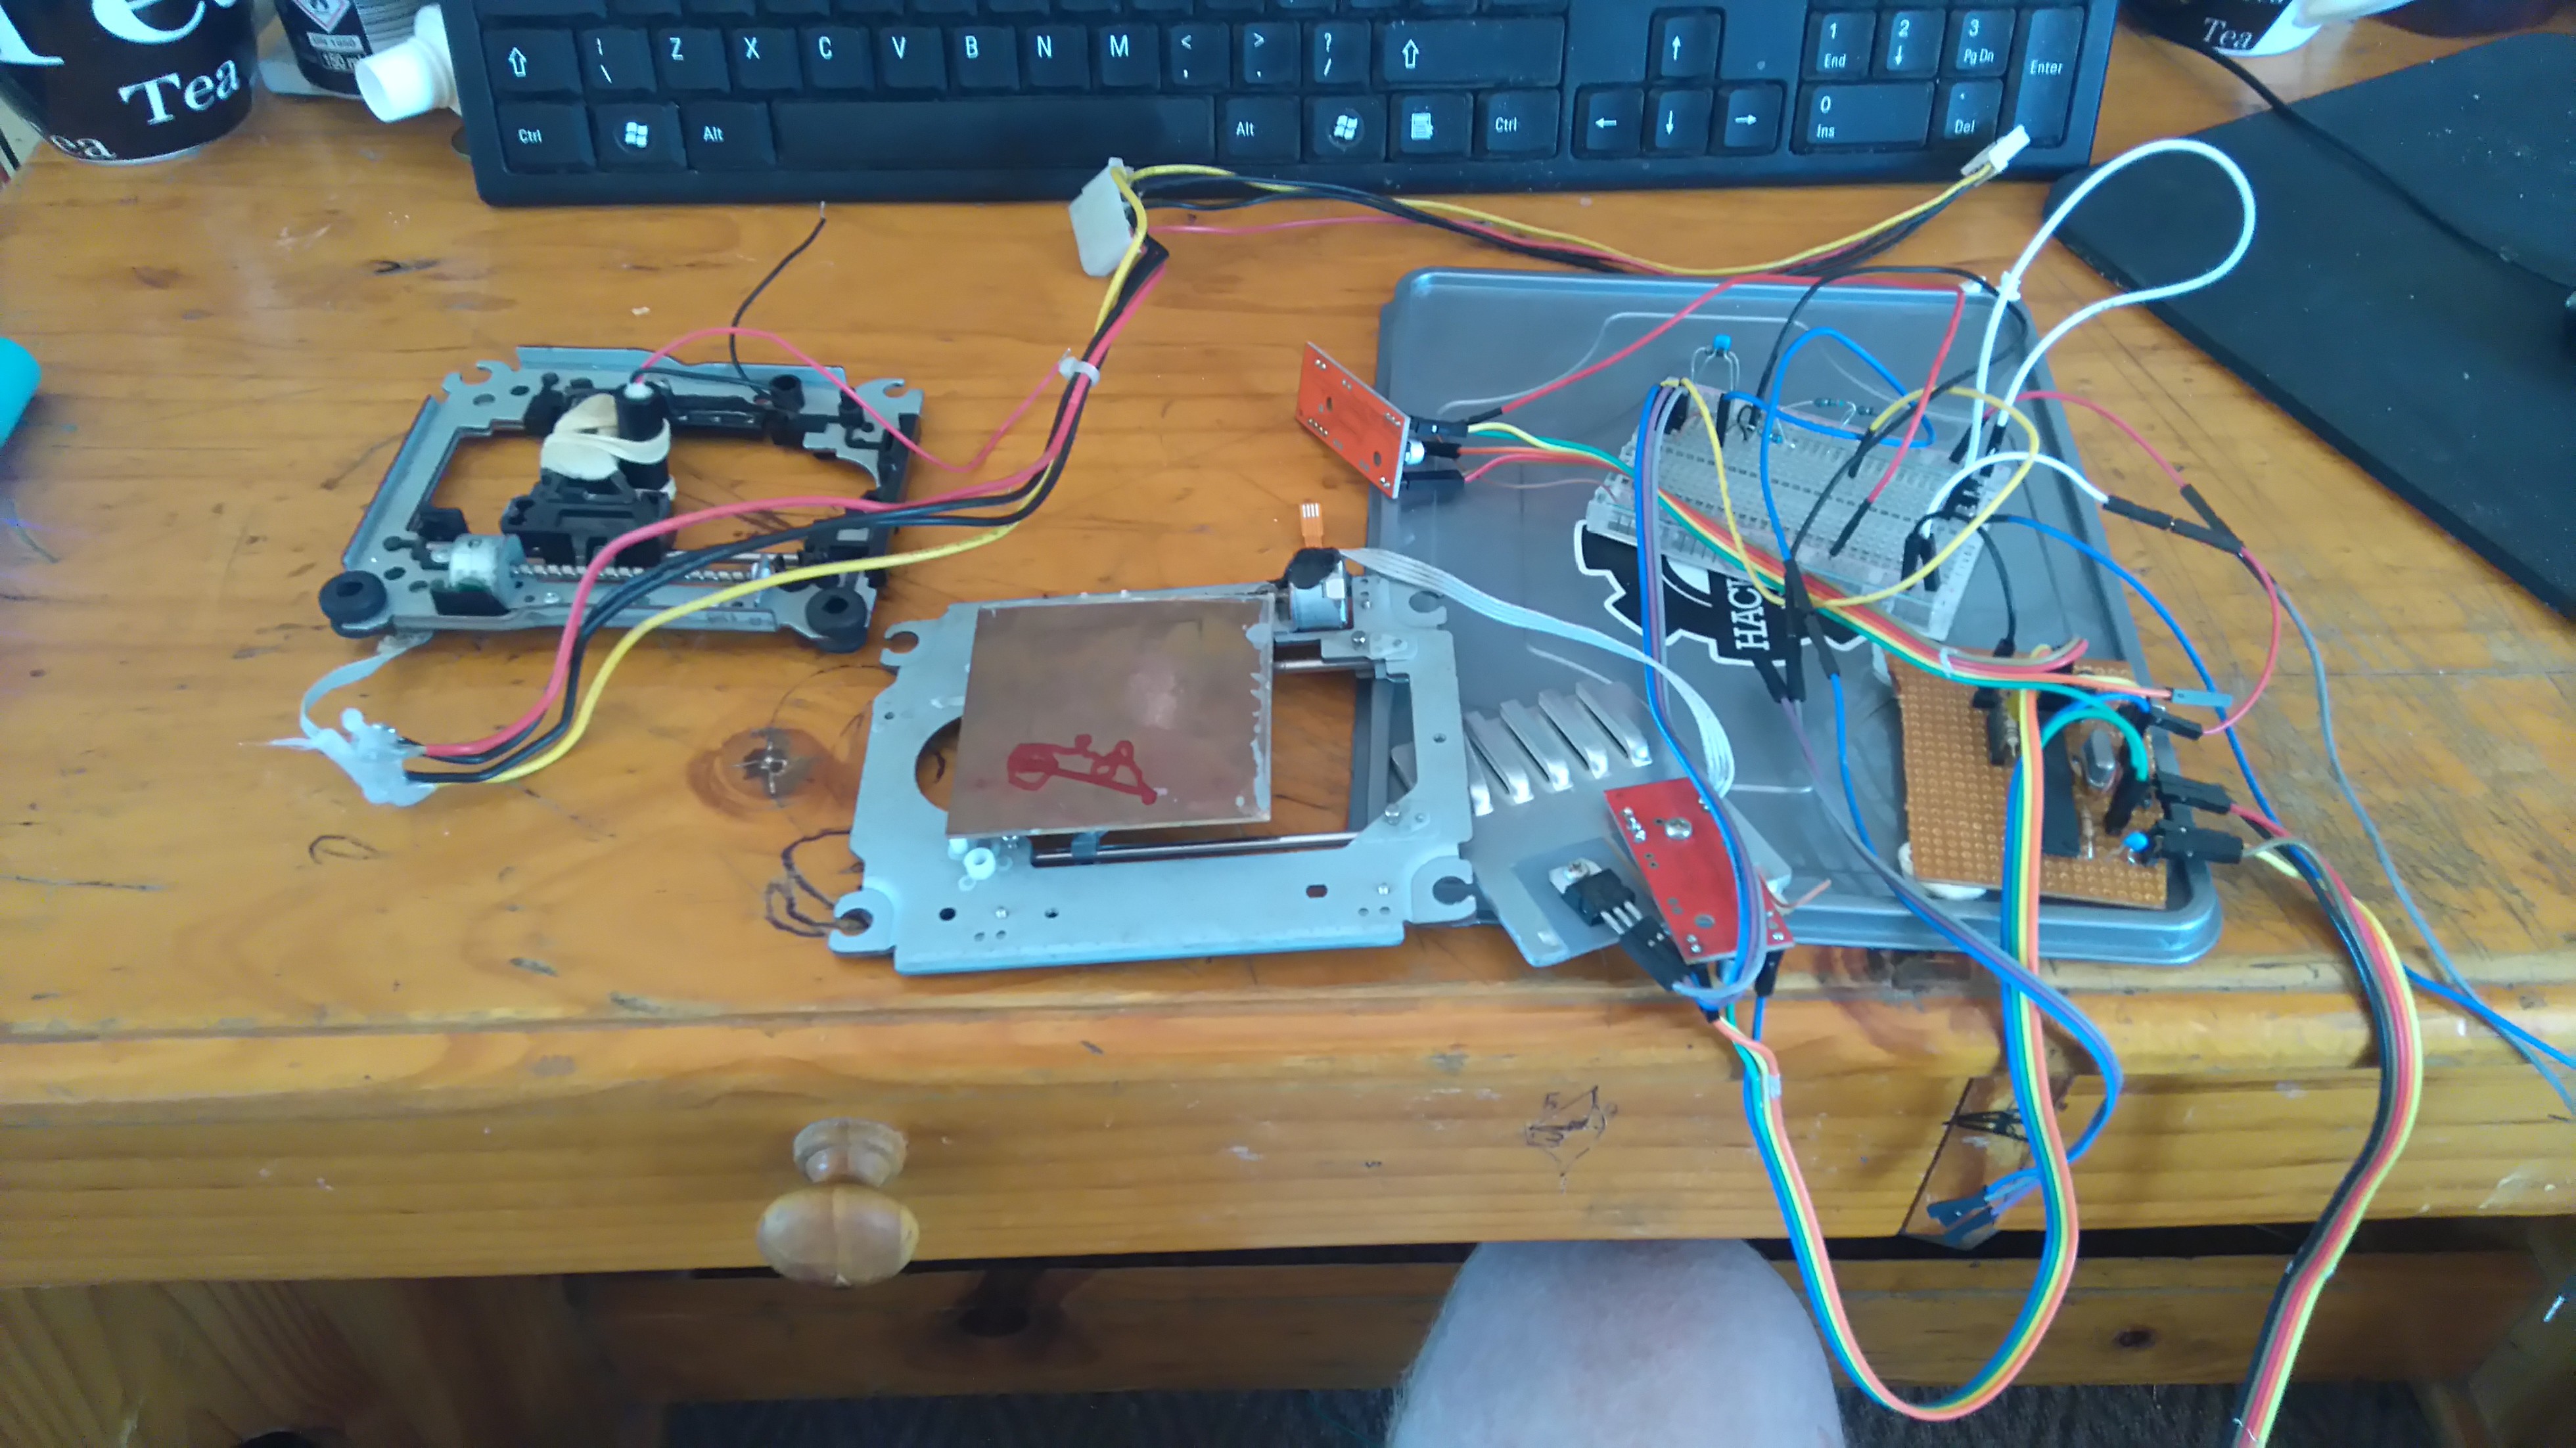
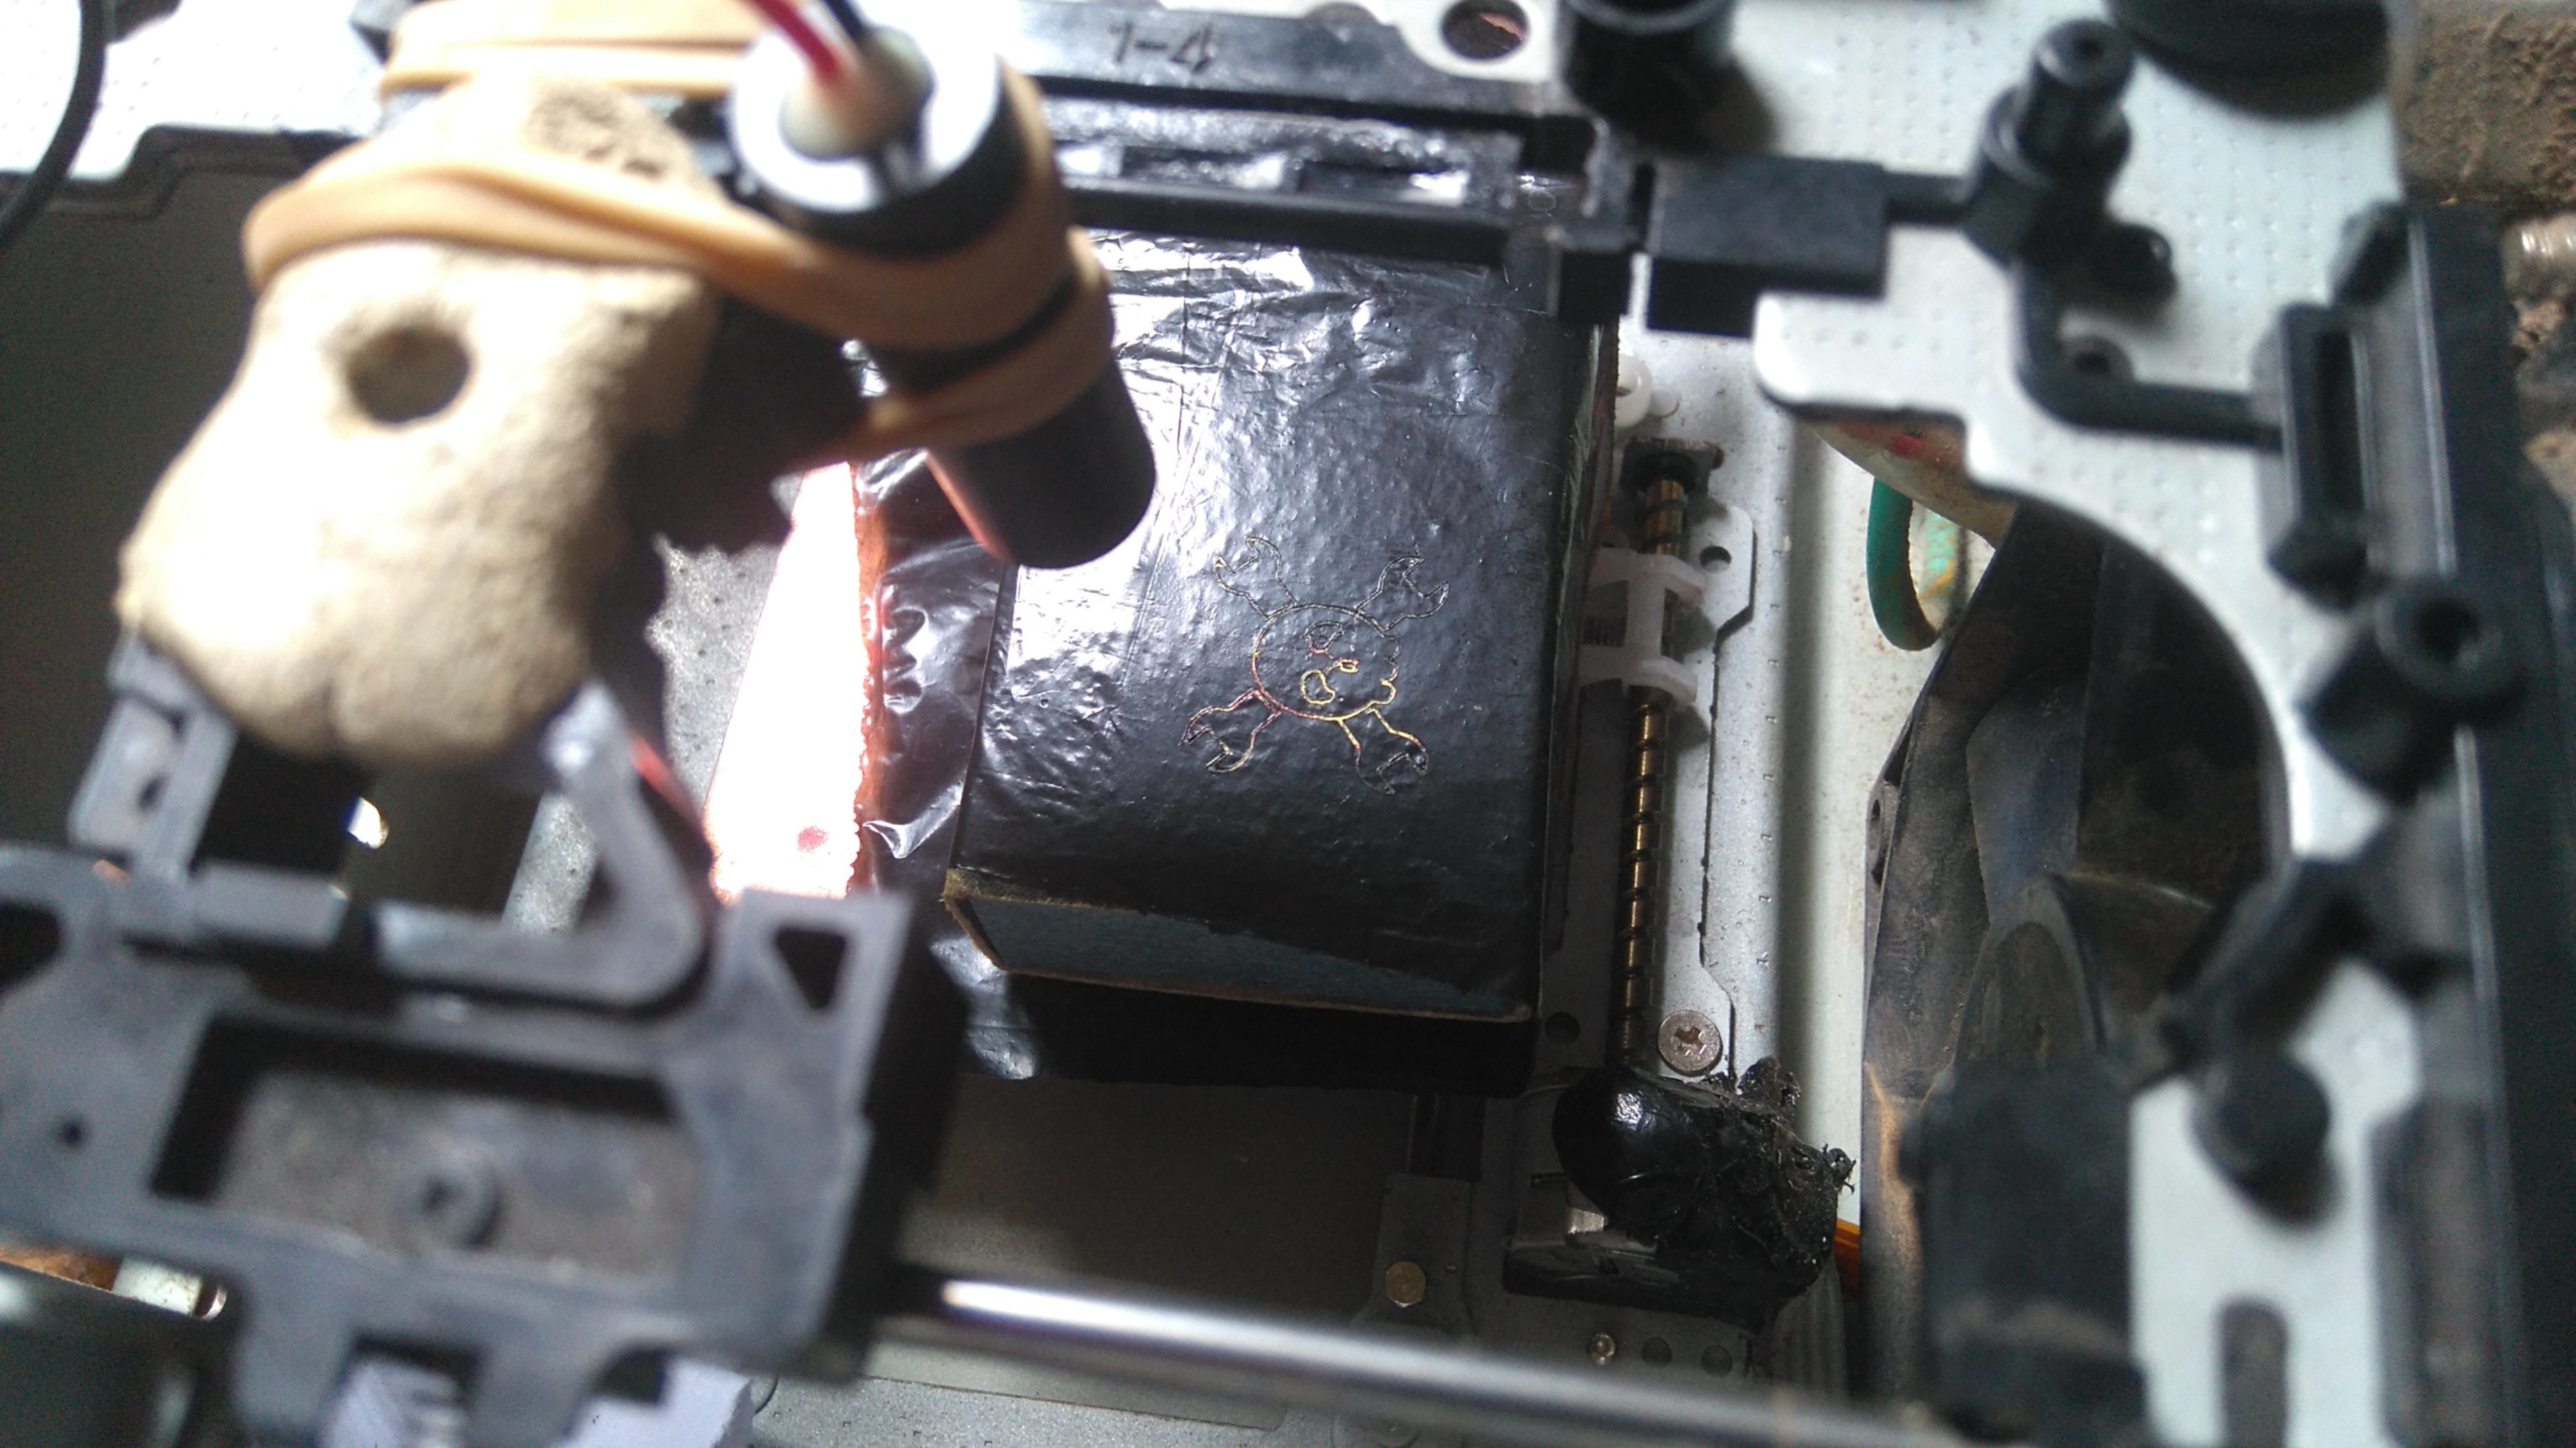
What I have:
![]()
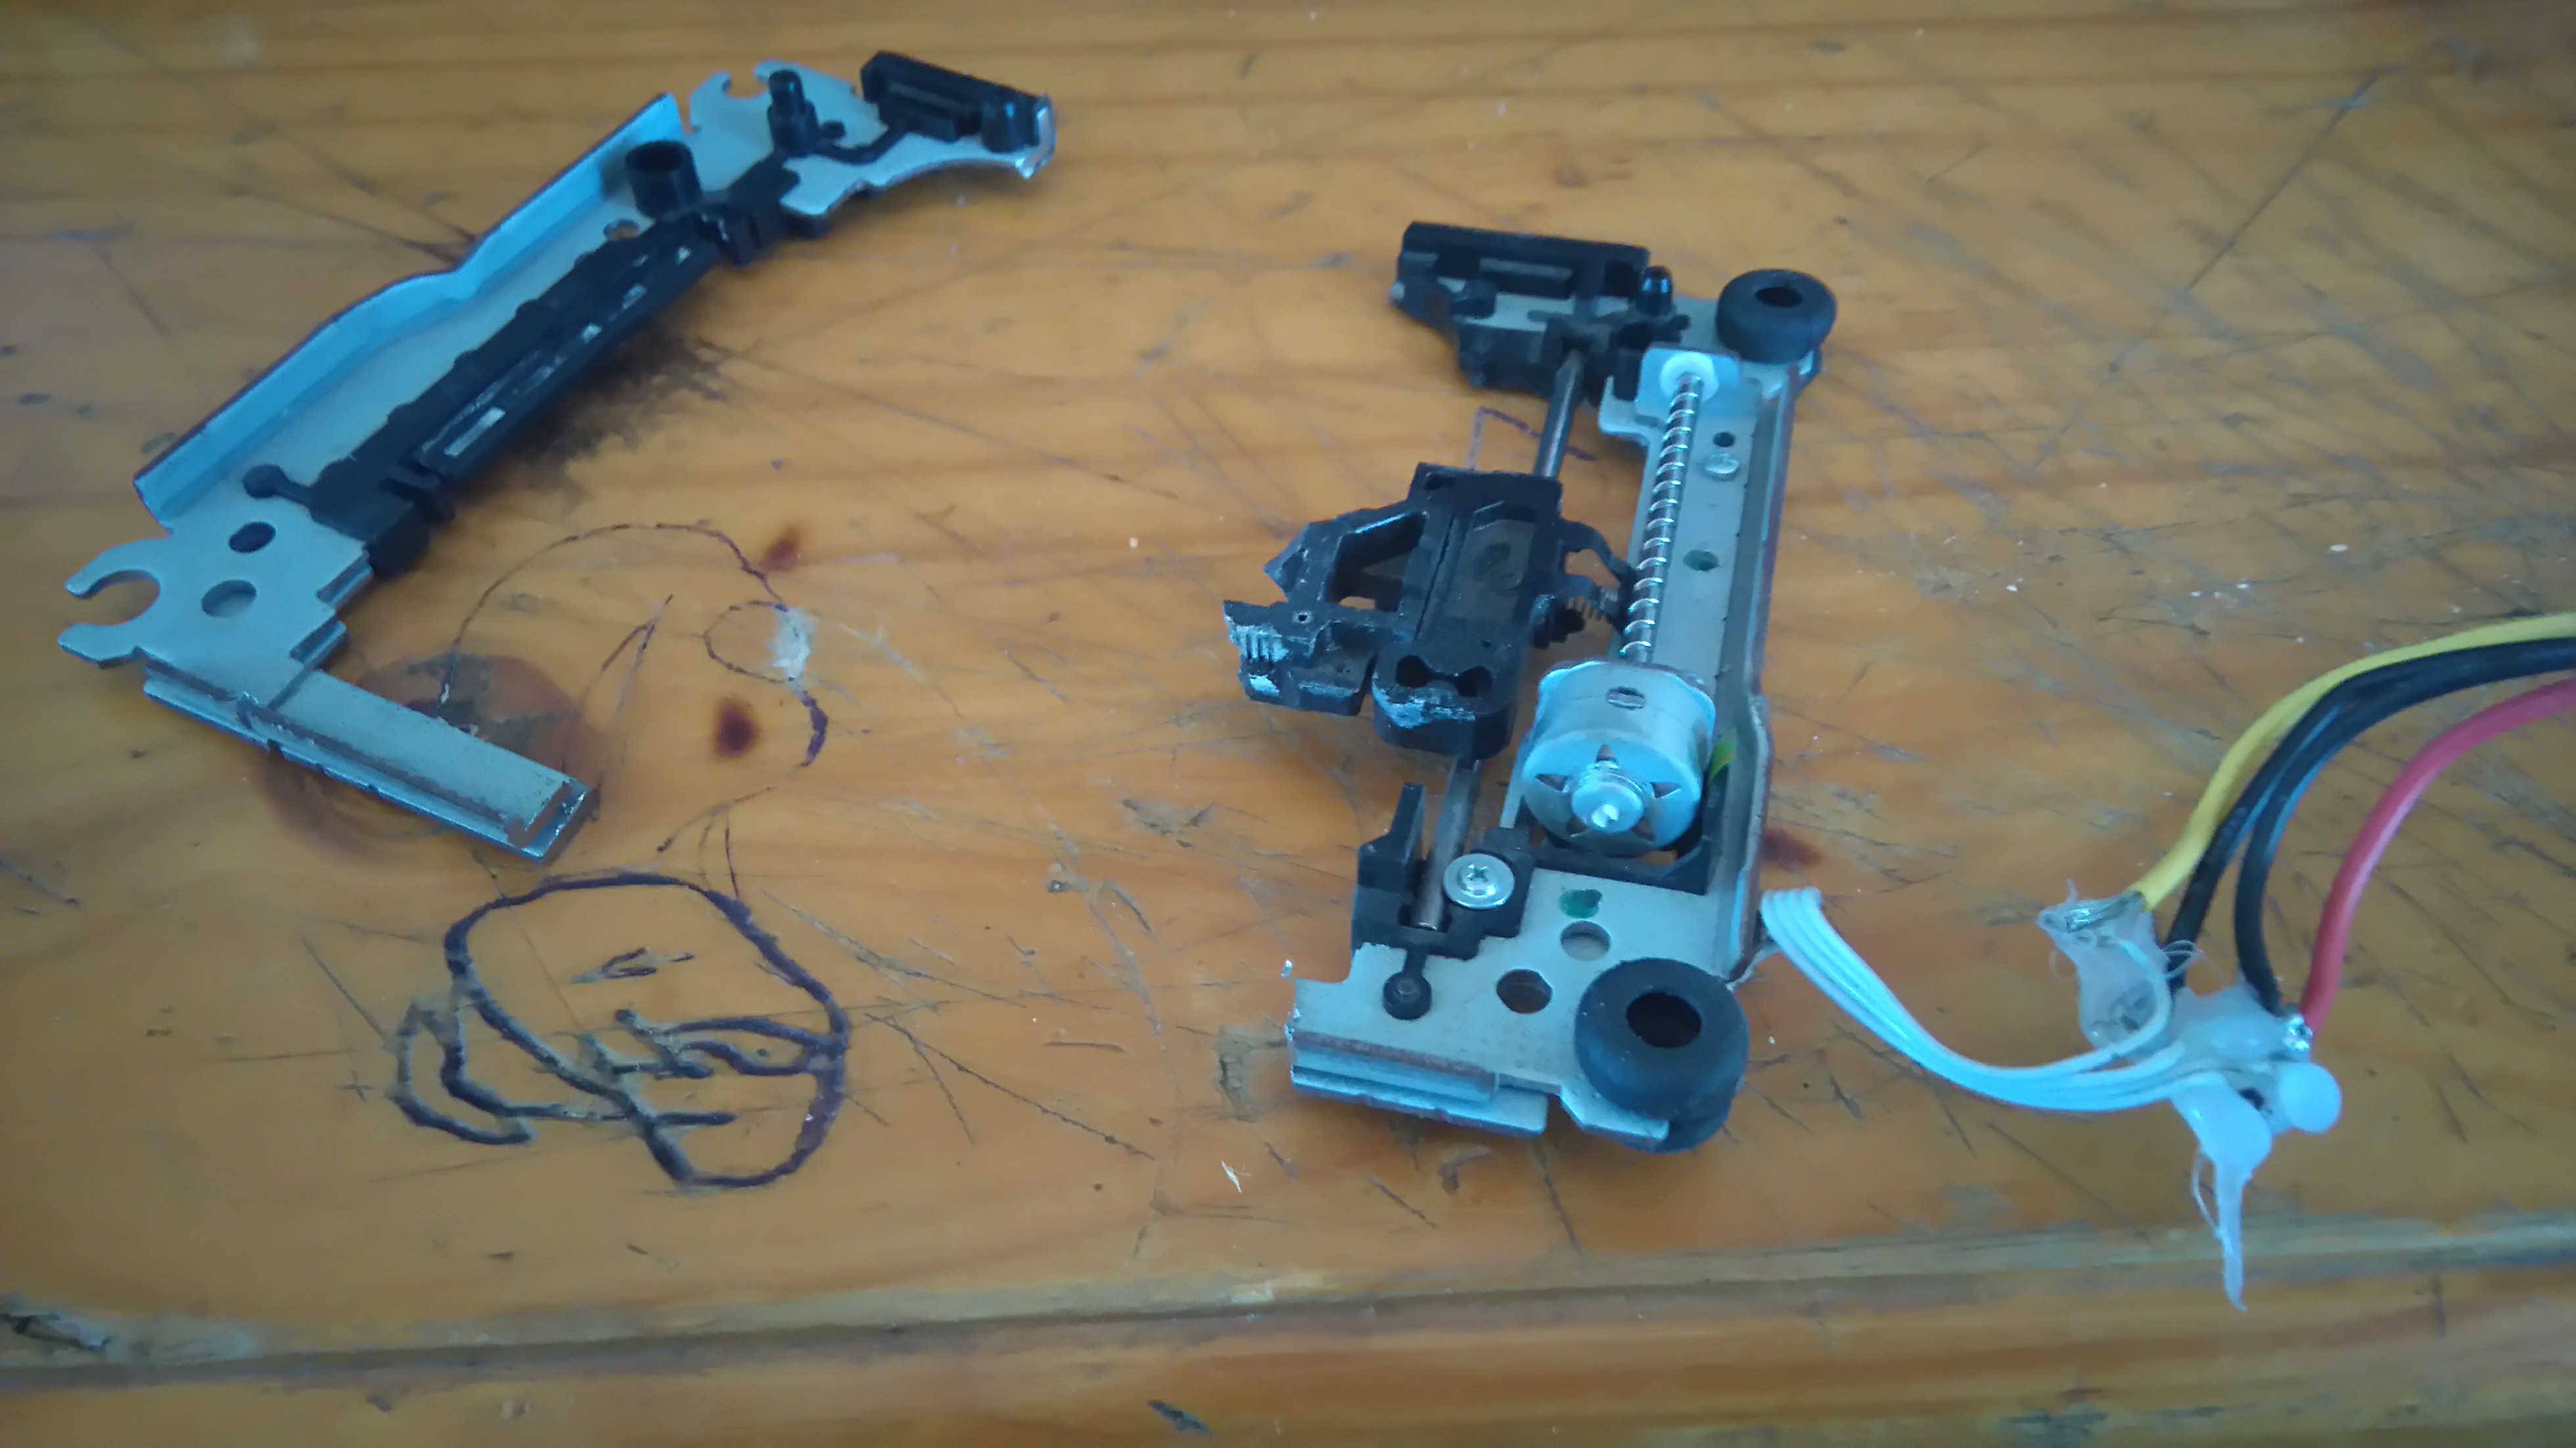
What I did:
![]()
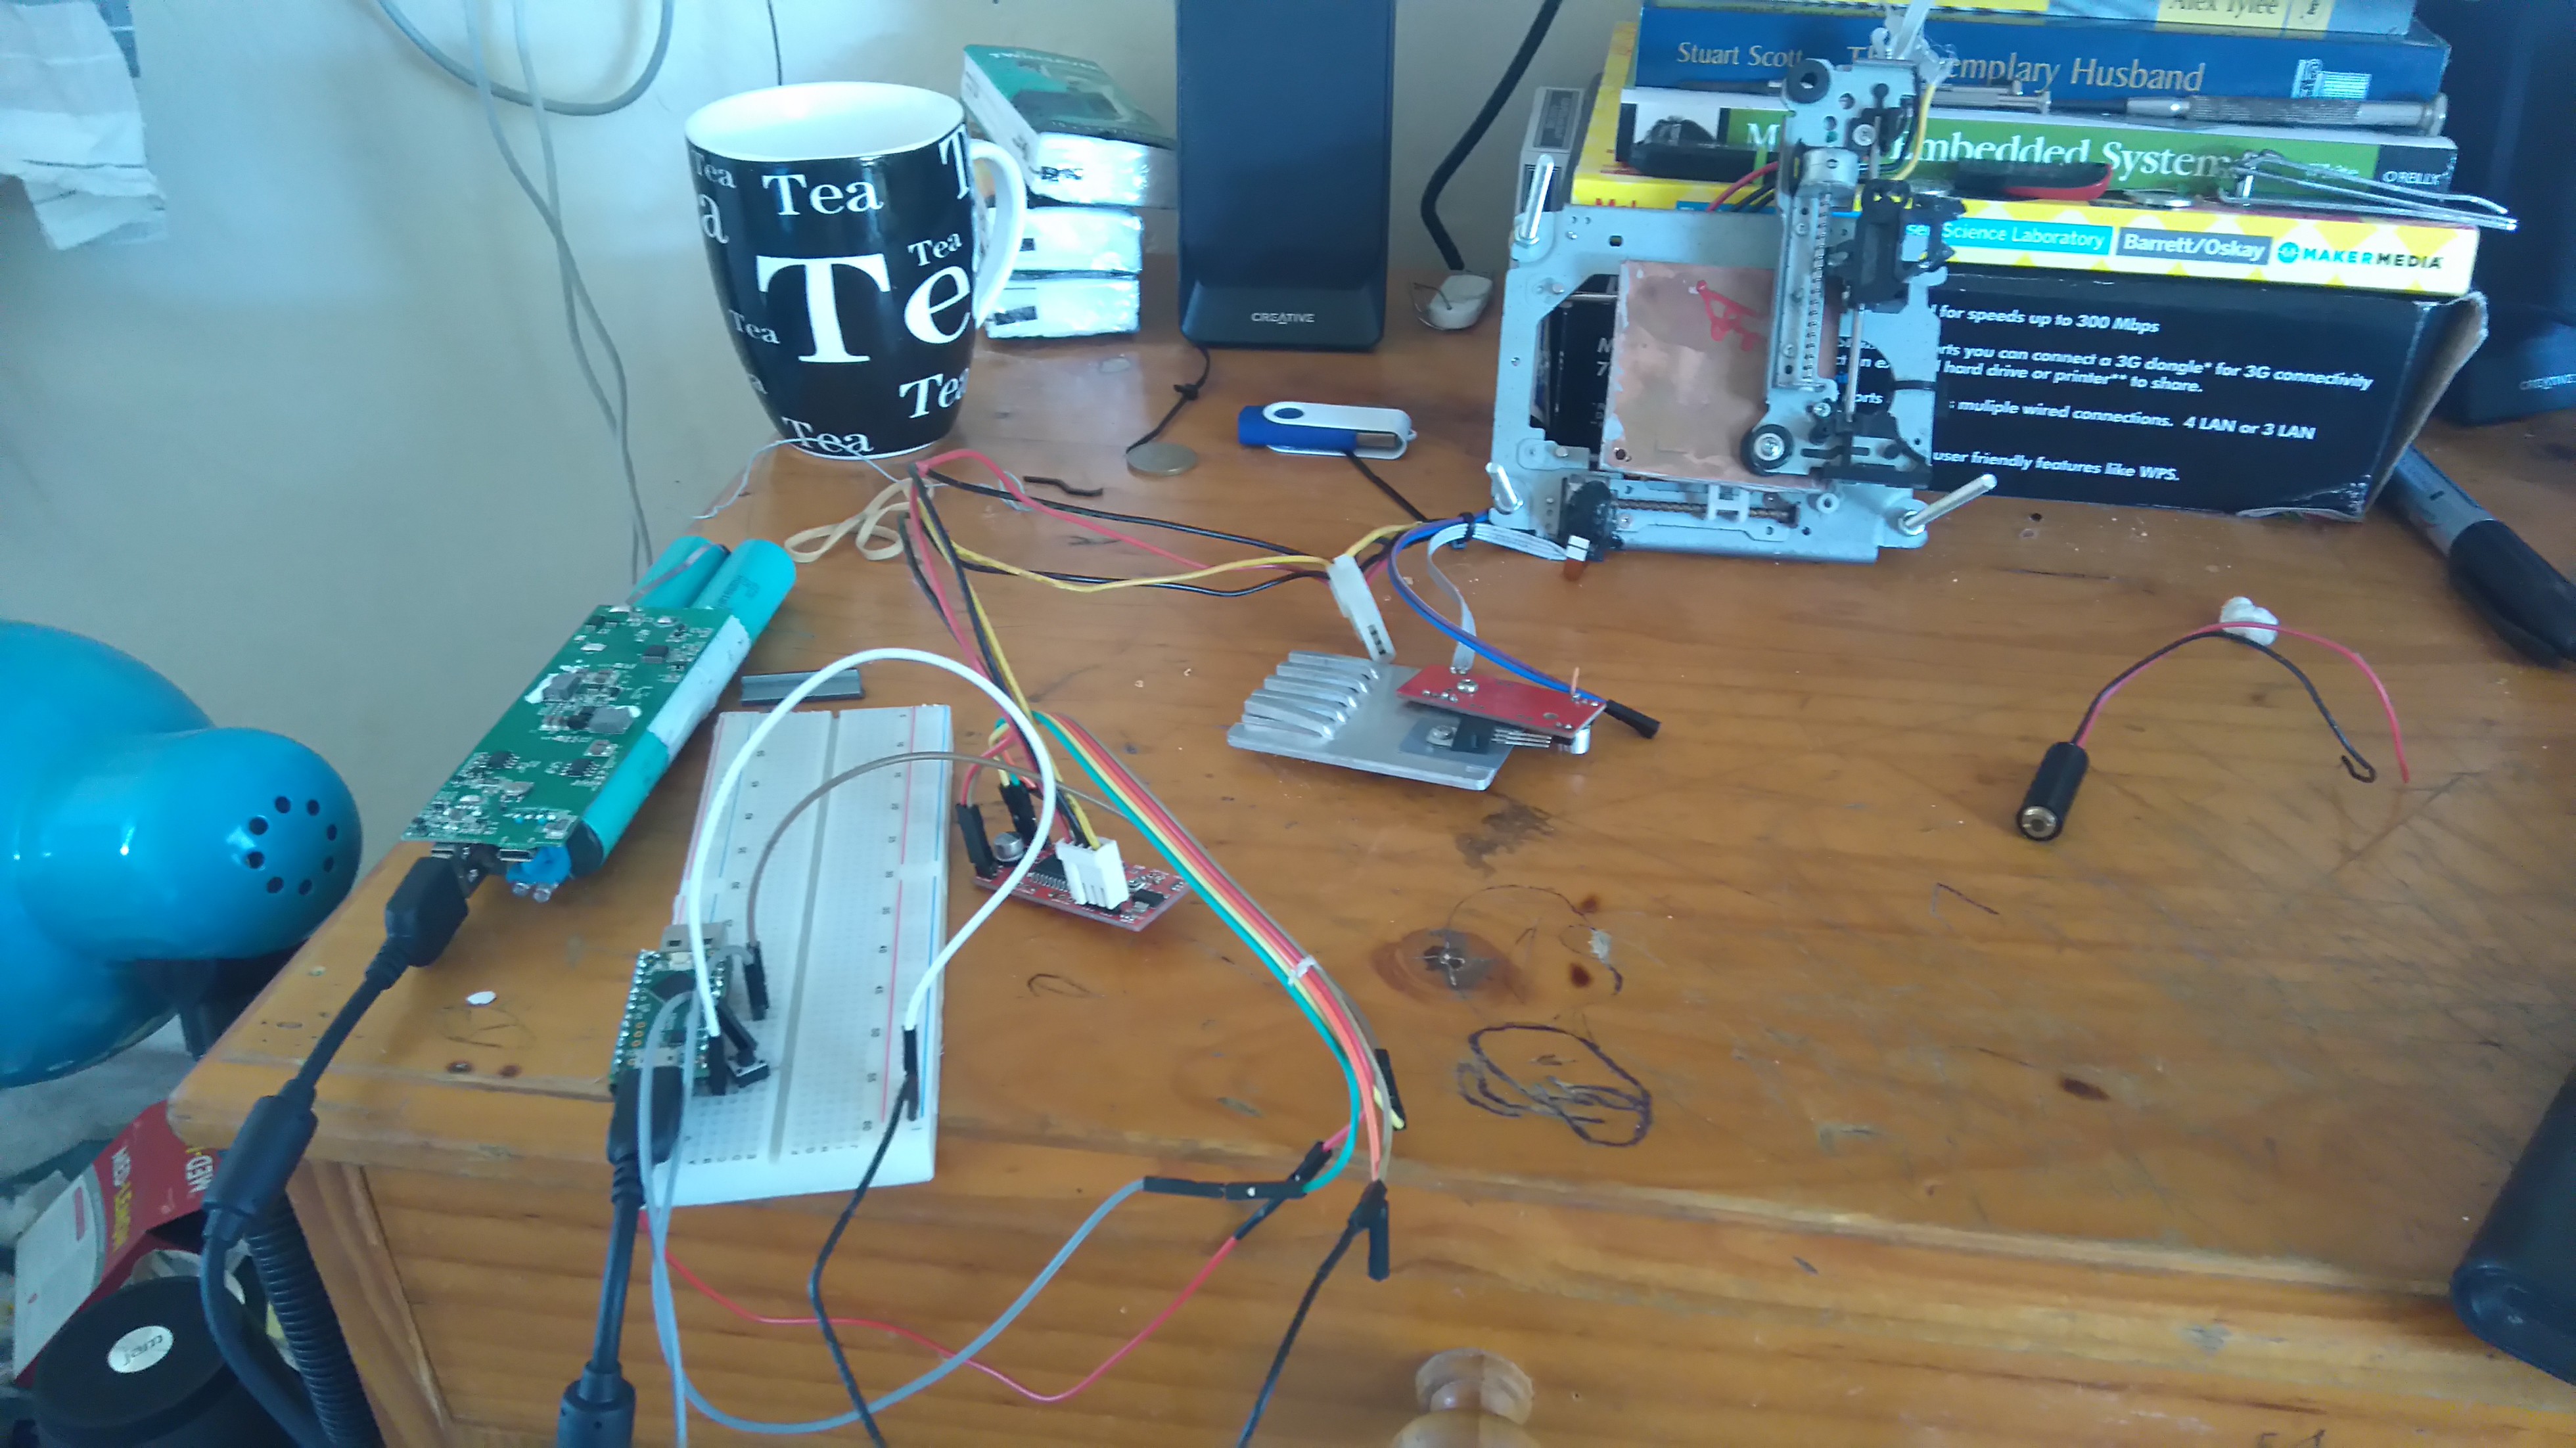
What it looks like:
As you can see, one axis is now mounted on the other axis. There are four legs, currently just long 4mm machine screws that will eventually have a base plate to keep them aligned, so that the whole thing can be stood on whatever it is you want to engrave. This means I'm no longer limited to burning stuff that fits inside a machine. I could also theoretically print larger things in sections, moving the platform each time.![]()
Unfortunately, the axis I cut was already sticking before the operation and now is giving even more trouble. And unlike at home, I have no spare drives about. So, this whole thing is going to have to wait until I find me some parts...
-
Getting there
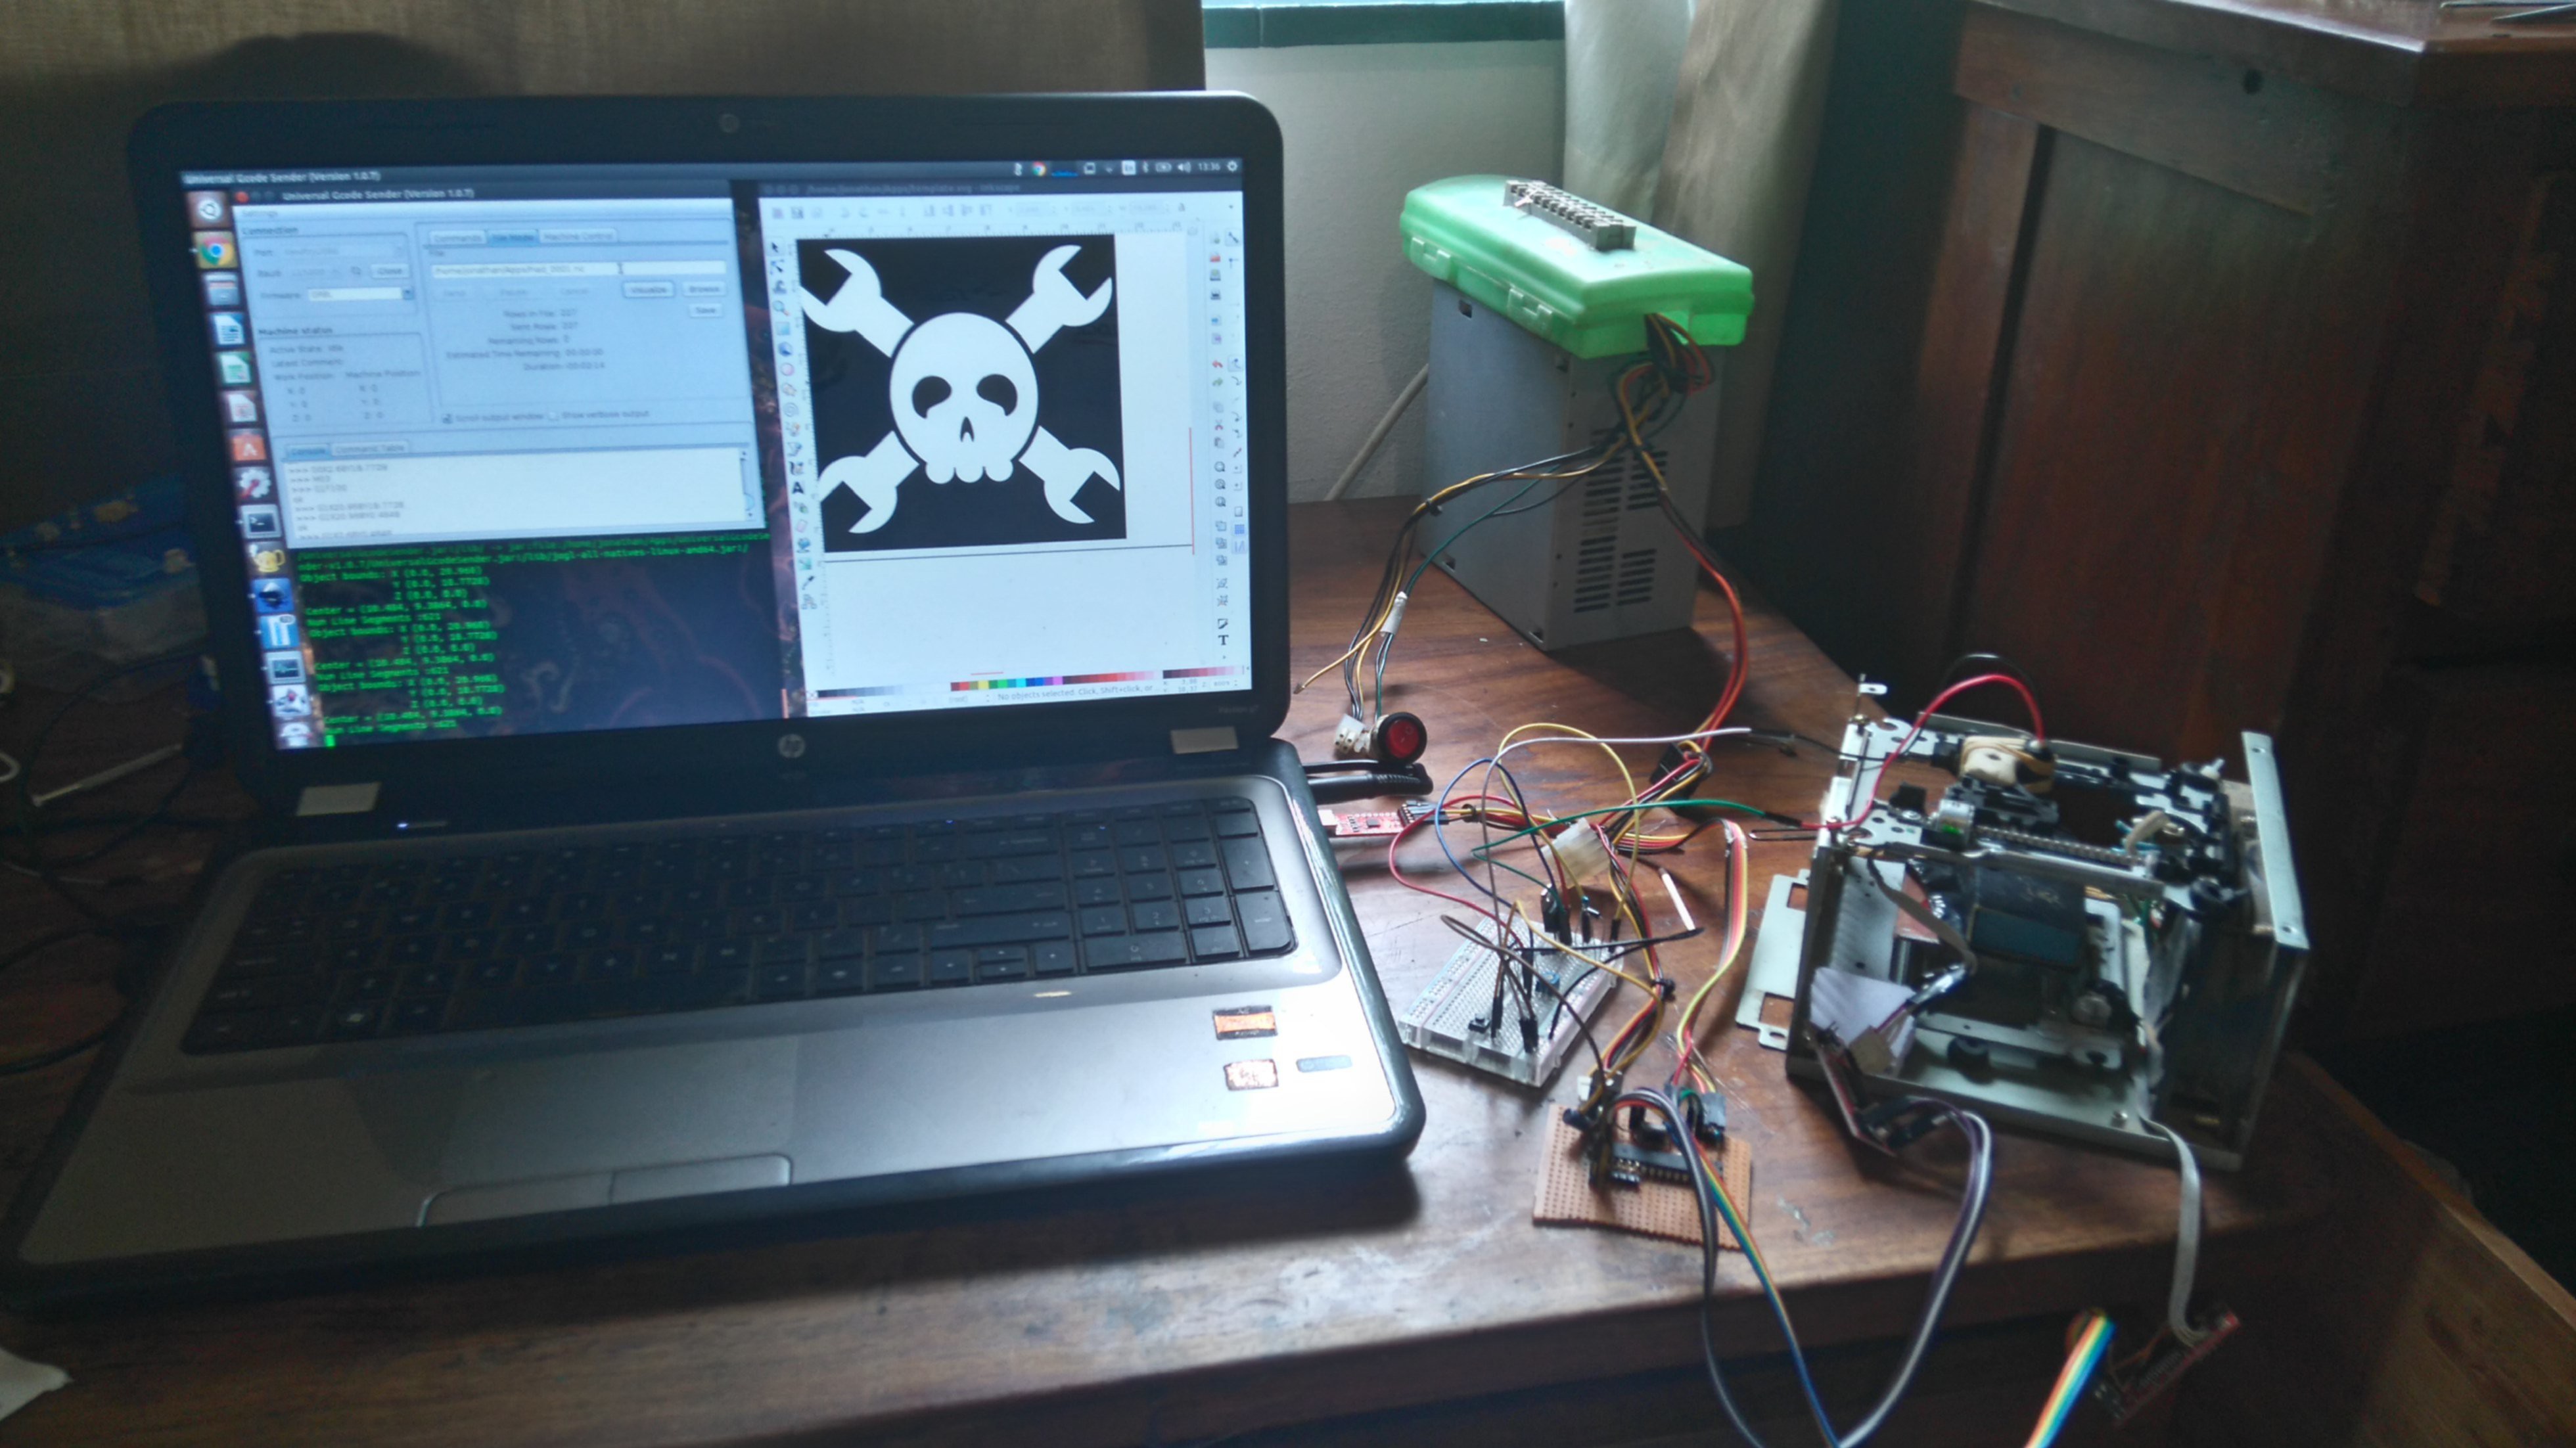
12/07/2015 at 12:07 • 19 commentsGave up trying to write the software from scratch, and ended up going with the same sort of setup as groover on instructables. Inkscape is used to make a design, and a modded version of the lasercutter extension turns paths into gcode.
Universal gcode sender then passes the commands to my ATMega328 over serial, where the gbrl firmware decides what to do with it all. The whole shebang is mounted in an old PC power supply box, so the fan can keep everything cool. Still messy, but dialing it all in and slowly getting rid of the hacky bits of tape, jumper wires and cable ties.
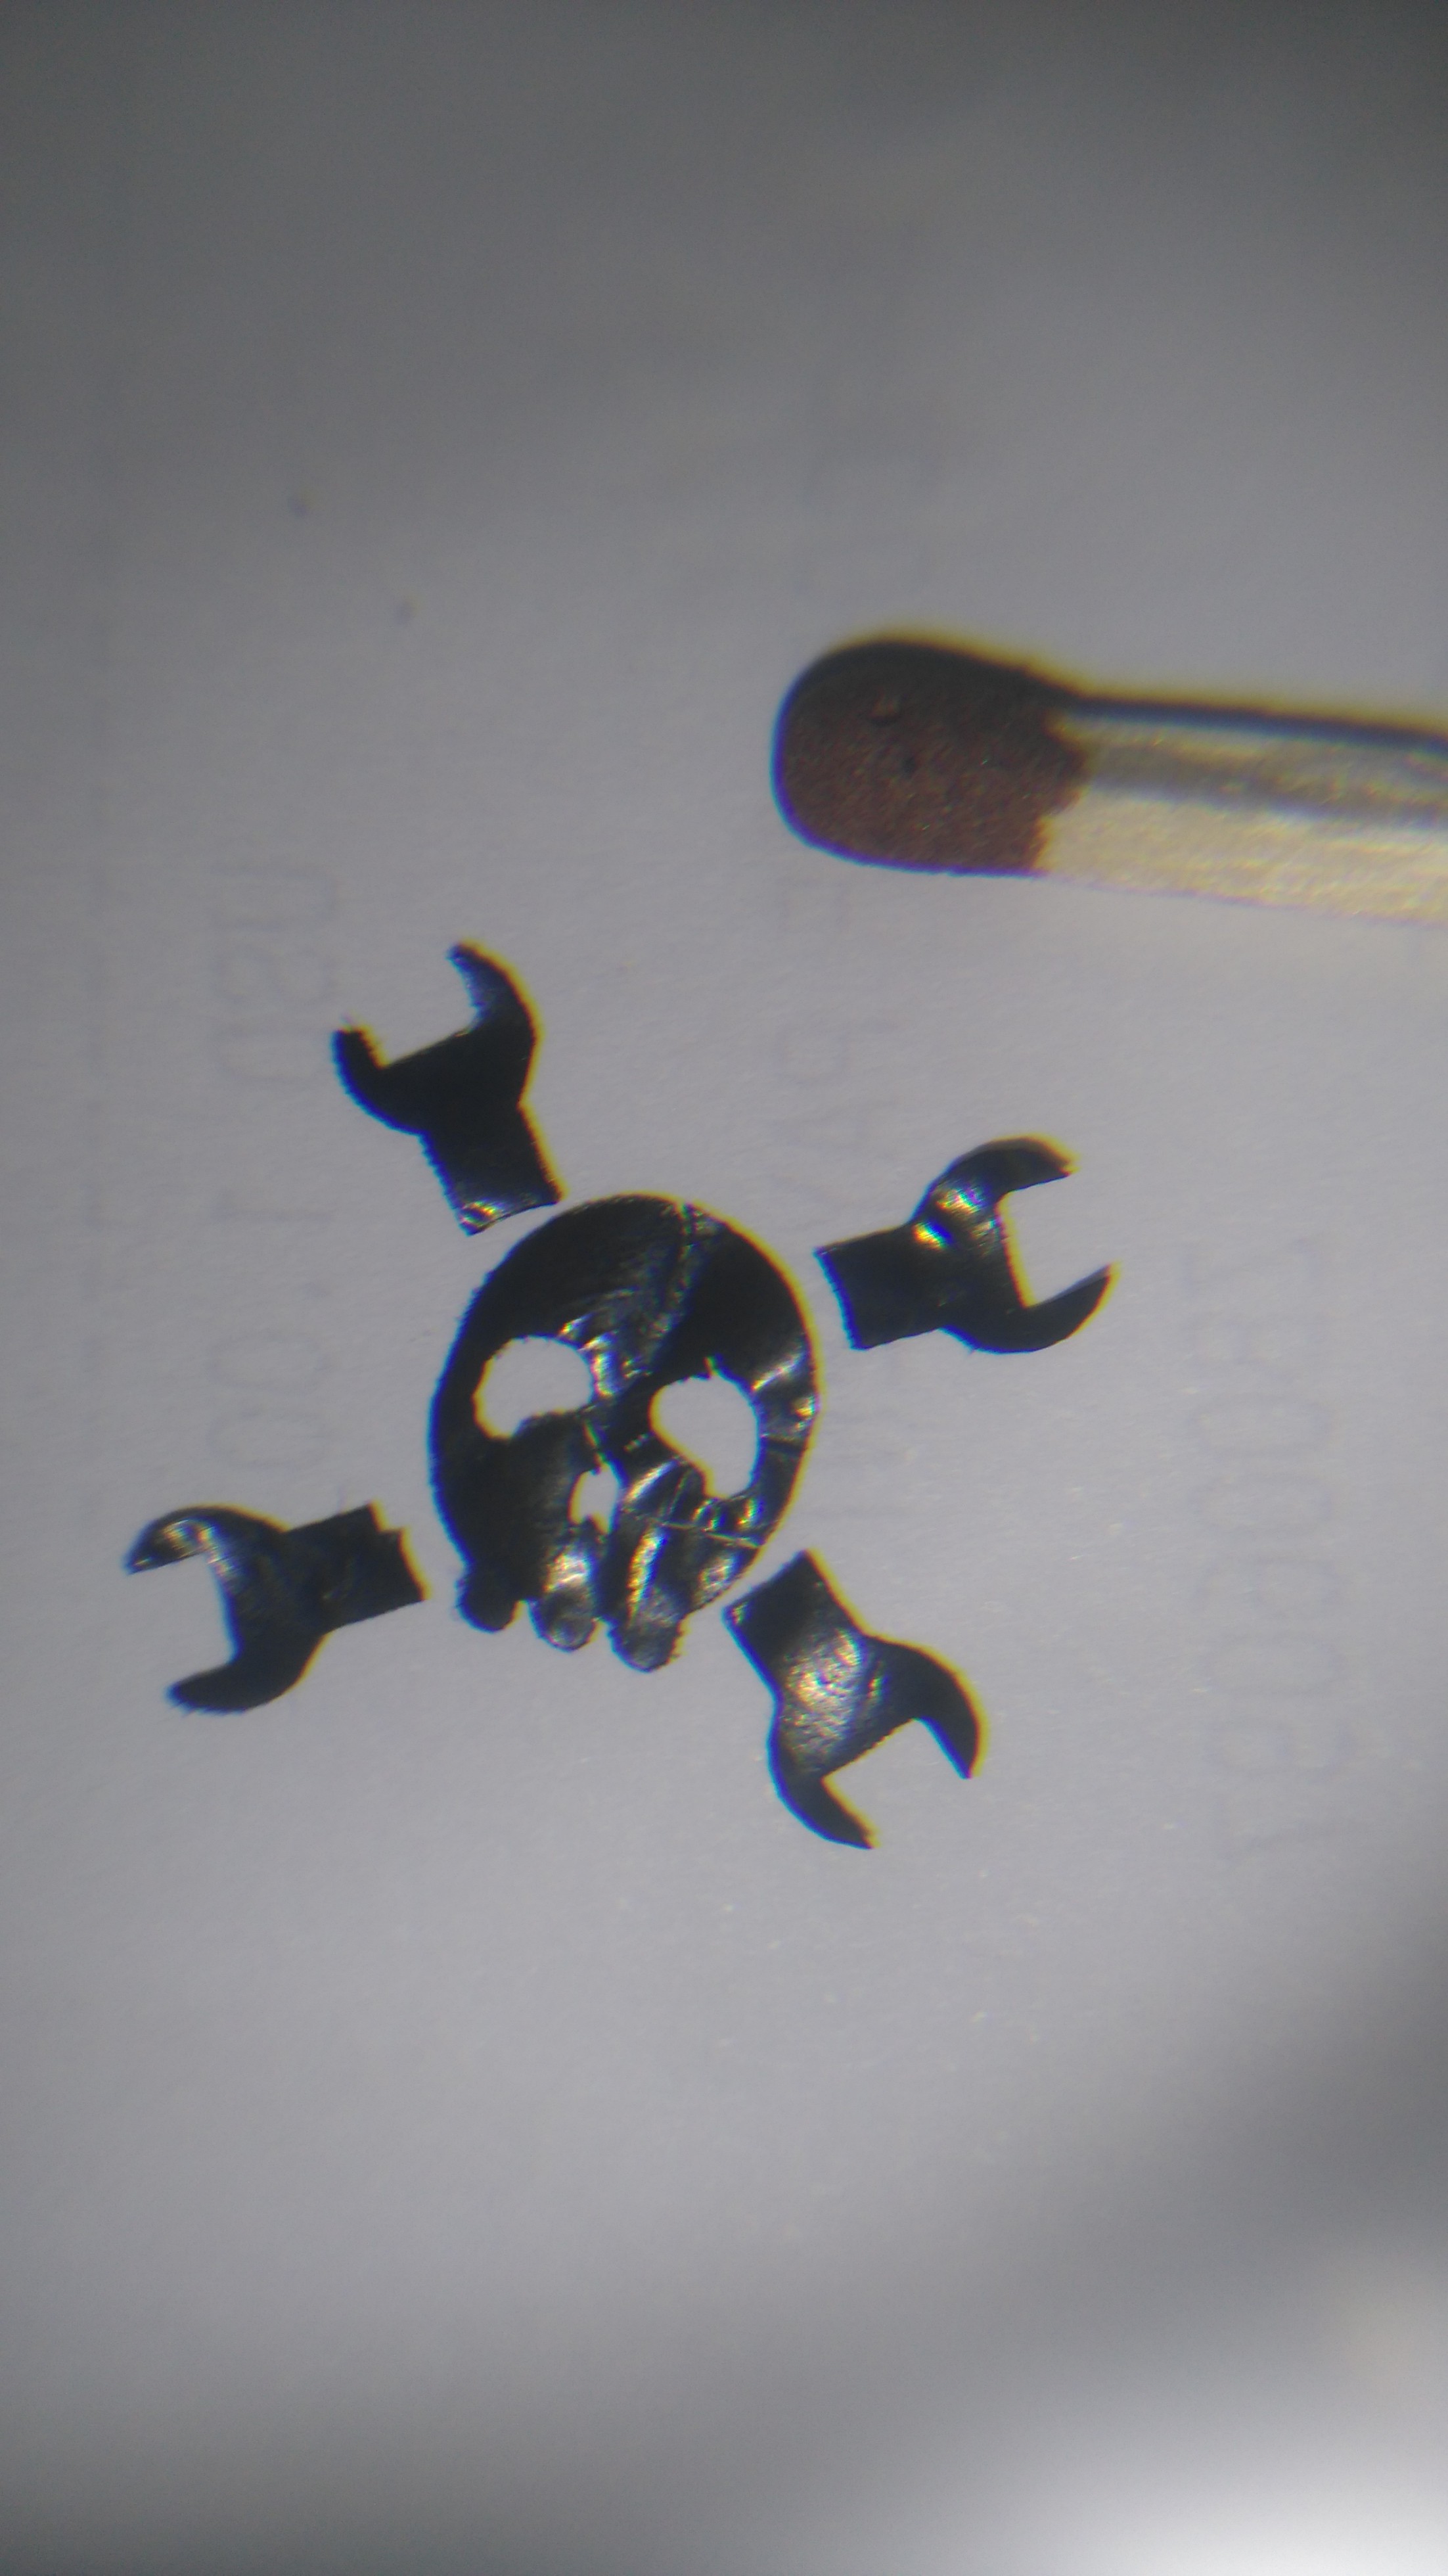
Had to share the first proper cut (after a triangle for calibration):
![]()
![]()
![]()
___EDIT____
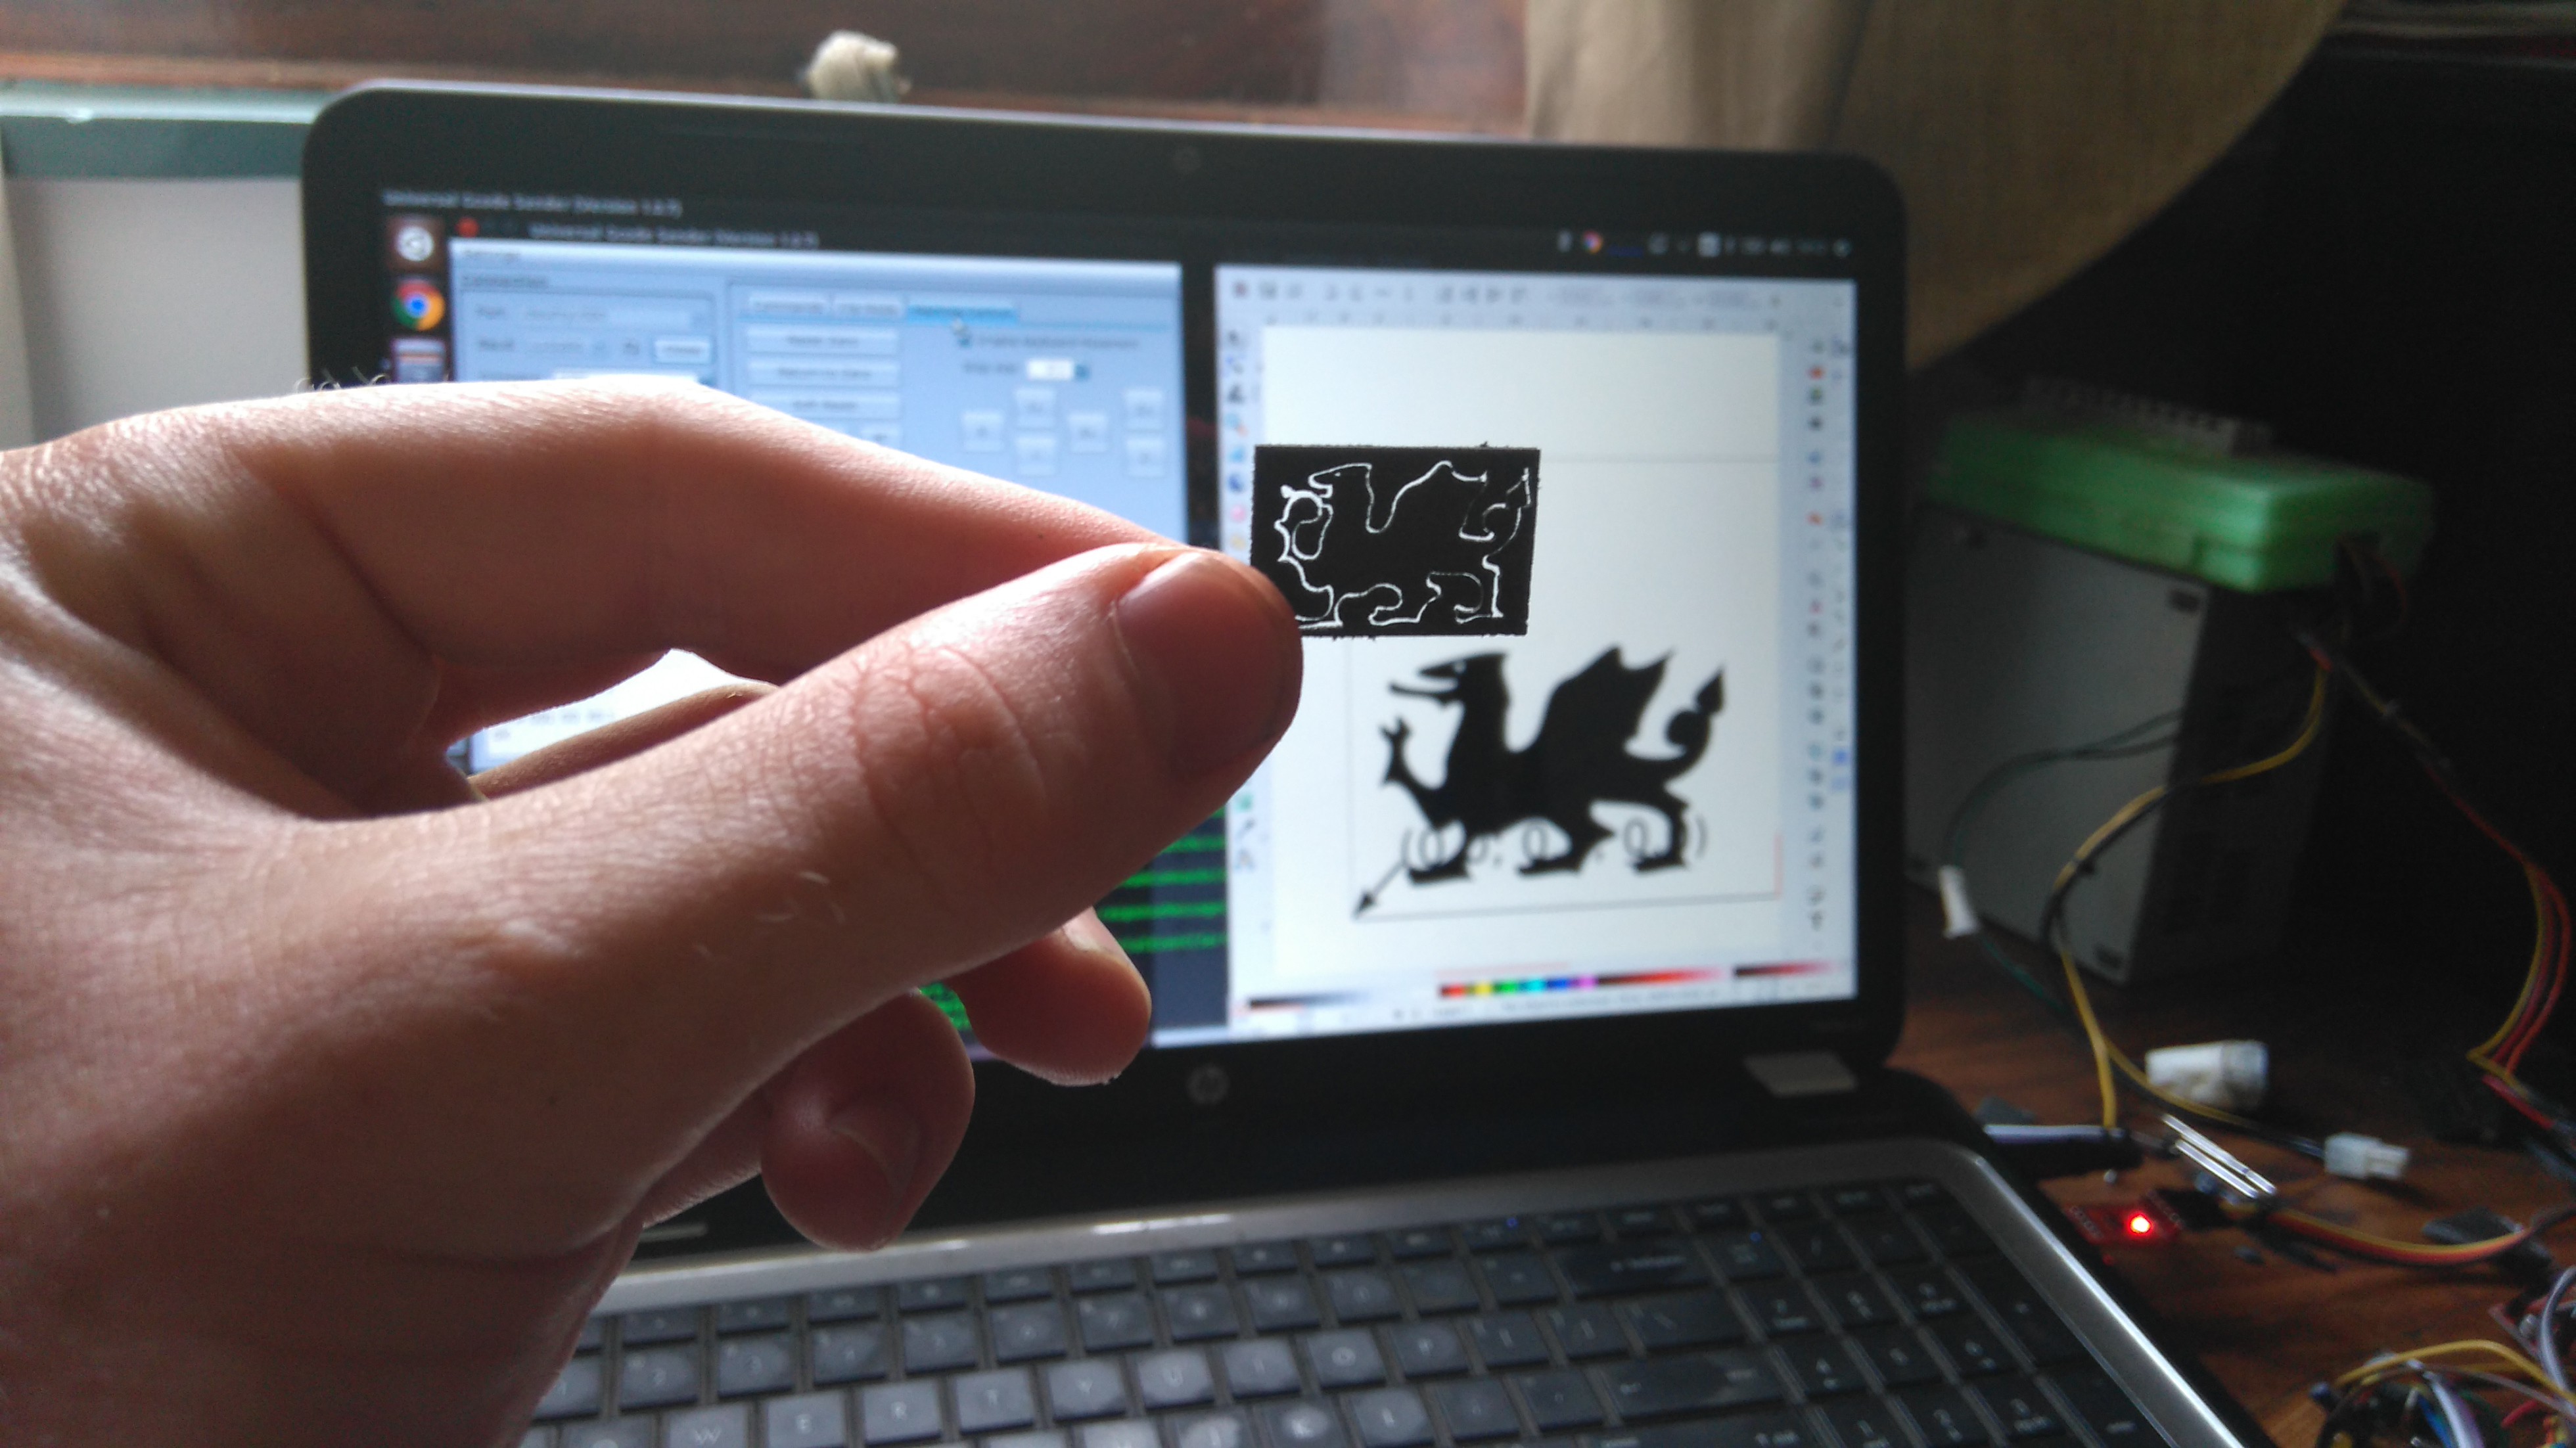
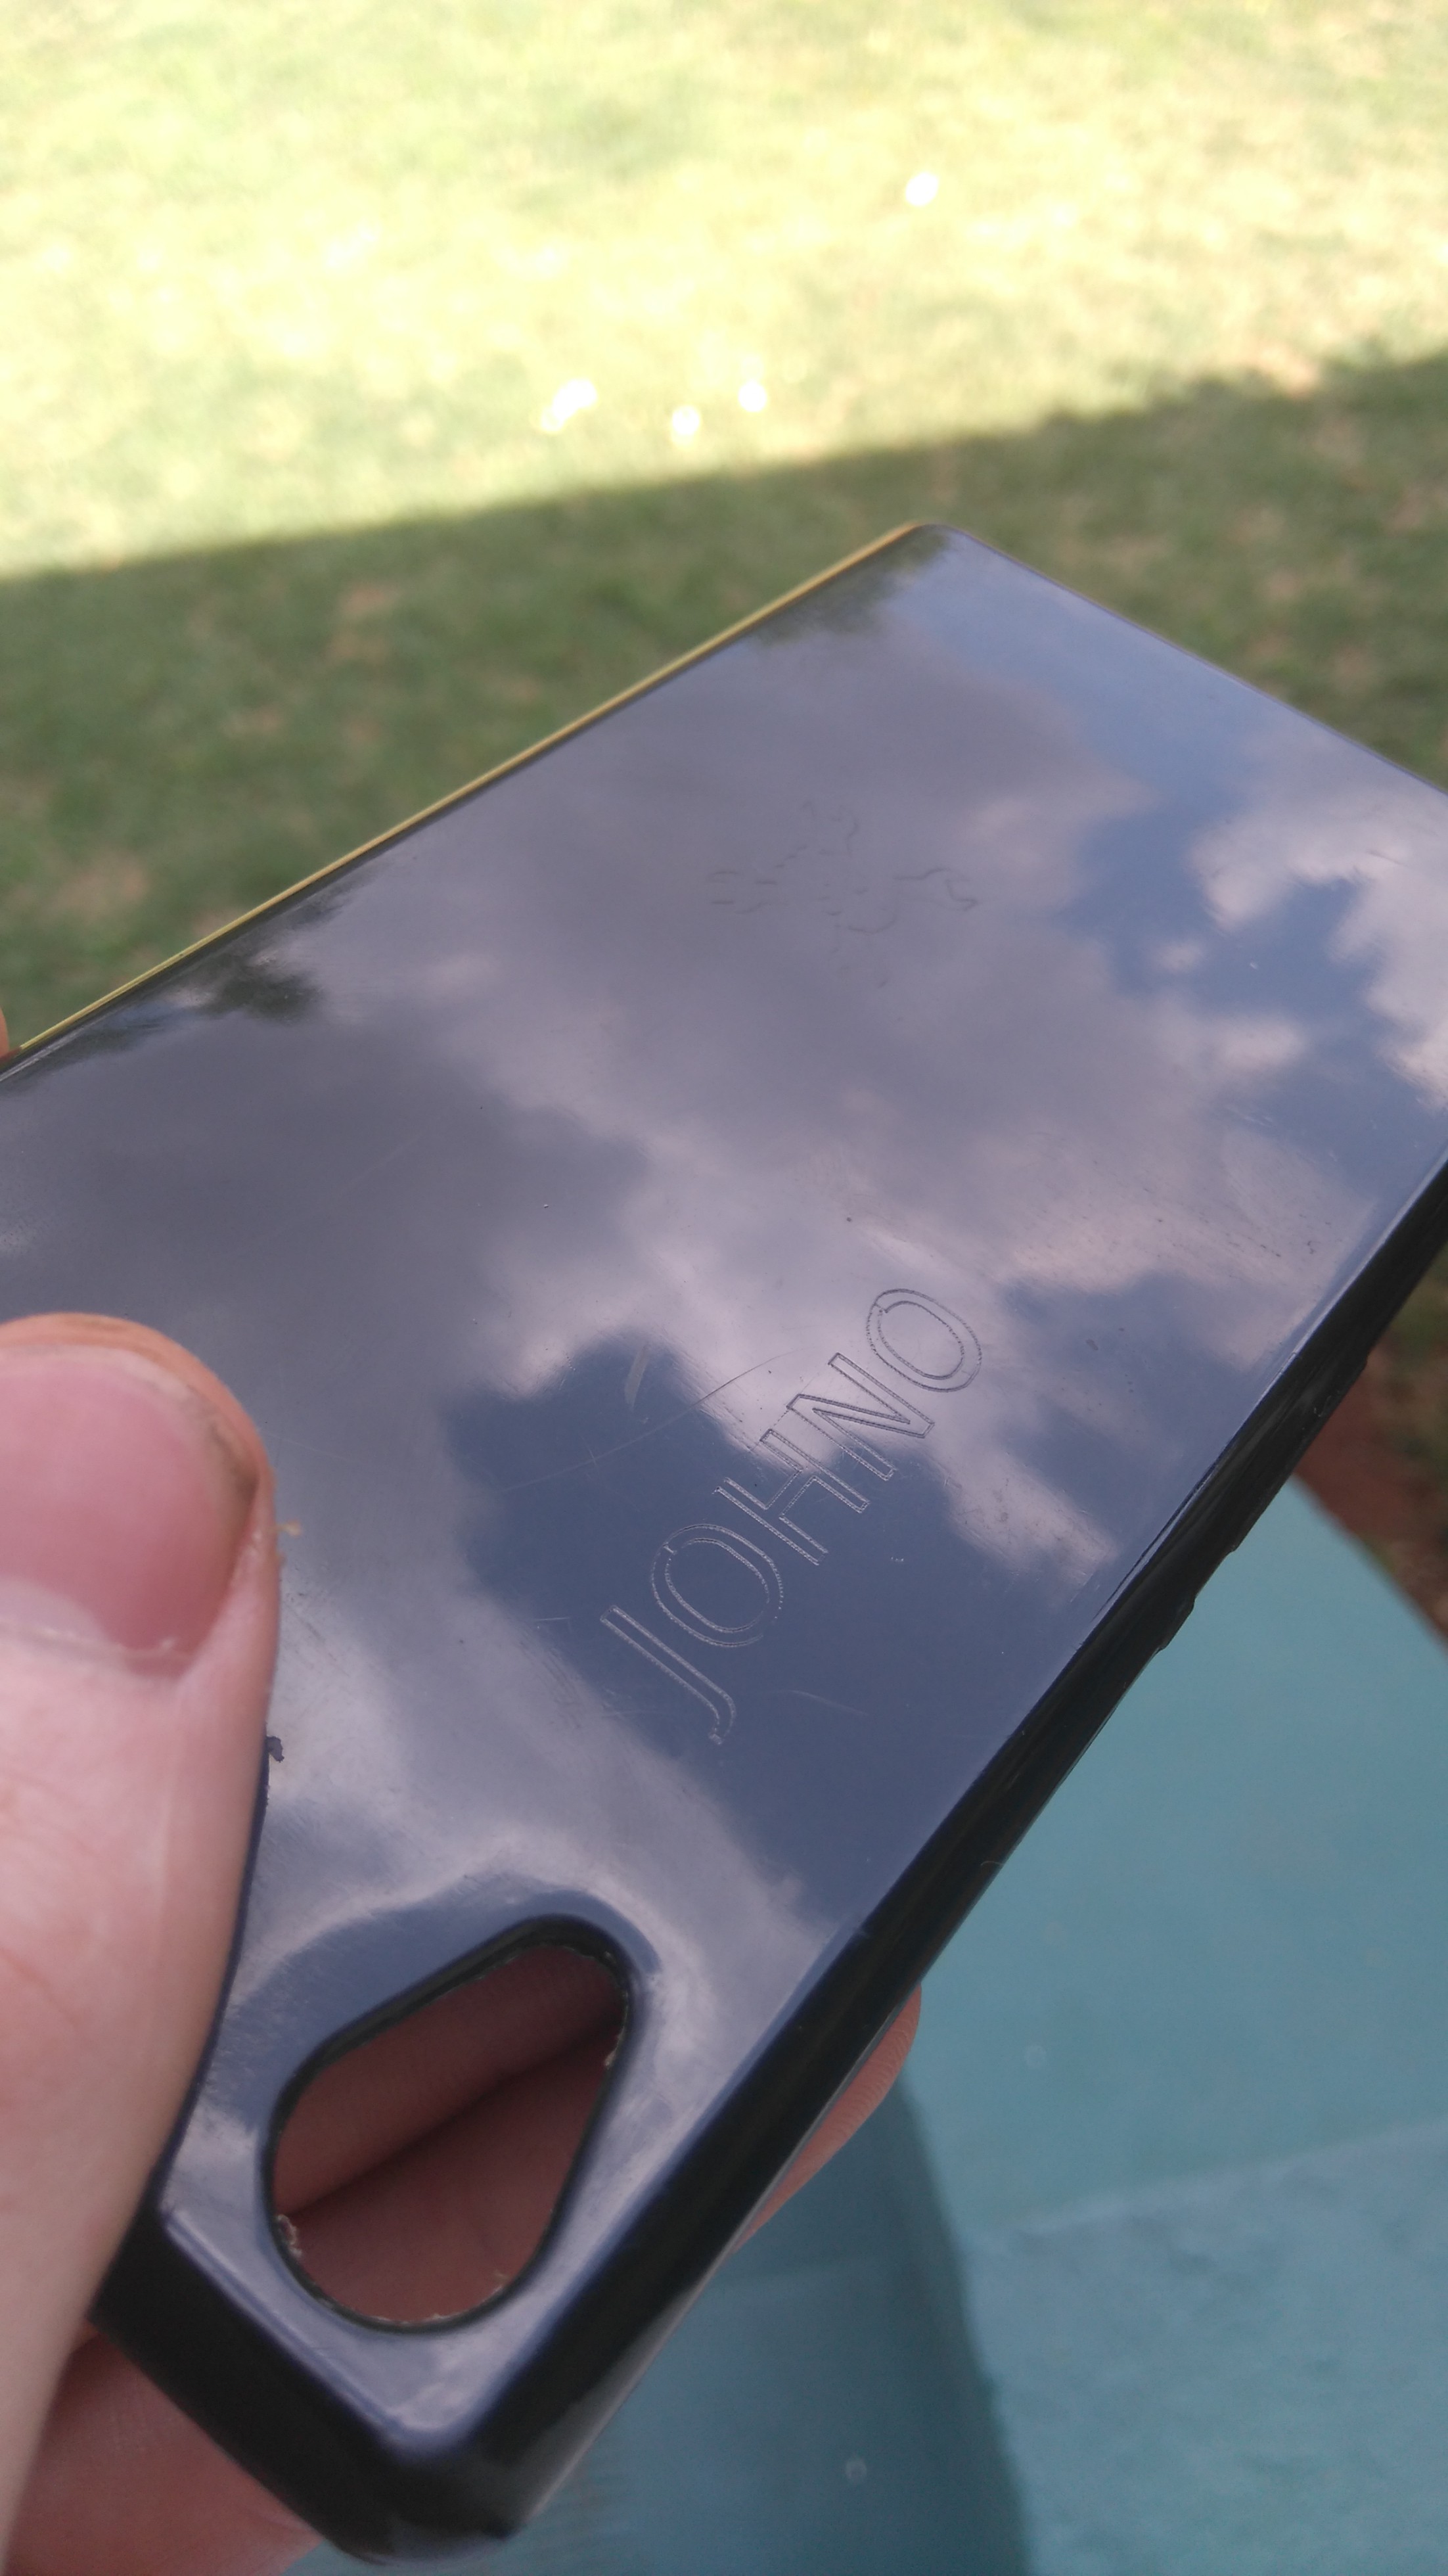
What can it cut?
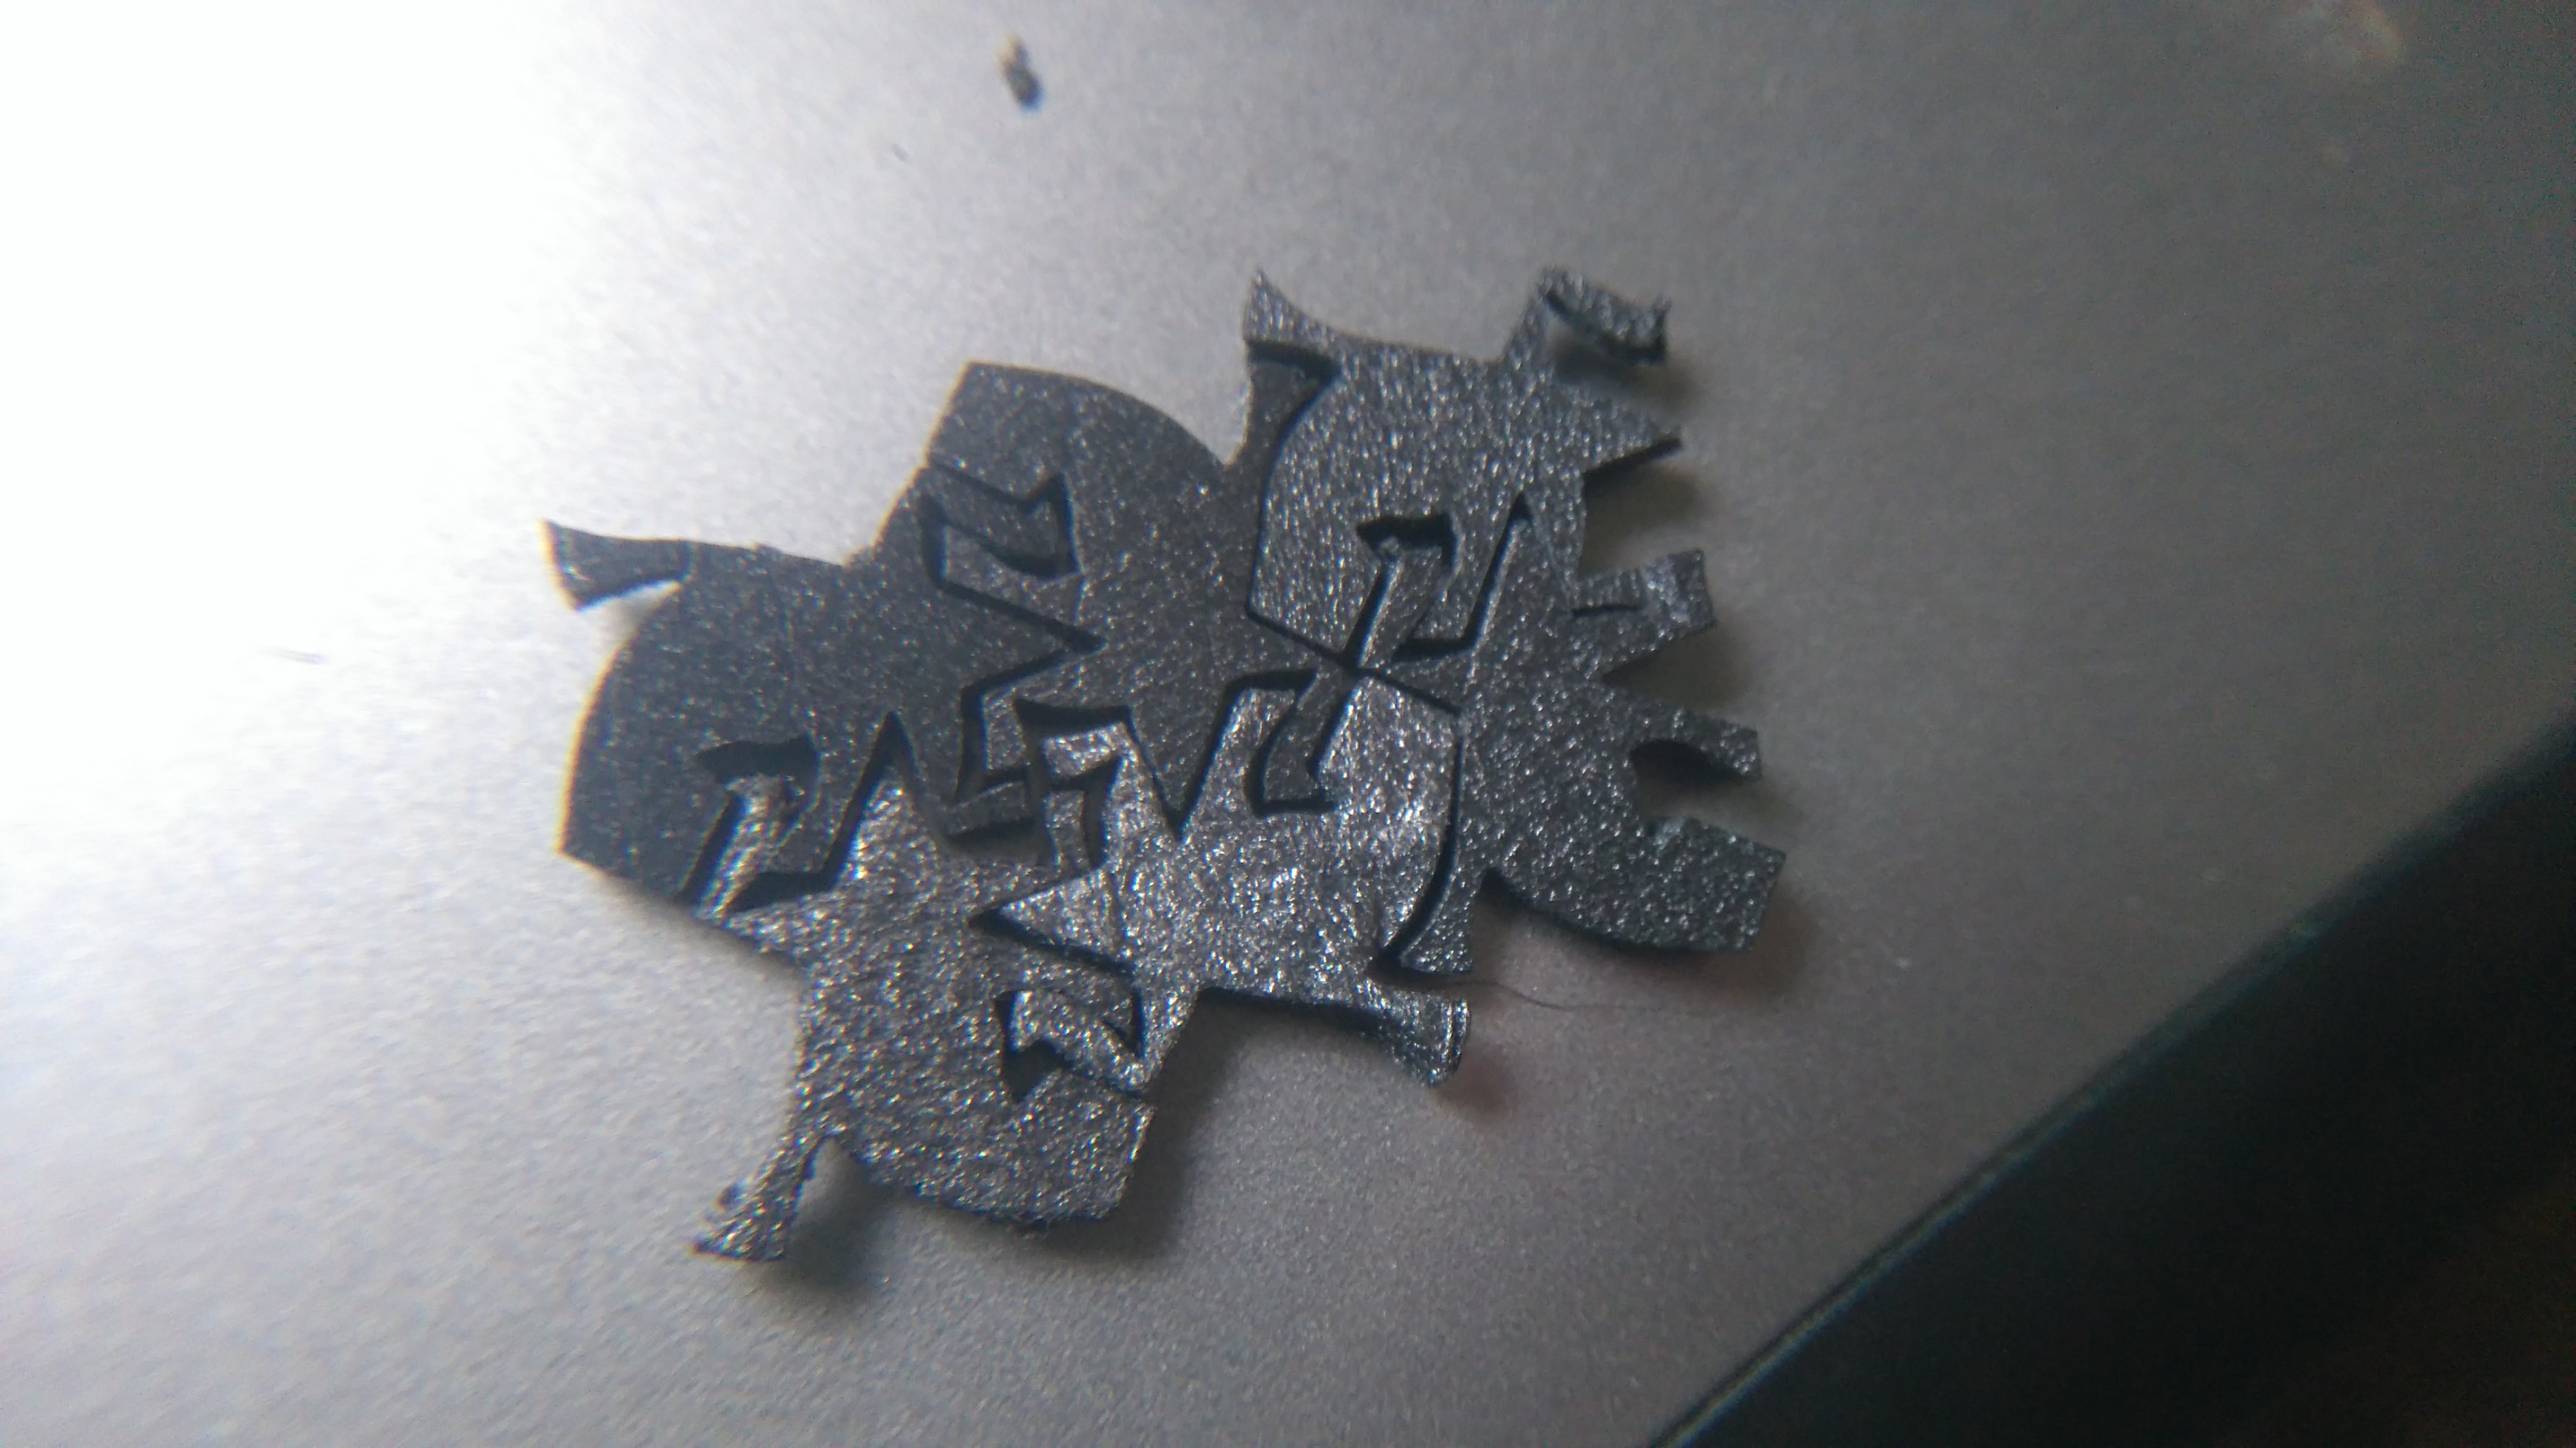
It struggles with white paper, or anything very light coloured. It cuts through bin liners easily, engraves black plastic (eg my phone cover) like a charm, can cut black electrical tape at slower speeds, makes short work of 1mm black polystyrene (from which i have cut the obligatory tesselating escher lizards) and gets 2mm into thicker polystyrene.
![]()
![]()
![]()
-
Some progress at last!
02/09/2015 at 04:59 • 0 commentsHad a Sunday afternoon free, couldn't resist banging something together with whatever I could scrounge from the dustbin outside. Looks pretty cool!:
Next, I'll make some proper slide rails, re-build the frame out of something better, add the LASER (a 500mW IR one) and generally make it all better.
The code as it stands - very obviously hacky, will get better:
/*
Enable turtle-like control of an etch-a-sketch like 2 axis stepper
thingee. Penup/pendown can be, for eg, laser on or off etc.
Code by Jonathan Whitaker, MIT licence
*/
//Settings for motor stuff
int delay_time = 200; //ms, lengthen for debugging
int xsize = 2000; //number of steps possible in the X direction
int ysize = 2000; //""Y""
//Store Position etc
int posX = 0; //start bottom left
int posY = 0;
//Instructions - the biggie
int instructions[] = {'F 100', 'R 90', 'F 100'};
//Pins for steppers 1 and 2
int s1s = 3; //stepper 1 step
int s1d = 2; //direction
int s2s = 6;
int s2d = 7;
//Pins for LASER!!!! Sharks to follow in version 42
int lpin = 2;
//all together now
int out_pins[] = {s1s, s1d, s2s, s2d, lpin};
int out_pin_count = 5;
// Setup stuff, pretty self-explanatory
void setup() {
for (int i=0;i<out_pin_count;i++){
pinMode(out_pins[i], OUTPUT);
}
}
void loop() {
square();
delay(5000);
}
//step x and y by a certain amount.
void step_by(int stepsx, int stepsy){
//sort out directions
if (stepsx < 0){
digitalWrite(s1d, LOW);
stepsx = (0-stepsx);
}
else{
digitalWrite(s1d, HIGH);
}
if (stepsy < 0){
digitalWrite(s2d, LOW);
stepsy = (0-stepsy);
}
else{
digitalWrite(s2d, HIGH);
}
//figure out which one is bigger - we will step that one each cycle
//then we'll step the other one only when d(small)/d(large) hits the next integer
if (stepsx > stepsy){
int prev_int_y = 0;
for (int i = 0; i < stepsx; i++){
digitalWrite(s1s, HIGH); //always step X
if (floor((i*(stepsy/stepsx)))>prev_int_y){
prev_int_y = floor((i*(stepsy/stepsx))); //keep track of last int jump
digitalWrite(s2s, HIGH); //step Y
}
delayMicroseconds(delay_time);
digitalWrite(s1s, LOW);
digitalWrite(s2s, LOW);
}
}
//the same thing again - remember to propagate changes for now, next time do the damn job properly!
if (stepsy >= stepsx){
int prev_int_x = 0;
for (int i = 0; i < stepsy; i++){
digitalWrite(s2s, HIGH); //always step X
if (floor((i*(stepsx/stepsy)))>prev_int_x){
prev_int_x = floor((i*(stepsx/stepsy))); //keep track of last int jump
digitalWrite(s1s, HIGH); //step Y
}
delayMicroseconds(delay_time);
digitalWrite(s1s, LOW);
digitalWrite(s2s, LOW);
}
}
}
//need a goto_pos(x, y) function, plus fill in circle and square
void go_to(int xpos, int ypos){
step_by((xpos-posX), (ypos-posY));
}
void circle() {
// go to center, out 300, draw a circle
for (int i = 0;i < 360;i++){
step_by(floor(20*sin(i/360.0)), floor(20*cos(i/360.0)));
}
}
void square(){
step_by(0, 2000);
step_by(2000, 0);
step_by(0, -2000);
step_by(-2000, 0);
//go to 100, 100
//go_to(100, 100);
// go_to(300, 100);
// go_to(300, 300);
// go_to(100, 300);
}
-
I caved...
06/14/2014 at 07:17 • 1 commentDidn't have the time to be messing around building H-bridges, so I caved and ordered some easydrivers from AliExpress. 4 bucks free shipping, so not really breaking the bank to get a couple. Got both sleds moving nicely, and wrote a quick python script to direct them by clicking my mouse. rather than flashing grbl I am writing everything from scratch to control the steppers, laser etc through serial - allowing me to do the hard part (g-code interpretation) in python and also opening up other uses without having to re-program the Atmega328.
Mini Laser Cutter
Tiny laser cutter built out of broken DVD drive parts. NOT A PRIZE ENTRY - PLEASE IGNORE!