Craig Hissett
-
Version 2: Proposal
10/06/2015 at 16:33 • 4 commentsThis build has been a great experience for me; I have been able to create a product that my son can use, and is a great way for my son to carry his media around for playing via a TV.
It's main place of residence is in his bedroom, attached to a HDMI projector for displaying that blasted Peppa Pig on his ceiling, ha ha!
I would like to make some changes to the design, and create a new version of the device to be a permanent fixture in his room, along with the projector. Here's some changes I am planning - please comment if you have any more suggestions!
Mains Powered
One of my main issues with Version one had to be portable power; slow to charge, constant powering issues, Pi brownouts, powerboost explosions, you name it ha ha!
The device will be installed near sockets so either a 12v DC barrel connection would simplify my power needs; all I would need is a step down regulator to 5V.
Less Arcade Buttons, more Touchy Touchy!
When i first came up with the plans for this project it centred round a non-touch screen and required the buttons to control and navigate. With my success with the FDI ELI Design Challenge the build now features a 7" Touch Screen, which I would like to make more use of.
I propose to keep 4 of the 9 arcade buttons in the build, but move them to the top panel either side of the HDMI out. I will use them for changing programs, triggering defaults etc.
Streamlined Enclosure
With less buttons in more manageable places and the lack of batteries I would like to see if I can reduce the footprint of the enclosure. This will make the device a bit more discreet if wallmounted/mounted to his drawers.
GPIO Breakout
With a permanent fixing in my boy's room I would like to explore a bit of automation; controlling lights, his fishtank (and a potential feeder), and more in the future.
To do so I would like to incorporate an external connection for some of the GPIO pins (think i2c and suchlike) in order to connect multiple devices to it. This tought needs some work :-)
Web-Based Software
My Son is going to be receiving an Android tablet as a Christmas gift and it would be great if this box could provide some entertainment value on the tablet.
I am looking at the Python Tornado library to act as a Webserver. I would like to serve two pages; a kid's page, with links to all the kiddy content (one page for videos, one for playing with lights, one for triggering patterns for the projector etc) and an Adult's page for setting timers & parameters; shutdown timers at bed time, control for the fish feeder etc.
The web based feature is something i wanted to use in V1 but I never got around to doing it.
It would also be great to have a default state with things like the time, the weather, room temps and suchlike on it for when it isn't being used with the projector.
Split GUI/Video output
In an ideal world this device would have two Pi's - one for playing the video content and one for powering the onboard touchscreen. That way, when connected to a projector the media could go to the projector but the touchscreen remain displaying the GUI.
I may actually experiment with adding a Pi A+ into the mix and explore how that could work (the GUI pi would need to pass instructions to the Video Playing Pi when connected to the projector, or be able to play them themselves when not...). Hmmmm - help required with this one!
I will add more ideas as/when they come to me. In the meantime your input would be greatly appreciated.
Once this Version has enough momentum I will create it a Project page for it :-)
-
Instructables Featured!
10/06/2015 at 15:16 • 0 commentsBy jingo! :-)
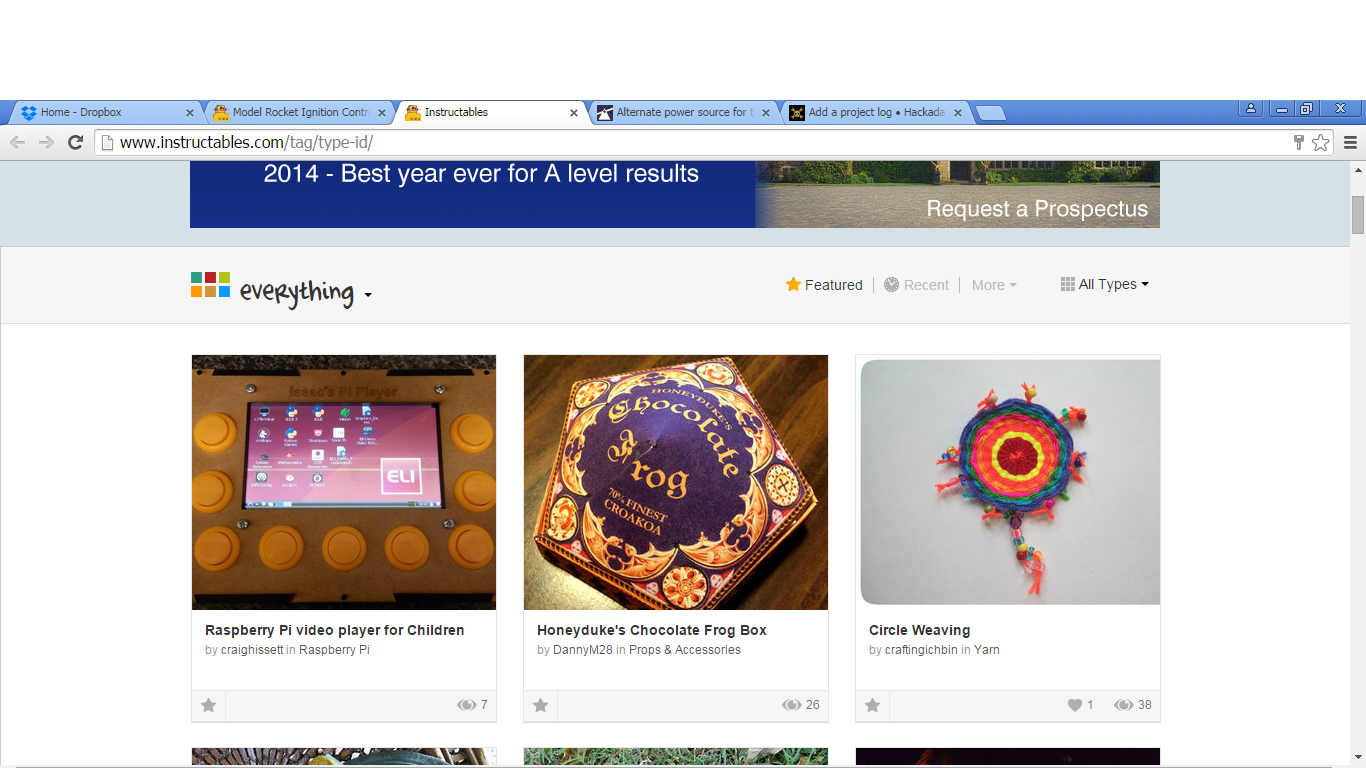
I have started to piece together an instructable for my project, and published a basic version late last night on the instructables website.
I have received an email to say that it has been featured, and low and behold - there it is at the top of the list!
![]()
This project has been quite overwhelming for me; the response it has garnered is amazing!
It's also given me the confidence to finish some old projects that I never got off the ground, and also look for some further competitions to enter to help improve my skills.
-
Winner!!!
10/02/2015 at 23:29 • 2 commentsFDI have been kind enough to name my project winner of their ELI Design Challenge!!
After submitting an outline of this project what seems like moons ago I never thought I would be selected to receive one of their 7" touchscreens. I certainly didnt think I would beat the other 7 finalists to walk away with the prize!
Im so happy they did select me to progress in the competition; without this kick up tje backside my project may never have been completed, like many of my ideas I come up with.
A big thanks to Alex for his design knowhow with coming up with a case for it; again, without Alex and his expertise I wouldnt have had a product to enter into the design challenge!
Still some work to be done on the software, as FDI may be making a demo model of their own for trade shows and on the road, so I would love to create a slick GUI to really show off my product.
-
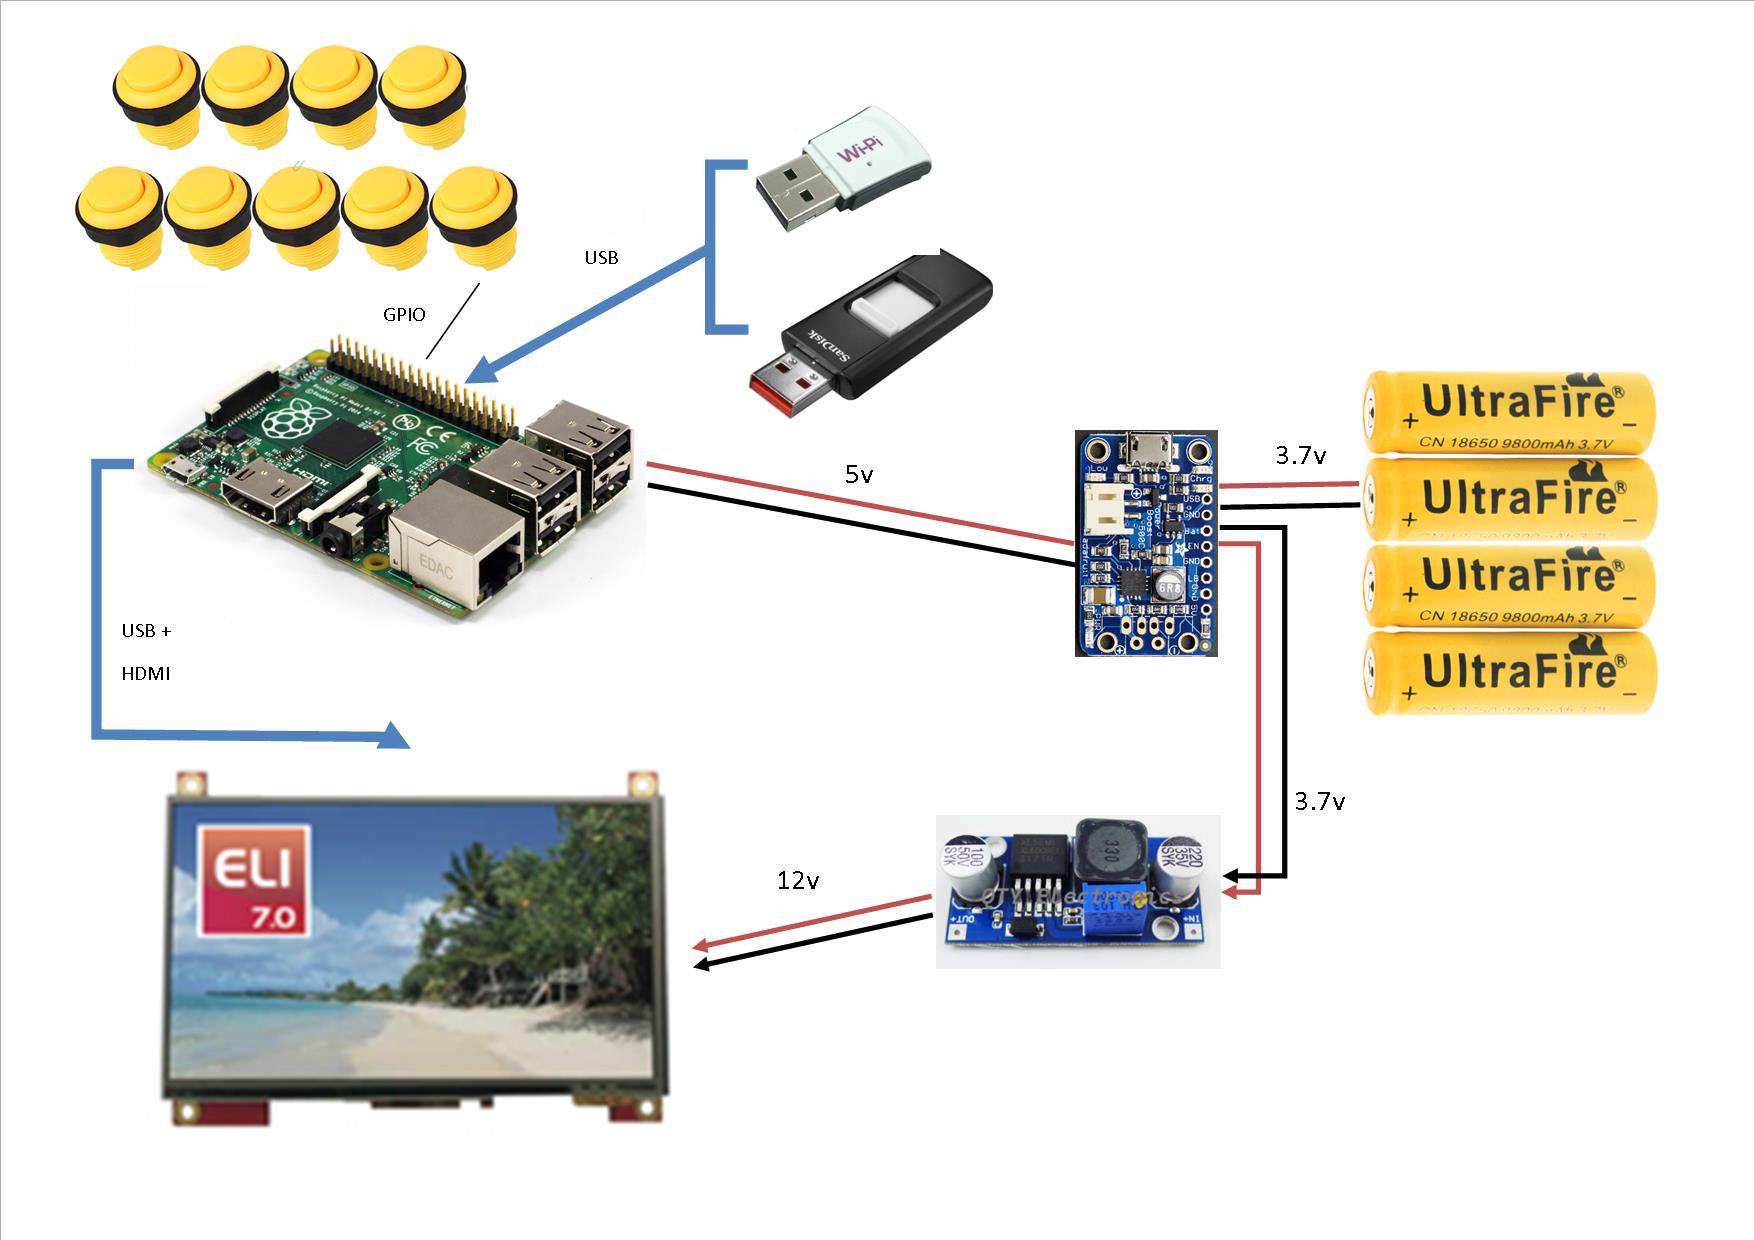
New Wiring 'Diagram'
09/16/2015 at 12:33 • 0 comments![]()
-
Update: new plan of attack
09/12/2015 at 23:56 • 0 commentsSo...
I am still having some teething troubles with my build; suffering from frequent resets (sometimes it gets stuck in a cycle of rebooting until it corrupts the SD card) and also has a very unstable wifi. Time for a rethink.
I am currently stripping out the powered USB hub and the Model B, and replacing them with a model B+.
The B+'s better onboard regulator and extra USB ports will allow for me to plug my wifi dongle, a flash drive, the touchscreen and a USB extension to the USB port on the case. This in turn simplifies my powering amd removes the suspect hub from the mix; powerboost straight into the Pi.
The code over on my github is getting very close too - just needs the syntax tidying up and a few tweaks once I finally get it on the Pi!
-
Python: Help
09/02/2015 at 10:19 • 0 commentsJust a quick update, as it feels like an eternity since I last wrote on here.
I now finally have a stable unit; there was a flickering issue that lead to the Powerboost 1000C going up in a puff of smoke... It turned out it was caused by the HDMI panelmount port!
I have re-jigged my wiring whilst troubleshooting and also introduced a thermal fuse and the 12v converter, so now the powerboost 500C is powering my USB hub, and the 12v step up converter is powering my screen. The 12v converter is taking power directly from the batteries via the 'BAT' out pins on the powerboost. I have ordered another 1000C to put in as charging takes an eternity with the 500c's 500mA charging rate. The 1000C will allow me to charge twice as fast!
I am now in need of assistance with my python scripting, however...
Over on my Github (https://github.com/CraigHissett/PiVidPlayer) I have started writing my scripts. Trouble is I can't seem to get how to integrate OMX player into my script and make it work.
Does anyone have experience with the pyOMXPlayer library or have any alternative ways of playing videos from Python?
Thanks!
-
Qemu, anyone?
08/15/2015 at 10:49 • 0 commentsToday marks the deadline day for the FDI Design Challenge, in which my proposal for this project made the final 8 and recieved their 7" touchscreen to go into it.
With the hardware complete and the album of photos documenting the evolution of the project is time to get to serious work on the software.
Up until now I have been either writing python on my windows netbook and testing snippets on a Pi. Not very productive. I have decided to step it up a notch and have downloaded Qemu; this allows me to emulate my Pi image on my netbook.
If this works as well as I hope then I should be able to fly through setting up my image ready to whack on an SD card and have the Pi running with it's custom coding in no time; worst case scenario I'll be able to save everything to my github for an easy install on the player if i cant save to the image.
Does anyone have experience with Qemu? All hints and tips welcome!!
-
Up and Running!!
08/10/2015 at 22:19 • 0 commentsSooo - it's working!
Today i resoldered all the wiring; jst connectors used to make the power system a bit more modular, and also replaced the wiring loom for my buttons/li with a floppy disk ribbon cable from and old PC.
I am now running a pre-configured image from FDI for the screen - it's cured the flickering, it works 'right out the box' and it is just so bloody quick booting up!!
Next steps:
adding HDMI splitter and panel mount
Exposing Powerboost charging port
Insulating power, button cables and exposed boats.
-
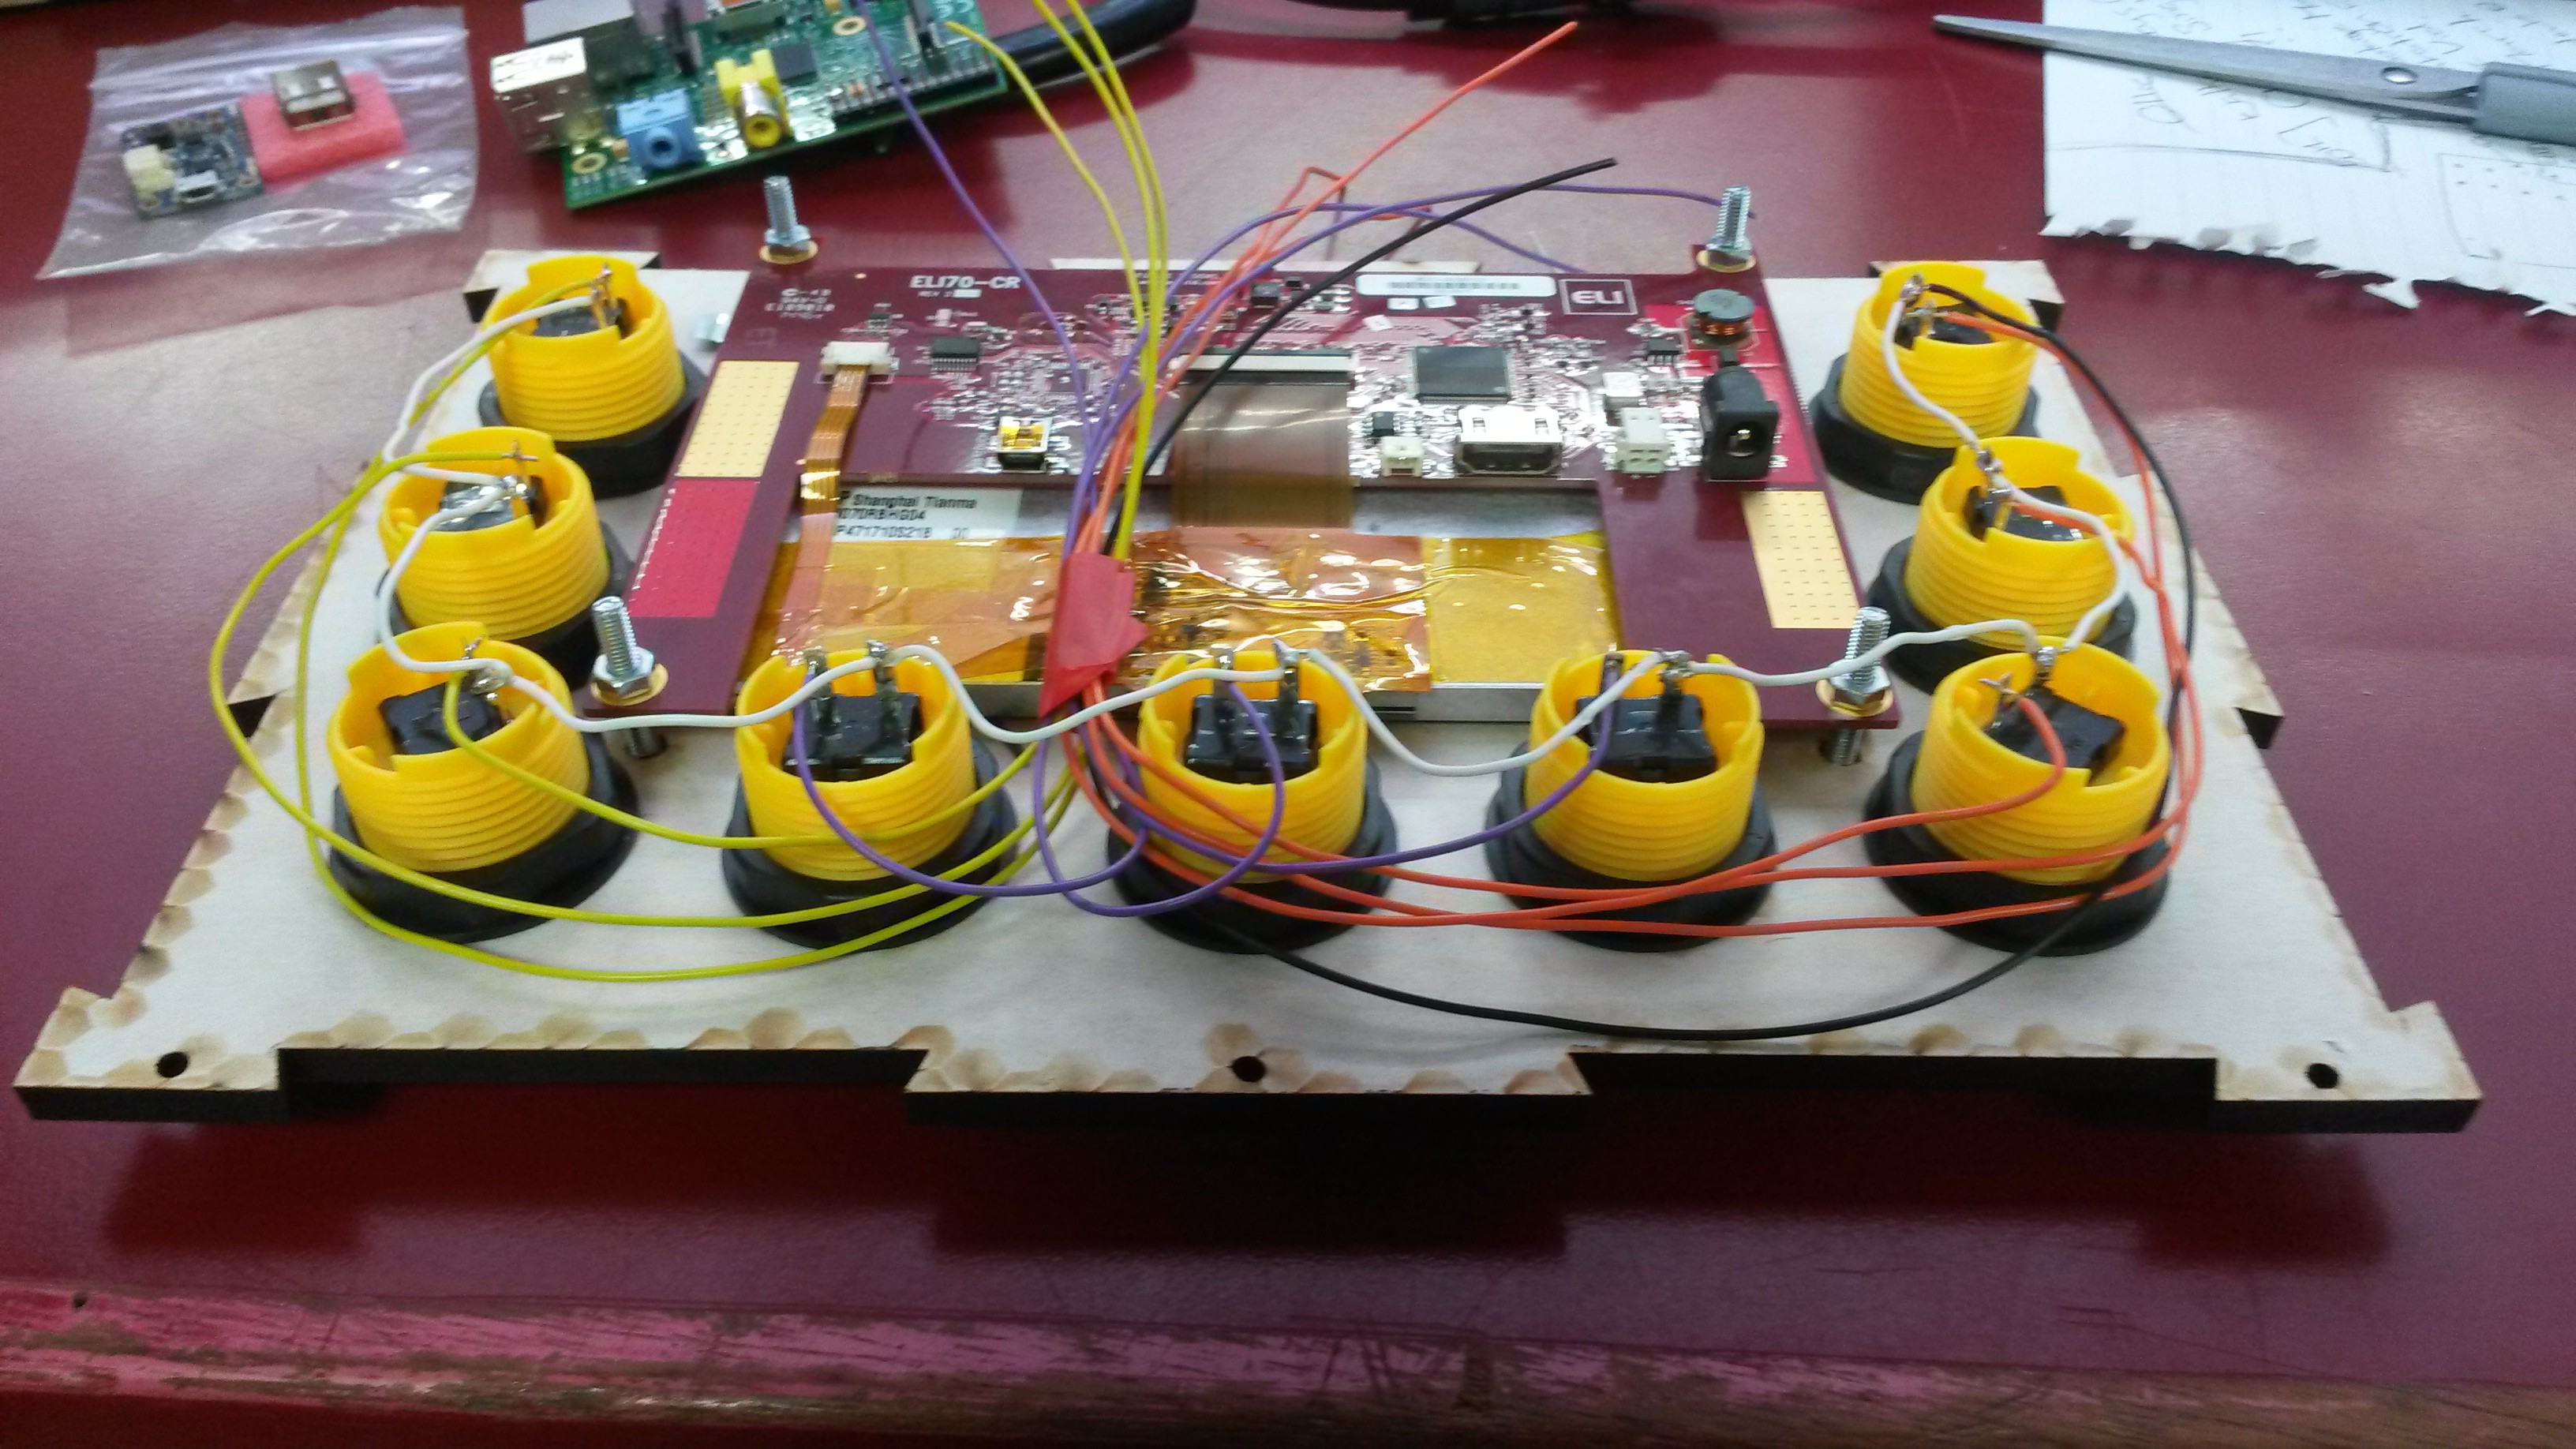
Coming together nicely...
08/06/2015 at 22:10 • 0 commentsJust a bit more soldering and a 5v-12v boost requird for the screen, then this mother lover is built! Then I can focus solely on the Python scripts:
![]()
![]()
-
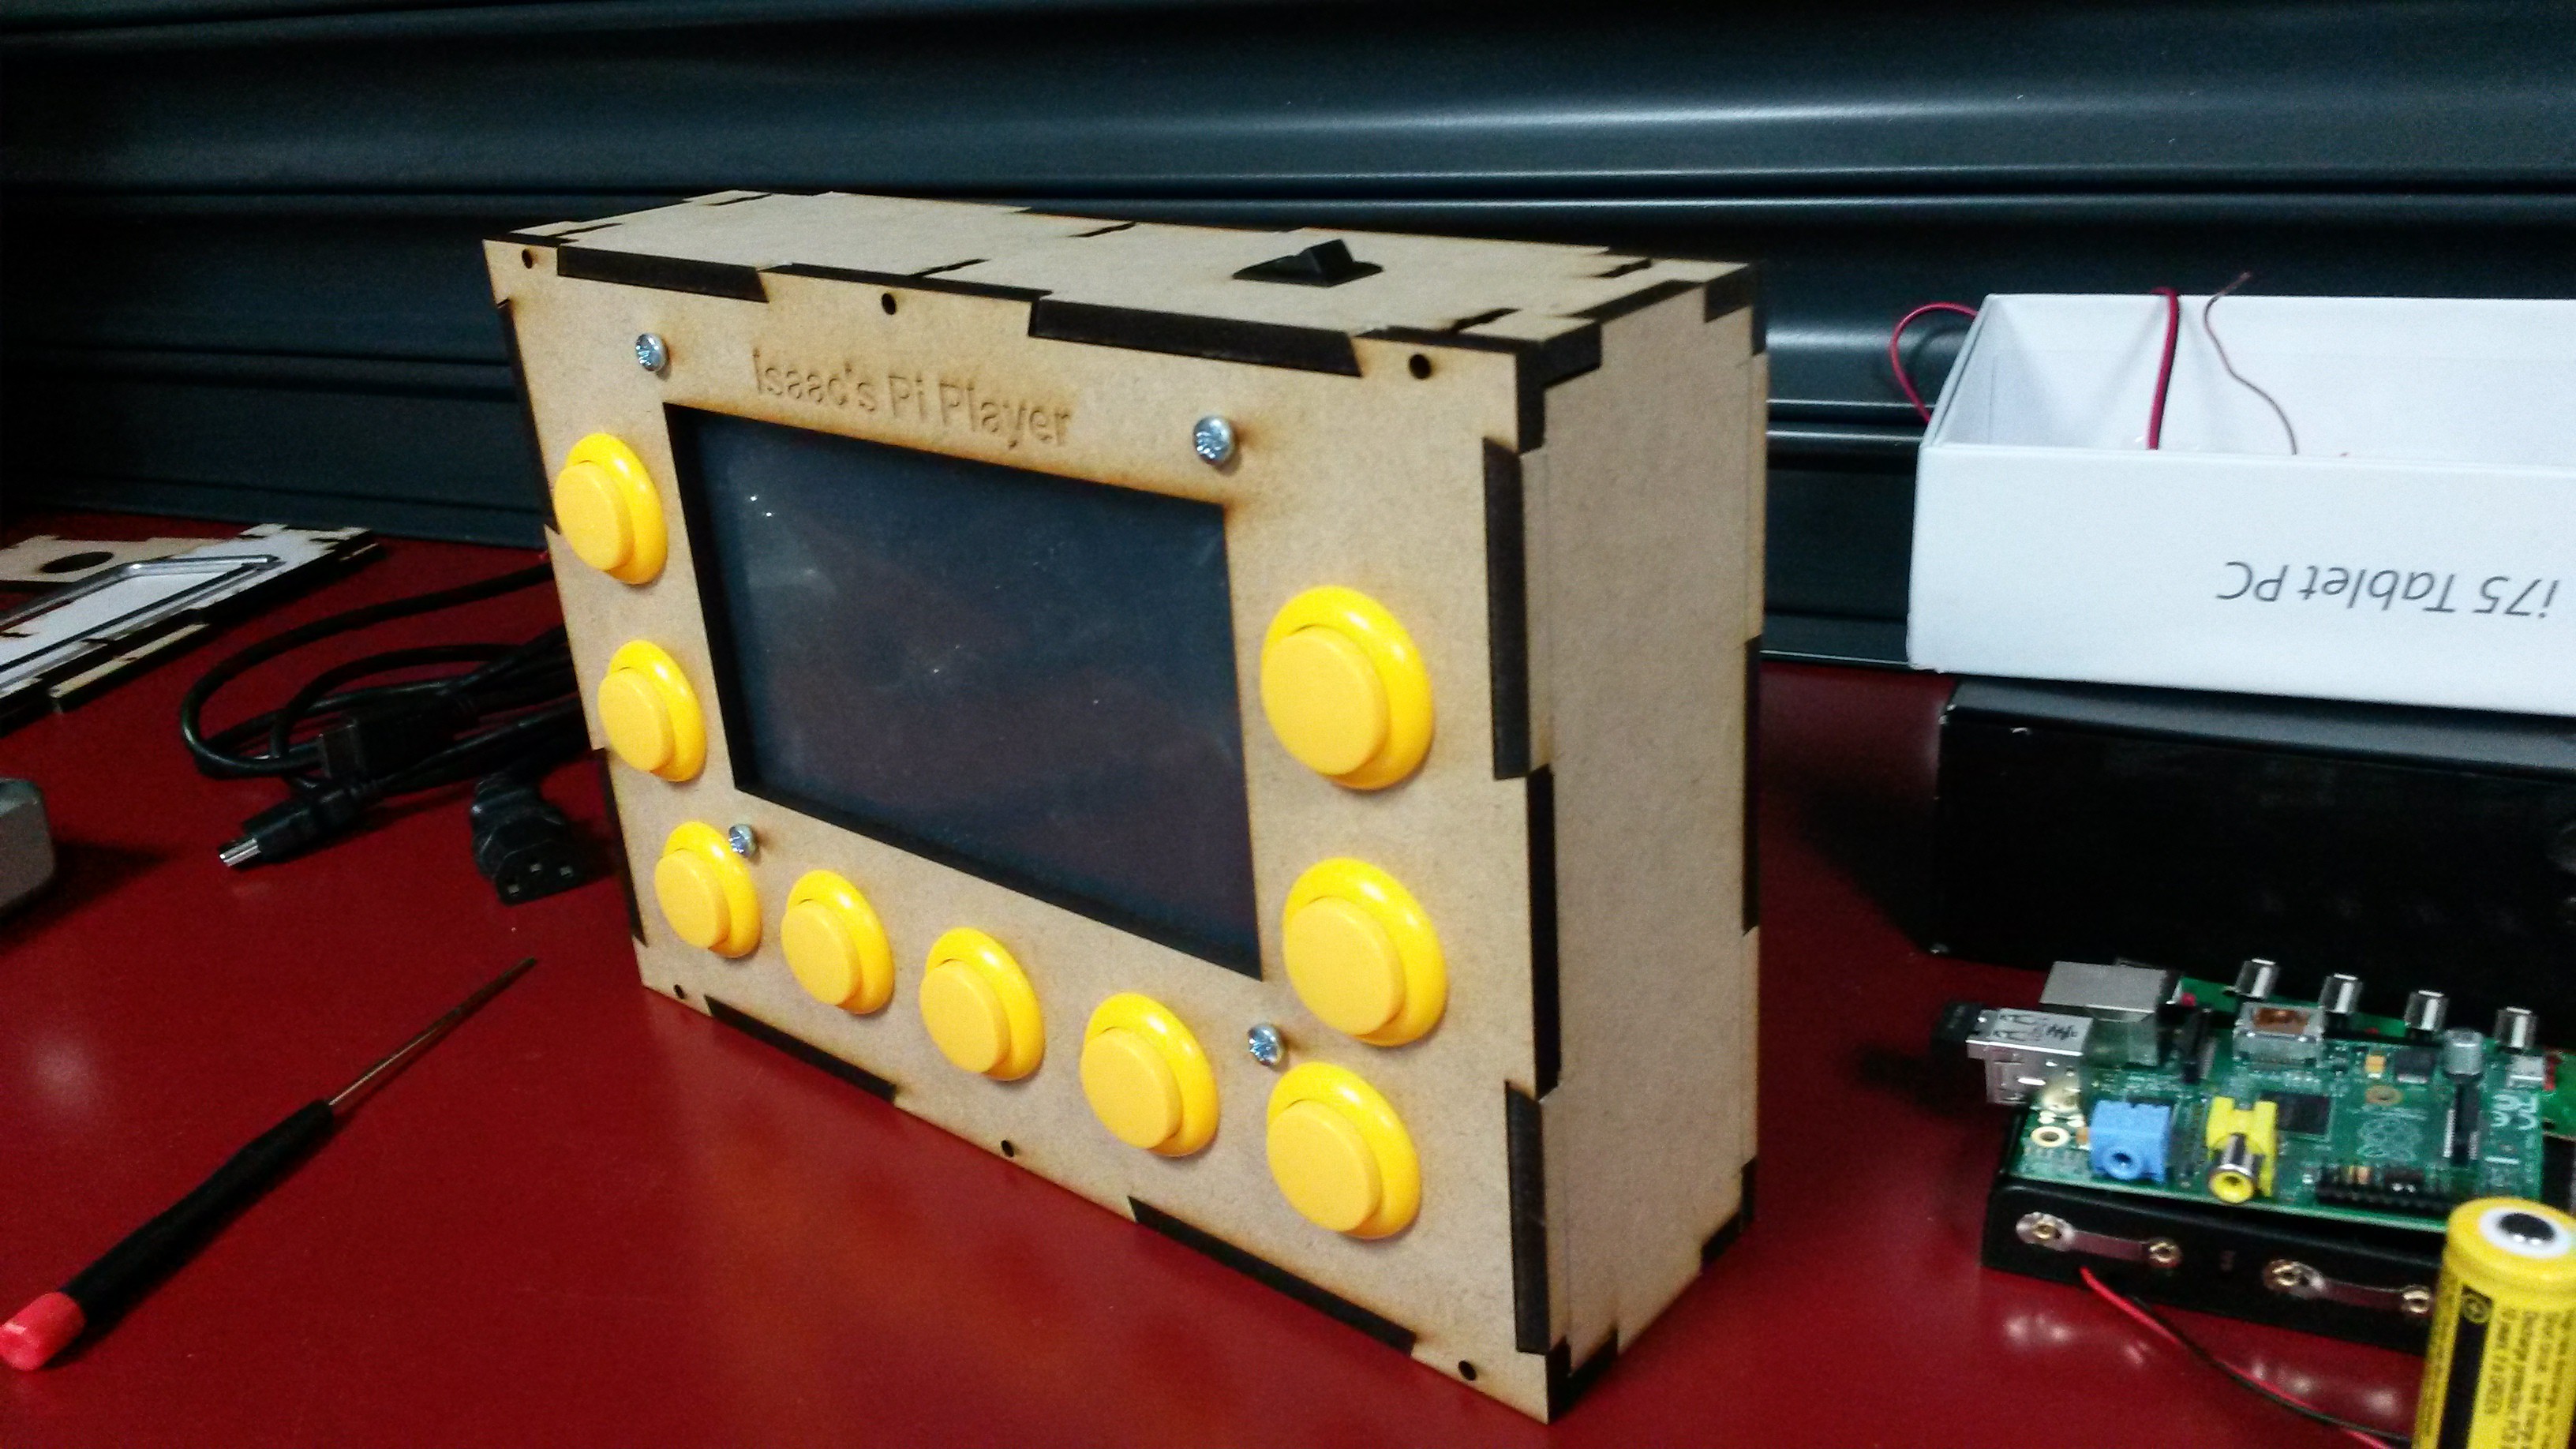
Filing done!
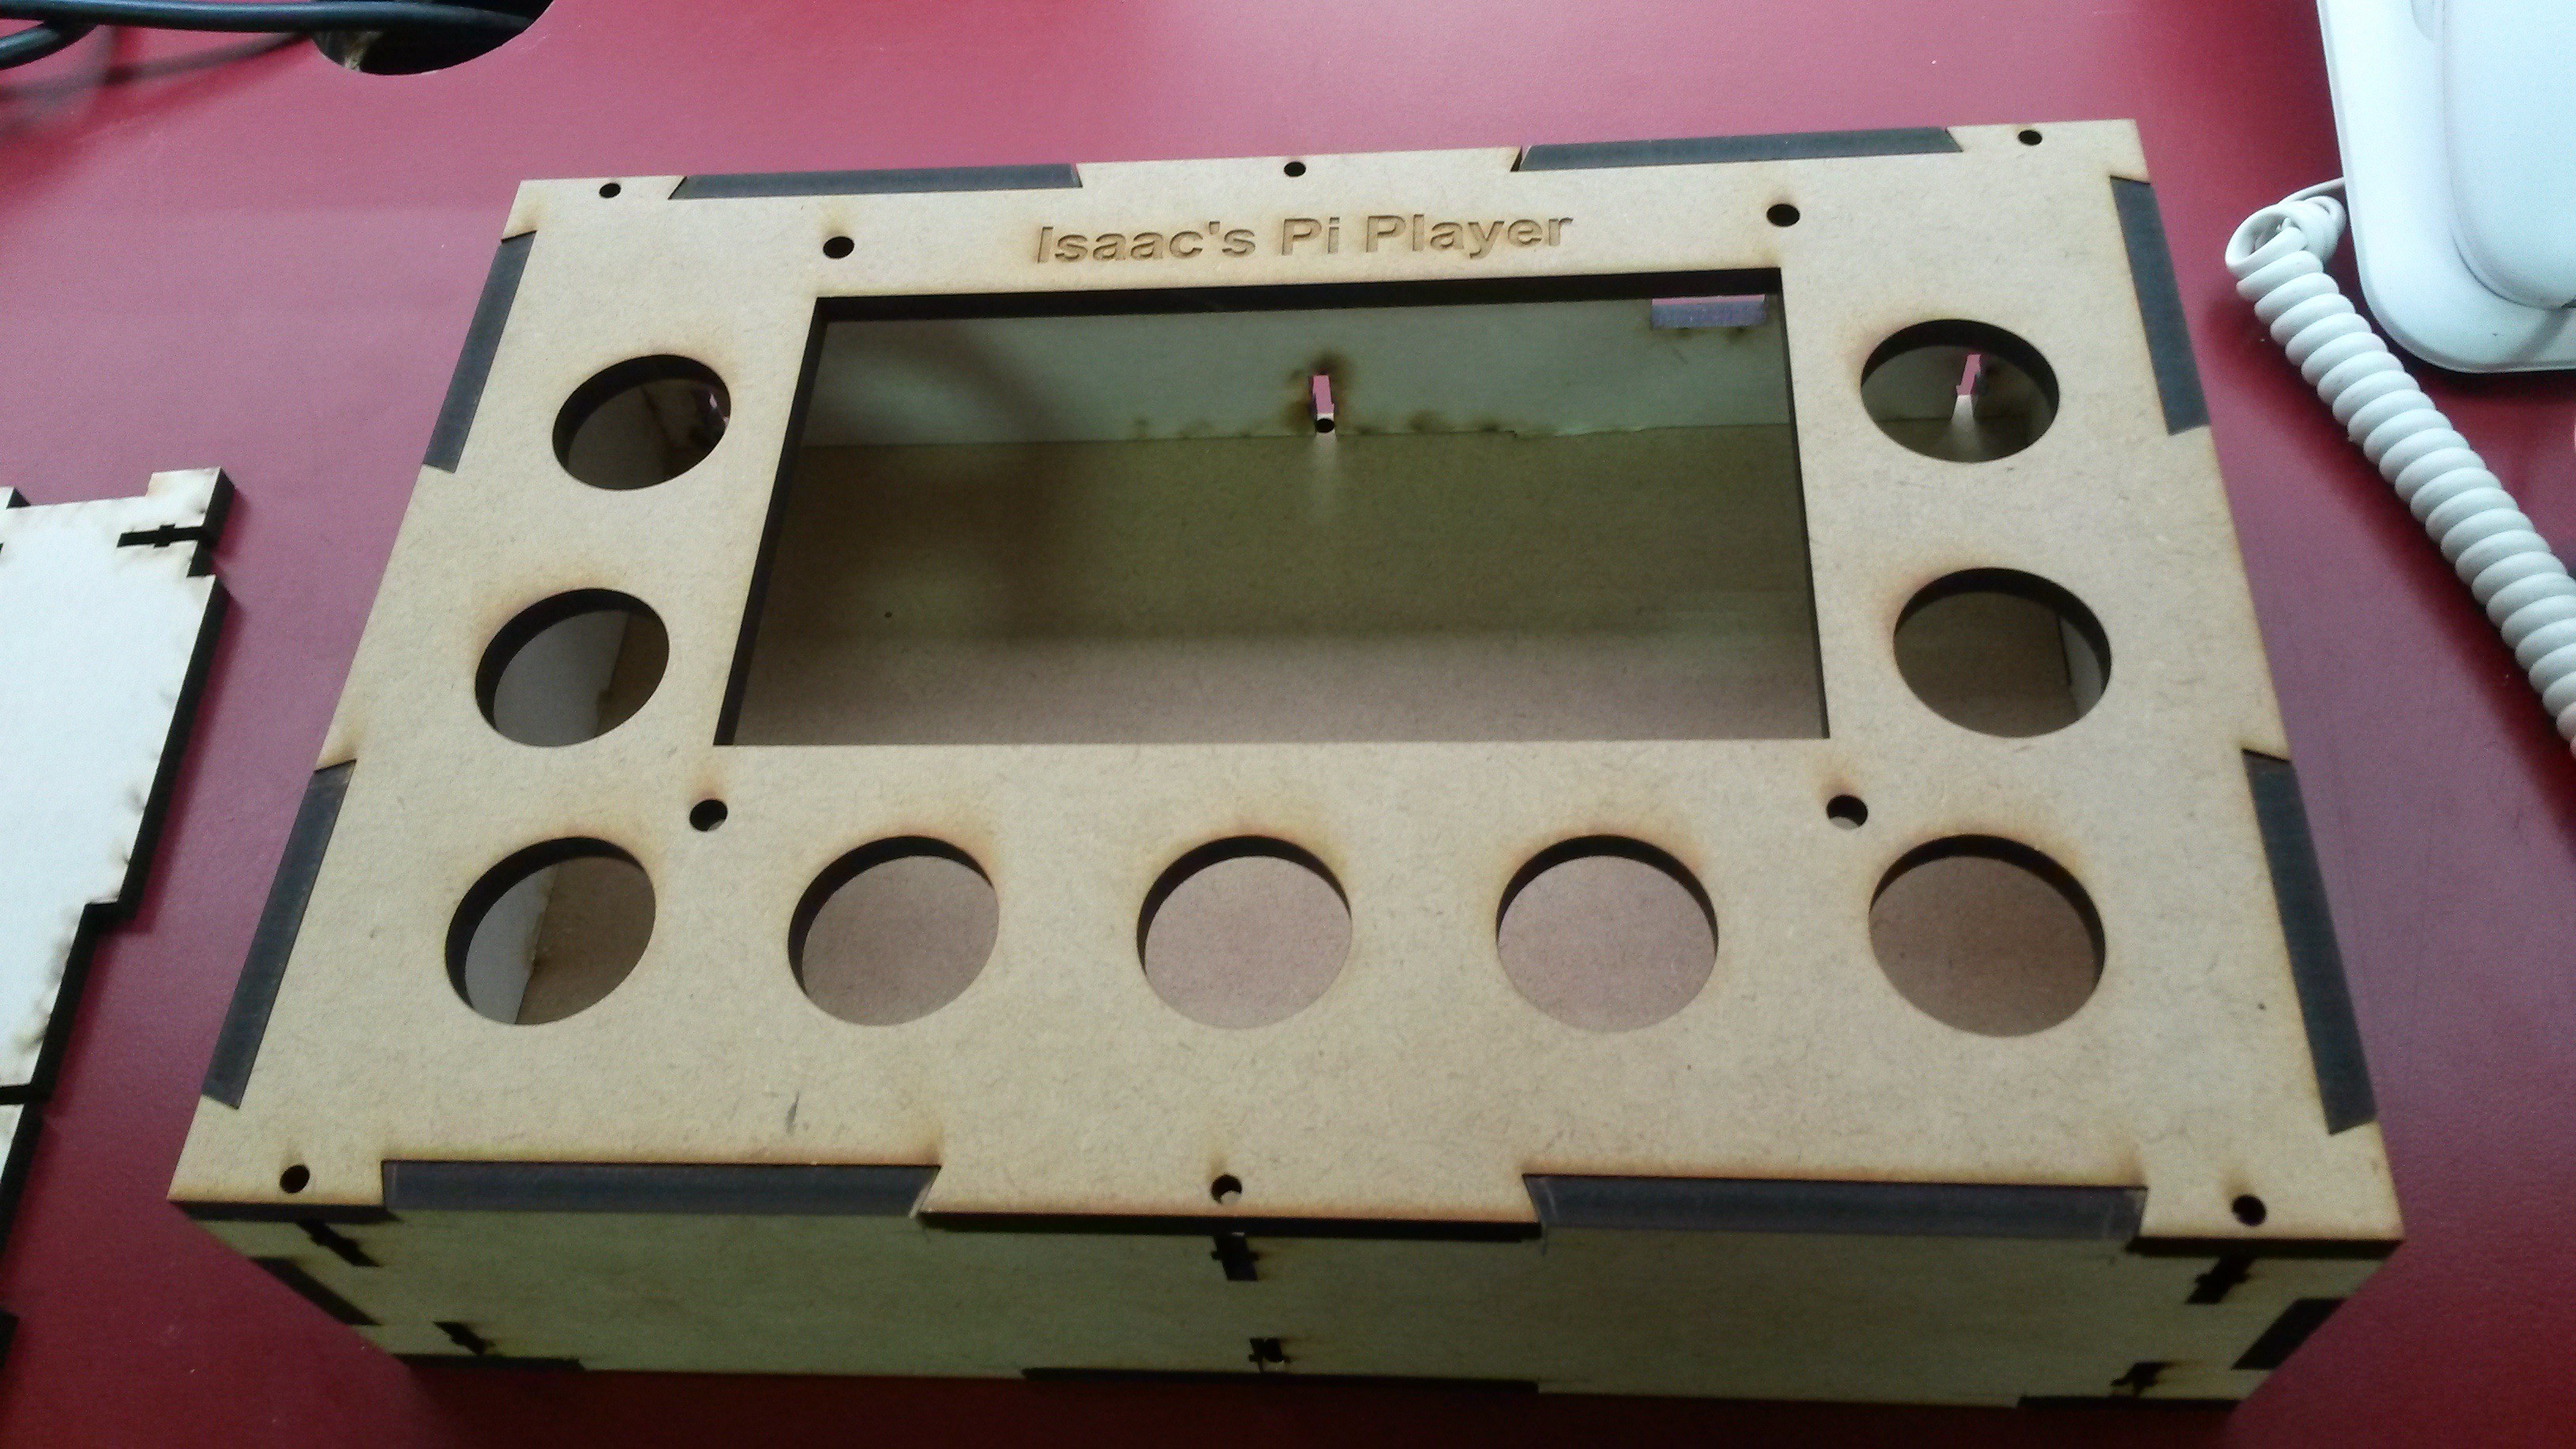
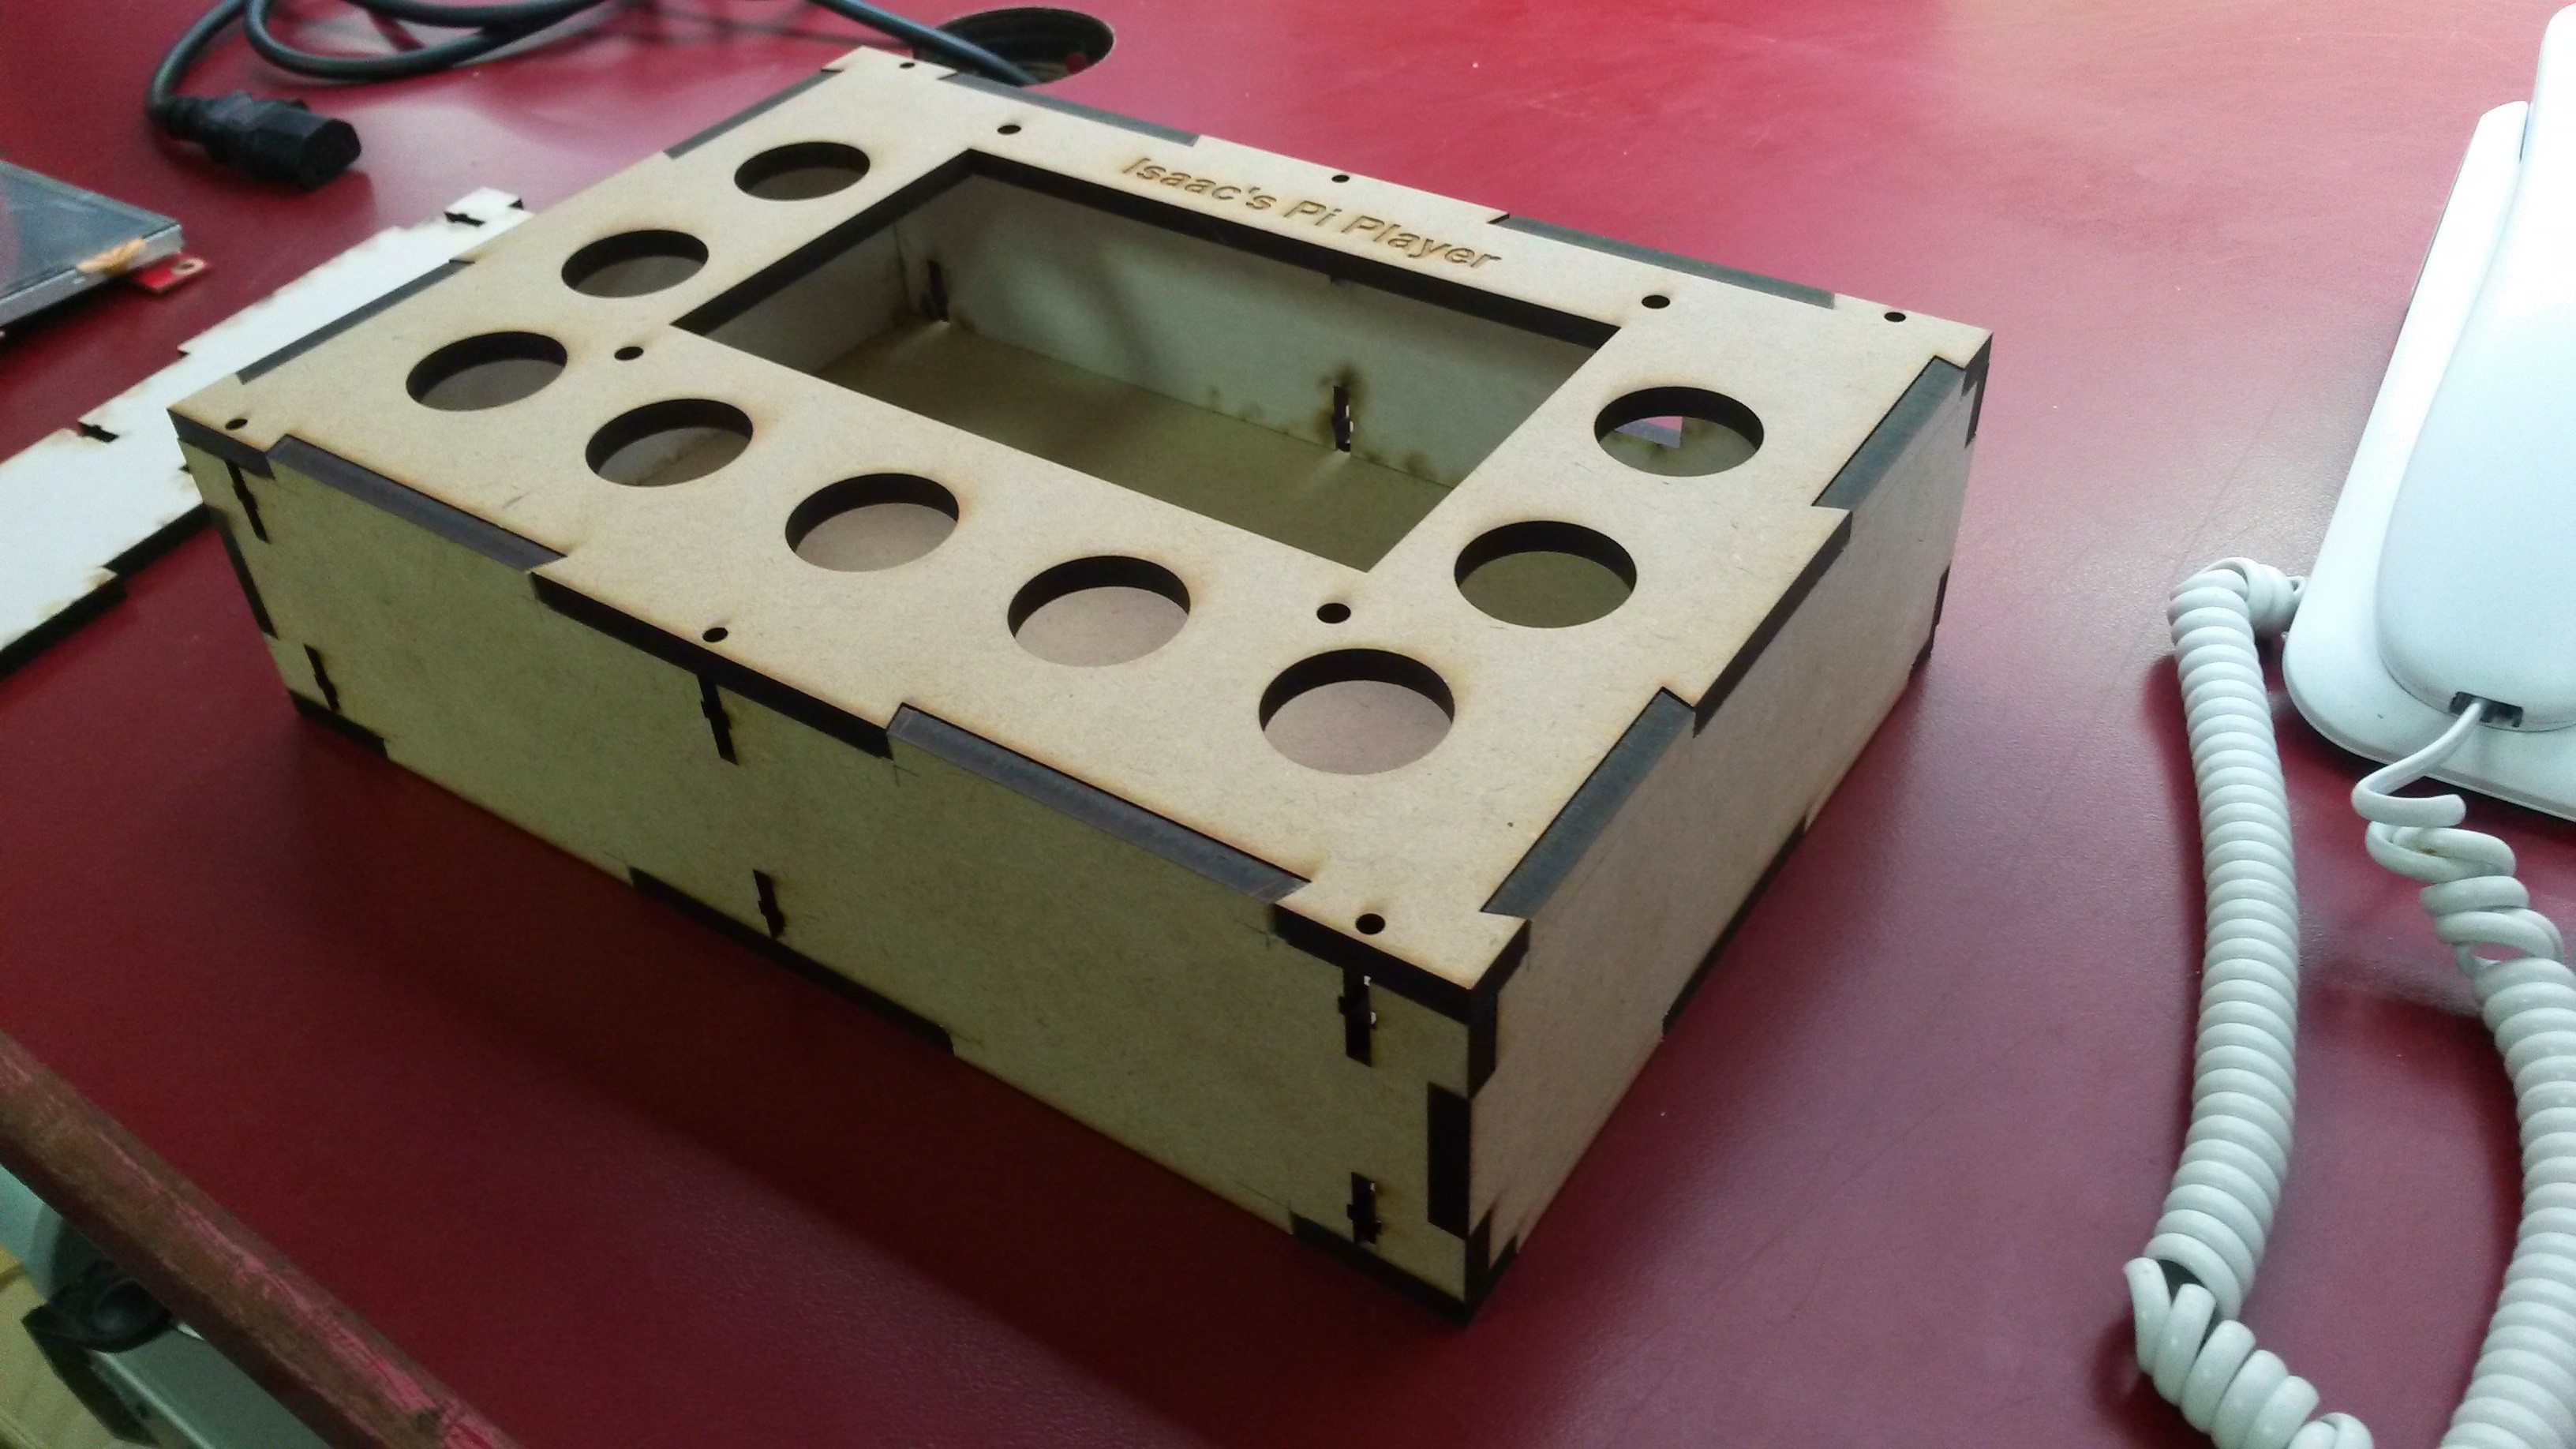
08/06/2015 at 10:48 • 8 commentsThe dovetails now fit perfectly - Alex has designed a cracking case for me!
It will be having a trial fit for the internal components, and getting a paint job :-)
![]()
![]()
Pi Video Player
An all-in-one video player/controller, suitable for children