Close
0%
0%

3dPrinted fan control repair

Using a 3dPrinter to repair my floor fan

Similar projects worth following
50 views
0 followers
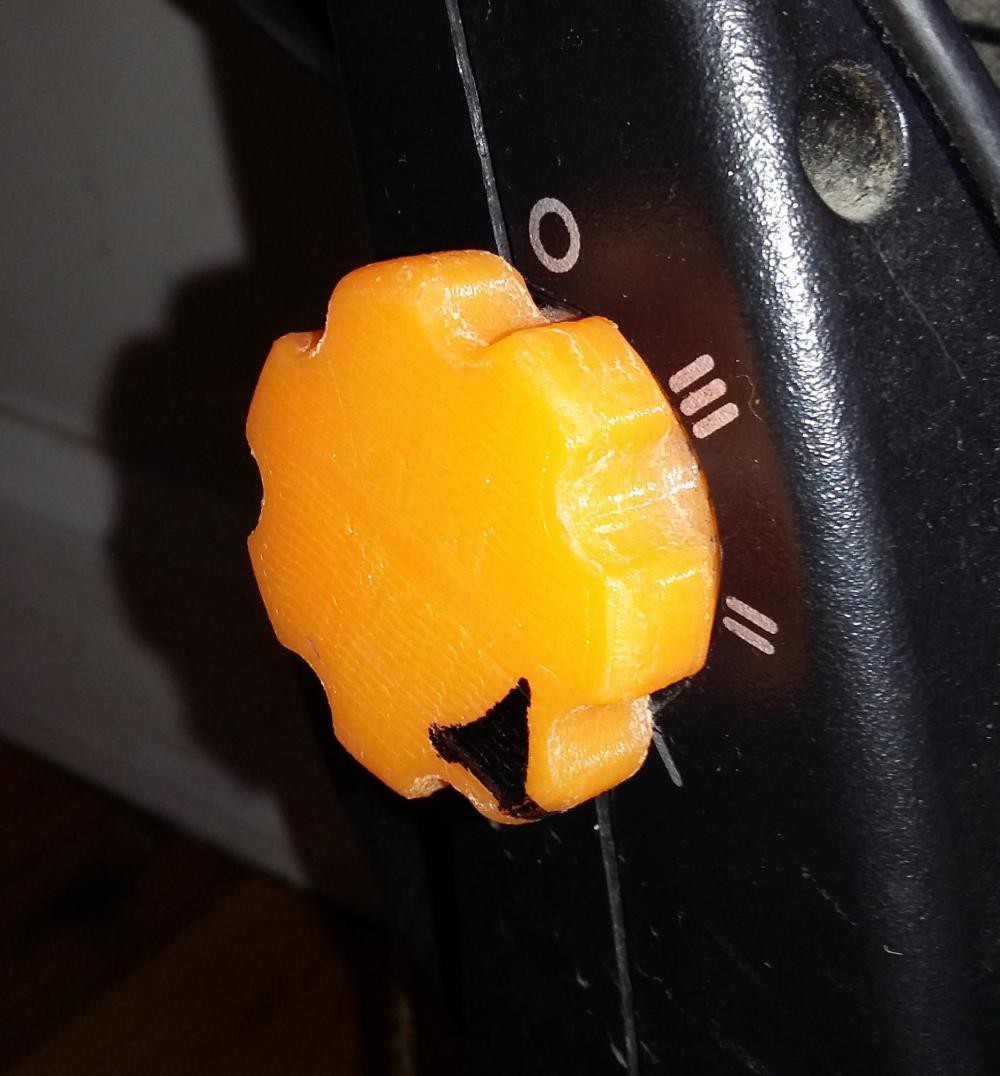
I have a nice Vornado floor-fan for blowing cooling fresh breeze around the room at home, or clearing out the room when I release the magic smoke from electronics. This is a new speed control knob that can be 3d printed to repair the Vornado floor-fan when the original knob is broken.

I have a Vornado floor-fan for blowing cooling fresh breeze around the room at home, or clearing out the room when I release the magic smoke from some electronics. One annoying feature was the dial for switching it on and setting the speed. The dual was too small and required too much finger torque to adjust. Soon the knob split in half, making the fan unusable. Using a pair of pliers to control the fan was unacceptable (-WAF). No spare parts are available for this fan. Rather than buying a new fan I designed and printed a new control knob.

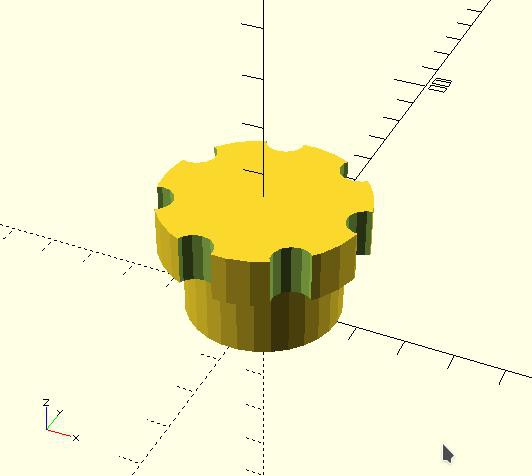
I improved the knob design, making it more robust so it won't break again. The standard infill in from the 3d printer already makes it stronger than the original. I also added an extended external grip to make it easier to turn. An added bonus is it is also easier to find the control in the dark.

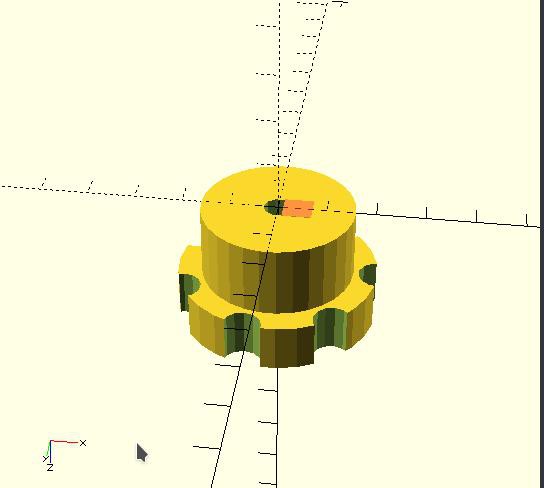
The part was designed in open scad. the code to make the part is included below. This can be modified for any other knob dimensions. See the comments in the code for an explanation of how the code works. If this helps, please freely use the code in your own project, you don't even need to give attribution. The .stl file is also attached if you have the exact same fan (Vornado), however you should tweak the dimension of the inner hole as it was a bit small on my printer and I had to jam it on at first.

Conclusion
The knob works really well. Easier to use/less finger strength need, compared to the original. Stronger and more durable. Easier to use in the dark.

commented source code is included so you can freely adapt this to your own equipment if needed.

3d printed part completed the repair better than originally expected, with a +WAF.
fanKnob.scad

source code for editing with openscad

x-openscad - 961.00 bytes - 02/18/2018 at 03:38

Download

fanKnob.stl

Ready to slice and print. Print with the outer face down to avoid using support. Print with several outer layers so the inner mounting hole has enough strength.

sla - 186.24 kB - 02/18/2018 at 03:34

Download

  • 1
    Step 1

    Download the scad file from files section and generate the 3d model in openscad, or skip this step and print from the attached .stl file.

    OD = 31.9;        //outer width
    OH = 15;        // height of main cylinder
    ID = 5;         //inside diameter for mounting hole
    KD = OD+10;        //outer diameter for knob
    KH = 10;         //height of knob
    SD = 6;         //shaft diameter
    SH = 10;        //shaft height
    
    module knobMain (){
        cylinder(OH,d=OD);      //main cylinder
        //grip cylinder with grip on outside
        translate([0,0,OH+KH/2]) cylinder(KH,d=KD,center=true);
    }
    
    module knobCutout (){
        difference(){
            //cylinder to remove center hole
            translate([0,0,-0.1]) cylinder(h=SH,d=SD);
            //keep the tab on the switch
            #translate([SD/1.5,0,(SH/2)-0.1]) cube([SD,SD,SH], center=true); 
        }
    }
    
    module buildMain (){
        difference(){
            knobMain();
            knobCutout();
            // this cuts out the small indents around the outer edge
            for (i = [0:360/7:360]) {             rotate([0,0,i])
                translate([KD/2,0,OH+KH/2])
                cylinder(KH+0.1,d=KD-OD-2,center=true);
            }
        }
    }
    
    buildMain();
  • 2
    Step 2

    You may need to enlarge the inner hole to suit your printer and rotary switch. generate the .stl or use downloaded file. Print 3d part.

  • 3
    Step 3

    Use sand paper to smooth the corners and printing artifacts if necessary. I use a kitchen stove gas flame to smooth the plastic scuffs after sanding.

View all 4 instructions

Enjoy this project?

Share

Discussions

Similar Projects

Does this project spark your interest?

Become a member to follow this project and never miss any updates