Step 1.
Open the Radio and remove everything inside, except for the speakers.
Step 2
Grind off all the excess mouldings off the face plate to allow a flush mounted fascia
Step 3
Cut Laminex sheet to fit the fascia space and cut in the extra holes required for the MP3 player, volume knob and power button
Step 4
Using a 12v mp3 player from ebay as the source of music, it gets mounted up the top
I bought a 15w +15w 8Ohm amplifier to power the speakers. The original amp in the Makita radio is only a 3.5w + 3.5w and the speakers are 10w each. Not sure why they have gone so low with the amplifier.
I also mounted an illuminated power button again from ebay to power the radio on and off.
Its currently running from a 12v power supply from the wall. It powers the button and onced turned on, it sends power to the amp and the radio.
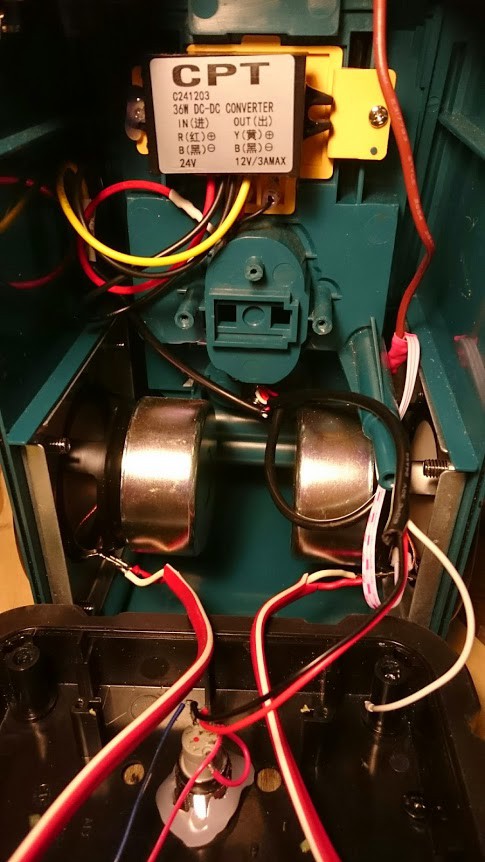
I am waiting for a step down transformer so that I can use the 18V battery from Makita to slip in the back and then drop the voltage to 12v and run the system.

 Mike Rigsby
 AccidentalRebel
 Stefan Kratz
Could you please add more info as to what gets soldered to what, speacially the amp, and stepdown module?