Close
0%
0%

TEK - PS/2 to Matrix Keyboard Adapter/Emulator

Matrix Keyboard emulator designed for retrocomputing use.

Similar projects worth following
This project can translate the keystrokes from a PS/2 keyboard into equivalent switch closures of a matrix keyboard with 8 lines by 8 rows (the number of lines can be expanded, though).
It can be used to replace the or work in parallel with the original keyboard from classic computers, like ZX81/Spectrum, MSX, TRS-80, TRS-Color, Commodore 64, etc

This project is free, under the license CC by 4.0. See https://creativecommons.org/licenses/by/4.0/

The circuit consists of a PIC16F688 microcontroller that reads the PS/2 keyboard and eight 74HC595 shift registers. Each key read rom a PS/2 keyboards is translated into a map of bits that are serially sent to the shift registers.

The current board has the following features:

  • Capable of emulating a 8x8 matrix expandable to 8 x n (board has already solder points with identification for that).
  • Three connectors for PS/2 Keyboard: Mini Din -6, 4 pin header and USB female (some keyboards can revert to PS/2 compatibility when they can't establish an USB connection).
  • 2 I/O pins for reading special modifier keys or indicators (like caps lock, etc).
  • Serial 'Header' serial (TTL levels) for ease of debugging or for 'cross typing' (send pressed keys to serial and activate received characters - this is just a possibility and it's not implemented yet)
  • PIC ISP header for development and burning new firmware.

Tek_PIC16F688_SDCC.zip

SDCC port. Can be compiled using the 'compile.bat' batch file of by using the makefile. It generates hex files for both ZX81 and Speccy.

x-zip-compressed - 12.07 kB - 04/04/2016 at 09:43

Download

  • 1 × PIC16F688 PIC microcontroller 4K Flash, 14 pins
  • 8 × 74HC595 Shift Register with output latch and enable
  • 64 × 1N4148 Signal Diode
  • 3 × 10K 1/4W Resistor
  • 8 × 47K 1/4W Reistor

View all 16 components

  • SDCC files ready!

    danjovic04/04/2016 at 09:55 0 comments

    I've recovered the tree of files with the SDCC compatible firmware.

  • Ooops!

    danjovic04/01/2016 at 03:23 0 comments

    Sorry, uploaded wrong files to dropbox, but removed them already.

  • Porting code to SDCC

    danjovic03/31/2016 at 17:42 0 comments

    After receiving feedback of Joachim from ZX81 user group that assembled the TEK I've started to porting the code to SDCC. At this time I can compile the code in SDCC running under Windows. On Linux I am still dealing with some compilation errors related to libraries but this is a matter for another log.

    The porting basically required:

    • Installing the necessary tools
      1. SDCC
      2. GPUTILS
    • Changing the type of some variables to be compatible with SDCC: chars have been replaced by uint8_t to avoid warnings and int1 have been replaced by uint8_t. I've tried to use _Bool type (from stdbool.h) but this resulted in an internal SDCC error!
    • Changing the way of defining the fuses
    //#fuses INTRC_IO, NOPROTECT, NOBROWNOUT, NOWDT, PUT 
    uint16_t __at _CONFIG configWord = _INTRC_OSC_NOCLKOUT & _CPD_OFF & _CP_OFF & _WDT_OFF & _PWRTE_ON; 
    • Replacing library functions by macros or direct accessing the registers.
    // output_low (PIN_SDA);
    
    TRIS_SDA=0; //set as output
    PIN_SDA=0;
    • Changing the delay_us funcion to reflect the time spent by the assembly code generated by the macro (it takes 4+ 9*X cycles).
    #define delay_us(x) {  uint8_t us;	\
          us = (x)*FOSC/36000000L - 4/9;\
          while(--us != 0) continue; }

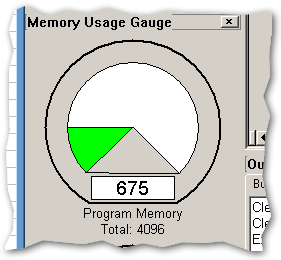
    The SDCC compiler provides an estimate size of code generated: 669 instructions.

    It is almost the same size of the code generated with CCS. The difference is minimal.

  • ZX81: Connections and Key Bindings

    danjovic06/21/2015 at 02:00 0 comments

    Added connections for ZX81/TK85 and key bindings for PS/2 Keyboard (ABNT Standard). Will update firmware link as soon as new bindings for keyboard is set.

    Further details available here.

View all 4 project logs

  • 1
    Step 1

    Components Placement:

  • 2
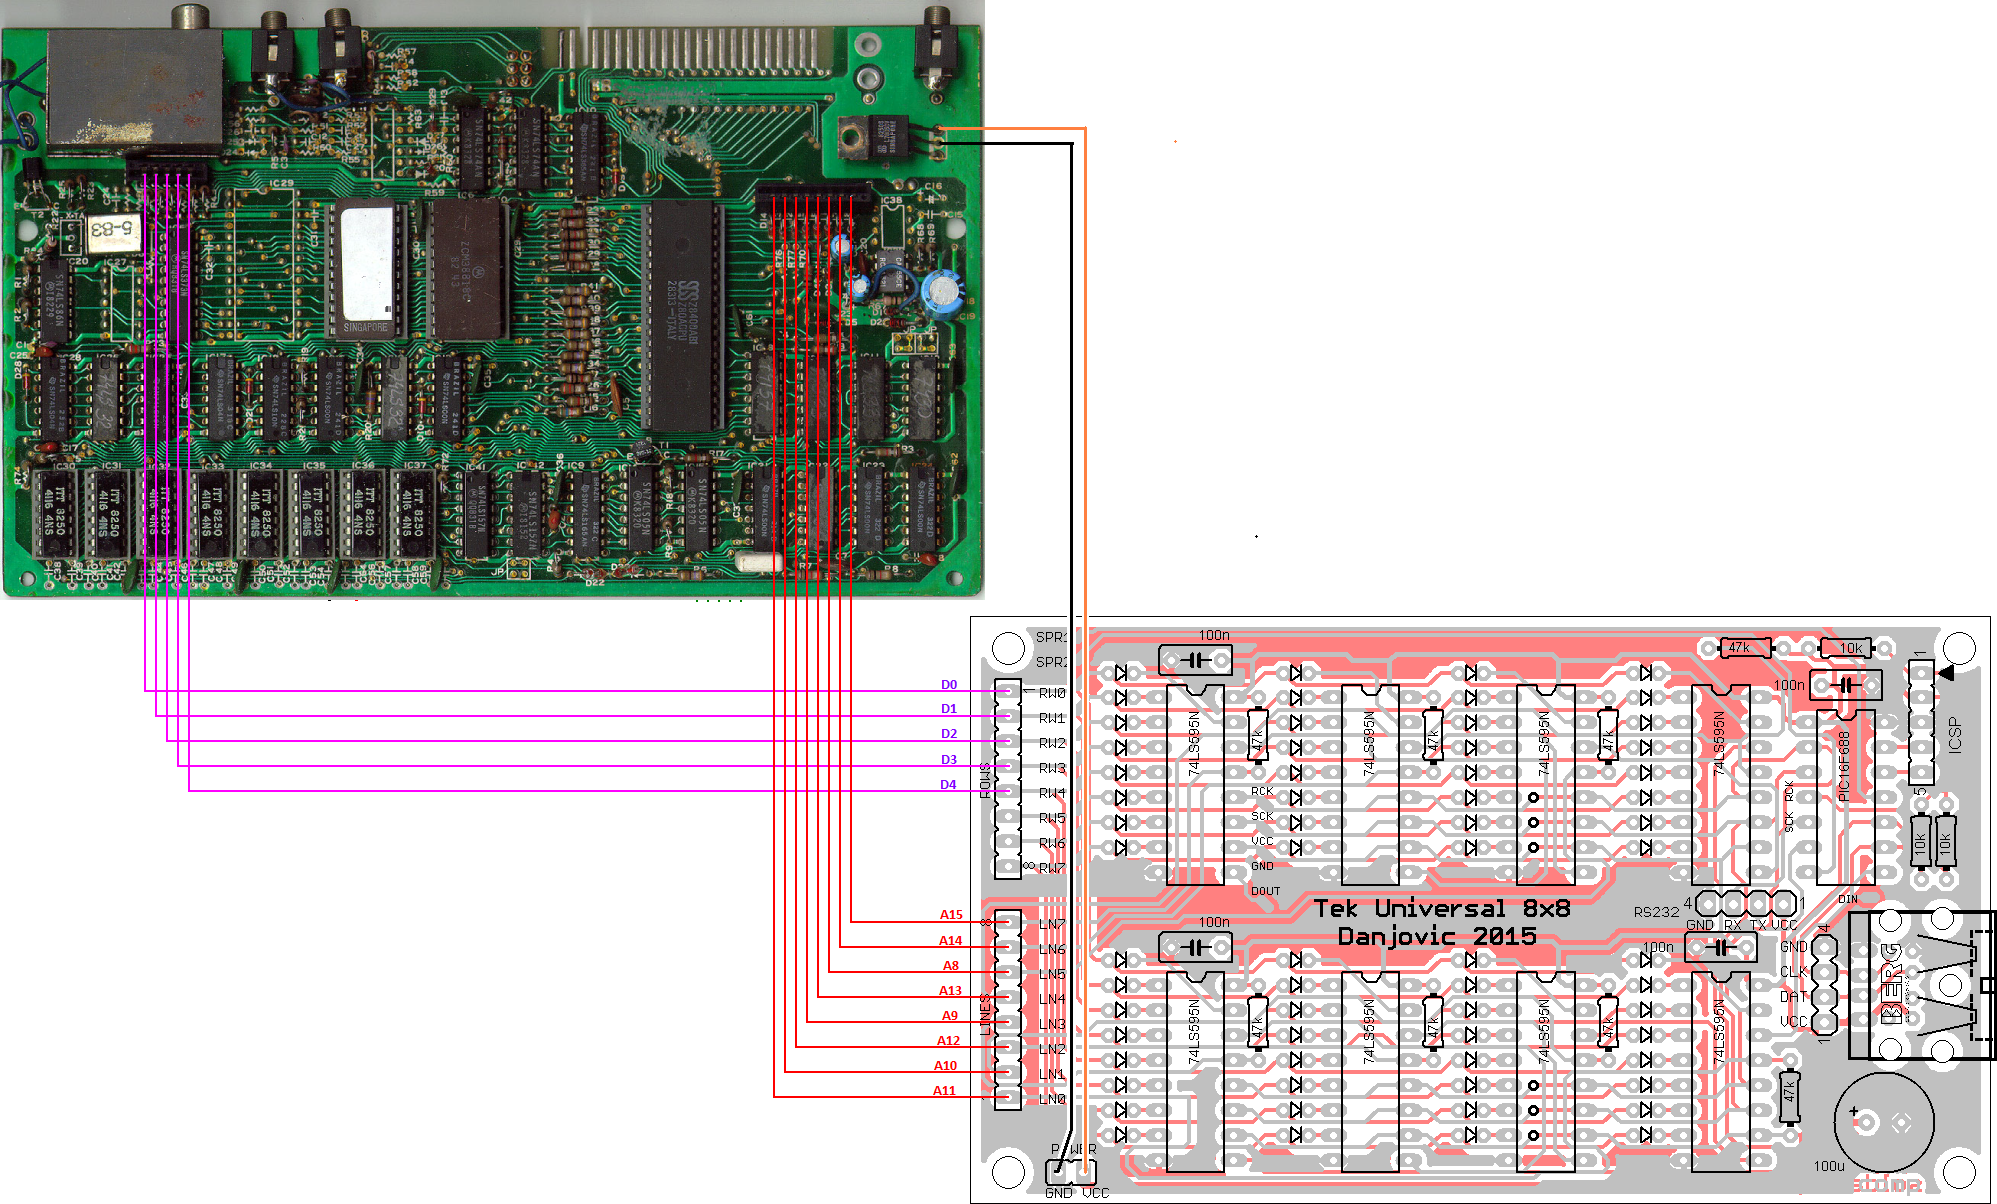
    Step 2

    Connections for ZX81

  • 3
    Step 3

    Connections for TK85 (ZX 81 clone)

View all 4 instructions

Enjoy this project?

Share

Discussions

Larry wrote 06/20/2015 at 20:34 point

I am happy to see your project, I need a reliable keyboard for my ZX81/ Timex 1000. Thank you for the hook up diagrams !! I need to translate the comments in the code just so I learn. Thanks for sharing your work. 

  Are you sure? yes | no

Similar Projects

Does this project spark your interest?

Become a member to follow this project and never miss any updates