Close
0%
0%

Taking digital xray shots for cheap (< 300$)

Reverse engineering a Trophy DigiPan digital xray image sensor for 2D and CT 3D images.

Similar projects worth following
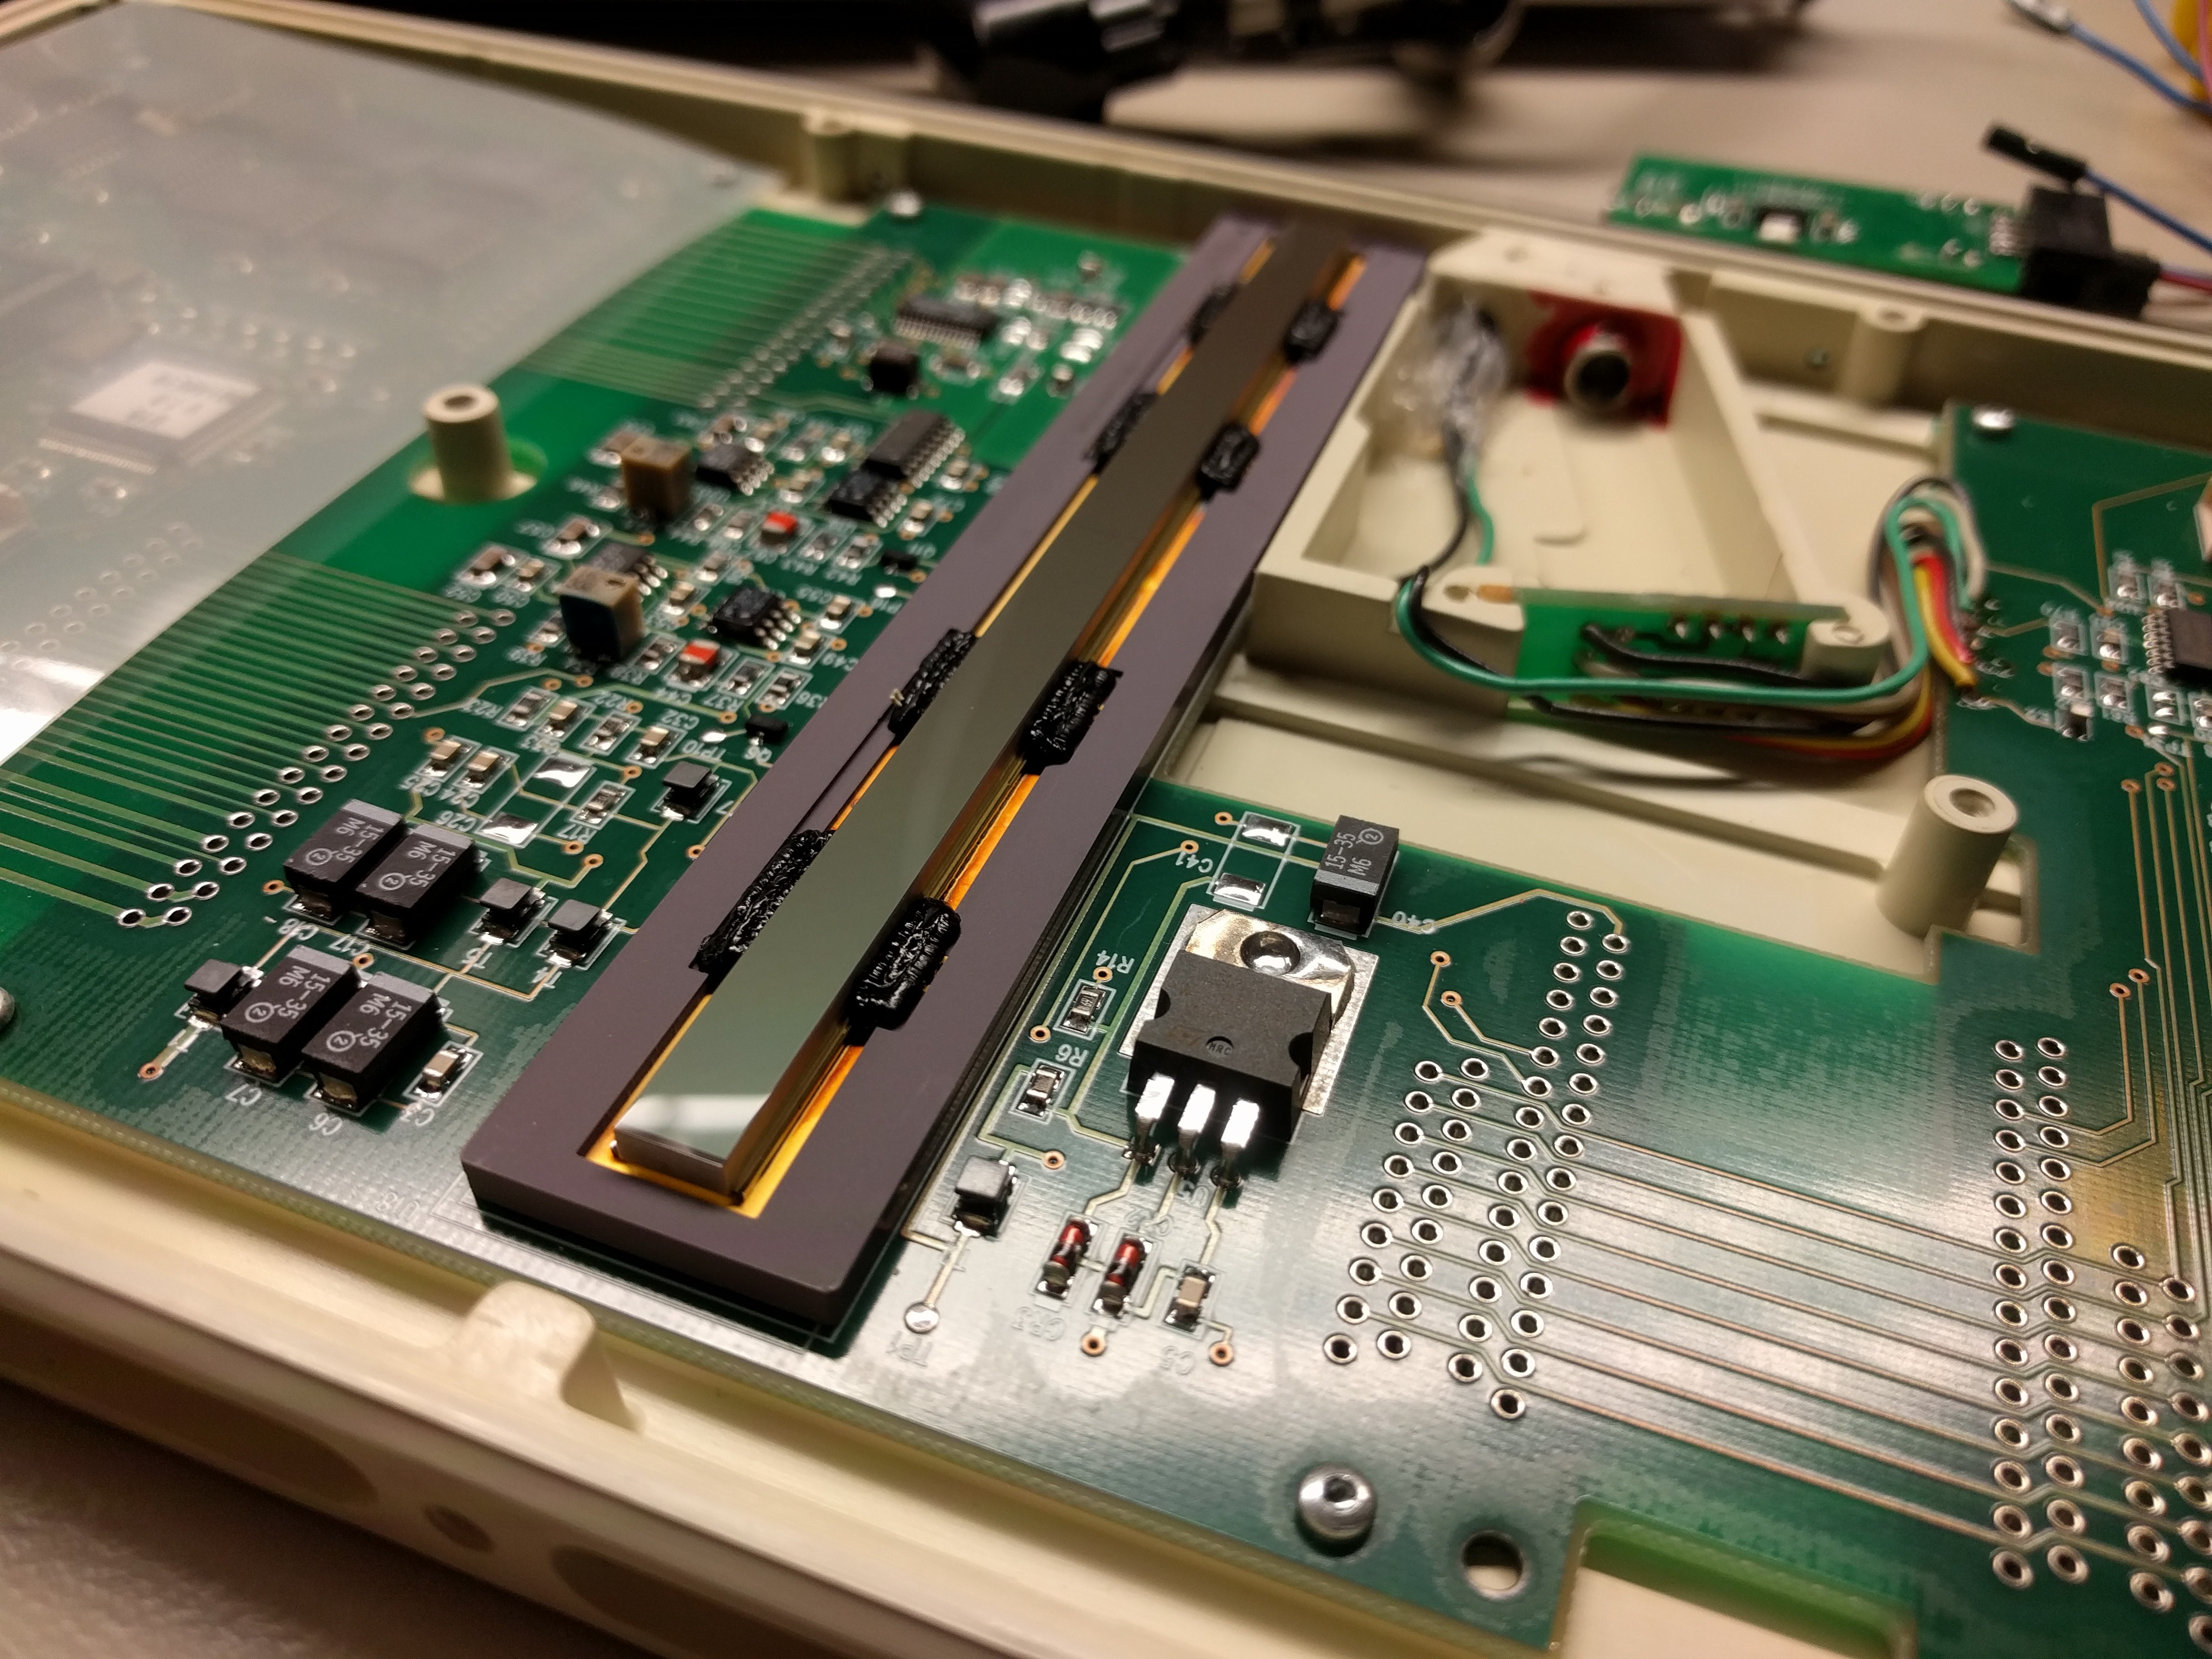
The nice thing about technological progress is that even once innovative technologies are considered outdated at some point. And outdated technology is cheap technology. So it comes that one can buy the first generation of digital xray image sensors on ebay from time to time for just 100-200€. This isn't particularly cheap, however these things were sold for ~20k€ once.

When I bought my first DigiPan back in January 2018 I didn't know anything about it. There is close to no information about these sensors on the Internet, not even the sensor resolution or the interface. All I knew was that when you shine xray light on it, some sort of images has to come out of it as this thing was used (and probably still is) for dental xrays. And as it was sold with a PCI card I felt rather confident that I would be able to render this thing useful. This is about how I got it running and what you can use it for.

Before I got the DigiPan delivered, I did some research on the internet and was rather disappointed to find nothing about this sensors at all. However I contacted a guy on a medical support forum that seemed to know about Trophy devices. As it turned out this guy had all the documents I could have wished, including pinouts and confidential powerpoint presentations. Without his help I probably wouldn't have come so far yet.

First challenge was to get the DigiPan powered. The only connection is a 8-pin DIN plug on a ~20cm long cable. Both power and data goes through this connector.

Here is the pinout of a similar type of DigiPan as mine, pinout is identical for both:
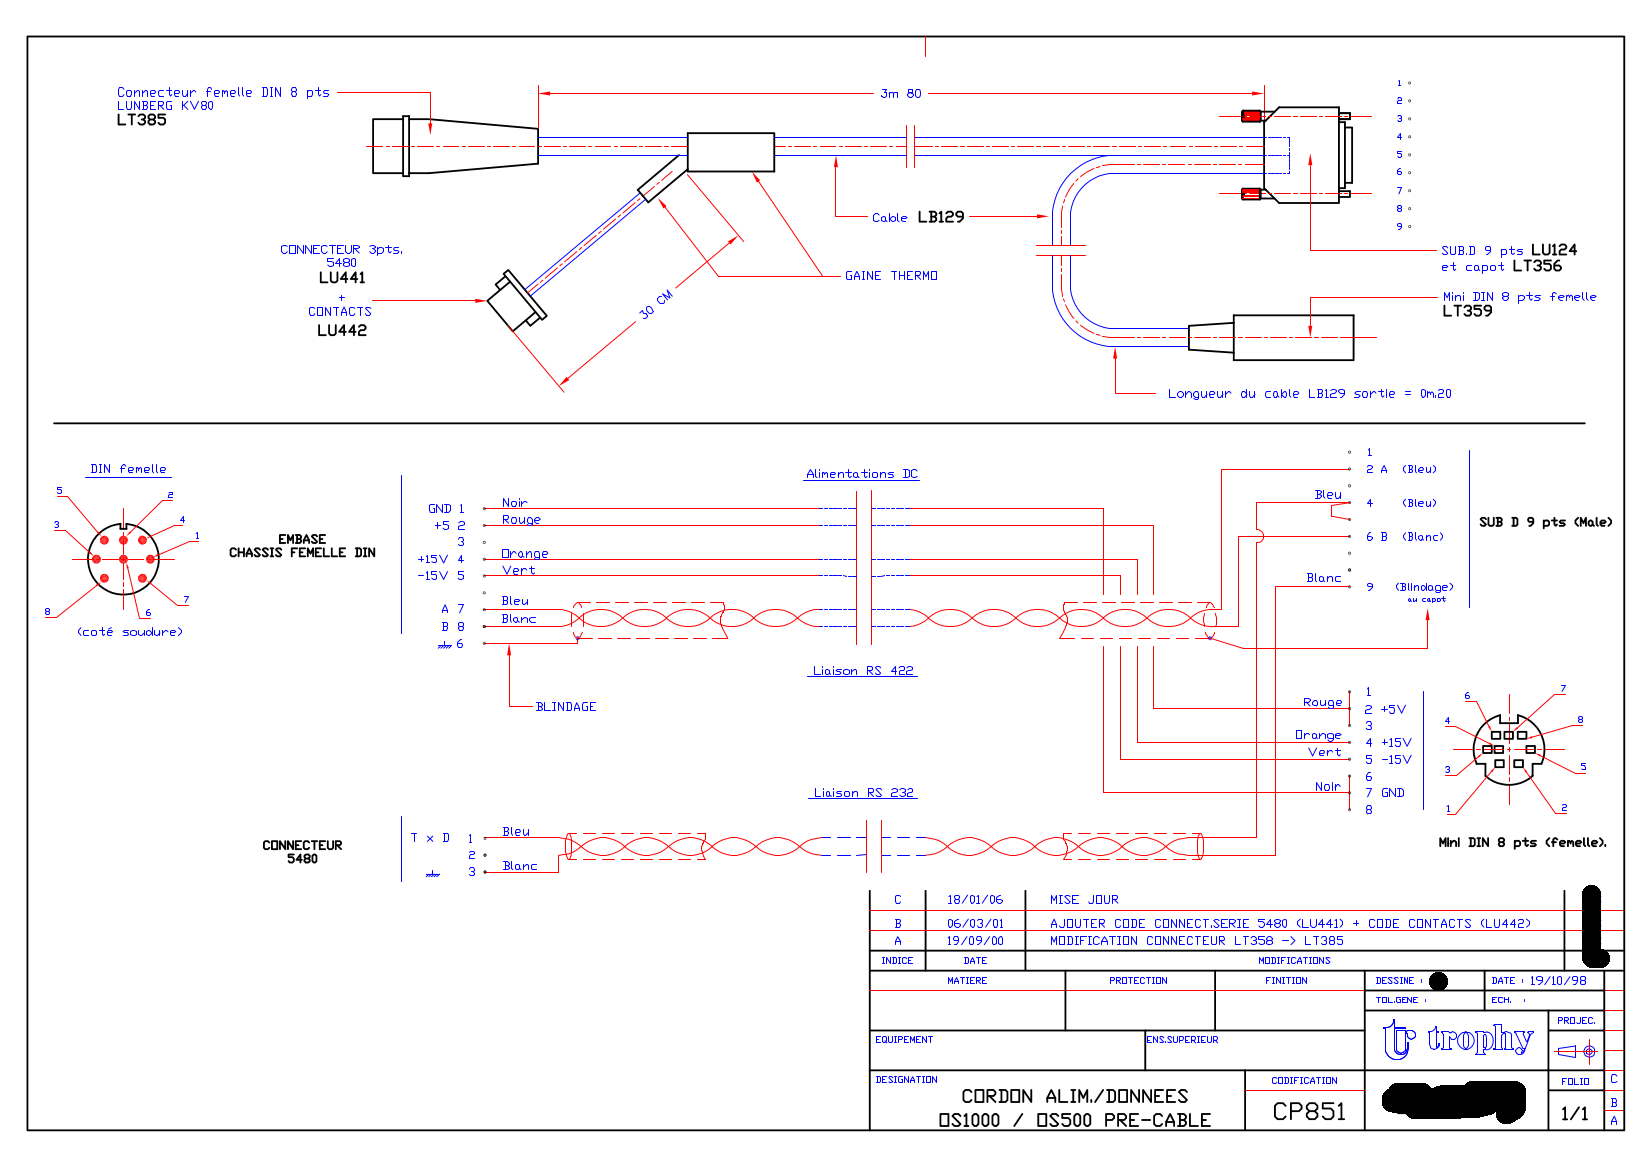
As you can see, the sensor requires 5V (2A) and +/- 15V (700mA). Also there is some hint of the type of interface this thing uses: RS422.

Unfortunately RS422 is only a specification of the physical layer, not the actual protocol. So it was still unclear how this thing sends out image data. However, RS422 is a mono-directional interface and there is no second RX channel. This means the panel can only send out data, it can't receive anything from the computer. This is nice, as this means it doesn't require any magical initialization commands or settings transmitted to it to operate normal. It works standalone, which makes it perfect for further reverse engineering


With this information I was able to power my DigiPan once I received it. Applying the 5V is enough to get the digital circuitry running. In fact there is a relais inside that only lowers the CCD and analog circuitry during exposure.

From the support manual I knew that the DigiPan sends out a test image at powerup. It is a greysgale gradient with the resolution of a typical x-ray scan.

First goal was to capture this image and display it. However, first we have to understand how this sensor actually works:

The actual CCD sensor has a resolution of 1244 x 61 pixels. While today's image sensors use a 2D image sensor with the size of the required area (up to 200 x 200mm, which is basically a whole silicon wafer as a single image sensor), this DigiPan sensor has to be slided during exposure. It is basically a 1D sensor that has to be moved to generate 2D images. From what I know, this also means maximum image witdh is unlimited as the data isn't buffered, but streamed out during exposure.

But wait, why does the sensor has 61 pixels in x direction then? 

X-rays are rather weak, especially in medical context. So to get well exposed images, long exposure times are necessary. This isn't a problem for stationary 2D image sensors, but as this thing moves, long integration times would cause motion blur.

In order to achieve both high sensitivity and fast movement Trophy uses a trick called time delay integration (TDI). This works by having multiple (61) rows of elements which each shift their partial measurements to the adjacent row synchronously with the motion of the image across the array of elements.

Here you can see the data sent out by the DigiPan at powerup. Sampled with a Saleae China clone at 24MSa/s and PulseView:

Some measuring revealed a bit rate of ~7.9MHz. The crystal next to the cpu on the DigiPan pcb has 16MHz, so it's 8MHz. The protocol contains one Start bit and no Stop bit.

The actual data is 12bit + 1 control bit that seems to be always 1. The 12 bit data is the actual ADC reading of each pixel. Data is streamed out pixel by pixel, line by line, 1244x 13 bit data packets per CCD line.

This is very similar to genuine UART, however UART usually has baud rates of 9600-115200 and 8 data bits + 1 stop bit. Sigrok-cli already has an UART decoder, however only for these standard values....

Read more »

  • Going realtime

    Lucy Fauth03/09/2018 at 20:25 0 comments

    The nice thing about the original DigiPan hard- and software is that the image is displayed in realtime as it is exposed. This saves a lot of time, as you can see right at the beginning if an acquisition is over- or underexposed. With the current software setup, however, realtime processing isn't possible: Data needs to be captured first, and then the software decoder can be used for decoding.

    I didn't like the sigrok decoder anyway, it was just a quick workaround to be able to somehow capture UART with 13bit. The proper way to do this is in hardware: Either with an actual CPU that supports 13bit framing, or, for more flexibility, a fpga. I had an iCE40 board laying around and the toolchain set up anyway, so I gave it a go. Using an existing UART-echo demo, it was a matter of few hours to modify the code for my application. As I would require an UART speed of 8Mbaud to transmit 13bit data with 4Mbaud as 2x 8 bit frames, I had to configure the internal PLL to get faster clocking. Also, setting the FTDI to a baudrate >2Mbaud isn't supported by the Linux driver, so you have to do this using some usb magic.

    Both the verilog code and the python scripts for capturing and displaying are available here: https://github.com/NiklasFauth/iCE40-digipan-hardwaredecoder

    Here is a video of the acquisition:

    After playing around with pygame and stty for buffering data while received, I managed to get the same effect as using the original Windows 2000 software: The image is being displayed as the DigiPan is slided along the image:

  • First Images

    Lucy Fauth02/26/2018 at 10:24 0 comments

    While for the test pattern only the 5V rail is required, for actual xray acquisition the DigiPan also needs +/- 15V. So the first step was to build a suitable power supply.


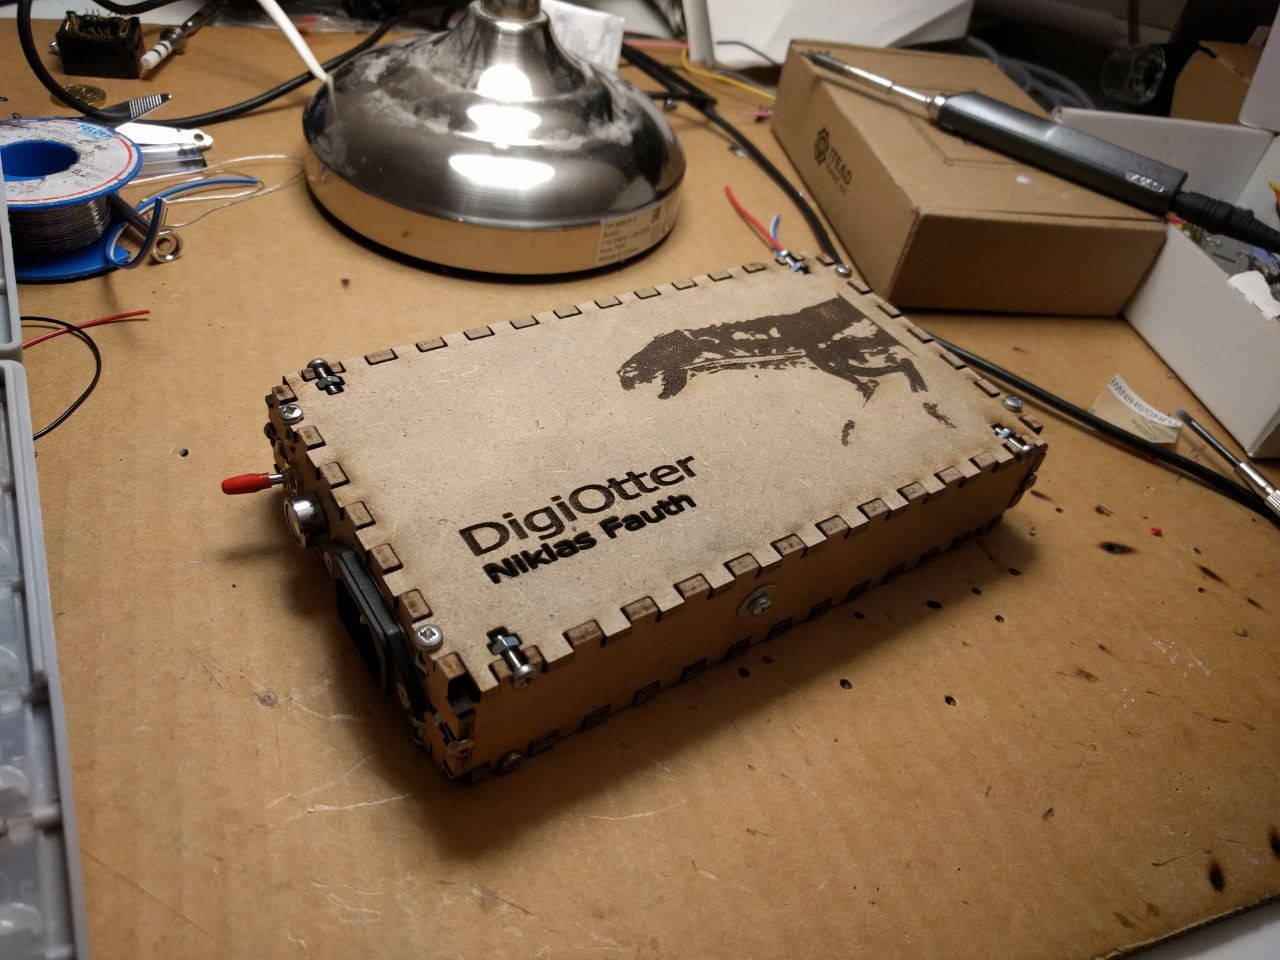
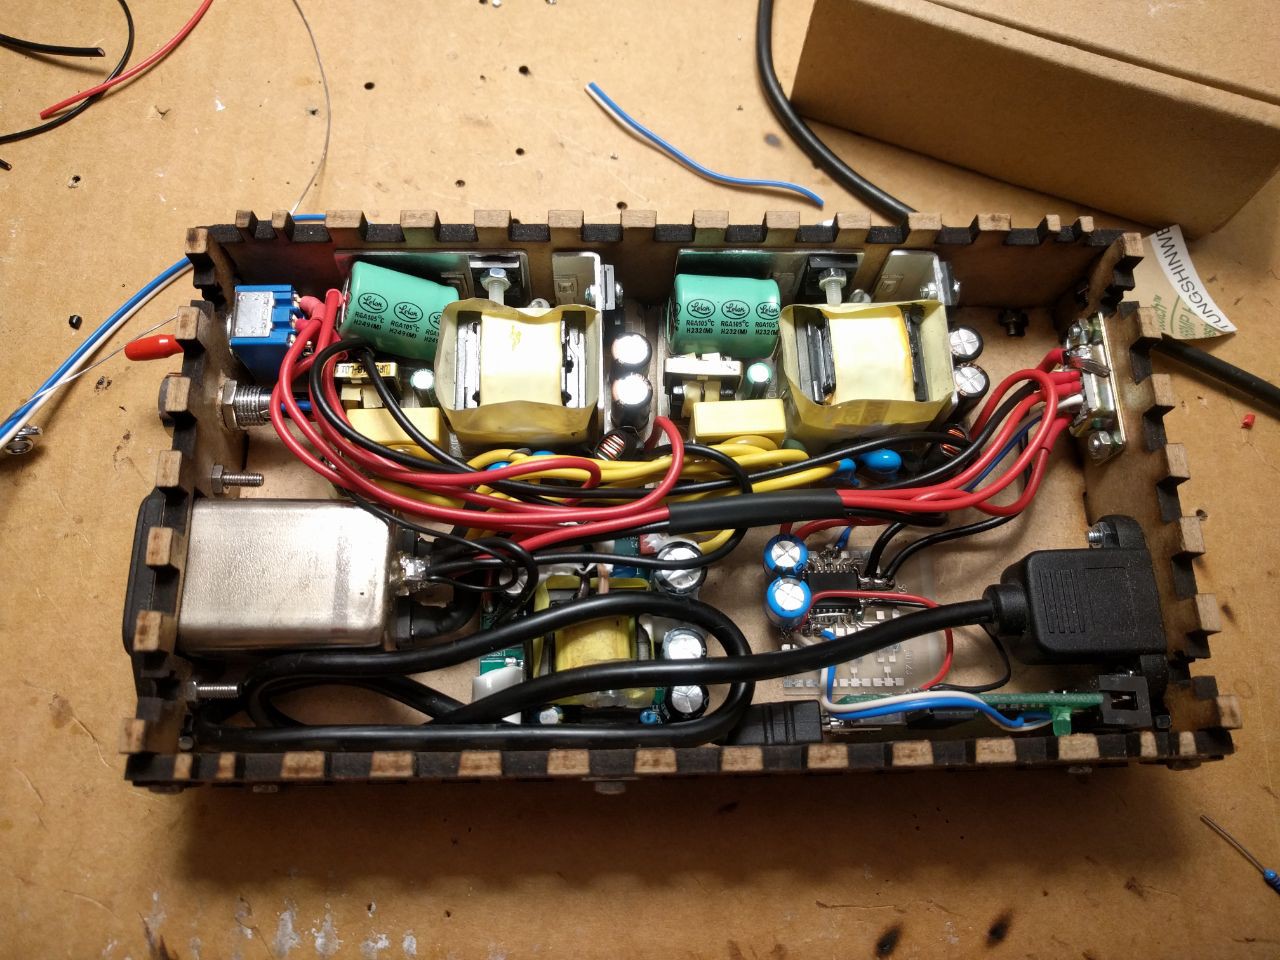
    This laser-cutted box contains all what is necessary to operate the DigiPan:

    • 2x 15V 1A switching mode power supplies
    • 1x 5V 3A switching mode power supply
    • 1x Saleae Logic 8 clone from AliExpress for 3$
    • 1x ISO1176 RS485 isolator to isolate the DigiPan ground from the USB & logic ground

    The output of the ISO1176 is connected to one of the logic analyzer inputs. Also the 5V DigiPan power is connected to one input. This is not necessary however it allows to trigger sampling on rising edge of this power rail and thus to the test image sent out at power up, which makes testing way easier.


    To slide the DigiPan during exposure we used a linear guide with a built in brushed motor. Speed control by controlling the motors voltage was sufficient at this point. Here is a video of the setup used to capture the first images:


    https://twitter.com/FauthNiklas/status/964989555601559553


    The xray device used for this is a modern handheld fluoroscope used for sports medicine. Output power is 40W at 20-80keV with a very narrow, well focused beam. You can recognize the spot size in the taken images:

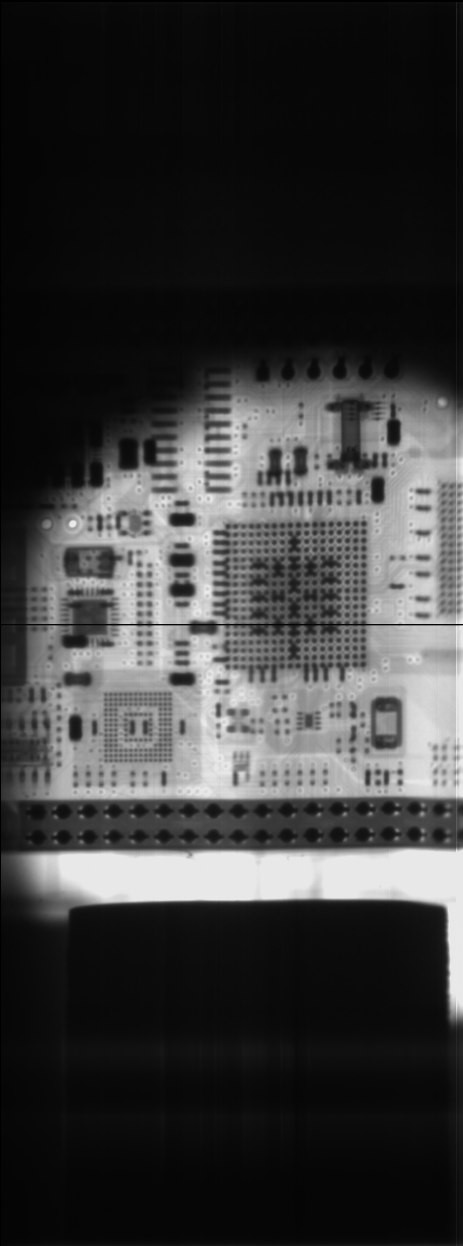
    The picture height represents the full sensor resolution of 1244 pixel. This is the xray of a BeagleBone Green. Two thinks you might notice:

    The black horizontal line in the middle:

    The DigiPan operates standalone, there is no way to start an exposure electrically. Also movement of the panel is a requirement of acquisition, but doesn't start one. The way this sensor triggers is that few pixels in the middle of the CCD are covered from the scintillator. If light level around these pixels rises, the sensor is exposed to xrays and image acquisition is triggered. 

    The round spot:

    As said before, the xray beam is very narrow. It is focused in a way no radiation sidepasses the original detector with 50mm diameter. This, combined with some lag caused by the detection of xray to trigger the acquisition, causes this weird, round shape with one side slightly cut of.

View all 2 project logs

Enjoy this project?

Share

Discussions

Ahron Wayne wrote 10/13/2022 at 02:46 point

This is an awesome project and I will be digging into it soon.

  Are you sure? yes | no

fest wrote 01/28/2022 at 08:29 point

A few notes, as I'm currently undergoing similar process of trying to get my digipan to work:

1) According to PDF "DIGIPAN FRprincipe de fonct", the 13th bit is supposed to be a control bit (0=data, 1=control word). It is supposed to be used to indicate end of casette movement, end of column, end of exposure). I haven't gotten that far yet to verify it myself, but as with these things- something that is planned in the beginning may not be implemented if later deemed not needed, or perhaps the document describes a different variant of digipan

2) According to the documentation, the CCD actually consists of 2x 622x63 CCD arrays stacked vertically- the gap in the image is the physical gap between both CCDs.

3) The grayscale test pattern is supposed to be around 50 columns wide (I was thrown off by the "typical scan resolution". 

  Are you sure? yes | no

stdlogicvector wrote 02/27/2022 at 11:53 point

Can you make the PDF available?
At the moment, I am ignoring the 13th bit, but it would be nice to use it as intended.

The testpattern I receive is approx. 500 columns wide, but sometimes I receive a few bytes more.

  Are you sure? yes | no

ssemakulaivan7 wrote 08/26/2021 at 11:18 point

i bought the trophy os 500 but i have failed to have the x  ray  image displayed on my pc screen any videos or slides or assistance on how to make it work guys thanks 

  Are you sure? yes | no

stdlogicvector wrote 06/23/2019 at 16:33 point

Does your sensor output any data when moved without any x-rays? I get the grayscale image at startup and hear the relay for the +-15V click when it starts moving in the right direction. But there's no output on the RS-422 lines. Is it broken or does it need to see x-rays to start sending? (I tried it without the metal cover, but maybe the scintillator crystal doesn't transmit enough visible light.)


EDIT: Okay, I read your last post...it needs to see x-rays. That gives me hope, that the sensor is not broken :)


I'd rather use one of the 2D sensors, but the only one I got from ebay thats not completely broken has a cracked sensor and scintillator and only half the area is usable :-(

On a related topic: Where'd you get your sweet microfocus source? I've been searching for one of those for ages -.-

  Are you sure? yes | no

satanistik wrote 03/29/2018 at 00:00 point

This sensor have 61 pixel not because its old but because it's used in dental tomography - tube unit and detector are sniping around patient head and make all tooth image. https://en.wikipedia.org/wiki/Panoramic_radiograph

  Are you sure? yes | no

Máté Tóth wrote 03/11/2018 at 22:39 point

I like your project, I was thinking when I read the part where you mentioned the linear encoder. Is it possible it need that barcode lines read on the ccd, because it is absolute encoder, so the cpld is calcating the positios, and it is triggering the ccd. I think the ccd is not velocity controlled it is actually position controlled. In case the mechine loses power, after the power restored, the encoder still know where it is. It is my theary sorry, If it is not the case.

I saw a simmilar setup, Where is a head with Mini ccd inside and it is reading a linear barcode. It is called renishaw resolute.

https://goo.gl/images/QN9AP1

  Are you sure? yes | no

Jana Marie wrote 03/13/2018 at 07:57 point

No it is not an absolute encoder, it's purpose is to determine the velocity and direction the panel is moving.

  Are you sure? yes | no

cbmeeks wrote 03/07/2018 at 19:48 point

Great idea...get you some of those X-Ray glasses they used to sell in the back of comic books and put two of these in there.  Finally, X-Ray glasses that REALLY WORK!

  Are you sure? yes | no

ralph wrote 03/07/2018 at 19:27 point

hope you have your lead underwear on ---

http://epswww.unm.edu/media/pdf/02-Rad-Safety.pdf

  Are you sure? yes | no

Jana Marie wrote 03/13/2018 at 08:08 point

All safety precautions are complied with, also have a dosimeter for direct radiation warnings.

  Are you sure? yes | no

ssemakulaivan7 wrote 08/26/2021 at 11:22 point

did your trophy OS500 work

  Are you sure? yes | no

eliasbakken wrote 03/07/2018 at 18:34 point

Very cool! Would love one of these for verifying BGA placement on PCBs. Glad to see it's within reach should I ever come around to it :)

  Are you sure? yes | no

Jana Marie wrote 03/13/2018 at 08:03 point

That is why we bought these, but its pixel pitch is not quite fine enought. However, we are working on reverse engineering a better sensor. :)

  Are you sure? yes | no

Similar Projects

Does this project spark your interest?

Become a member to follow this project and never miss any updates