Close
0%
0%

Urban Kitchen Garden

Open Source Arduino controlled counter-top garden for growing vegetables, herbs, or greens for sustainable foods right in your own home.

Similar projects worth following
This project is designed to allow anyone, anywhere to have a modular, aesthetically pleasing, and simple device to grow food in their own kitchen.

Having long enjoyed growing my own food I searched for a commercial unit to allow me to grow vegetables , herbs and micro-greens/sprouts year round. I found commercial products to significantly lack the control and enclosed-nature I desired to grow what I want, when I want without buying their proprietary seeds/pods/modules.

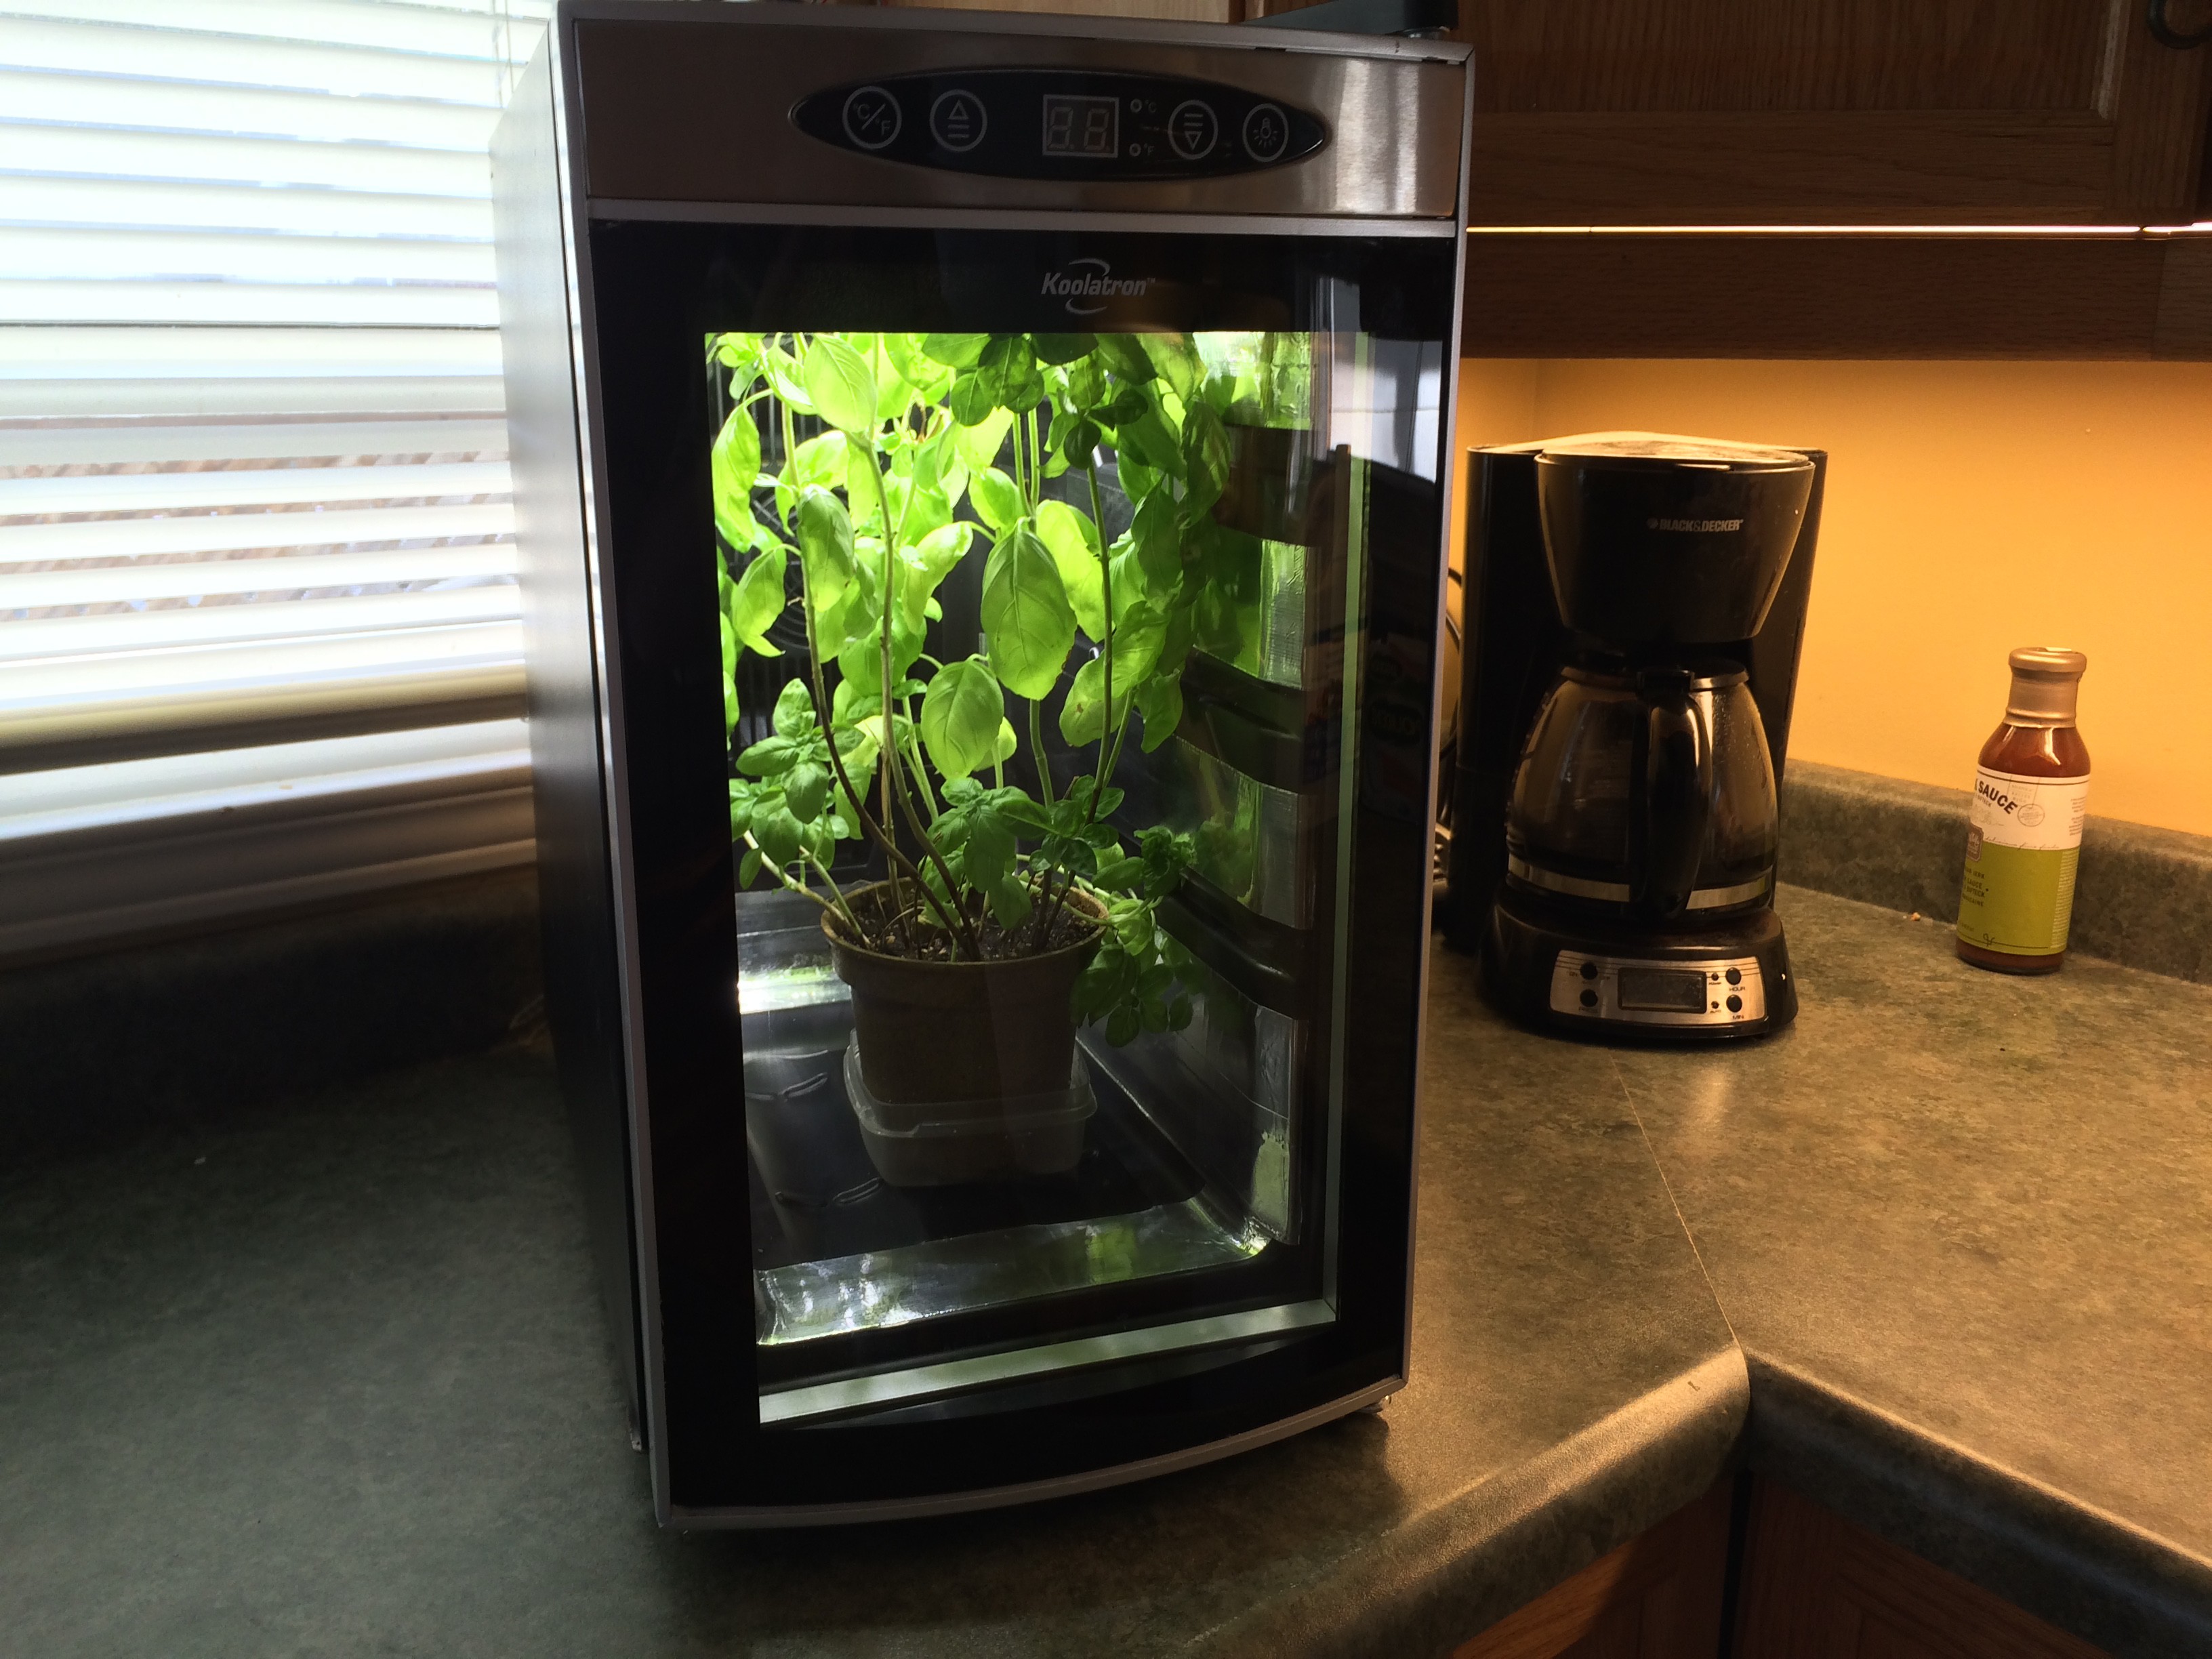
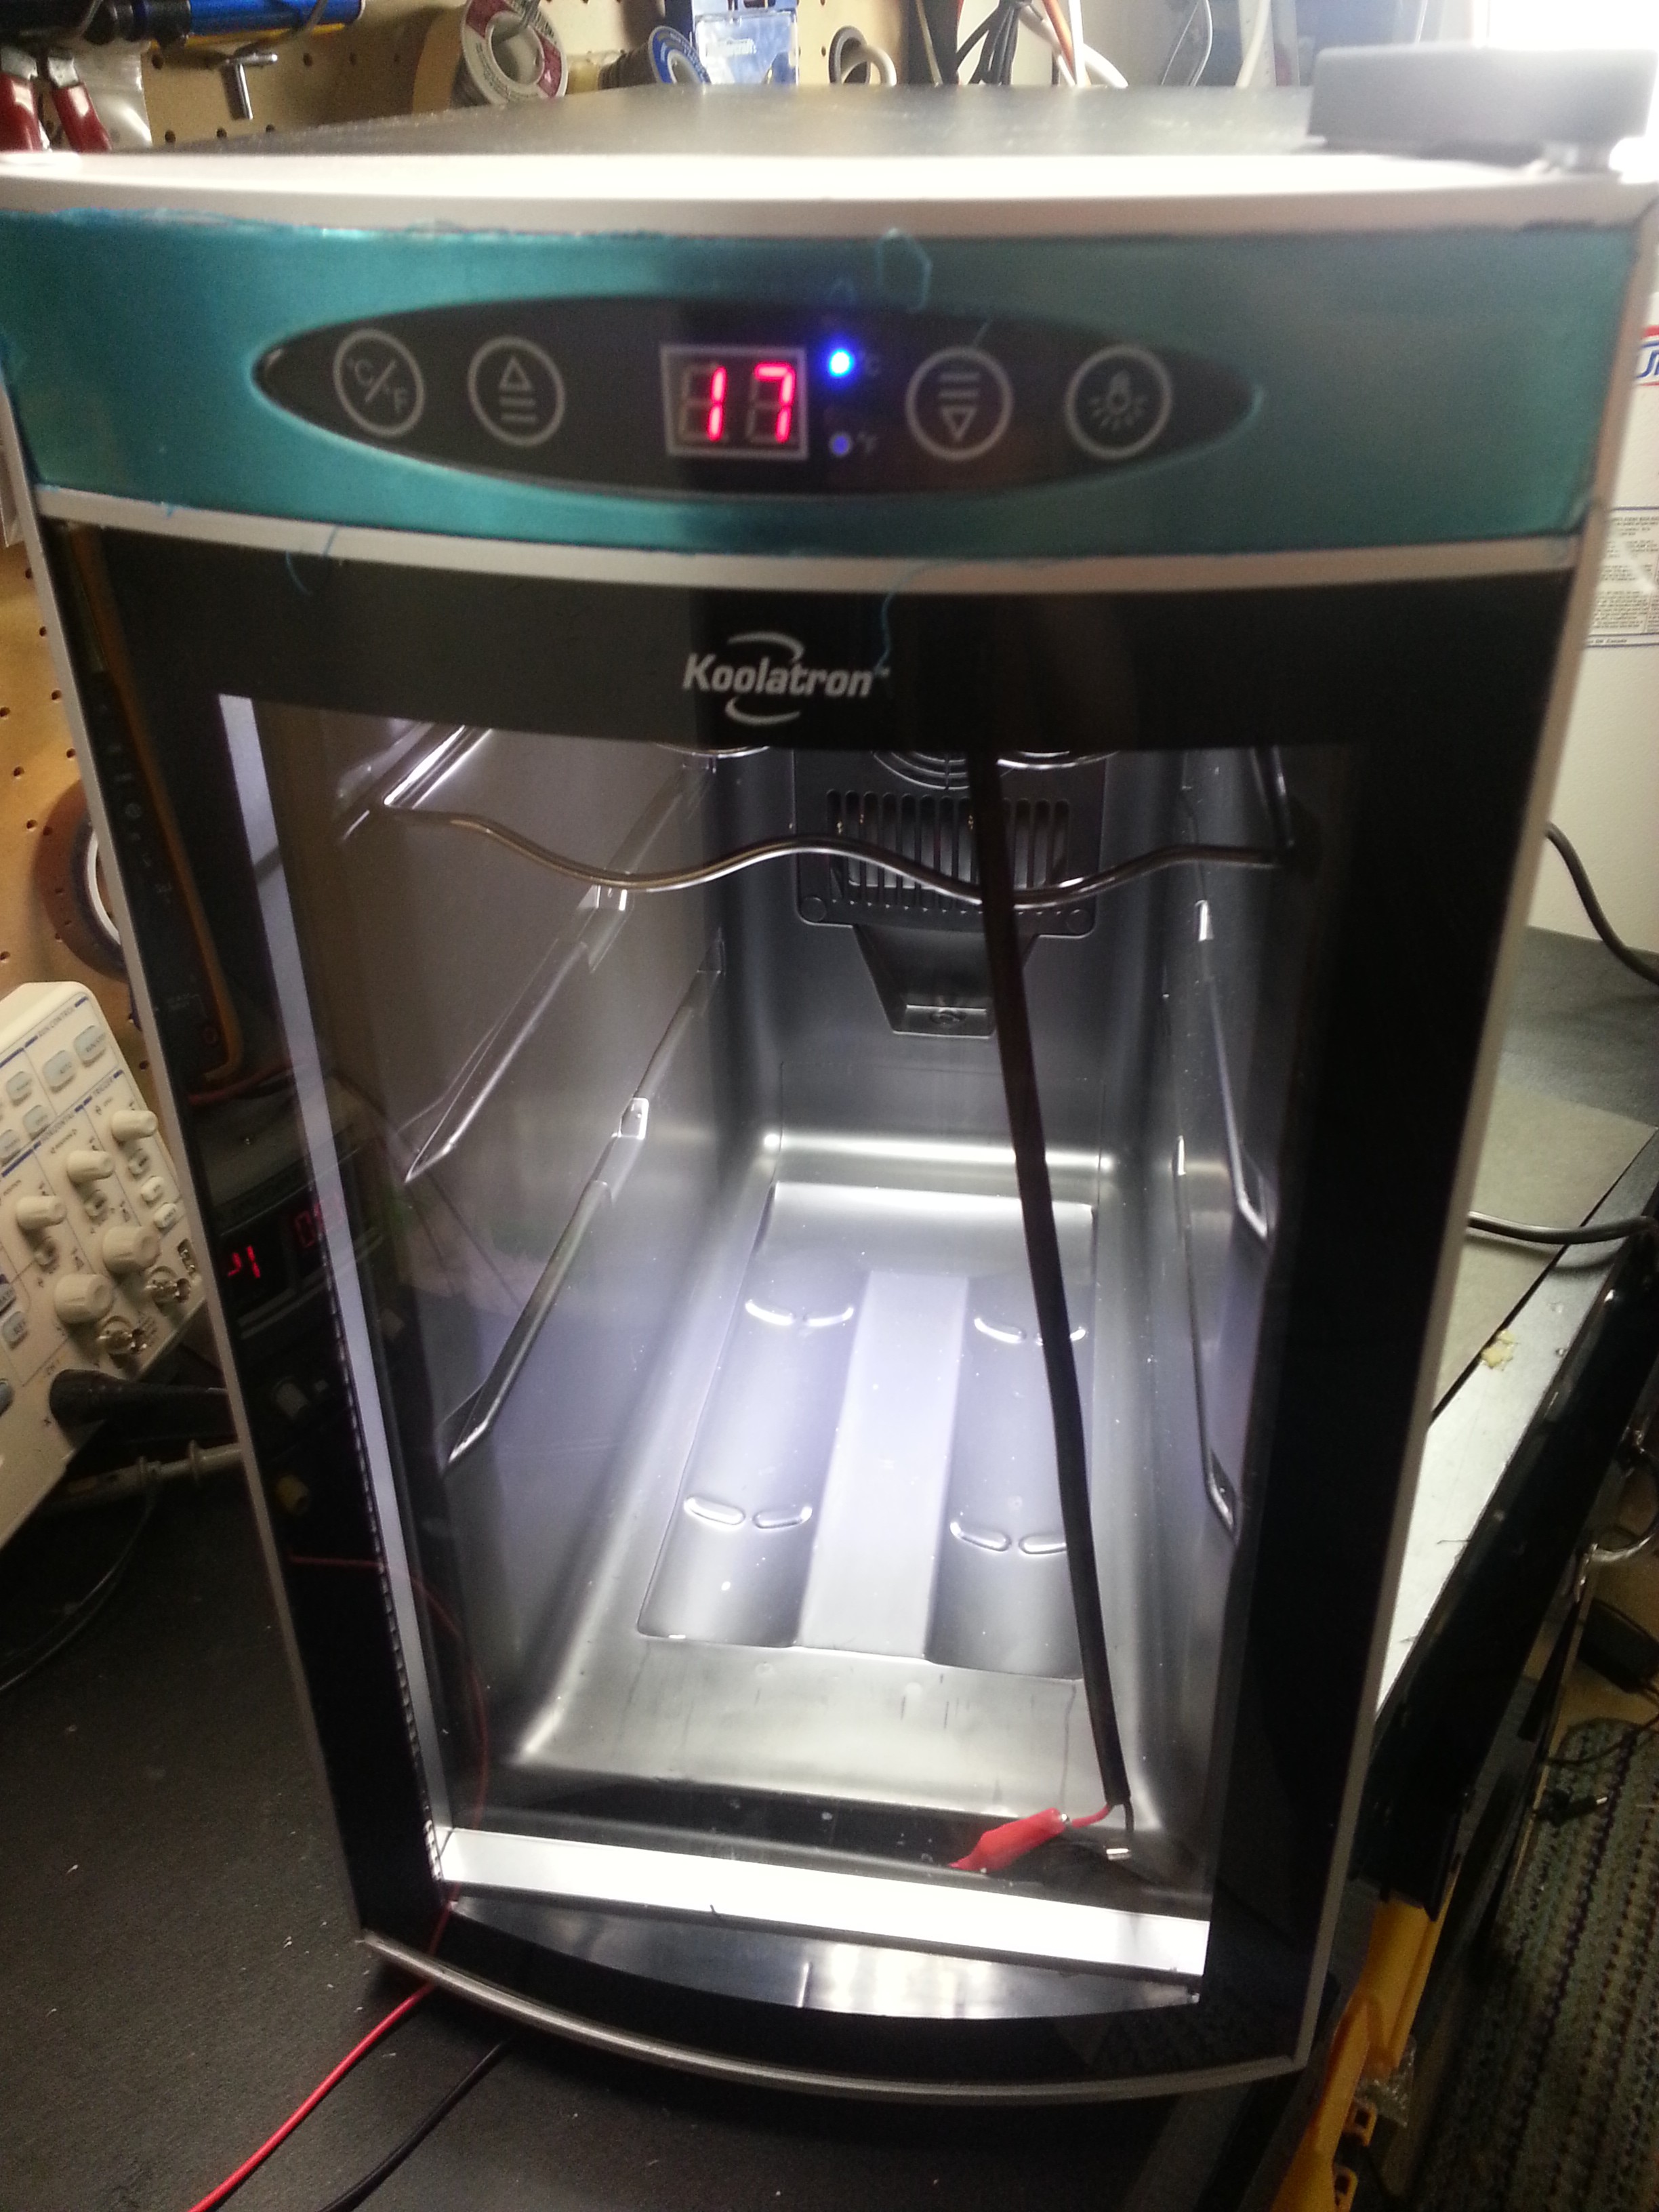
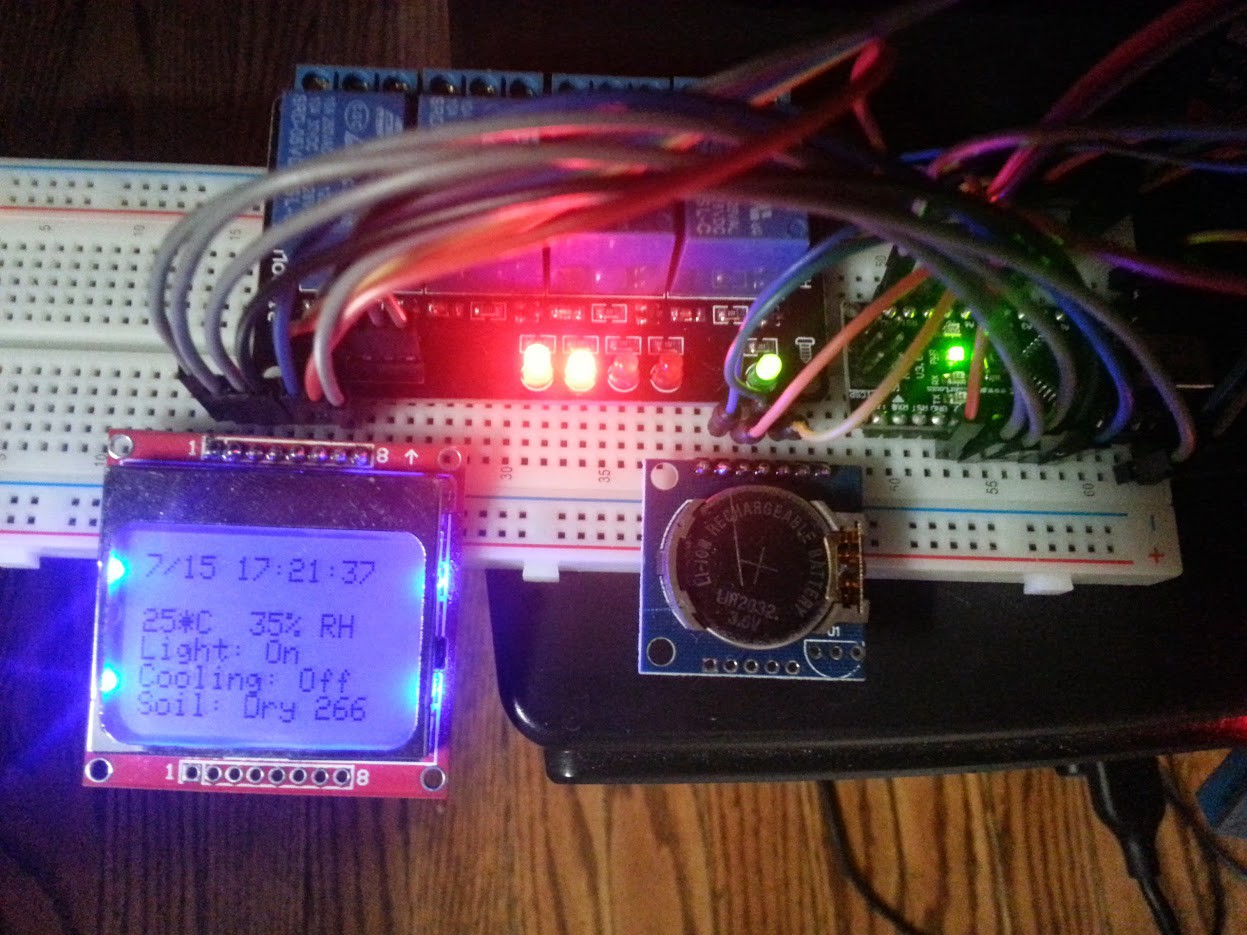
It uses a peltier driven wine cooler into a grow chamber and powered it with a simple Arduino for control. The LCD displays the relevant parameters (or alarms) at a glance.

The unit can control the temp, monitor humidity and soil moisture for any plants. A simple LED spotlight provides sufficient light.

Hopefully this open-source build will inspire others to grow their own food at home. Perhaps this will allow anyone to achieve some self-reliance for a brighter future regardless of where they may be.

I have always wanted to grow my own food indoors but our Canadian winters make it difficult. I tried a couple basic DIY methods and then graduated to the AeroGarden commercial counter-top unit. They have proprietary CF (compact fluorescent) lighting, no climate control as they are only open air and rely on you buying their proprietary "seed pods". The results were less than I expected...

I decided there must be a better way and in the fall of 2014 I began creating my own counter-top garden. I simply took the perfectly enclosed (and insulated) wine cooler and controlled it via a basic Arduino.

2015 Hackaday Prize Semifinals Video:

Longer/Technical Video Overview:

This unit allows for any grow media to be used, all parameters such as temp, lighting etc are controllable. No fancy chemicals/fertilizers are required. Just Some counter space in your kitchen or any other room in your home.
The commercial units I have used in the past require you to place them in an unused room as the light spillage is INSANELY bright. With this enclosure and the tinted glass door- most of the light remains contained within the unit- less waste and no annoyance. This was exactly what I wanted.

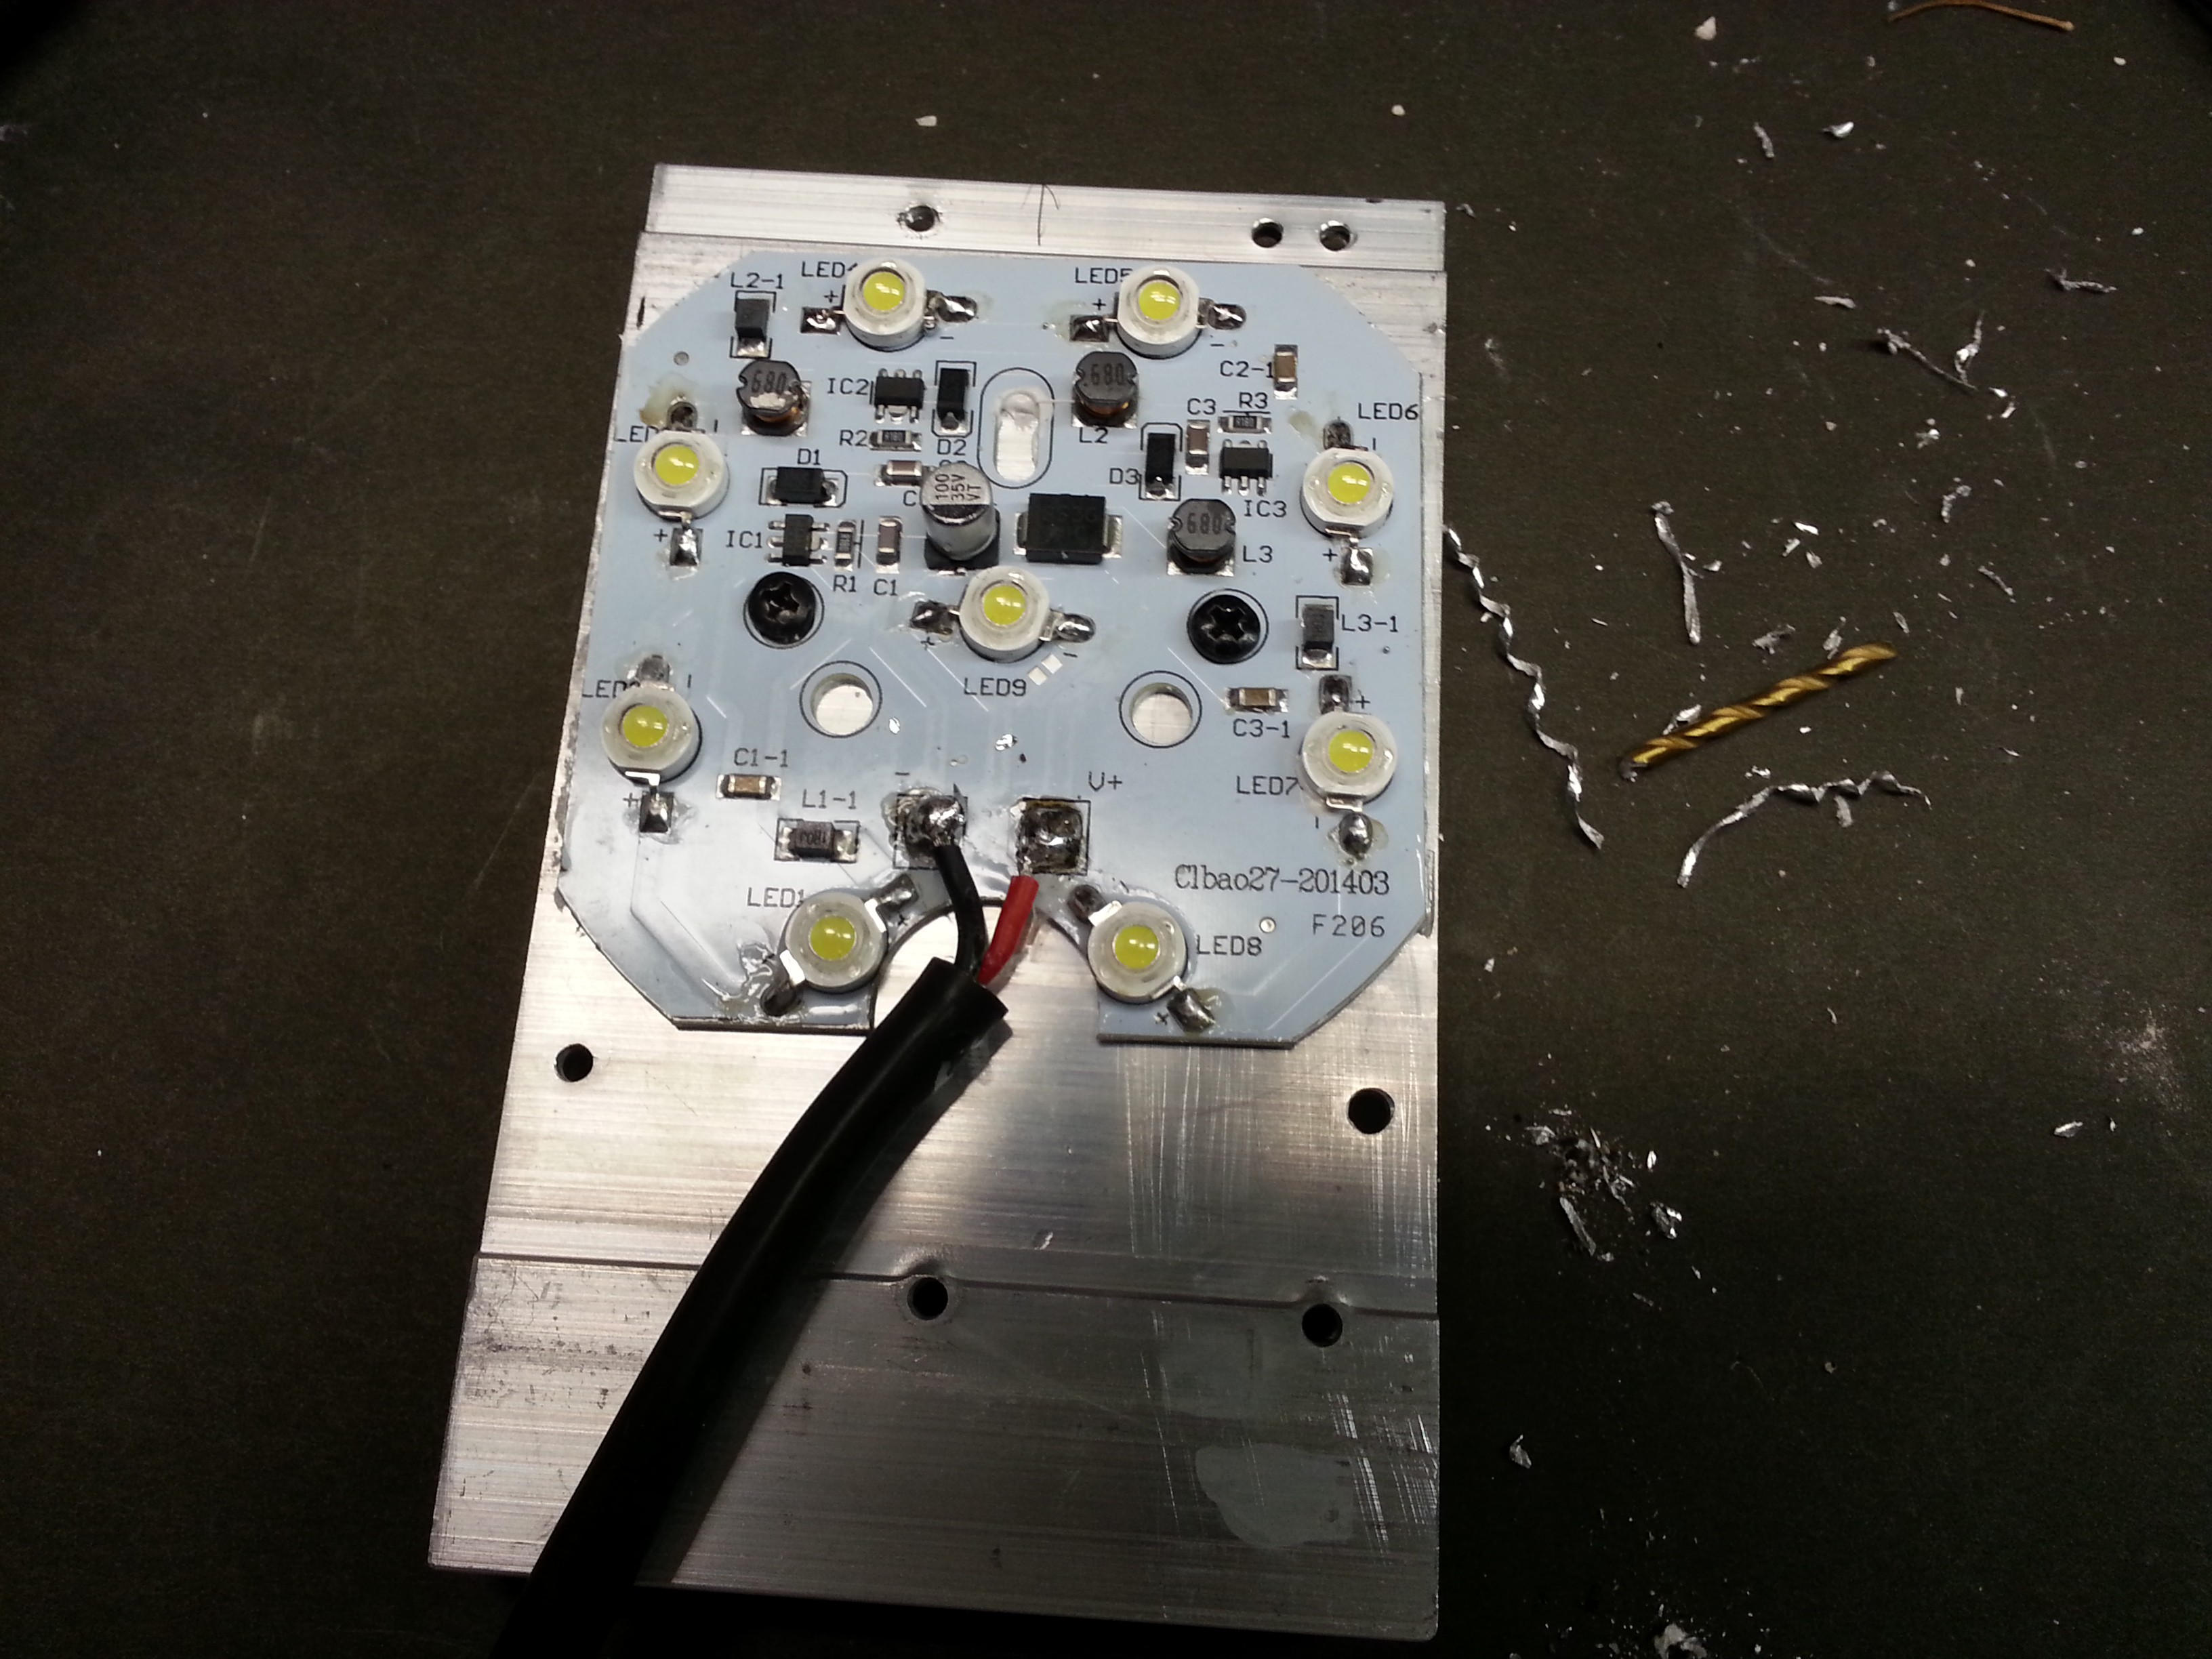
The initial LED lights I used for test worked far better than anticipated considering they were never designed for "grow lights" . These can easily be changed for any commercial "grow" lights which have many colors/wavelengths. I won't be changing mine as they are working too well currently.
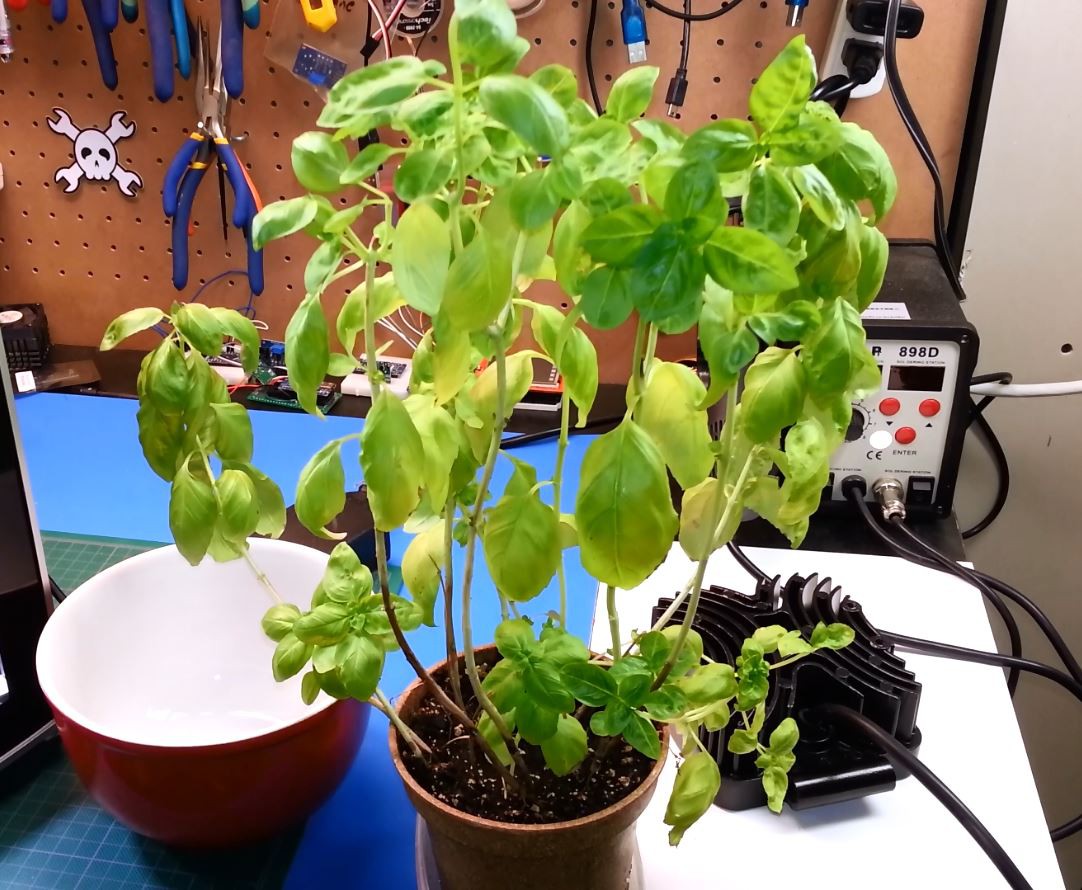
Through the winter of 2014/2015 I have tested multiple grows with no issues whatsoever. In fact- I can't seem to get rid of the original basil plant I used for testing :)

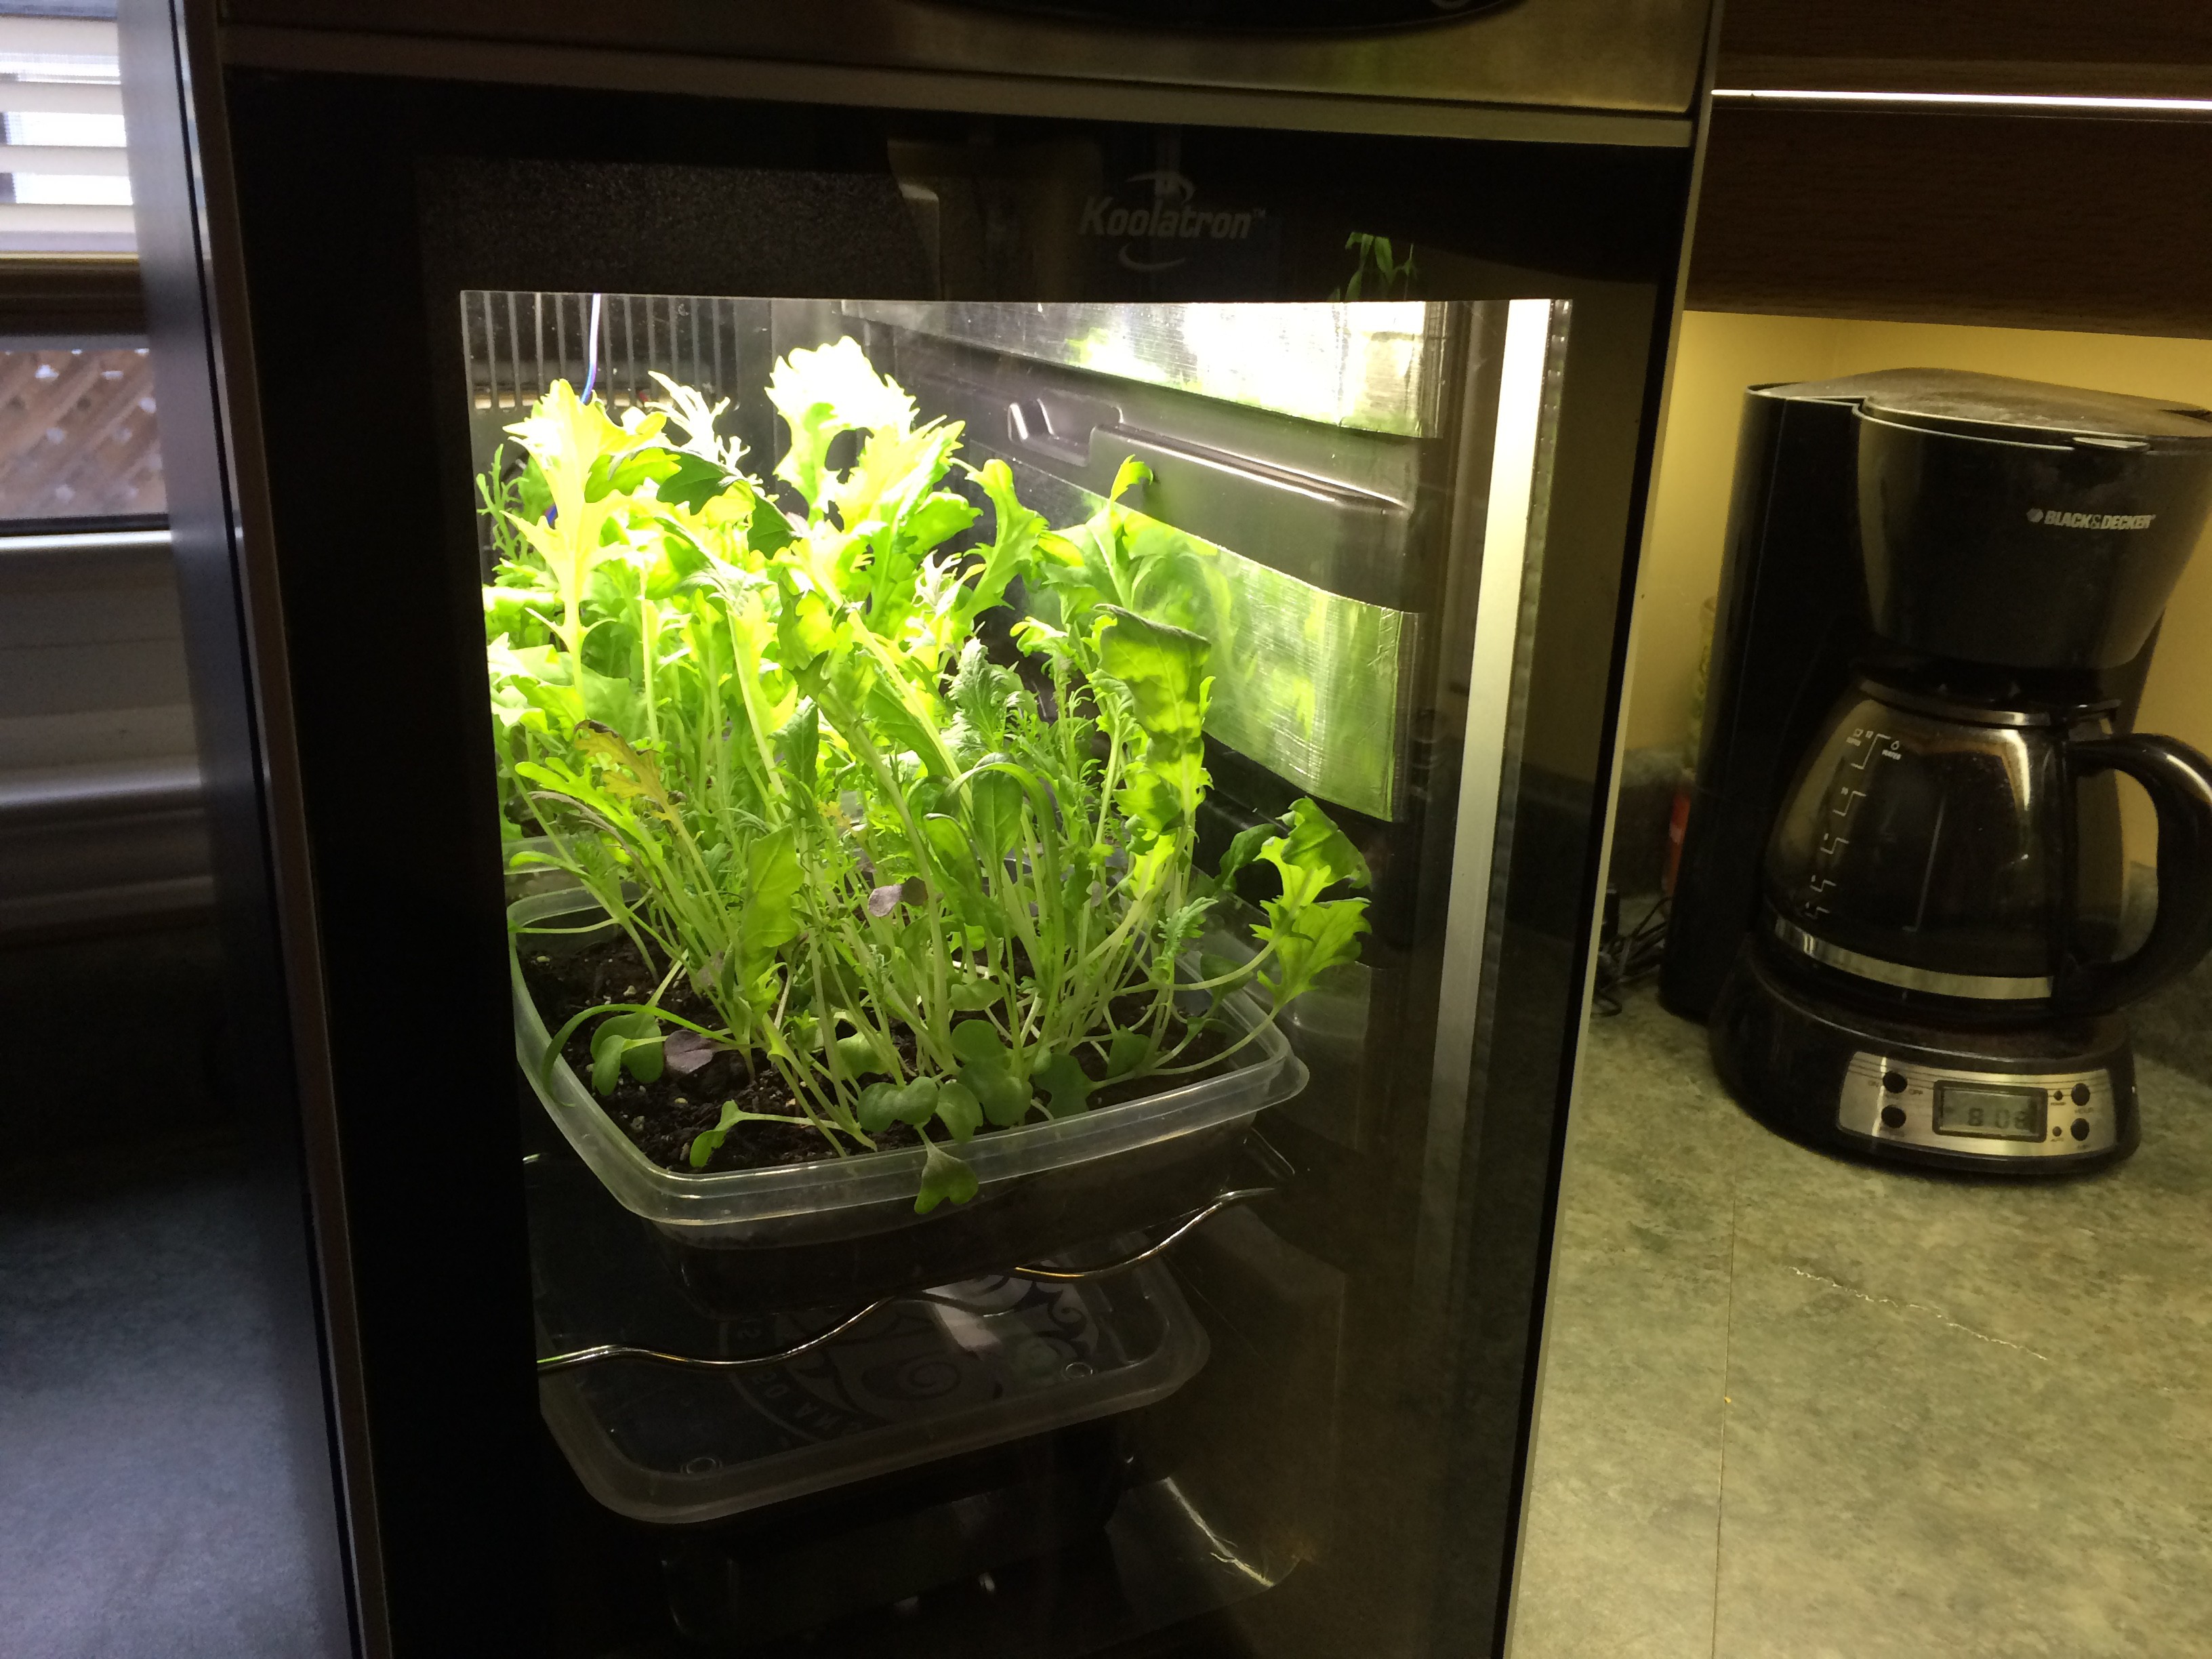
The basil plant is NOT the best form factor. The best results seem to be from trays which you can plant a variety of greens and herbs. Using radish, chives, mustard greens and many more mixed make for a fantastic salad while maintaining a high density of growth in the chamber.
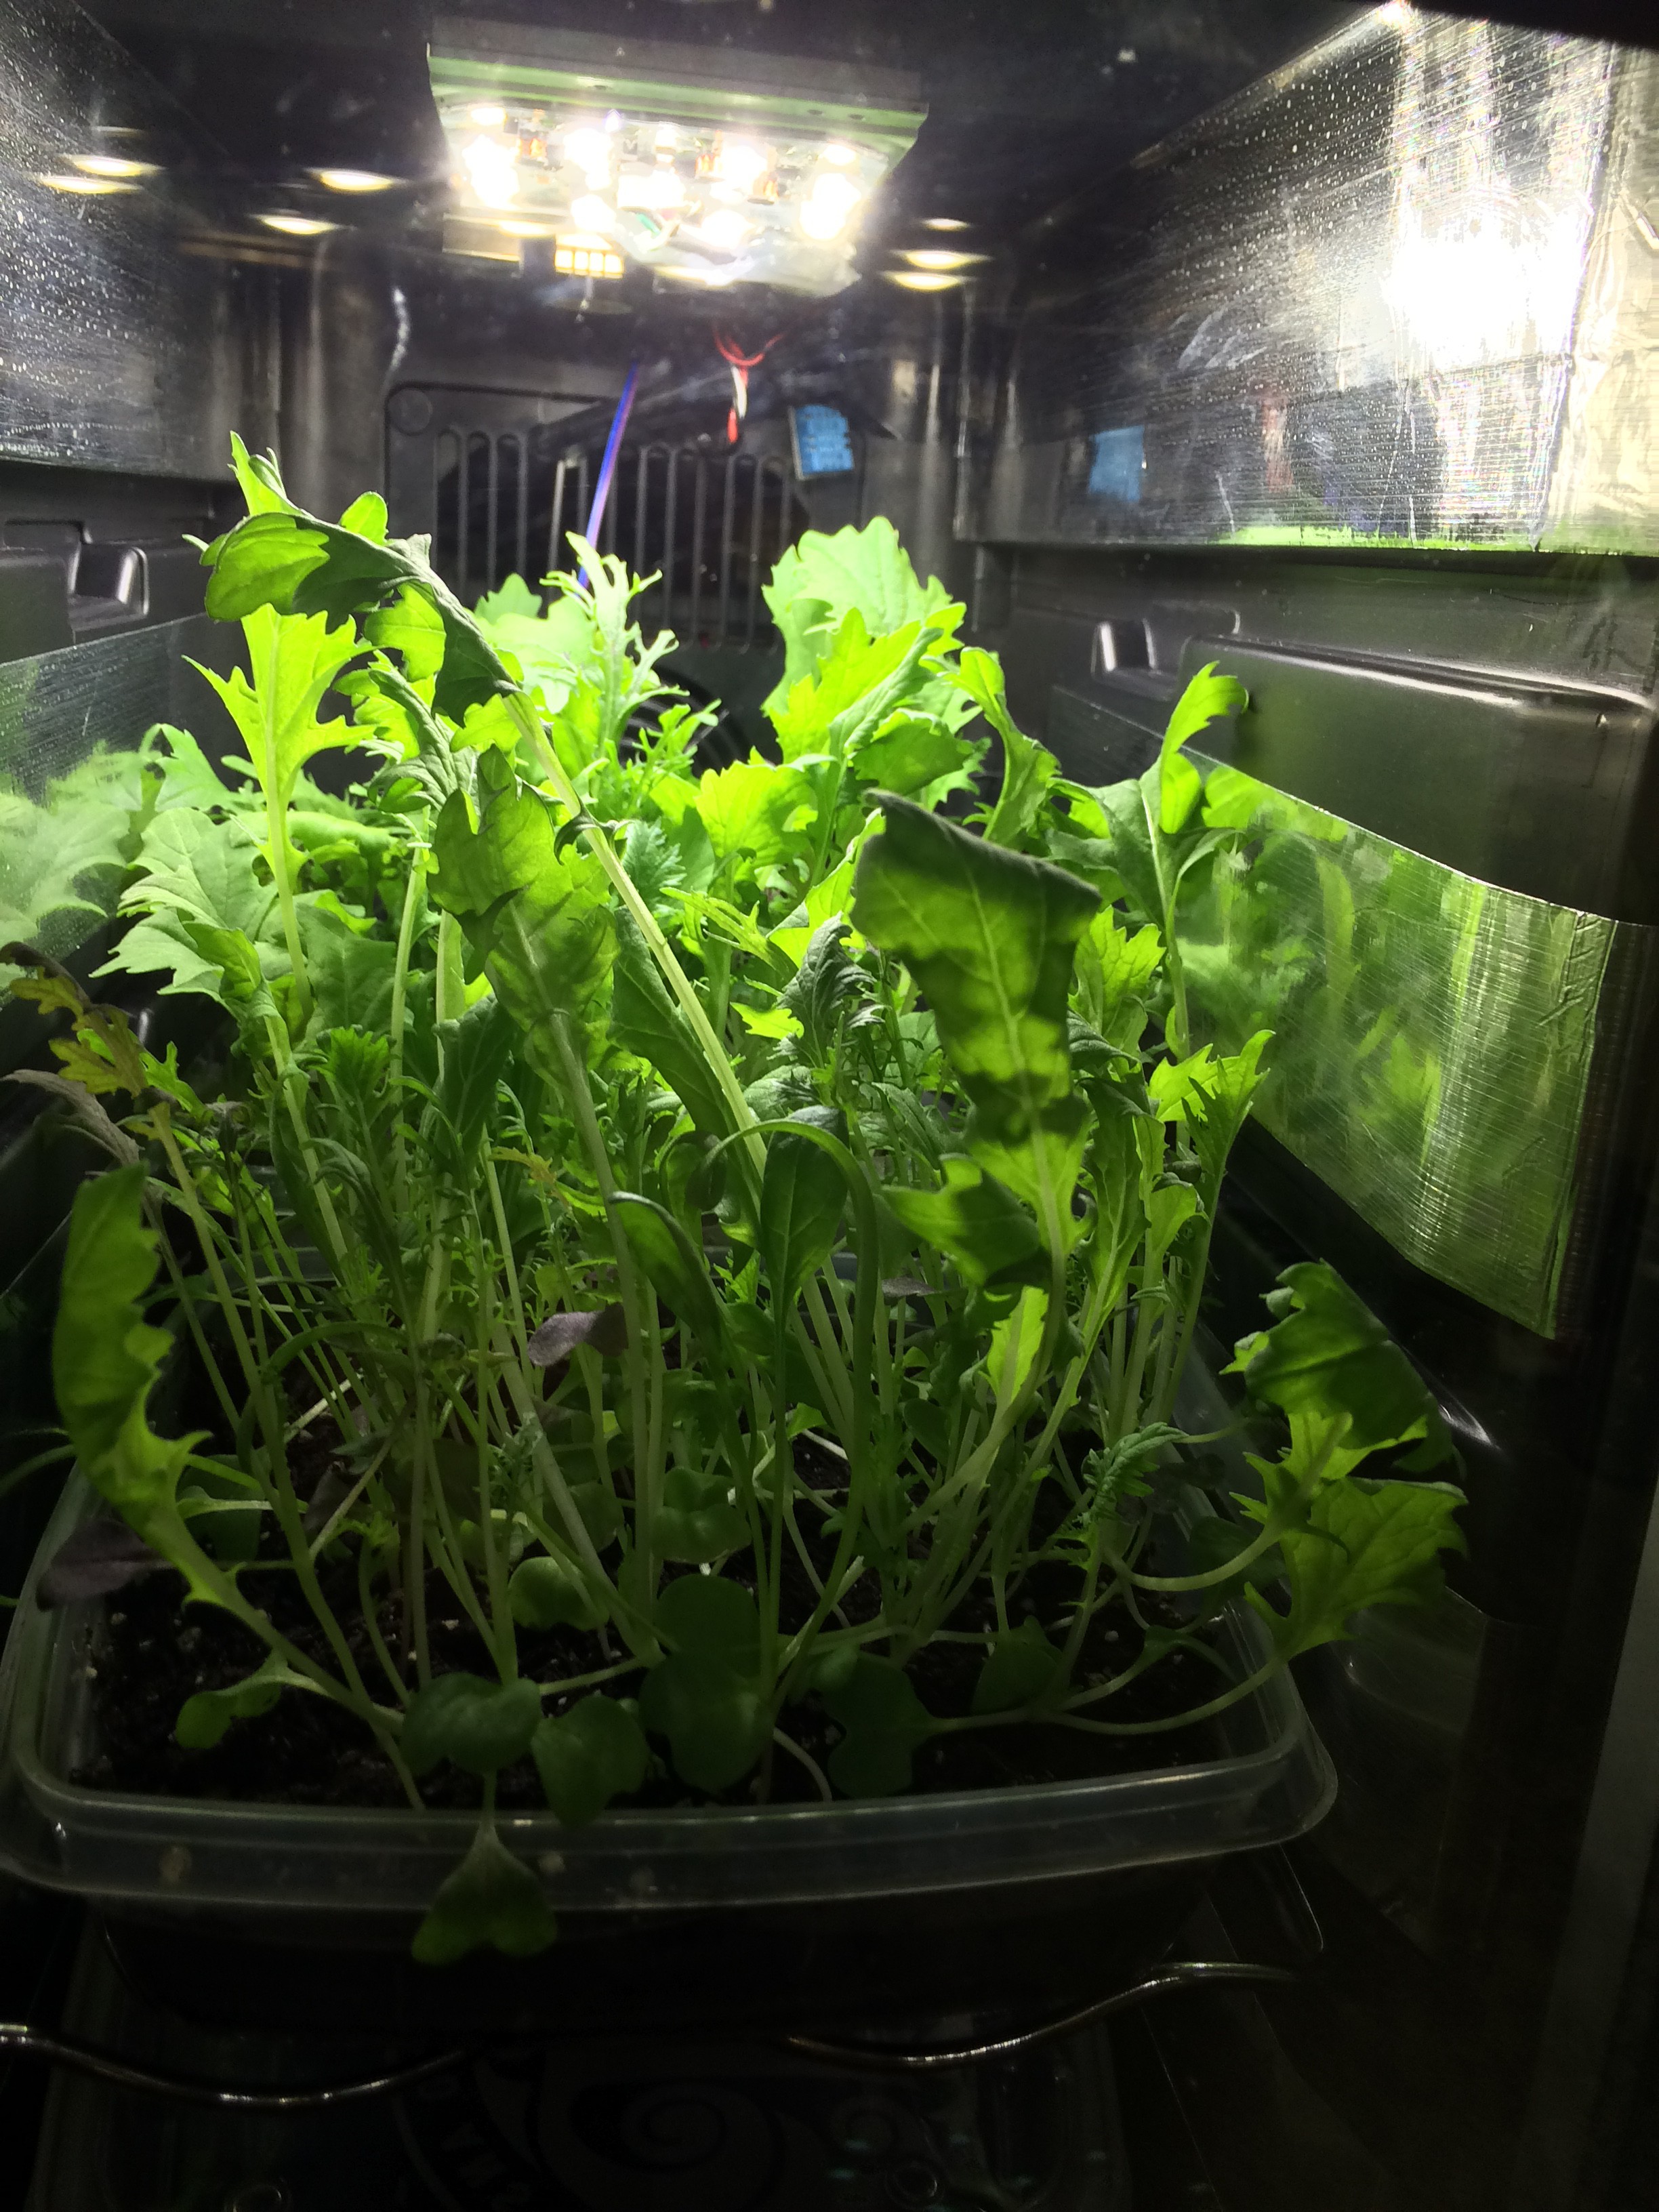
Here is lettuce at 14 days old:

I wanted this setup to appear "at home" in any kitchen. By using the already somewhat "classy" design for wine coolers I believe I was able to hit that target. I really like the look of the unit. Somewhat sleek and unique while still at home in any kitchen.

This project is released fully open-source in hopes others will take the design and code to further the self-sustaining food production truly needed for a sustainable future.

Here is the Urban Garden live on the Adafruit Show and Tell show (aired Feb 2015). Fast forward to 8:09 for my appearance since the direct link doesn't work:

How to plant your Urban Kitchen Garden:

How to grow sprouts and micro-greens in your garden:

PCB Assembly Tutorial Part 1:

  • 1 × Koolatron 8 bottle wine cooler sourced from Amazon
  • 1 × Arduino Nano Originally used a Mega but found the NANO capable of basic control
  • 1 × Nokia 5110 LCD Ultra cheap and fantastic LCD
  • 1 × DHT-11 Temperature & Humidity Sensor Cheap on eBay
  • 1 × Real Time Clock Module Tiny RTC I2C version- This keeps track of time of day for light/watering etc

View all 11 components

  • New Code Added

    Eric Wiiliam03/25/2019 at 01:46 0 comments

    Updated my GitHub repo to include the RTC setting sketch.  Fellow builder had difficulties finding the method for the RTC used here so I added the base code. Just edit the date & time in the sketch, upload, then upload the main code after & time will be correct.

    Enjoy

    Eric

  • "Promo" Video Posted

    Eric Wiiliam09/20/2015 at 00:51 0 comments

    I finally finished the "promo" video of sorts and it is barely in time for the judging next week. No big deal really as that is not the primary driver of this project. I have to say I am thuroughly pleased with the results of this entire project. I set about to create a device to grow what I want, when I want, right in my own kitchen. That is, indeed, exactly where it landed.

    The project still needs finishing of the PCB/relays and investigation of creating a commercial plug-and-play unit for the general public- but for now it works fantastic. People should be able to recreate this wherever they are without issue now.

    I will end up changing the DHT-11 sensor out for a better one but beyond that I have zero plans to change the basics beyond re-implemnenting the heating function with my H-bridge and slightly modded code.

    Here is the video. Take this project and make it better. I think it can truly make a difference in the world if we all started to grow just a little bit of food in our very own kitchens...

  • PCB Assembly Tutorial Video

    Eric Wiiliam09/14/2015 at 01:23 0 comments

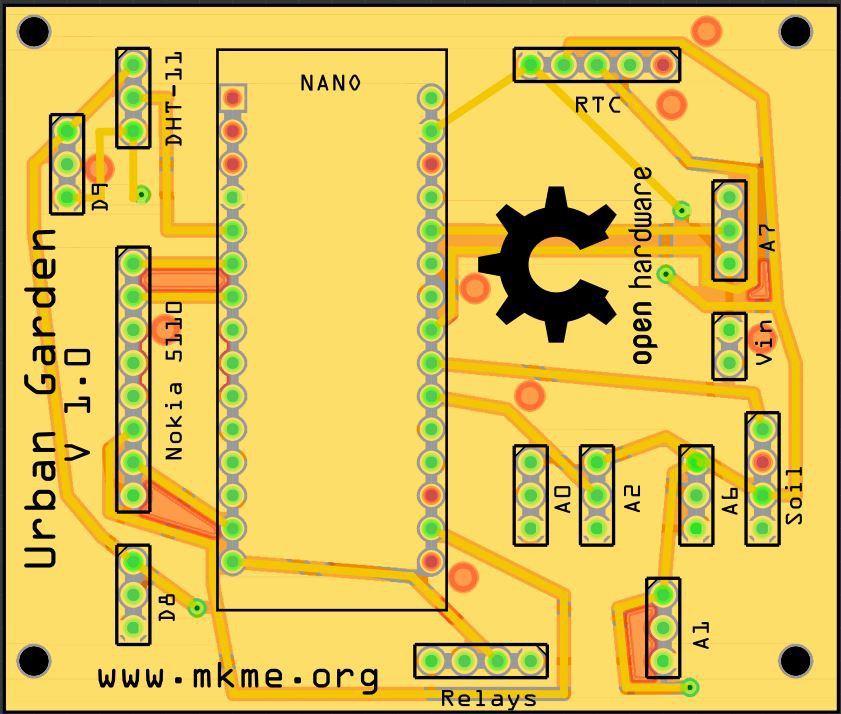
    I finally got the PCB assembly video edited and posted. I figured this would help others to easily understand the basics of the assembly and also some of my "process" for testing out a new design. The female headers allow me to quickly test the board and make any changes needed while still maintaining a functional unit.

    I have a bit of a plan for the next revision- first off the routing needs to be fixed as it breaks just about every rule in design :) Although functional I need to clean it up a lot then also fix the schematic view in the Fritzing project as I did absolutely nothing with it. Sad I know...

    Next revision I plan to set it up with screw type headers and the relays on board (or easily interfaced) so basically any wine cooler could be modified by anyone with a very basic understanding of the components. As we only re-use the fans and peltier- this is only 6 wires any person needs to deal with. Even better plan would be to commercially manufacture this unit from start to finish. That is, however, a stretch goal :)

    Enjoy the video and feel free to reach out here or on the forum for any help needed for your own build!

  • Growing Sprouts In The Garden

    Eric Wiiliam09/04/2015 at 21:57 0 comments

    Finally I'm back from a work road-trip and can get back to work on the project. Here is a video showing how I grow sprouts in the garden. This technique works quite well to utilize the extra space in the taller cooler units when you don't need the headroom for tall plants.

    I had to put the current grow on hold while I was on work assignment for 2 weeks so I will start a new grow soon. I think a mix of some herbs and lettuce greens might be quite nice for the fall weather. As well I will do some videos/updates on the custom PCB assembly so thers can more easily reproduce the garden themselves.

    Happy growing!

  • New PCBs and New Growth!

    Eric Wiiliam08/21/2015 at 02:44 0 comments

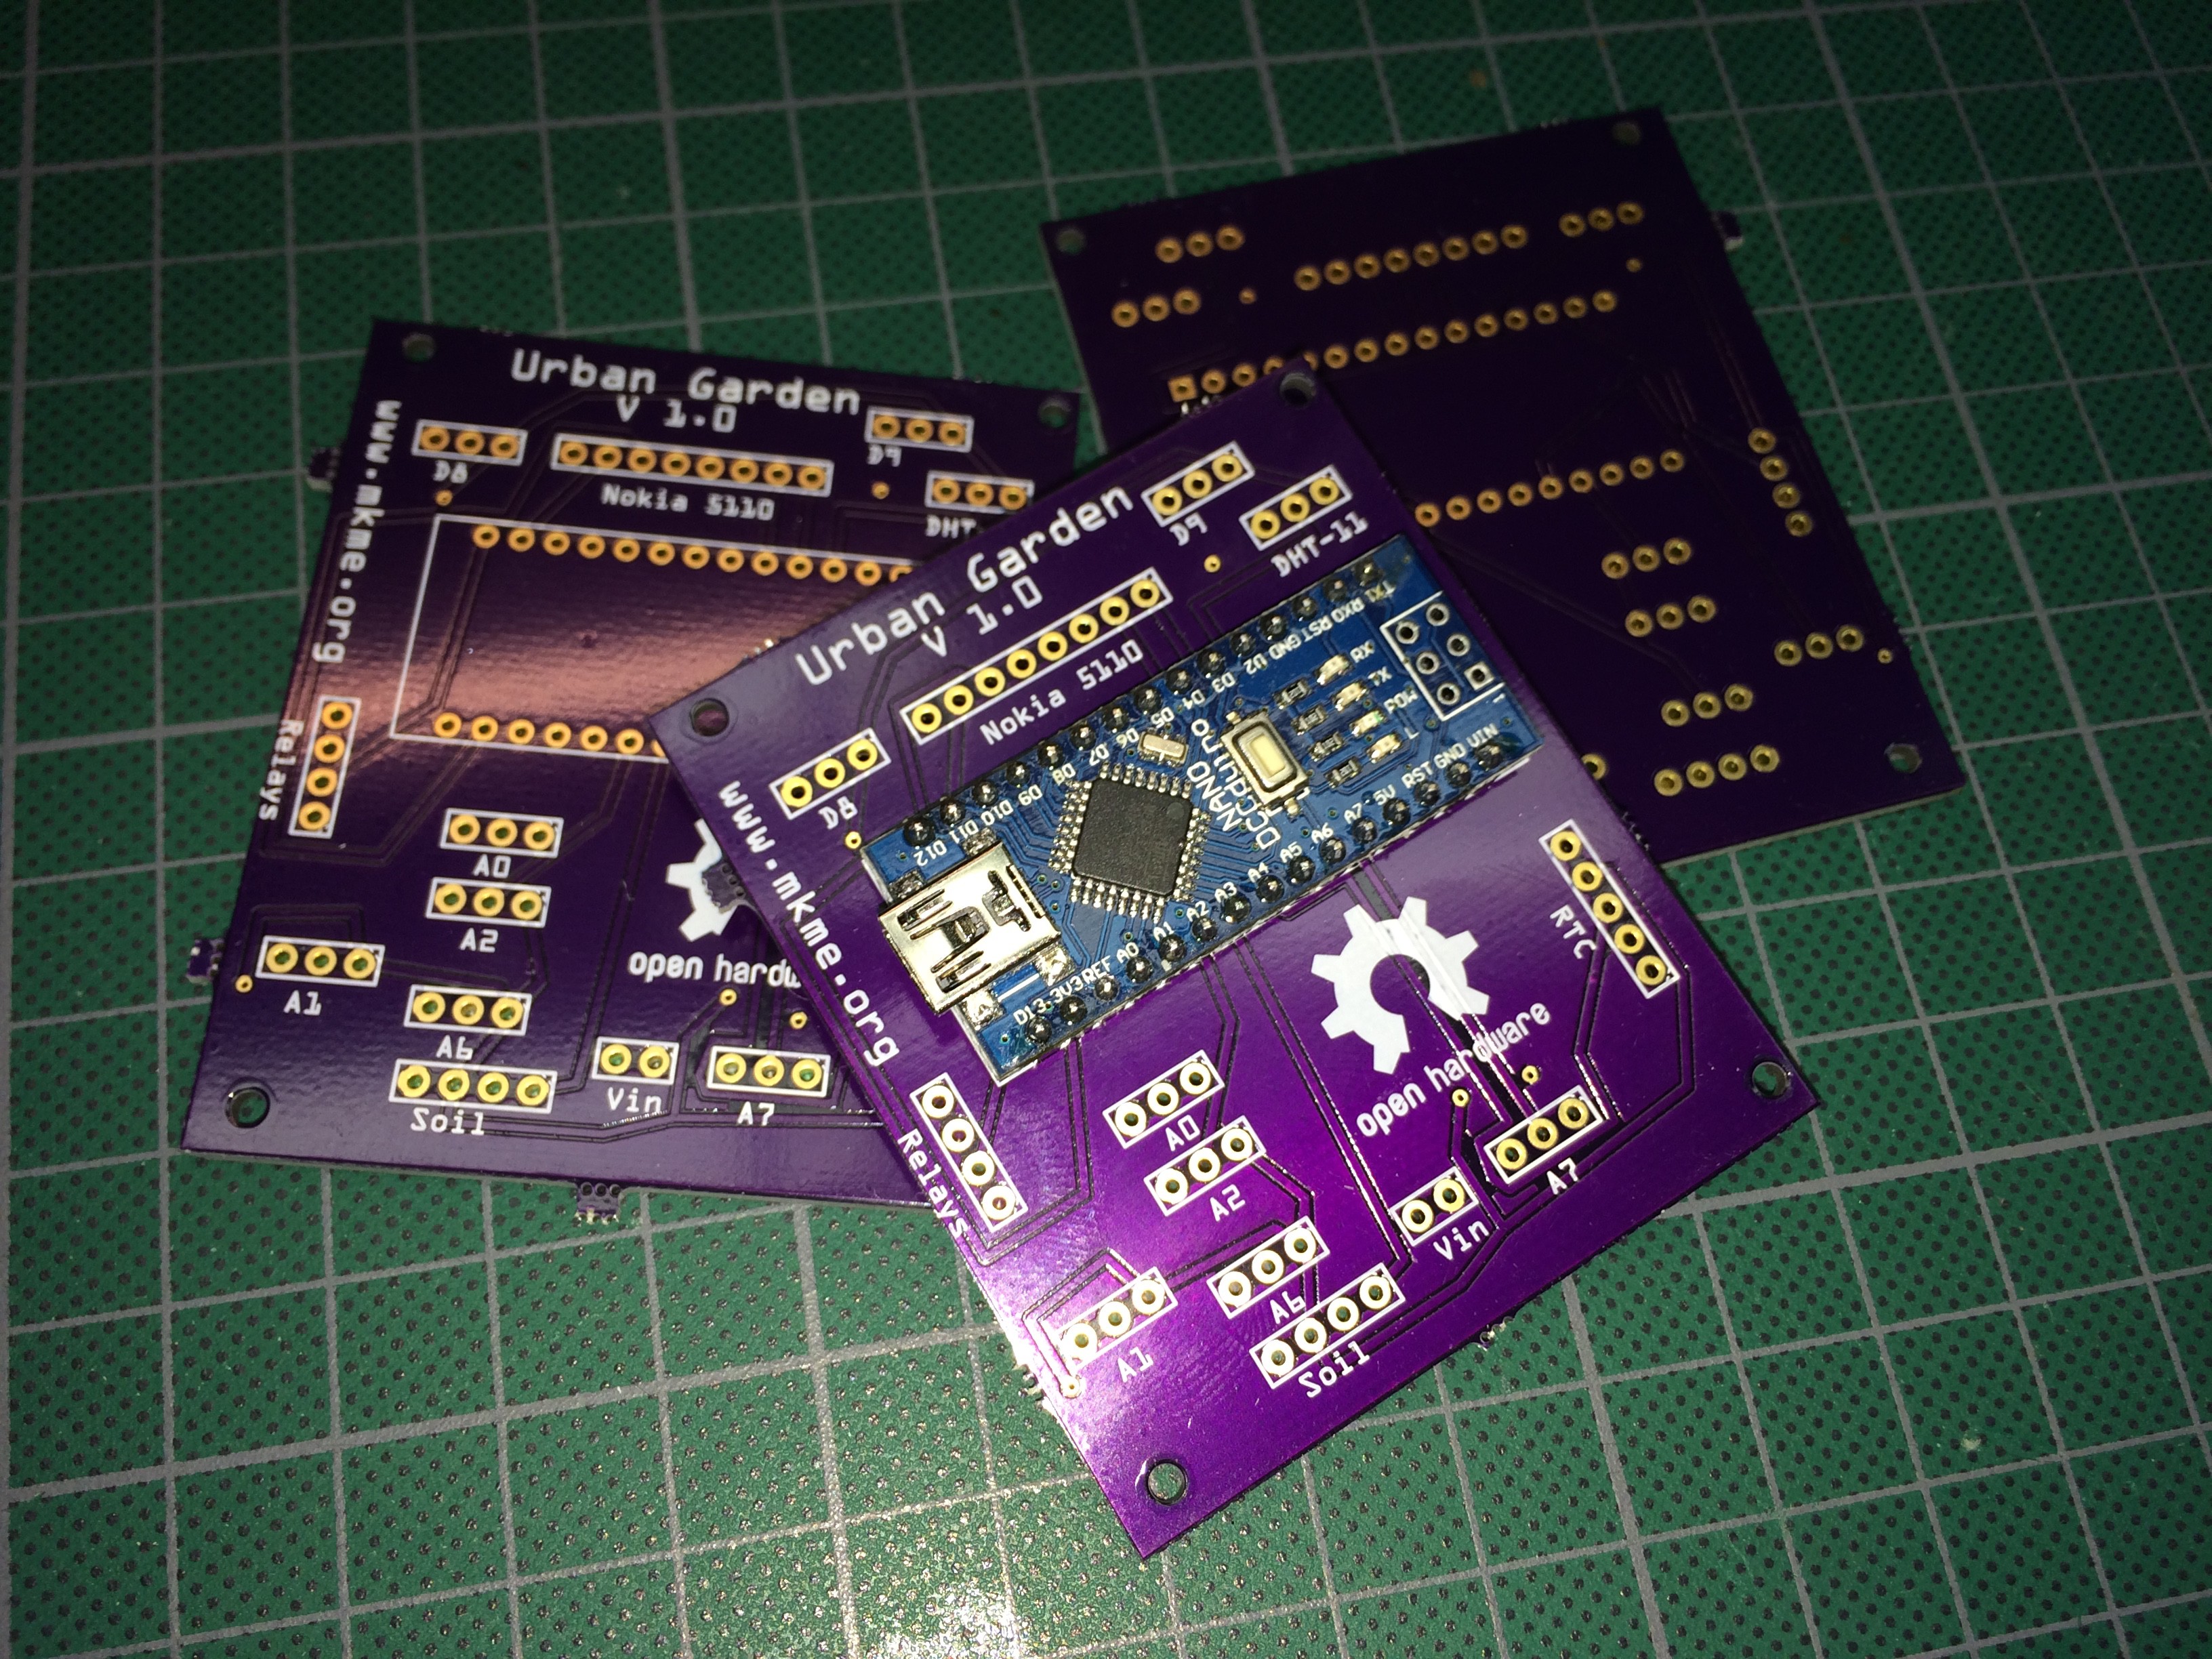
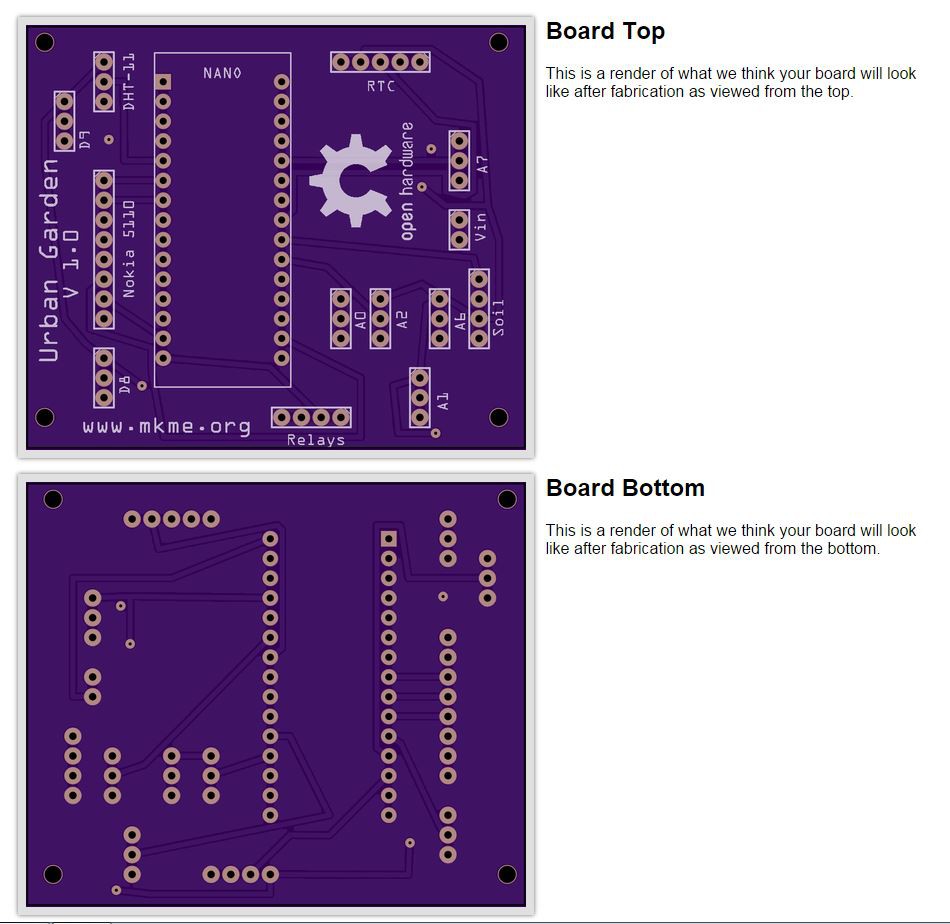
    The custom PCB's have arrived from OSH Park and I couldn't be happier! I know the design/layout isn't the best as it was my first time using Fritzing but I really think they should be great to get anyone started! I will improve the layout in future revisions soon (the acute angles on the traces are driving me nuts haha)

    Thanks @hackaday for the early bird prize which made these possible. So neat to see these come to completion.

    I have to leave on business for 2 weeks but when I return my goal is to start working on some easy conversion kits to make it even easier for someone to convert any existing cooler. i just need to design some basic connectors and universal PCB/LCD mount etc.

    I have also been working on some contacts in the industry whereby I might be able to purchase the raw coolers without the electronics which isn't needed for these units. Perhaps I may just be able to assemble a complete finished consumer product. This would truly open up this product to anyone in the world regardless of skill.

    Last video I showed how anyone can plant the garden with some lettuce and spinach greens. After 14 days here are the results:

    Yes it indeed grows greens like crazy! With the light cycle currently simulating full summer hours and warm temps the lettuce has thrived. This lettuce still has room to grow (leaves are still developing their "adult" form) but I can take a harvest tonight with no issue if I wanted.

    The beauty of greens like this- you don't need to harvest it completely. You simply give them a "haircut" removing the top third or so of the leaves to make an instant salad. The plants will continue to grow and you just keep giving them a trim off the top any time they need it- or you need a fresh salad.

    From garden to table in under 10 seconds- handy!

    Upcoming update will be how I grow bean sprouts under the main crop.

    Cheers!

  • Planting a new crop!

    Eric Wiiliam08/11/2015 at 02:30 0 comments

    Finally made time to start a new crop in the Urban Kitchen Garden. This is the first part showing how I start my "greens" in small trays. In this case it is mainly lettuce and spinach for tasty sandwich toppings/salad. In the next update I will show how I use the remaining space in this "tall" version of the garden to grow bean sprouts.

    Here is the full planting instruction:

    Here are the happy little seedlings after 72 hours on the garden. Only 3 hours of time lapse so not a huge amount of growth but they are indeed happily sprouting up and moving around...

    Urban Kitchen Garden TimeLapse from MKme Tech on Vimeo.

  • All files posted to GitHub

    Eric Wiiliam08/05/2015 at 18:52 0 comments

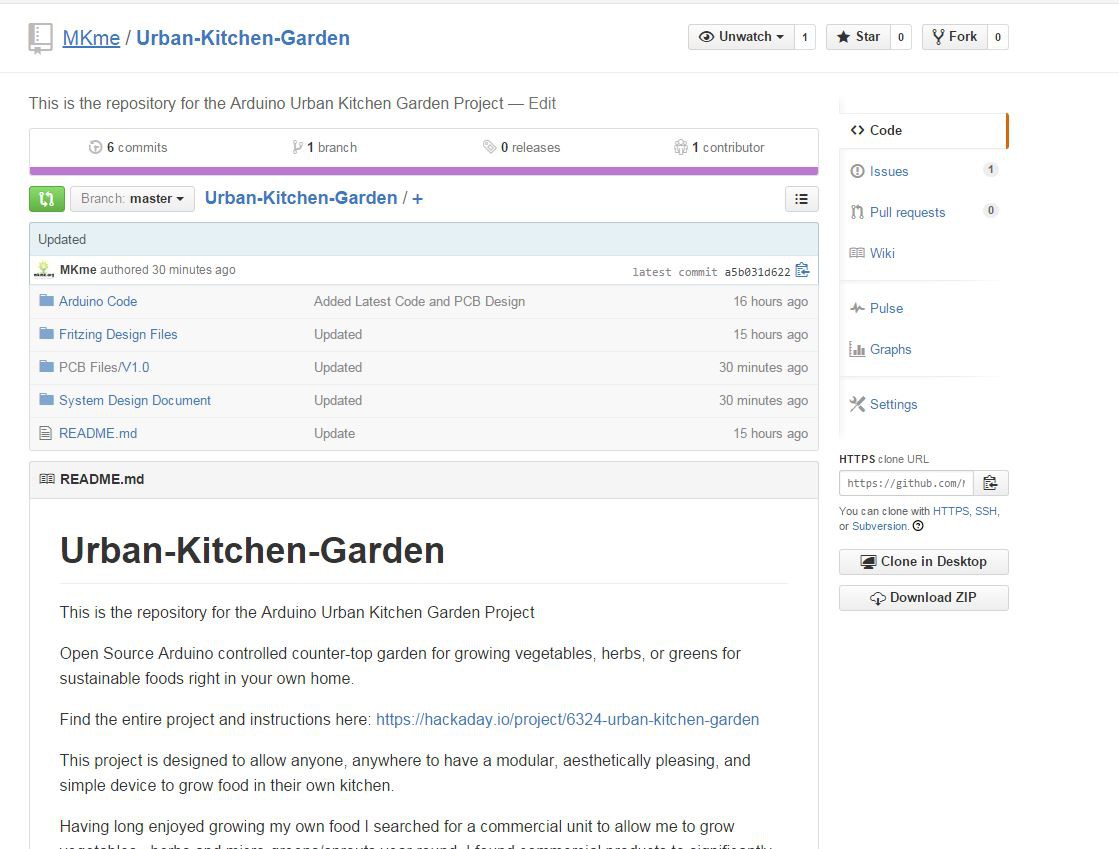
    Finally got all the files posted to GitHub for everyone. Hopefully this will make it much easier for anyone else to take this project and make it their own!

    In the repository you can find the full Arduino source code, the master Fritzing design file, PCB design files as well as the system design document.

    I still need to verify the PCB works so use at your own risk right now. You can find this noted in the "issues" on GIT. OshPark should have them delivered to me very soon. Loving this project and hopefully tomorrow I will start a new grow in the chamber of some lettuce, greens and other goodies.

    I'll document this via a video when I do. Cheers!

  • Custom PCB Completed!

    Eric Wiiliam07/28/2015 at 05:19 0 comments

    Well I finally took the plunge today and began designing the PCBs for both my projects. The board for the Urban Kitchen Garden was definitely a challenge for me being completely new to Fritzing. After numerous mistakes and tonnes of routing issues I finally settled on a layout I think will work (although I can already see many areas I could improve).

    I took all the remaining (unused) pins for the 328 micro controller and broke them out so future additions can easily be made. This will allow anyone to use the remaining spare I/O for anything they wish! I even gave each a 5V and Ground pin so no messing around needs to be done- just hook up your component and add your desired code. I'm really glad I took the time to do this :)

    I exported the files and headed to OSH Park to get them ordered. I already had a gift code from a Hackaday early bird prize so the cost was free!

    Hopefully I didn't make too many mistakes. I labelled the revision right on the board so I should be able to correct and release new files if there is trouble. For now I'll hold off posting the files until I can verify it functions :) After that it will be posted here for all to download and enjoy. Hopefully everyone who decides to replaicate this project can take the files and make them better so all can benefit.

    This has been on of my favorite projects ever. Simple, effective and the personal satisfaction of creating- priceless.

    Cheers!

    Eric

  • Arduino Code Posted

    Eric Wiiliam07/14/2015 at 21:39 0 comments

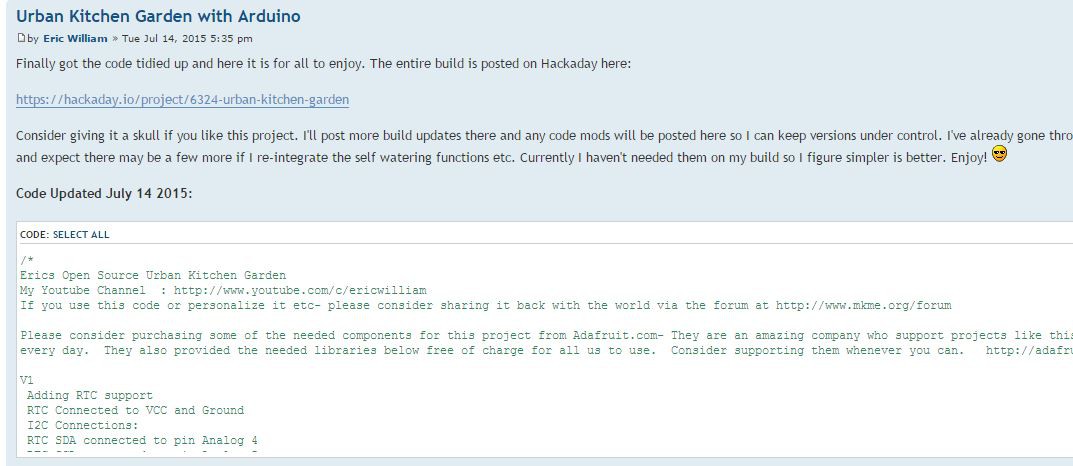
    Finally got the Arduino code posted up for all to use. This project is fully open source so take the code, make it better and share it back!

    I commented the code heavily so others can hopefully understand what it is doing. I remember struggling with some code early on and really wished the author had commented more. My hope is I have made it as easy as possible for others to adapt and use.

    Link is in the main project as well as you can find it here:

    http://mkme.org/forum/viewtopic.php?f=4&t=695

    Enjoy!

  • Code and Instructions Work

    Eric Wiiliam06/26/2015 at 20:39 0 comments

    I've been working on the code on and off all week in preparation for release. It's a bit funny because I didn't do a single thing to the logic or function- it was all commenting and format.

    I should have the code posted soon and within it are enough comments and explanations that even someone completely new to microcontrollers / Arduino should be able to understand what it all means. I remember really struggling with other peoples code early on in my experiments and I would really love to avoid that. I think the results should be great. I already think I have more comments than code :)

    As well I will update the build instructions in the future to break each step apart and add pictures whenever possible. Ideally anyone will be able to recreate this open-source project. Update soon! Best of luck with your projects, whatever they may be.

    One snip of my code:

View all 11 project logs

  • 1
    Step 1

    To recreate your own counter-top Arduino controlled garden the process is actually quite simple.

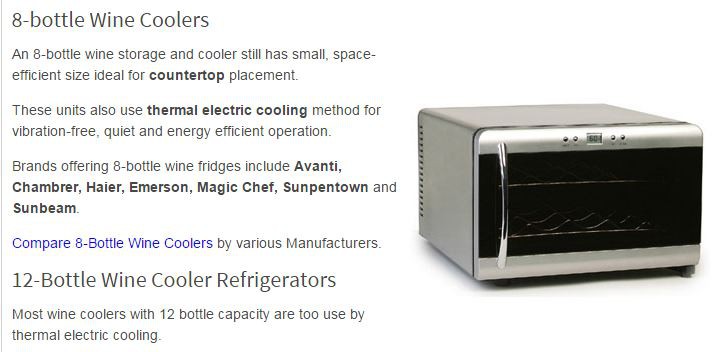
    1. Procure a wine cooler. These Peltier cooled units can often be found on classifieds or at second-hand stores for a very reasonable cost. Here are just some of the types you can get. You can even use a compressor style cooler with the same control circuit/code I have provided just the relay connection will be slightly different.

    If you would like to grow taller plants like dwarf tomatoes, large herbs, peppers etc- get the same tall & slim style cooler you see I have used.

    If you would like to grow more "greens" like lettuces etc- I would suggest getting one of the lower & wider units as this will maximize your grow area for that crop. Something like this one:

    It is totally up to you! Now on to the modification!

  • 2
    Step 2

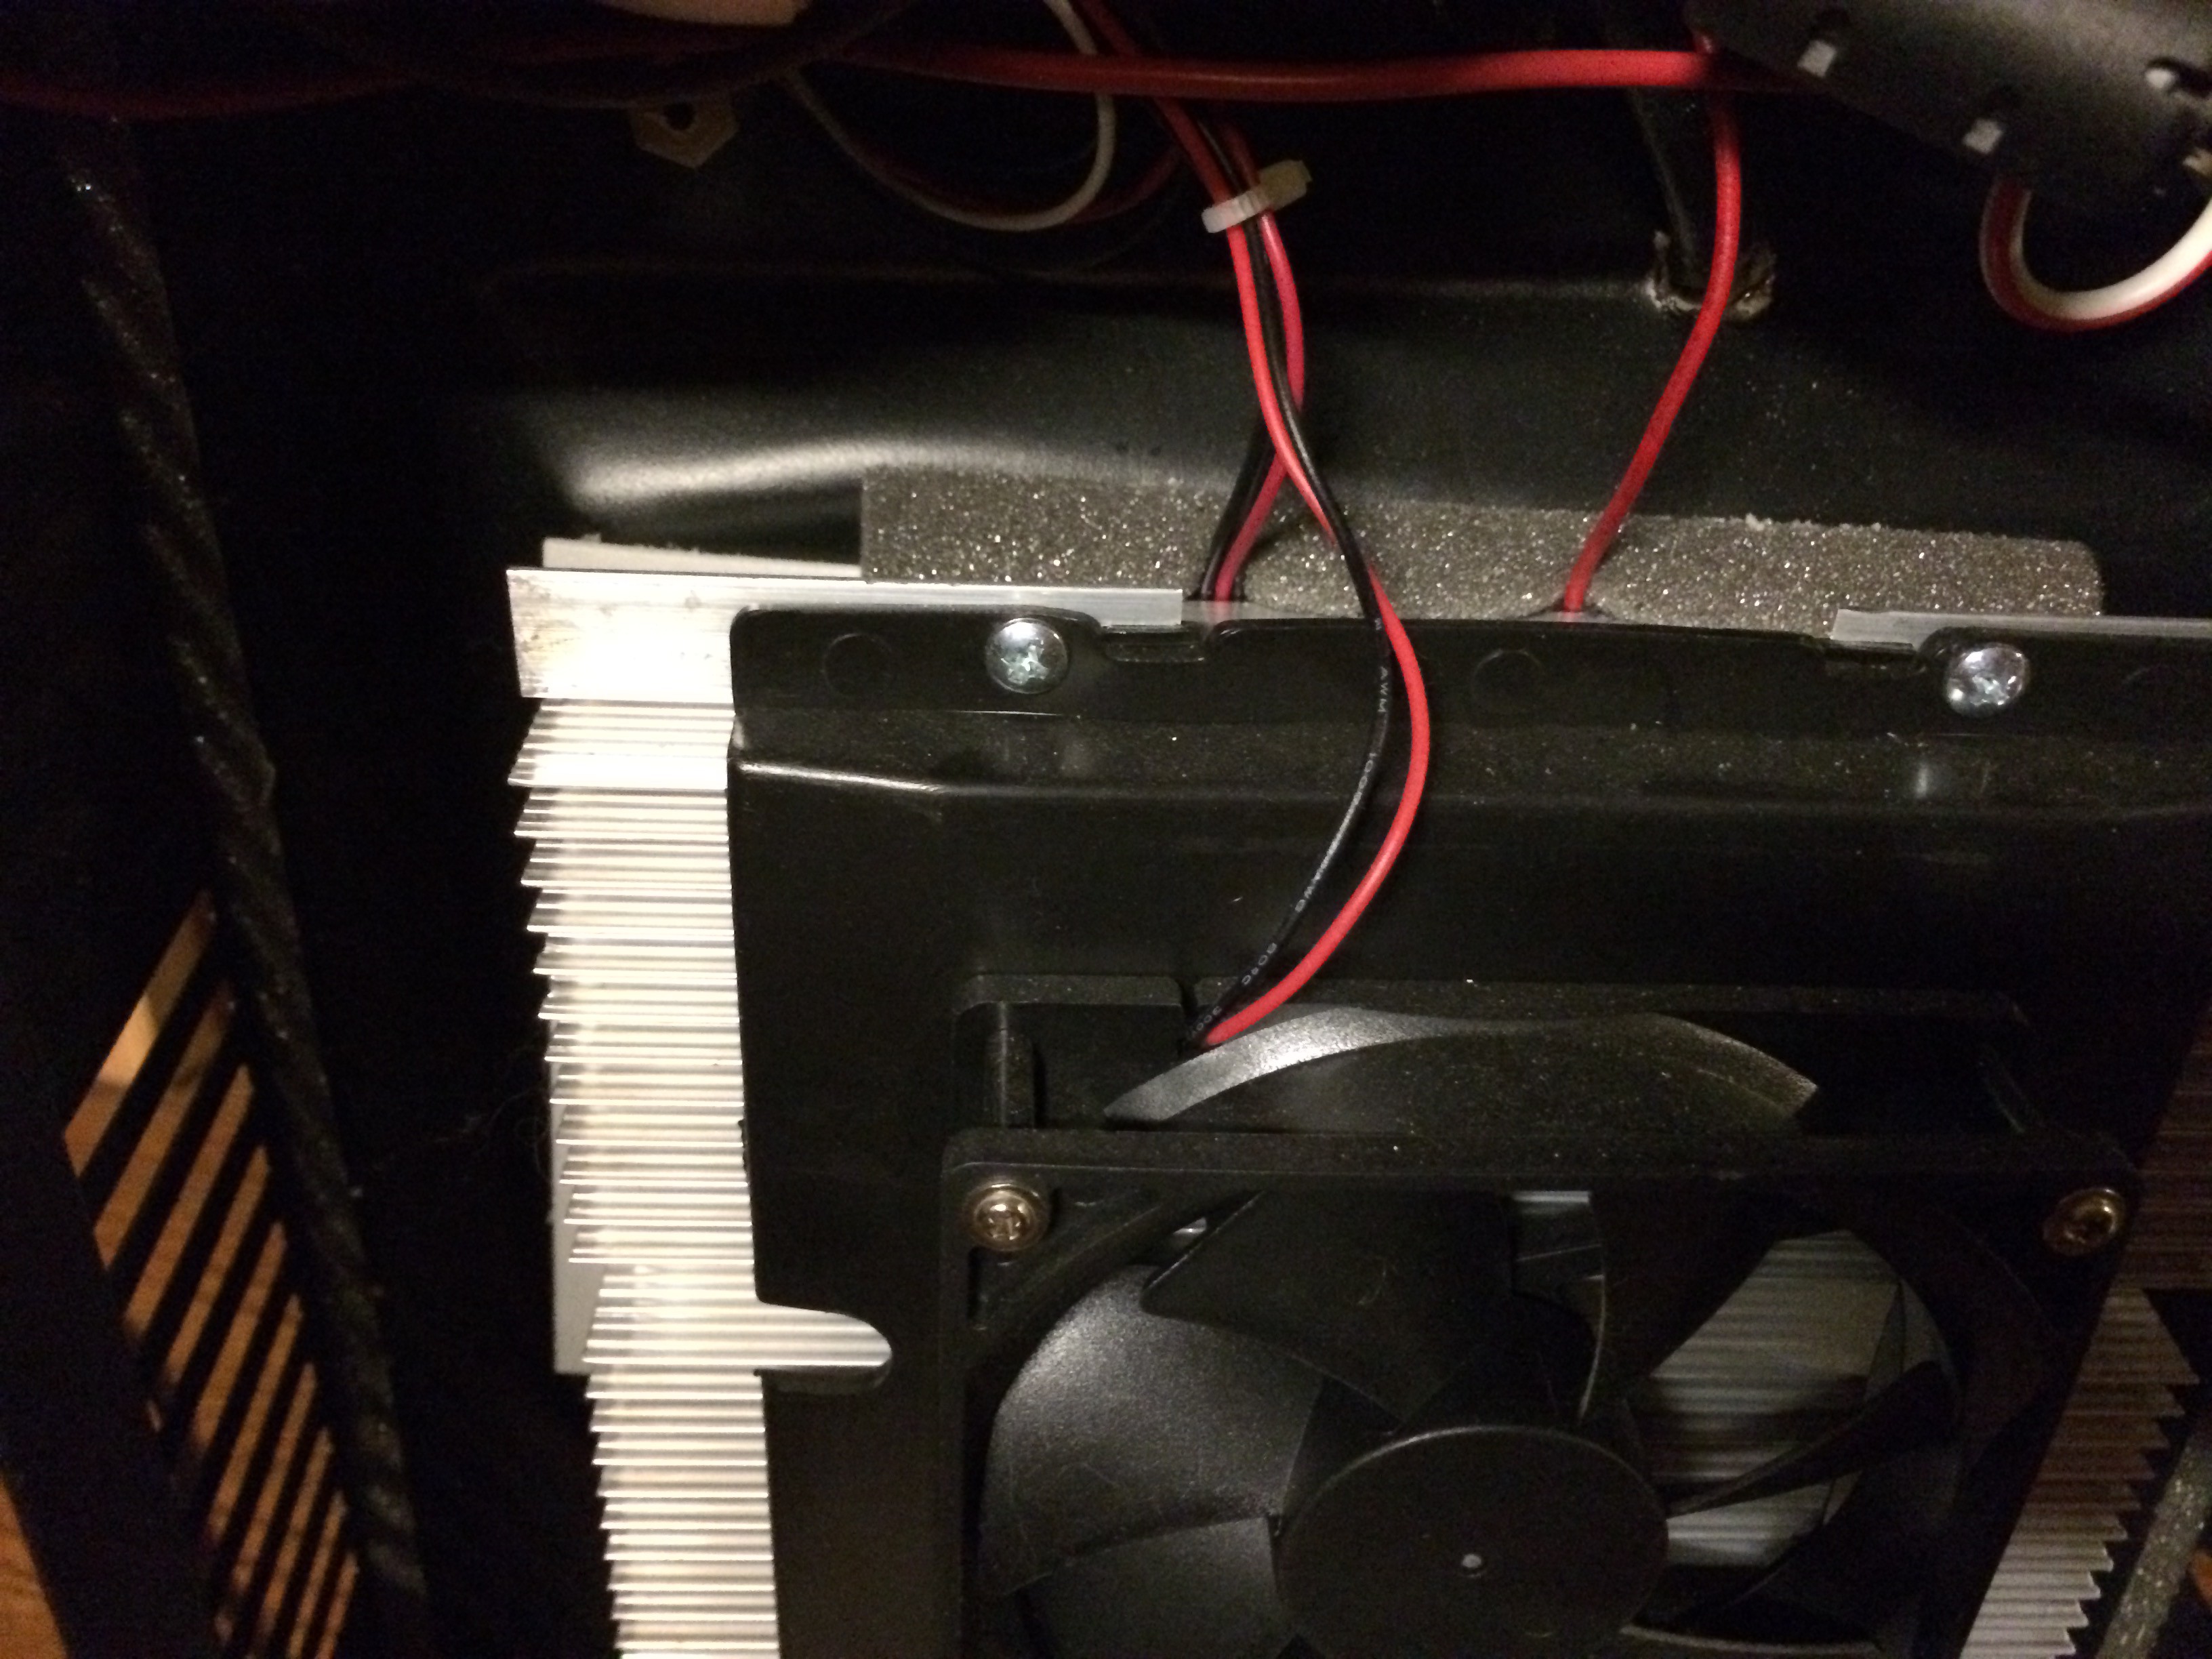
    Disconnect all the on-board control equipment PCB's etc . For cooling only function (using the code to be shared here) you need only to re-use the 12V fans (usually 2) and the peltier.

    This is quite easy. In the back of the units you will find the wiring for the 2 fans (internal and external) as well as the TEC device (peltier junction which cools and can also heat).

    At the end you should have 3 positive wires and 3 negative wires. like these:

    Let's hook them up!
  • 3
    Step 3

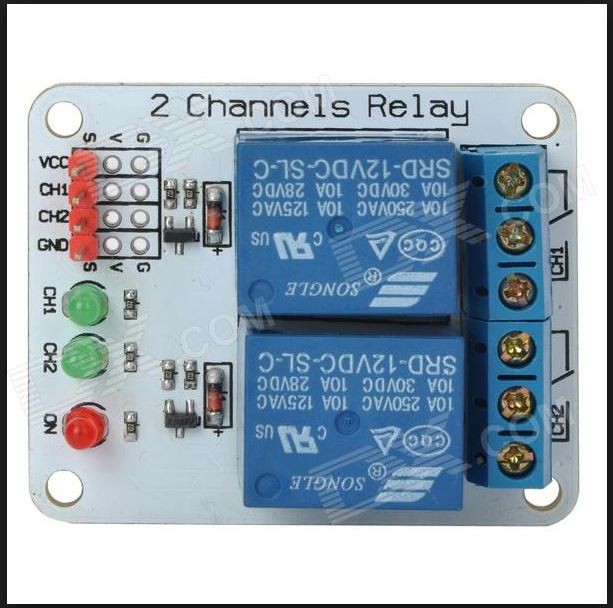
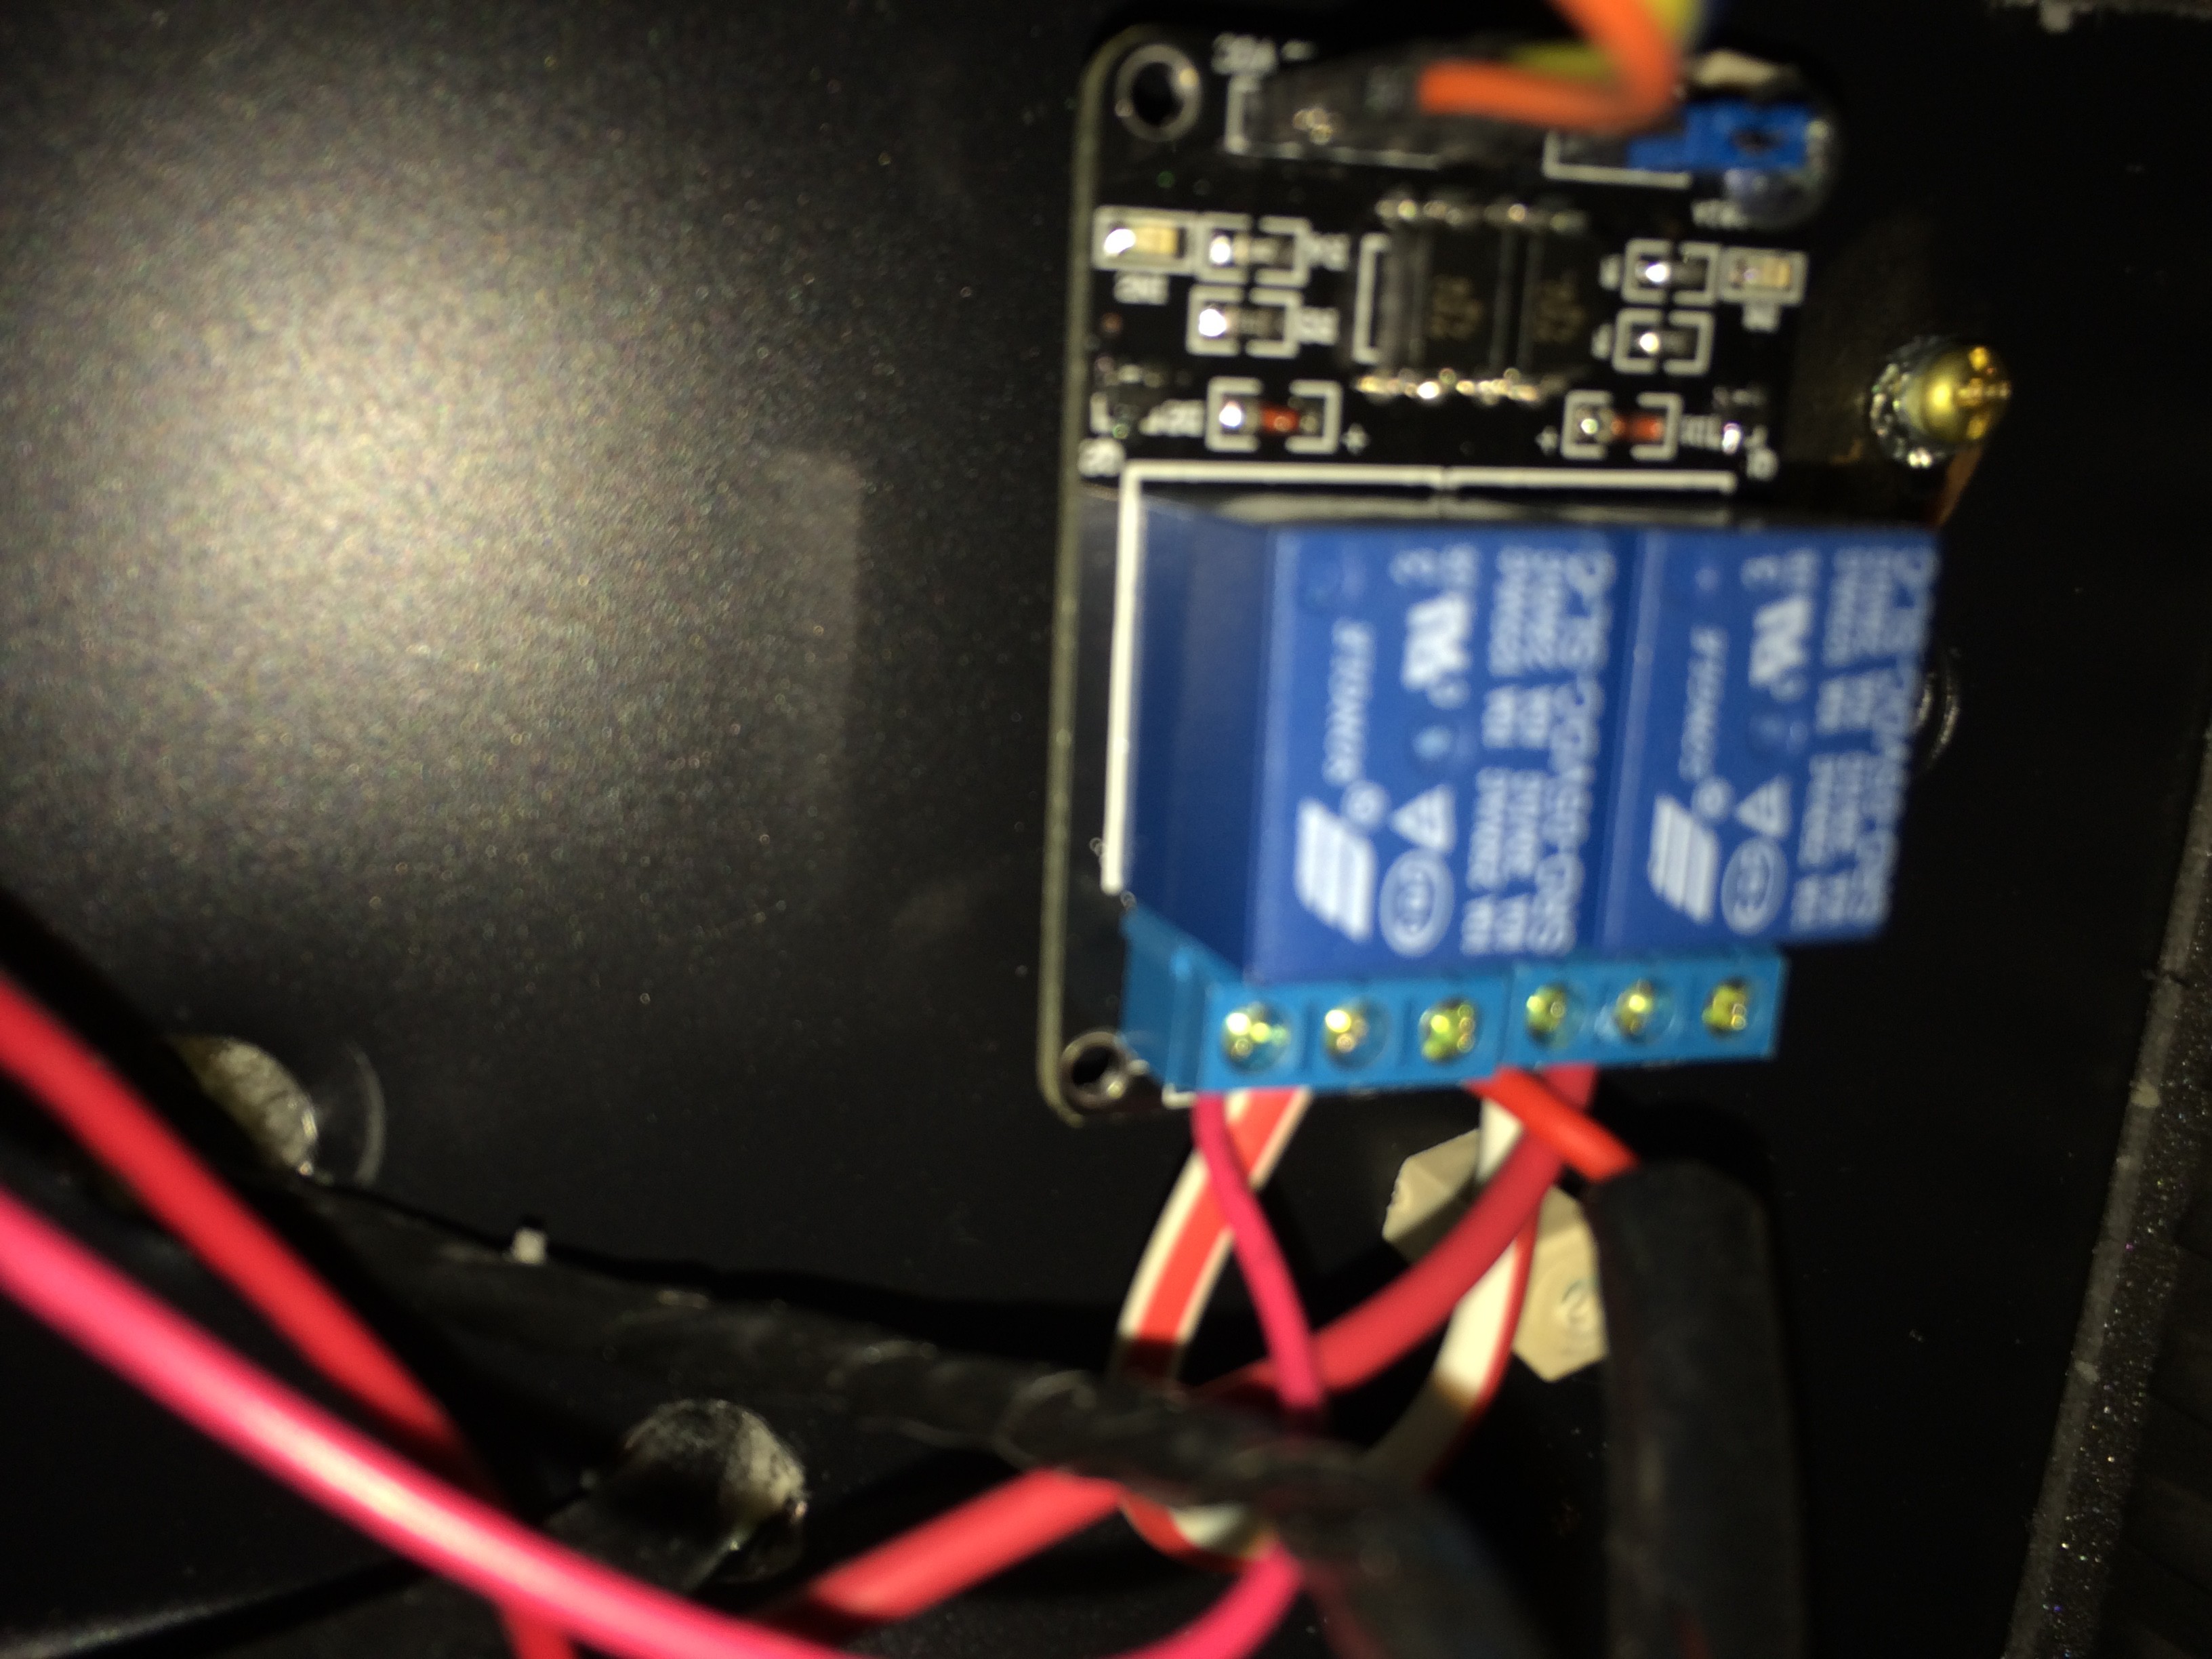
    3. Connect the N.O. (normally open) relay output terminal to the 2 fans + and petier +. These are both hooked to a single terminal as we use them all at once for control. The other side of the N.O. connection is hooked to B+ from your external 12V power supply.

    When done yours make look a bit like mine here: (you may be using different wires etc of course)

    The large wire is just "daisy chaining" power from one relay to the other to simplify splices etc.

    Connect the negative leads from your fans and peltier to the negaive side of your 12V power supply.

View all 13 instructions

Enjoy this project?

Share

Discussions

isue33 wrote 04/04/2021 at 02:15 point

It would be a great to run this project commercially. I'm working for the similar project for kitchen products, you can see here https://www.smokerzhub.com/best-pellet-smoker-reviews/

  Are you sure? yes | no

LeHongQuan668 wrote 10/31/2020 at 01:45 point

Hi Eric, I like your project  very much and i wonder what should i take into account in case i make it in bigger scale i.e. to supply vegi for a family.

Thank you!

  Are you sure? yes | no

gadden2112 wrote 09/17/2020 at 19:15 point

Would this work on a compressor cooled wine fridge, and if so what changes do you think i would need to make. Cool project overall

  Are you sure? yes | no

Eric Wiiliam wrote 09/17/2020 at 22:49 point

None- hook up the cooling relay and ensure the relay is sized big enough for the compressor draw. 

  Are you sure? yes | no

gadden2112 wrote 06/07/2019 at 14:20 point

So where can i get the premade boards from?

  Are you sure? yes | no

Eric Wiiliam wrote 02/04/2016 at 23:55 point

The full schematic files are indeed in the links.  It's all there. 

  Are you sure? yes | no

BrokenBuildings wrote 02/03/2016 at 01:23 point

Hi Eric! I'm using your prototype for a science fair project (I'm giving you full credit) and I was wondering on a few of the parts. Here is what I have so far. Tell me what I'm missing: http://prntscr.com/9ybemr. I already have a bunch of stock fans from my old computers. And trust me with the LEDs, im going to grow a plant that requires almost no light to grow insane amounts. Sadly the Arduino is not on the Canadian site so I will buy it off the official site. I'll assemble what I can't from this. If I'm missing anything major please contact me.

Amazing project! Keep up the good work,

BrokenBuildings

  Are you sure? yes | no

Eric Wiiliam wrote 02/03/2016 at 02:28 point

Looking good.  I'm in Canuckland as well.  You can get the Arduino's from many sources.  You can check out my video on how to buy parts from eBay and the ones one getting started in Arduino on my YT channel. Just click the bottom right corner of any vidoe here.  Cheers

  Are you sure? yes | no

BrokenBuildings wrote 02/04/2016 at 22:34 point

Ok, by the way, do you like the name "Terra es machina" for the project. (roughly translates to earth from machine)

  Are you sure? yes | no

BrokenBuildings wrote 02/04/2016 at 23:10 point

also I don't have a custom PCB board that you showed in the video above. Could you add a schematic to where you placed all the parts

  Are you sure? yes | no

Sam wrote 09/01/2015 at 23:22 point

Great project!  I've had a wine cooler sitting around waiting for me to make something similar but I need heating and cooling.  Where can I get your code prior to v15 i.e. with the H bridge stuff in it?

  Are you sure? yes | no

Eric Wiiliam wrote 09/05/2015 at 12:26 point

Looks like I lost all my versions prior to 15 when I put them into GIT.  Lesson learned.  To add heat is easy.  Add:

#define TempPin2 XX (where XX will be your new pin)

pinMode(TempPin2, OUTPUT);

In the cooling area Change the old temp control to this:

if (t >= (setTemp + TempHyst)) {
    digitalWrite(TempPin, LOW);

    digitalWrite(TempPin2, HIGH);

    CoolingStatus = "On";
    }
   if (t <= (setTemp - TempHyst)) {
   digitalWrite(TempPin, HIGH);

   digitalWrite(TempPin2, LOW);

   CoolingStatus = "Off";
   } }

Now when not cooling and beyond the hysteresis it will warm.  I think you might want to add an else statement and set both pins the same to "park" the h bridge when you dont need either cooling or warming.  I think I remember doing that as well but it has been awhile :)  Cheers

  Are you sure? yes | no

Sam wrote 09/08/2015 at 21:45 point

Hi Eric, 

Thanks for taking the time to give a detailed reply.  It's a shame you lost the previous versions as humidity control would also be useful for my application.  Guess I have to spend a little bit more time trying to get these bits working myself :)

  Are you sure? yes | no

Eric Wiiliam wrote 09/08/2015 at 22:29 point

No worries.  I will be able to get it back if I can get my old PC back up and rocking as pretty sure I had a full backup on there prior to the migration.  You shouldn't have any issue if you follow the previous code.  It's just the null zone I remember I had trouble with so you don't immediately cool then warm.  A simple else should do the trick.  

My hope is many more take the code and make it better but if you run into any hurdles I should be able to help you out.  I tried to make the code as easy to understand as possible.  Dive in :)

Cheers

Eric

  Are you sure? yes | no

Ted Sun wrote 08/01/2015 at 20:27 point

Hi, Erc:

Nice to see progress of your project, I also like gardening and is using arduino to grow my mushroom at in my sealed incubator now. just like you, I also use DHT11 as temperature and RH sensor.  One thing bothers me is: in a sealed incubator, whenever the temperature goes up, the RH reading will go done. It is not uncommon consider the reverse relationship between temperature and RH if water vapor is constant. But the surprising thing is: even when i put a water tray inside of my incubator or spay more water inside, it looks like the RH didnt change too much with increase of temperature, Considering the required RH range for mushroom is very strict, I am thinking how to maintain the RH in my case. 

The reason why i ask you this is because your wine cooler is just like my incubator, closed with temperature and RH control. did you see similar problem and what is your solution?

---Ted

  Are you sure? yes | no

Eric Wiiliam wrote 08/01/2015 at 23:17 point

Hey Ted.  I didn't really see an issue with mine but I wasn't monitoring it nearly as close as you would for mushrooms.  The DHT-11 isn't exactly a "precise" sensor for RH so you might want to go to something a bit more sensitive.  For mine I didn't see any issue as my temp remained staic within 1 degree with the temp control (The temp side works great and the humidity wasn't something I needed to raise alarm for etc) but I could see you needing something ultra-accurate.  I noticed the BME280 is now bragging about 3% accuracy.  It could maybe work.  Maybe there is something even better out there.  Hope that helped!  Best of luck.  Cheers

  Are you sure? yes | no

gln wrote 07/29/2015 at 21:50 point

This project looks very nice.

I am thinking about reusing it for another use where I need to keep the temperature around 25C. Since my local temperature can drop to around 15C in my kitchen in the winter :( I would like to also use the heating element.

In your videos, you mention that you can control both cooling and heating of the wine cooler, but you removed the heating because you did not need it. Do you have more details on how the heating element works? Is it just a mater of controlling it via one of the relay?

Thanks for sharing this project, I would not have thought of reusing a wine cooler for this.

  Are you sure? yes | no

Eric Wiiliam wrote 07/30/2015 at 01:00 point

Its a peltier so you just reverse the polarity :)  Simple H Bridge setup and you are away.  Your chamber then becomes a warmer.  Just remember to widen the hysteresis enough so you don't have it rapidly toggling cool and heat. Thanks for the kind words!

  Are you sure? yes | no

Armin wrote 06/22/2015 at 17:27 point

Very nice project!

I am working on something similar. I had some problems with the soil moisture sensor getting corroded very quickly. Do you have the same problems? or have you taken some steps to prevent this?

I described my problems in my project log:

https://hackaday.io/project/5504-keep-the-basil-alive/log/18851-chinese-sensors

  Are you sure? yes | no

Eric Wiiliam wrote 06/23/2015 at 00:02 point

Funny you mention that- I did have a bit of corrosion on the first one I used.  Not as bad as your pic but similar.  I think many of the cheapies may be similar.  For all the early testing I had my own DIY unit.  No problems with it :)

  Are you sure? yes | no

gregorywallin88 wrote 06/19/2015 at 20:50 point

cool build but i highly recommend switching your leds to  420nm - 500nm (blue) and 620nm - 750nm (red) which will increase plant growth 

  Are you sure? yes | no

gregorywallin88 wrote 06/19/2015 at 20:53 point

  Are you sure? yes | no

Eric Wiiliam wrote 06/19/2015 at 23:40 point

Yep definitely.  I couldn't find a cost effective unit including all the wavelengths which people could easily add/replicate so I decided to try the basic route first.  As it works well- doing full spectrum will only improve it from here.  Cheers!

  Are you sure? yes | no

Glytch wrote 06/16/2015 at 11:00 point

Now just to power it off of solar :) 

Awesome work, and it looks great!

  Are you sure? yes | no

Eric Wiiliam wrote 06/16/2015 at 21:21 point

Thanks very much.  One of my fav builds I have ever done.

  Are you sure? yes | no

Similar Projects

Does this project spark your interest?

Become a member to follow this project and never miss any updates