-
ESP32 test
02/10/2018 at 15:48 • 0 commentsSo recently I got my hands on a few ESP32s. Actually I got one , blew it up in no time , ordered 2 more. I'm going to esp32 for this project. Using a pic is not worth the costs or hassle.
Here is a test i did with the esp32. This is 1 of 42 segments I'm using to test with. Its amazing how smooth the animation appears although its only 7 leds doing the work in this test.
-
Diffusers
12/03/2015 at 05:22 • 0 commentsI thought I would make a small update what I've learned about diffusers.
Generally I found that the DIY advice for making a better diffuser is to add more semi-opaque material like paper or cloth. But the issue with this advice is that you lose a lot efficiency. You can easily half your power output doing so. This means you you need to double your light output which again means twice as many LED's and twice as much power. I found the answer to this dilemma from LCD screens. They have additional layers in the back light part. One of the layers is a lens that acts like a Fresnel lens but not with a single focal point , rather like an circular focal point or line like {lenticular diffusers}. This type of lens greatly increases how much the light is spread and also does not block as much light. According to the link i just linked it has an efficiency gain of 42% ! These lenses is however not very cheap for consumers. So I plan to try and make them myself and see how well i can replicate this affect.
-
Some initial segment testing
10/20/2015 at 04:05 • 0 commentsI've been quiet on this project for a while now. I started getting distracted when I could not get two WS2812b leds to talk to each other but yesterday night I decided to to do quick test of how well a segment will light up and I wanted to see how large an segment will be. Up until this point I only had printed a 1:2 scale segment ( its in the gallery) and I wanted to see how large a segment will be , turns out I wanted huge segment. In the image i put the segment more upright than what I plan it to be.
To construct this segment above I started with a 1:2 scale segment and laid out some masking tape and doubling each length. I then roughly cut out some wax paper on it such that it goes past the masking tape lines. Then I added the black electrical tape to stick the wax paper down and provide some optical contrast. I then roughly placed an led behind the glass about 10cm away and took the photo below:
![]() In real life the light is much more even. I blame my cellphone camera for the bright white spot. To the eye only the upper tip is faded a bit. I reckon i need about 2 or maybe 3 leds to light up a segment evenly. This is good news because i plan to use about 7 leds on each segment. The total length of the a single segment is about 21cm meaning a whole digit will be close to 50cm.
In real life the light is much more even. I blame my cellphone camera for the bright white spot. To the eye only the upper tip is faded a bit. I reckon i need about 2 or maybe 3 leds to light up a segment evenly. This is good news because i plan to use about 7 leds on each segment. The total length of the a single segment is about 21cm meaning a whole digit will be close to 50cm. -
LEDs x400
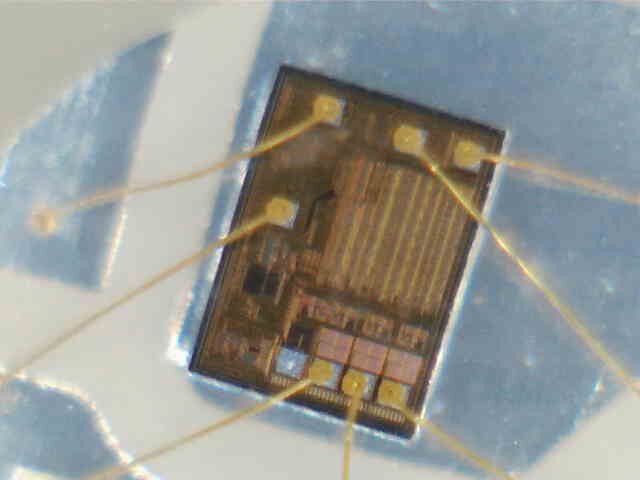
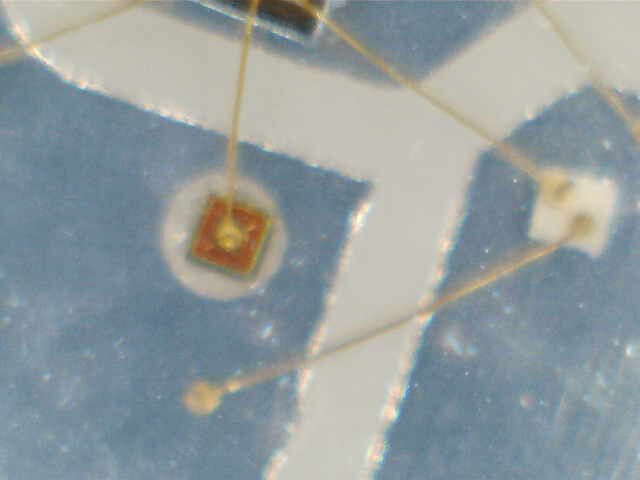
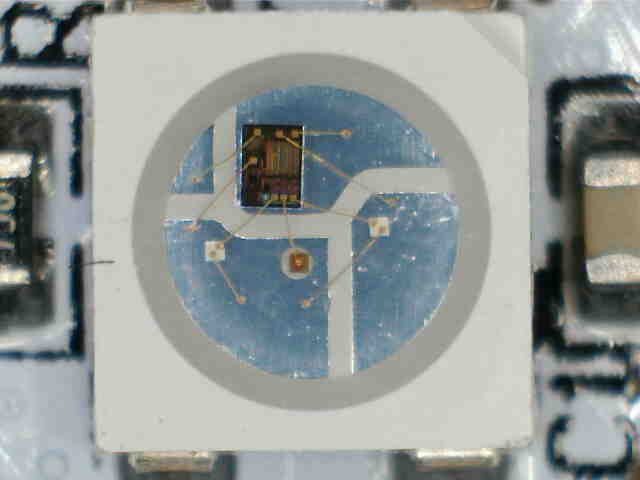
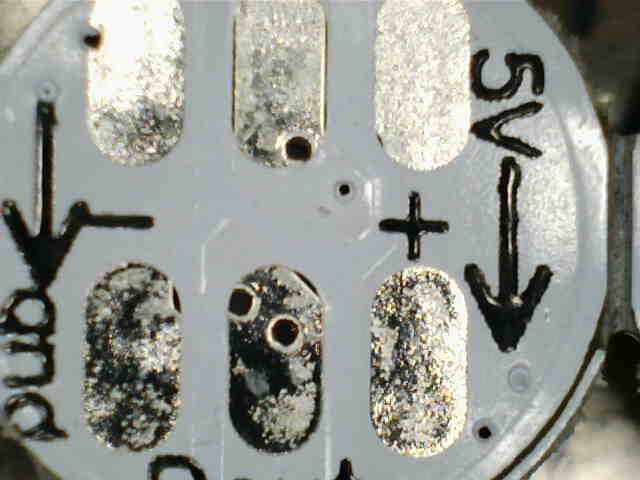
07/28/2015 at 17:48 • 0 commentsI just got my LEDs . They somehow managed to ship within 3 weeks which is quite amazing for where I live. I couldn't resist taking a couple of close up pictures with my USB microscope.
Surprisingly i could actually make out some detail of the tiny die in the LED.
![]()
Some gold wire shots , not too interesting
![]()
Zoomed out a bit showing the form factor better. The metalic areas looks a bit dirty, I hope each the led functions though.
![]()
Oh yeah , i might just die from soldering 6 x 400 contacts!
![]()
-
LEDs!
07/06/2015 at 17:20 • 0 commentsI've finally ordered the LEDs. I originally planned to get around 200, but decided to order 400 WS2812 LEDs instead! If the Chinese spec is anything to believe that's around 80W-120W of RGB fun for me. Now I only have to wait for them to arrive and hopes my patience does not run out.
-
Starting out
06/22/2015 at 03:57 • 0 commentsNothing has been ordered yet. Will update as soon as I do.

 In real life the light is much more even. I blame my cellphone camera for the bright white spot. To the eye only the upper tip is faded a bit. I reckon i need about 2 or maybe 3 leds to light up a segment evenly. This is good news because i plan to use about 7 leds on each segment. The total length of the a single segment is about 21cm meaning a whole digit will be close to 50cm.


