-
Boards attatched to goggles.
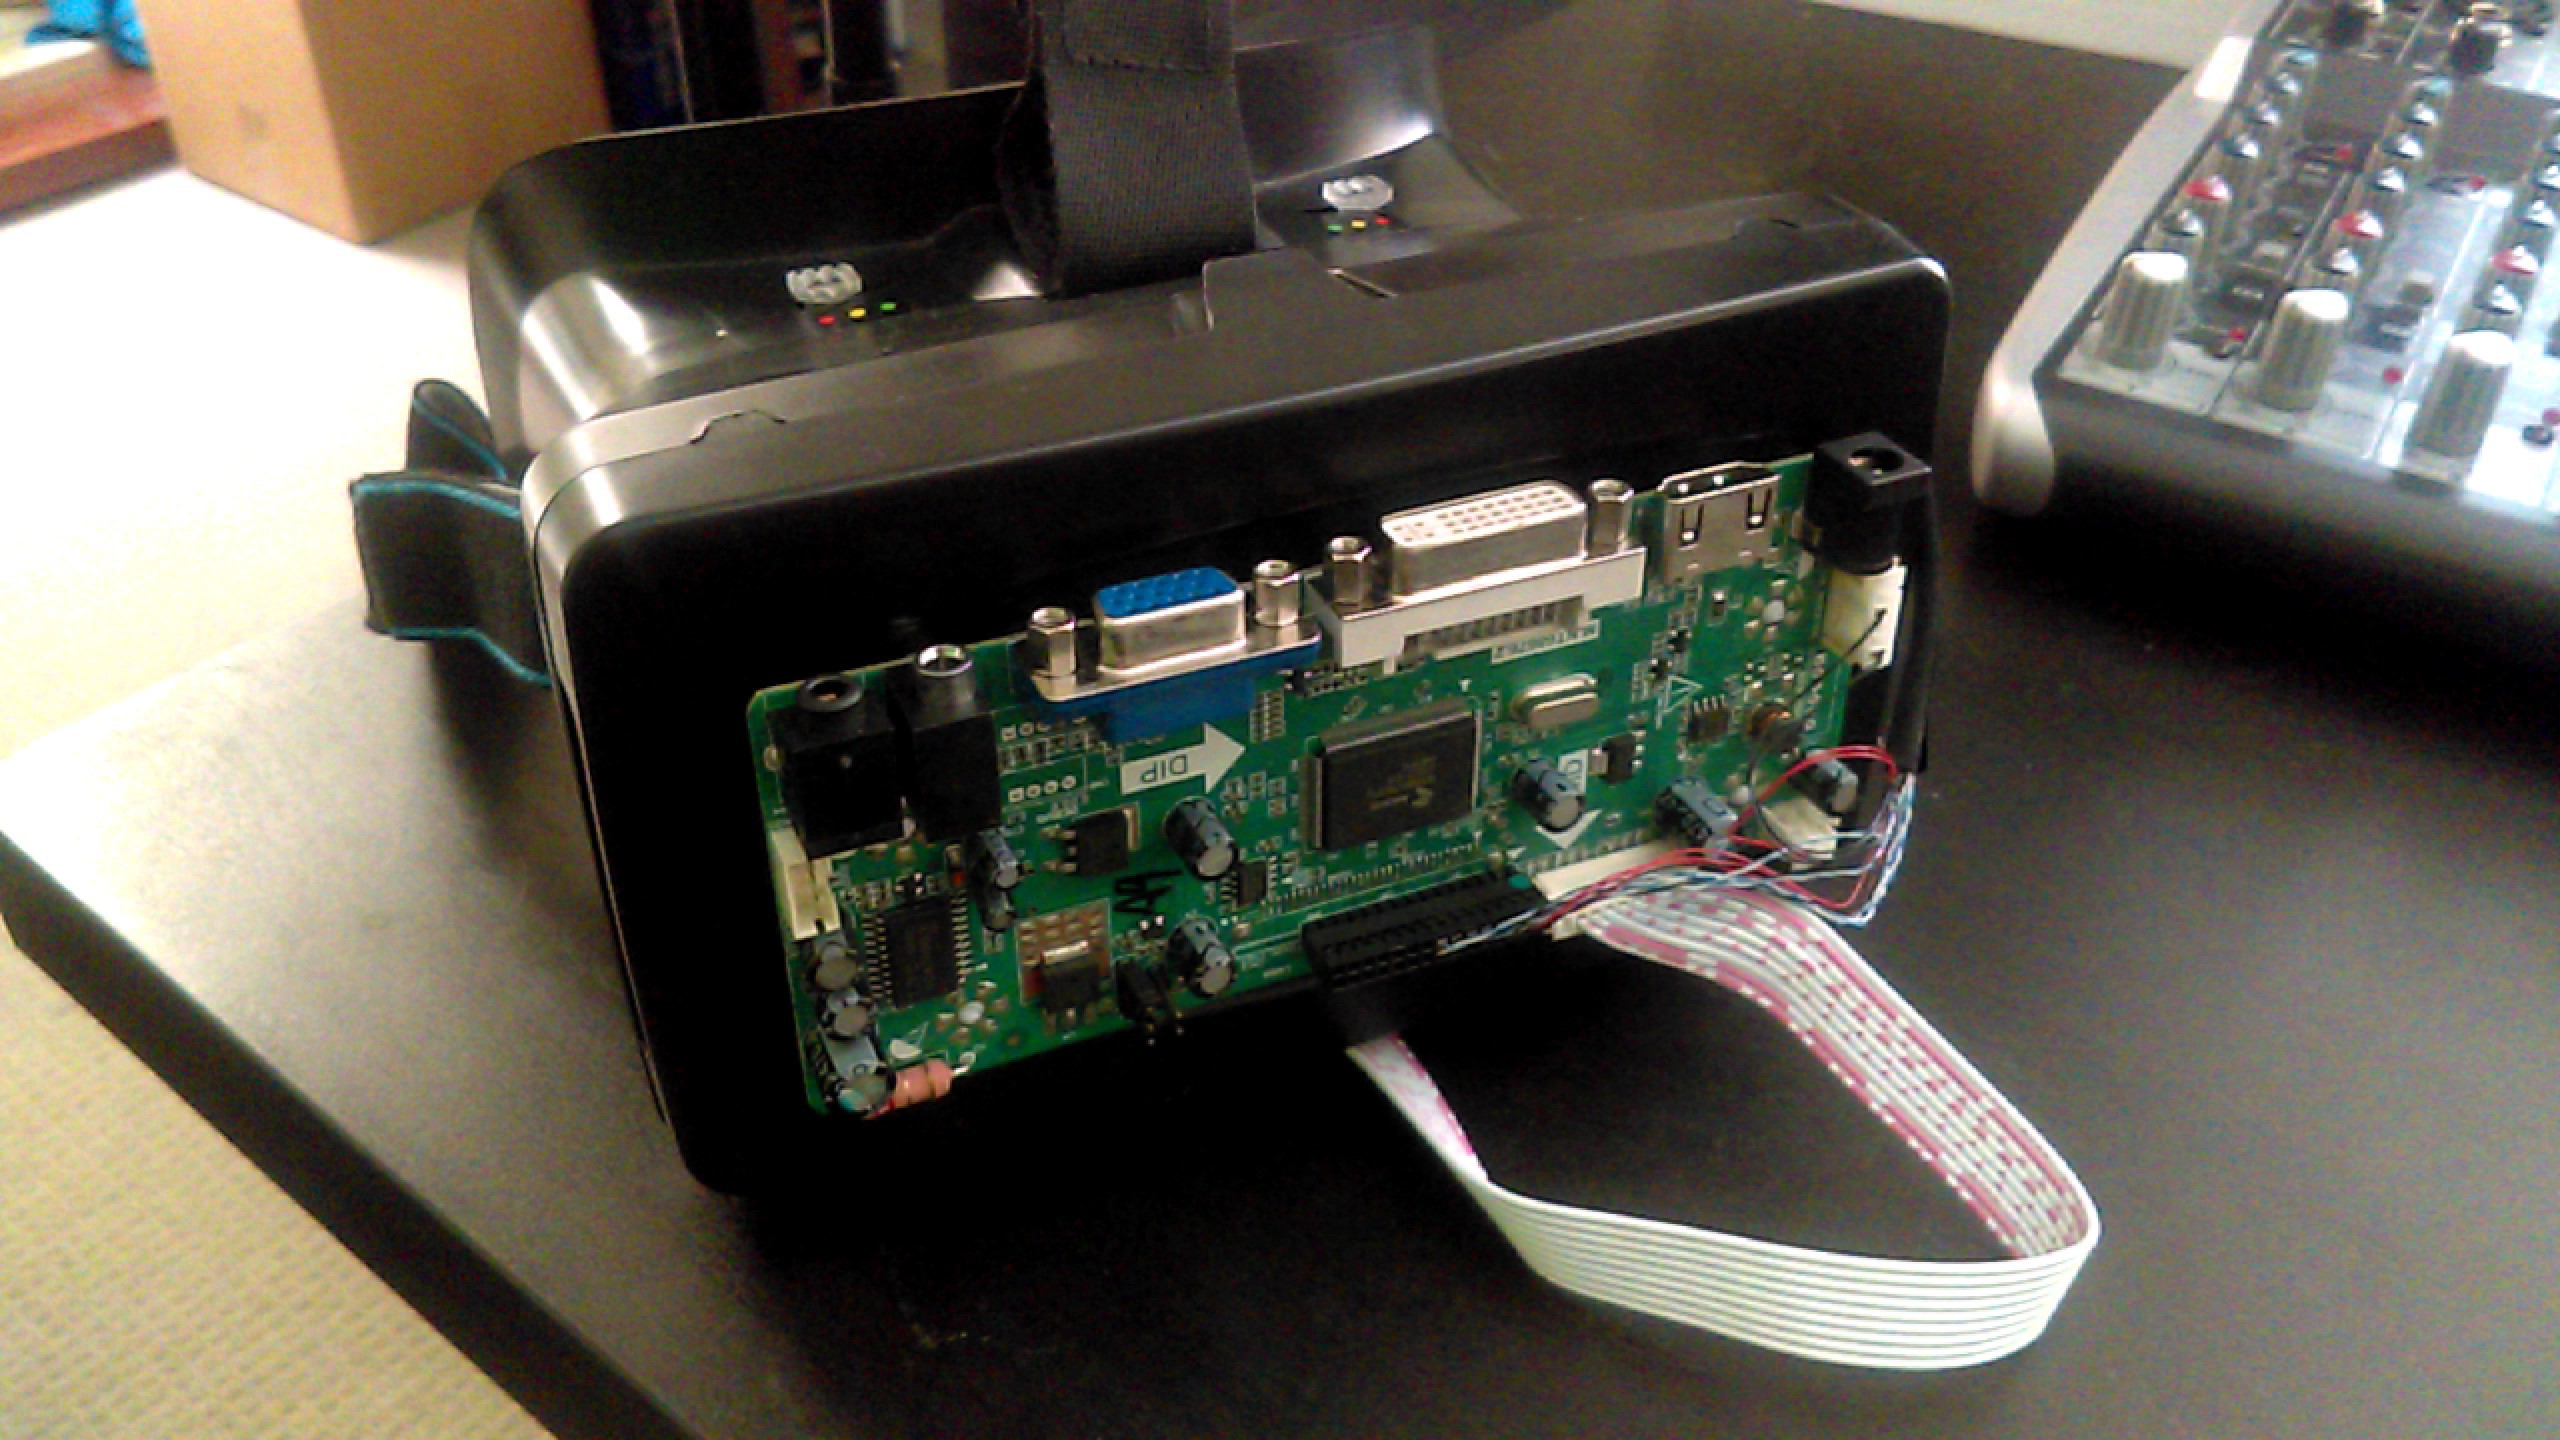
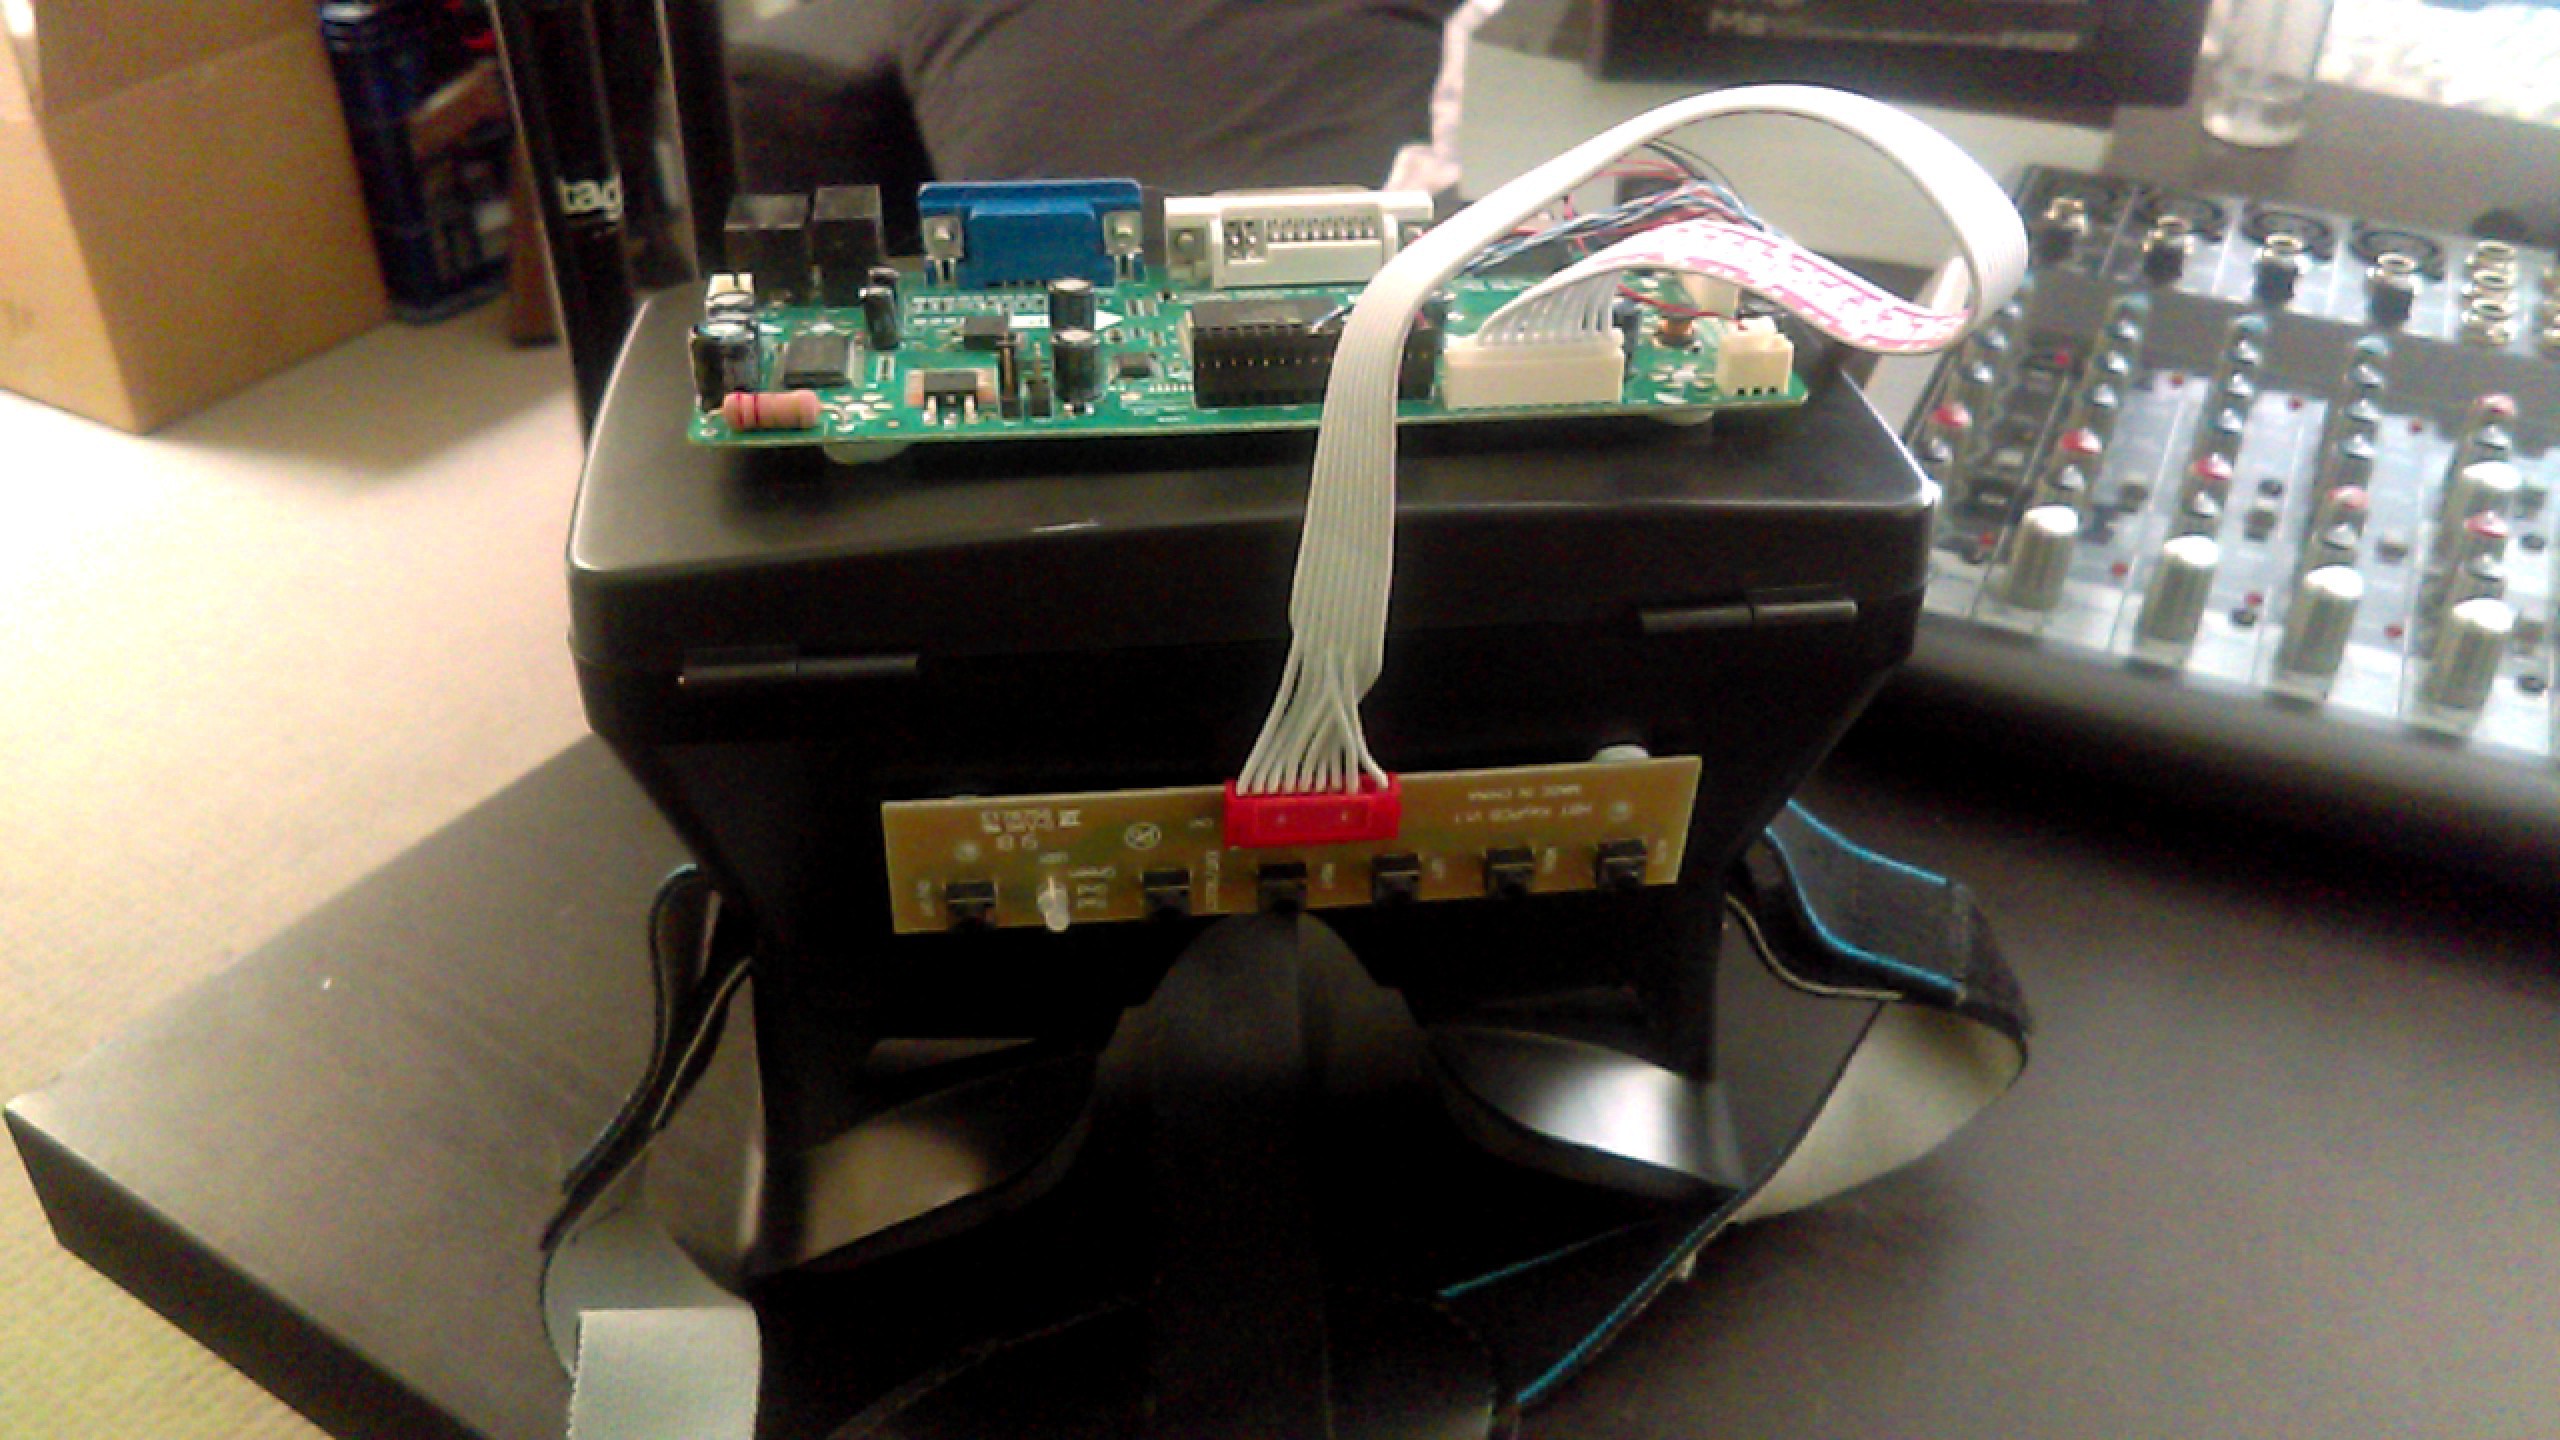
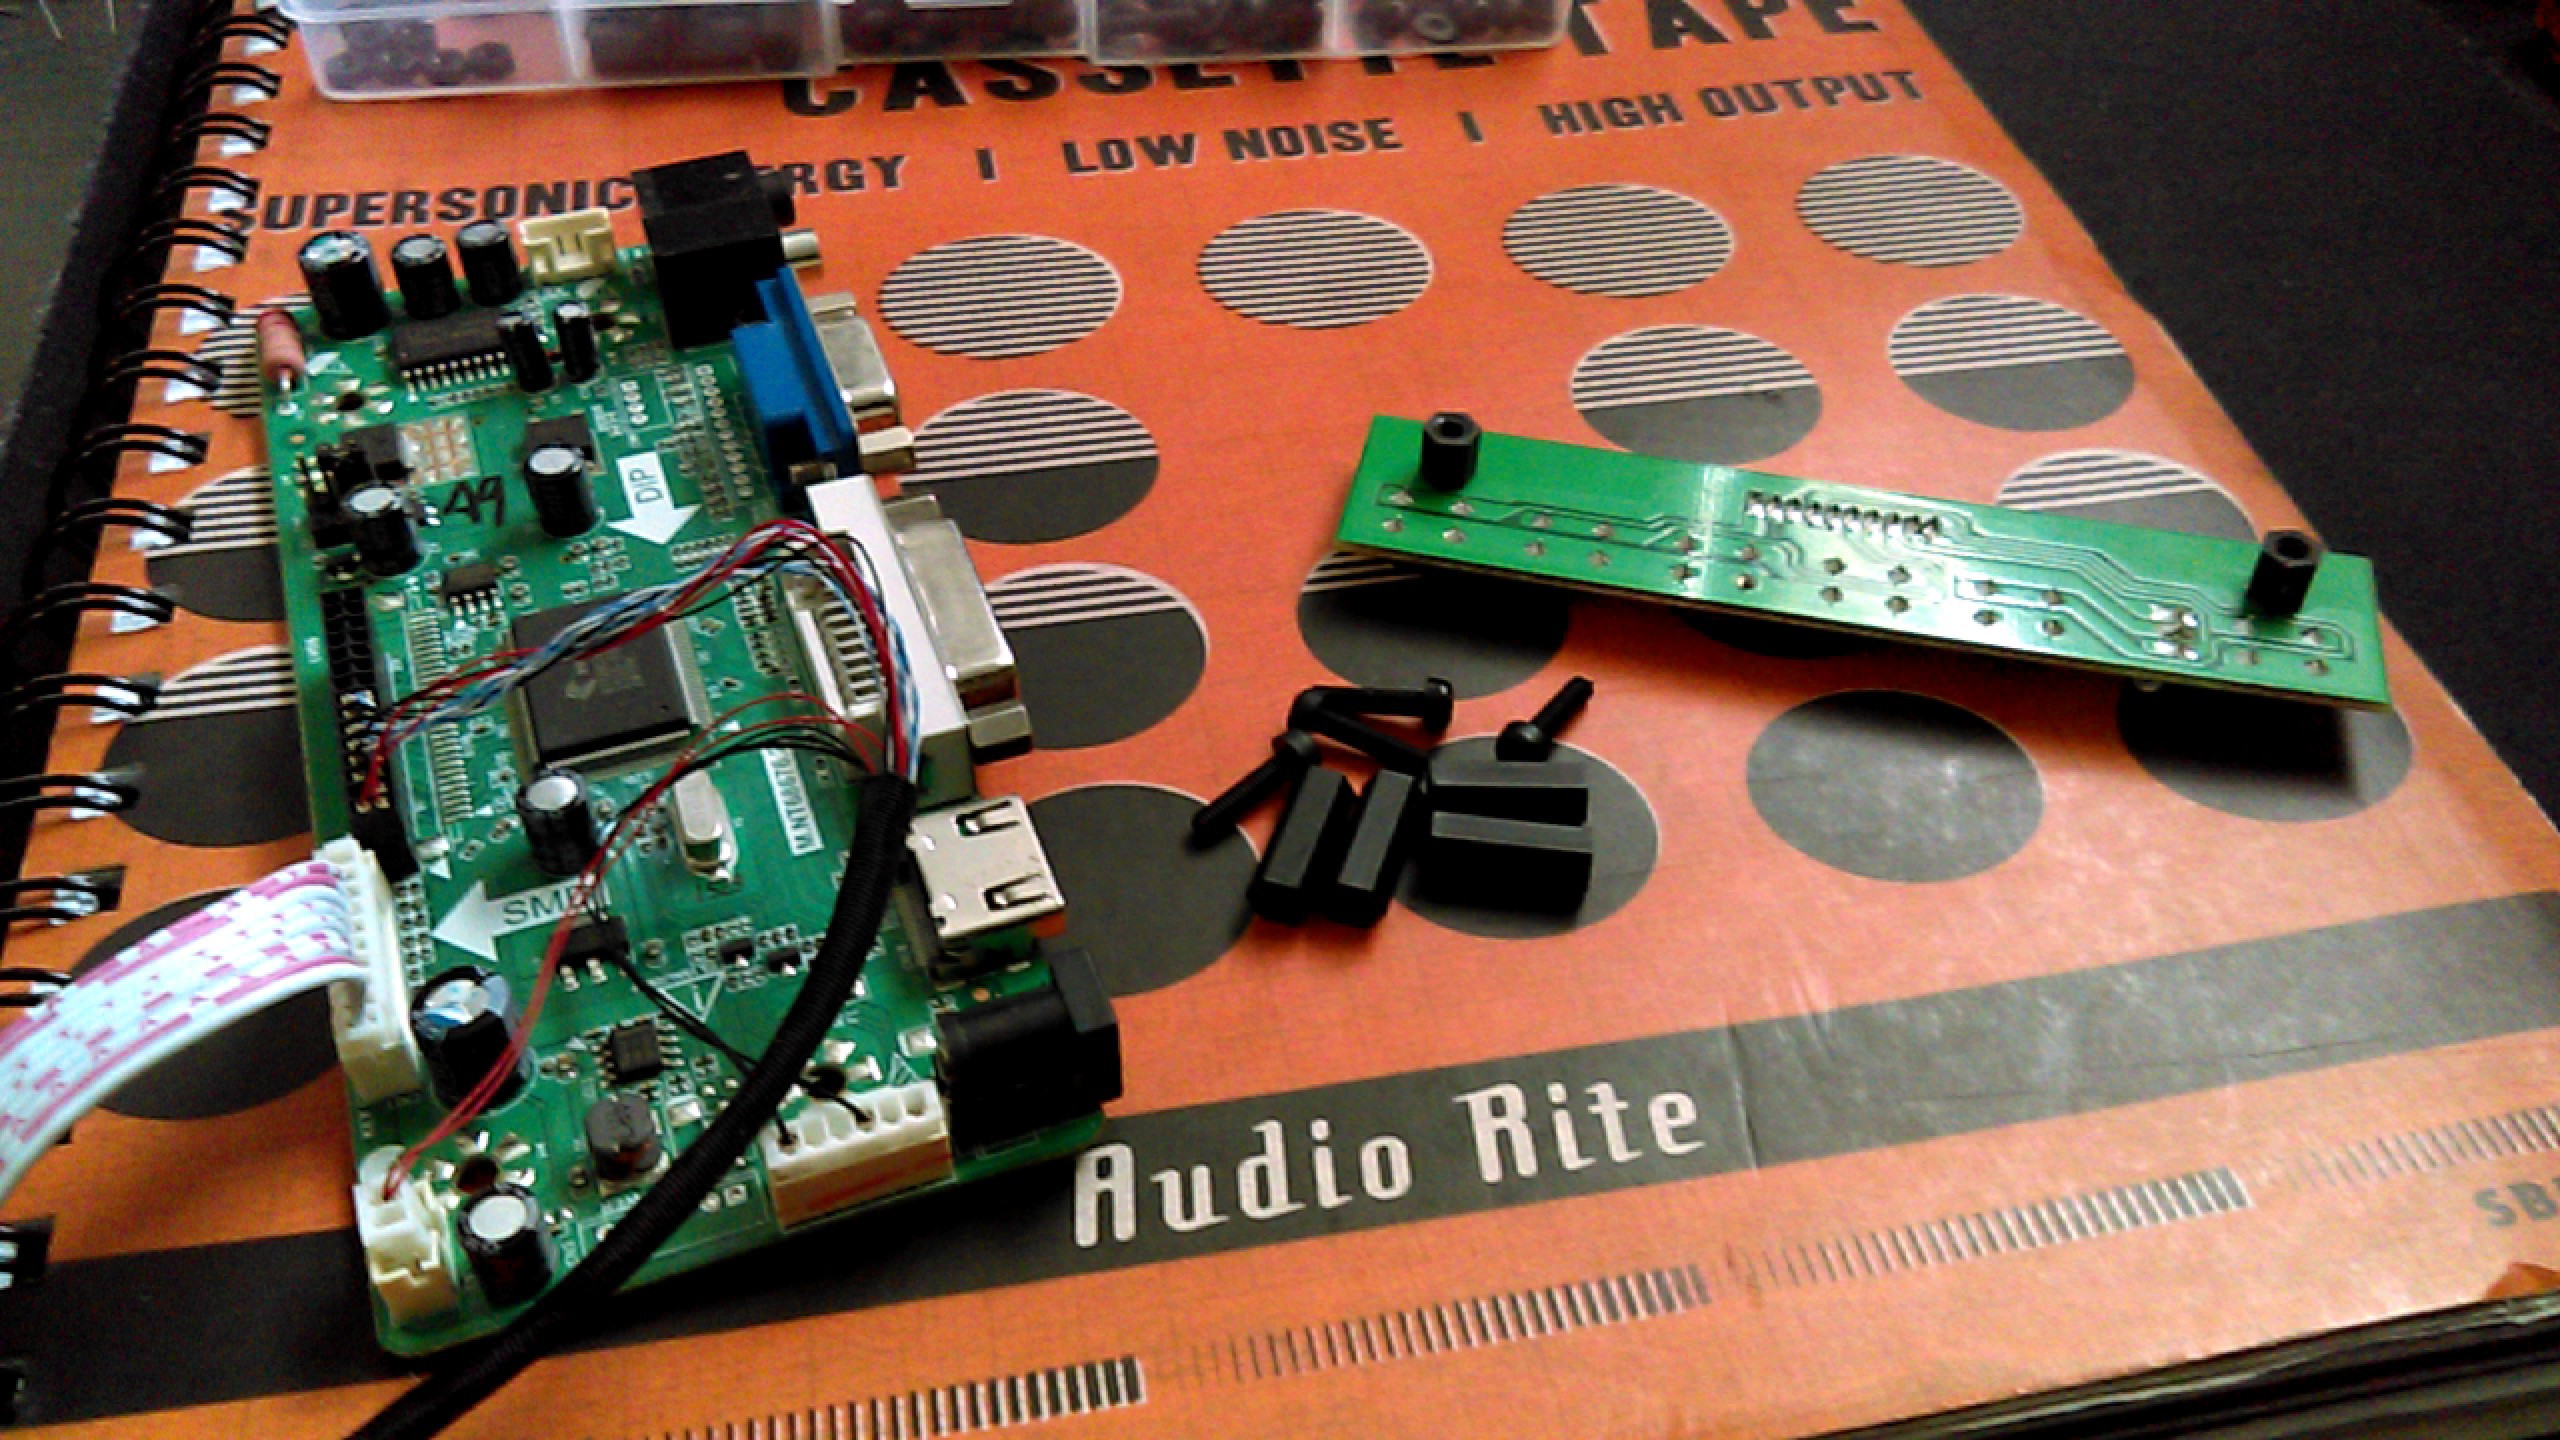
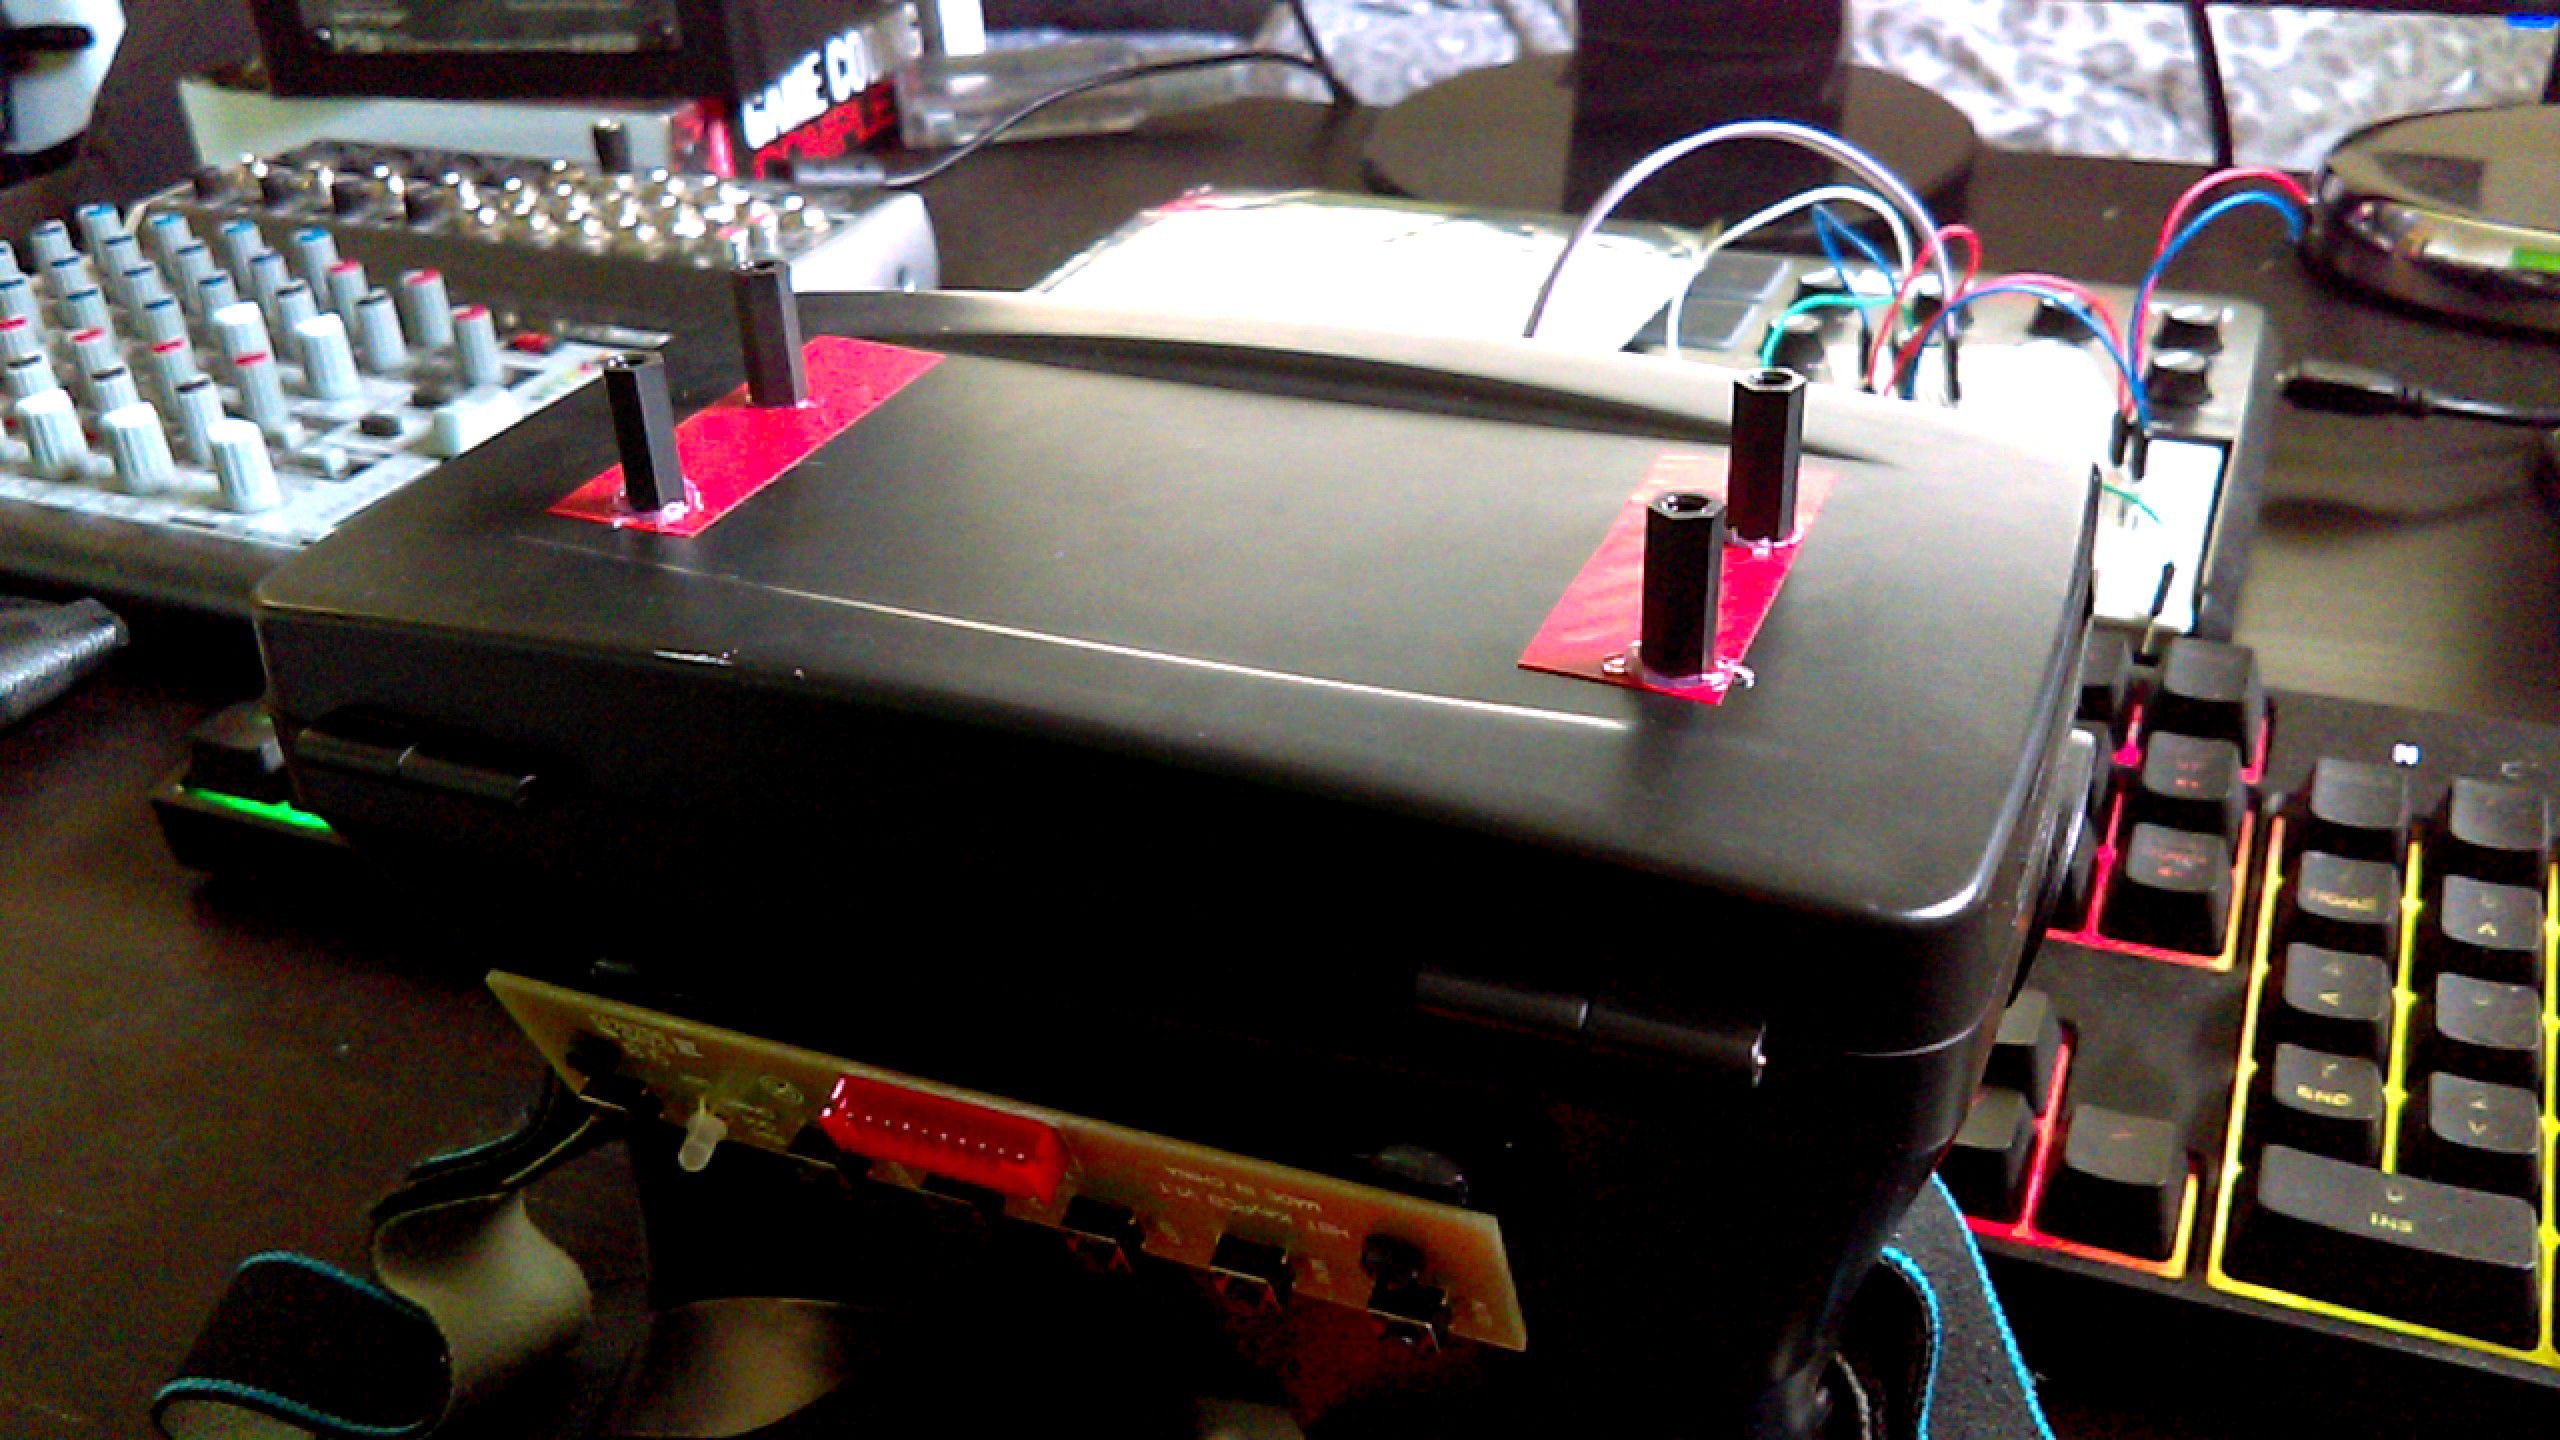
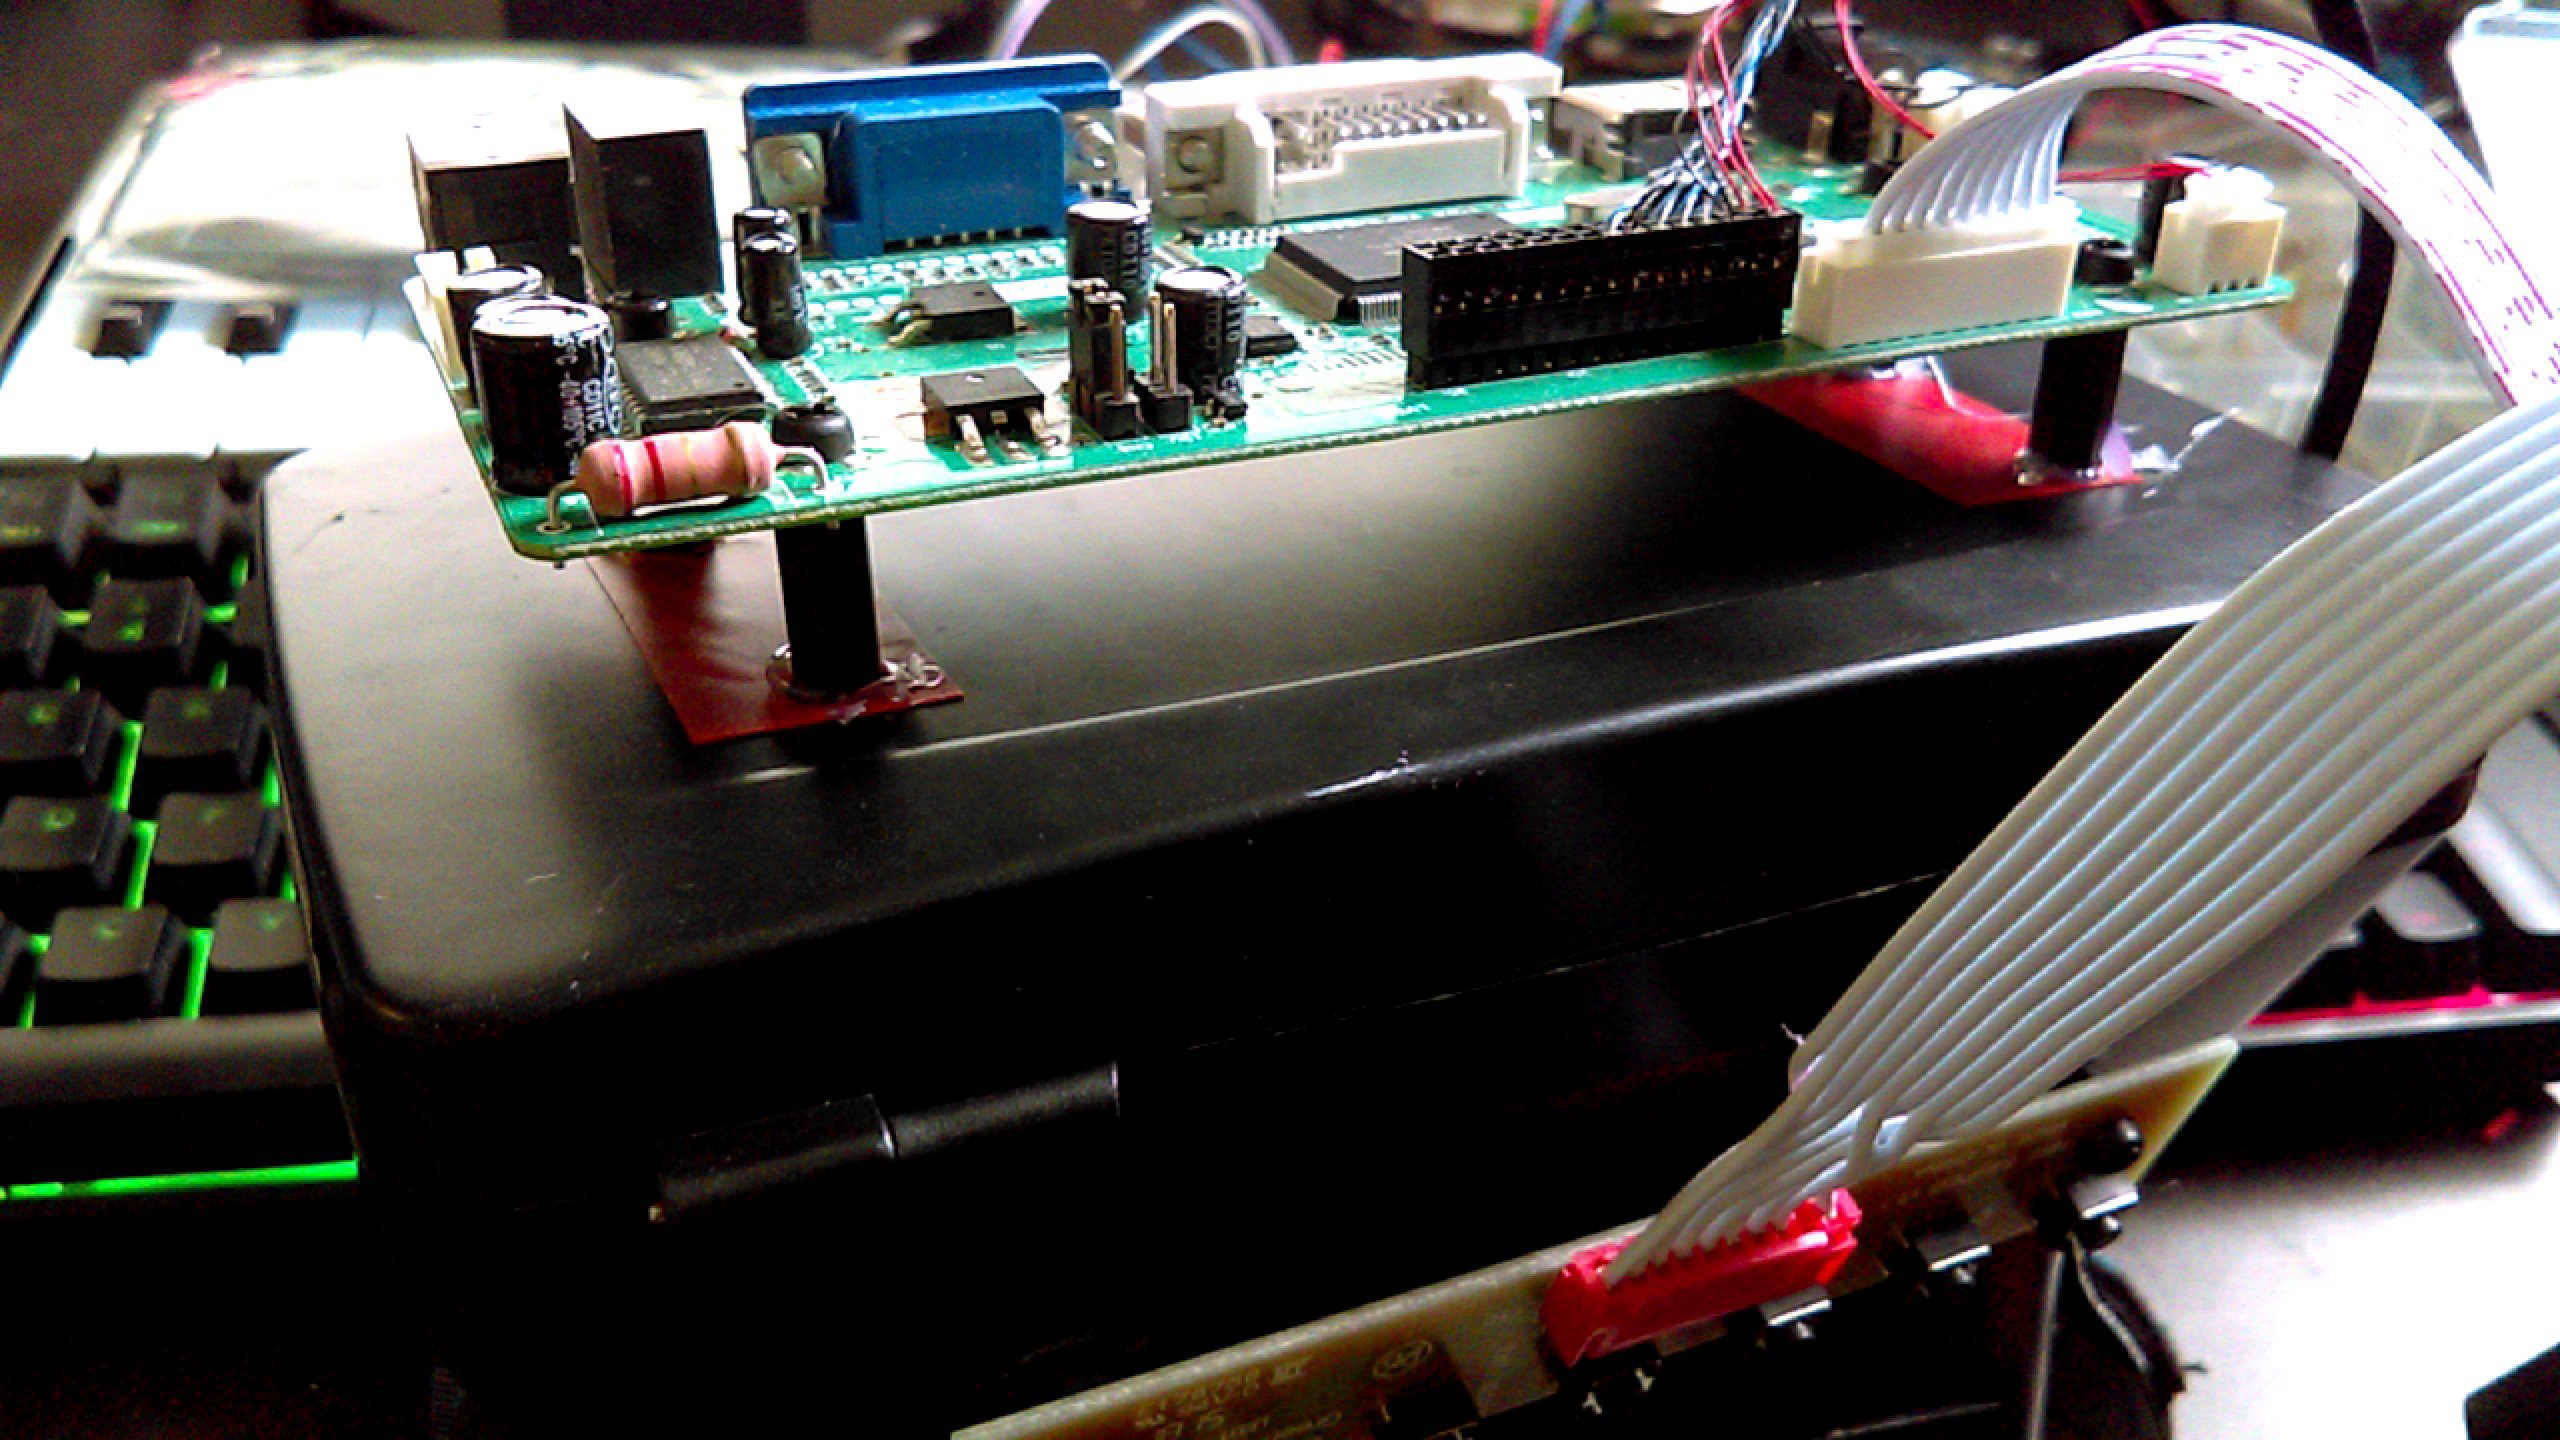
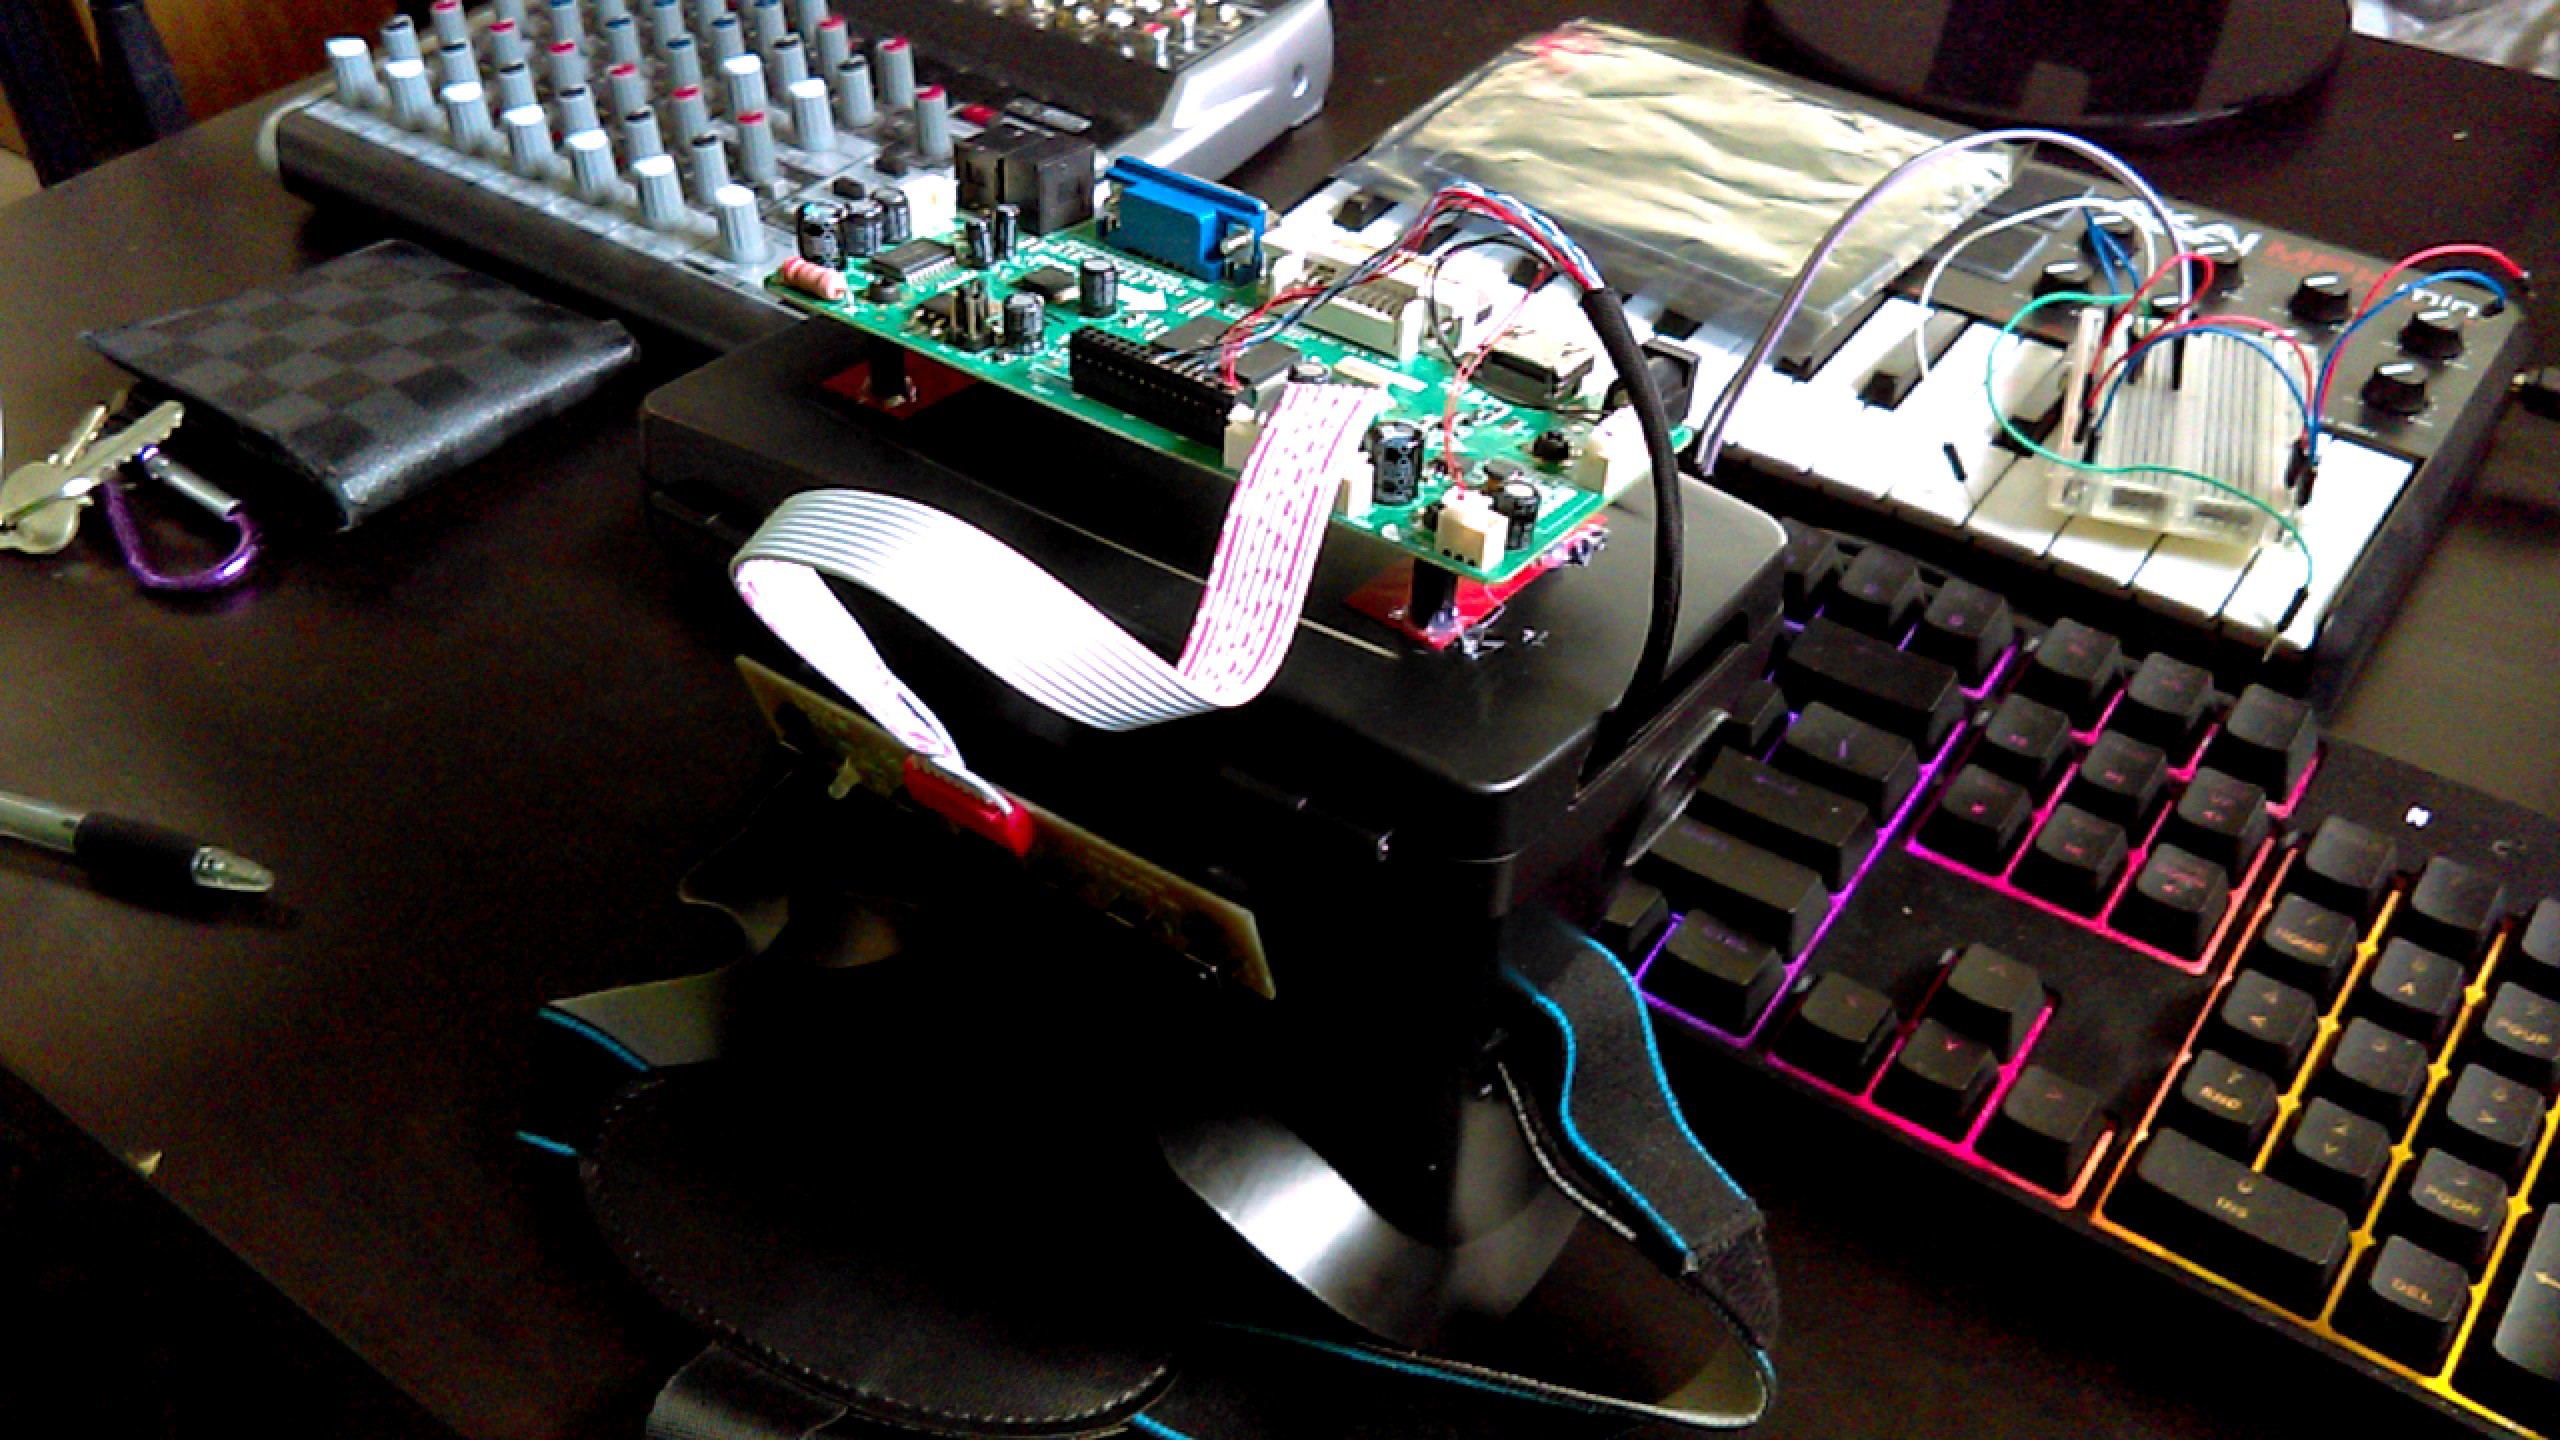
02/13/2018 at 07:35 • 0 commentsI managed to get my hands on an assortment of nylon standoffs so I can finally attach the two PCB's to the goggles. Also acquired a hot glue gun for sticking the standoffs down.
![]()
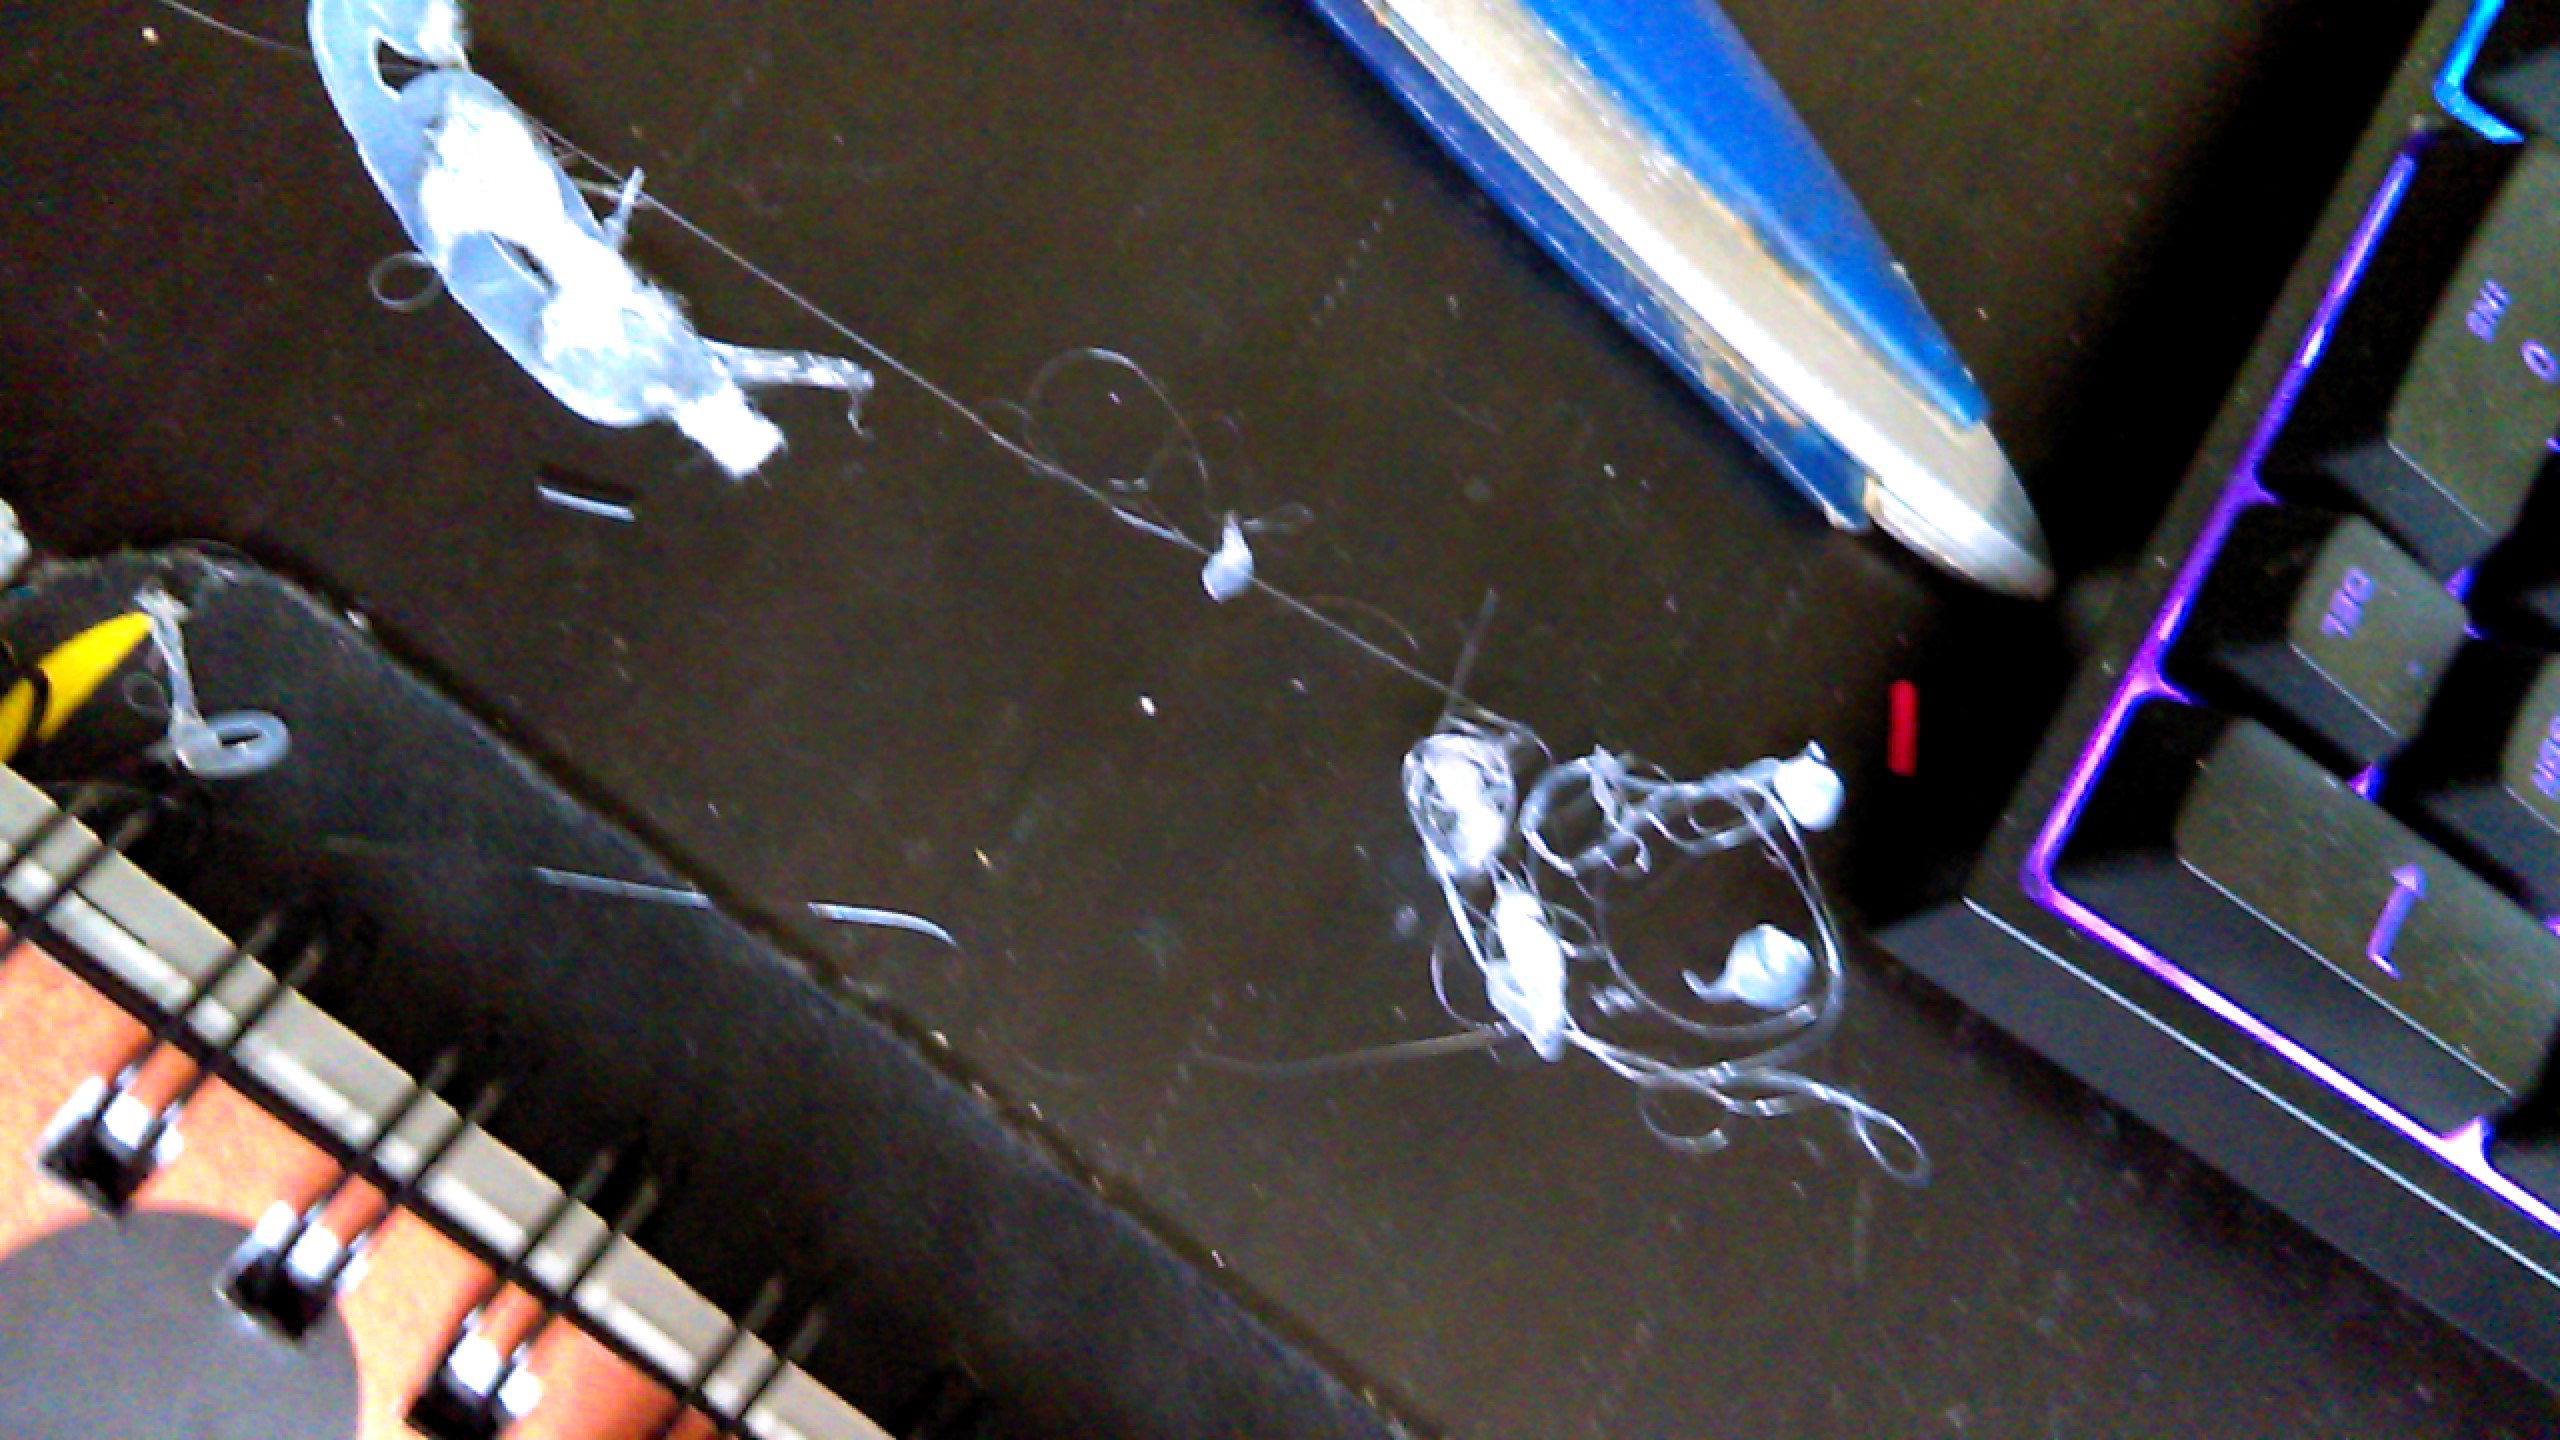
At first I would try and put some glue on the end of the standoff and quickly try and stick it down with the board attached, but then I realised how inaccurate the placing would be. I also quickly found out how annoying using a hot glue gun is.
![]()
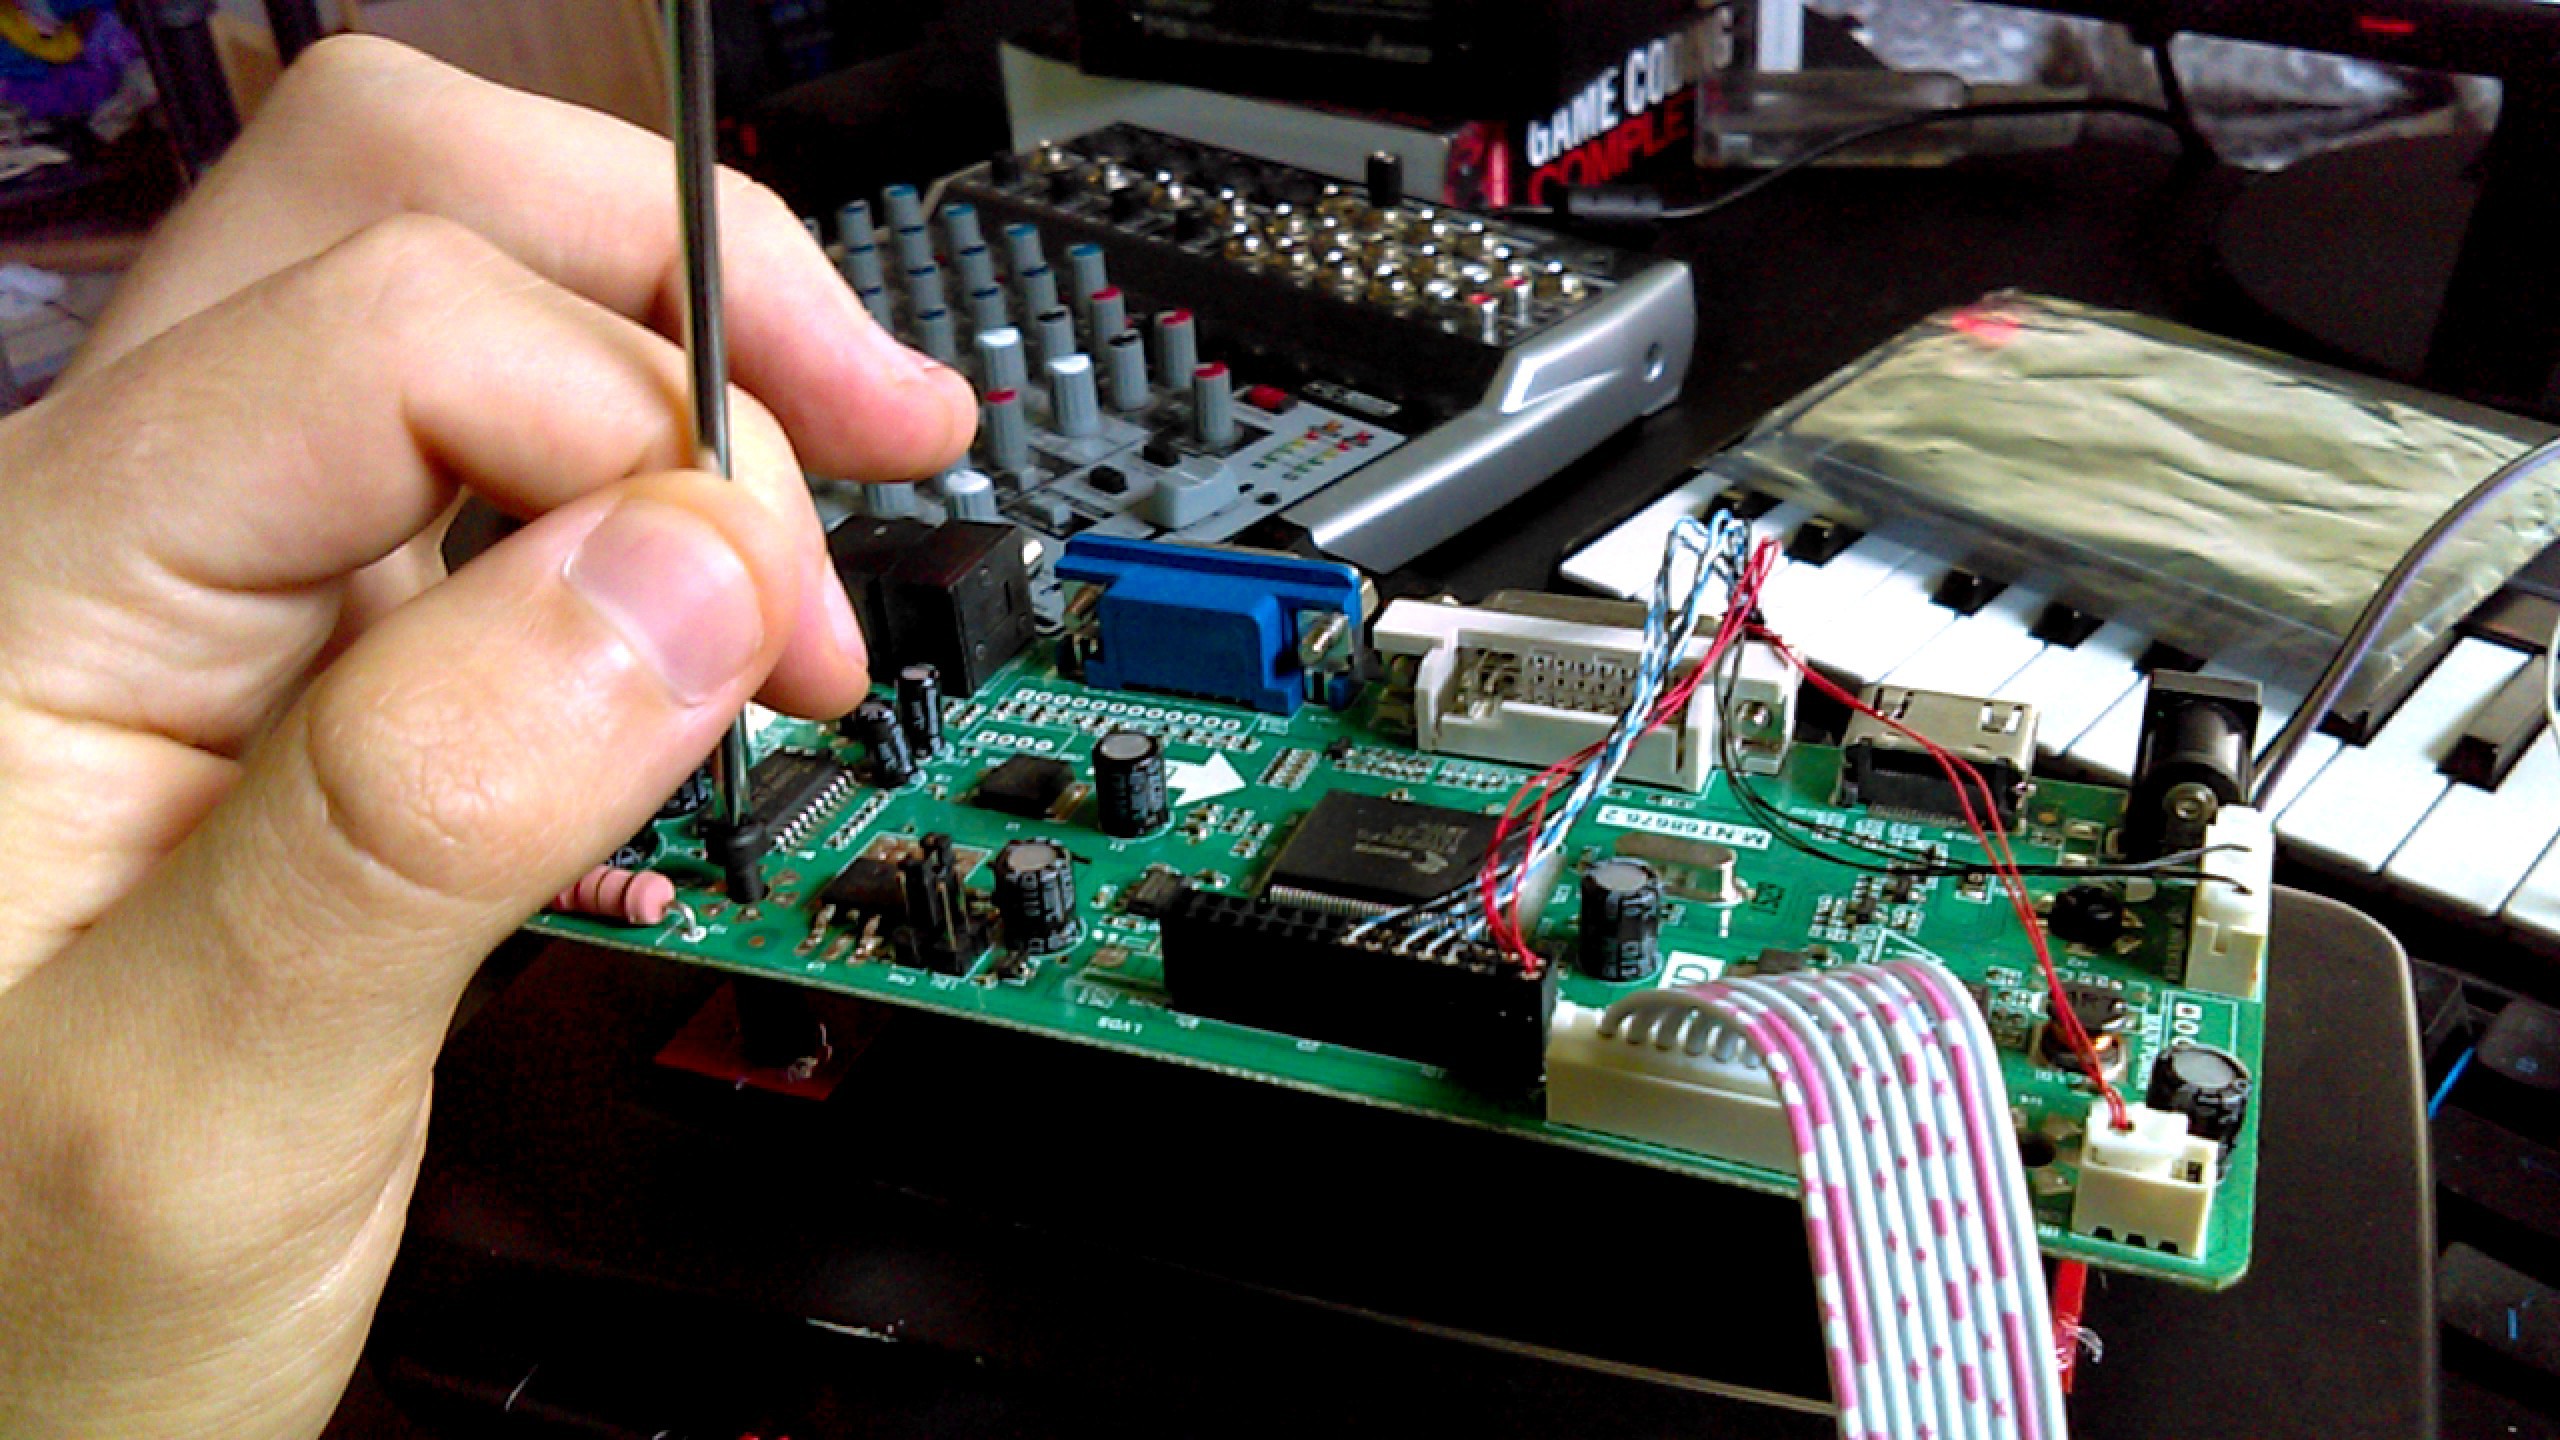
This stringy sticky mess would end up everywhere. I decided the best way to do this would be to mark out the standoff holes through the board and onto the goggles, followed by sticking the standoffs down to these marks and finally screwing the board on top. This proved to be the most accurate and less annoying way to go about this task.
![]()
![]()
It took a little longer than I expected (1.5 years and 30 minutes), but I'm happy with how it's holding - although I am thinking in any future project that I will probably screw the board/standoffs into the plastic as opposed to using an adhesive, as the glue may not hold indefinitely.
![]()
![]()
Still waiting for the EDTrack components in the mail (the micro Arduino and gyroscope module are coming from China, with the DIY EDTrack PCB coming from the UK), so I have probably got a few weeks wait till I can build the head tracking stuff. Including the head tracking stuff, there's roughly three more tasks left until the project is finished, and they are: positioning and placement of the LCD panel inside the goggles and constructing what I am calling the "Notculus multi core cable" (power, HDMI and micro USB). Nearly there! -
Project Reboot 2.18
02/05/2018 at 04:35 • 0 commentsAfter over a year and a half of silence from this project, I am finally going to complete it. While moving interstate I found all the components for this project in storage - surprisingly the LCD display and driver board still functions, I found it and all its delicate cables and screen tangled up in a huge box of junk tech - along with the goggles.
![]() In the last post I made (all the way back in 2016) I failed hard at removing the IR filter from a PS3 eye - which was going to be used for head tracking. I have decided to use the DIY EDTrack head tracking solution in place of the IR LED array I originally "designed". I'm still waiting on the components in the mail, but from what I have researched into the solution so far, it is looking like it is the most efficient head tracking solution for its price.
In the last post I made (all the way back in 2016) I failed hard at removing the IR filter from a PS3 eye - which was going to be used for head tracking. I have decided to use the DIY EDTrack head tracking solution in place of the IR LED array I originally "designed". I'm still waiting on the components in the mail, but from what I have researched into the solution so far, it is looking like it is the most efficient head tracking solution for its price. ![]()
So to begin with I mocked the rough positioning of the boards on the goggles with blue tack. Given the positioning of the various ports on the panel driver board, I decided on placing the switch board underneath (image below). This is to ensure that there is no obstruction for cables that need to be plugged into the board (power and HDMI), as well as providing space for both the head tracking chip and it's connected USB cable.
![]()
This process was purely so I could visualize the layout of the device, the placement of the various components and the finished product. I have decided on keeping the PCB's visible in place of creating housing for both boards - it looks dirty tech and cool af. Next up is attaching the two boards to standoffs and gluing the standoffs in place on the goggles.
-
PS3 Eye IR filter removal fail
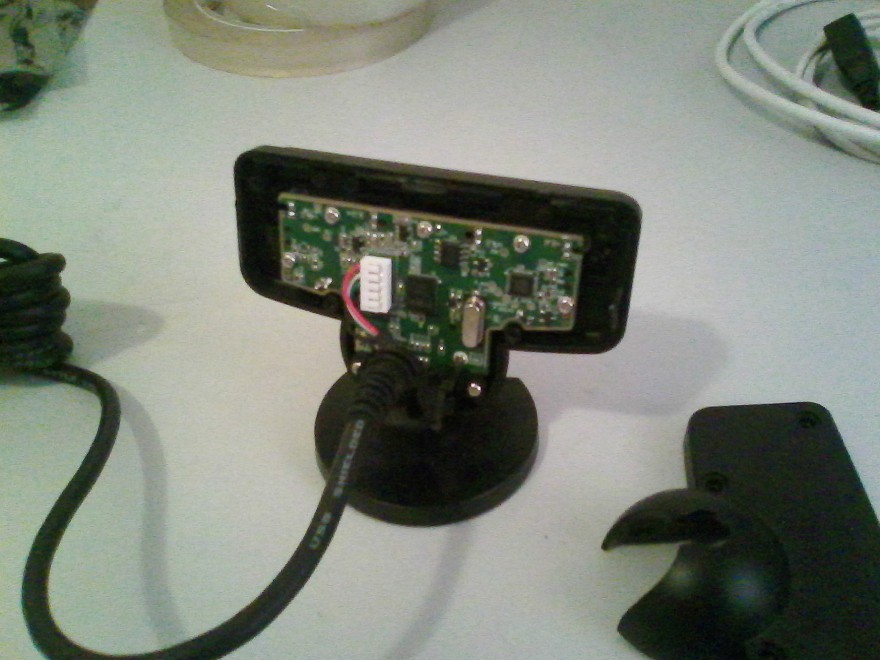
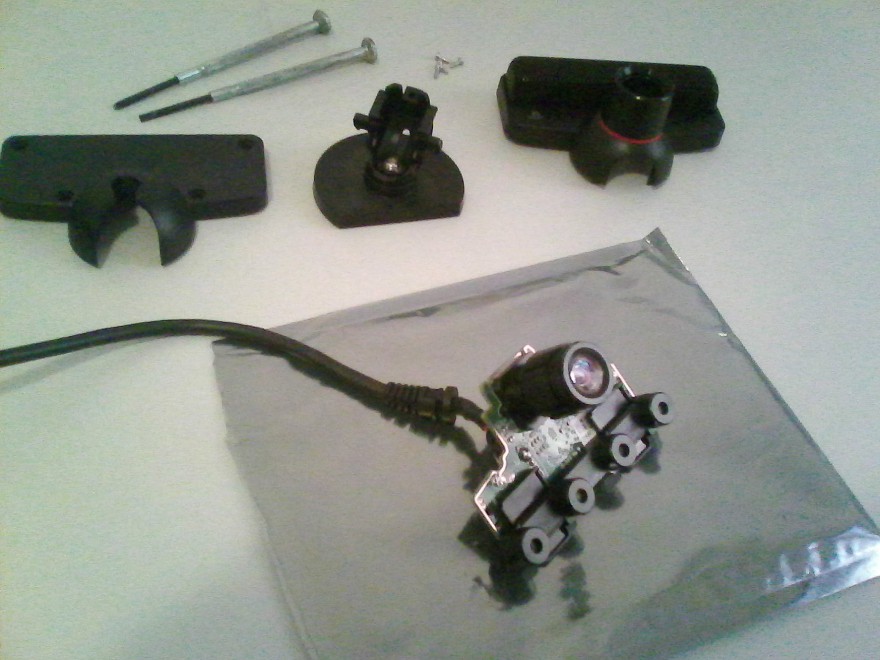
04/08/2016 at 10:58 • 0 commentsToday I tried removing the IR filter from the PS3 Eye following the steps found here: https://codelaboratories.com/research/view/ps3-eye-disassembly. Key word here being tried.
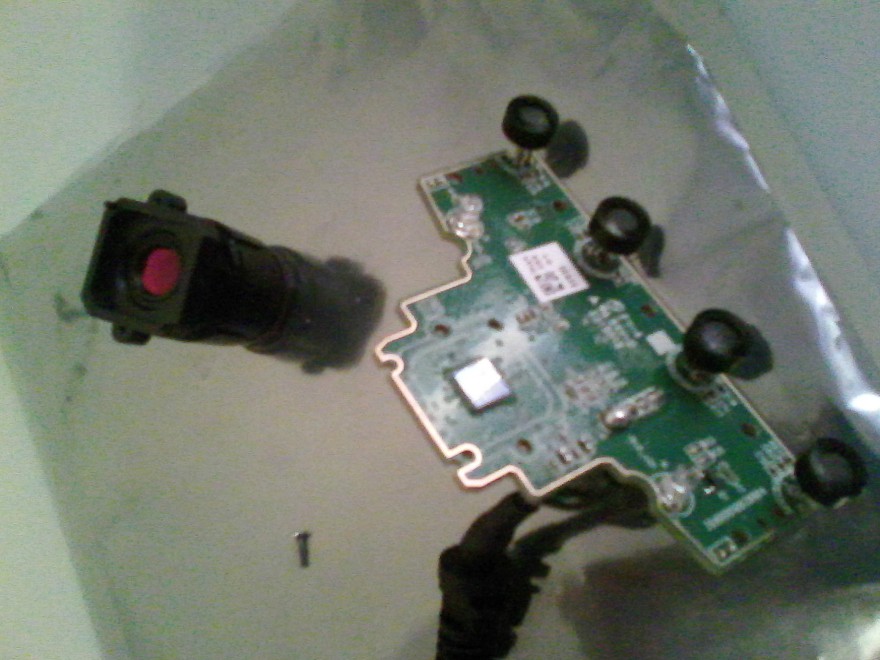
"The IR blocking lens is mounted on the inside of the lens, close to the CMOS sensor. It is heat-pressed in, so it is fairly easily removed." Fairly easily removed they said. It will be fun, they said.
(*they didn't actually say it would be fun).![]()
Frame removed.![]()
![]()
Removed lens and exposed OV07720 CMOS sensor.
I spent a good few hours trying to remove the IR filter from the lens. Was not successful. I have made a right mess of the filter/filter housing while the filter is chipping and not budging an inch. I have decided not to focus on the IR tracking system for the time being, as this was an incredibly annoying and wasteful process haha. I'll need to source either another PS3 Eye or a webcam with an easier to remove IR filter - that shit was not fun at all.
Over the next week I plan to begin fitting the LCD/controller board onto the headset. -
IR LED array prototype
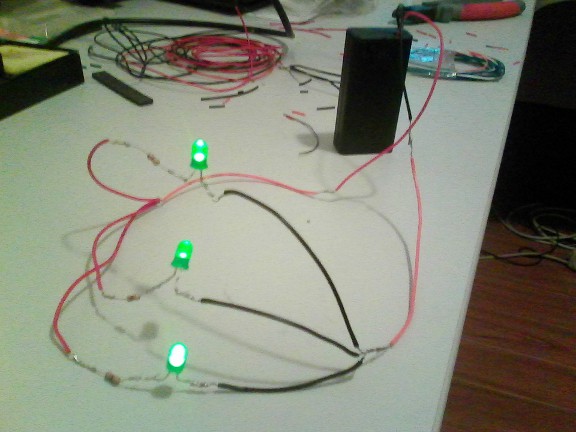
04/07/2016 at 11:21 • 0 commentsIn an earlier log, I outlined how I worked out how little I knew about electronics. The only piece of "hand wired" (for a lack of a better term) circuitry is a simple parallel LED array - I spent a day or two trying to visualize how I would physically lay this circuit out (circuit diagram is also in earlier log). On top of that I have little soldering experience so as practice I have prototyped the circuit using regular LED's - lest I destroy the IR LED's (which were surprisingly hard to come by if I remember correctly).
![]()
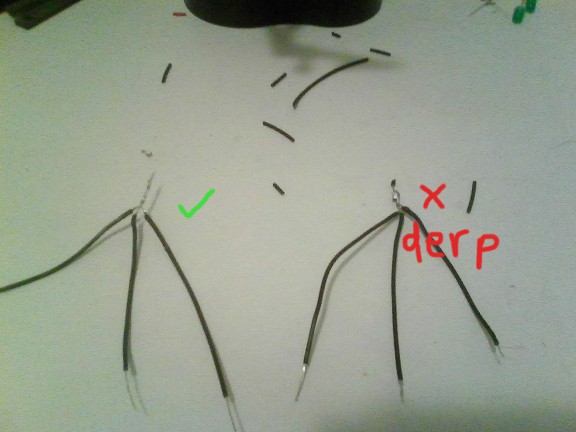
Soldering practice - setting the ground connections up and derpin about
![]()
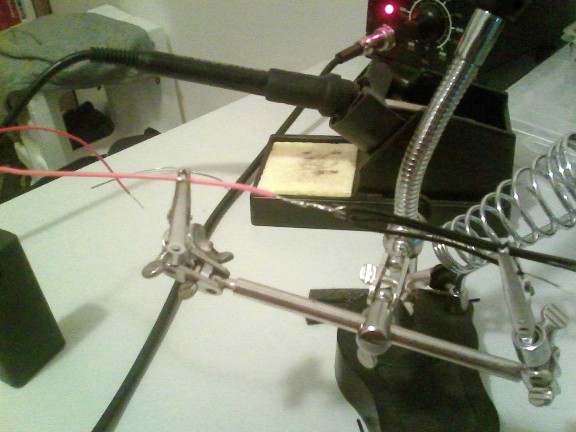
I soldered an orange colored wire between the ground connections and the battery ground as I ran out of black wire, I find the lack of color continuity disturbing
![]()
LED ground connections setup
![]()
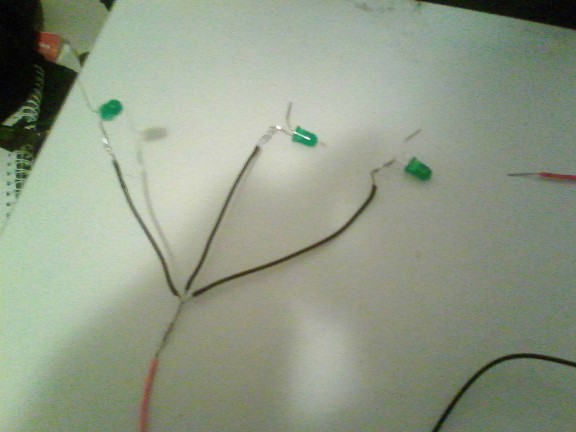
Resistors and power connected, all LED's are green. Huzzah!
I'm pretty happy with how it all went together - I already feel more confident with a soldering iron. The LED's are a little dimmer than I expected, I don't know how much this will effect how visible the IR LED's are to the PS3 cam so I may have to use resistors with a lower resistance (I believe these ones are 82 ohms).
Next up is removing the IR filter from the PS3 Eye. -
oh hai - project reboot - LCD/controller testing
04/07/2016 at 06:05 • 0 commentsI haven't worked on the project for quite some time as I had some issues with a dodgy power supply unit: it blew/shorted/exploded + killed my mains power when I plugged it into the LCD controller board. I was certain that the board + screen were doomed, and being disheartened and kinda frightened by the whole experience, I stopped working on the project. That was last year, sometime after my last project log.
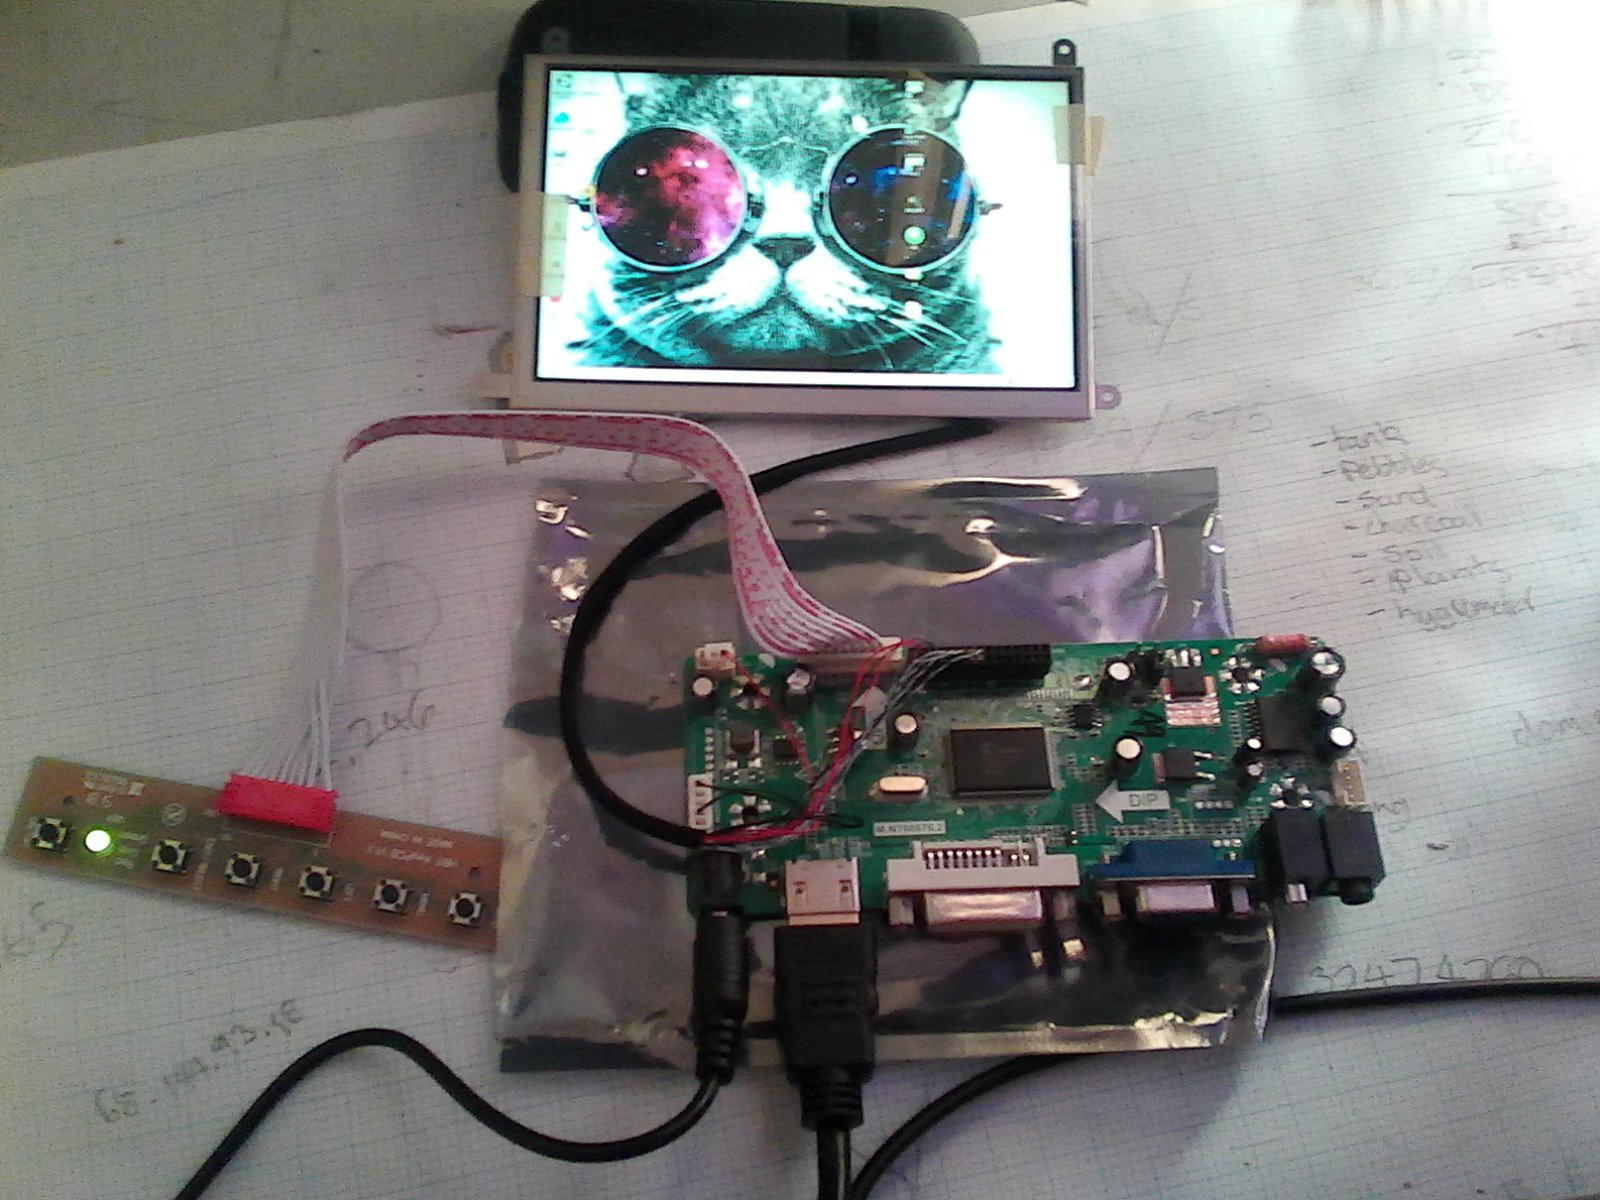
Anyway it turns out the screen and controller board are all good. Bought a new power supply unit last week, just tested it with the screen then.![]()
One of my friends (who I believe is following this project - greetz larry) warned me about using cheaper electronic components imported from China - it definitely was not something I had considered previous to this, but is something I consider now. In saying this, it's likely I dun goof'd something along the line and the fact the PSU was from China may have nothing to do with it. Just something to consider for anybody interested in building/DIYing using electronic components.
More updates soon. Next up is either wiring up a prototype of the IR LED tracking circuit or the removal of the IR filter from the PS3 eye. Be warned progress *may* be slow, I am currently engaged in full time study. -
LCD/controller board! huzzah!
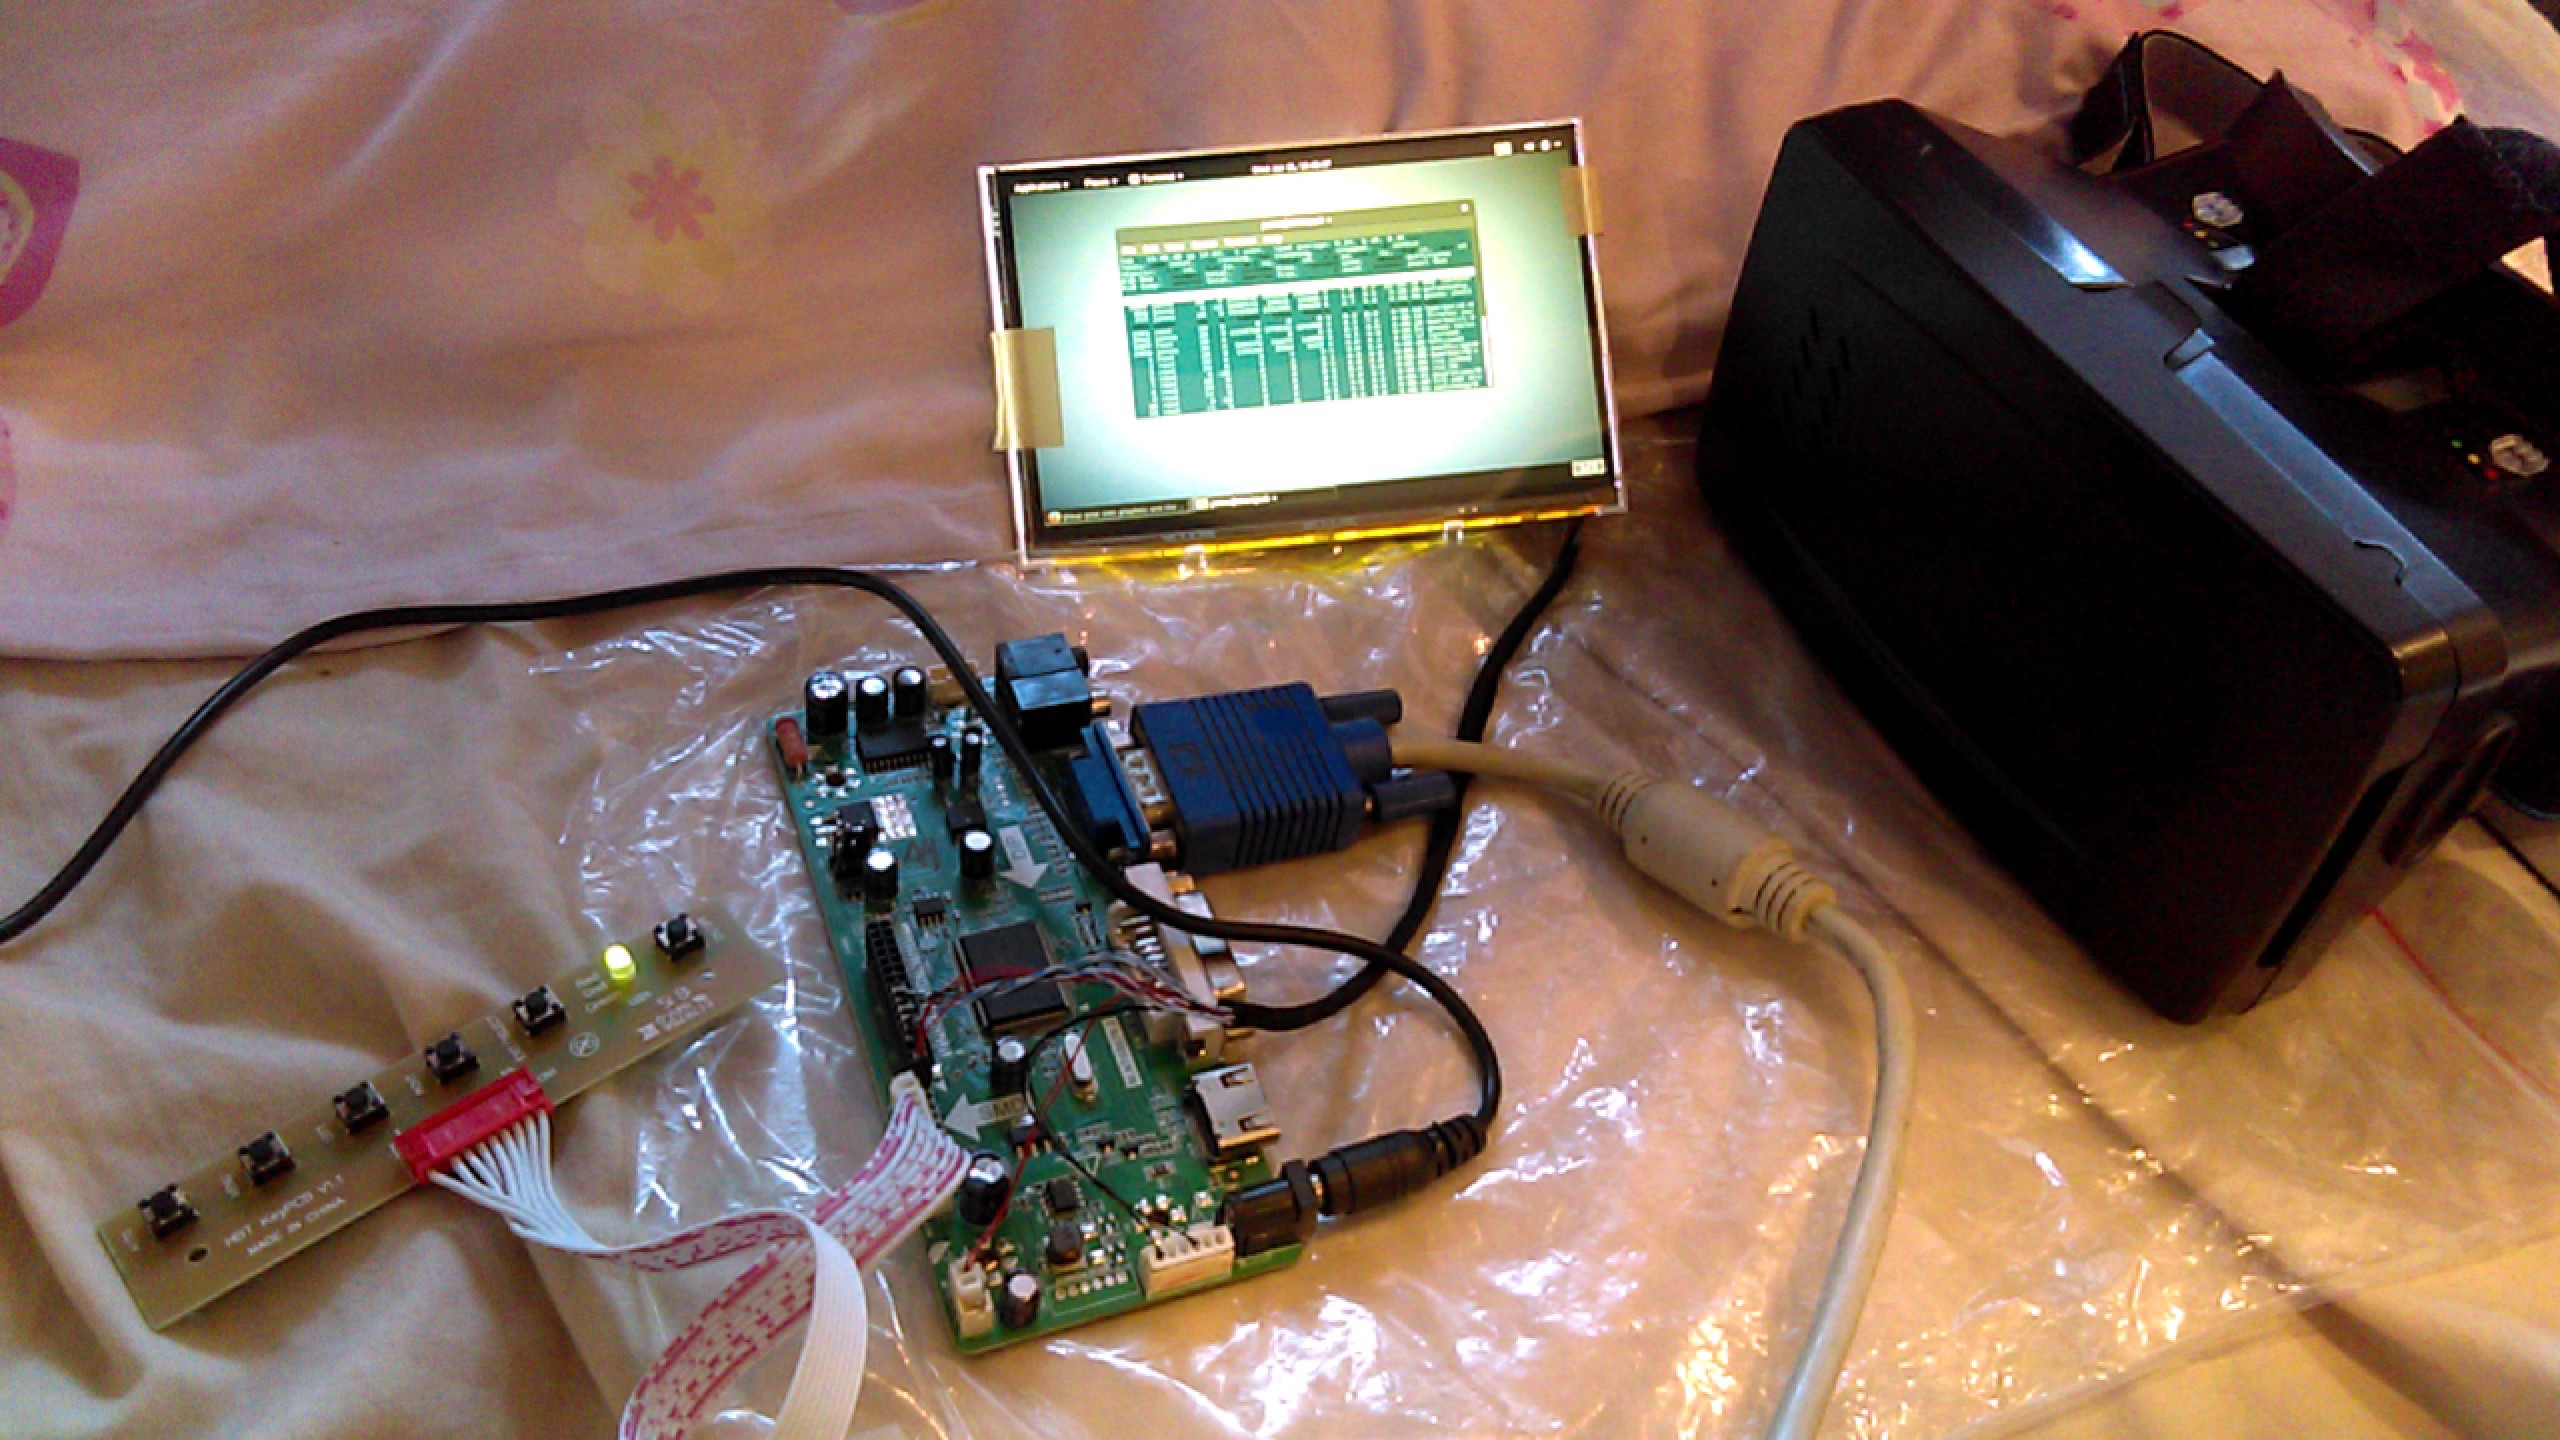
07/16/2015 at 02:34 • 0 comments![]()
Still waiting for at least two electronic components in the mail - I'm constantly pondering how a packet of IR LED's and a packet of 22ohm resistors takes more than a couple of days to arrive in the mail, but I hear the Chinese postal service is insane and I should expect a wait of over 40 days before complaining. Which confuses me, the LCD/controller board I ordered last week arrived today yet I ordered the LED's and resistors two and a half weeks ago. The impatient and figidity hacker in me wants to build now!
![]()
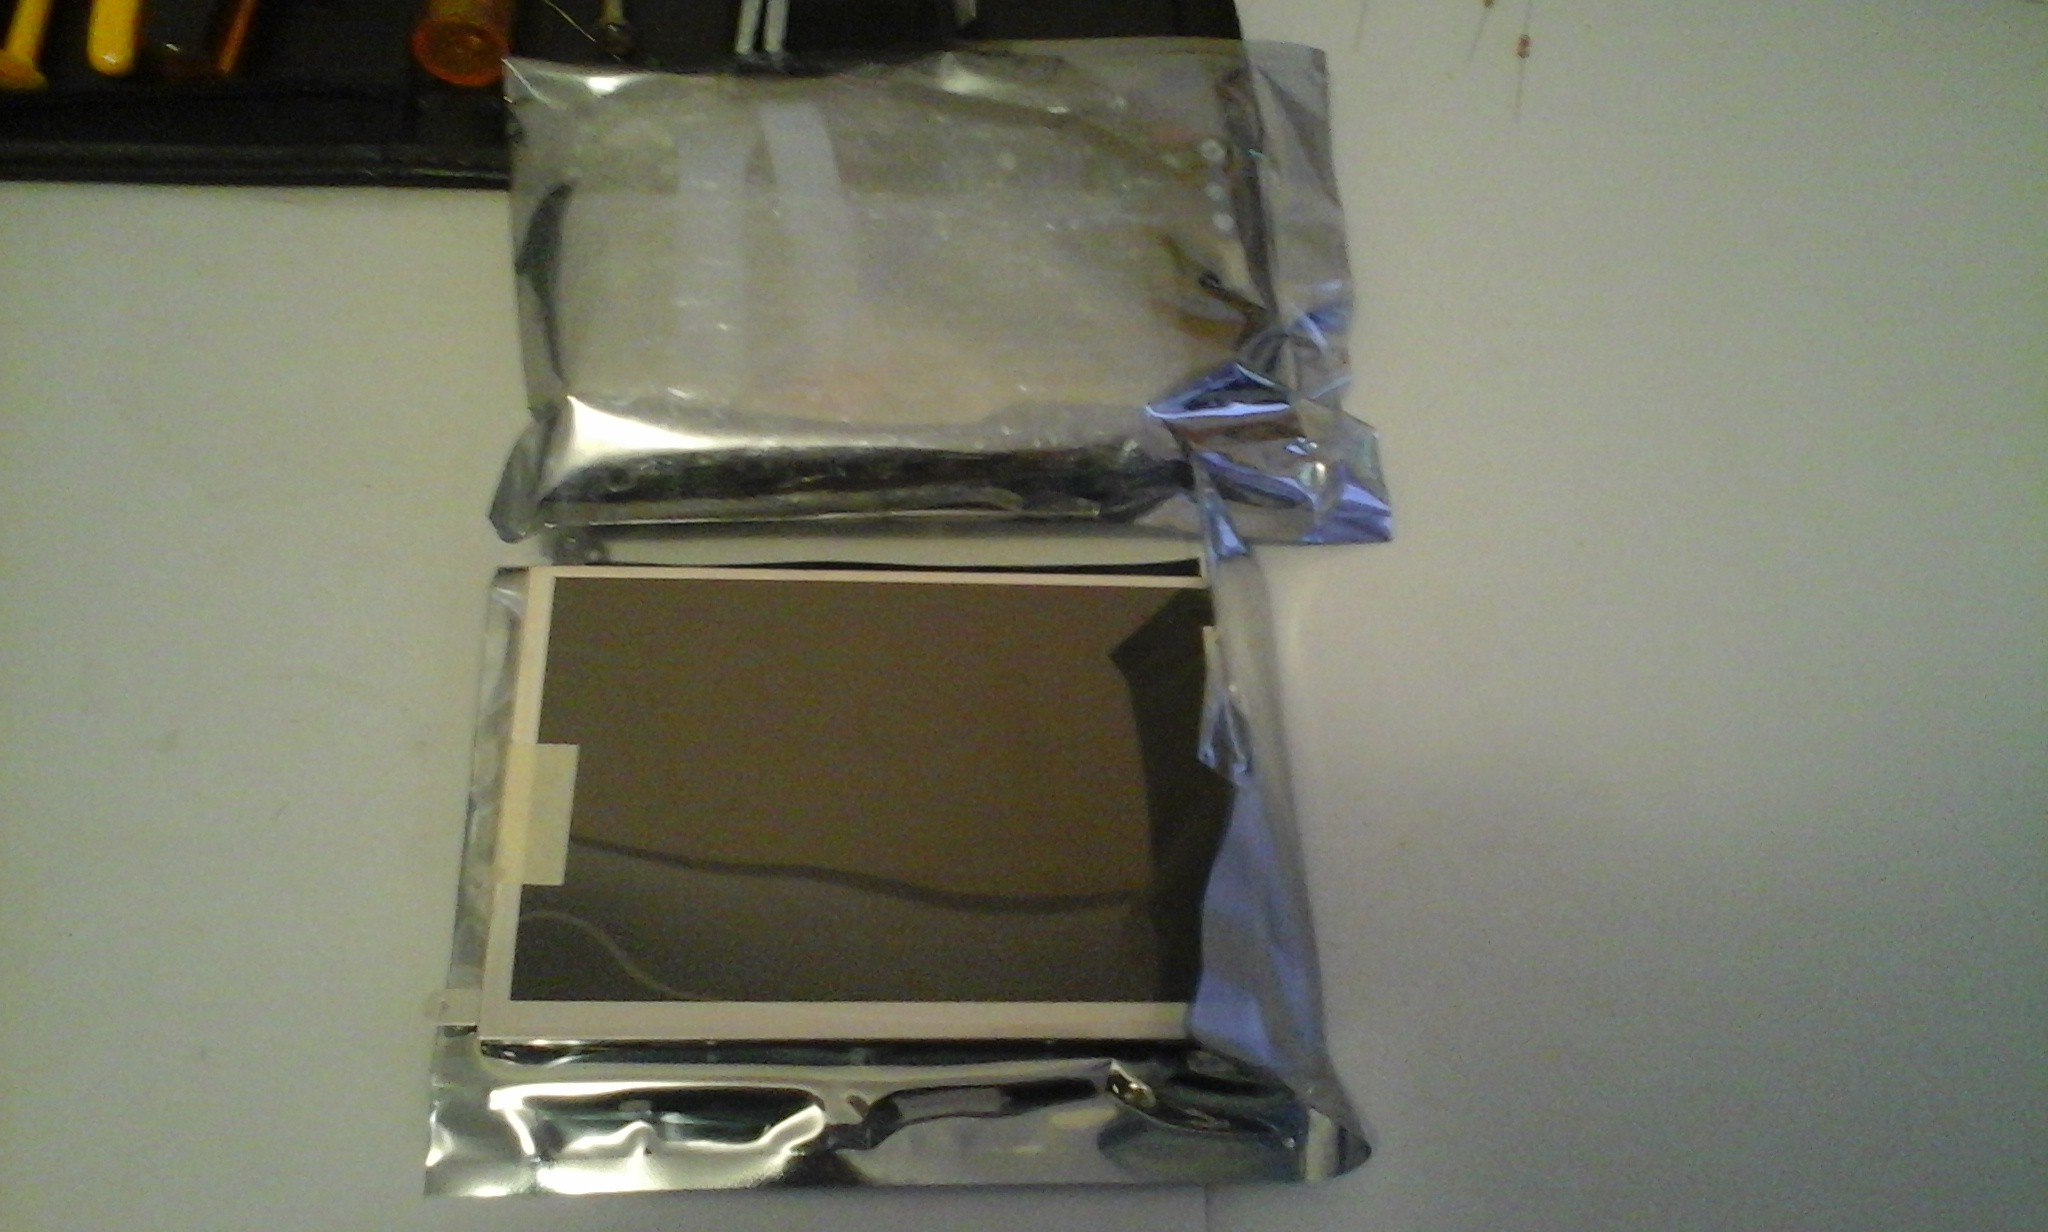
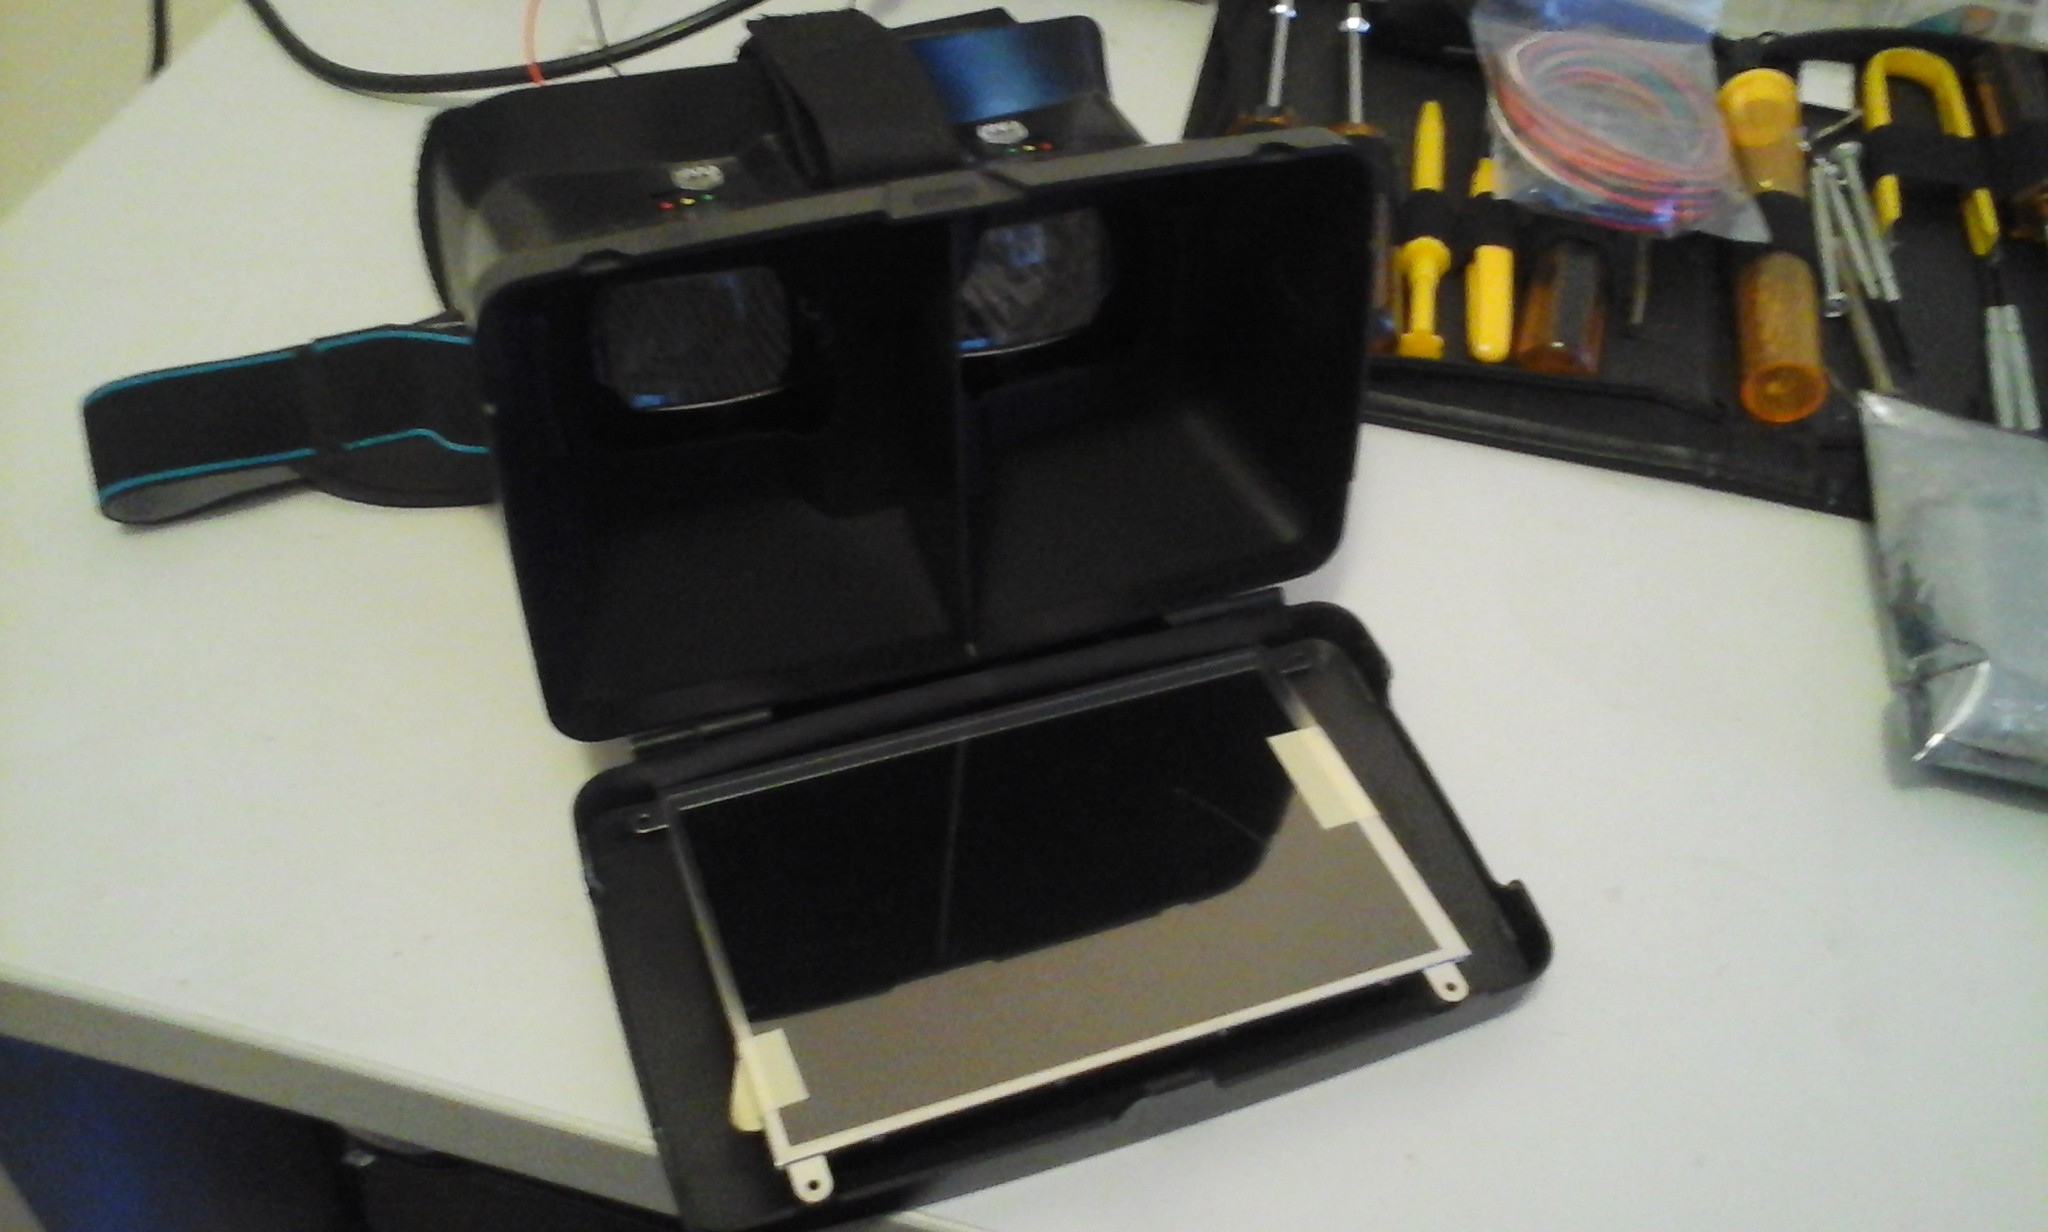
The screen and controller board arrived today. There's a bit of a scratch across the surface of the protective film on the screen, but luckily whatever scratched it didn't go through and damage the actual screen. It's tonnes lighter than I thought it would be, I'm afraid to handle it in case a I crush/crack it with my big clumsy man hands as I hear these screens are very fragile. Here's a shot to give an idea of how it's going in the goggles (with the metal frame around the outside it doesn't fit, but I'm going to strip it down before the actual build anyway):![]()
Can't actually test the board or the screen at the moment, as I don't believe I have 12v DC power supply but if one pops up I'll be sure to post a project log. Happy hacking.
-
and now I know I suck at electronics
06/29/2015 at 01:22 • 0 commentsWhen I was a kid, my friends and I would travel to the town dump to salvage computers and other electronic devices to pull to bits. It was great fun, we would spend days disassembling the devices, pulling out any loose buttons, switches or LED's and construct simple little circuits. Those days formed the basis of all my knowledge of circuitry, or how to successfully create a LED light with a switch. So when it came to putting together the only piece of circuitry for this project (the IR LED array for the head tracking), I figured it would be simple, a little reminder of the days spent at the tip, considering it literally is a LED with a switch.
![]()
I was wrong. So wrong.
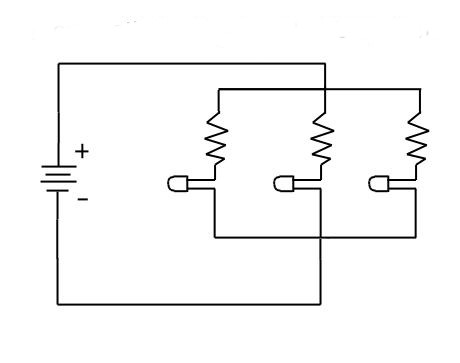
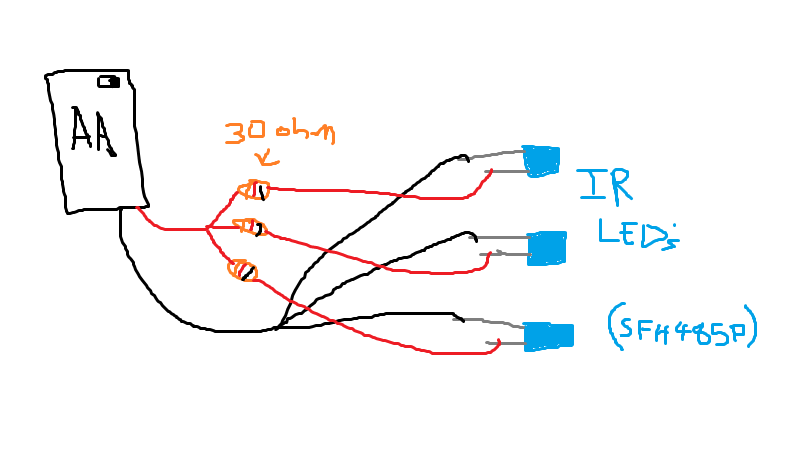
I looked at this schematic and assessed what I was dealing with. Three infrared LED's, three 22 ohm resistors, a bunch of cabling/wires and 2 AA batteries. What I thought I knew about electricity was one, it travels the path of least resistance (hey! much like my own motivation!) and two red generally means positive while black is negative. This is all good and well but, I'm not an electrician, and now it's time I identify my self as completely electronically illiterate: besides the symbols, this schematic makes no sense to me at all. I tried over and over again visualising what this circuit would physically look like and how I would lay it out on the desk in front of me, referring to a close friend (who actually is studying to be an electrician) for help to no avail. No matter how detailed his pages of notes were, his semi-internet lectures were flying over my head.
I eventually visualised the circuit by physically laying resistors and LED's out on a piece of paper. I have to say, it was a pretty uncomfortable realisation not actually knowing a lot about something that I thought I was pretty easy. Here's a highly professional and detailed rendition of the circuit:![]()
-
Going Postal: waiting for the post man
06/26/2015 at 04:34 • 0 commentsThe headset I'll be prototyping with arrived today. It set me back $29 and honestly I should have just prototyped with the Google cardboard print out design in the spirit of keeping the project DIY and cheap, but I'm pretty happy with it regardless. It's ergonomic, allows for slight lenses distance adjustment, looks pretty cool and the lenses that are already in it (30 or 40mm condenser lenses I believe) work perfectly - for my eyes at least - running the TrinusVR app on my 3.5" Samsung Android (besides the fact the screen is tiny and hence the resolution is shit).
Ordered the LCD display + controller board in the early hours of this morning, expecting them to arrive next week. Already have all the resistors, IR LED's and assorted electronic components, just need to order/source a PS3 Eye.![]()
DIY VR: Notculus Rift
Home brew head mounted display/virtual reality hacking project.
 cheese
 In the last post I made (all the way back in 2016)