 chris.coulston
I will examine several different methods to fabricate PCBs from Dupont Pyralux - a flexible PCB material consisting of a copper layer glued to a Polymide film backing. These experiments are performed on 1oz single-sided Pyralux purchased from Ada Fruit. For reference, the copper layer is 35um thick and the Polymide backing 25um. We start by attempting to make a circuit board using a LPKF ProtoMat C60 circuit board cutter.
ProtoMat C60
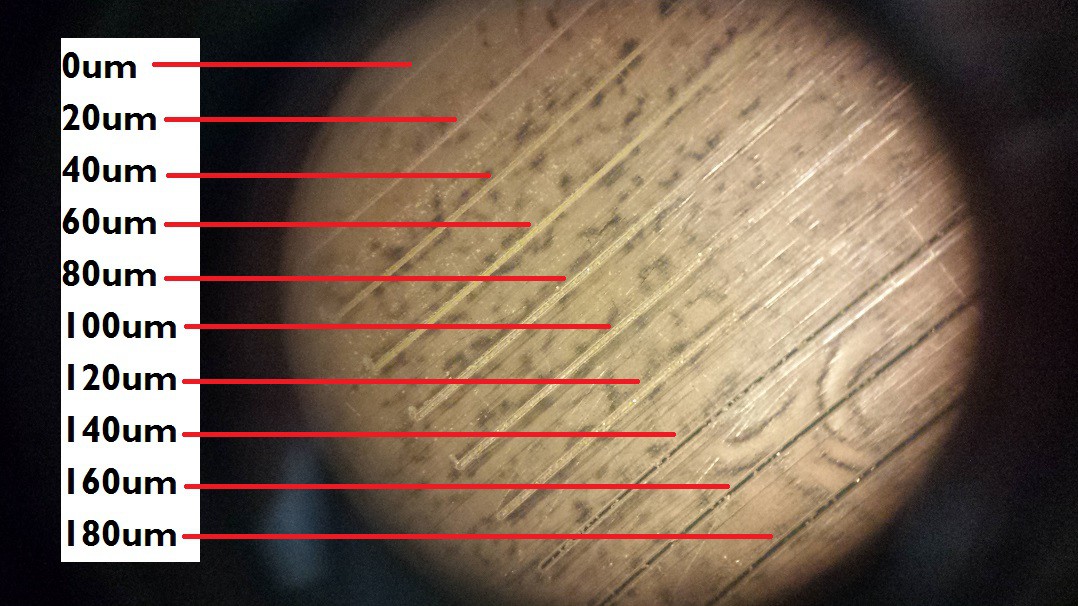
I created a baseline by making different depth cuts in 1oz copper on a standard FR4 substrate. The depth limiter on the C60 is adjustable in 4um increments by turning a knurled nut. I made 10 passes, starting a 0um depth and going 20um deeper on each pass. The FR4 substrate has a less shiny appearance than the copper.
From the microscope pictures (excuse the rough quality), it appears that 40um is sufficient to cut through the copper. This is pretty close to the 35um thickness of 1oz copper. In order to insure clean edges, we typically cut our PCBs to a depth of 100 - 150um depending on the quality of the cutting tool.
First Attempt:
With the help of hindsight, my first attempt had three problems. The spray adhesive was old and lumpy when applied to the back of the Pyralux. Second, I pressed Pyralux foil down with my fingers to attach it to the backing material. Third, the press board backing was not very rigid. The engraving was not consistent as shown in the figure below.
Second Attempt:
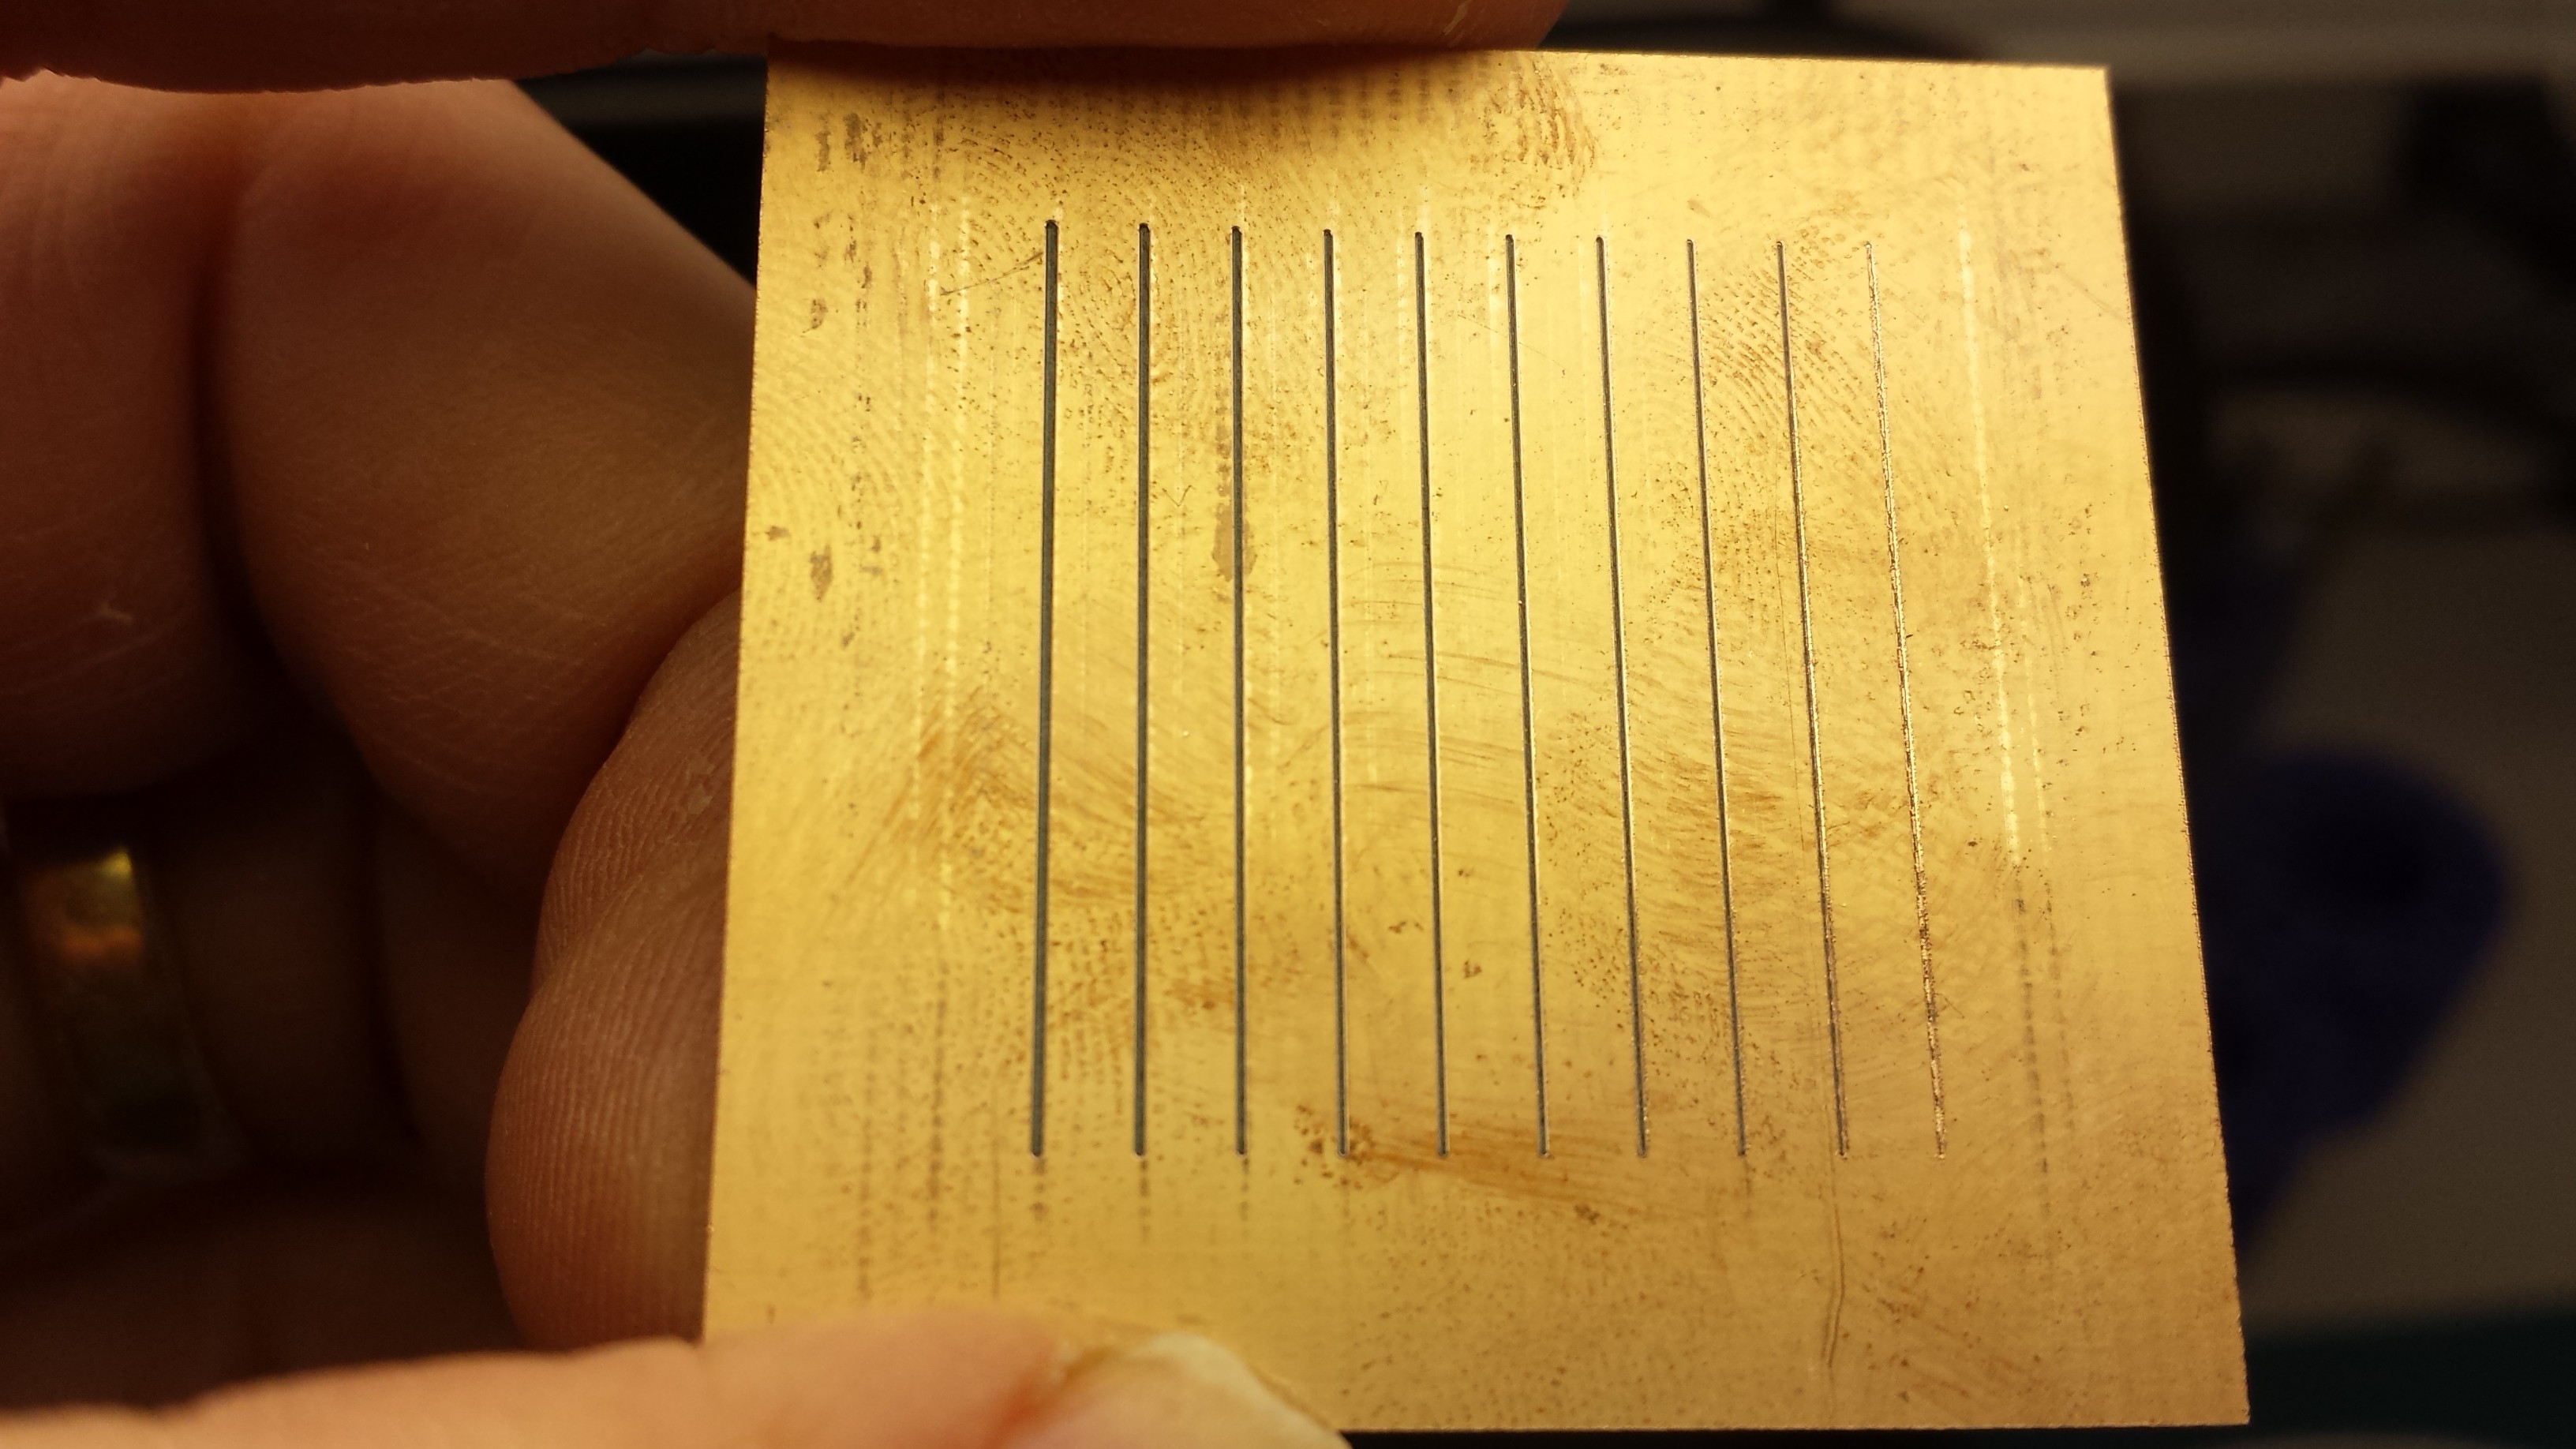
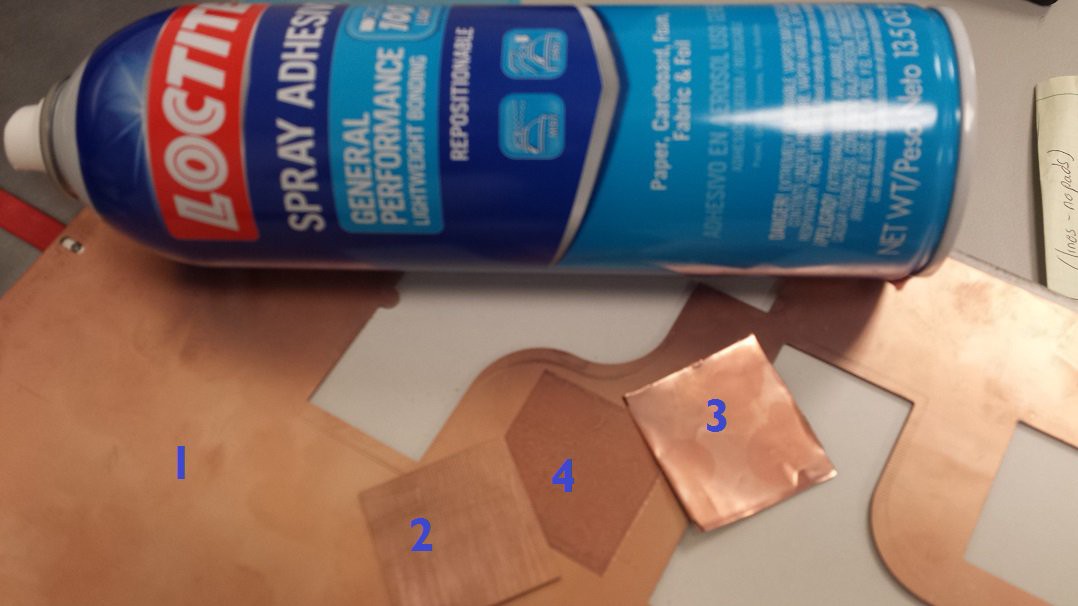
After some reflection and a visit to my local big box store, I returned with a new agenda - to attach the Pyralux as flat as possible. I accomplished this by mounting the Pyralux onto a sheet of FR4 (labeled 1 in the Figure below). I lightly sprayed one coat of the Loctite spray adhesive onto to the back of the Pyralux sample (labeled 3 in the Figure below). I then placed the glued sample onto the FR4 (labeled 4 below) and pressed the ever living hell out of it using a piece of scrap PCB material (labeled 2).
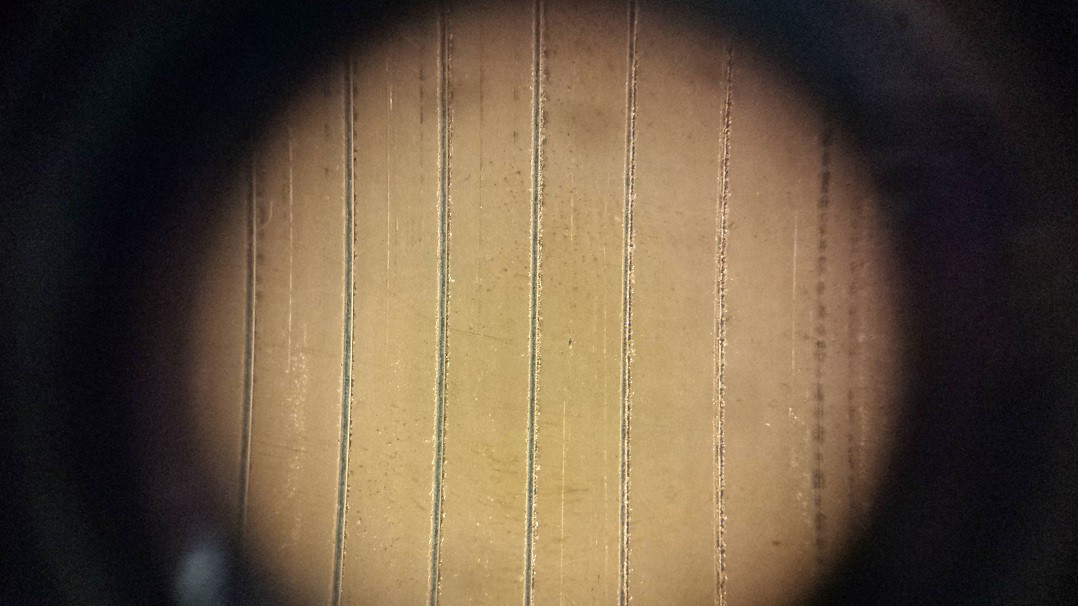
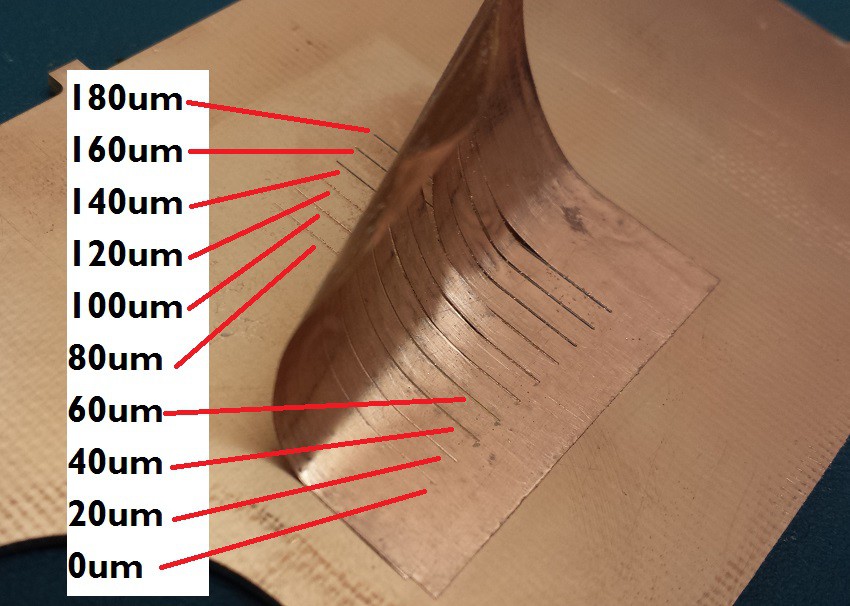
I proceeded to make 10 different depth cuts starting at 0um depth and going 20um deeper on each pass. This setup resulted in much more consistent results then my first trials. The image below is taken through the eye-piece of our microscope. The 40 and 60um deep cuts have a dull brown streak down the center; the same color as the Polymide backing. The Polymide was cut completely through on all cuts beyond 60um. The dark brown streak in the cuts deeper then 120um is the fiberglass core of the FR4 used as the underlayment to the Polymide.
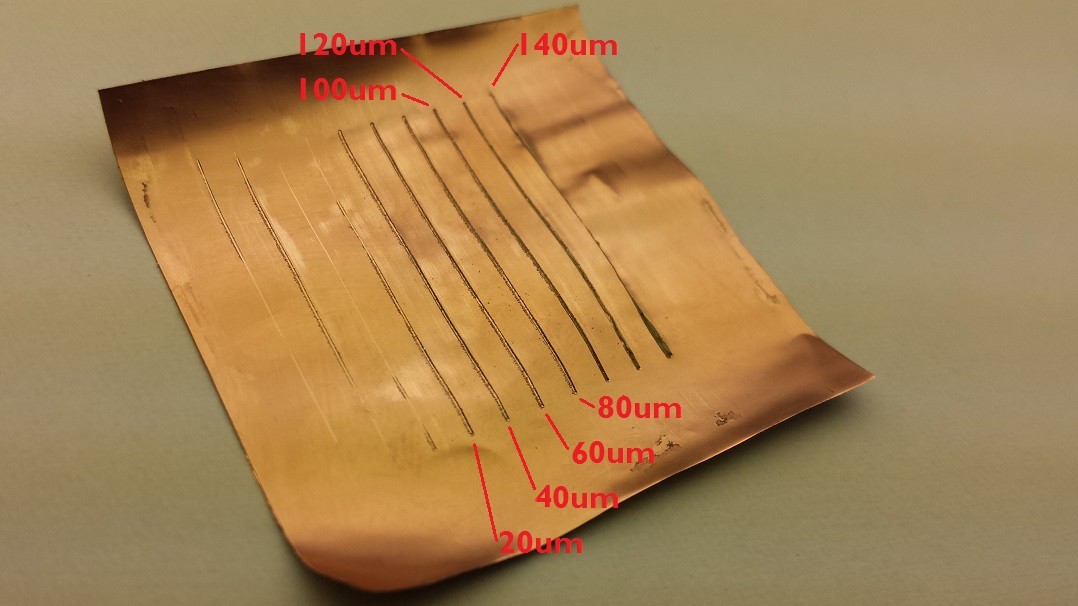
The following figure shows the Pyralux partially peeled away from the raw FR4 sheet. This clearly illustrates that cuts deeper than 60um will penetrate all the way through the Pyralux. this should not come as a surprise as the Pyralux is a total of 60um thick.
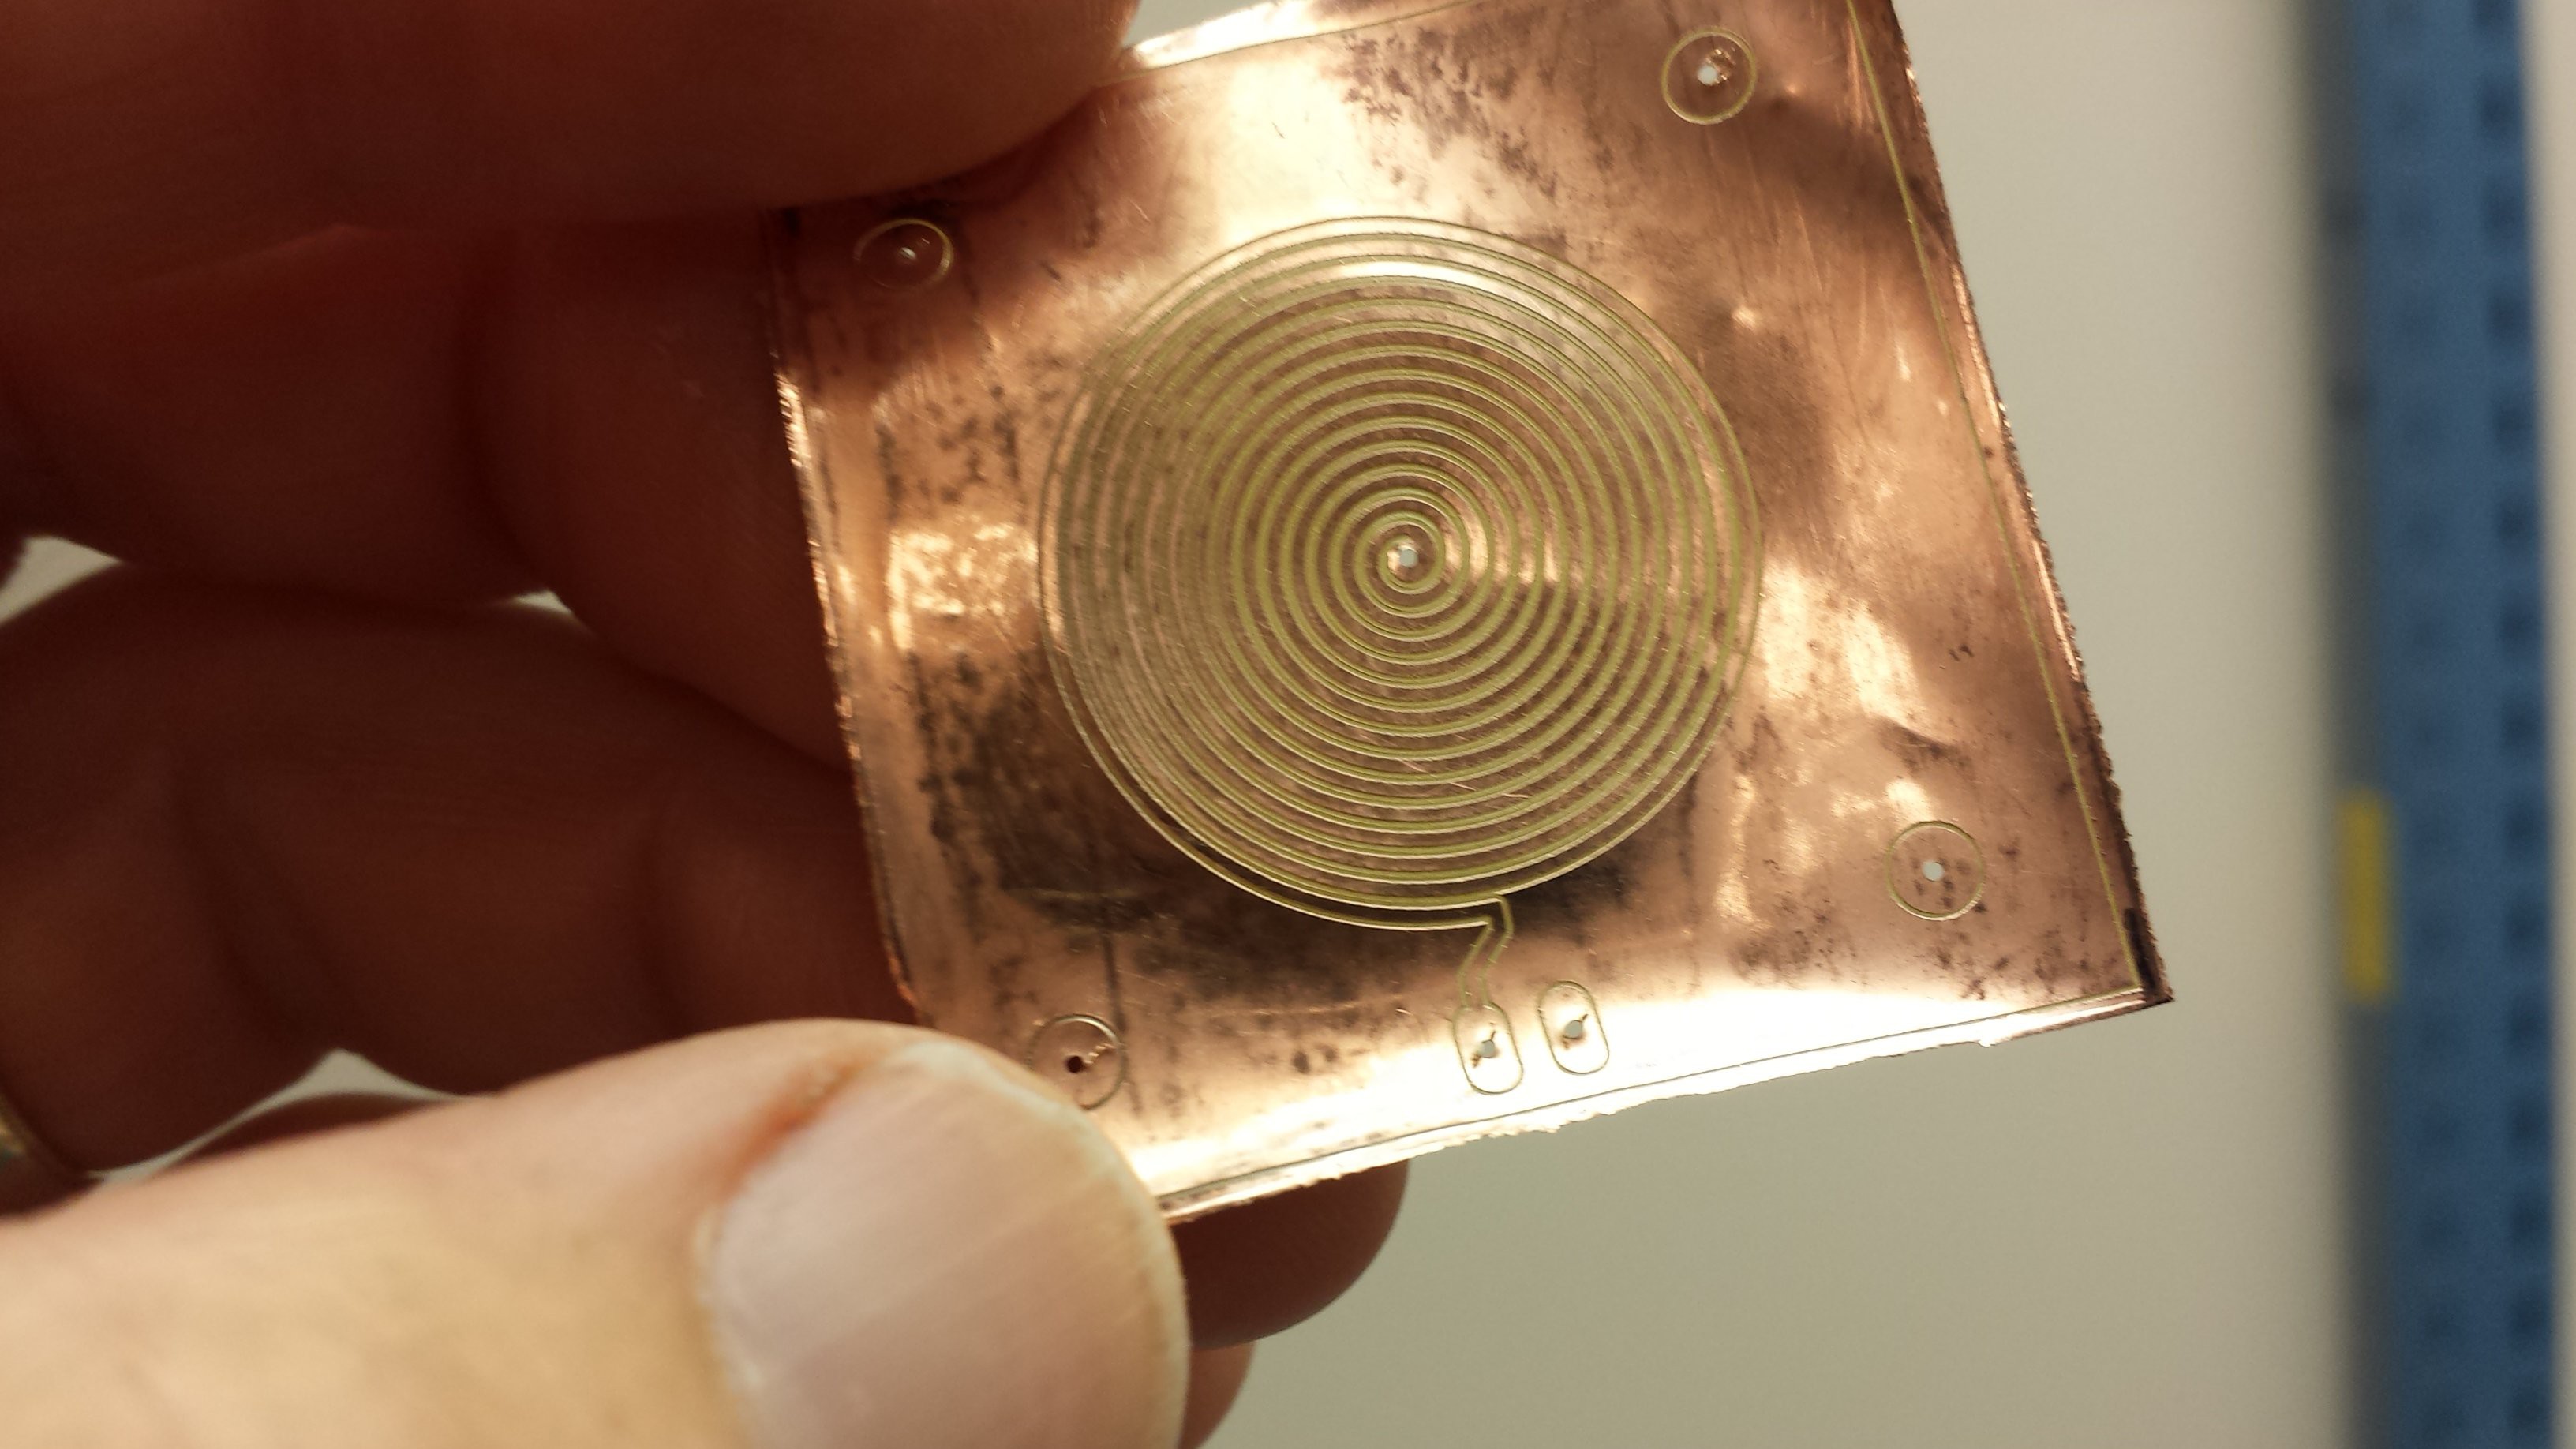 I wanted to make a double sided board - the reasons will be made clear in a follow-up posted. So I made a second identical sheet to attach to the first. I made a big mistake by not recalibrating the depth of the cutting head. During the first pass the cutting head was not deep enough and just pressed on the copper, but did not effectively cut through it. This caused inconsistent cutting on the second pass - I would have done better to just throw out that Pyralux sample. With a little touching up with an Exacto Knife, I was able to repair the second board. I took some time to get the two boards to align. The spray adhesive was sufficient to keep them bonded. The following figure shows the result.
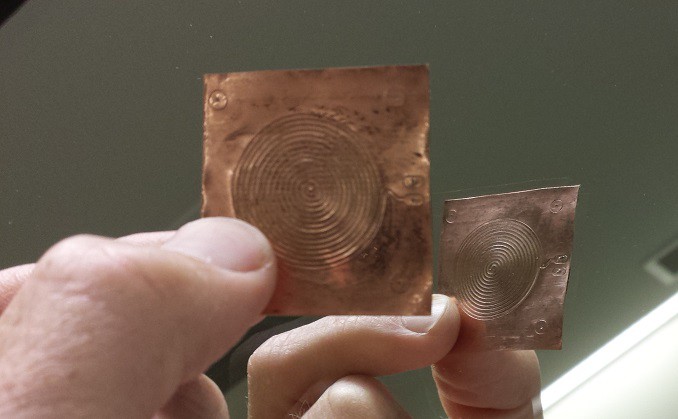 I will come back later and make a post about that I am going to do with this board. But first, I have a couple of novel ideas on how to chemically etch the Pyralux. So stay tuned - I'll be posting early next week.
July 17th update:
I have been working two fronts on this project. First building the etching tank. This is turning out to be a pain in the ass...
Read more »

 baaskaas
 fl@C@
fl@C@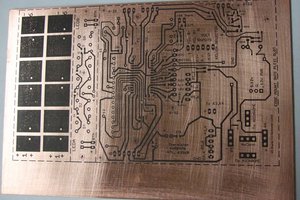
 mosaicmerc
 Lithium ION
Has anyone tried cutting it with UV laser? Should give the best results.