deʃhipu
-
Complete
10/24/2015 at 09:53 • 0 commentsThe conference finished and the machines were used on it. As far as I know there were no breakages or other failures. Not sure how useful they were yet, but I hope to get some feedback from the organizers.
-
Four Units
08/26/2015 at 18:31 • 2 commentsI have four units assembled and ready to go. I might make one more from the parts I have left, but the button colors are wrong, so not sure.
I changed the way the display works. Pressing one of the three button no longer switches the display on -- there is a separate small button on the side that does it, and that also switches which counter is being displayed. I think that this is much more convenient, plus saves power.
-
First Unit
08/25/2015 at 12:08 • 0 commentsThe first unit is fully assembled, programmed and tested!
![]()
The operation is fairly simple:
- pressing a button increments the corresponding counter,
- it also makes the LED on that button shine for 400 milliseconds,
- while the LED is shining, pressing any buttons has no effect,
- it also makes the display work for 30 seconds,
- the display shows the state of a counter,
- it switches between the three counters every 2 seconds,
- the counter being displayed is indicated by letters "a", "b" and "c",
- to reset the counters switch the device off and on again.
I'm quite happy with how it came out. The only problem is that the LEDs on the buttons are fairly weak and not well visible in a bright room. They will be probably fine in a conference room, though.
Finally, a movie:
-
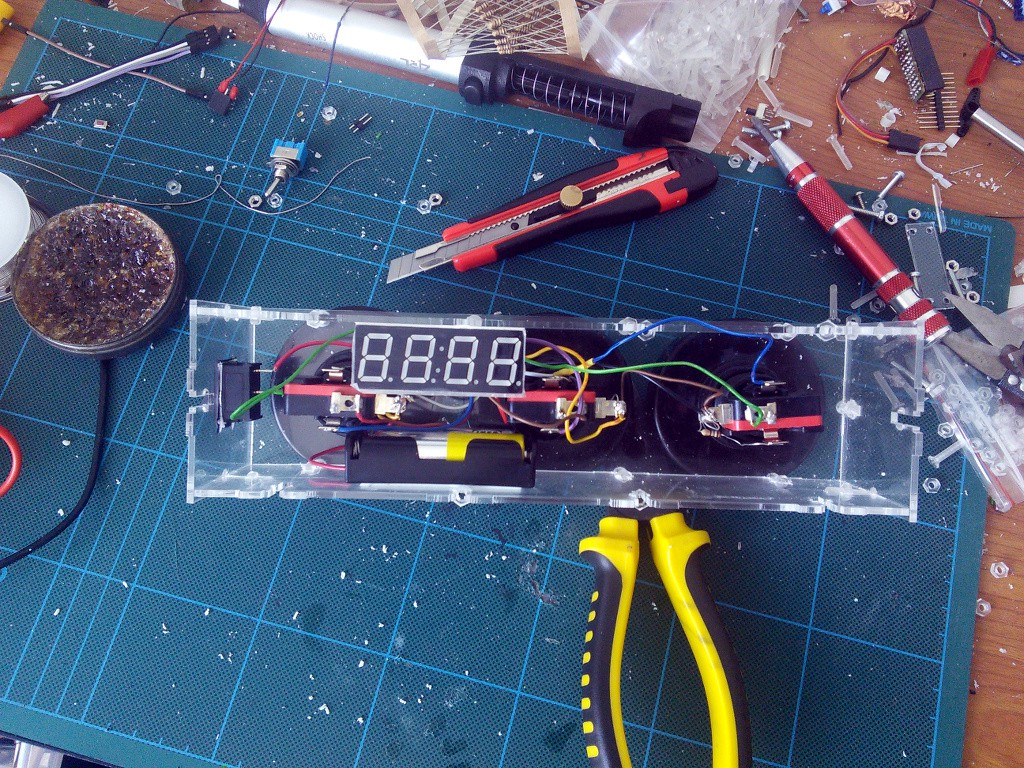
Displays
08/24/2015 at 20:40 • 1 commentThe seven-segment displays arrived today, so I should have all the required parts finally. I decided to start by getting the display to display something. Since the display has the same pin pitch as the Pro Mini, and for blue LEDs the voltage is just right, I soldered the display directly to the board, just like in #Frowney. Since I don't need the ":" sign in the middle, I left out the last 2 pins, so that only 12 pins of Pro Mini are used and I still have 6 pins for the buttons and their LEDs. A quick Arduino program to display a number:
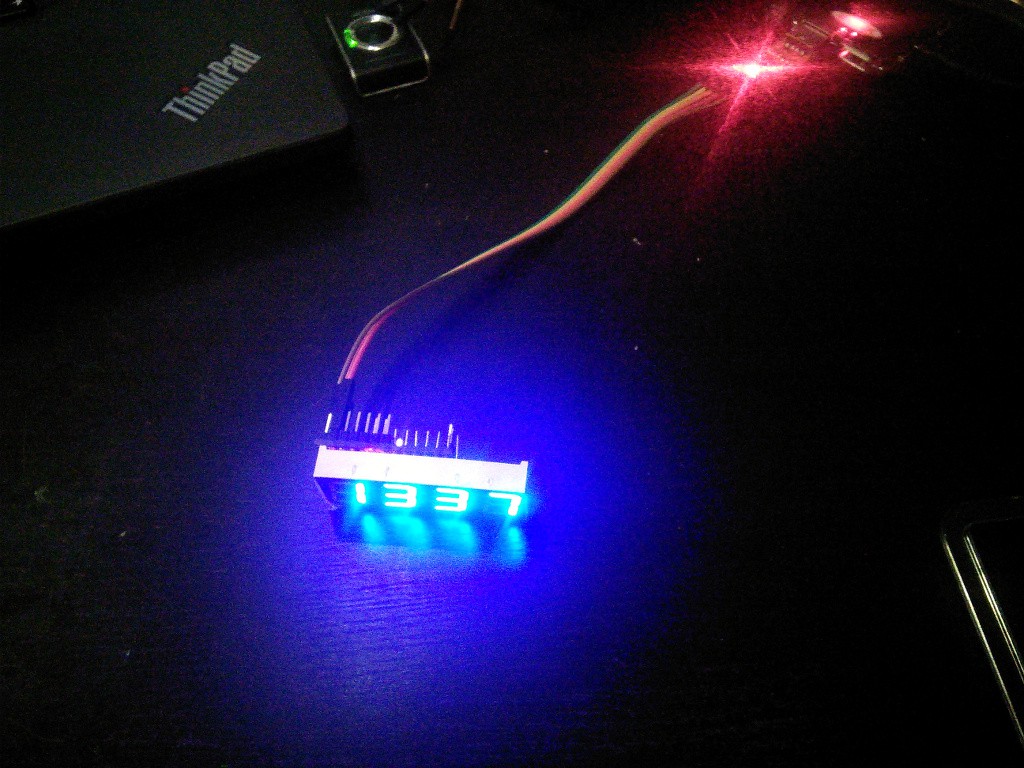
const int GND_PINS[] = {9, 11, 12, A1};
const int VCC_PINS[] = {A0, 10, 7, 5, 4, 13, 8, 6};
const unsigned char DIGITS[] = {
    0b01111111,
    0b00000110,
    0b01011011,
    0b01001111,
    0b01100110,
    0b01101101,
    0b01111101,
    0b00000111,
    0b01111111,
    0b01101111,
};


void show7seg(int number) {
    unsigned char digit;

    for (int d = 0; d < 4; ++d) {
        digit = DIGITS[number % 10];
        number /= 10;
        for (int s = 0; s < 8; ++s) {
            digitalWrite(VCC_PINS[s], digit & (1 << s));
        }
        pinMode(GND_PINS[d], OUTPUT);
        digitalWrite(GND_PINS[d], LOW);
        delay(2);
        pinMode(GND_PINS[d], INPUT);
    }
}


void setup() {
    for (int s = 0; s < 8; ++s) {
        pinMode(VCC_PINS[s], OUTPUT);
    }
}


void loop() {
    show7seg(1337);
}
And voila, it's working!
![]()
Now I just need to rework it so that it doesn't use delay(), and add the button handling.
-
Shiny Box
08/08/2015 at 18:03 • 0 commentsToday I re-did the box properly. The trick was to save the SVG from Inkscape, with the correct 0.01mm stroke thickness, and then open it in Libreoffice and export to PDF. A little annoying, but works. I also located the nearest hardware store and bought the nuts and bolts for the prototype. I also have acrylic nuts and bolts ordered for the final devices.
![]()
-
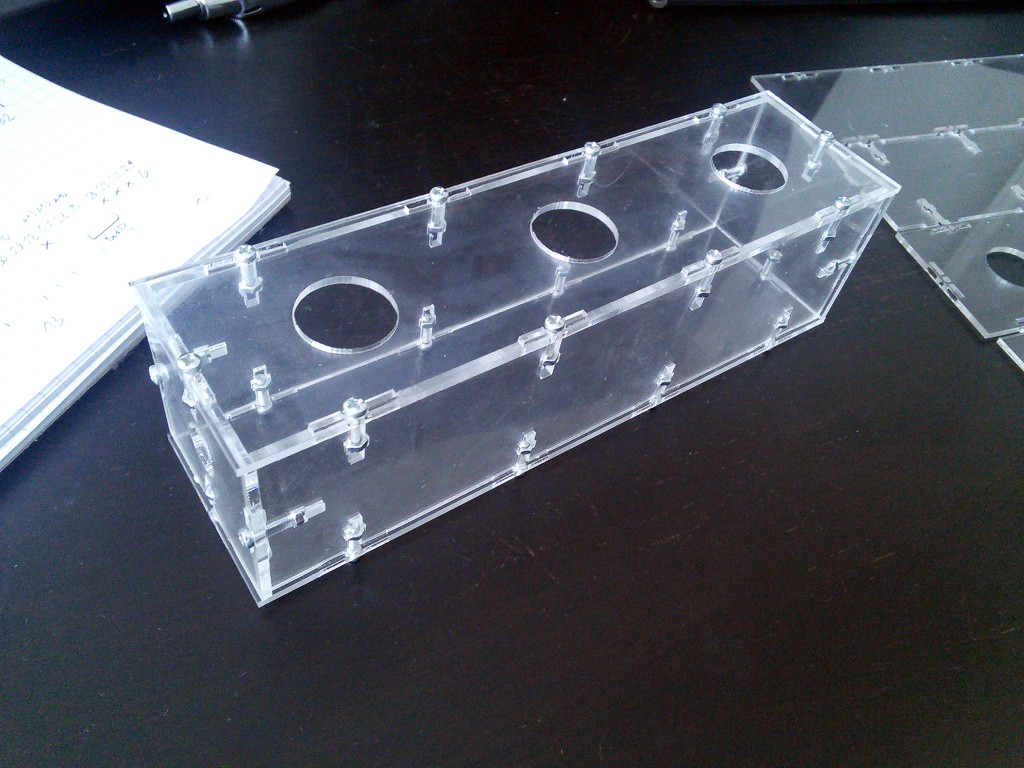
Laser Cutting
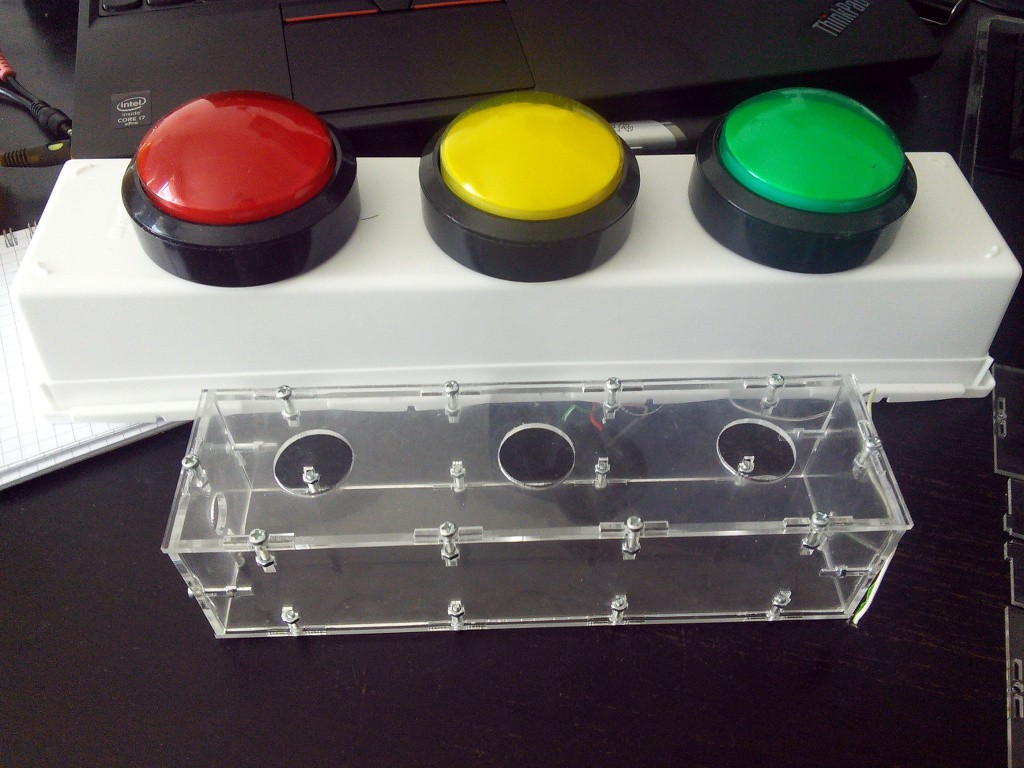
08/08/2015 at 11:33 • 0 commentsSince this is supposed to be an actual consumer device, used by hundreds of people, it has to meet a little higher standards for looks and sturdiness, than my usual contraptions. That's why I decided to laser-cut the box from clear acrylic. I visited a nearby FabLab, where I received a quick training and a lot of help, and came out with this:
![]()
It looked suspiciously small for the dimensions of the original design that I made using Inkscape... When I started assembling it, it turned out that the slots are too narrow for the 2mm thickness of the acrylic... Hmm, suspicious. But I filed the "ears" down a little and assembled the box:
![]()
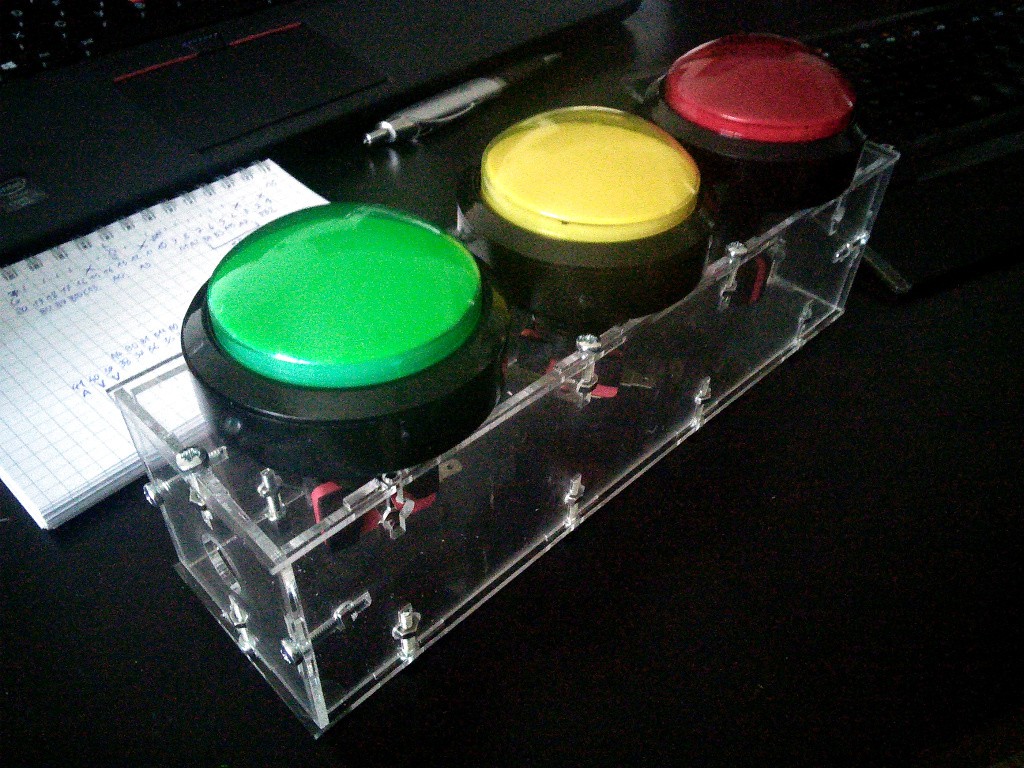
Looks great, let's see how the buttons fit in it...
![]()
Well, they don't fit. The box is about 75% of the size it was supposed to be. Turns out that the program I used to convert SVG to PDF scaled it down to fit whatever it thought it was supposed to fit. Argh. I used an external program, because for some reason Inkscape was unable to export circles which have 0.01mm line thickness. Can't really say why. Oh well, today I will try again with a proper PDF.
-
The End is Near!
07/31/2015 at 16:08 • 0 commentsThe conference starts in two months, but by that time I need to already have several working and tested devices, so I really need to speed things up.
Since I won a coupon for laser-cutting in the Hackaday Prize, I ordered some parts for acrylic boxes to hold the devices. Unfortunately, I could only fit parts for 3 boxes in the order, as more than half of the coupon's value went into shipping costs to Europe. I guess I will make the remaining boxes of whatever I have here, or laser-cut more parts locally.
I also ordered more buttons, so that I will have 4 devices with proper colors, and one spare.
I decided to use a Pro Mini, and to not store the counts in the EEPROM, but instead to display them on a 7-segment display. Switching the device off and on again will reset it. That's a much more robust and easier to use solution, I think.
Talk Ranking Machine
Rank the talk you have just attended at a conference, by pressing one of the three buttons.