-
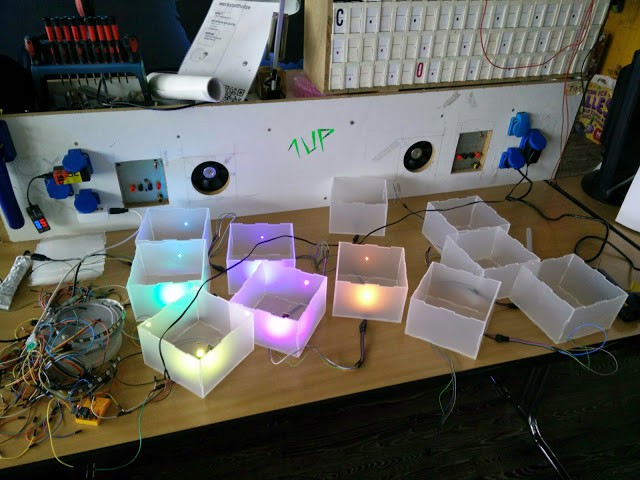
layouting mockup / makefu lamp build
04/17/2016 at 19:27 • 0 commentssuch a nice mockup
![]()
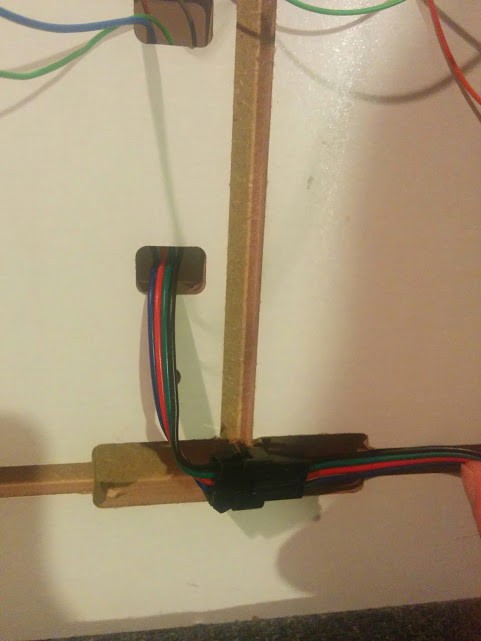
behind the scenes - routed cabling slots
![]()
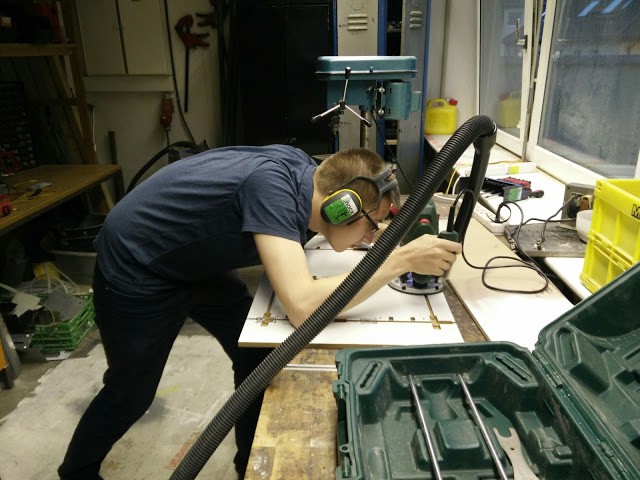
manual rework (not getting it right on the cnc mill is a good opportunity to use the manual router)
![]()
so much win:
![]()
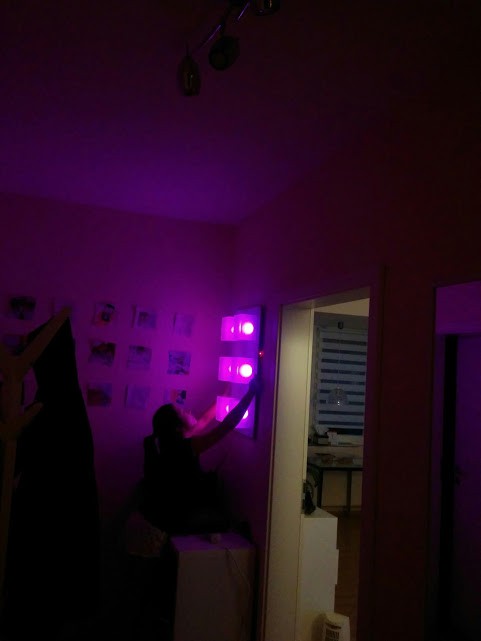
mounted on white painted wooden plates gives a completely different look from the first installation.
![]()
-
light tests and first installation
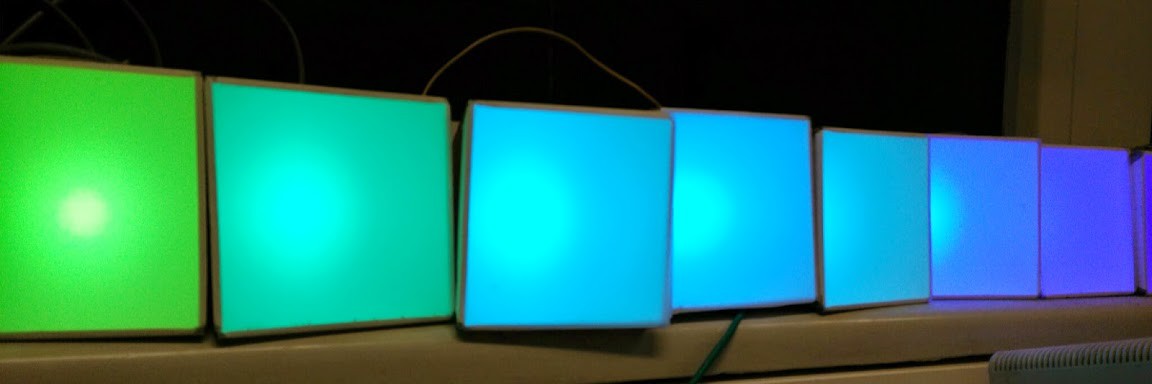
04/13/2016 at 21:51 • 0 commentssome tests before our first wifi controllable led lamp installation.
![]()
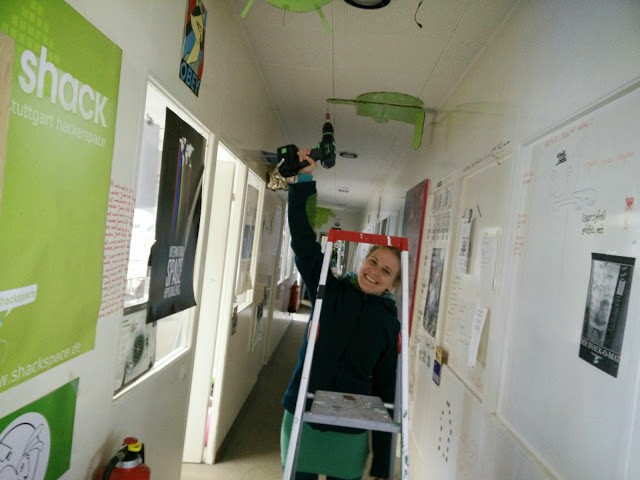
Better drilling with Festool ... and Nadka.
![]()
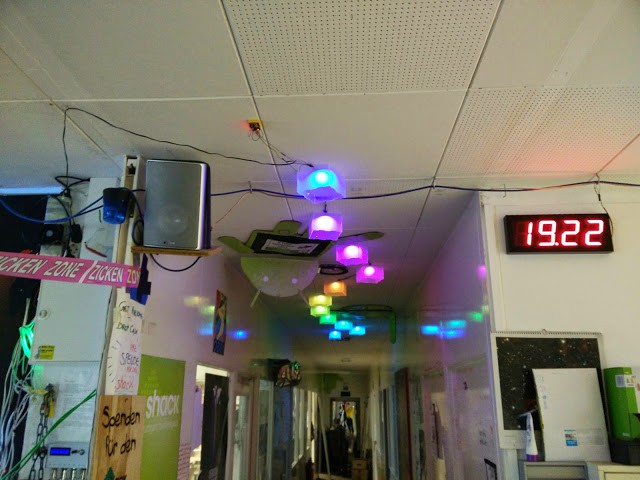
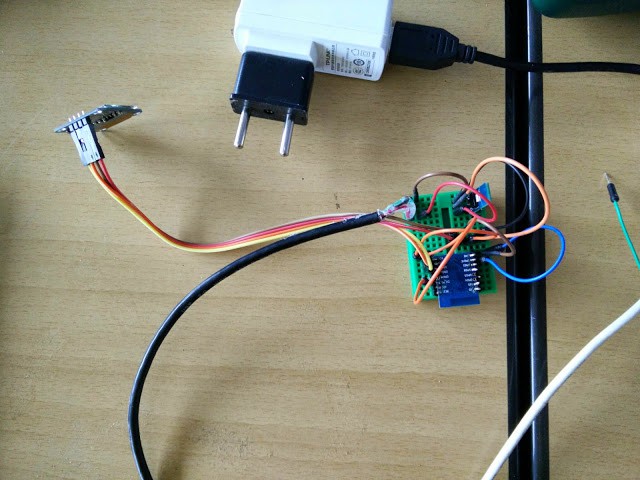
looking good - notice the breadboard glued to the ceiling ... with the esp and ams1117 (5.5 -> 3.3V) regulator.
![]()
-
cube electronics
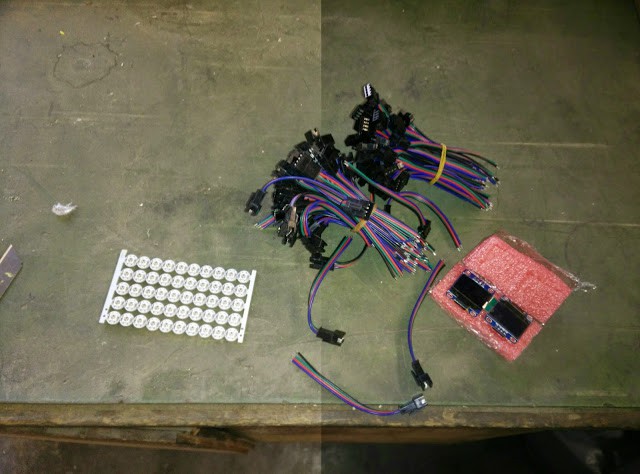
04/12/2016 at 23:45 • 0 commentsws2812b on pcb for hassle free soldering.
4 pin connectors for +- 5V, signal and signal loop through if necessary for some setup.
Connectors should be protected against polarity reversal- otherwise I will always short sth.![]()
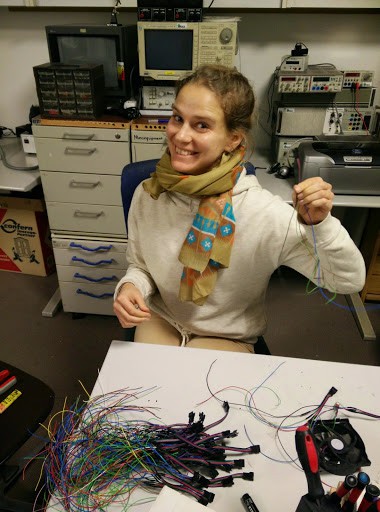
helper (soldering) fairy
![]()
esp8266 breadboard test
![]()
-
all the glue
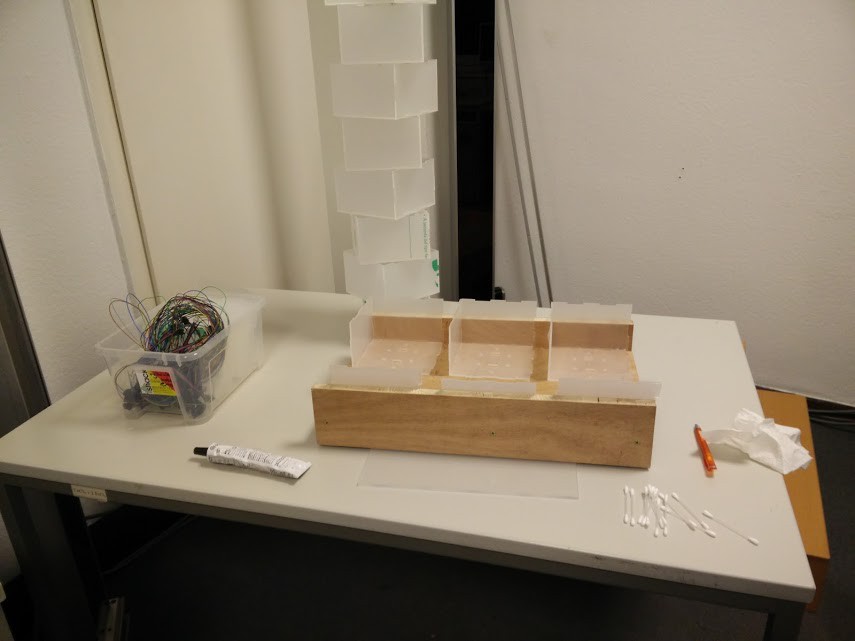
04/08/2016 at 11:49 • 0 commentsAcrifix (applied with a q-tip) works really good gluing the notched pieces.
Hot glue if you want to get it open ever again (here: top for access).
Gluing tool (perpendicularity)
![]()
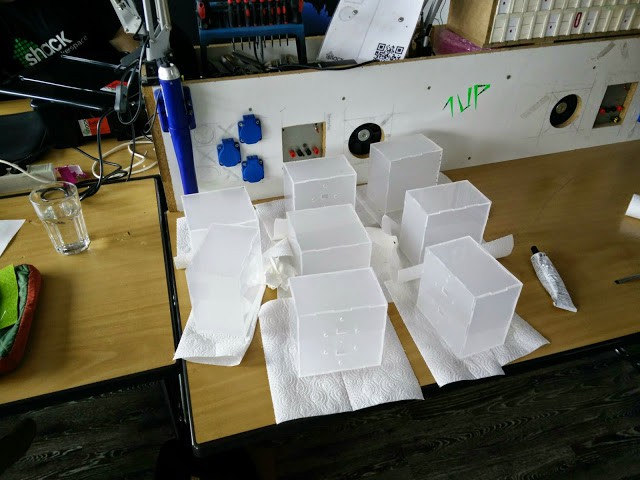
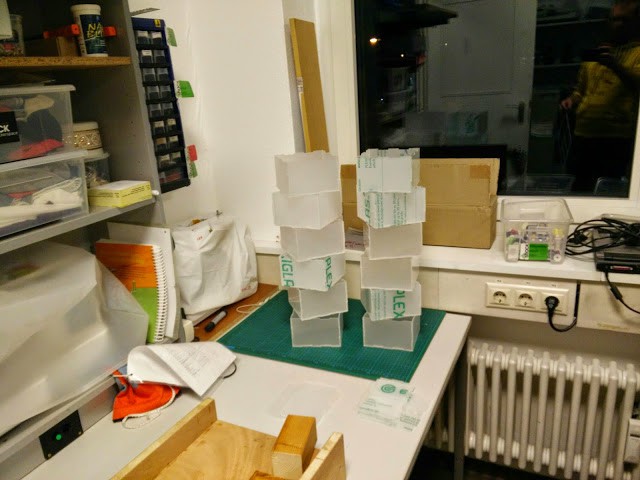
some more gluing
![]()
first harvest:
![]()
-
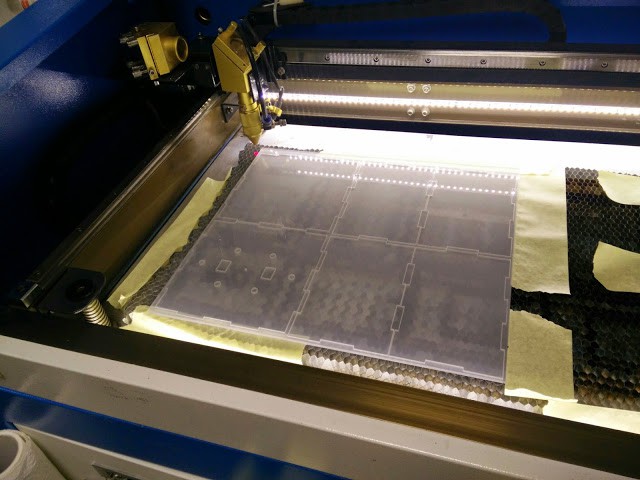
lasercut the acrylic
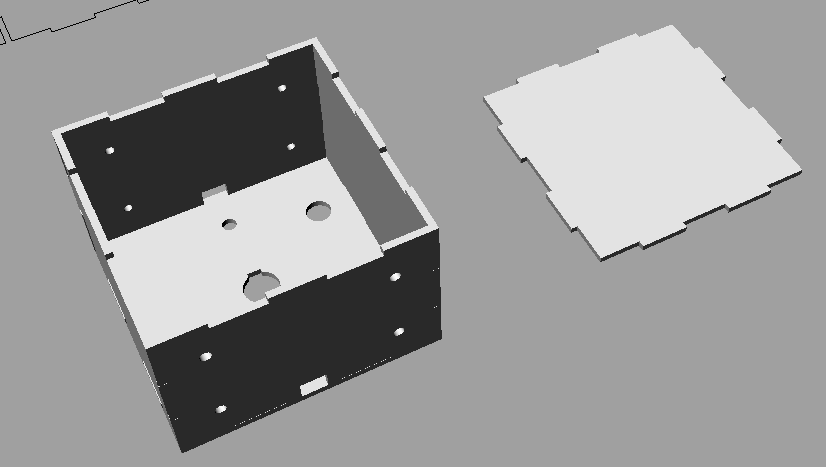
04/06/2016 at 20:37 • 0 commentsFirst you have to design the lamp - in our case square boxes. Boxmaker to the rescue - or at least to jump start the notched boxes.
![]()
Some draft of one of the final lamps.
![]()
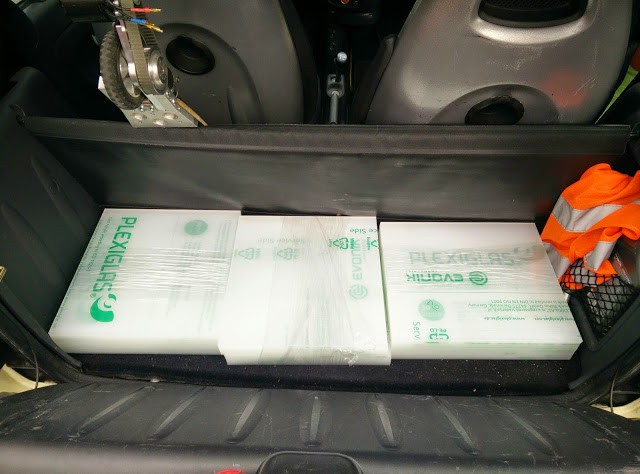
Then off to buy some acrylic...
![]()
... and put it in your hackerspaces' lasercutter (far cheaper than having the acrylic guy do it).
![]()
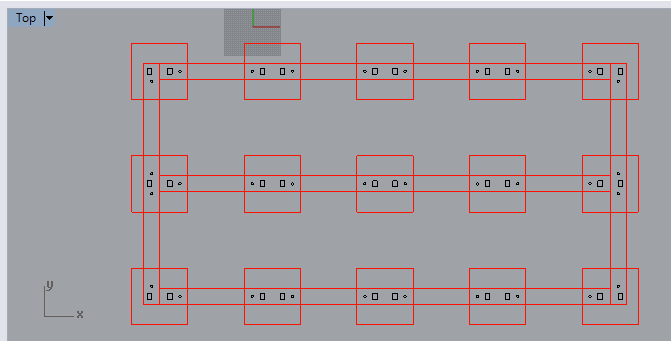
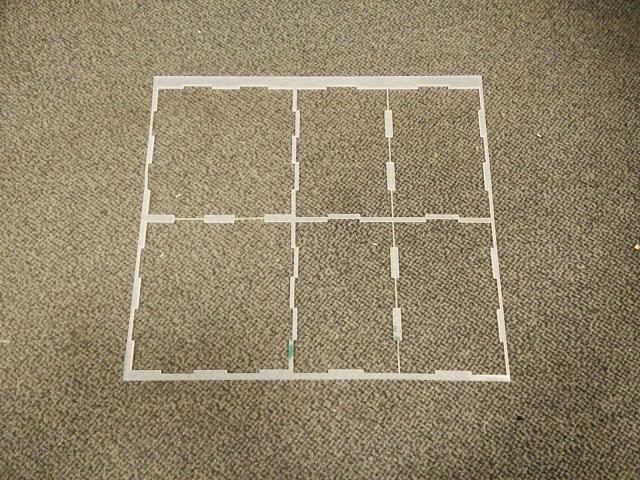
good material planning:
![]()
-
finding the right acrylic
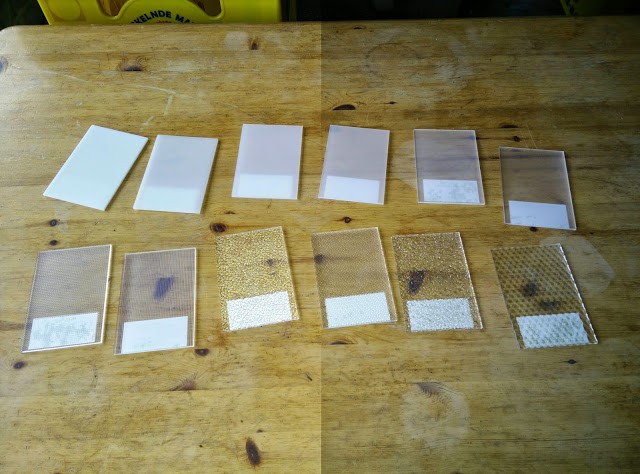
04/05/2016 at 20:49 • 0 commentswe went to a local acrylic shop and asked for samples we liked without illumination.
![]()
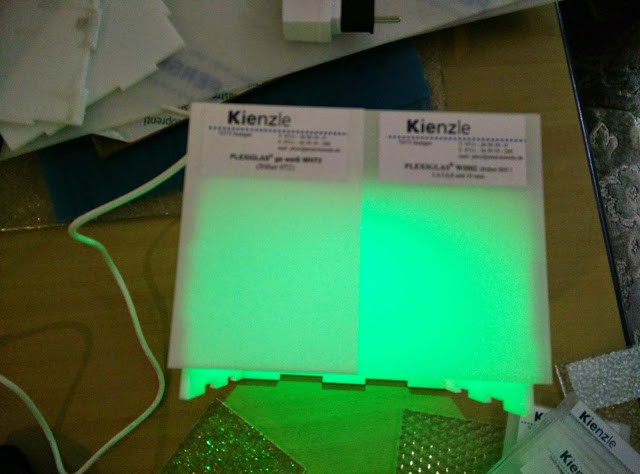
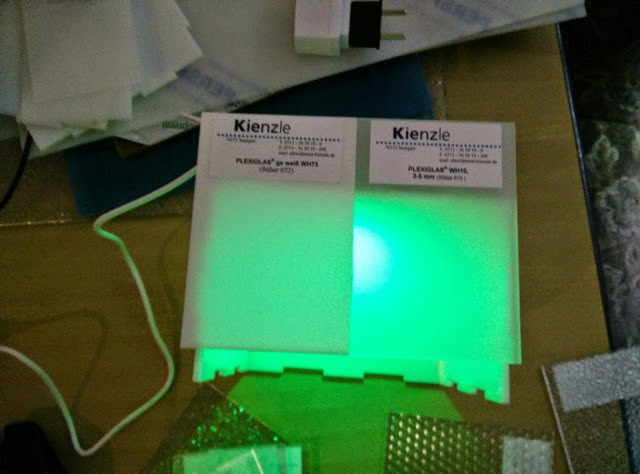
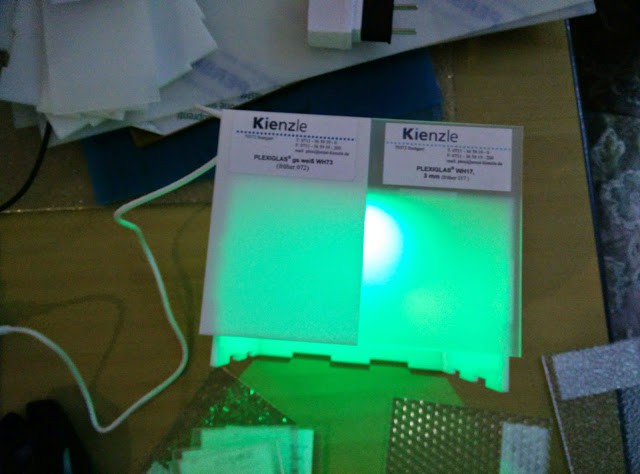
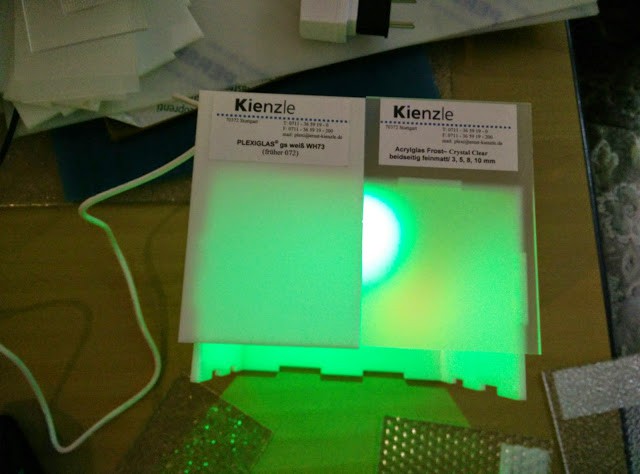
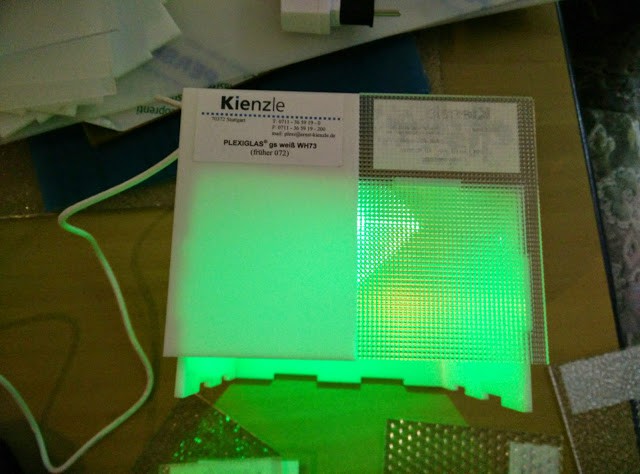
then the selection followed
![]()
![]()
![]()
![]()
![]()
![pyramide gives a really nice effect - is a hackers favourite (as 3D cube)]()
-
project start
04/04/2016 at 23:15 • 0 comments
rgbcubes - iot finder
glowy cubes (ws2812b) made from frosted acrylic with web service to easily find it on your network.
 Christian Stöveken