-
632 Reasons
05/22/2017 at 21:01 • 0 comments632 people are now following this project! I had no idea there was such a following as I have been kind of living in a bubble the past few years. Well it's time to make up for lost time. I'm breathing new life in this project by repurposing Ivan to become an e-NABLE robotic actuator.
You see, there's a little girl in Boston who has hands but cannot use them. As I wrote elsewhere, my heart goes out to her and I'm planning to make Ivan become Phase 2 of her soon-to-be robotic ensemble.
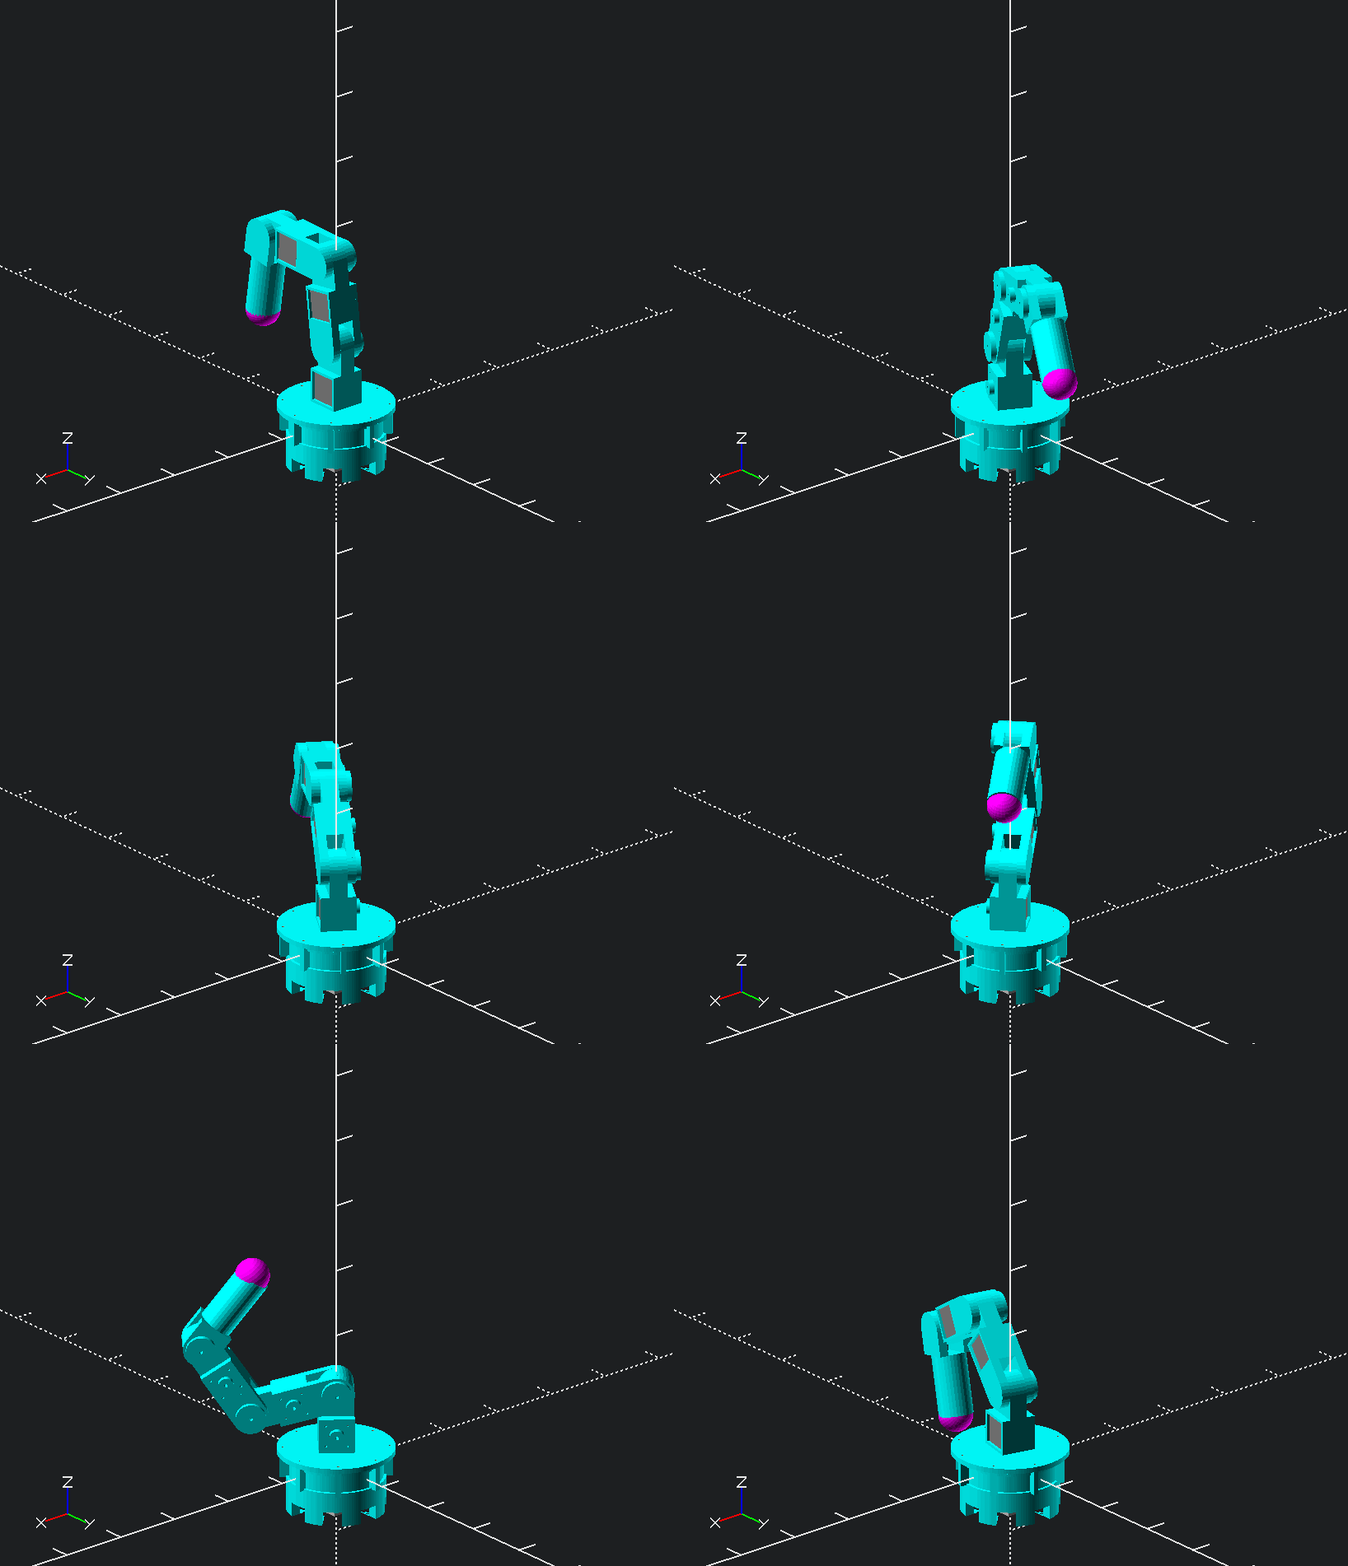
Her skin is delicate, which I'm told is one of the realities of the type of injury she has from birth, so body mounted sensors are out for now. That's why I'm using my LEAP Motion Sensor to control a toy MeArm robot as Phase 1. It's a way I can get her something to work with inside of a two-week promised schedule.
Then it will take a good bit of work to 3D print, assemble, test, and revise Ivan for her use. It brings the joy of happy-tears to me; the fact that the Lord has prepared me to be able to make a difference in someone's life this way. Also others can benefit from our efforts with the magic of volunteering Makers at e-NABLE. Join me in making a big difference in a little person's life. You'll be forever rewarded.
Les out, praise the Lord
-
Ivan's Design Animations
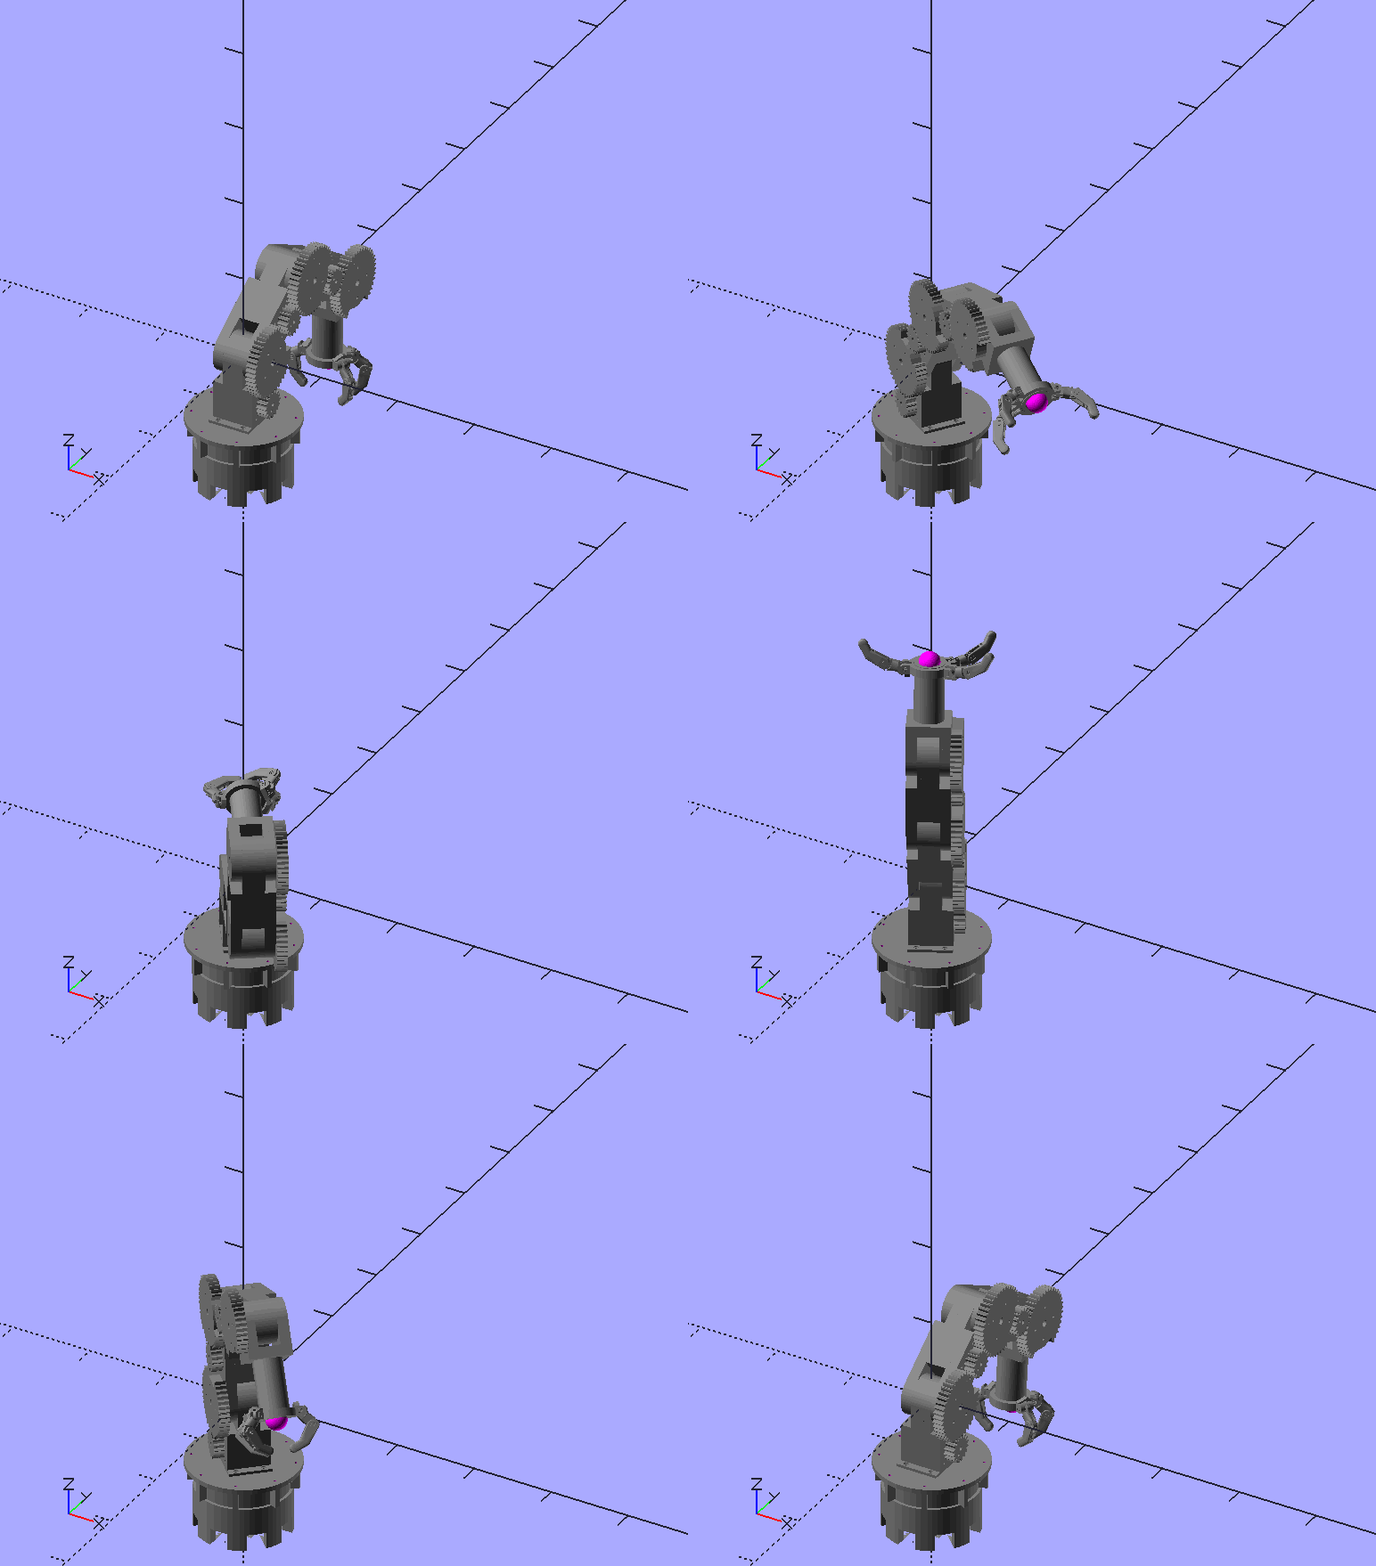
03/07/2017 at 22:10 • 4 commentsHave a look at these fun animations showing Ivan's parts in action. This is the first (nearly) complete design, ready for construction - it just needs some screw holes and some attention to detail on the toolhead. The base is completely ready for construction, can't wait to build it!
below is Ivan in operation, the complete robot printed in carbon fiber PETG filament.
![]()
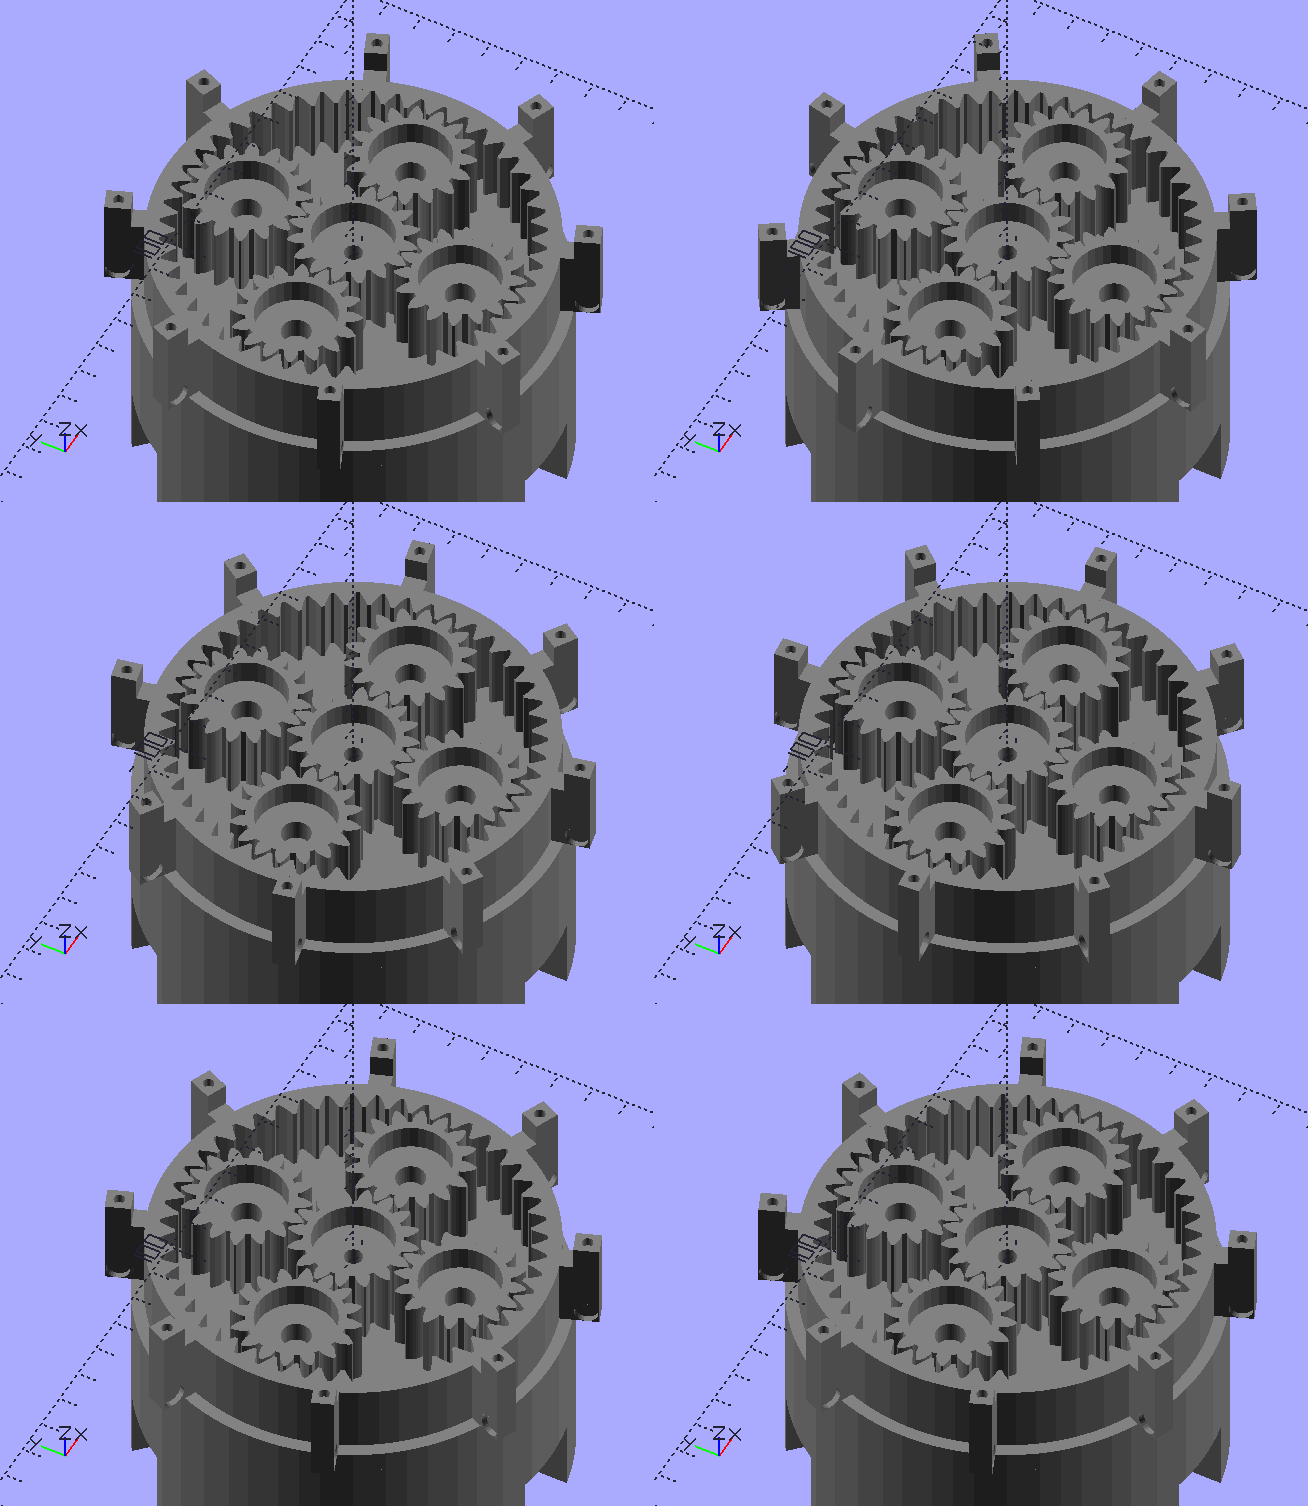
I have two detailed animations of the gears working. The first is the planetary gear box in the base:
![]()
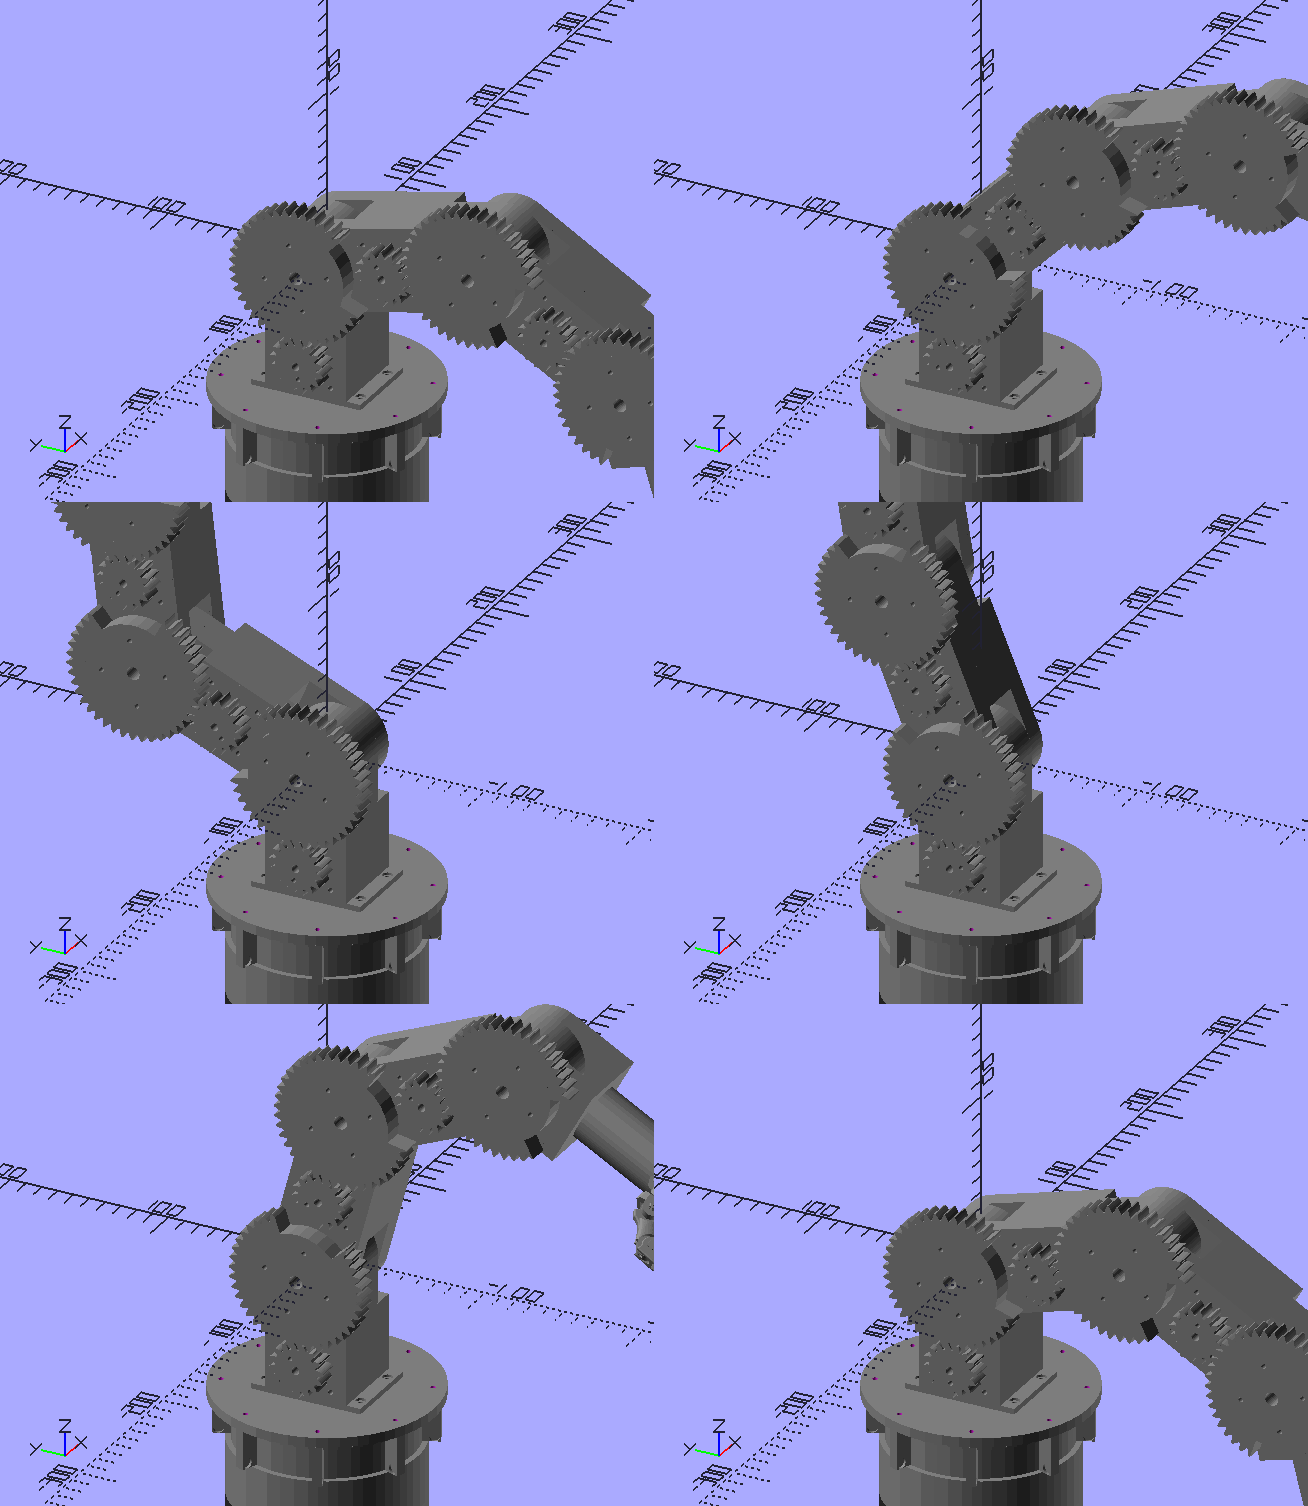
The second is a close-up of the hinge gears that work the arm:
![]()
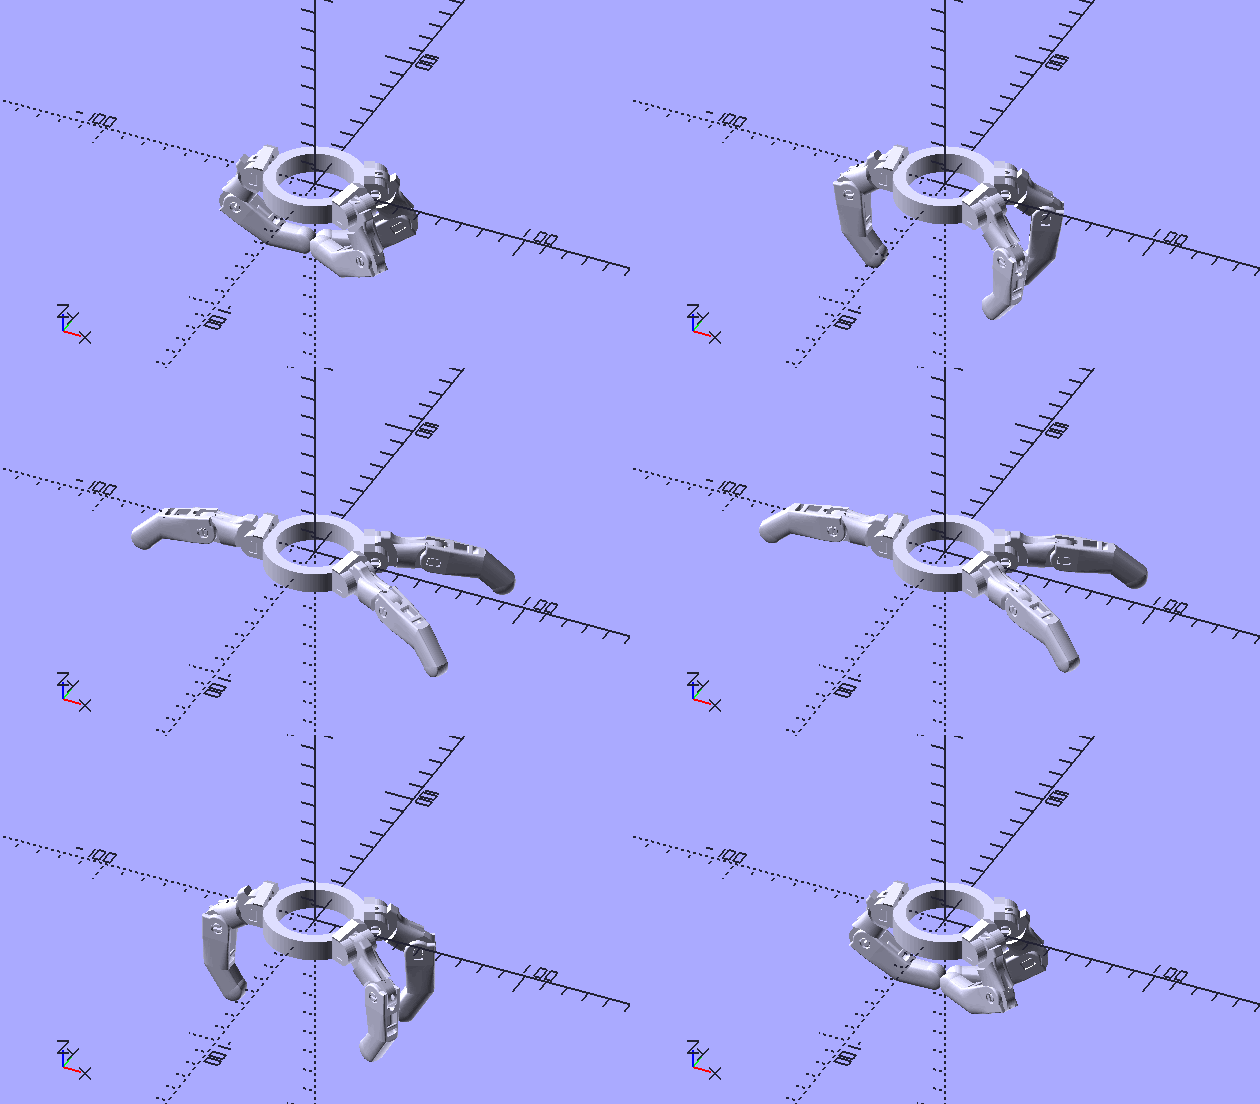
Below is an animation of the Grab-Tor hacked claw:
![]()
It is made of e-NABLE's Raptor Reloaded finger parts, designed by STEM school kids - very imaginative! I arranged the three fingers into a "three jaw chuck", representing the index finger, middle finger, and thumb working together in a human hand.
Les
-
Ivolution!
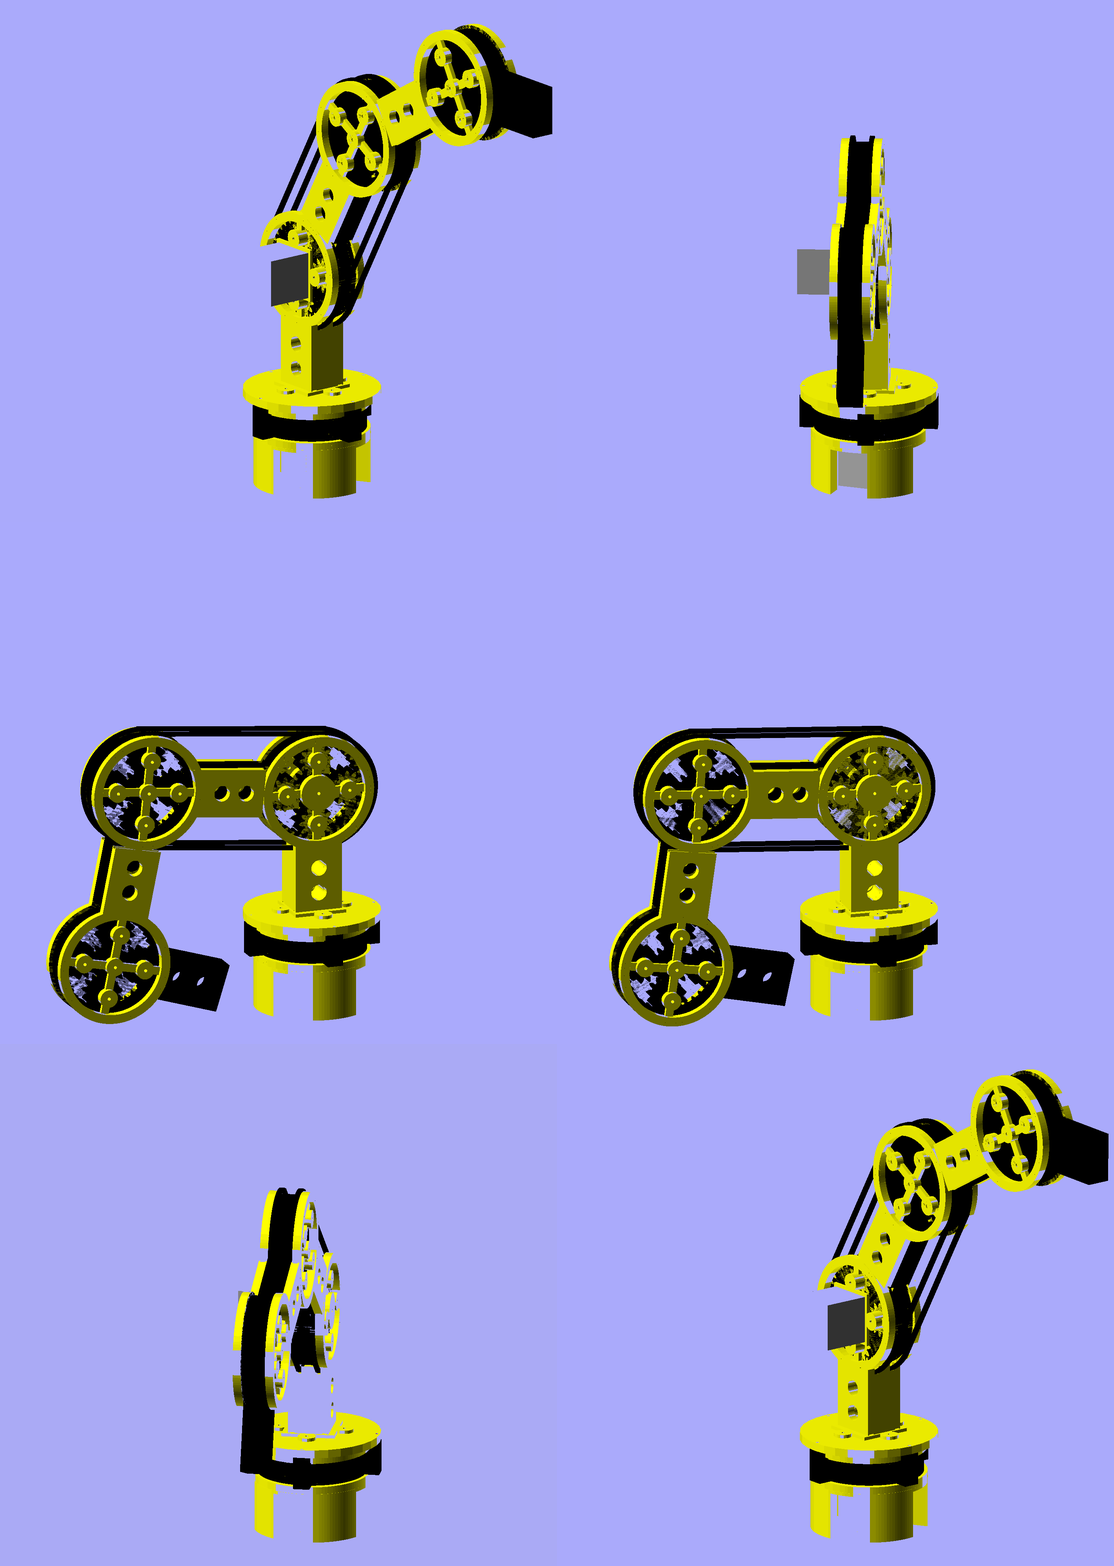
03/01/2017 at 10:27 • 0 commentsI continue to make progress alone, without team input. If you feel so inclined I'd like your opinion on the following Ivolution, or Ivan evolution. When I put the motors in-line recently, I realized that a simplification was possible, due to the fact that I will be using skateboard bearings (608's). The result is the following belt-driven robot arm.
![]()
I find this arm to be way better in terms of performance and simplicity, pritability too. Those segments can be printed as one piece with support on one side which is nice. The rest fit prints without support, though the toolhead needs some touch-up work. Also some belts must be printed or a chain must be printed. I will be working on those details next.
Still, you can see that Ivan can now reach angles from -60 to + 120 degrees and stays very accurately on the ball!
Les
-
Improved Tracking for Ivan
02/25/2017 at 20:02 • 0 comments![]()
Improved the tracking, now it's pretty good.
-
Inverse Kinetatics Approximation (forward kinematics?)
02/25/2017 at 15:51 • 0 comments![]()
I could not yet figure out inverse kinematics from the formal math and descriptions I found on the web, plus it looks like some pretty daunting stuff. So I wondered if I could come up with some trig expressions that would approximate inverse kinematics for Ivan's motion. Here we see the result.
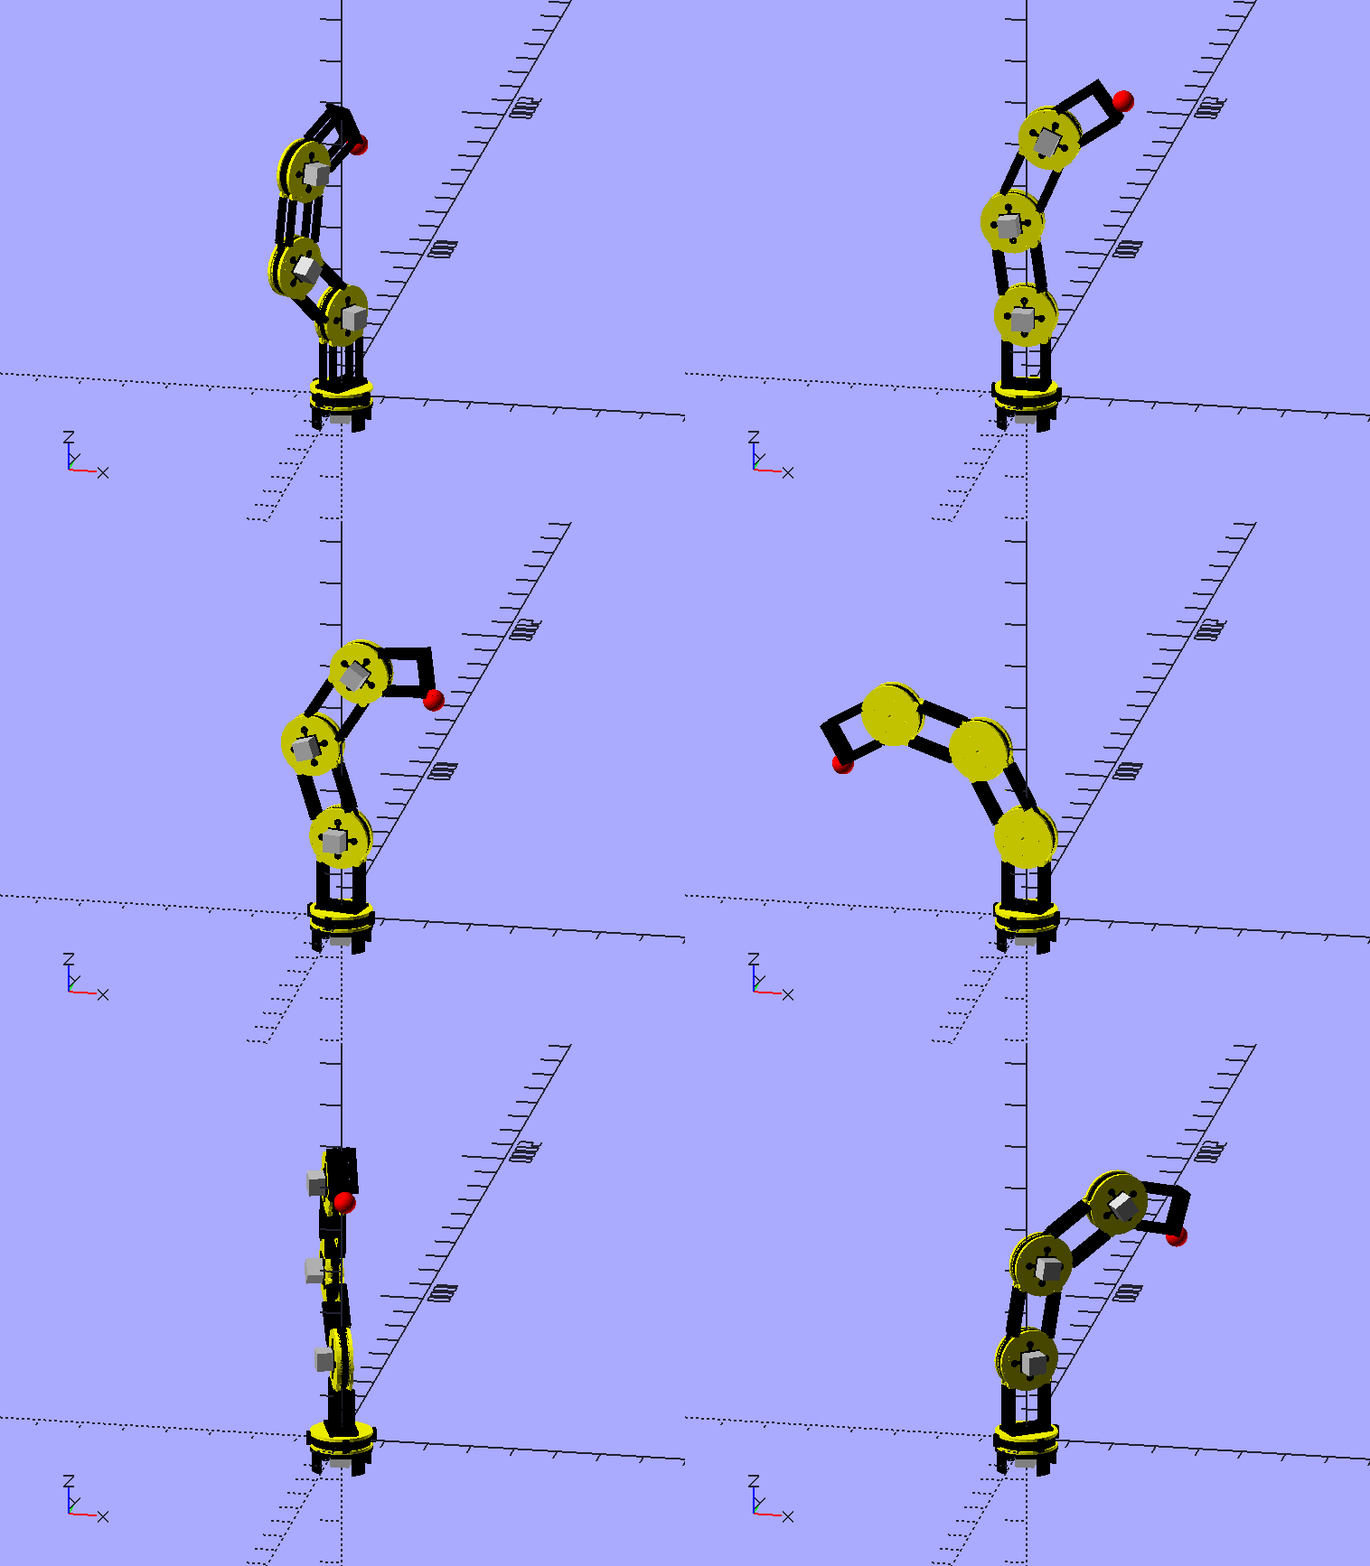
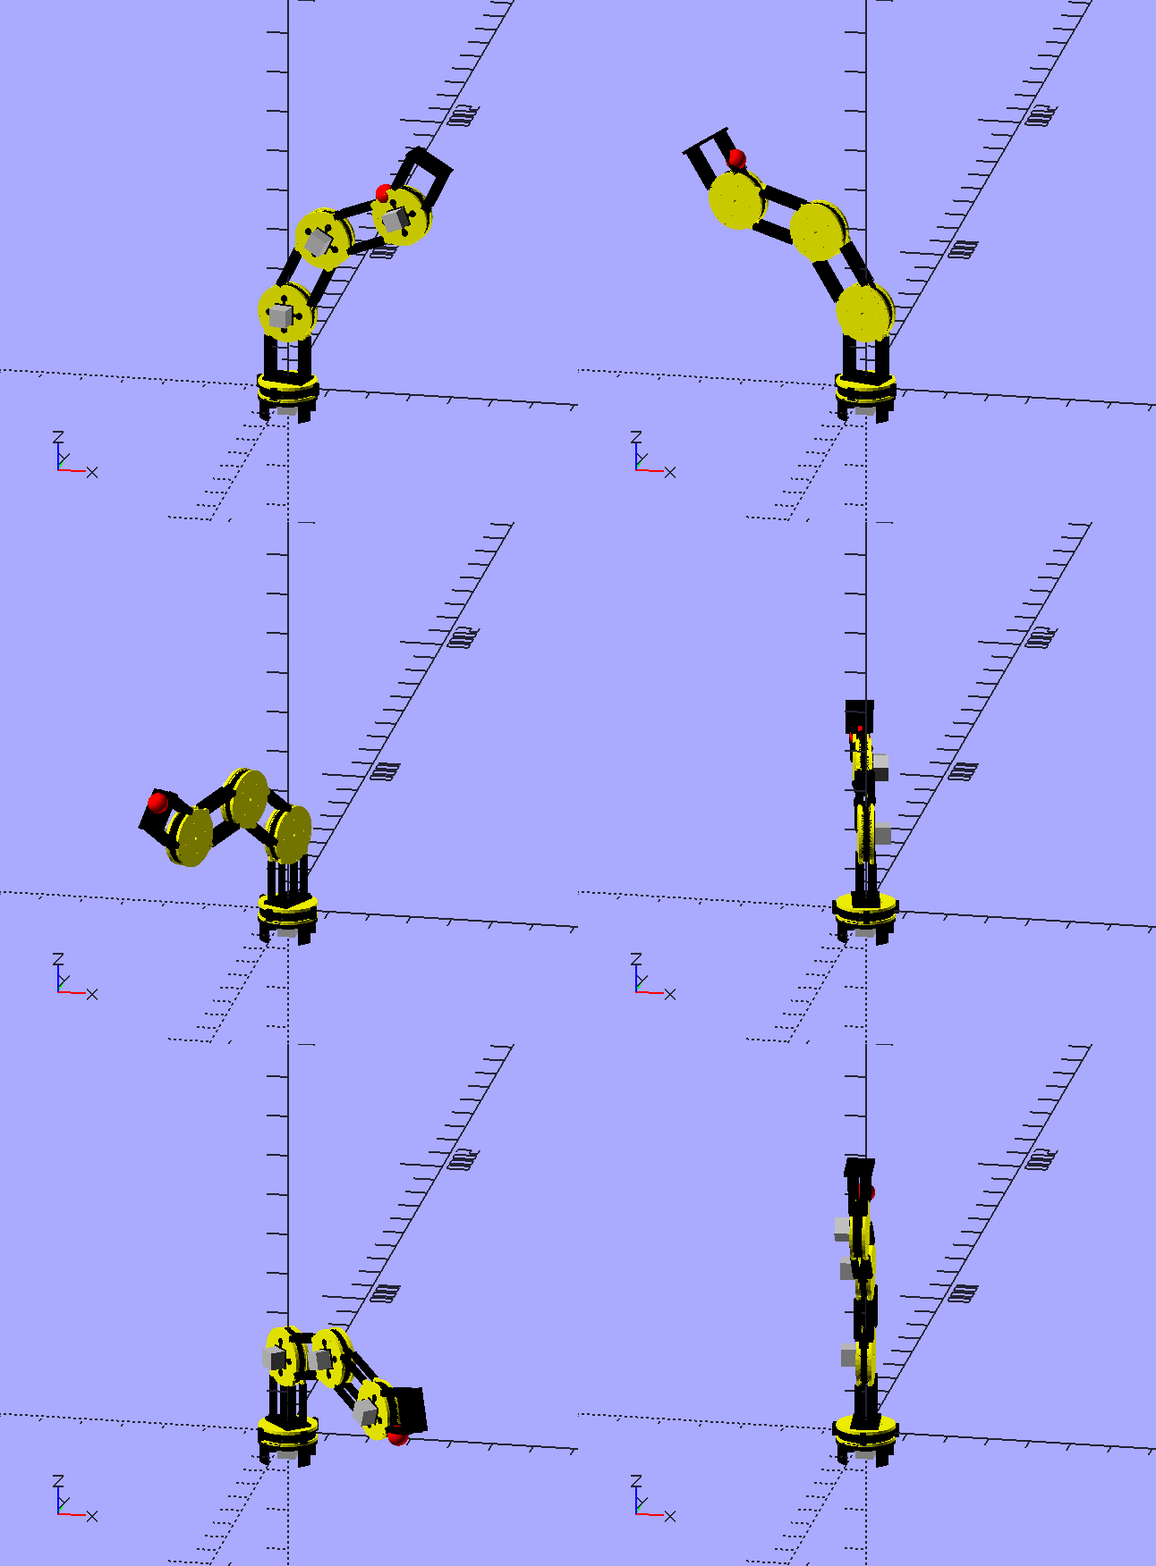
It's just a bunch of miscellaneous trig, and not that much of it really. Given the ball in a randomly selected location in a spherical coordinate shell (radius from 500mm to 700mm), can we position the tool head close to the ball each time? Well, theta is a given - we just rotate the base to the theta position. Then phi and what i called beta are calculated and applied to the three vertical sections.
The result as you can see works most of the time. If you haven't got the horsepower for inverse kinematics or the brainpower to grok it, these equations may be helpful:
th_ = rands(-180, 180, 1)[0];
ph_ = rands(0, 90, 1)[0];
r_ = rands(500, 700, 1)[0];
z0 = length - outerDiameter/2 + height + gearHeight/2;
color("Red")
translate([0, 0, z0])
rotate(th_)
rotate([ph_, 0, 0])
translate([0, 0, r_])
sphere(25);
dx_ = r_ * cos(ph_);
dy_ = r_ * sin(ph_);
gamma = atan2(dy_, dx_);
beta = acos(armLength / (r_/2));
theta = [
th_,
gamma,
beta,
-beta
];
Les
-
Ivan gets PVC Struts
02/25/2017 at 05:27 • 0 comments![]()
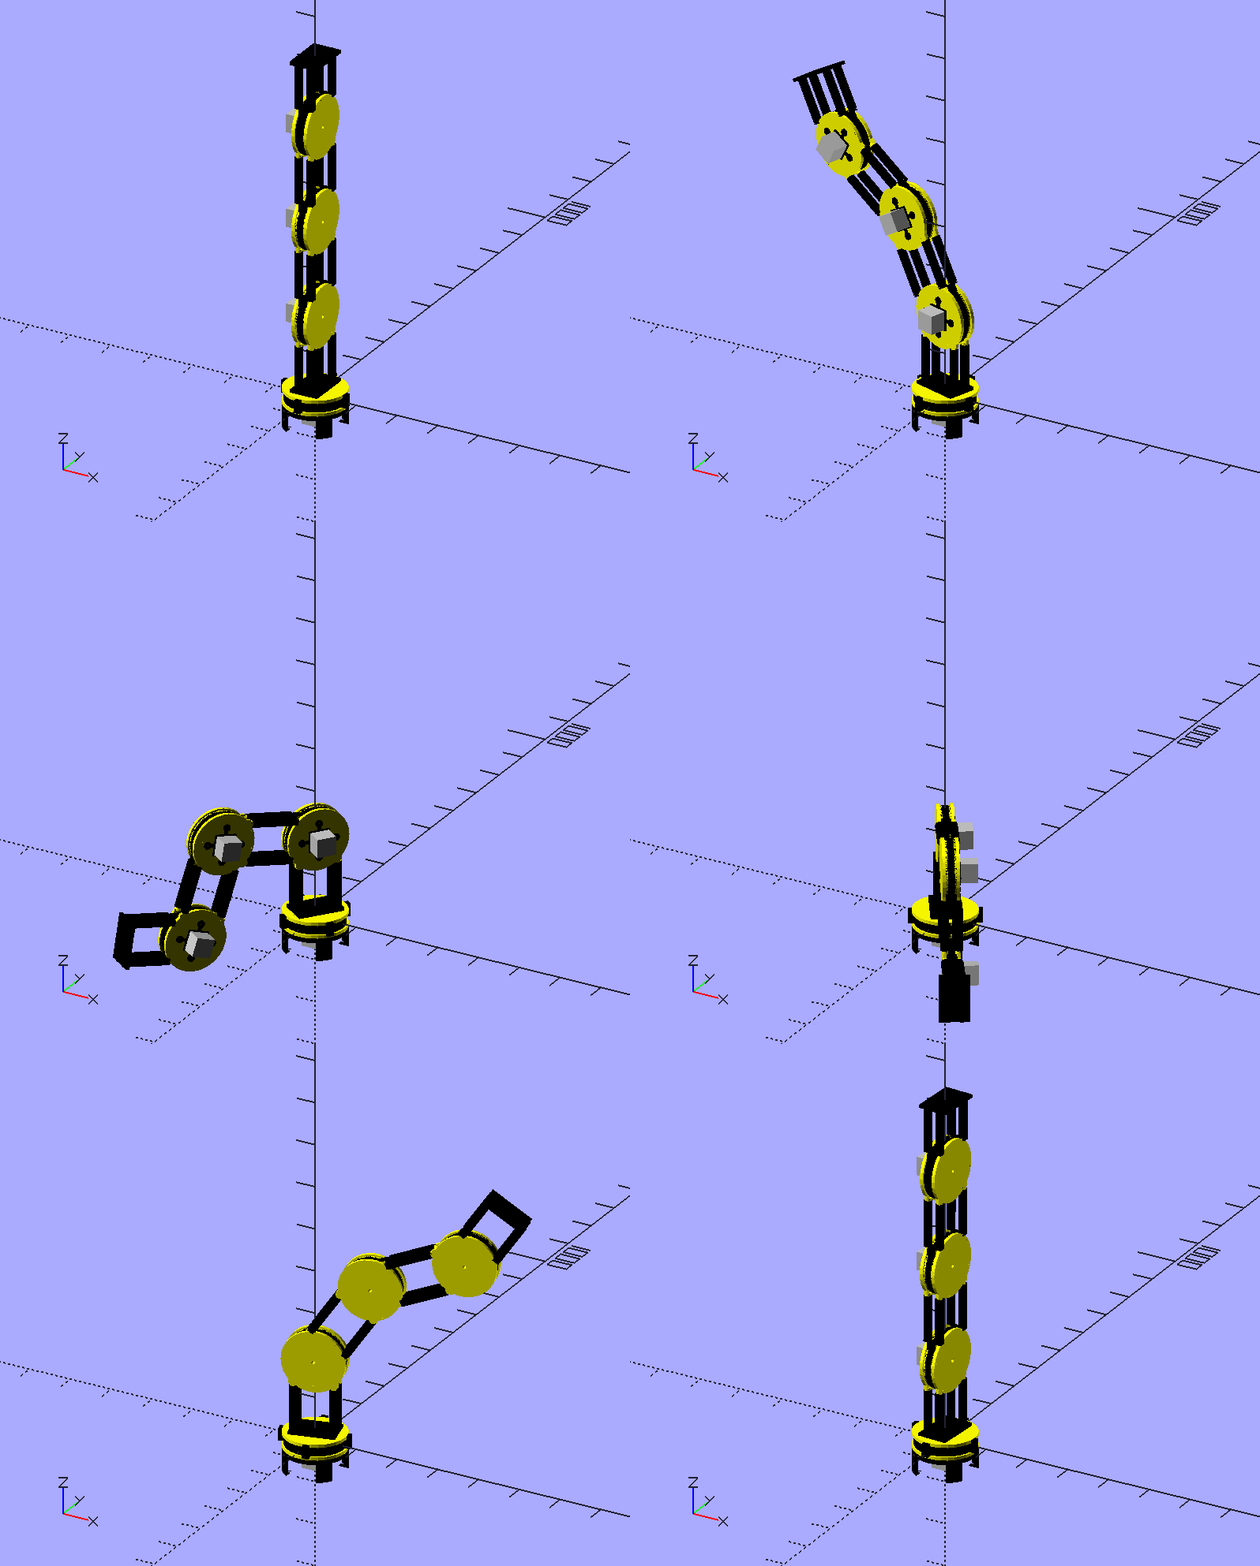
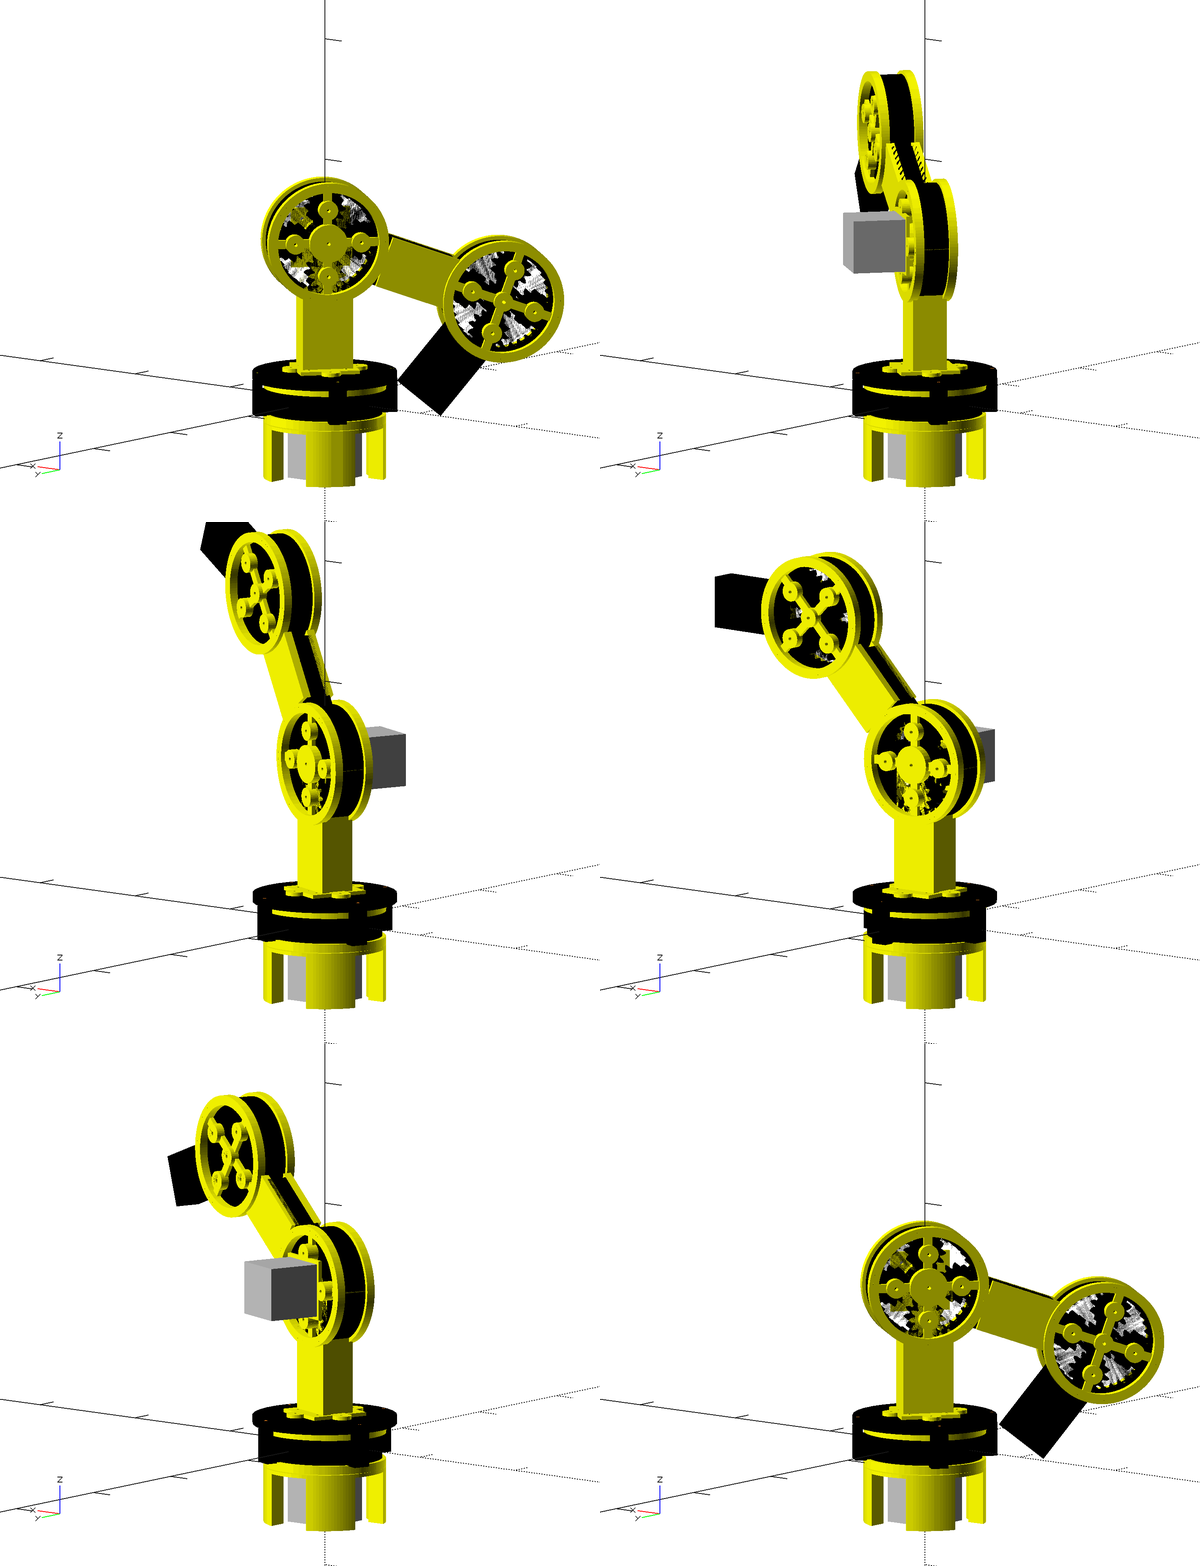
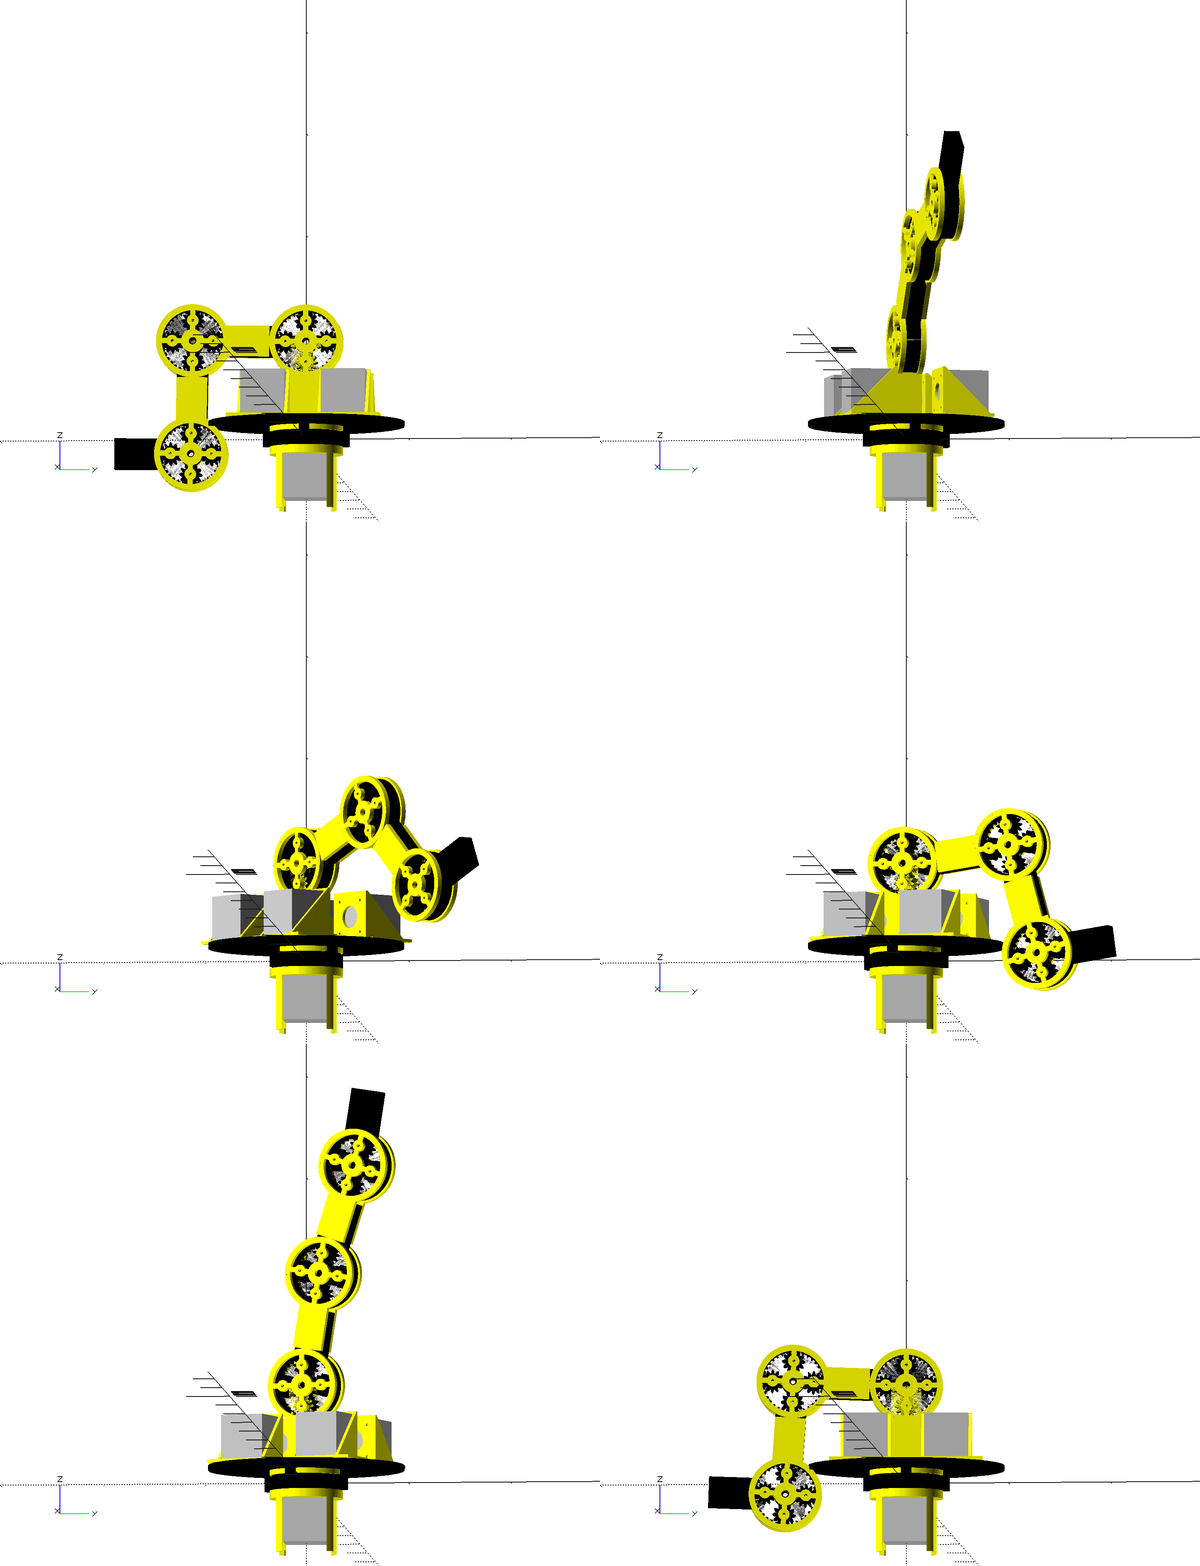
Here we see the latest Ivan prototype design in a graceful path driven by sinusoidal motion. New changes include PVC struts for strength and ease of printing. These allow the size of the gearboxes to be larger, making the motors smaller by comparison. The result is that we can once again have motors on every joint - no tricks! I will have to look up the inverse kinematics for such a robot and implement them on an arduino controlled by Processing on the MacBook (cross-platform to PC and Linux because it's Processing).
See that flat plate atop the turntable? It has four PVC pipe interfaces. It along with the pipe will attach to the end of the robot, making it longer and allowing for the attachment of tool heads.
Les
-
Ivan with the Latest
02/23/2017 at 03:30 • 0 comments![]()
Here it is
-
Latest Ivan Design
02/22/2017 at 22:05 • 0 comments![]()
Latest design here, shows belts, and freely dangling actuator that turn a super-simple KISS two-degrees of freedom design into a somewhat useful robot arm. Plus it's all plastic except for motors, control electronics, and fasteners (of which there are few and few types). Not bad eh?
Les
p.s. note: dangling actuator not correctly illustrated in angle or end object.
-
Simplify
02/22/2017 at 04:48 • 0 comments![]()
So once I moved all the motors to the botton and considered the complexity of delivering all those rotations to the joints, i really had to think twice about it. It just wasn't going to work. Too complex, too prone to failure.
So I simplified the whole thing immensely. Now it's just two degrees of freedom provided by two direct drive motors. A belt riding on the outside of the two planetary bearings / gear boxes will convey motion from the motor to the next joint. Two end stops located on the base will set the calibrations.
The robot will not be nearly as capable but it will be much more realistically build able by an amateur like me. Oh, and the actuator will probably be an electromagnet! Bzzzrp!
Les
-
Ivan Arm Maturing...
02/21/2017 at 20:01 • 0 comments![]()
Here is the latest design. At radomir's suggestion I moved the motors to the bottom of the robot. The two ways I've thought up so far to move the motor torque up to the joints are belts / chains and odometer cables (or similar). There must be other ways. Can you suggest one?
Les
Ivan the Teambuilt Robot
An e-NABLE robotics project to give hands to those without use of their hands. Designed with your help.
 Les Hall