Close
0%
0%

RGB 7segment desk clock

7-Segment clock that has a full colour display.

Similar projects worth following
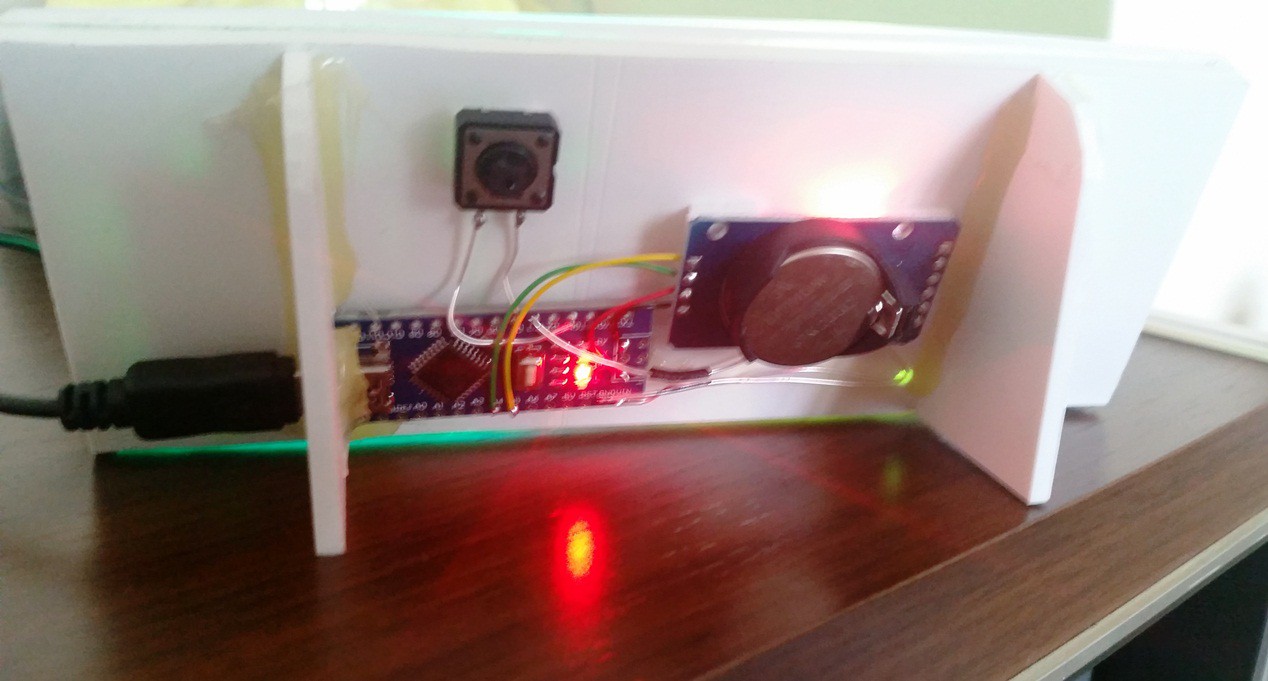
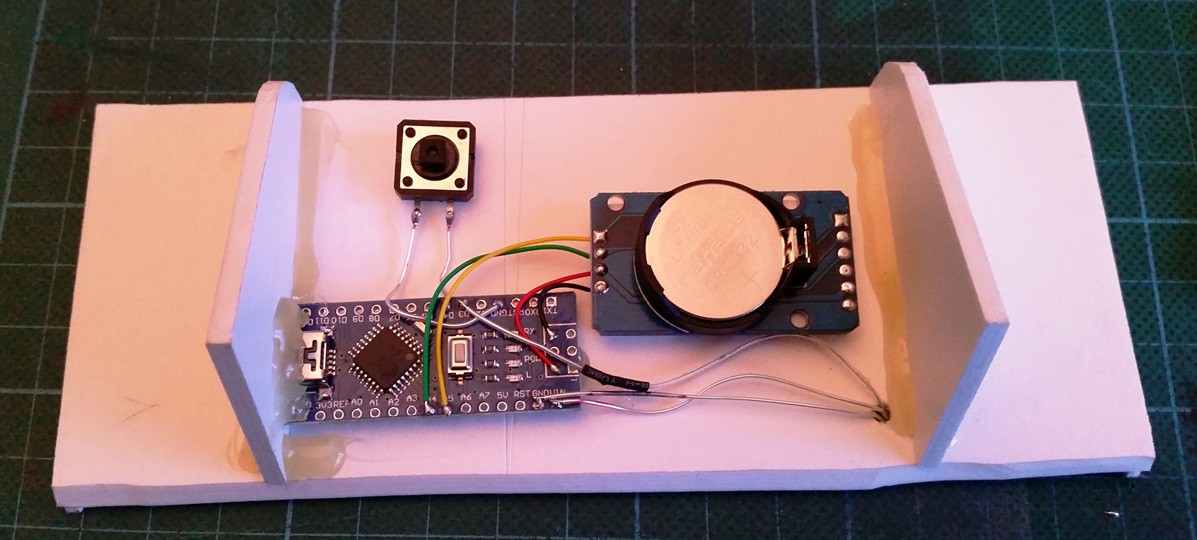
Made from plasticard, with segments cut out and filled with polymorph as a diffuser, Neopixel (ws2812) strips mounted behind it, with Arduino nano, and a DS3231 RTC on the back. Button for changing modes between 'colour-by-value' like the Neopixel Bedside Clock or slow rainbow fade. Transition effects on minute change (white wipe) and a different one on the hour (Fast rainbow across all 88:88)

I wanted to make an RGB 7-segment clock, the only modules are out there are the adafruit 1" tall units, which are good but have quite a lot of pins on the back and no option for colons (displaying time seperator), they are also $15 which works out £10 before shipping EACH....

£40+ on just the display, one which did not have all the features I wanted made me rethink the problem.

After experimenting with the optical and thermal properties of a couple of different types of hot melt glue, I tried poly-morph.

For those that don't know, poly-morph is a kind of nylon I believe, or at least handles like it, but has a fusing temperature of around 60 degrees C. this means you can plonk the pellets into boiling water, they tun clear and are mould-able. It's also possible to use a blowtorch lighter or heat gun to make it malleable, and even roll it out into sheets with a rolling pin.

I cut out the segments as needed, backed it in aluminium tape as a heat shield and light shield and stuffed poly-morph into the holes.

Make up the led board, add some extra poly-morph where the LED's will sit and melt it with a blowtorch, the press the LED board and diffuser board together. this ensures that the LED's don't simply shine on the back of the diffuser, but are connected to a rudimentary light pipe getting more light where its needed and therefore less leakage.

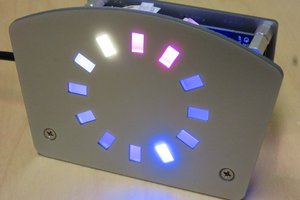
The rest is wiring and playing with code... end result:

Front diffusion is finished with a piece of paper attached with spray mount to help hide the segments that are not illuminated.

  • 1 × Arduino Nano
  • 1 × DS3231 RTC module
  • 1 × Plasticard
  • 1 × Polymorph
  • 1 × NeoPixel Strip

View all 6 components

View all 3 project logs

Enjoy this project?

Share

Discussions

Michael wrote 11/08/2019 at 17:44 point

How thick is the plasticard and any tips on cutting out the segments?

  Are you sure? yes | no

hrking31 wrote 07/25/2017 at 15:48 point

good day
I could help I'm trying to do your project but loading the program to the arduino shows me an error and does not let it upload.

  Are you sure? yes | no

Peter wrote 07/06/2016 at 12:58 point

Great Project! 

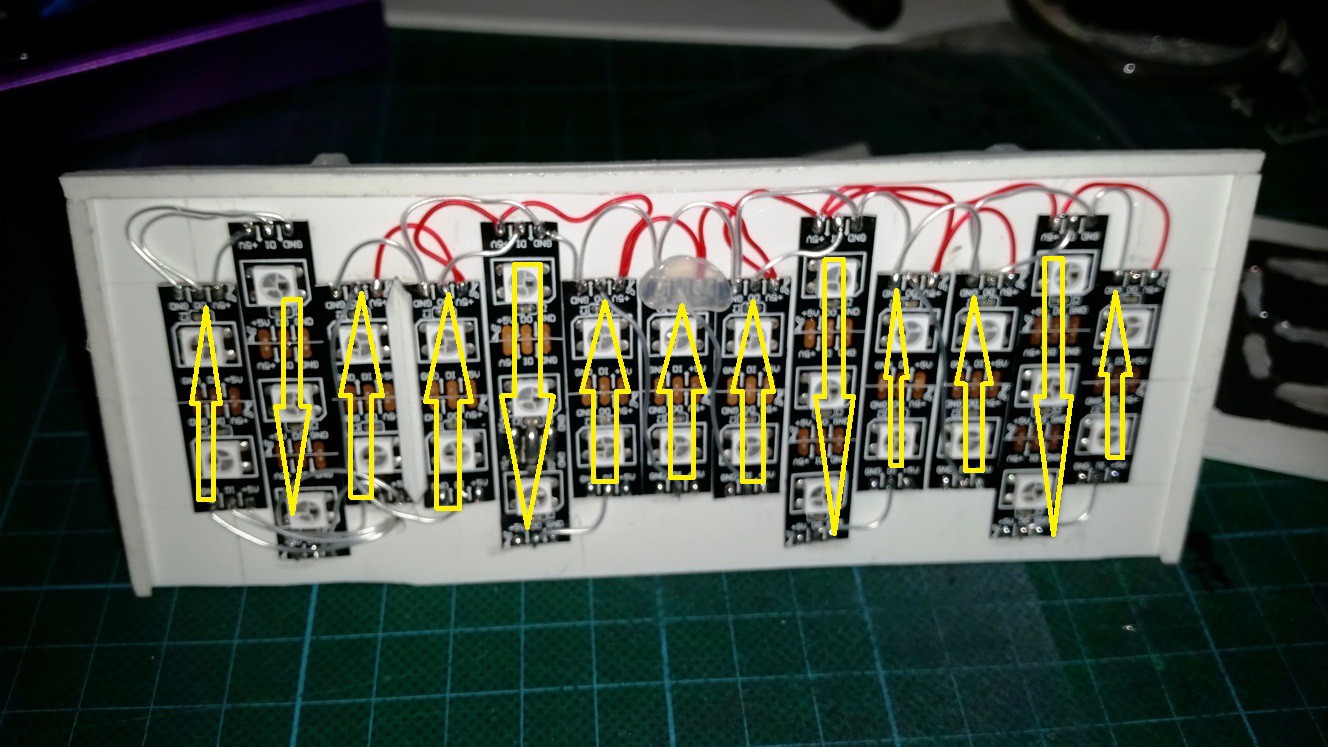
Can you post a better Picture how the neopixels are laid out and wired. I can not see anything in the lower part of the picture. Or post a circuit diagram of the led strip wiring.

Keep it up...

Many thanks!

  Are you sure? yes | no

vemeT5ak wrote 09/29/2015 at 03:37 point

I have built this clock and made a package that includes everything. Schematic, code, sketchup model. David, if you don't like this, let me know and I'll delete it. https://github.com/vemeT5ak/7-segment-neopixel-clock

  Are you sure? yes | no

David Hopkins wrote 09/29/2015 at 07:54 point

That looks grand, much more accessible than what I hurriedly uploaded :-)
Would you mind adding "//Original code by David Hopkins (https://hackaday.io/Hopo28)" to the top of the code files?
If OK with you I would like to put that link on this project for future makers to follow.

  Are you sure? yes | no

vemeT5ak wrote 10/01/2015 at 00:40 point

Requested change made. Feel free to make my link https://github.com/vemeT5ak/7-segment-neopixel-clock accessible on the project page.

  Are you sure? yes | no

xxxthedoorsxxx wrote 09/09/2015 at 12:35 point

hello I am a total noob so I hope you can help. you have listed these parts.

arduino and  Ds3231 RTC but there is another part on the back that is not listed can you tell me what this is ?

its the black button.


  Are you sure? yes | no

David Hopkins wrote 09/09/2015 at 12:45 point

ah, thats just a clicky button, technically it would be a "normally open momentary push button SPST", but searching ebay etc for "push-button" should do, sometimes small ones like that are referred to as 'tactile' switches because they have a nice clicky feel despite their small size.

I think the one Iv'e used is 12mm x 12mm, but just go for whatever you wish.

In the code its just used for switching modes from rainbow to 'colour-by-numbers', you could omit it entirely if you didnt want to switch modes.

  Are you sure? yes | no

xxxthedoorsxxx wrote 09/09/2015 at 13:24 point

cheers david

thanks for the quick reply. I am buying this stuff right now coz your project looks awesome :)

  Are you sure? yes | no

[deleted]

[this comment has been deleted]

David Hopkins wrote 09/09/2015 at 07:55 point

Actually, neither... The spacing was defined by the spacing of the LED's on the strip such that the arrangement of segments is the smallest you can get with that kind of strip (30LED/m) without cutting the strip.

As for the width, of the segments, that was based on a drill bit I had handy, drilled both ends of a segment, then used a scalpel to remove the material in between. It looked about the right proportion :-)

  Are you sure? yes | no

Filippo wrote 09/02/2015 at 07:48 point

Awesome! where is the code?

  Are you sure? yes | no

[deleted]

[this comment has been deleted]

lellobov wrote 09/02/2015 at 04:36 point

is possible to have schematic diagram and arduino code ?

tnx

  Are you sure? yes | no

David Hopkins wrote 09/02/2015 at 08:54 point

https://github.com/hopo28/7SEG_COLOUR_CLOCK

hmm, I'll make a project log for the pinouts :-)

  Are you sure? yes | no

Sabas wrote 09/02/2015 at 04:35 point

Great project, Code please

  Are you sure? yes | no

Similar Projects

Does this project spark your interest?

Become a member to follow this project and never miss any updates