-
Electronics enclosure
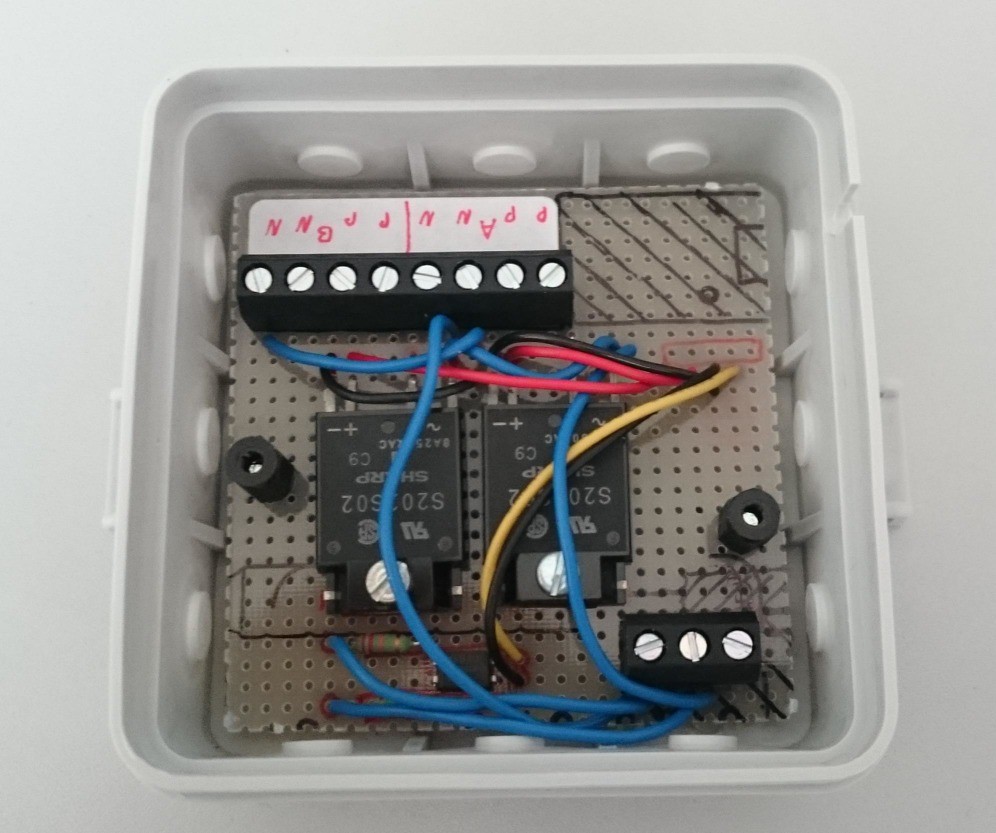
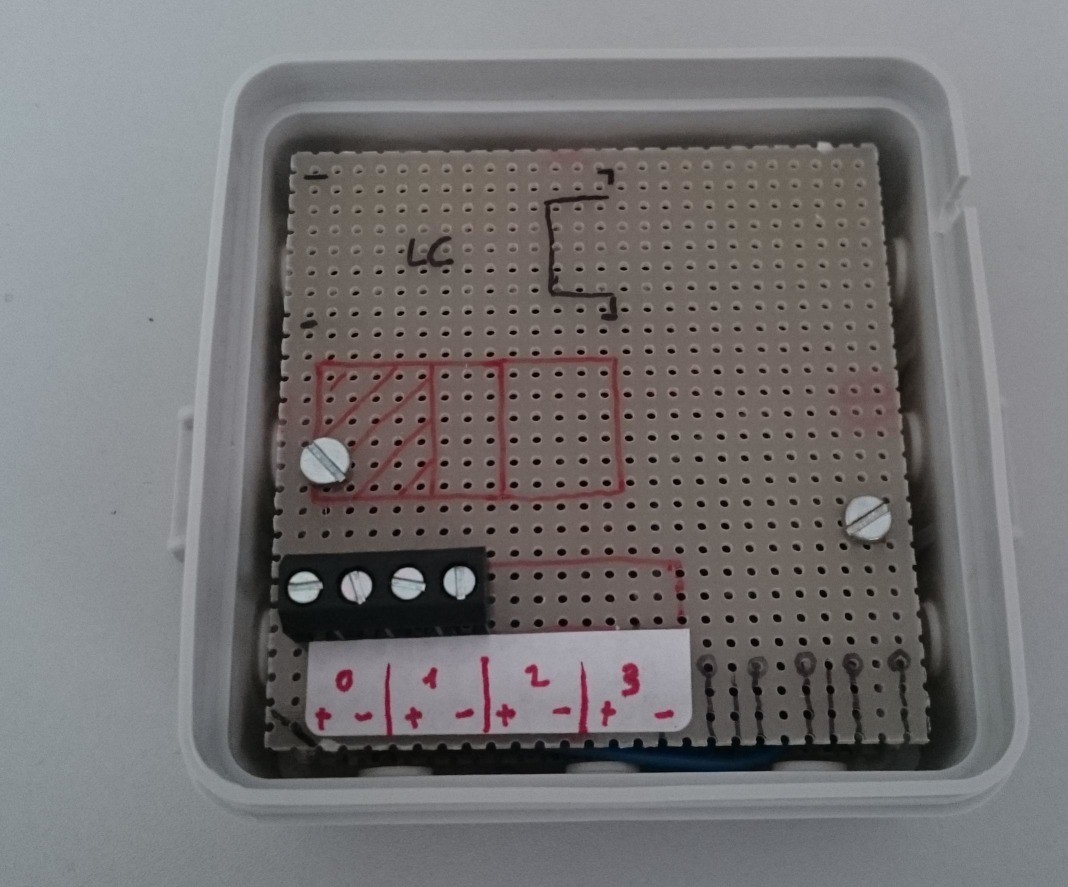
09/15/2015 at 12:10 • 0 commentsI fugured that it's possible to have two PCBs with screw terminals on top of each other in one of those cheap connection boxes - and they actually do!
Lower PCB with all the high voltage stuff (2 SSRs and an optocoupler to detect zero crossings), terminals (heaters and mains) and 12 mm spacers:
Upper PCB for the Teensy LC, ADC, cold junction thermometer and screw terminals for the thermocouples:
-
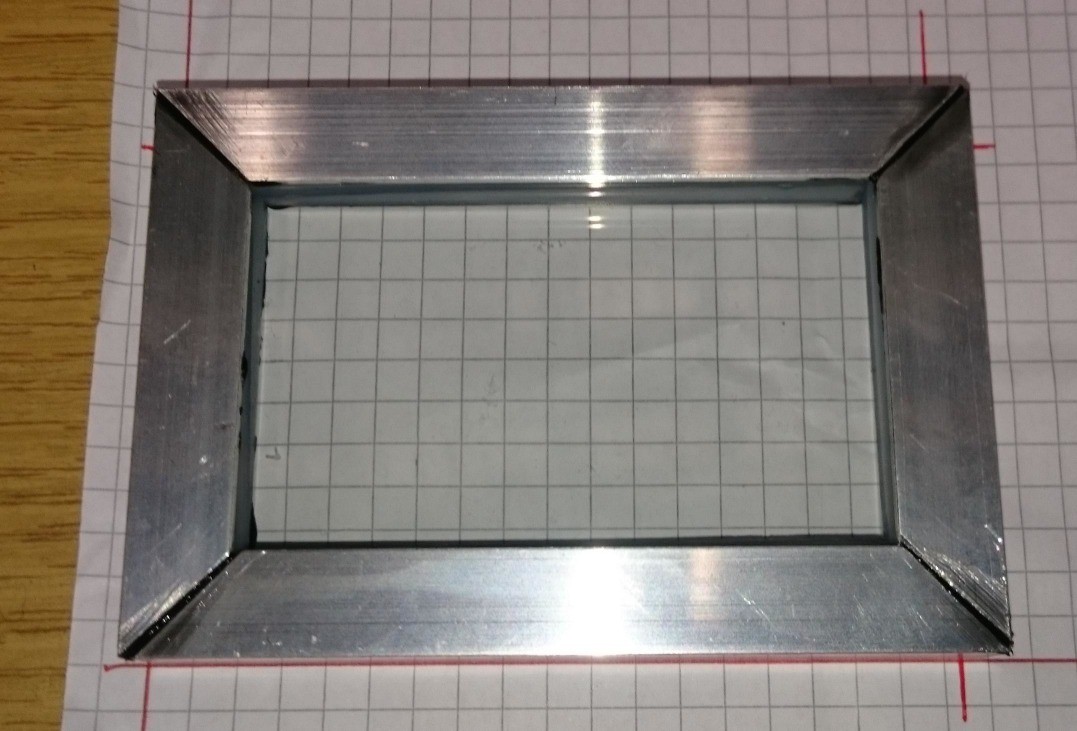
...aaaaaand the lid has a frame
09/14/2015 at 11:34 • 4 comments -
The lid
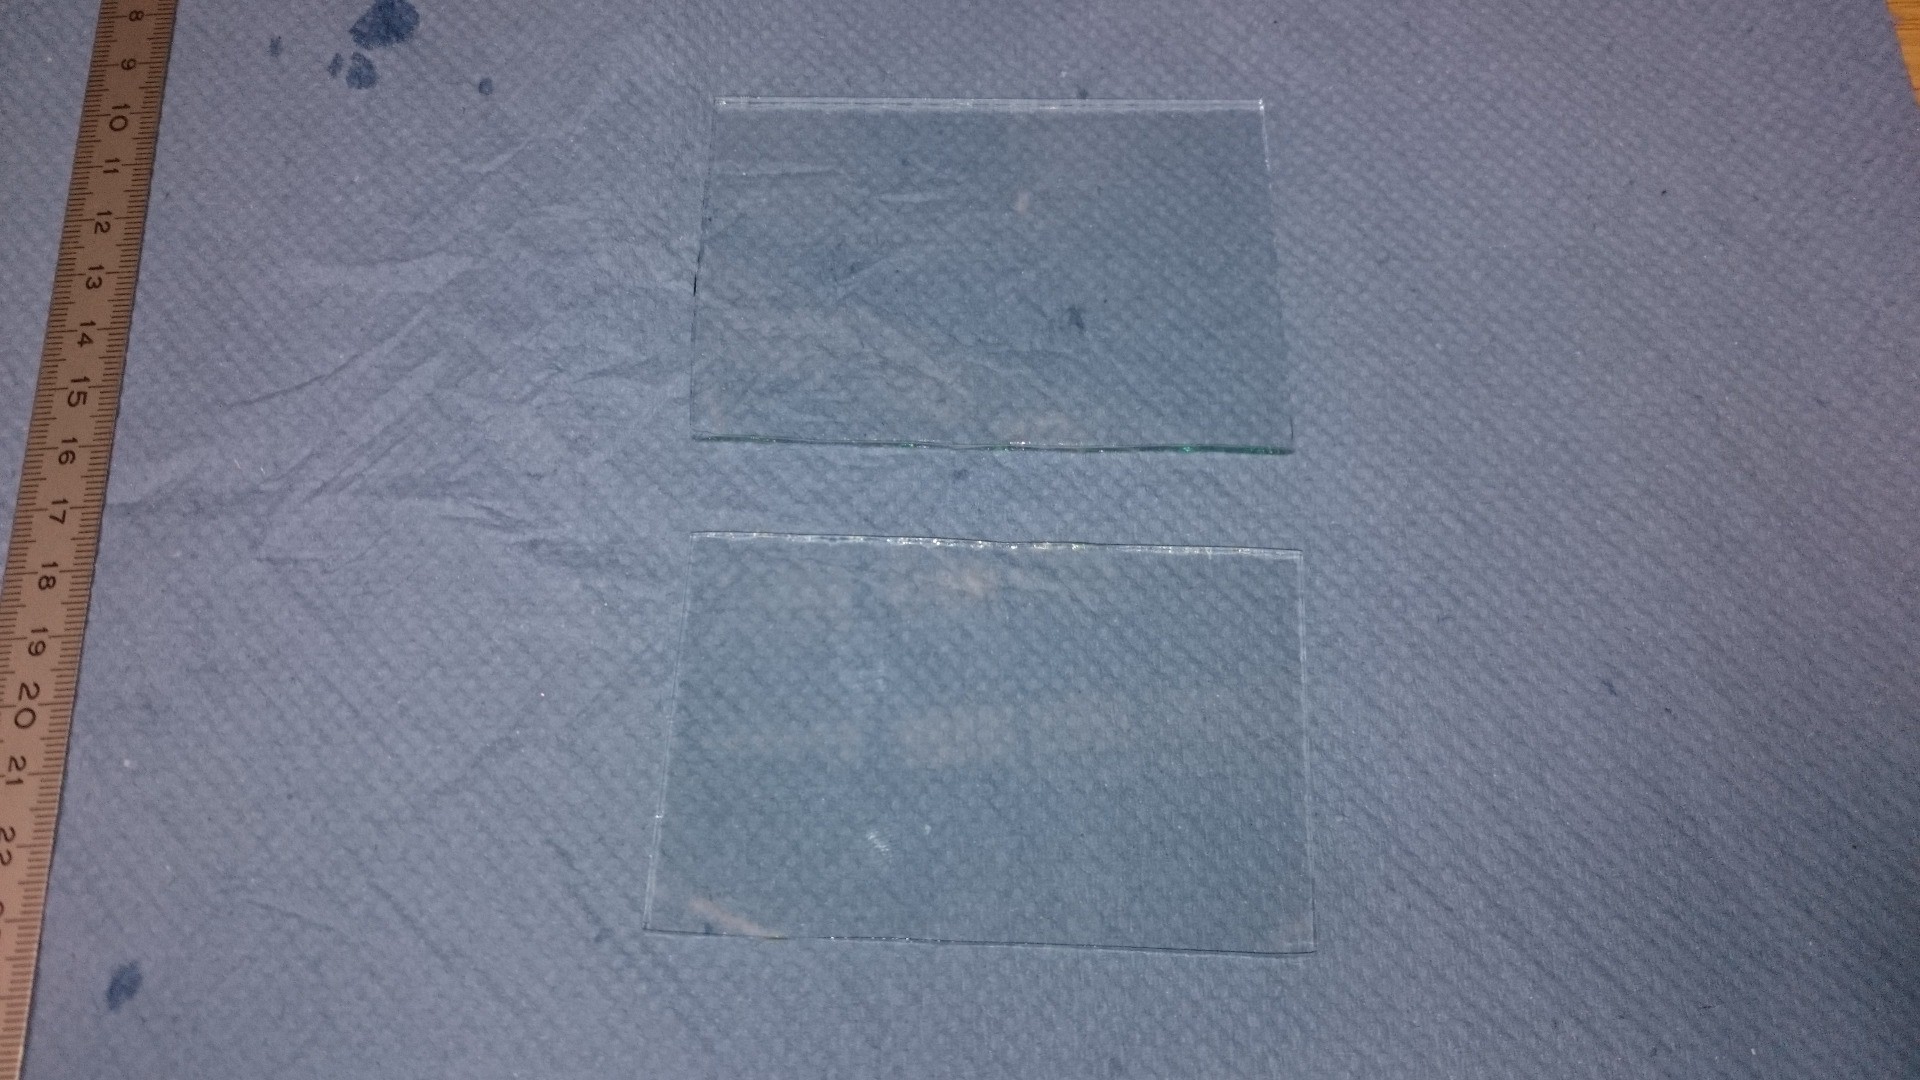
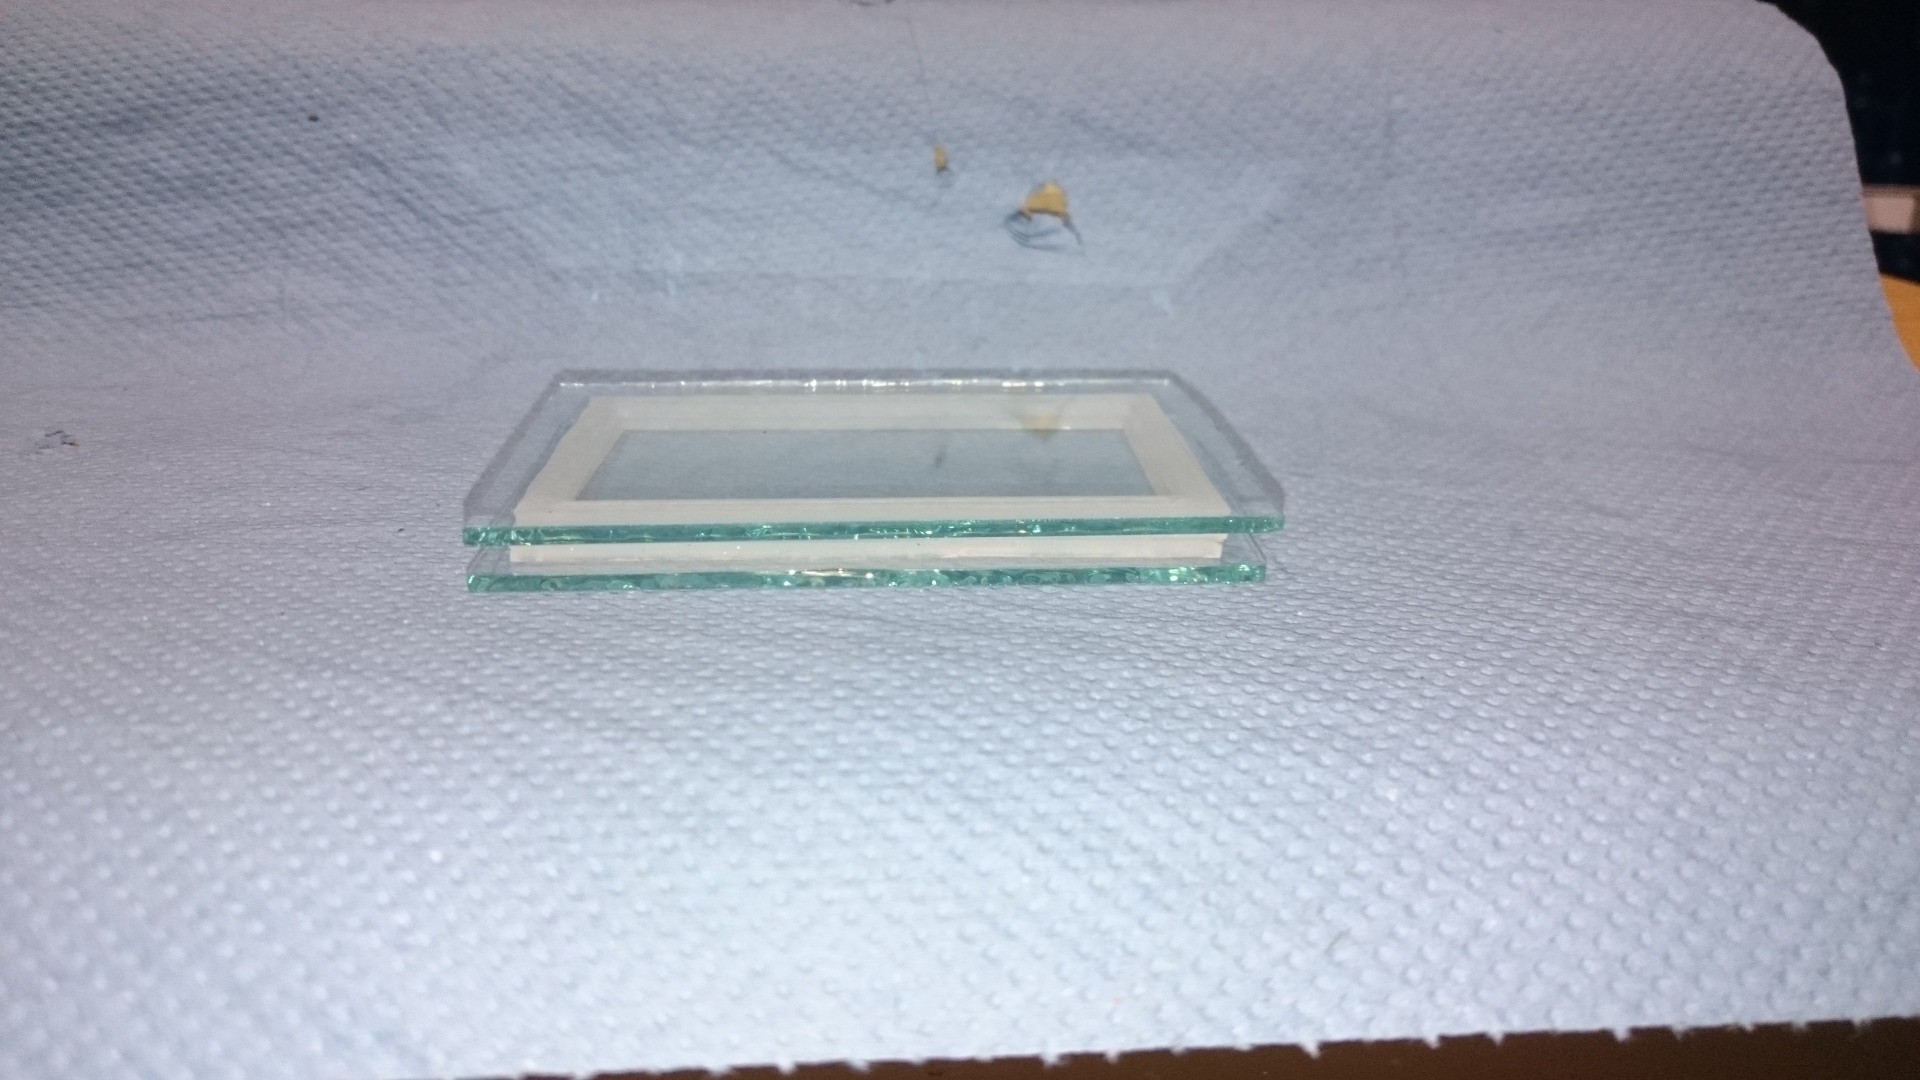
09/11/2015 at 11:56 • 3 commentsAs noted in the project description, I want a see through lid. So I took the glass (2 mm thick) from an old picture frame and cut two pieces about 60 x 90 mm:
Looking for a spacer I found silicone sheet (again 2 mm) and cut two spacer frames. Silicone has the positive side effect that it can be squeezed a little, so after placing it between the glass plates and giving it a gentle squeeze, the sandwich is held together by the vacuum between the parts:
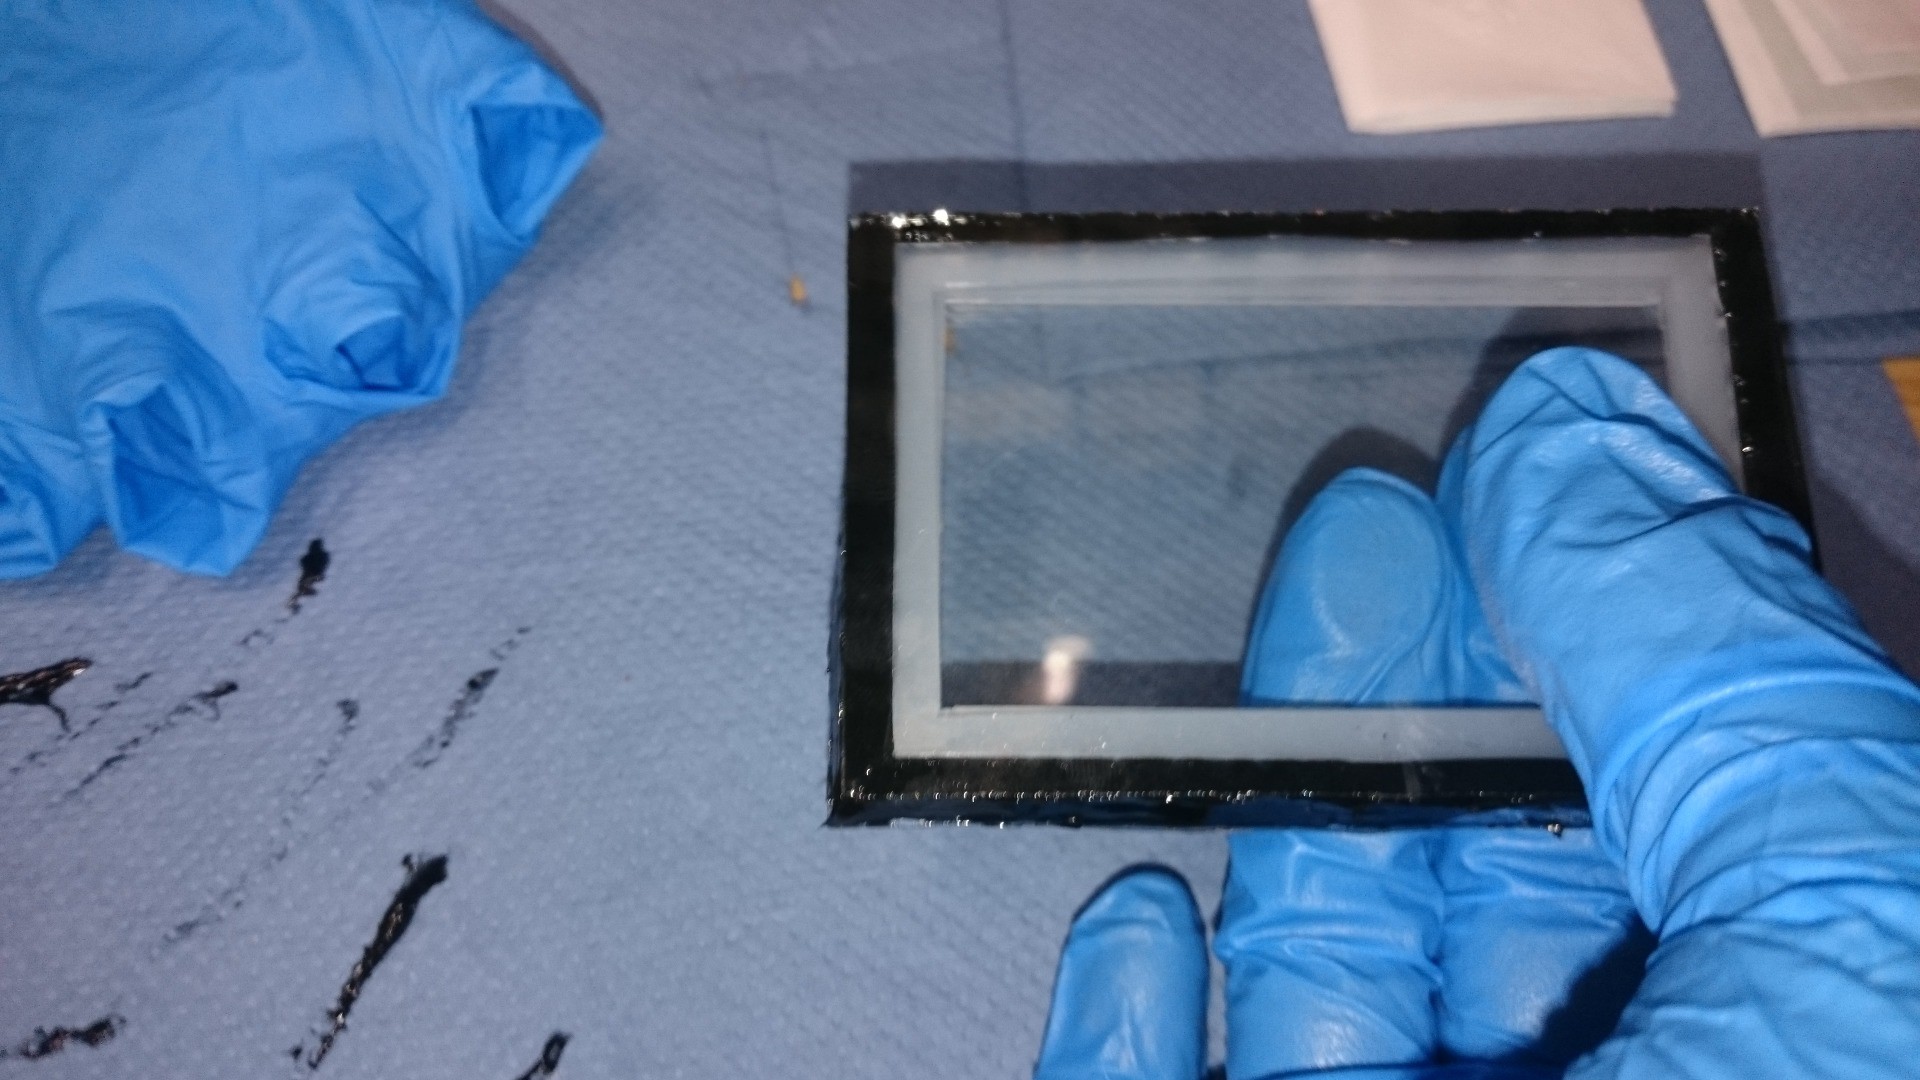
You can actually lift it just by holding the upper plate. This was then sealed with silicone (this stuff is intended to seal stoves with, and can withstand 350 °C):
Cutting the glass was the hardest part of this.
As a finishing step the lid will get a frame made of U-shaped aluminium. The alumium has an inner width of 8.5 mm, so the 8 mm sandwich will fit nicely.
-
Insulation and base plate
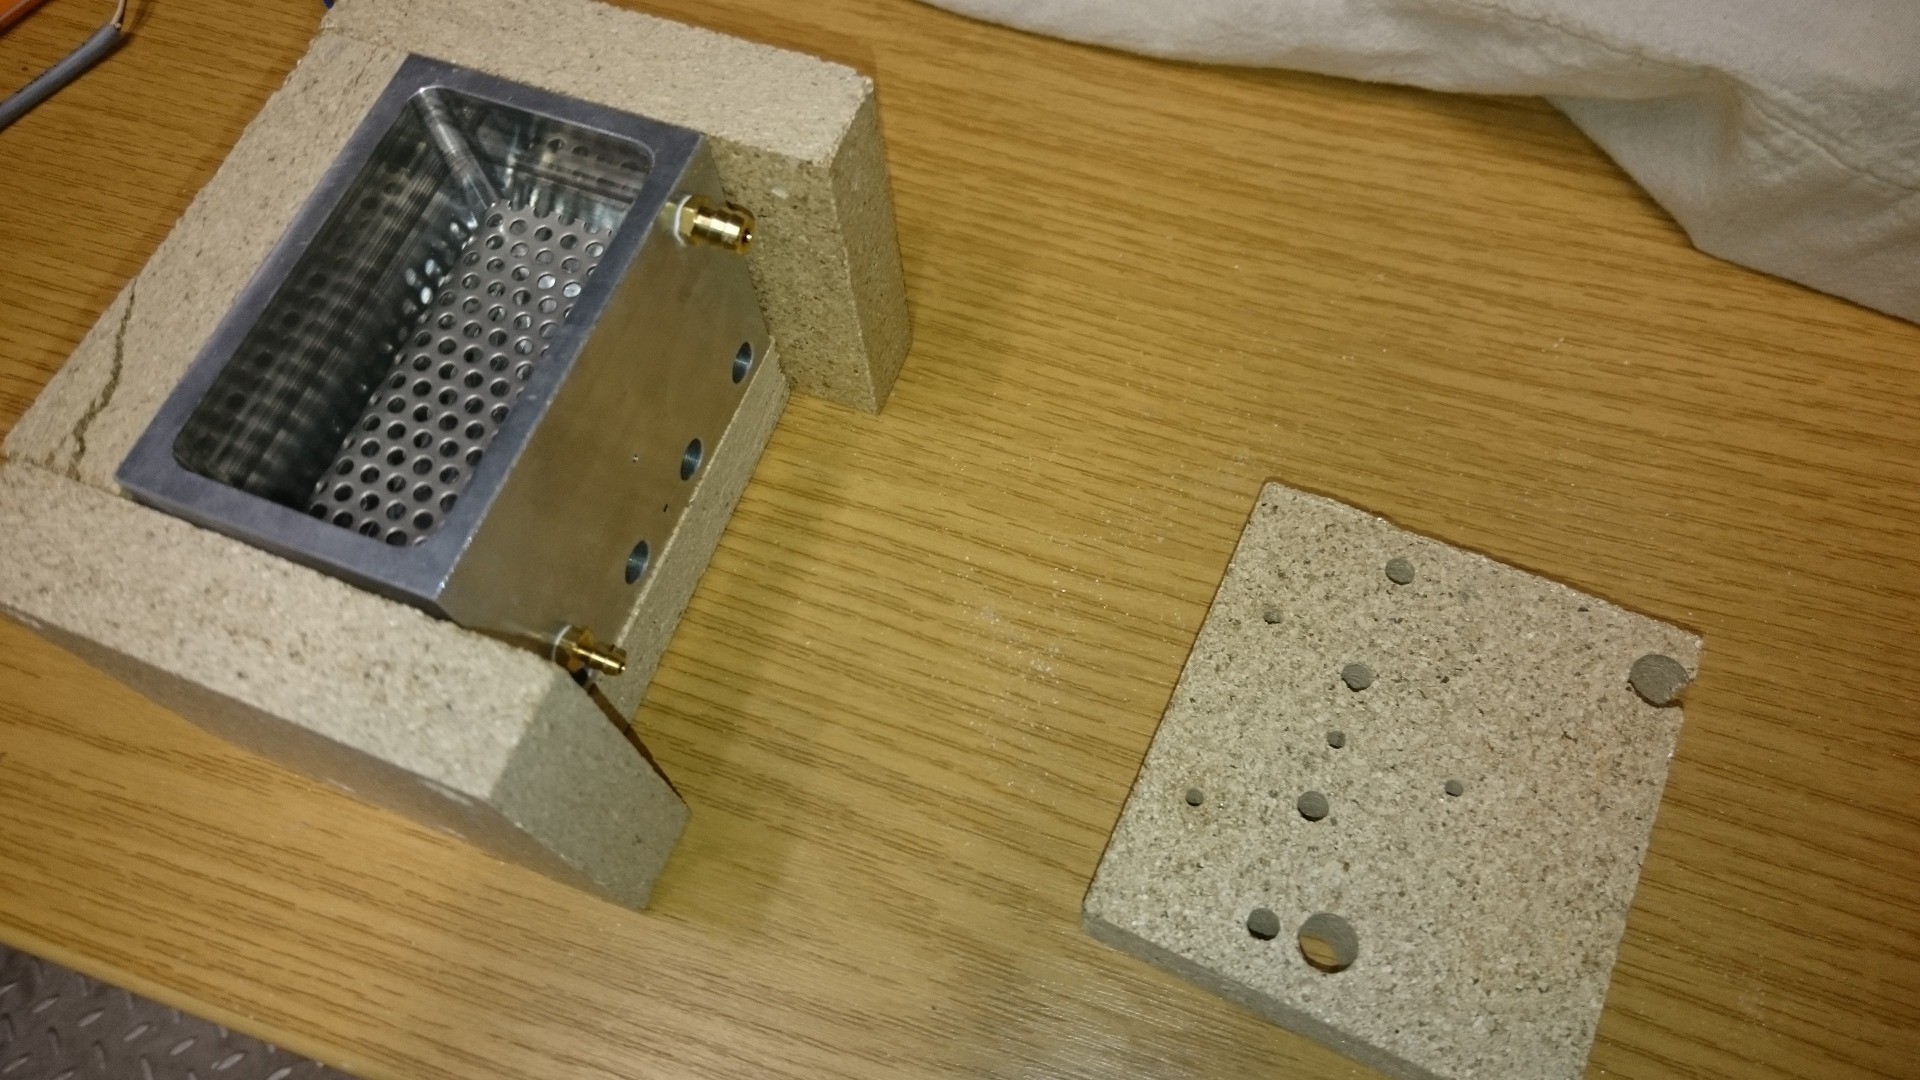
09/11/2015 at 09:05 • 1 commentVermiculite plates are usually used to insulate fireplaces, so I bought some and cut them to size for my oven, using a circular saw. One of them has all the holes for tubes, thermocouples and heater connections:
As you can see this stuff is a bit delicate and I might need to surround it with sheet metal or something similar.
A piece of perforated metal got saved from being scrapped and now serves as a base plate. This is how the oven will look like from behind, more or less:
The lid and electronics still need to be done.
-
Tube connectors arrived
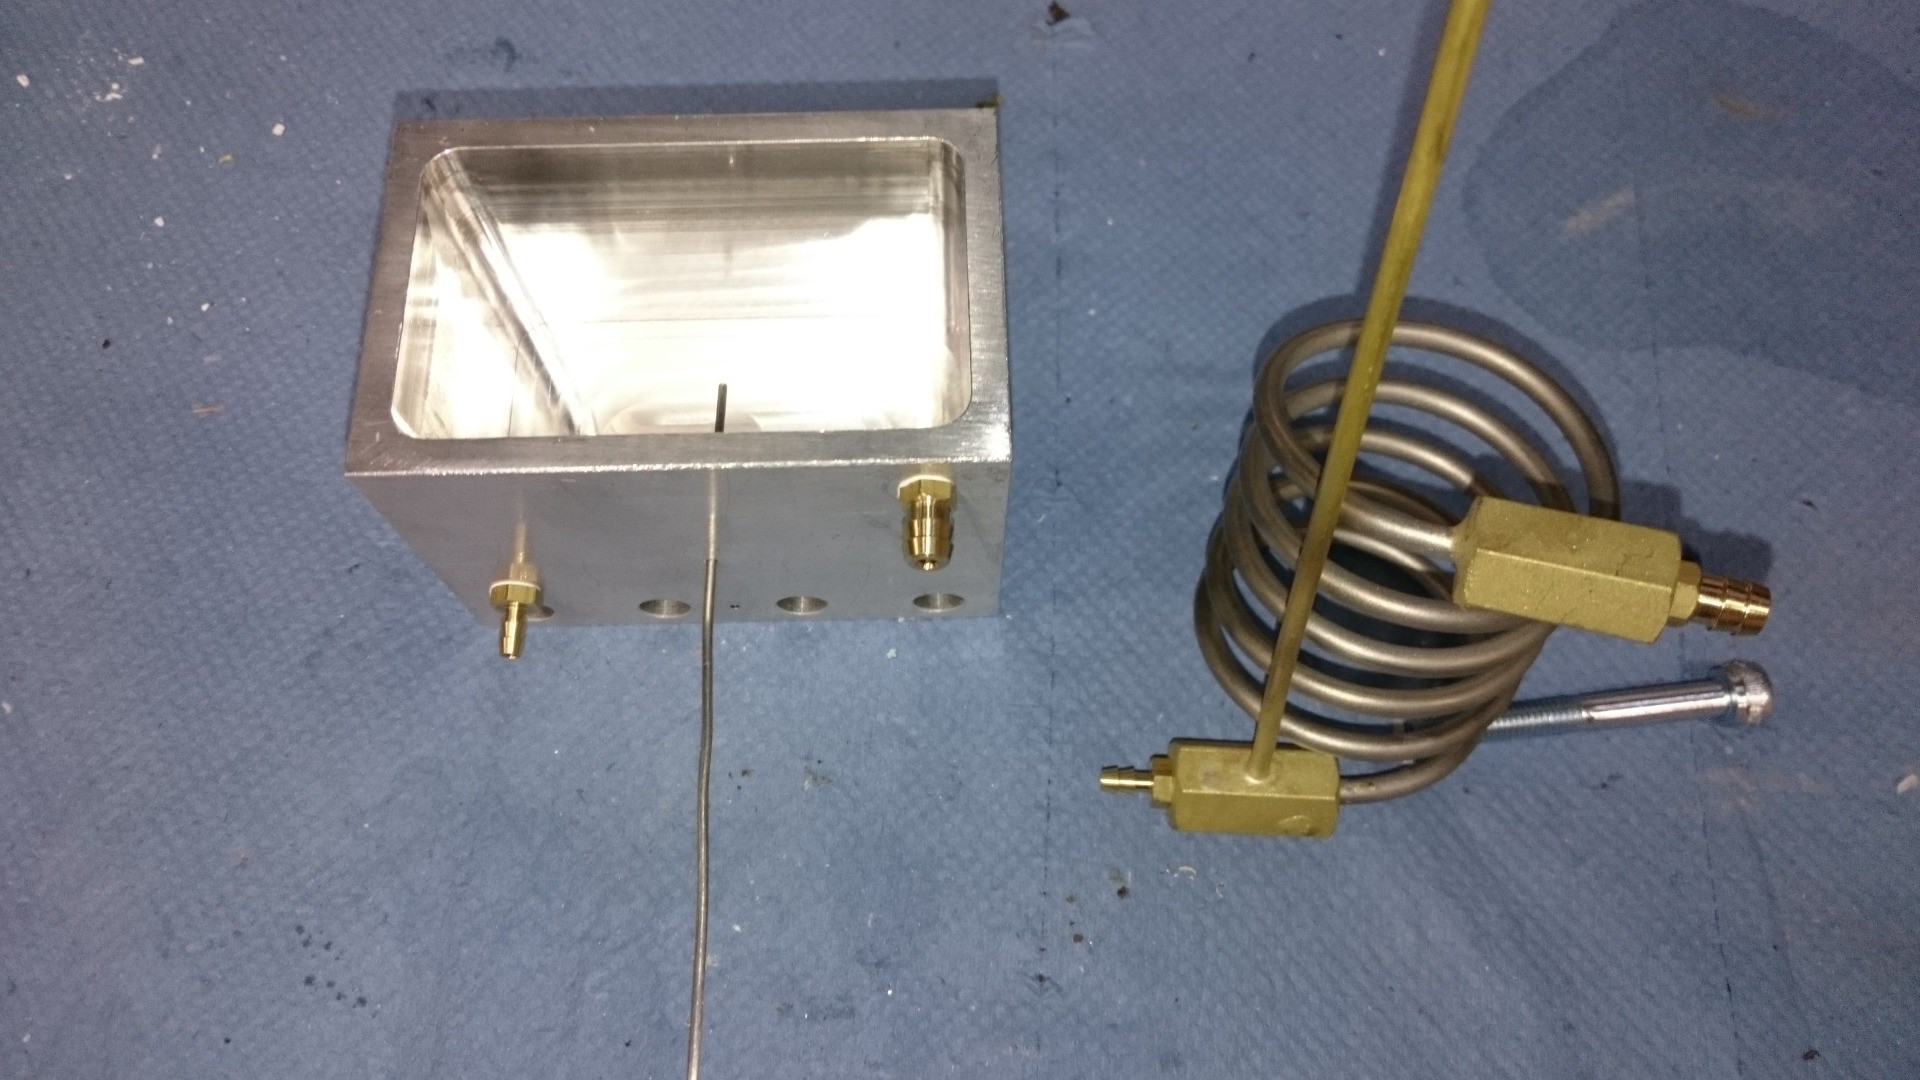
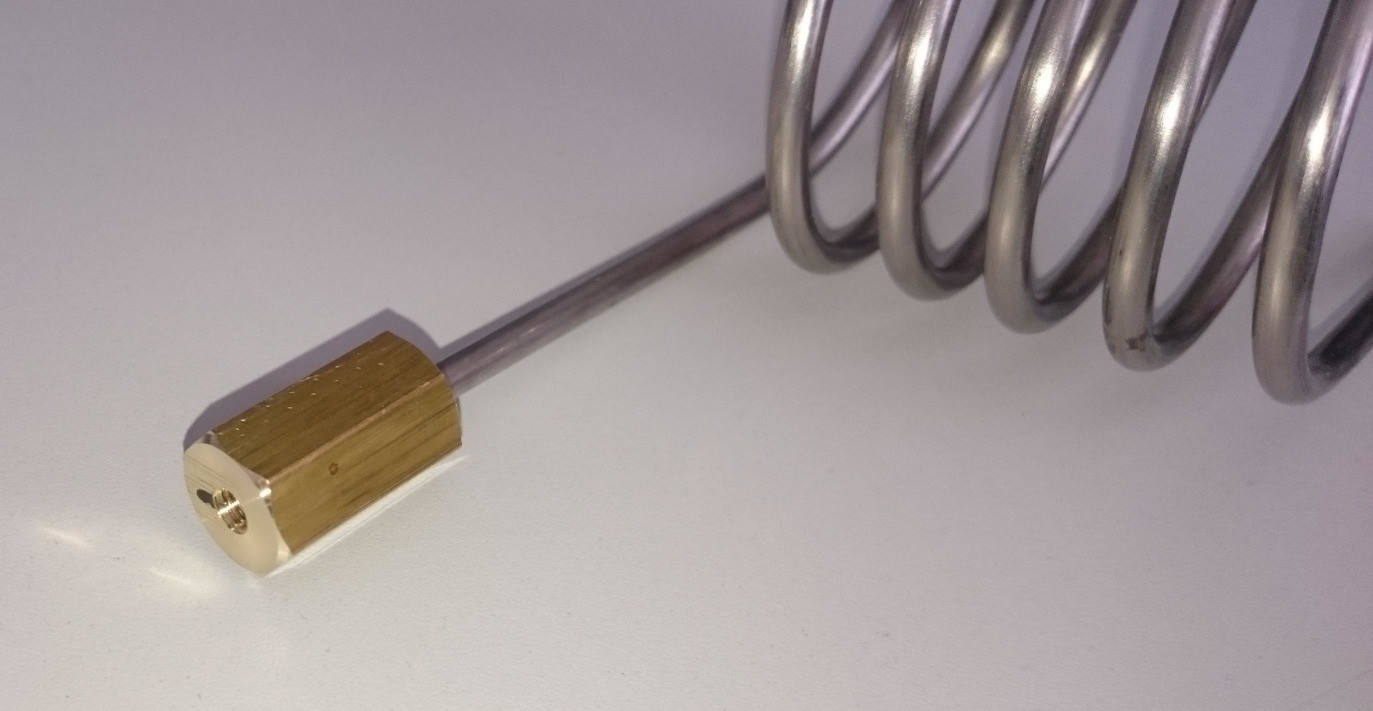
09/09/2015 at 14:11 • 0 commentsThe tube connectors arrived, so I could finish the chiller (almost) and the main block:
The block now has two holes for thermocouples: one between the heaters and one in the chamber just below the PCB level, but above liquid galden. I can still add thermocouples to the chiller later if that's necessary.
-
Block milled
09/07/2015 at 12:37 • 0 comments -
Chiller brazed
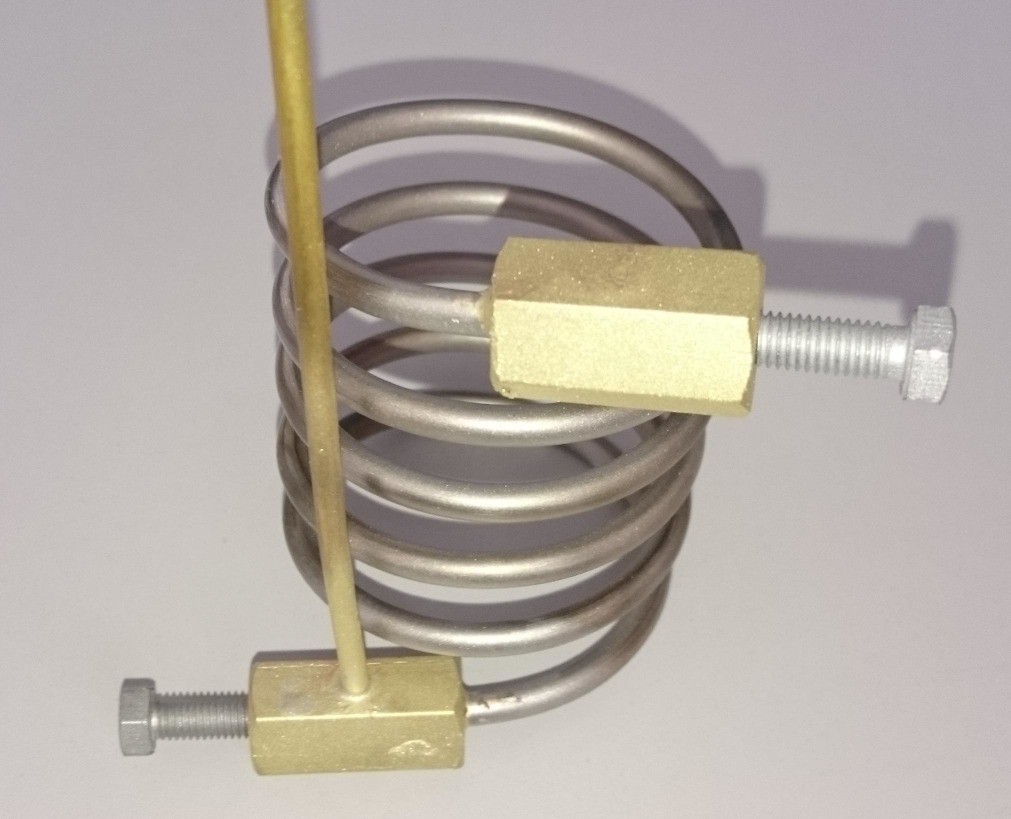
09/04/2015 at 12:23 • 1 commentChiller and fittings brazed with silver solder (650 °C, acethylene/oxygen flame) and sandblasted:
Turned out nicer than expected!
The screws are just there to prevent sand from getting into the chiller during sandblasting. The vertical pipe will be cut back later when I know how long I need it.
Note: you can also use a simple torch for brazing if your parts are small. It might take a bit longer, though. You can also use solder with a higher silver content, which melts at lower temperatures.
-
First chiller fitting
09/03/2015 at 12:02 • 0 comments -
Block being milled, Lid sketch
09/03/2015 at 08:09 • 0 commentsI decided to cut the large block in halves to make a tall chamber with a small base. It will be milled in the following days when the workshop guys have time for it.
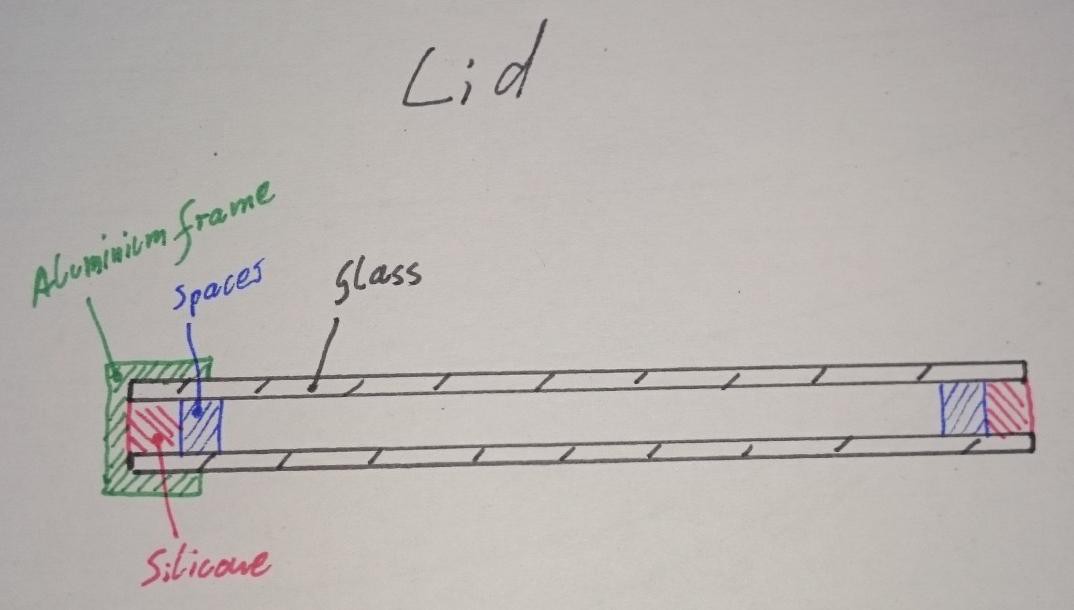
The lid will probably look like this:
The reasons for two thin glass plates are 1) thicker glass is harder to cut and b) old picture frames from ikea! The silicone will have to withstand high temperatures but there's that stuff for fireplaces that will handle 250°C with ease, which is more than I expect anywhere around the lid.
-
It's a chiller
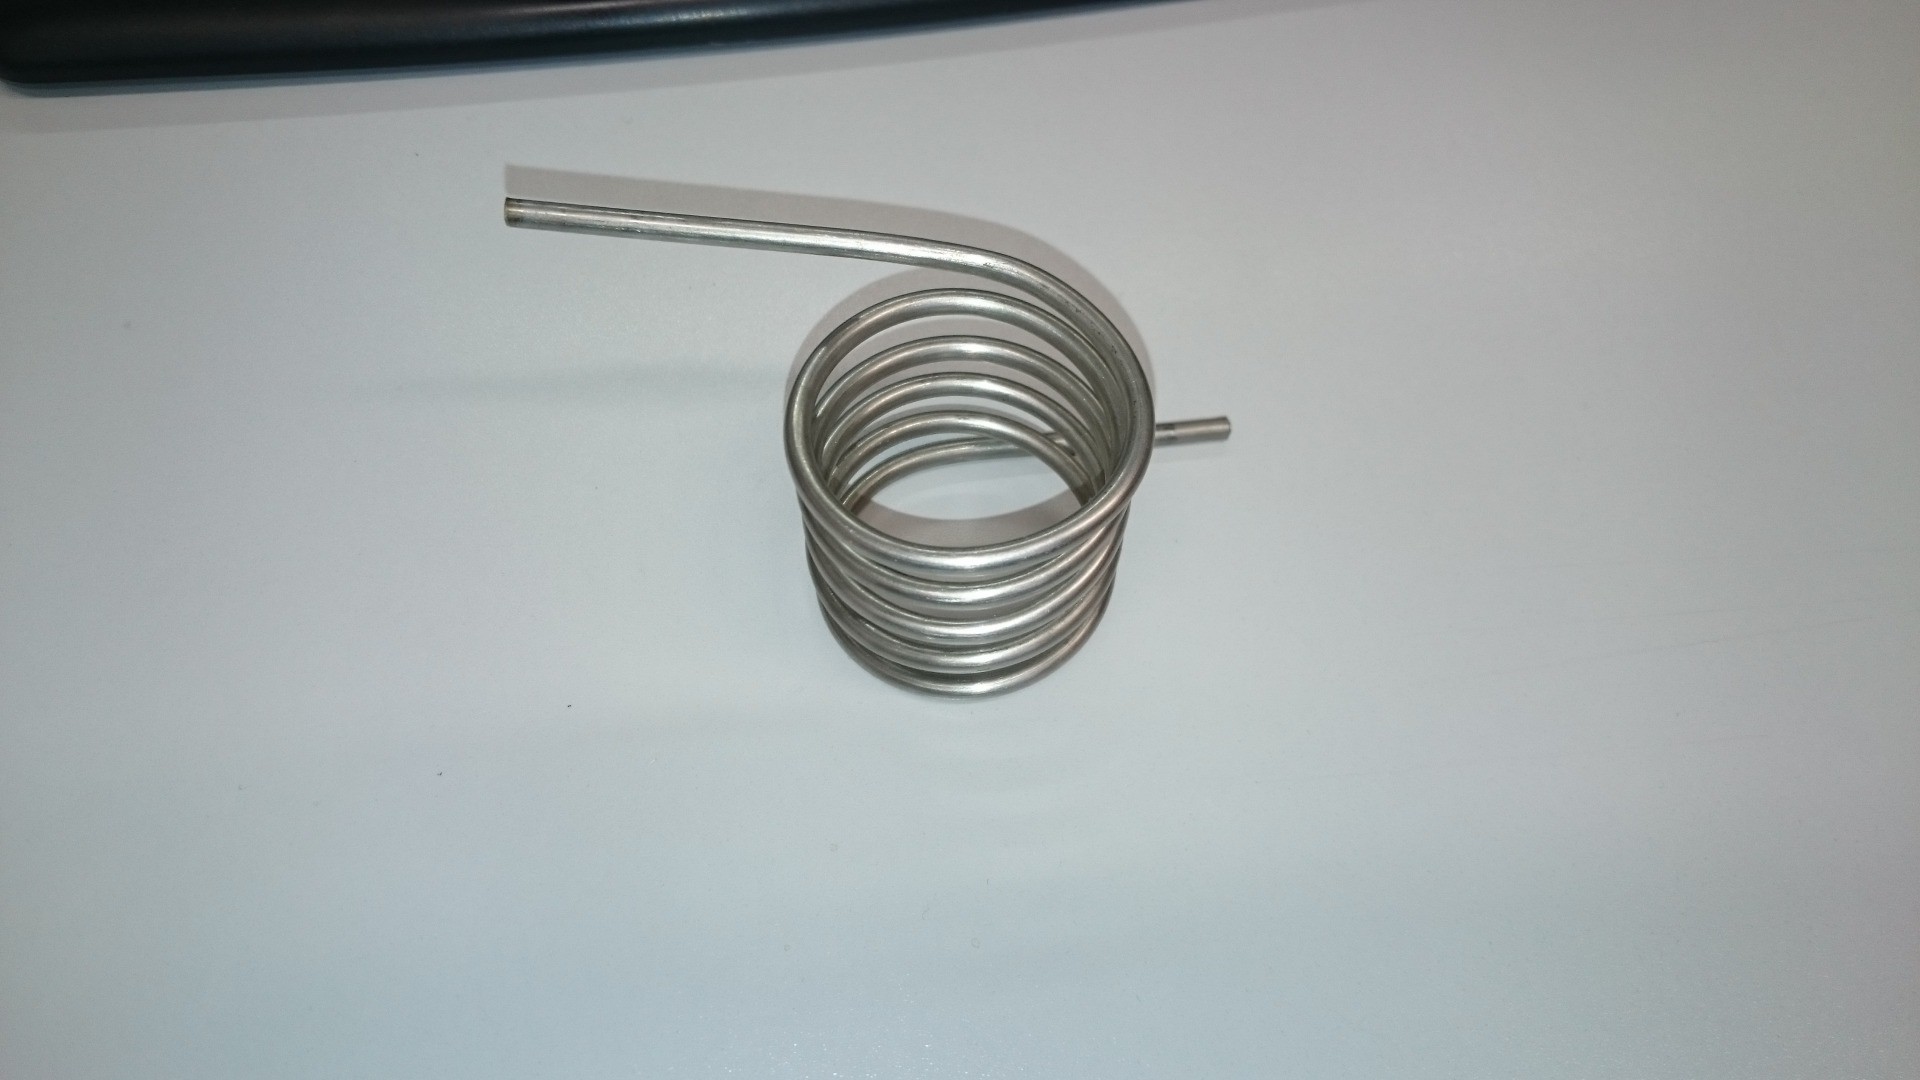
09/01/2015 at 12:54 • 0 comments
 Christoph