-
1Step 1
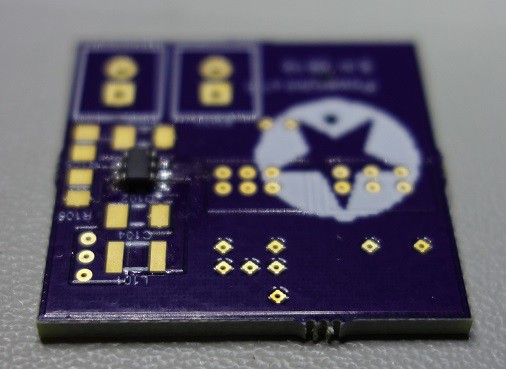
All that is required for this building portion is soldering the components to the PCBs. Further down, I intend on making a 3D case.
-
2Step 2
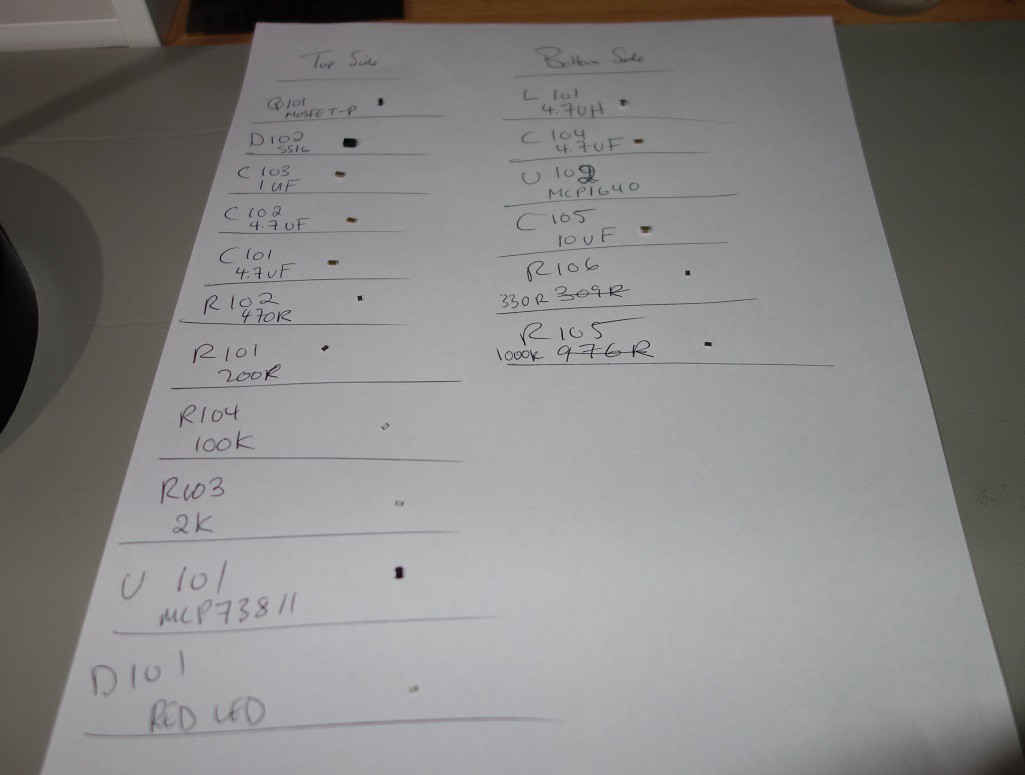
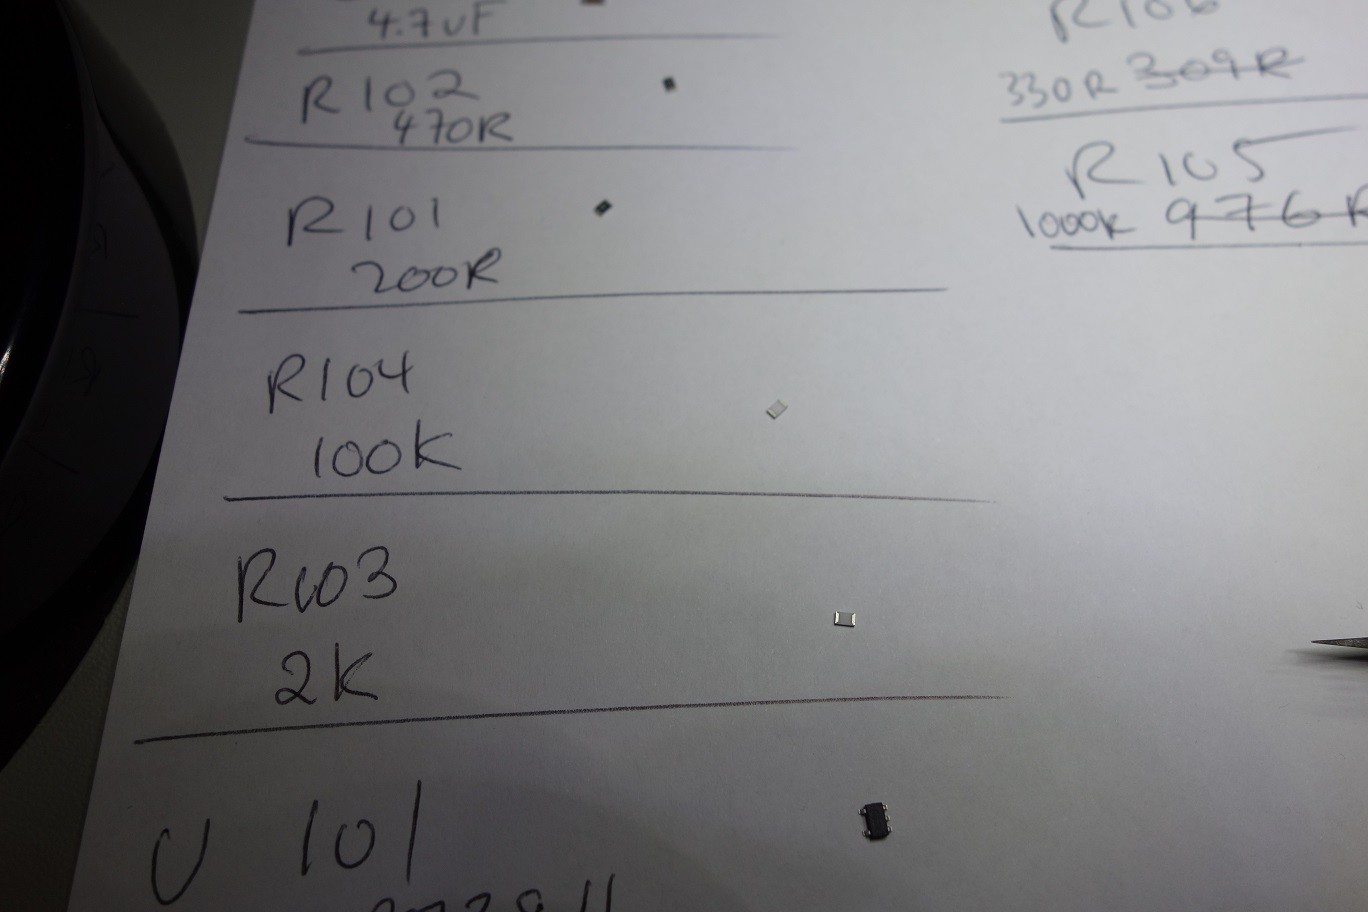
Order the components to ensure the parts correspond to the right designators.
Simple method I use.
-
3Step 3
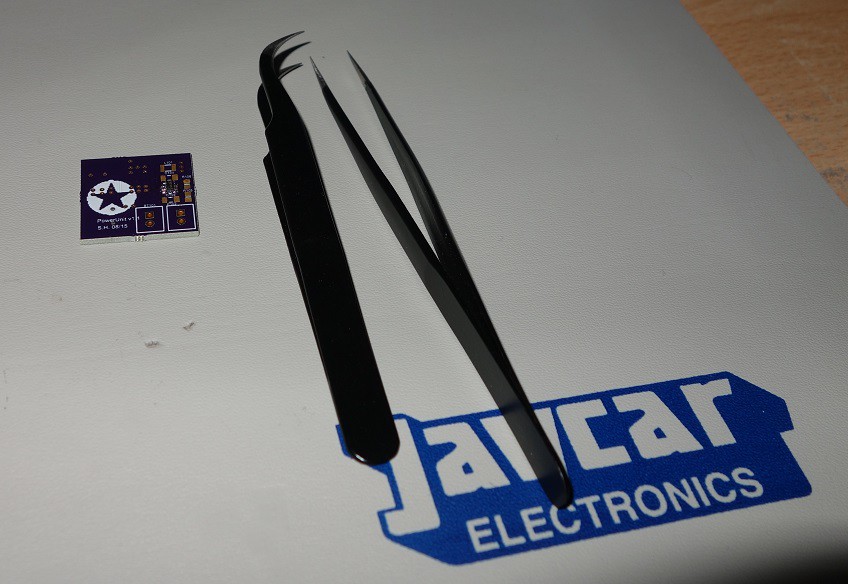
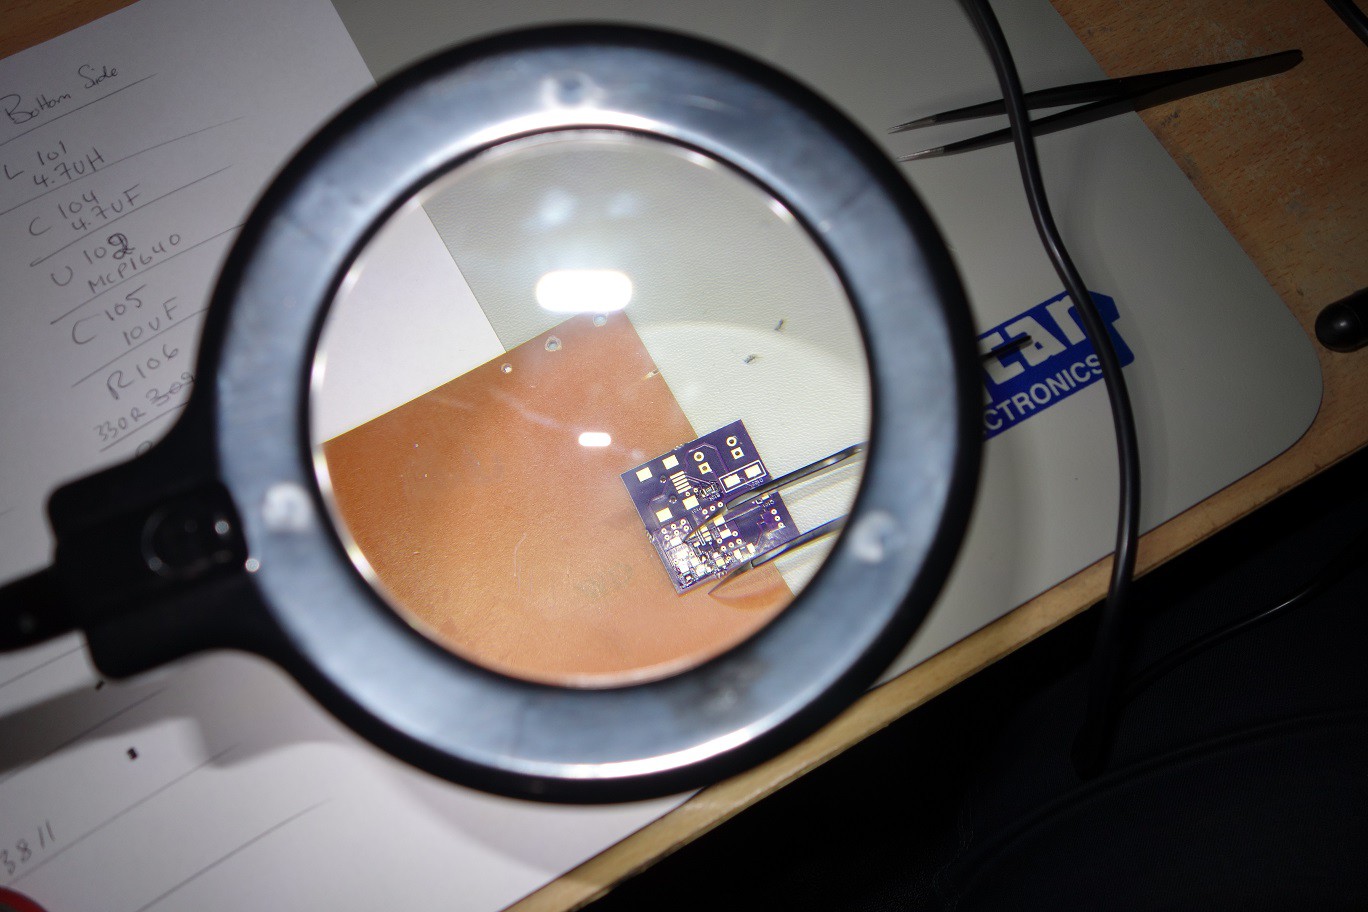
Tweezers are important considering I working with small components e.g. SOT23-6 and 0805 packages.
Magnifying lens help as well.
-
4Step 4
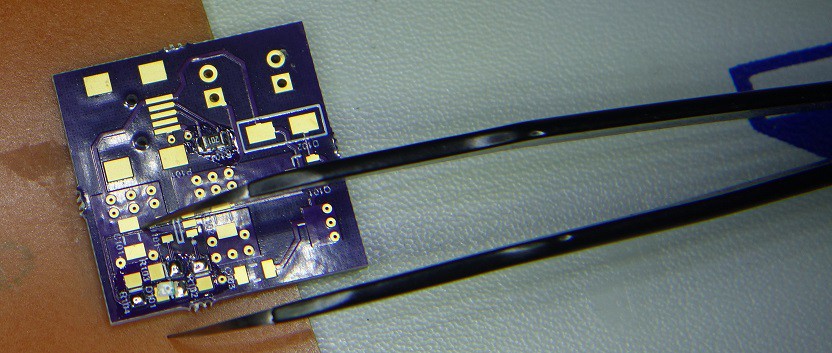
Placing components with the tweezers and don't forget to use flux before soldering.
-
5Step 5
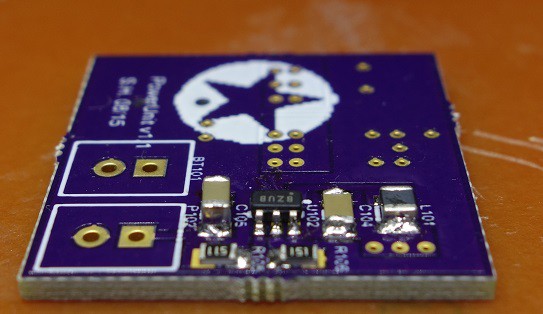
Assembly of the board thus far. I found because of the massive connected ground planes and use of solid fill regions; I really needed to run the iron at higher temperatures.
I think I need to improve on soldering ;-).
-
6Step 6
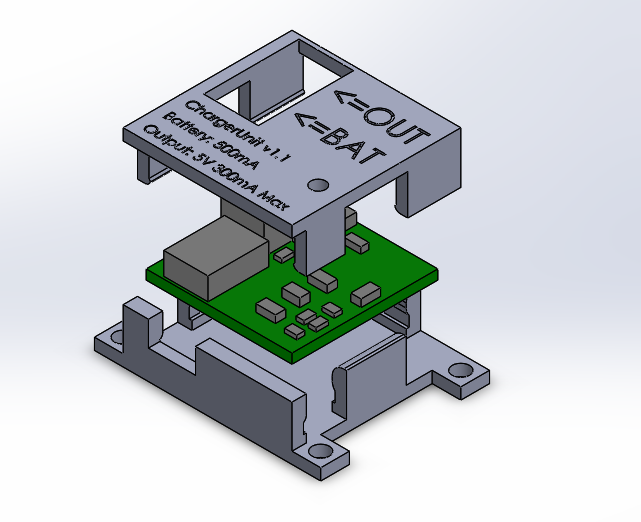
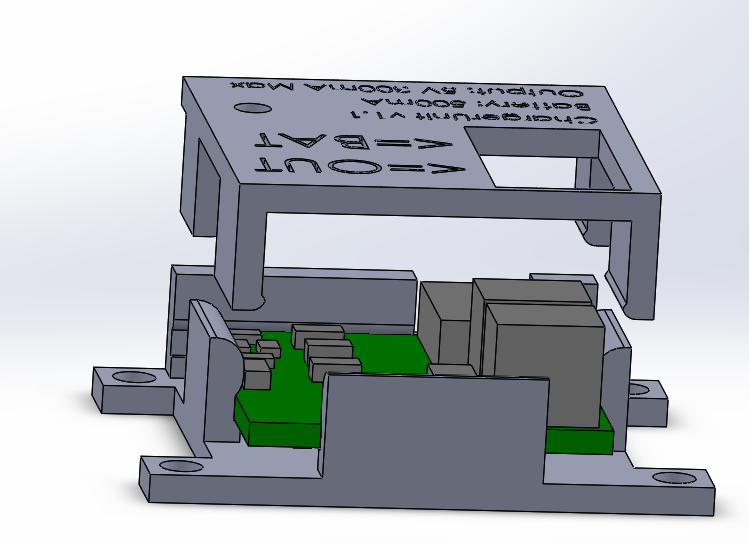
The planned 3D case.
![]()
Intention is to have the case snap together without fasteners.
![]()
I had couple of tries printing unsuccessfully, however, its really a work in progress. Once I am able to produce a functional case, I will share the STL files.
 Suleyman Hashi
Discussions
Become a Hackaday.io Member
Create an account to leave a comment. Already have an account? Log In.