-
Improvised connector for Li-Ion phone batteries (bent paperclips)
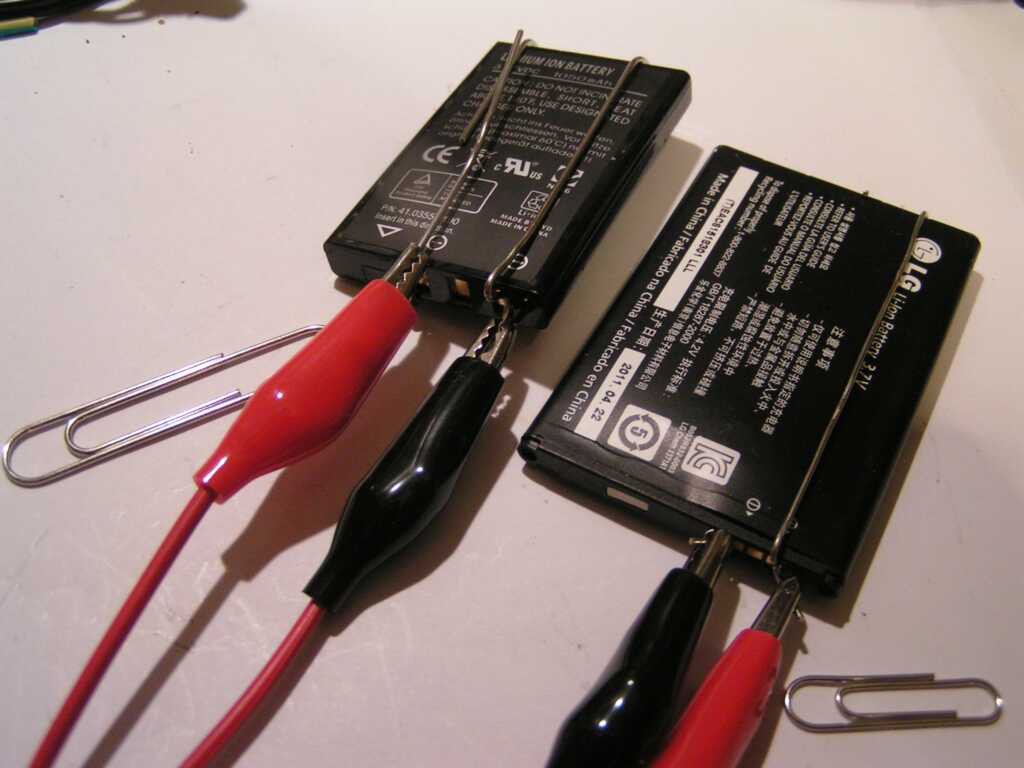
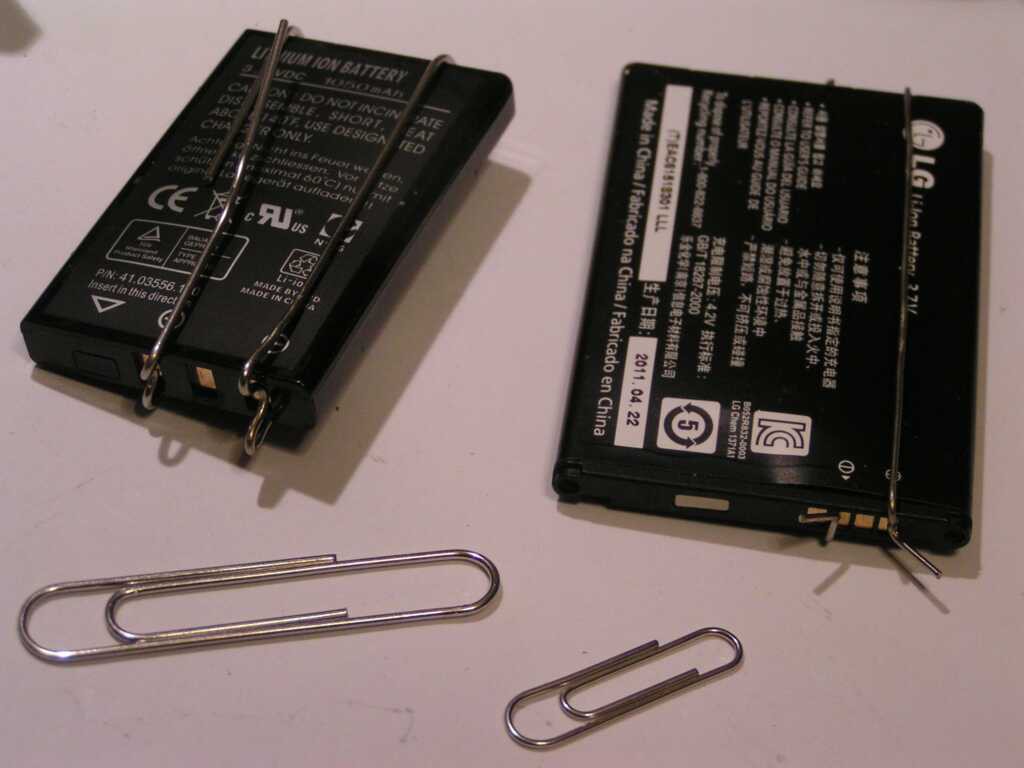
01/08/2023 at 06:01 • 0 commentsRecently had to charge/discharge/measure the capacity of various Li-Ion cells outside of their phones, and didn't have proper connectors for each type of battery.
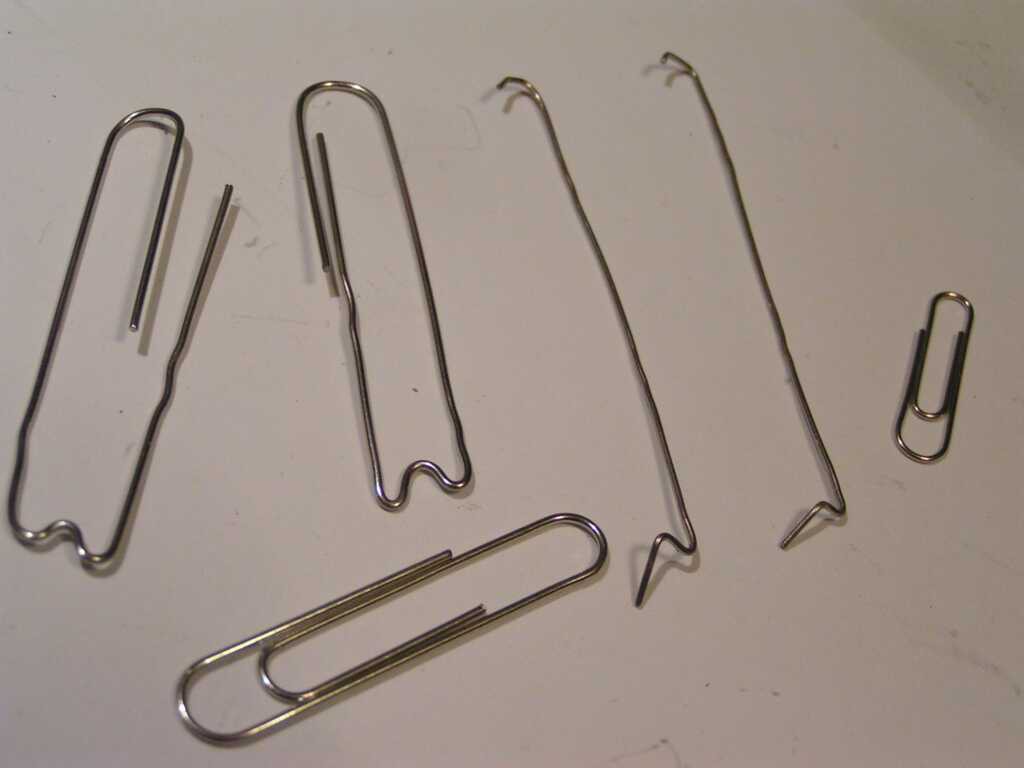
Found out that paperclips have enough springiness, yet are still malleable and easy to bend in arbitrary shapes. Can be shaped in a minute, dirt cheap to make. In practice the paperclip connectors worked better than the other more laborious attempts with pogo pins.
![]()
![]()
![]()
-
A Pencil Eraser Trick
10/10/2015 at 21:46 • 4 commentsIf you find an oxidized contact, NEVER scratch the oxide layer in order to clean the contacts surface, or else it will ruin the contact.
Most of the contacts are covered with various thin metallic layers, in order to minimize the contact resistance and to protect against rapid oxidation. Any fine abrasive paper will scratch the metallic cover layers too.
![]()
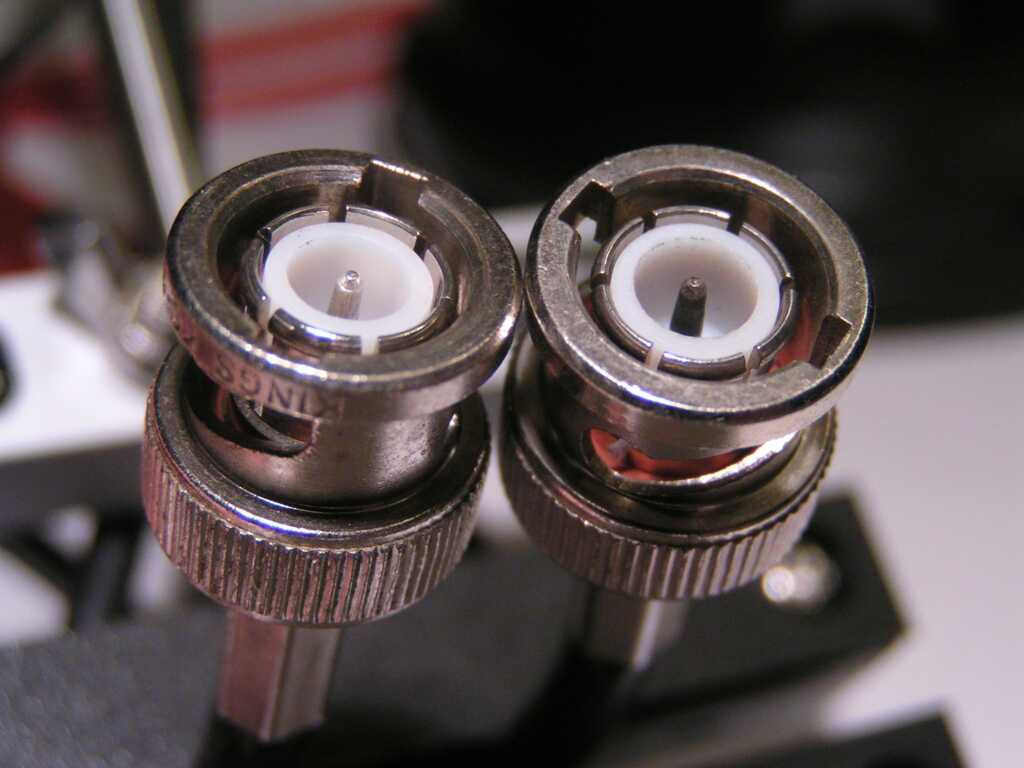
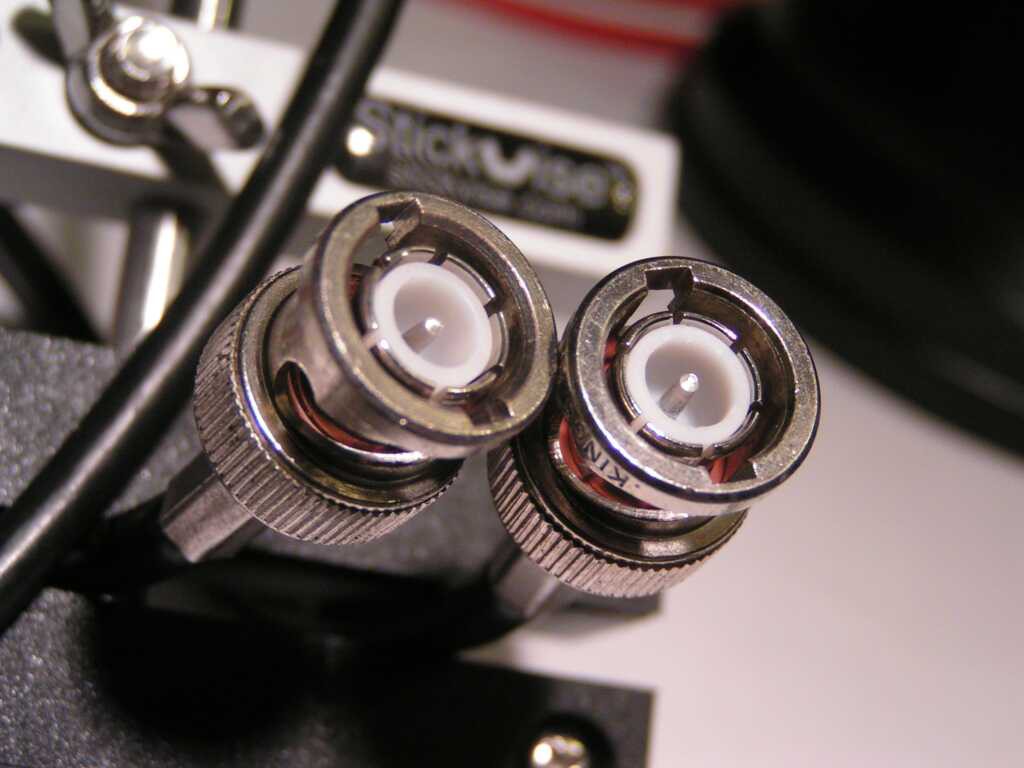
The above picture is an example of two BNCs from the same cable. This cable is very old, and it was not used in the last 10-20 years. Look at the middle pin of the second connector. It's black because of oxides. You might say to get a new cable, but this is an expensive Tektronix cable, of about 50 USD.
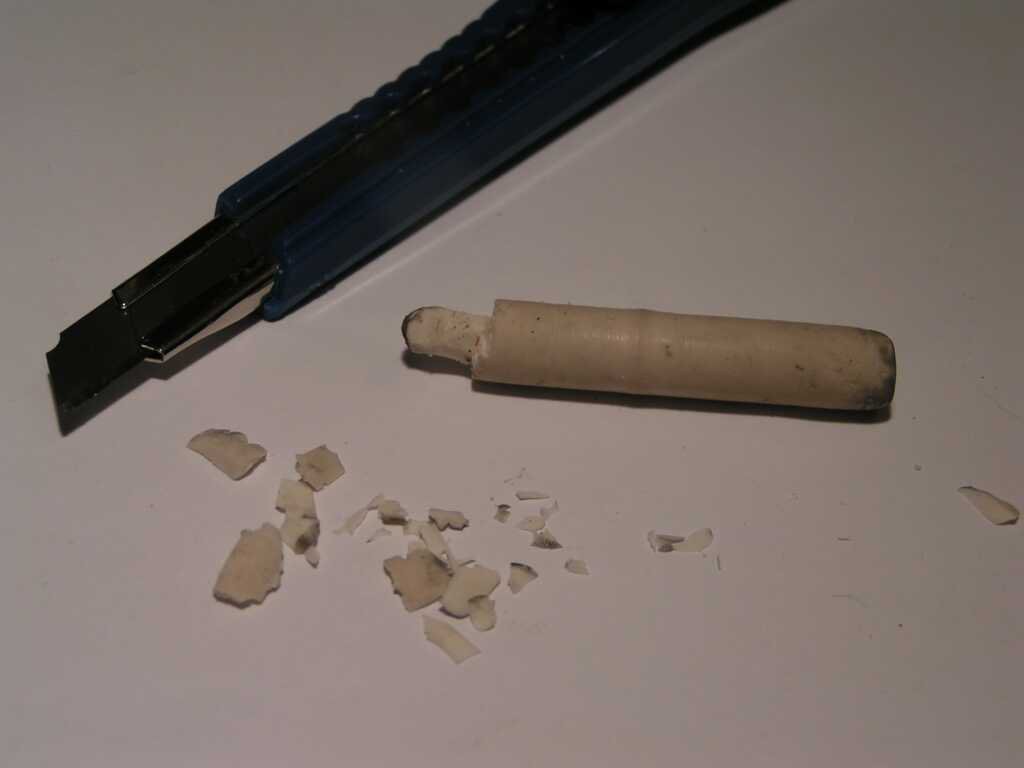
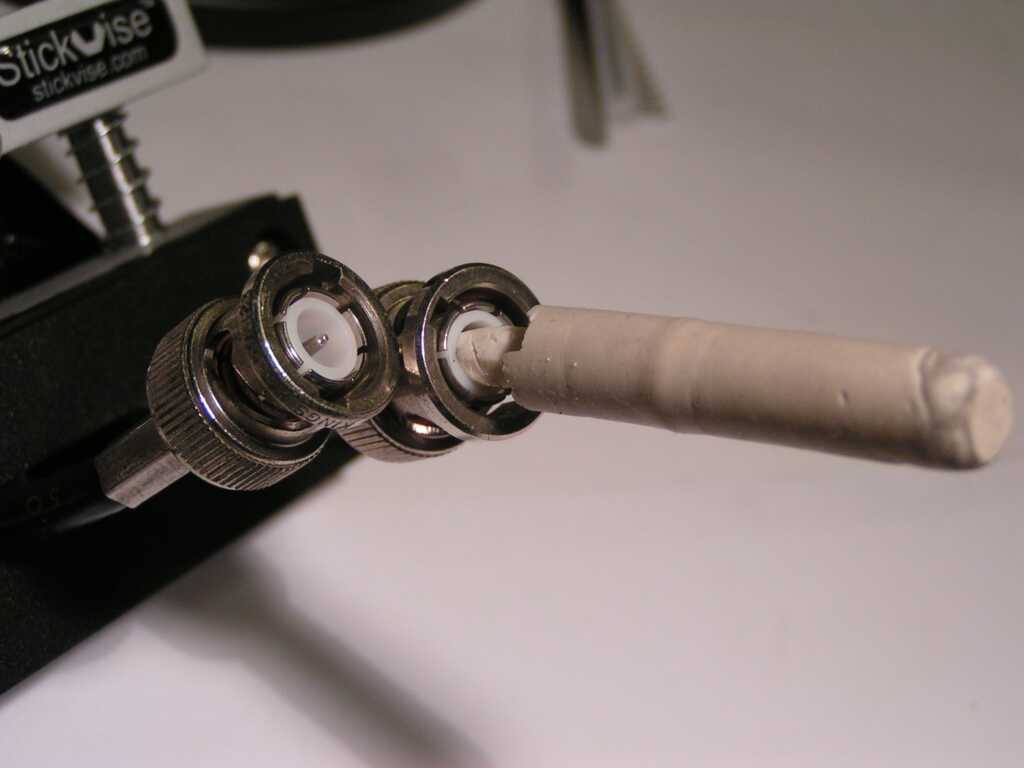
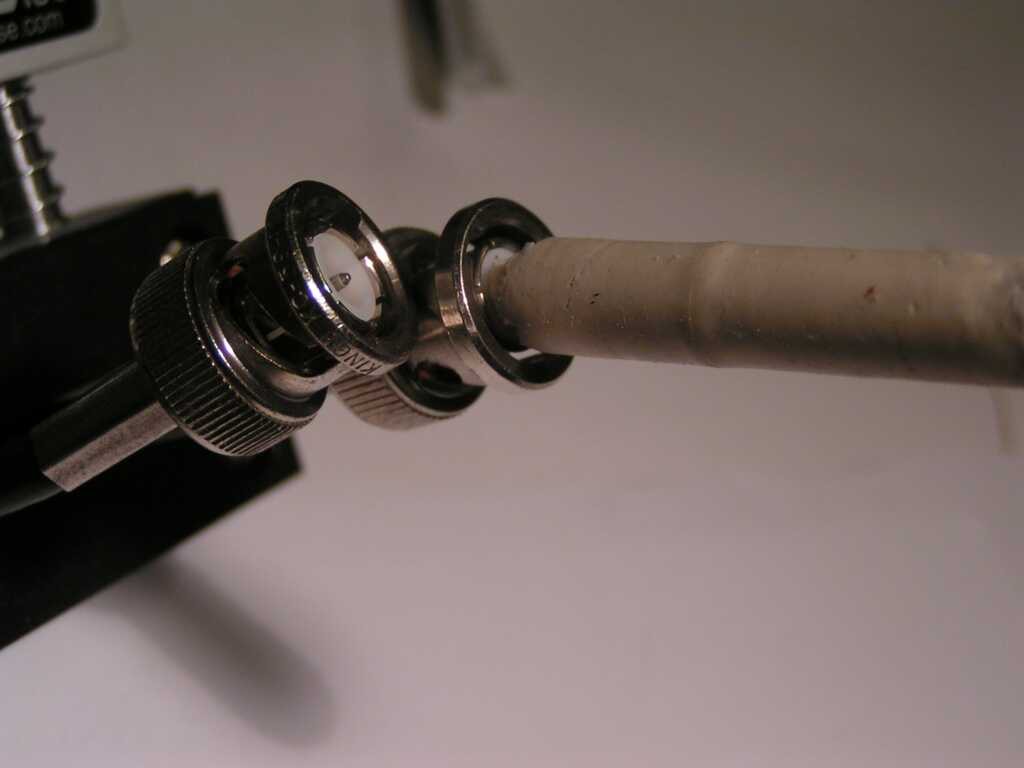
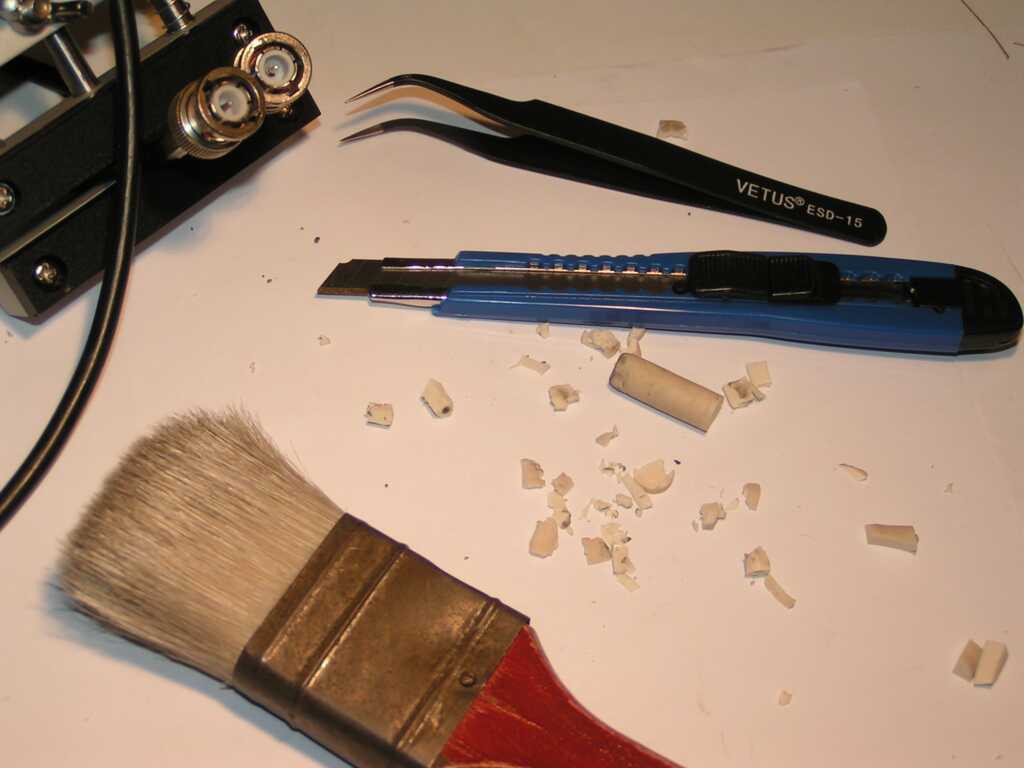
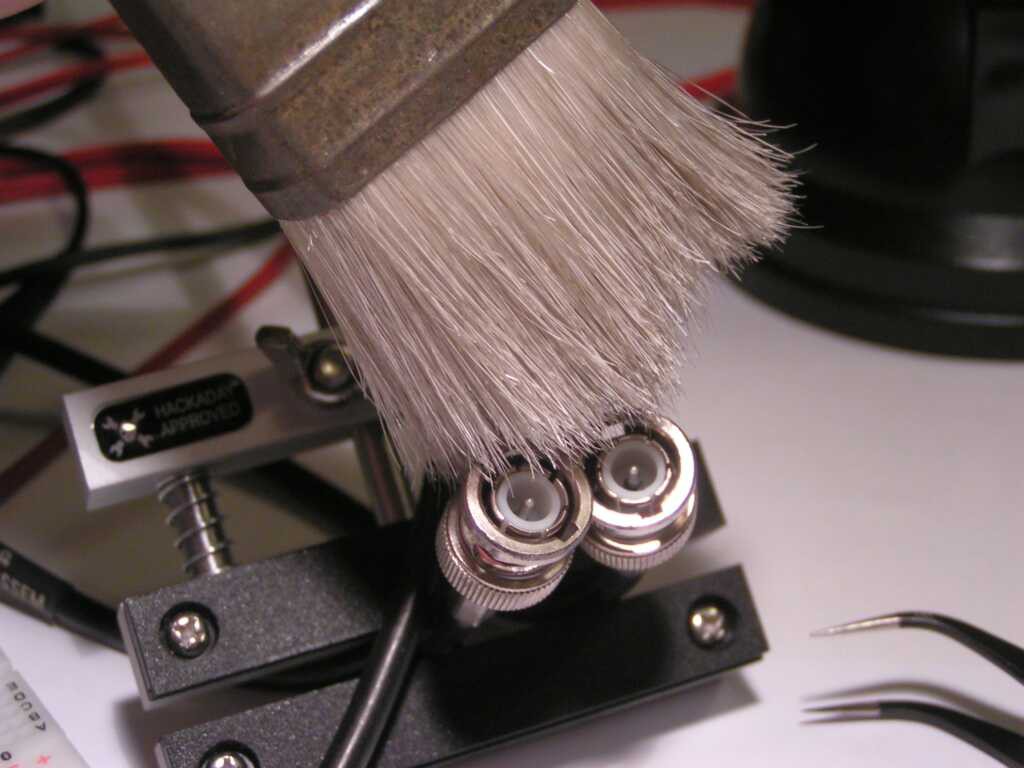
Still, the middle pin of the first connector is shiny. That is because it was cleaned using a pencil eraser. Pencil eraser is extremely good at removing oxides without scratching. Also, pencil eraser is elastic, but solid enough, and can be bent and cut to follow the surface to be cleaned.
The following images are showing the steps to clean the second connector too.
![]()
![]()
![]()
![]()
![]()
![]()
After cleaning, both connectors are as shiny and as good as new.
-
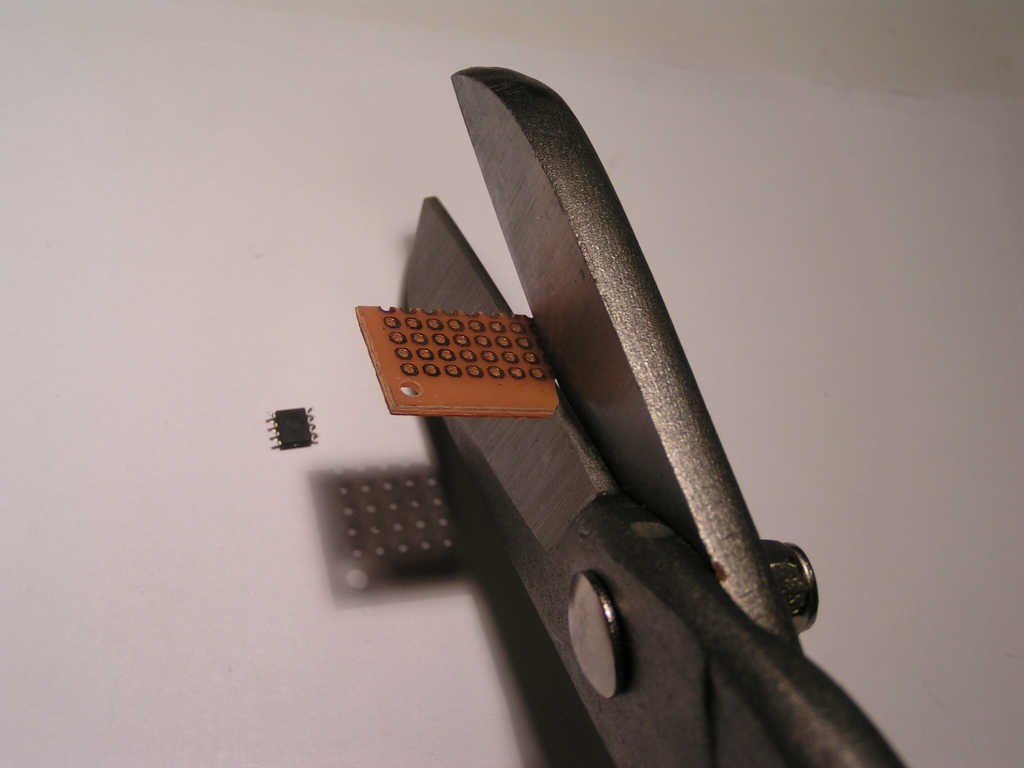
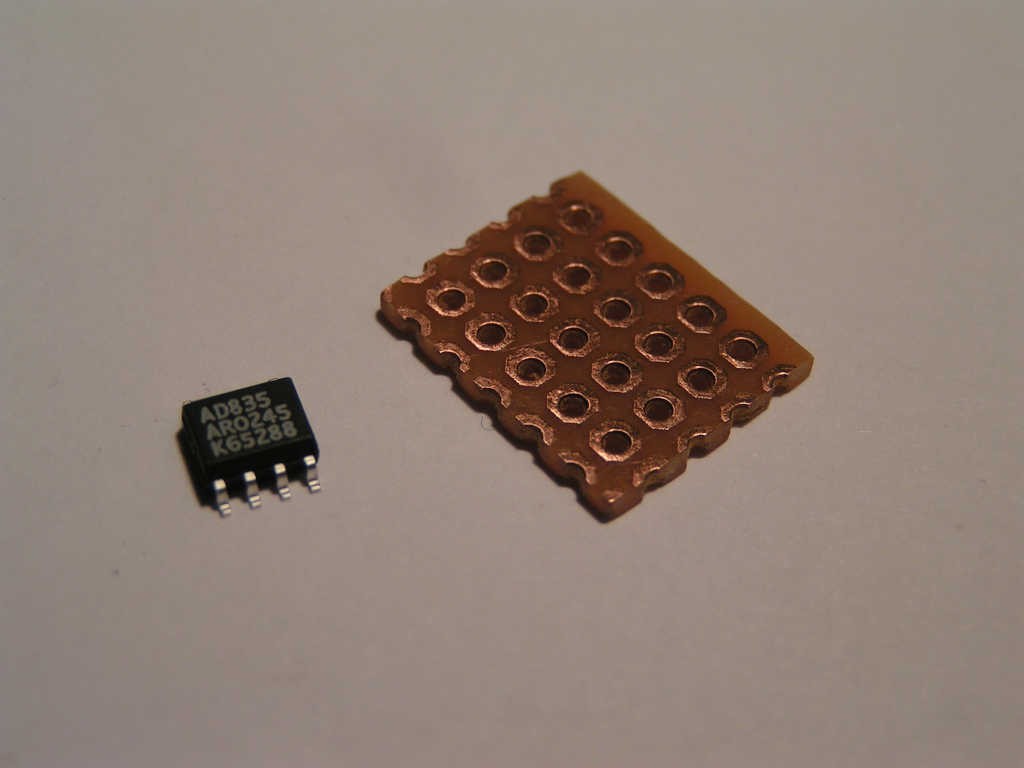
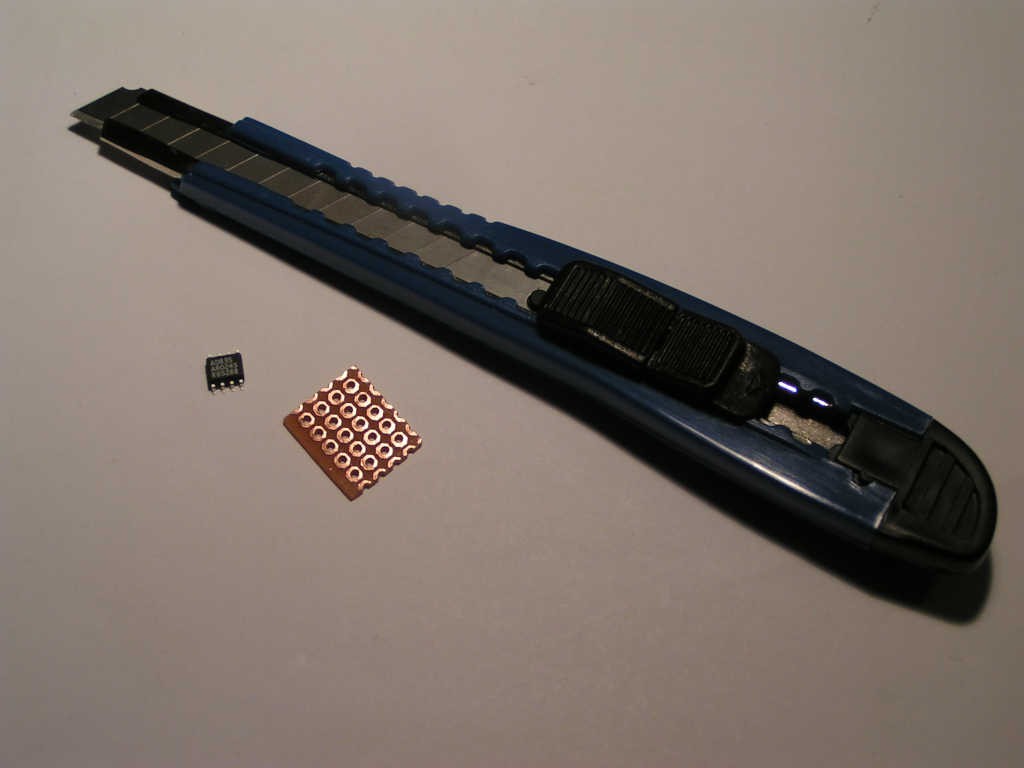
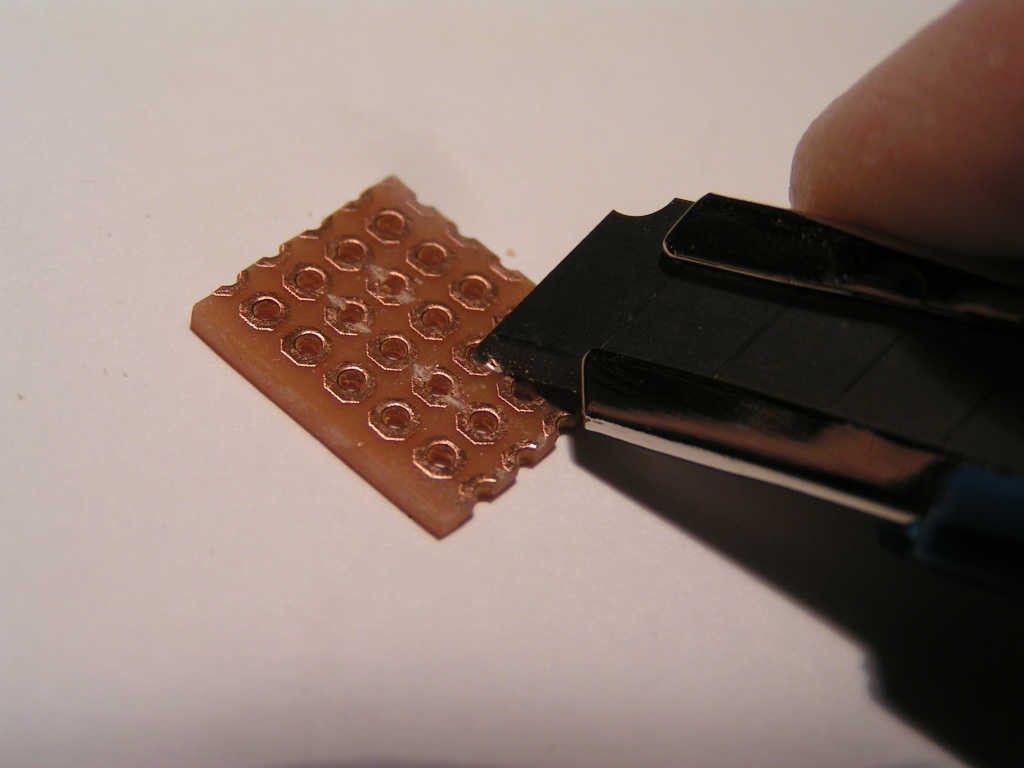
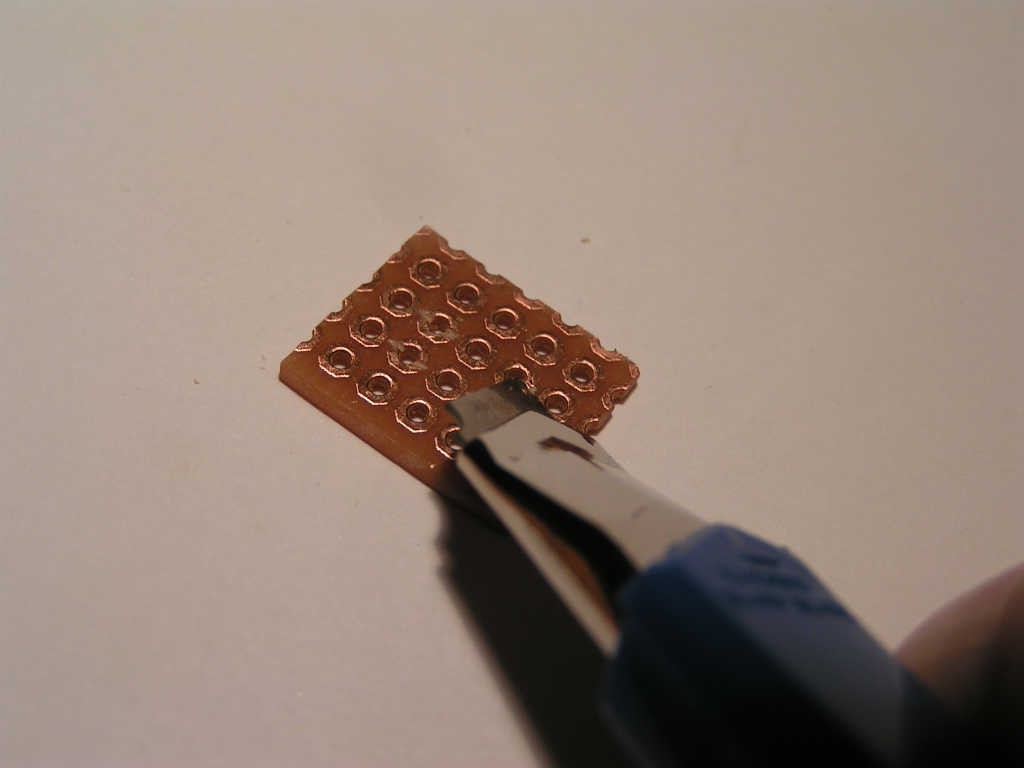
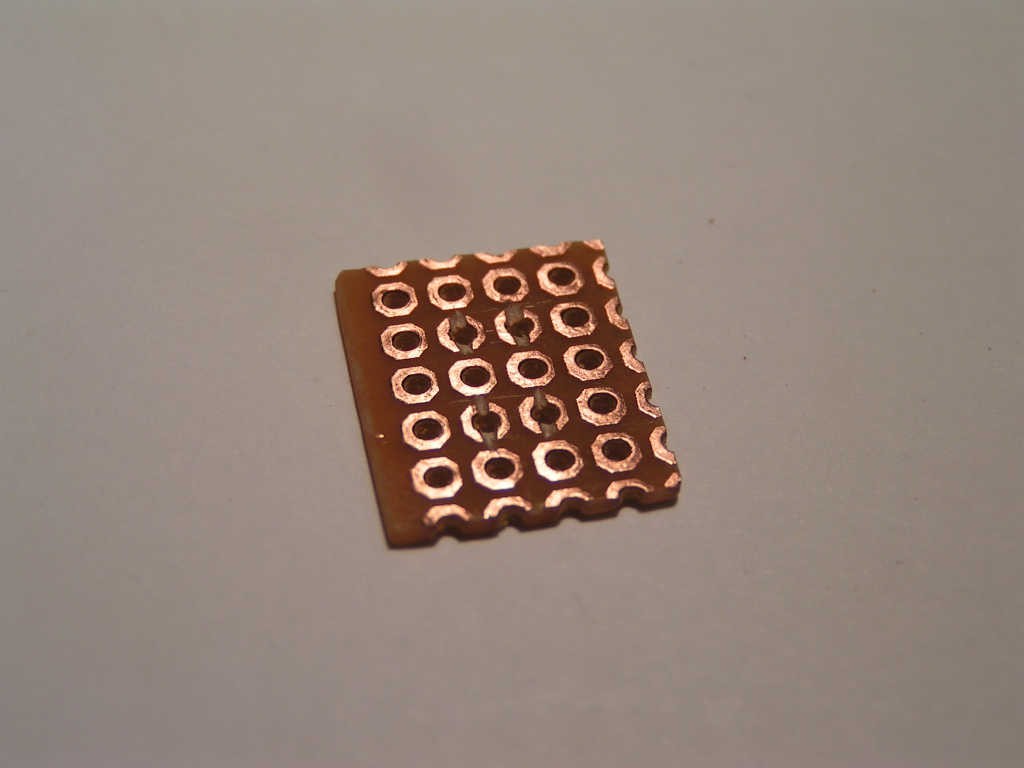
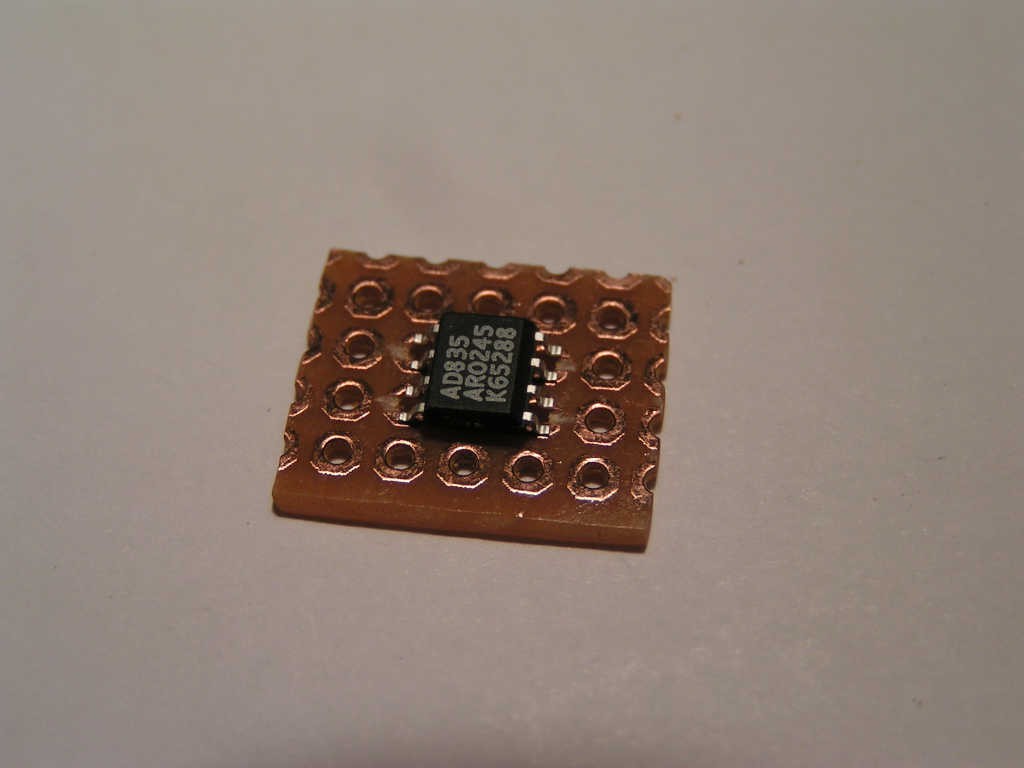
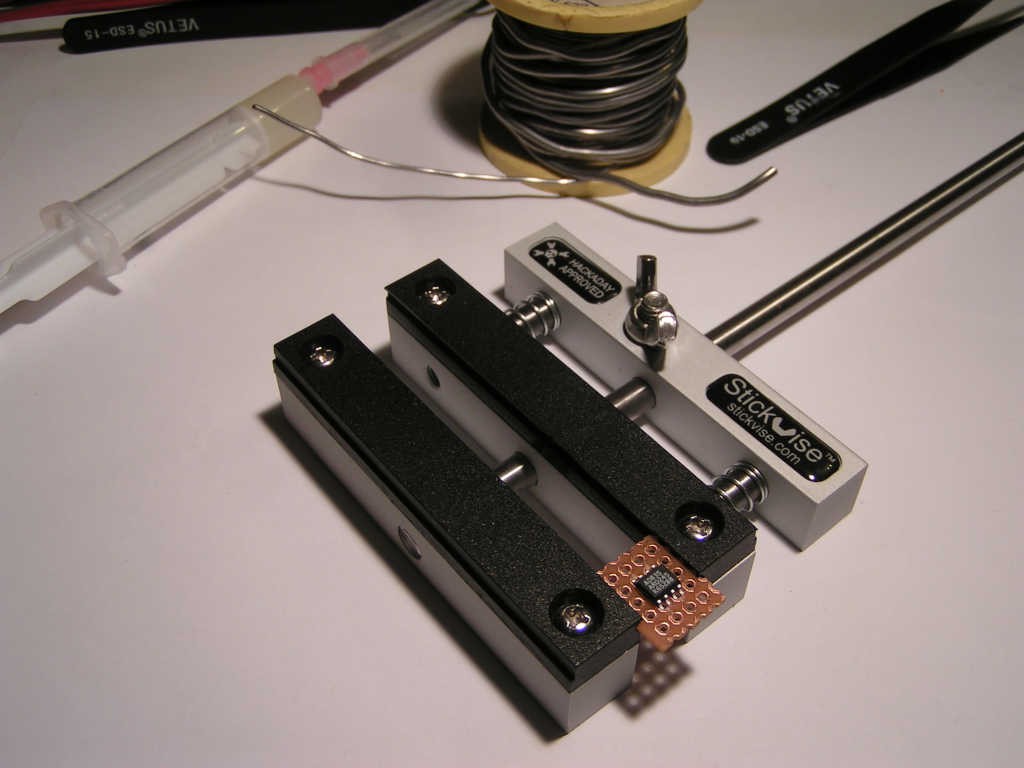
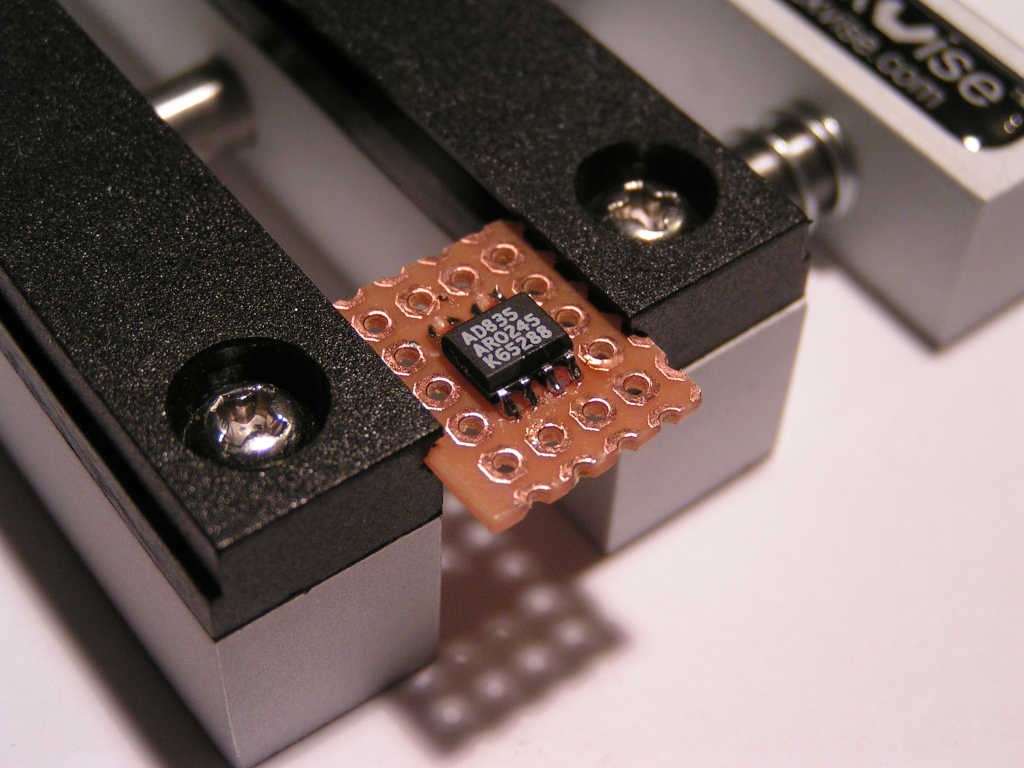
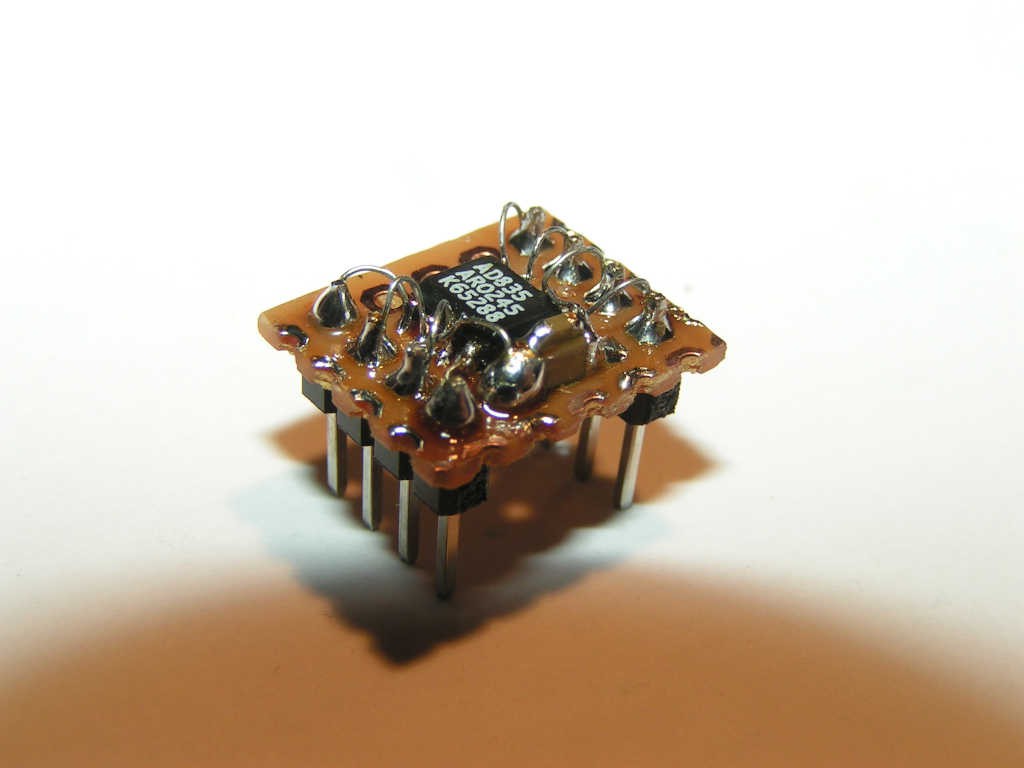
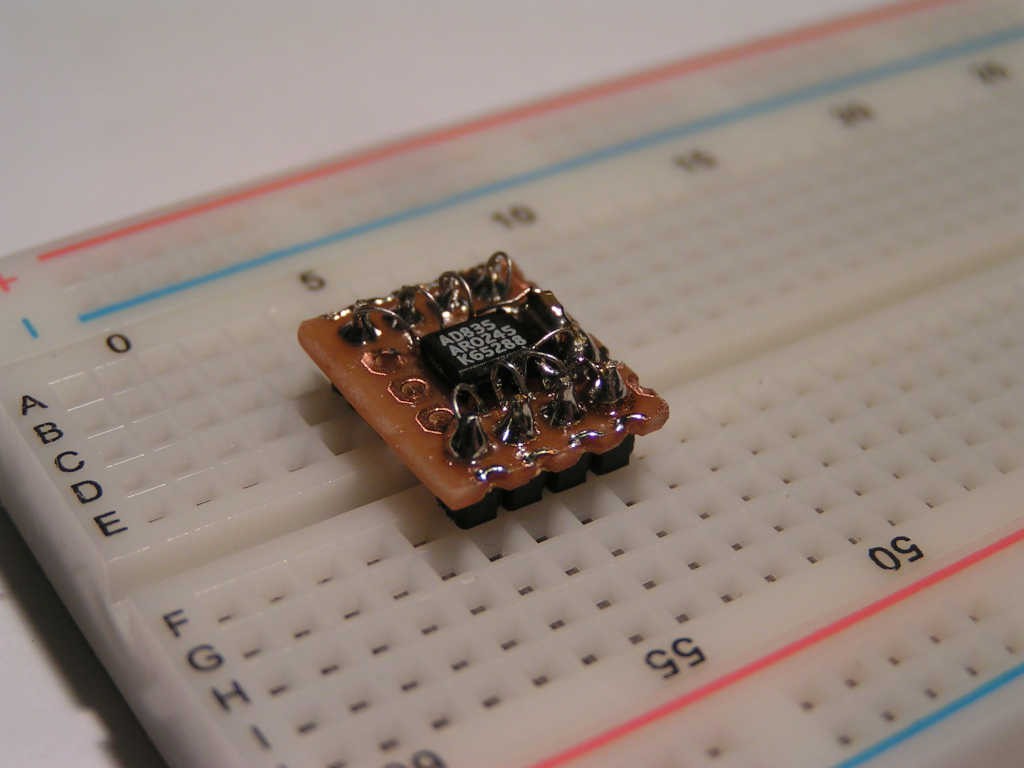
DIY Breadboard Friendly SOIC Breakout Boards
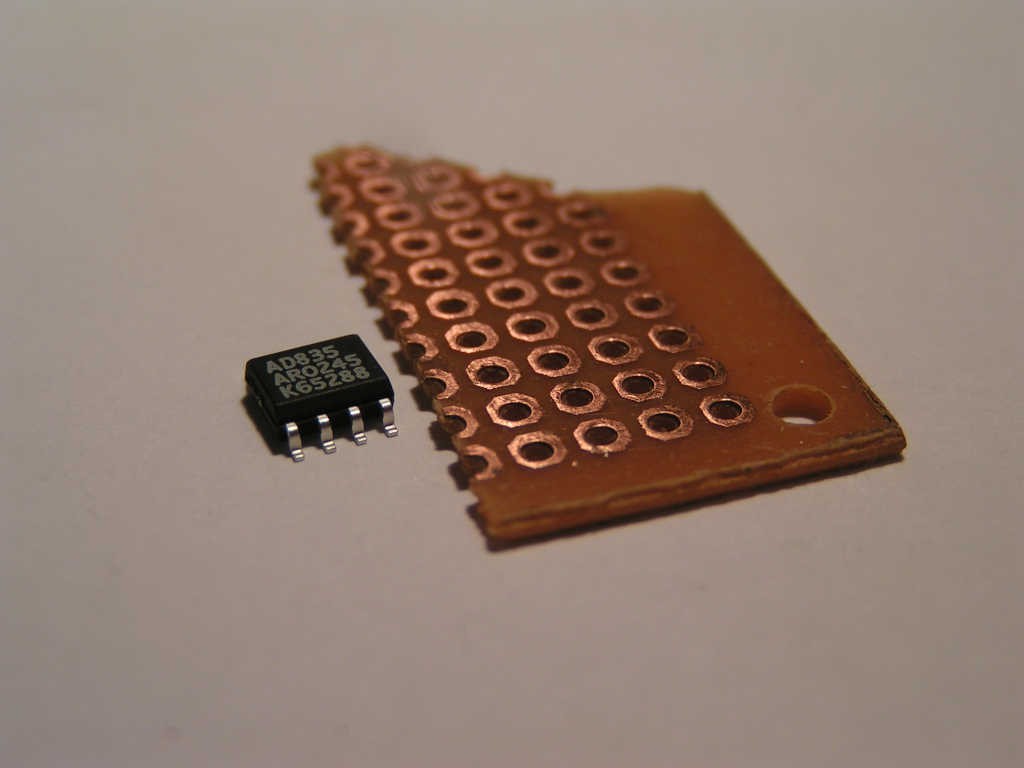
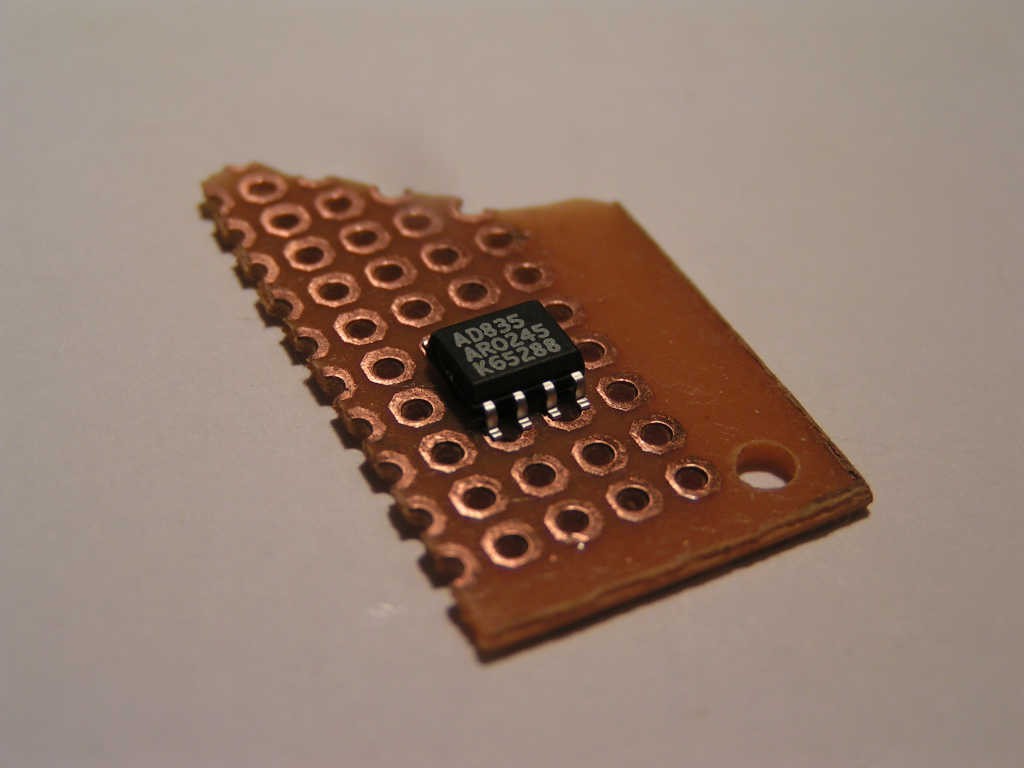
10/01/2015 at 20:28 • 2 commentsHow to DIY a SOIC breakout board, in images:
DIY - Do It Yourself
SOIC - Small Outline Integrated CircuitThe key to this trick is to observe that the distance between two pins is exactly half than the standard 0.1 inch.
Thus, if we split in half a pad from a single side perfboard, then we will get two SMT pads, with a 0.05 inch step. -
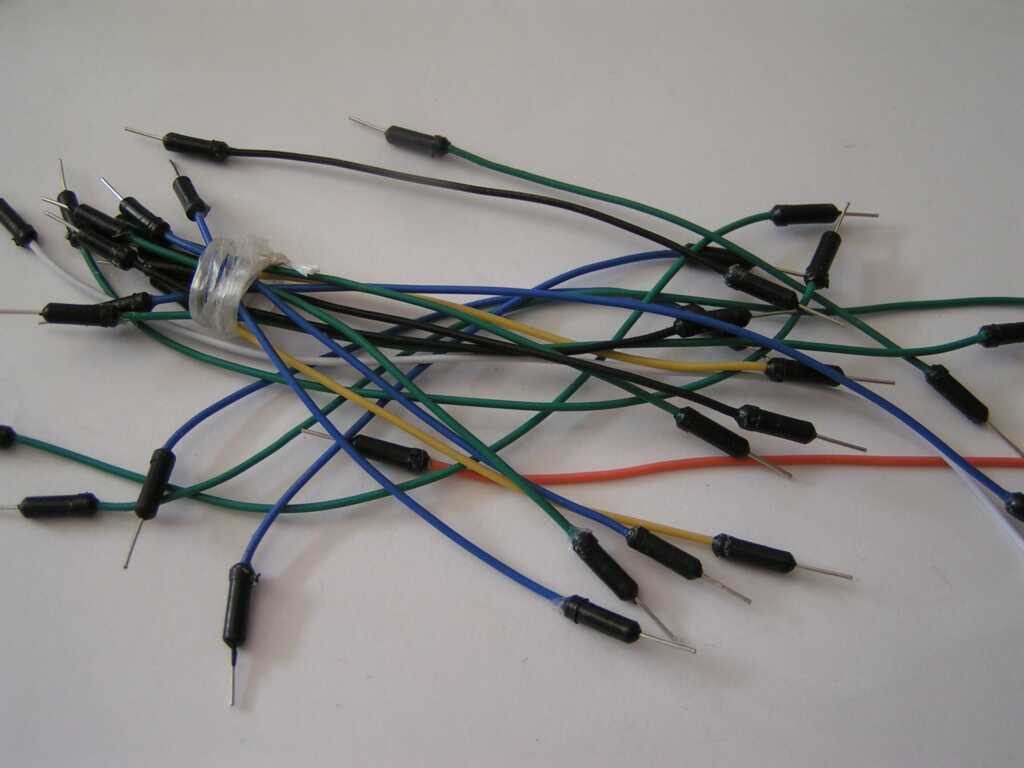
Unlimited Free Supply of Breadboard Jumping Wires
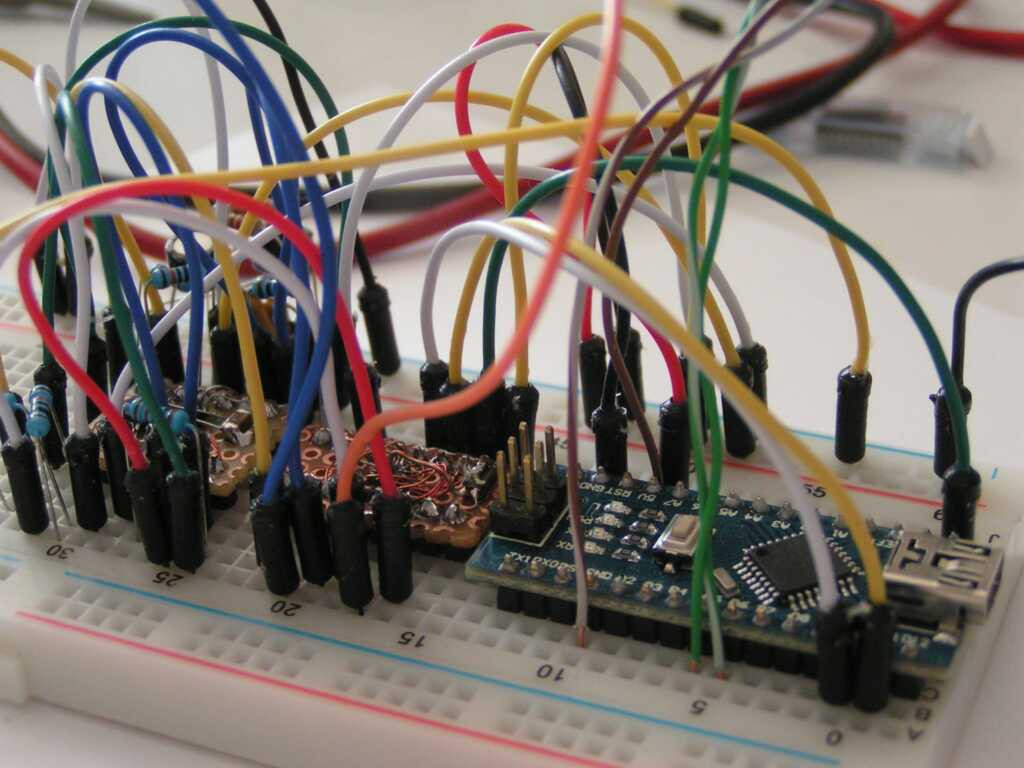
09/18/2015 at 11:29 • 1 commentYou can buy breadboard jumping wires like these ones:
![]()
and your breadboard will look something like this![]()
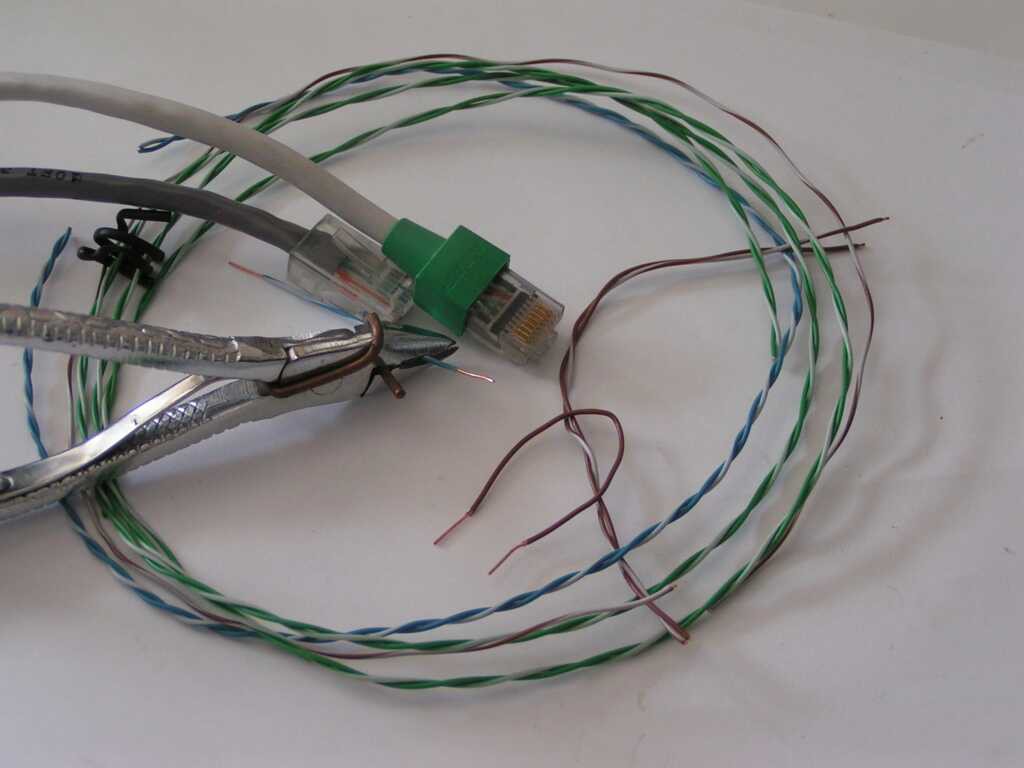
Or, you can peal a broken LAN cable:
![]() The wire clipper is a custom made tool that peal the wires at just the right length to insert them in a breadboard. The thick copper wire twisted around the clipper is to always keep the clippers jaws at a small distance, so to cut only the plastic cover of the wire, and not the copper core.
The wire clipper is a custom made tool that peal the wires at just the right length to insert them in a breadboard. The thick copper wire twisted around the clipper is to always keep the clippers jaws at a small distance, so to cut only the plastic cover of the wire, and not the copper core.
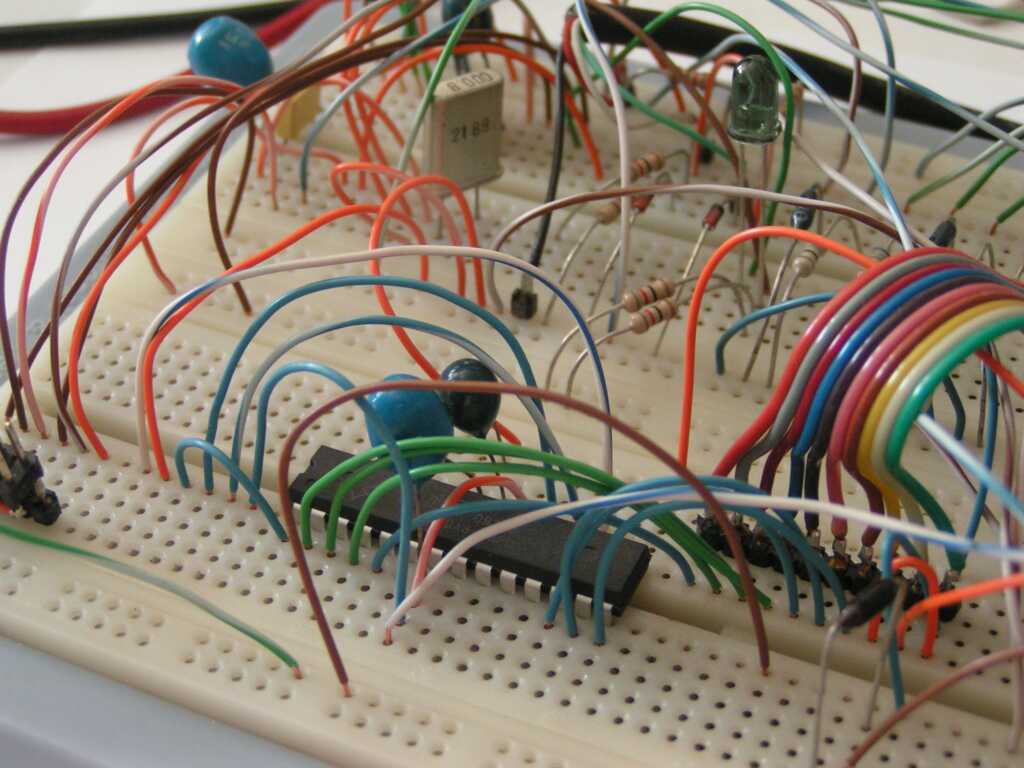
If you use the twisted pairs as breadboard jumping wires, the breadboard will look lighter, like this:![]()
Oxidation of the bare copper wire ends doesn't seem to be a problem. The last picture is from a few years old project, and it's still working.
LAN wires are virtually free, and a few meters/feet will last you for many, many projects. Also, you will always find 8 different colored wires inside a piece of network LAN cable, you can clip them at any desired length, and if it happens that you need twisted cable, they are already twisted for you.
Cat5e cables usually run between 24 and 26 AWG, while Cat6, and Cat6A usually run between 22 and 26 AWG.
The one I am using is 0.50mm diameter, which means AWG24. It's the same thickness as the terminals of a glass body 1n4148 diode. Some resistors have even thinner legs, of only 0.35mm (AWG27). -
Find a 3'rd Hand Device that Suits You
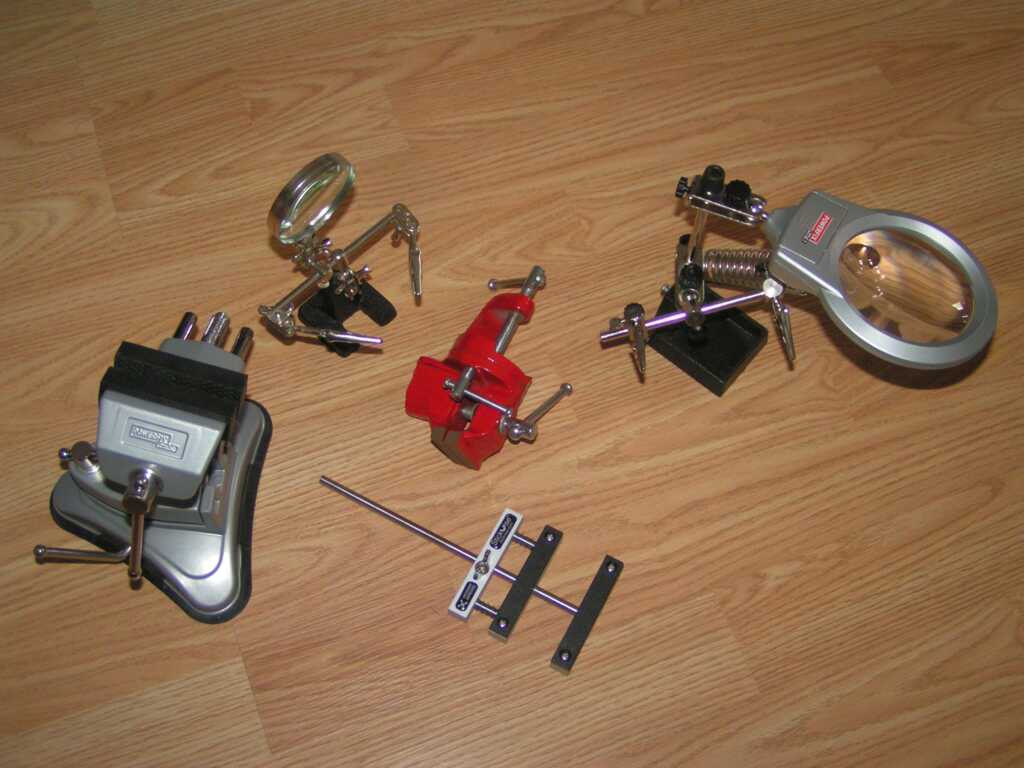
09/06/2015 at 18:20 • 2 commentsUse a good 3'rd hand device. During time, I tried a few:
![]()
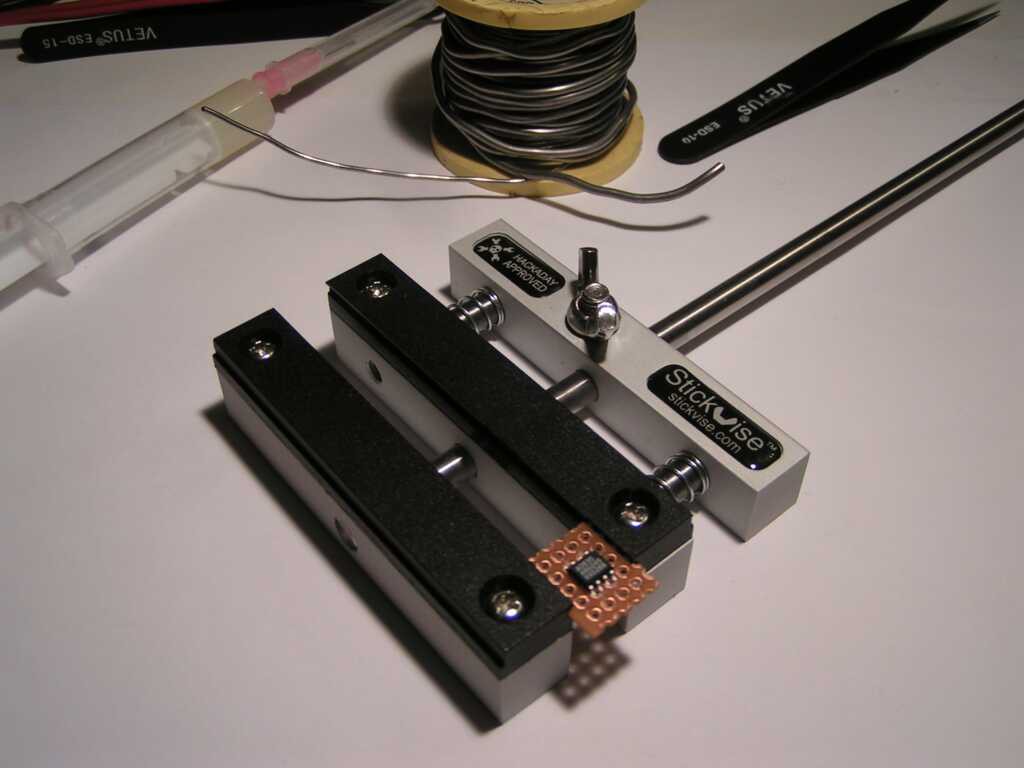
So far, the most appropriate for my use was the Stickvise:
![]()
Since I started using the Stickvise, all the other devices were removed from my workbench. Now I am using the Stickvise all the time, at various tasks, not only for soldering. Out of the all devices I have tried so far, the Stickvise is the most handy one, very easy and fast to adjust, with a very good grip and a low profile under the microscope. I am not affiliated in any way with any Stickvise producer or seller, but I highly recommend this device.
The most useless device was the one with the big magnifier glass. It is cumbersome to adjust and unstable.
-
Flux Paste Dispenser
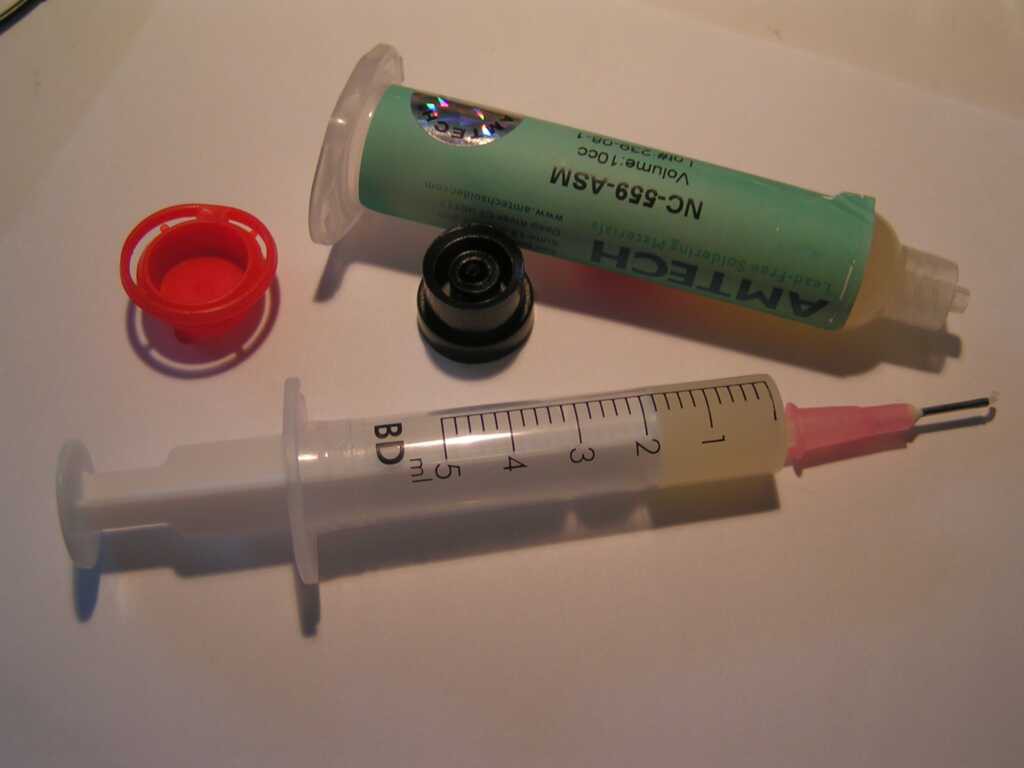
09/06/2015 at 18:02 • 0 commentsSoldering Flux come in many flavors. The one like a gel come in a syringe type container, but with a thick tip and without a piston.
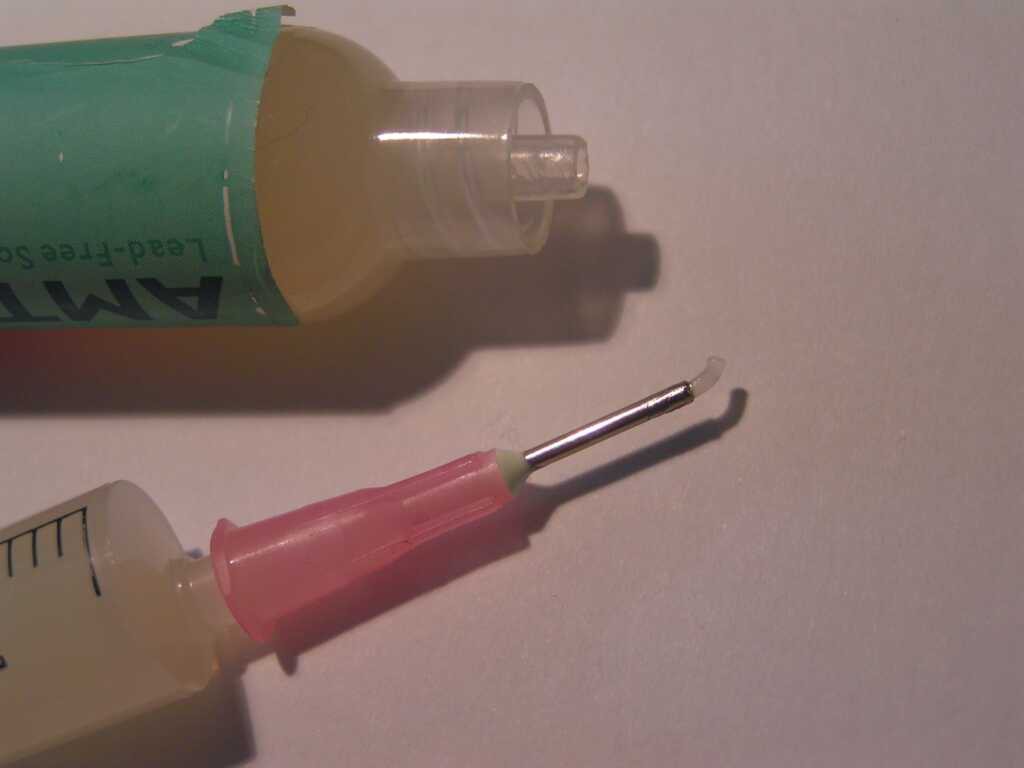
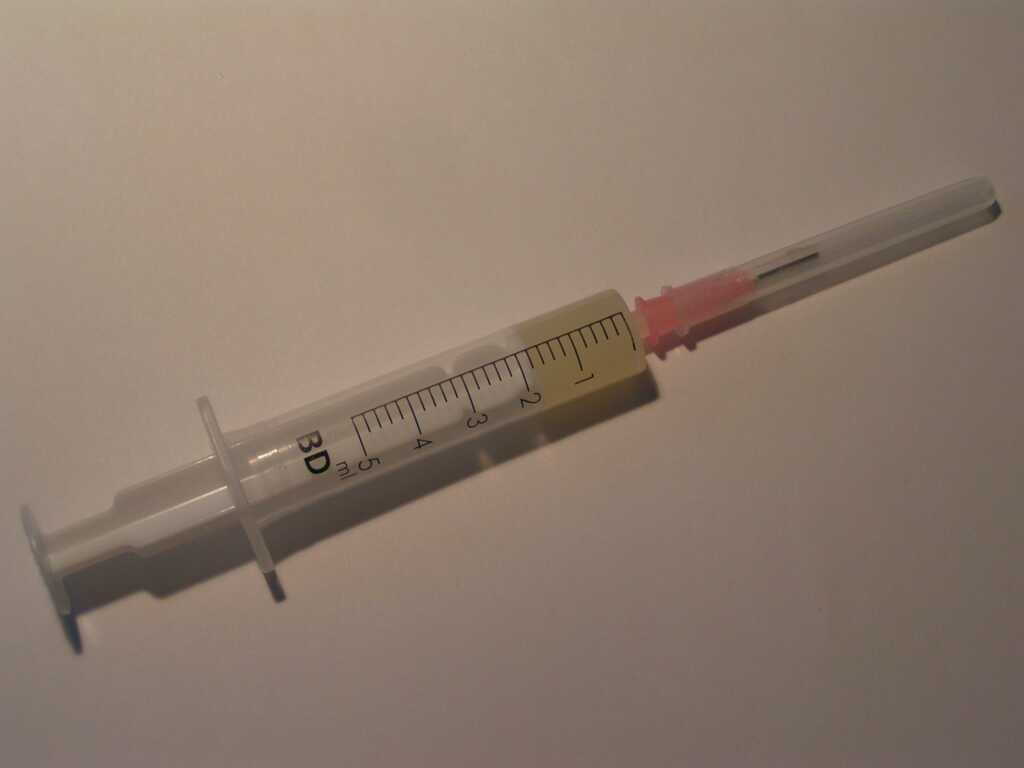
Take a 5ml syringe, cut the needle perpendicularly, remove the syringe piston, and fill 1/4 of the body with Solder Flux. Try to avoid any air bubbles inside the flux.
![]()
To dispense, gently press the syringe piston. Having a needle allow placing the flux on the right spot, even in the most tight PCB places. Less then half of the quantity dispensed in this picture is more then enough for one solder.
![]()
When you finish, put the needle cap, so the Flux won't dry until the next use.
![]()
-
Toothpick Your PCB
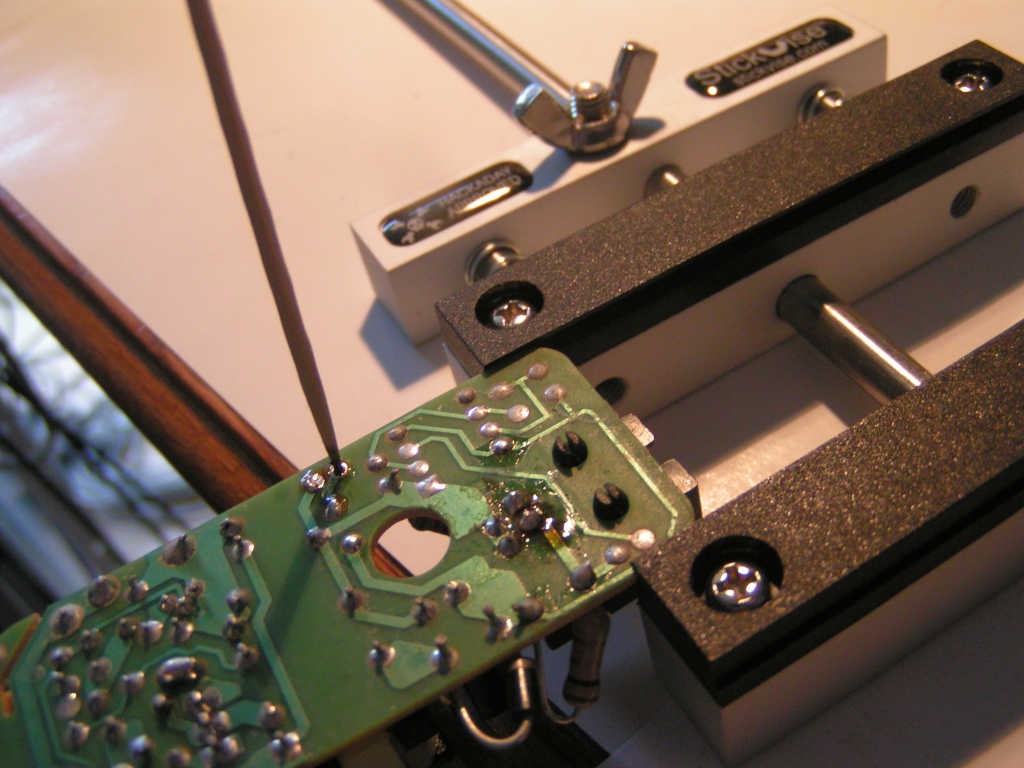
09/06/2015 at 17:42 • 0 commentsA wooden toothpick can clean the solder from a hole.
Melt the solder, keep the solder iron on the pad, then stick the tip of the toothpick into the hole while removing the solder iron from the pad. The wood will change it's colour, but the same toothpick can be used many, many times.
It works especially well for single sided through-hole PCBs.
-
The Honeypot Hack
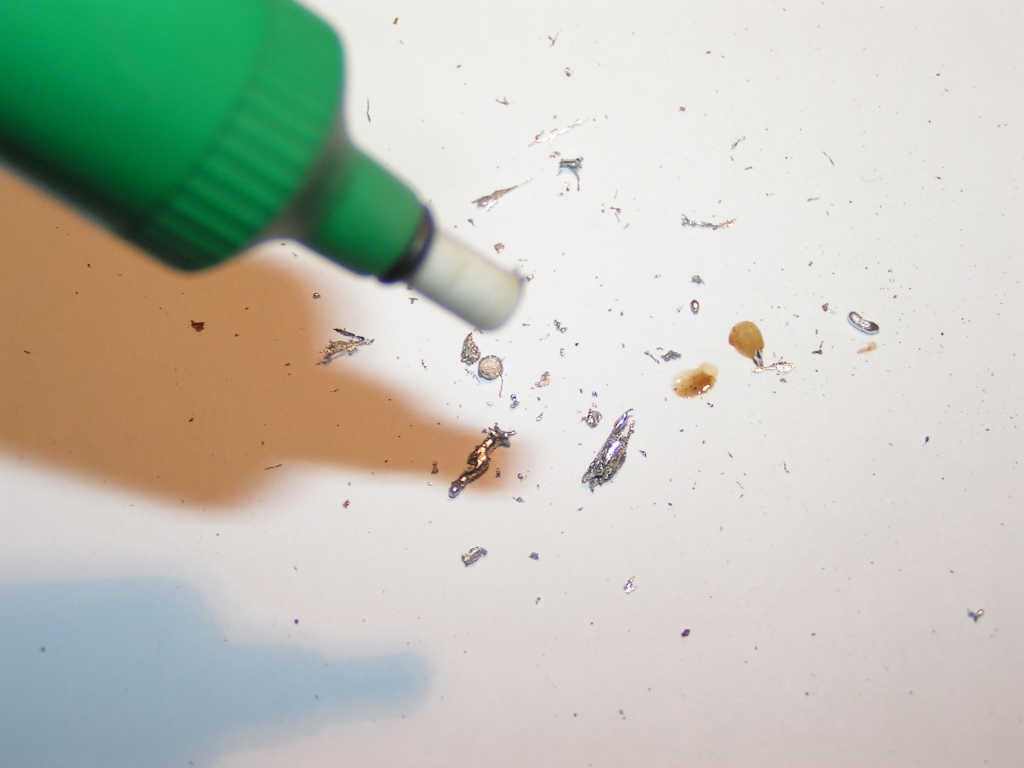
09/06/2015 at 17:01 • 0 commentsUsing the desoldering pump, after each trigger you need to arm the pump. During arming, all the solder from the pump is spitted over the working area. The air from the pump tend to spread the thin solder drops even more, something like this:
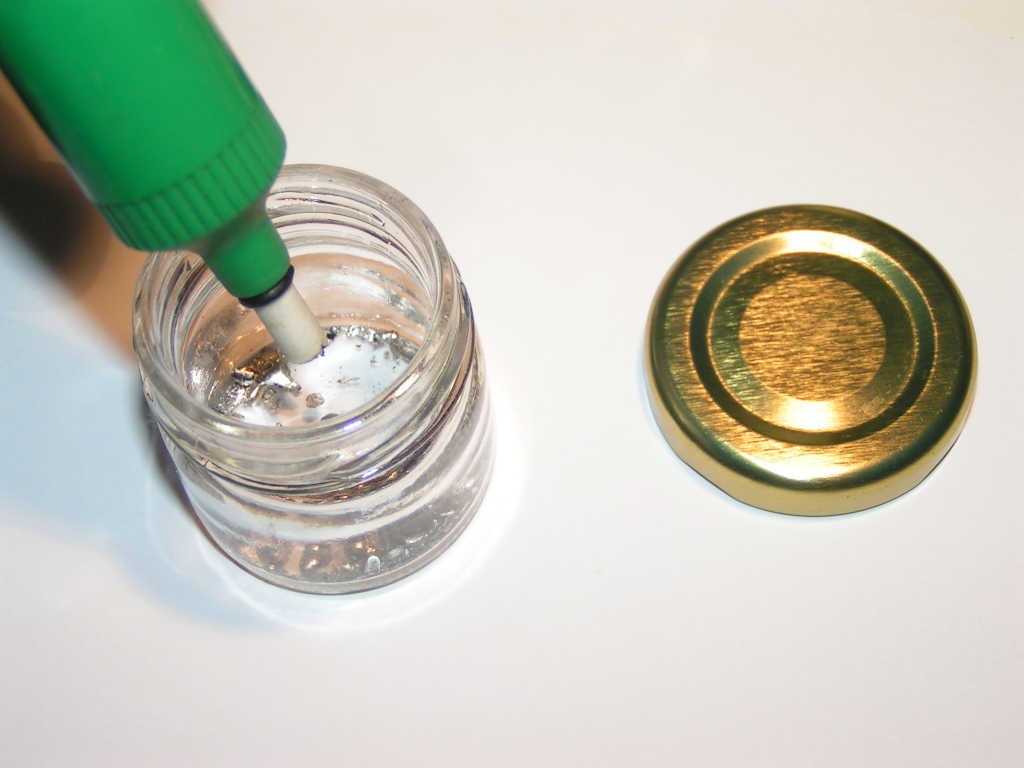
To keep the working desk clean, arm the pump in a small honeypot glass jar:When you finished de-soldering, just close the jar with its lid.
The Devil is in the Details
A bag of tricks and instant hacks that may come in handy when doing electronics
 RoGeorge

 The wire clipper is a custom made tool that peal the wires at just the right length to insert them in a breadboard. The thick copper wire twisted around the clipper is to always keep the clippers jaws at a small distance, so to cut only the plastic cover of the wire, and not the copper core.
 When you finished de-soldering, just close the jar with its lid.