-
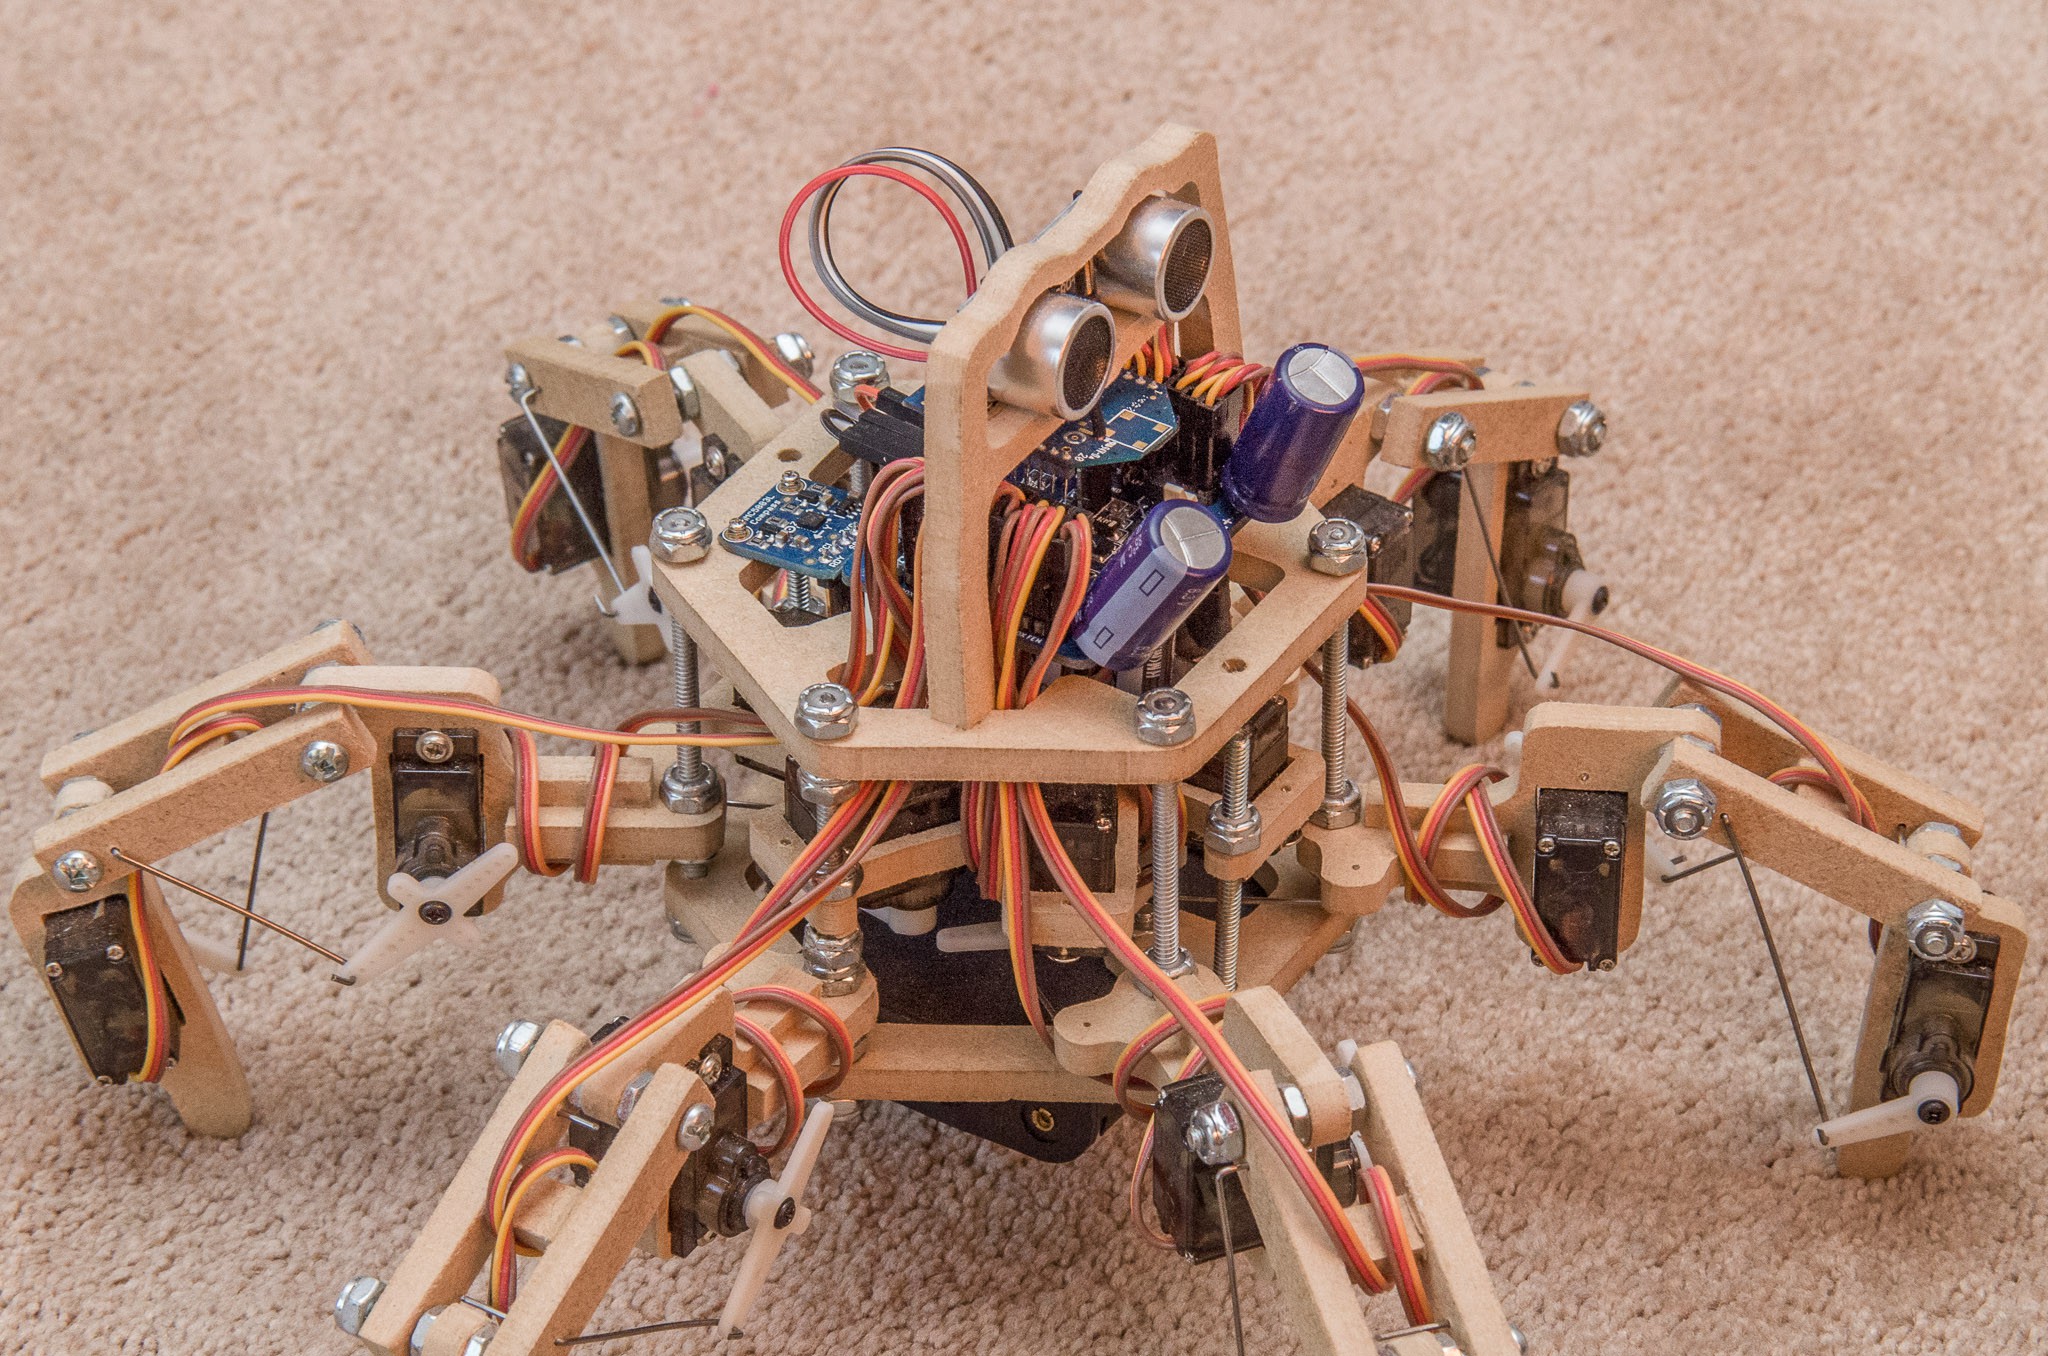
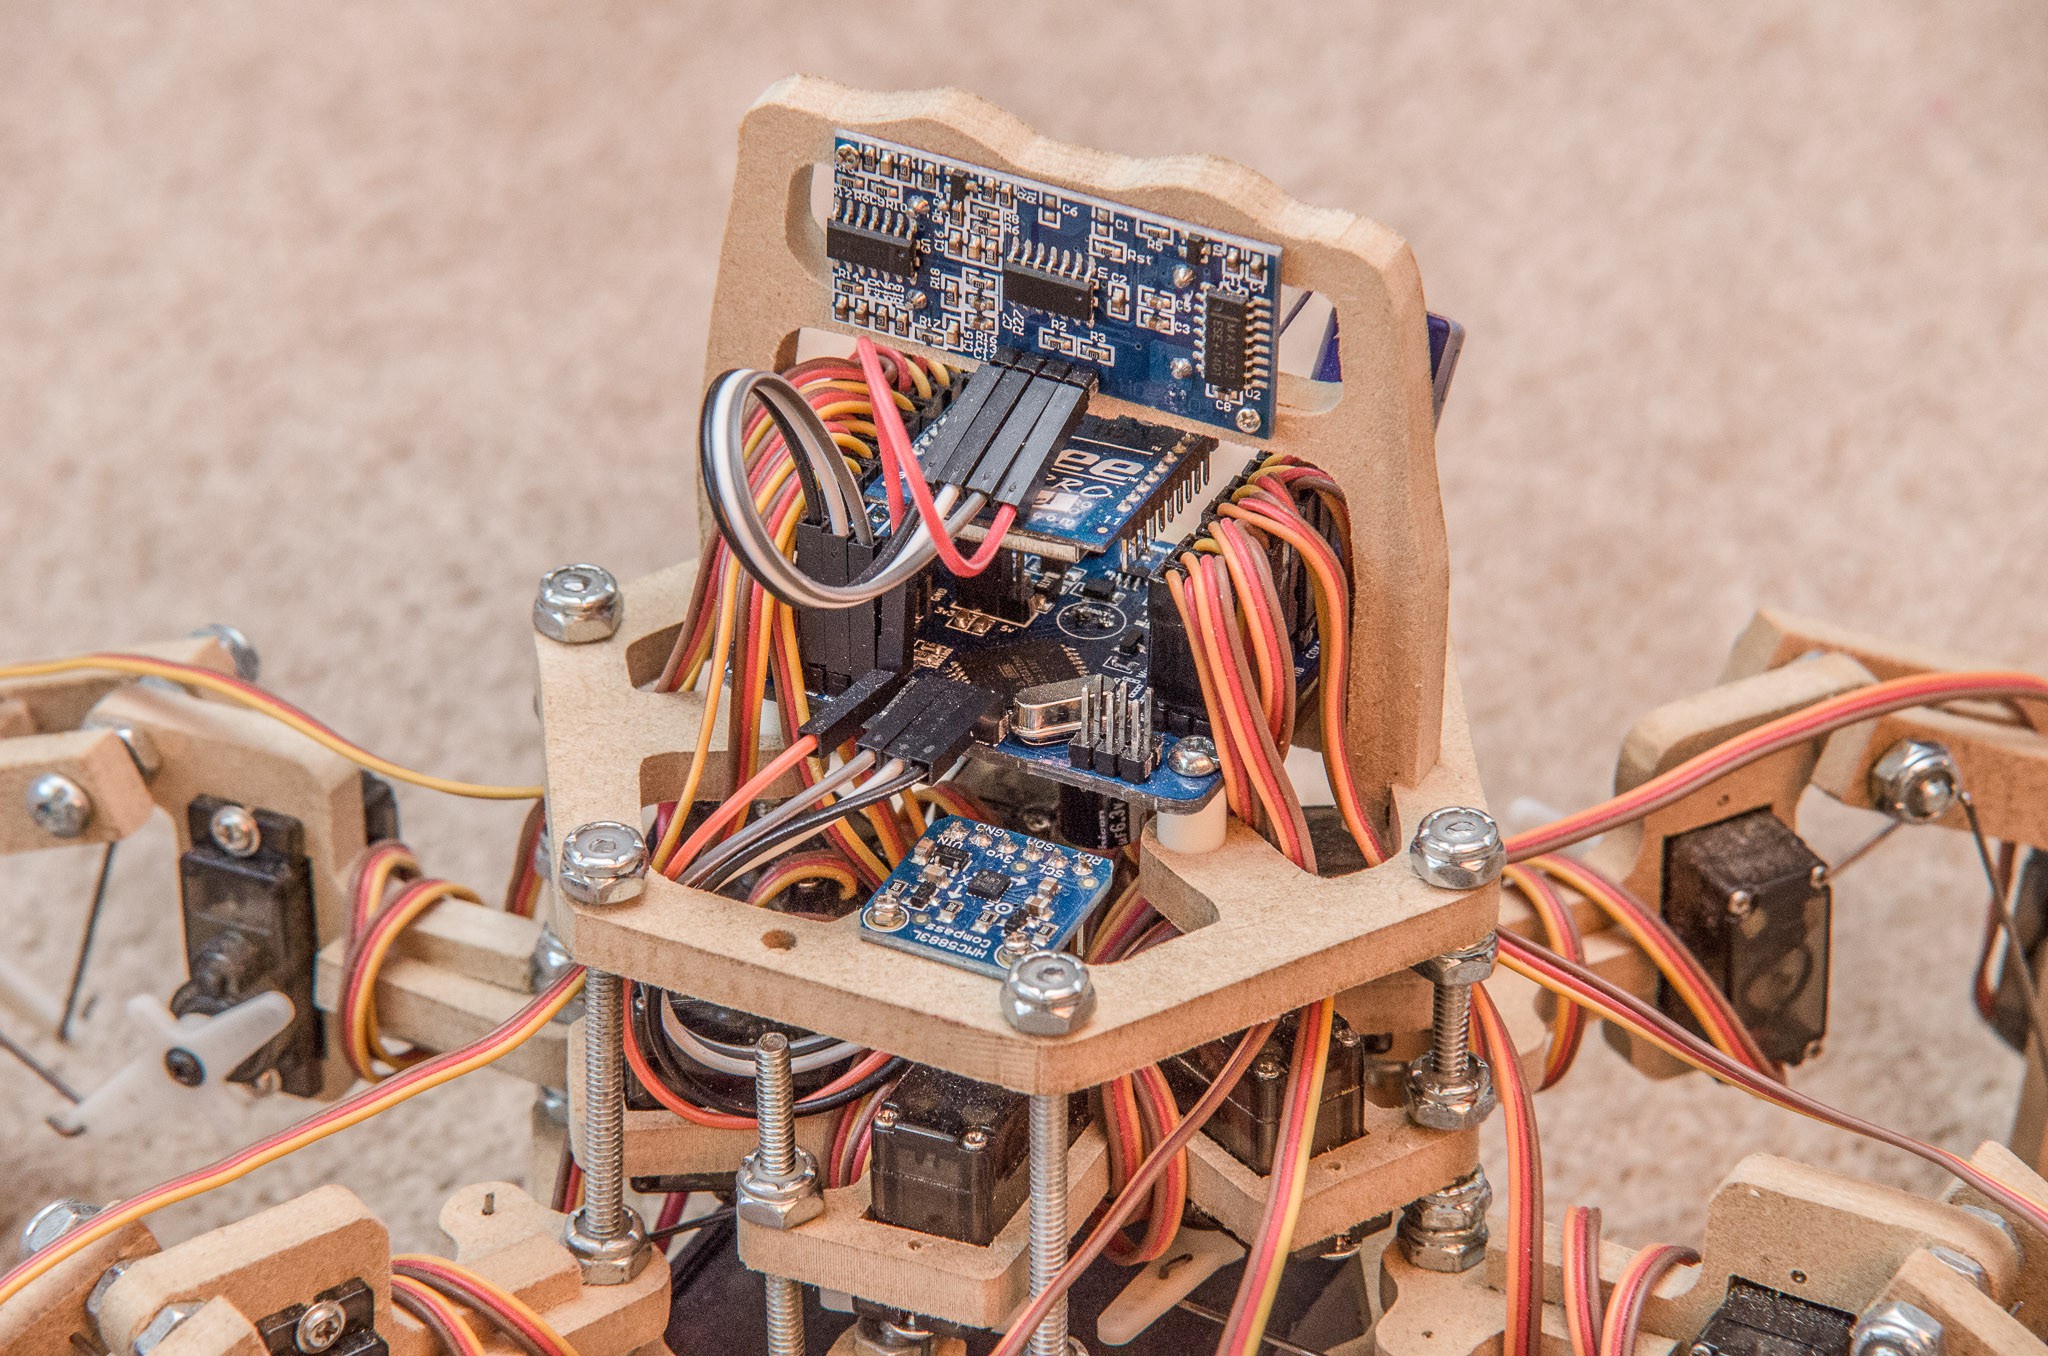
Laser Cut Frame Assembled
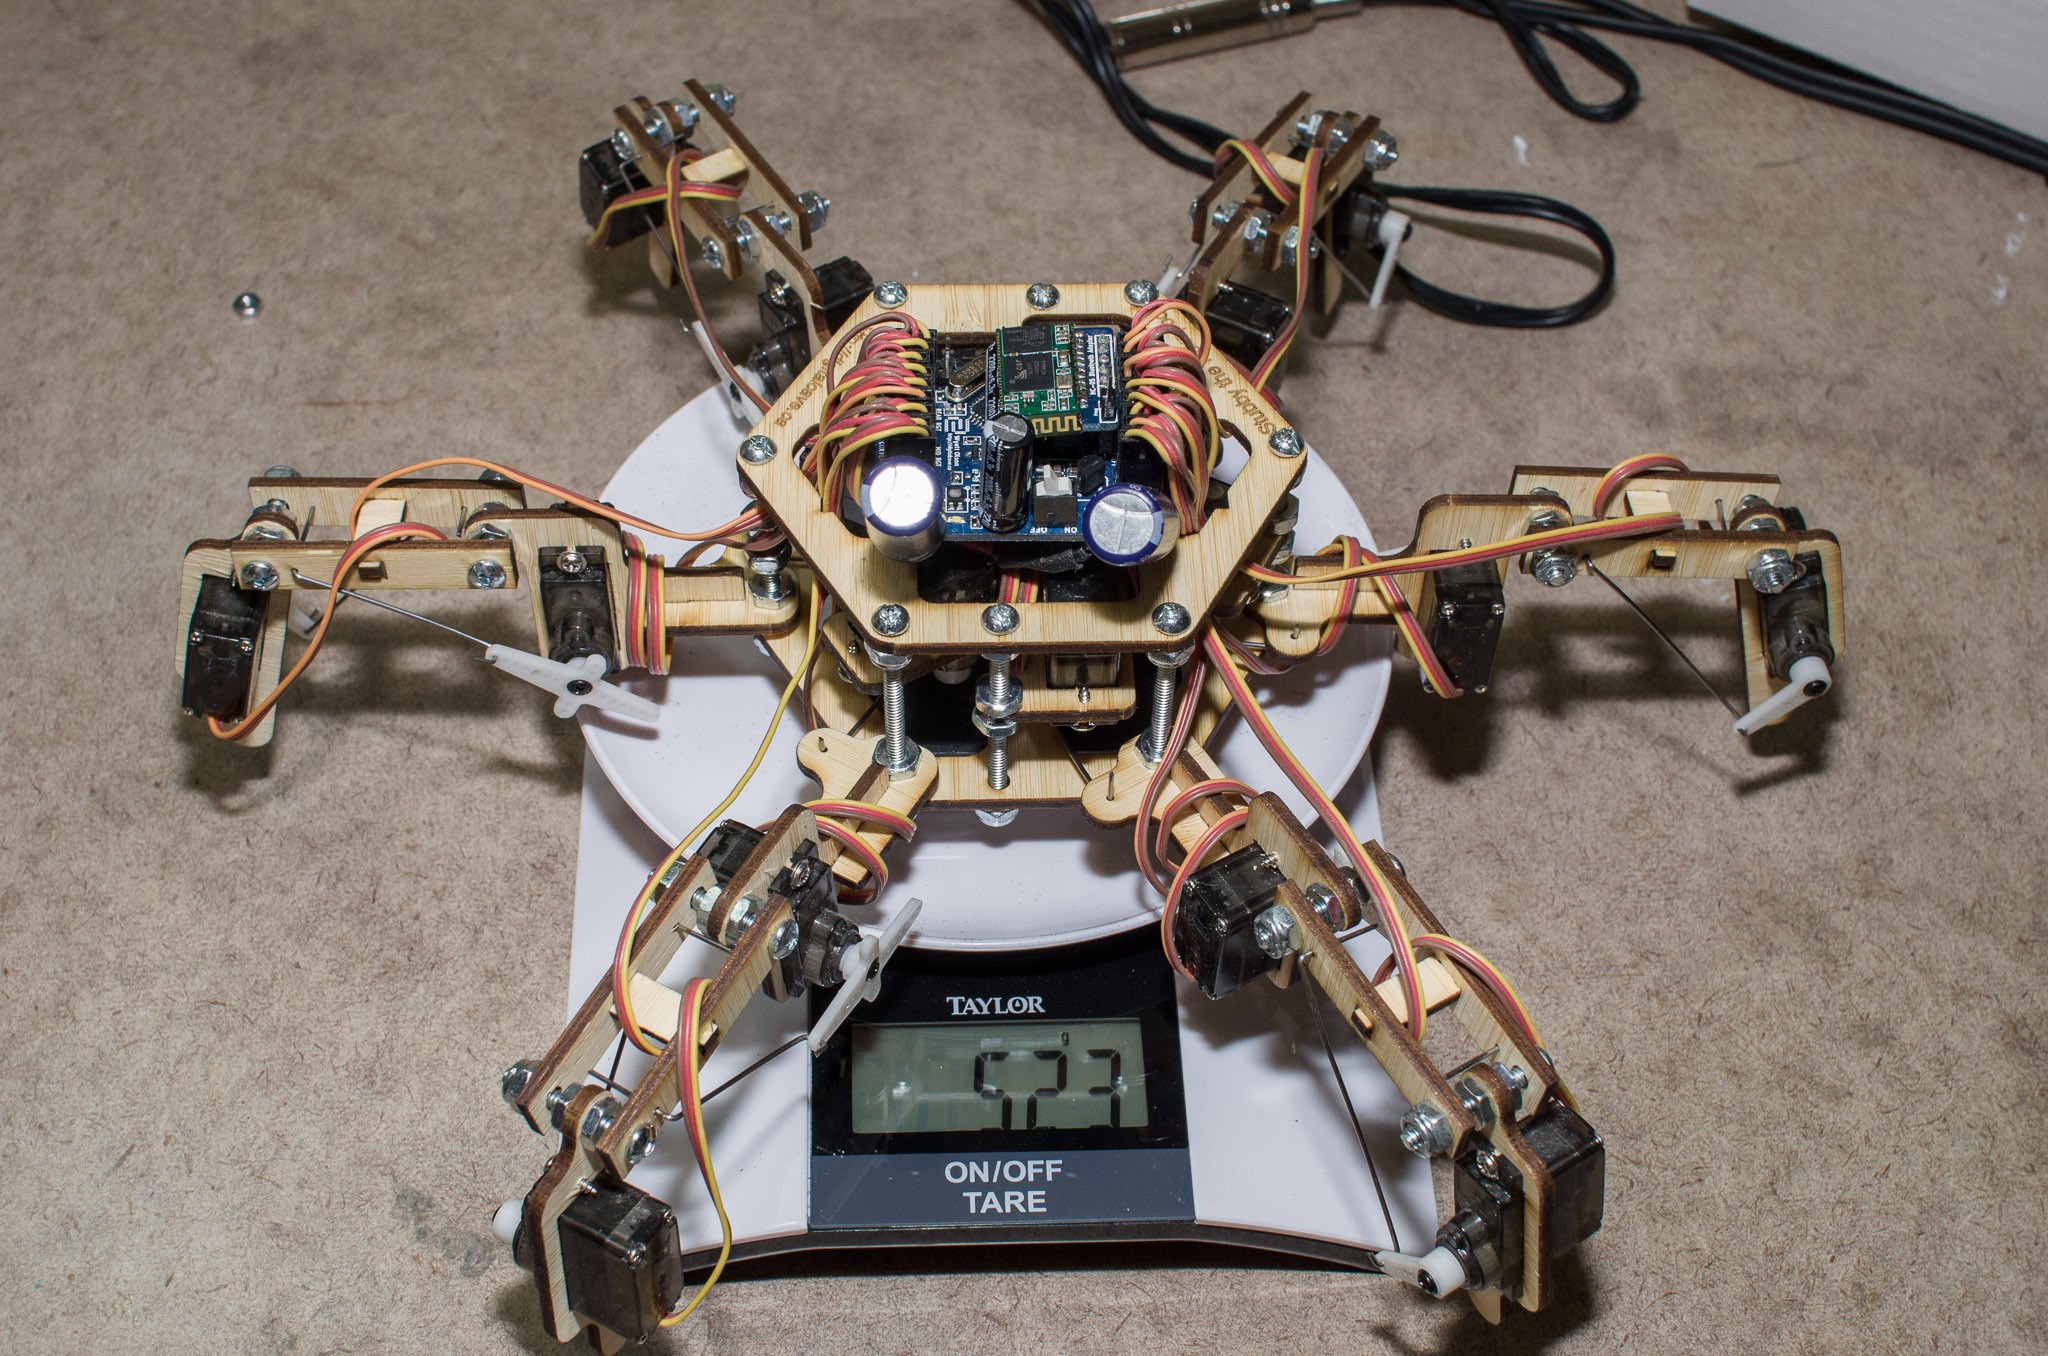
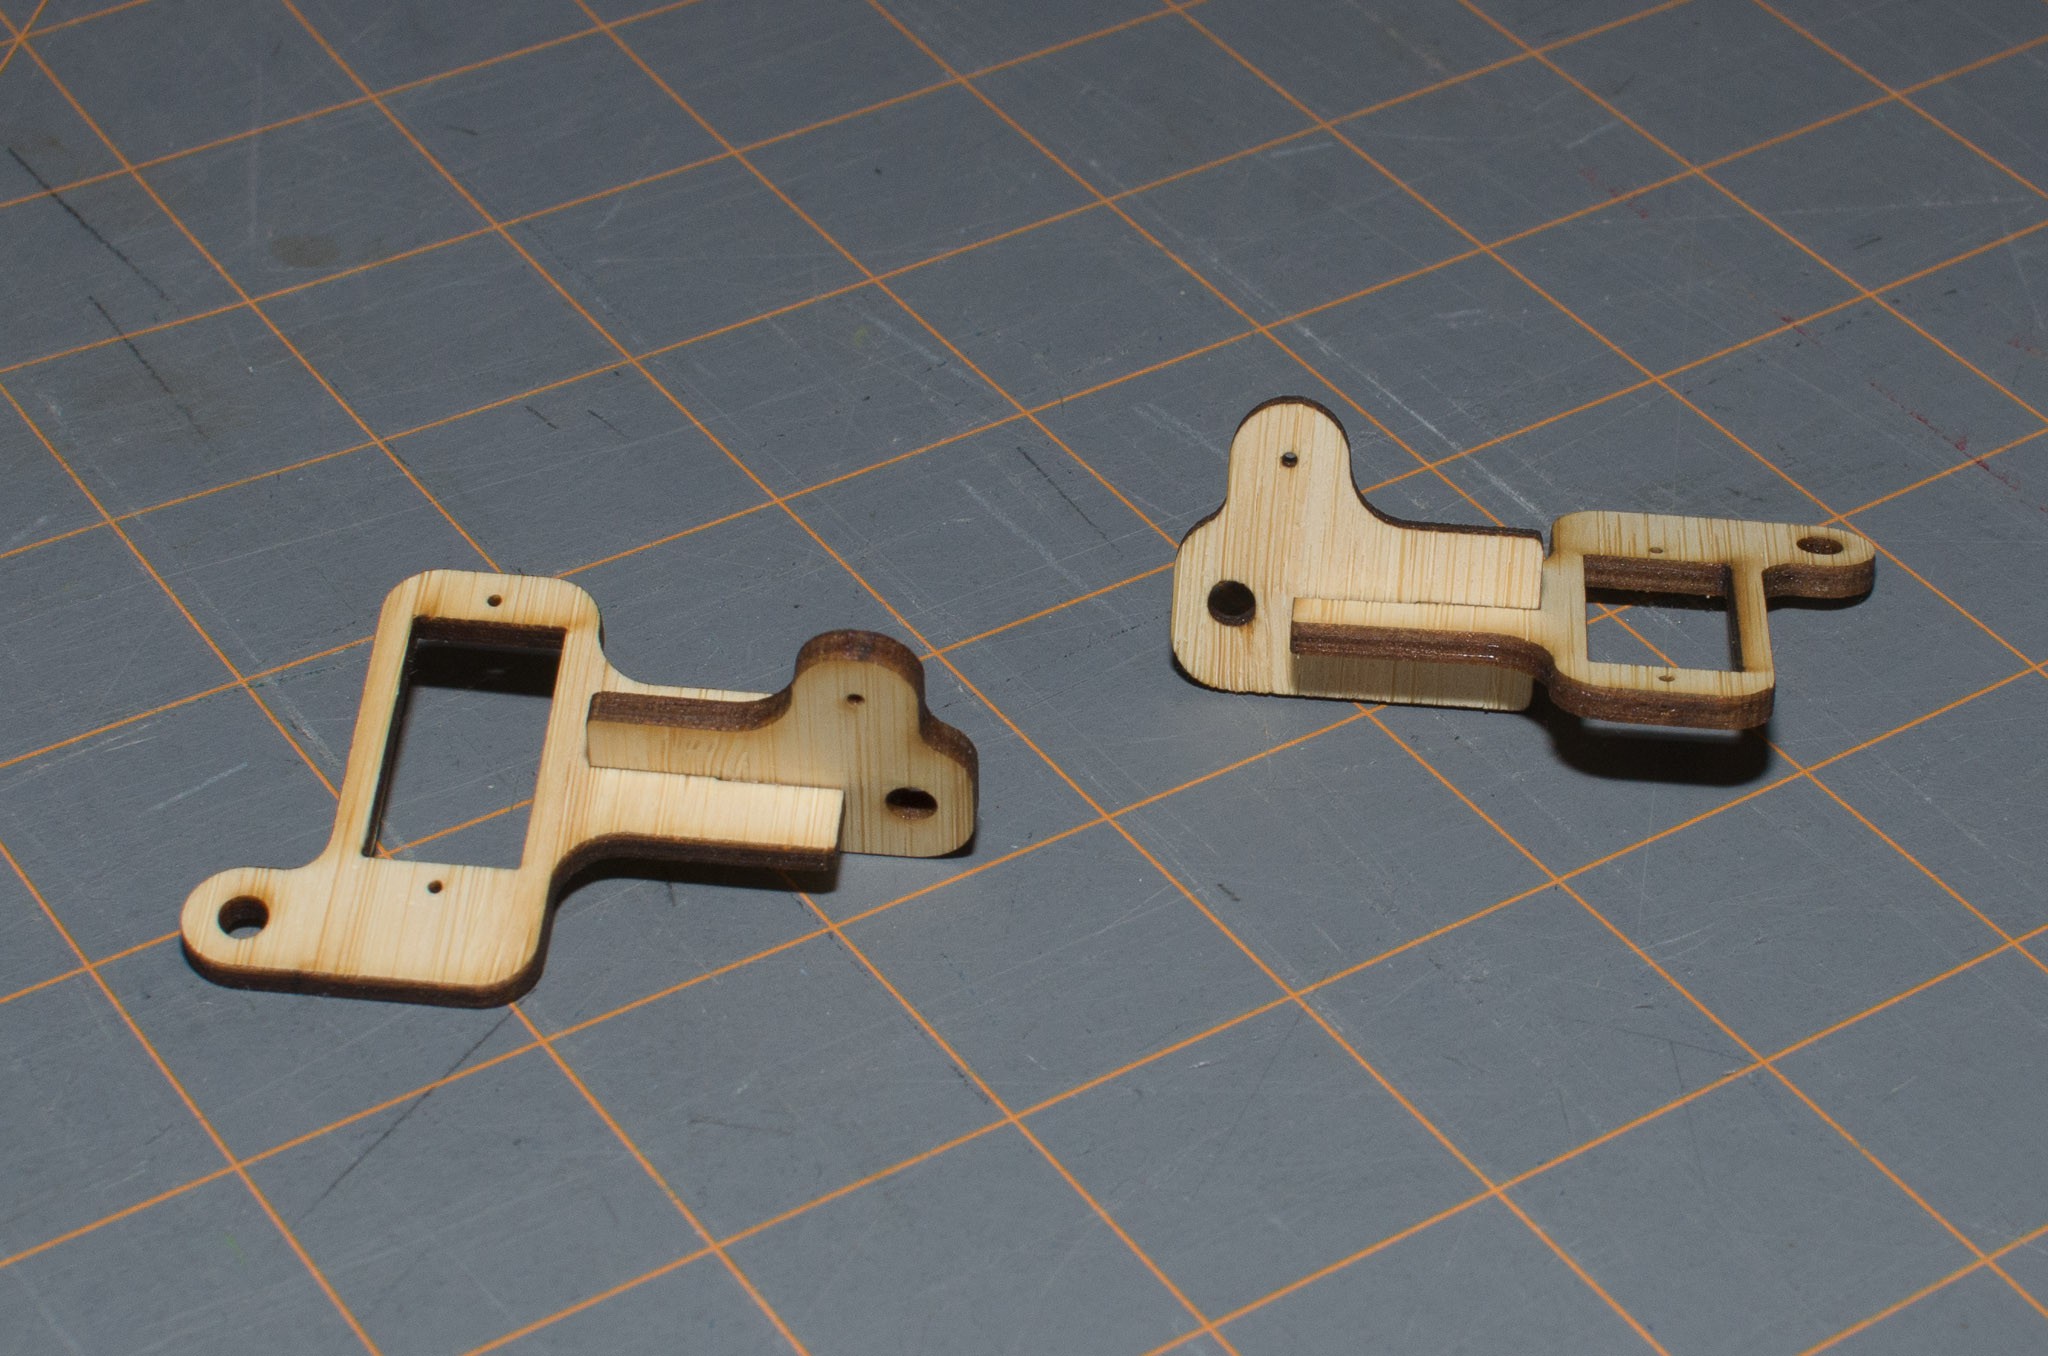
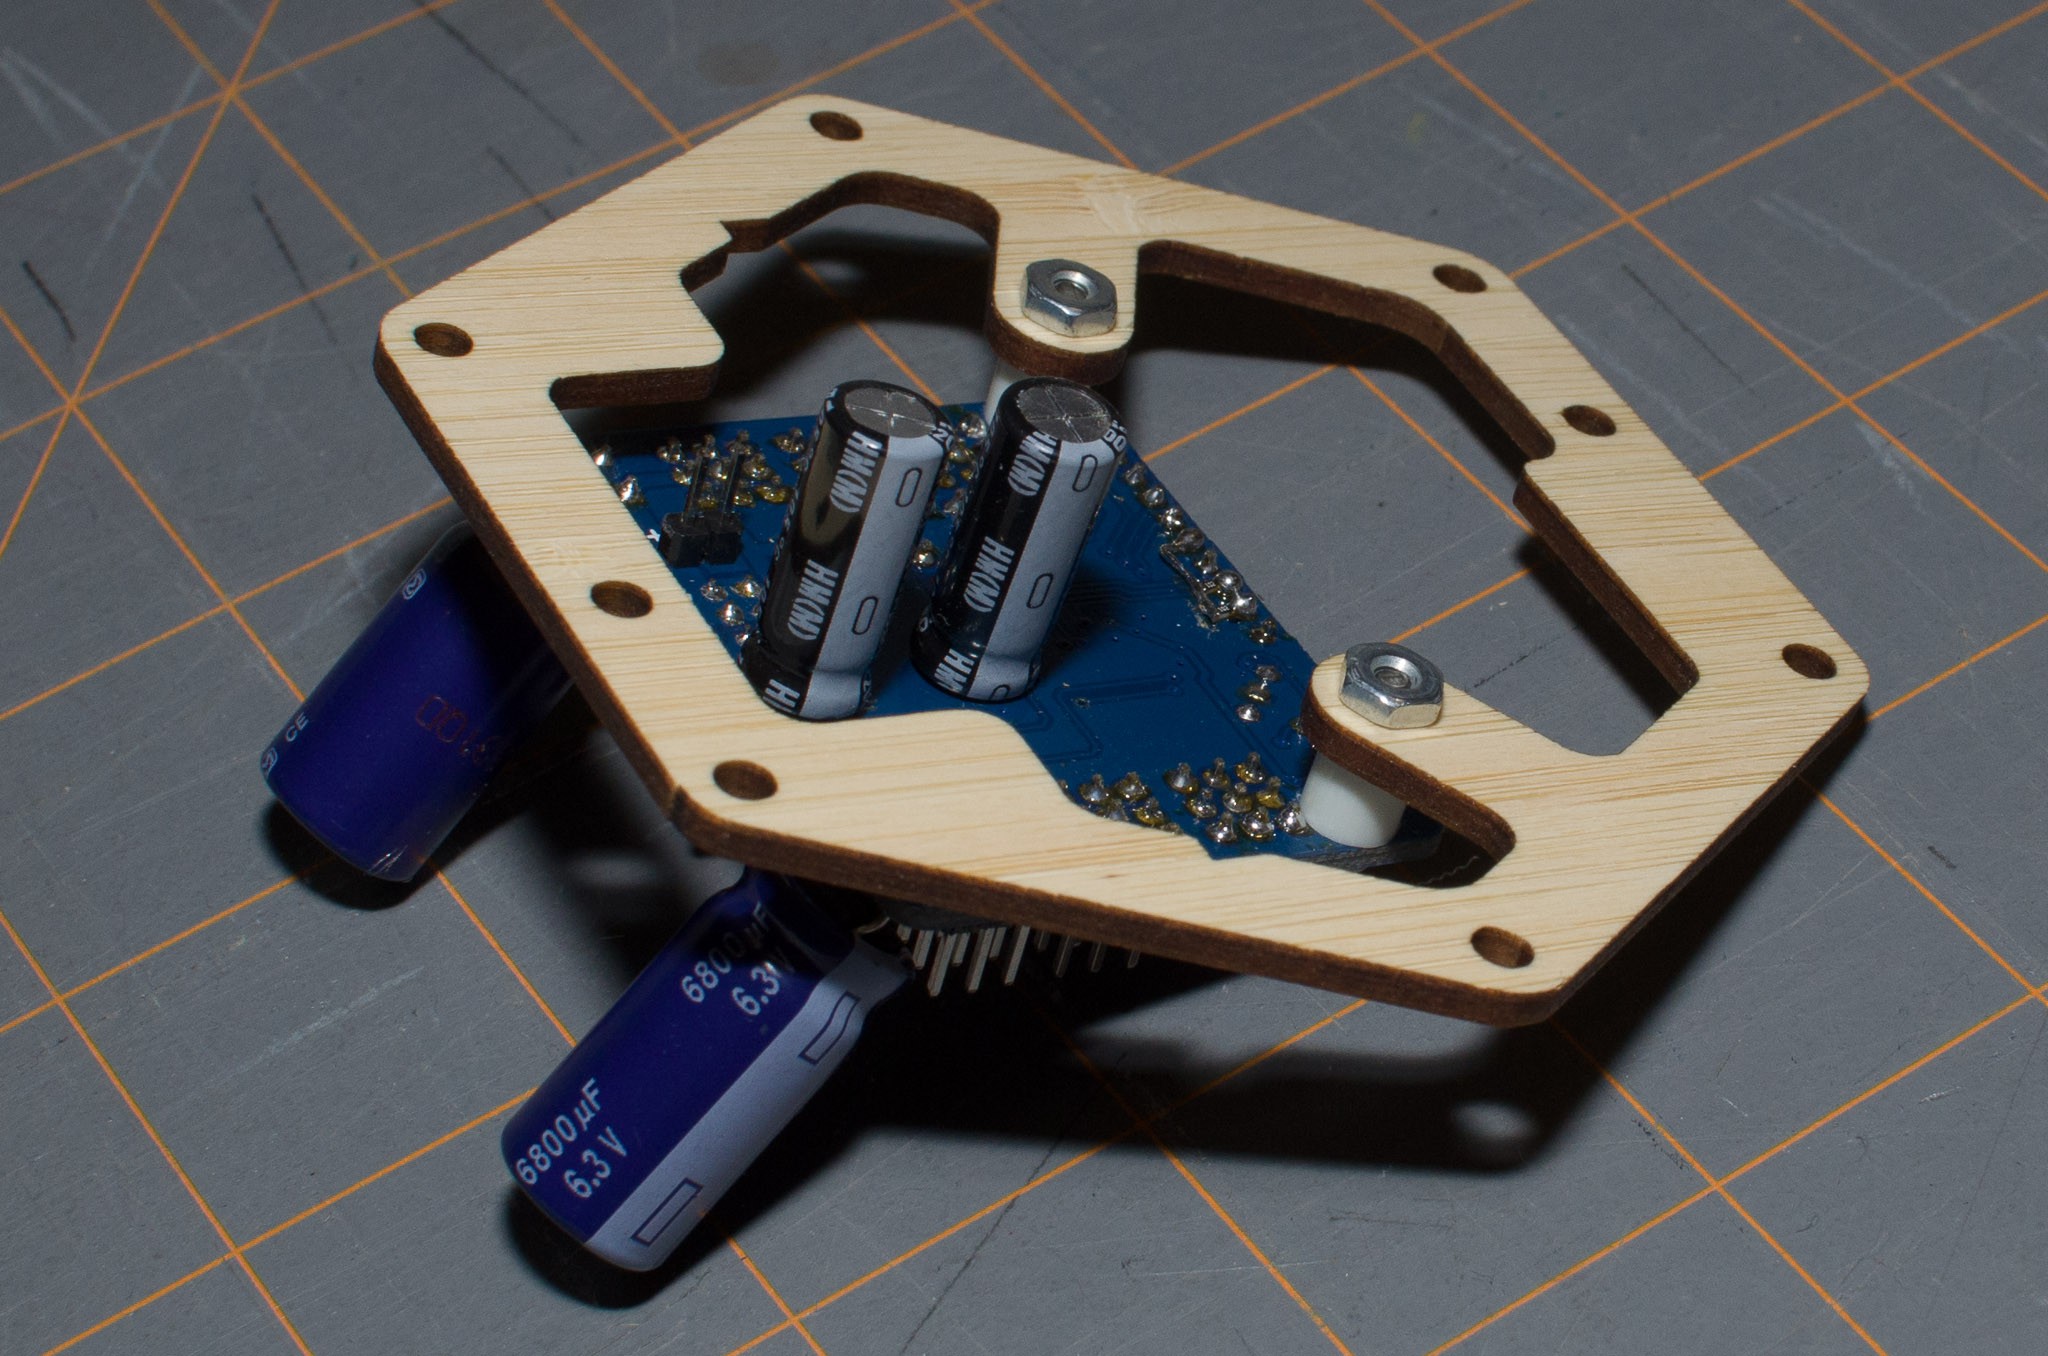
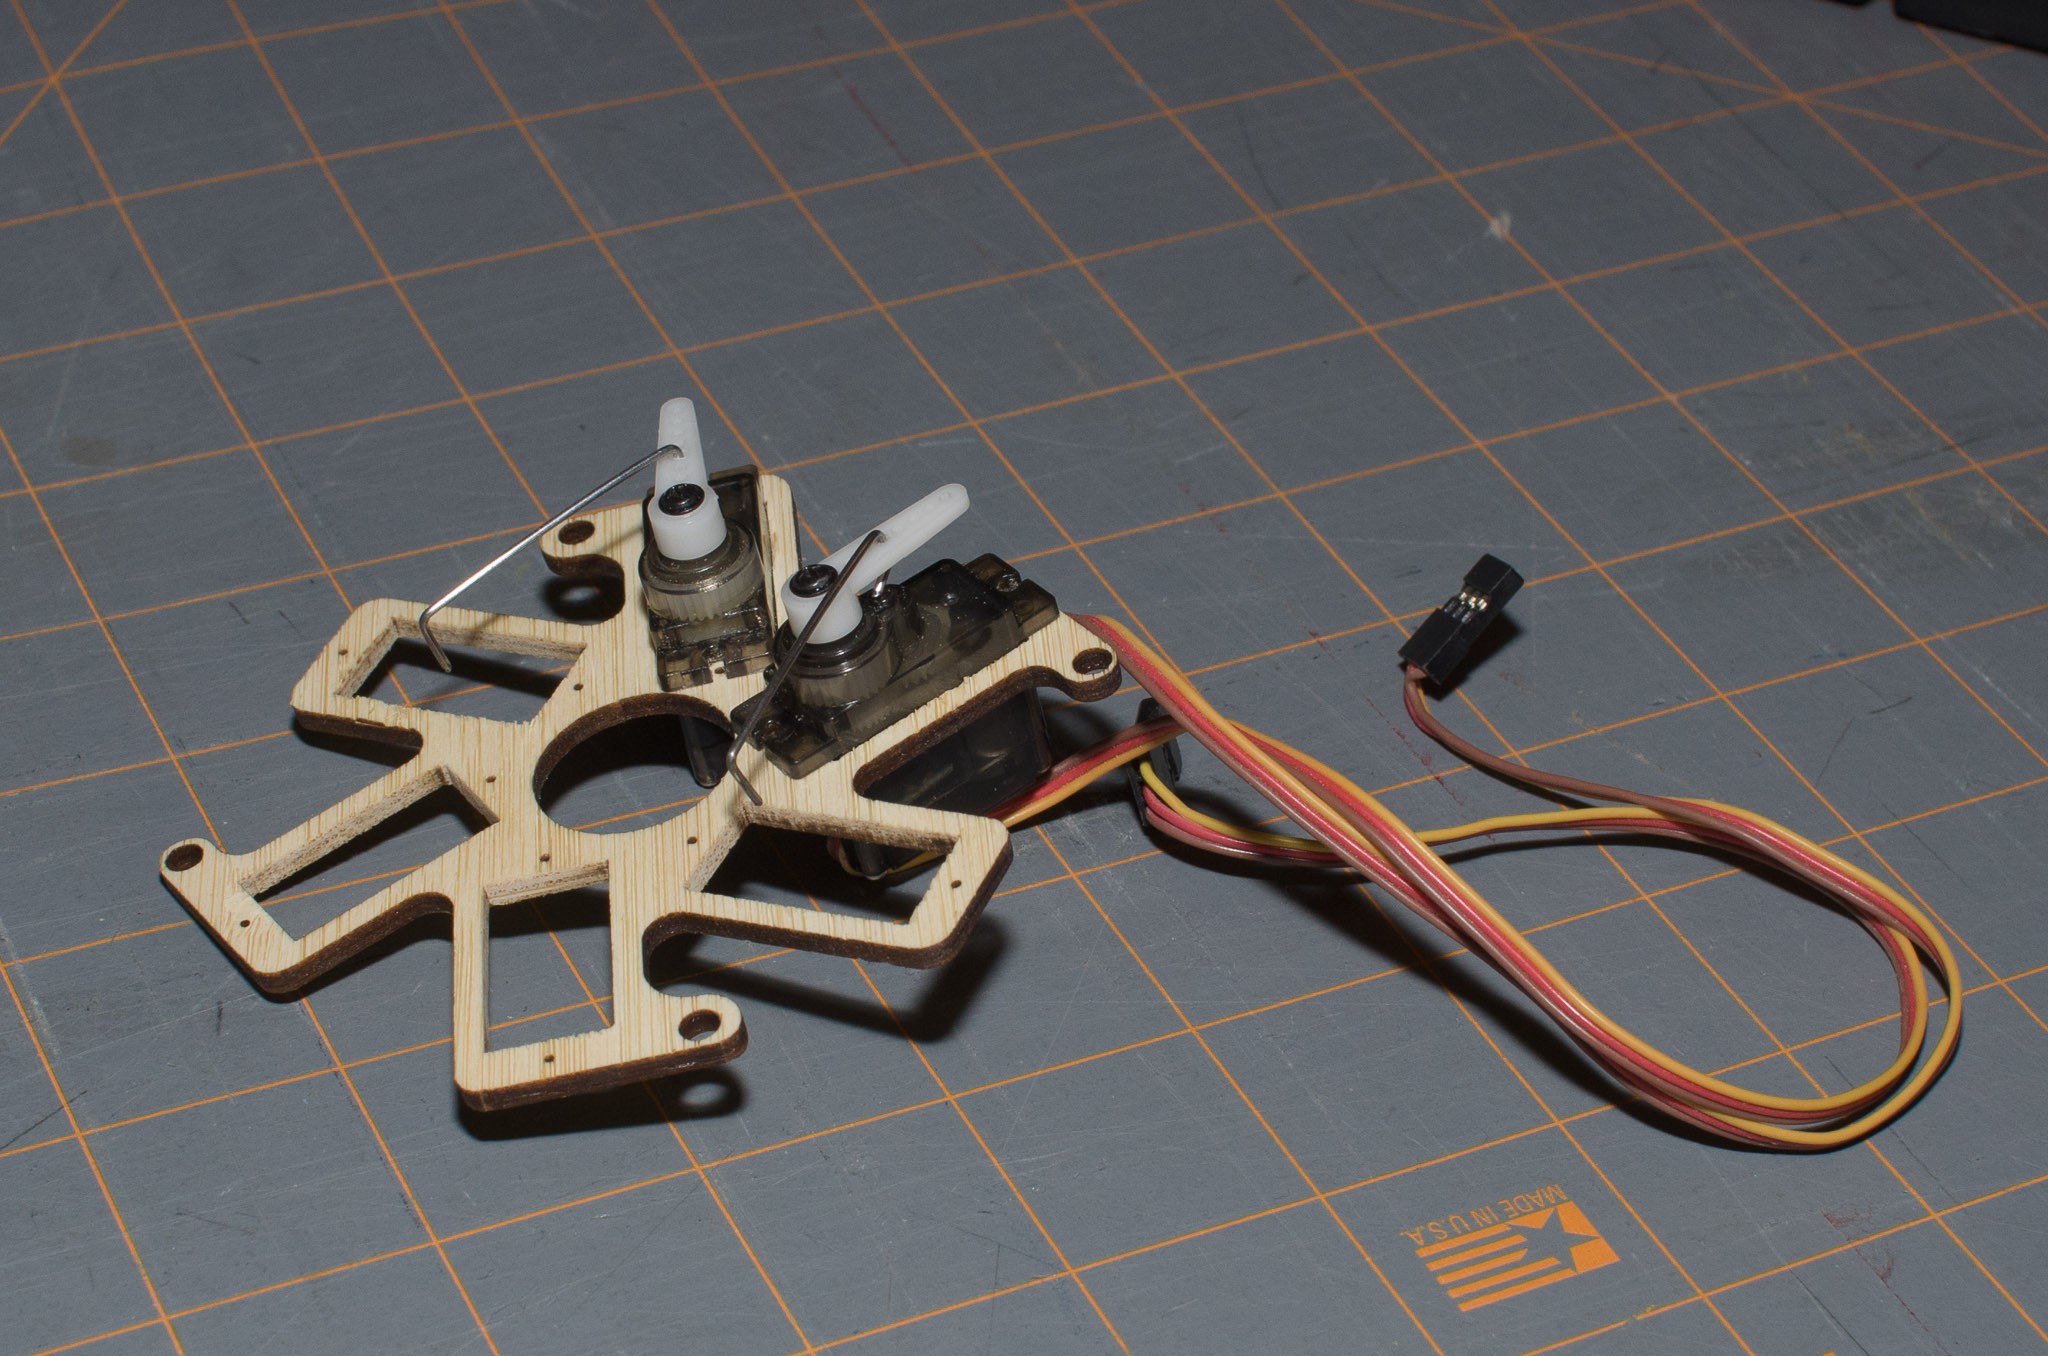
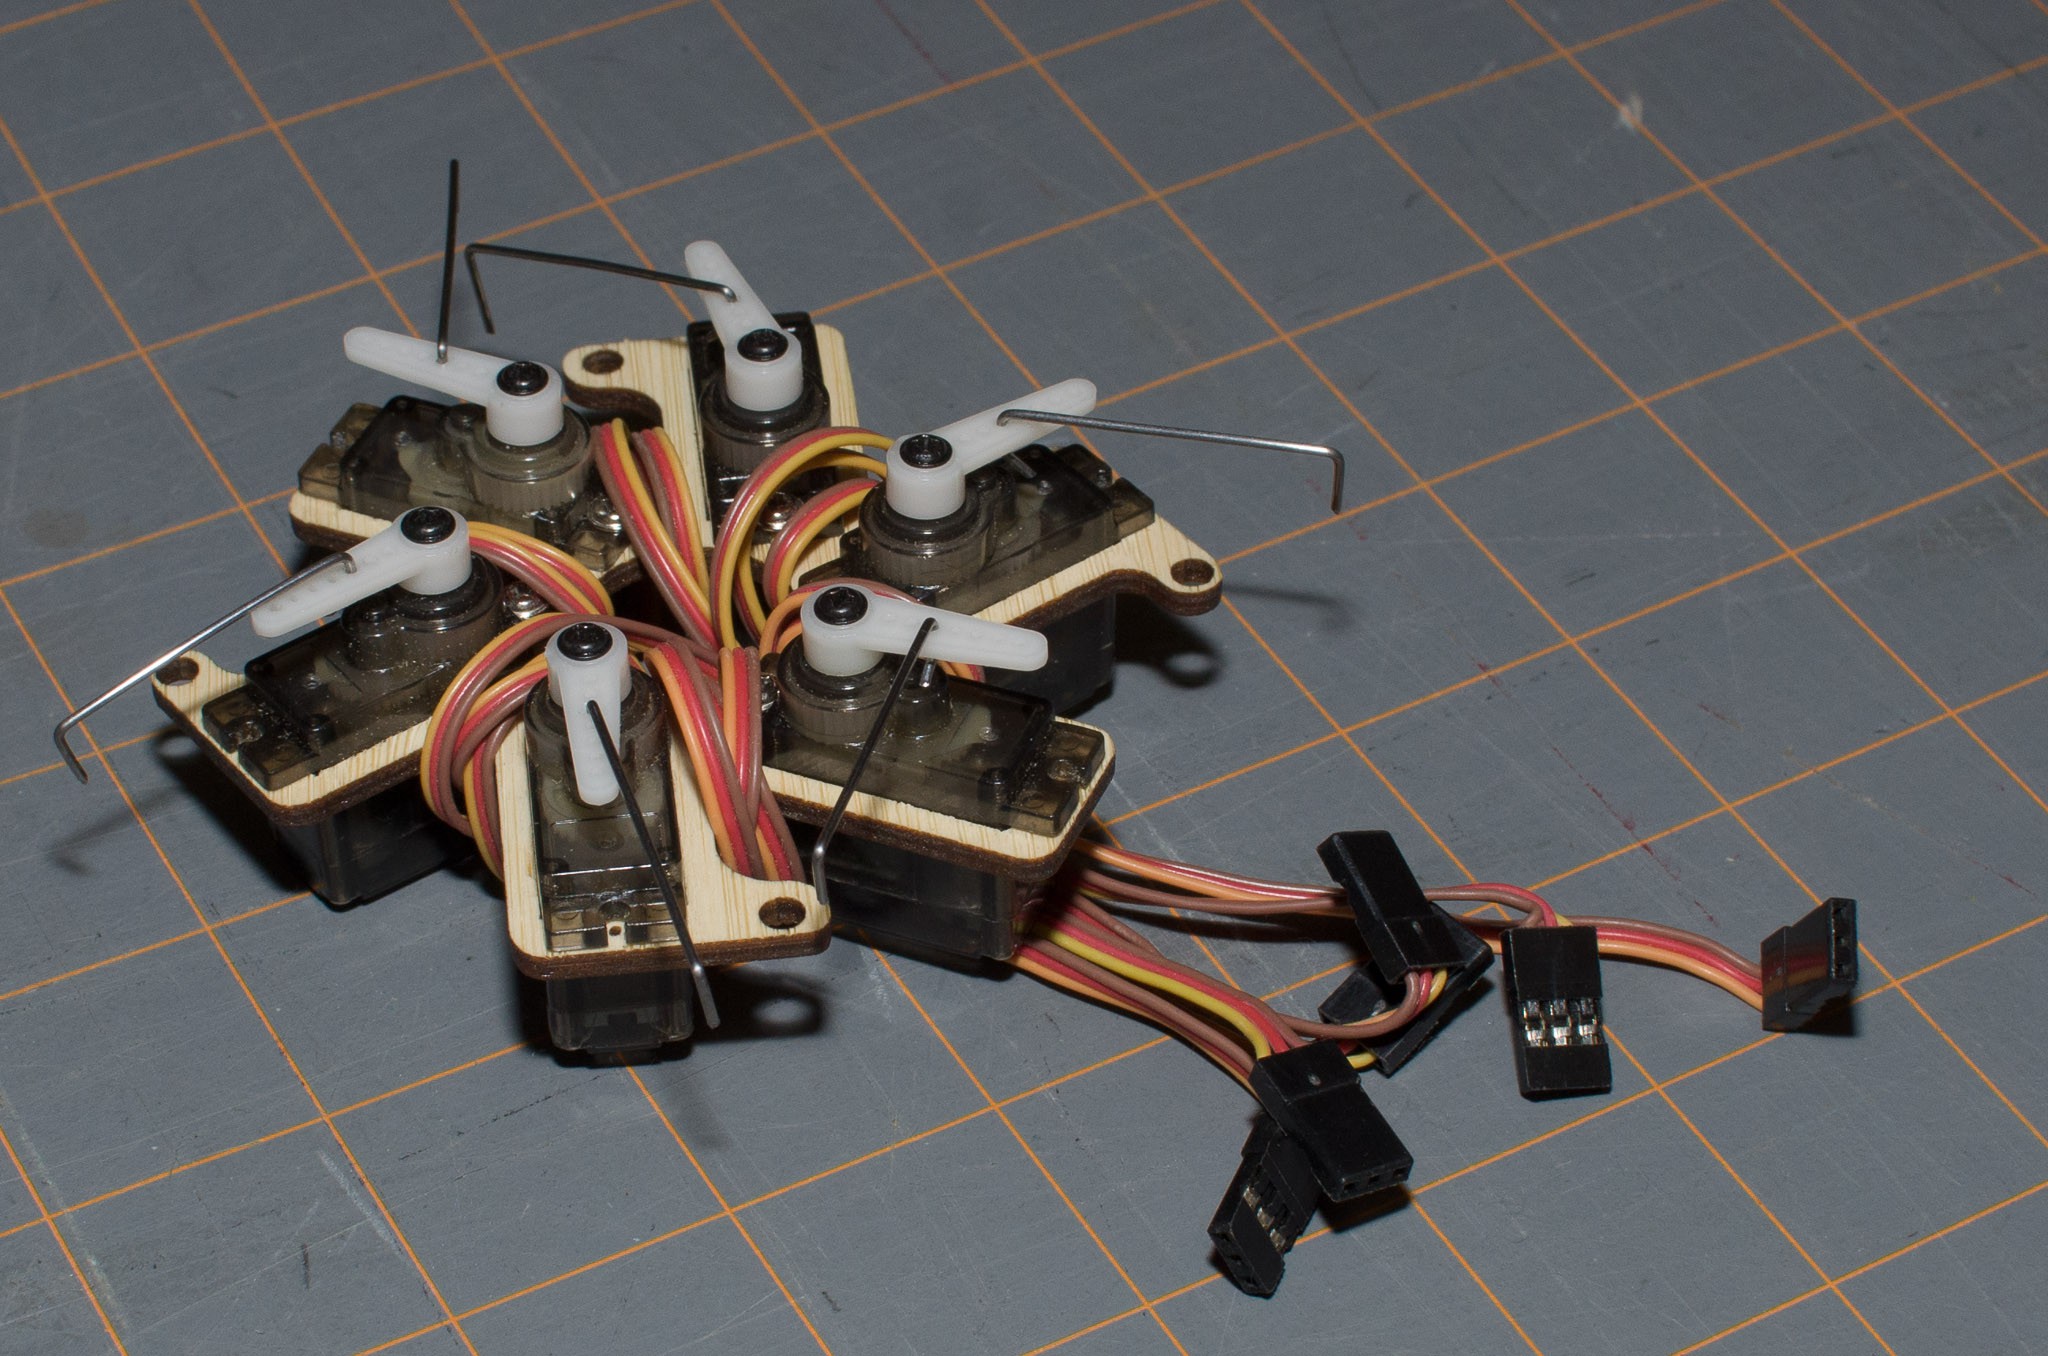
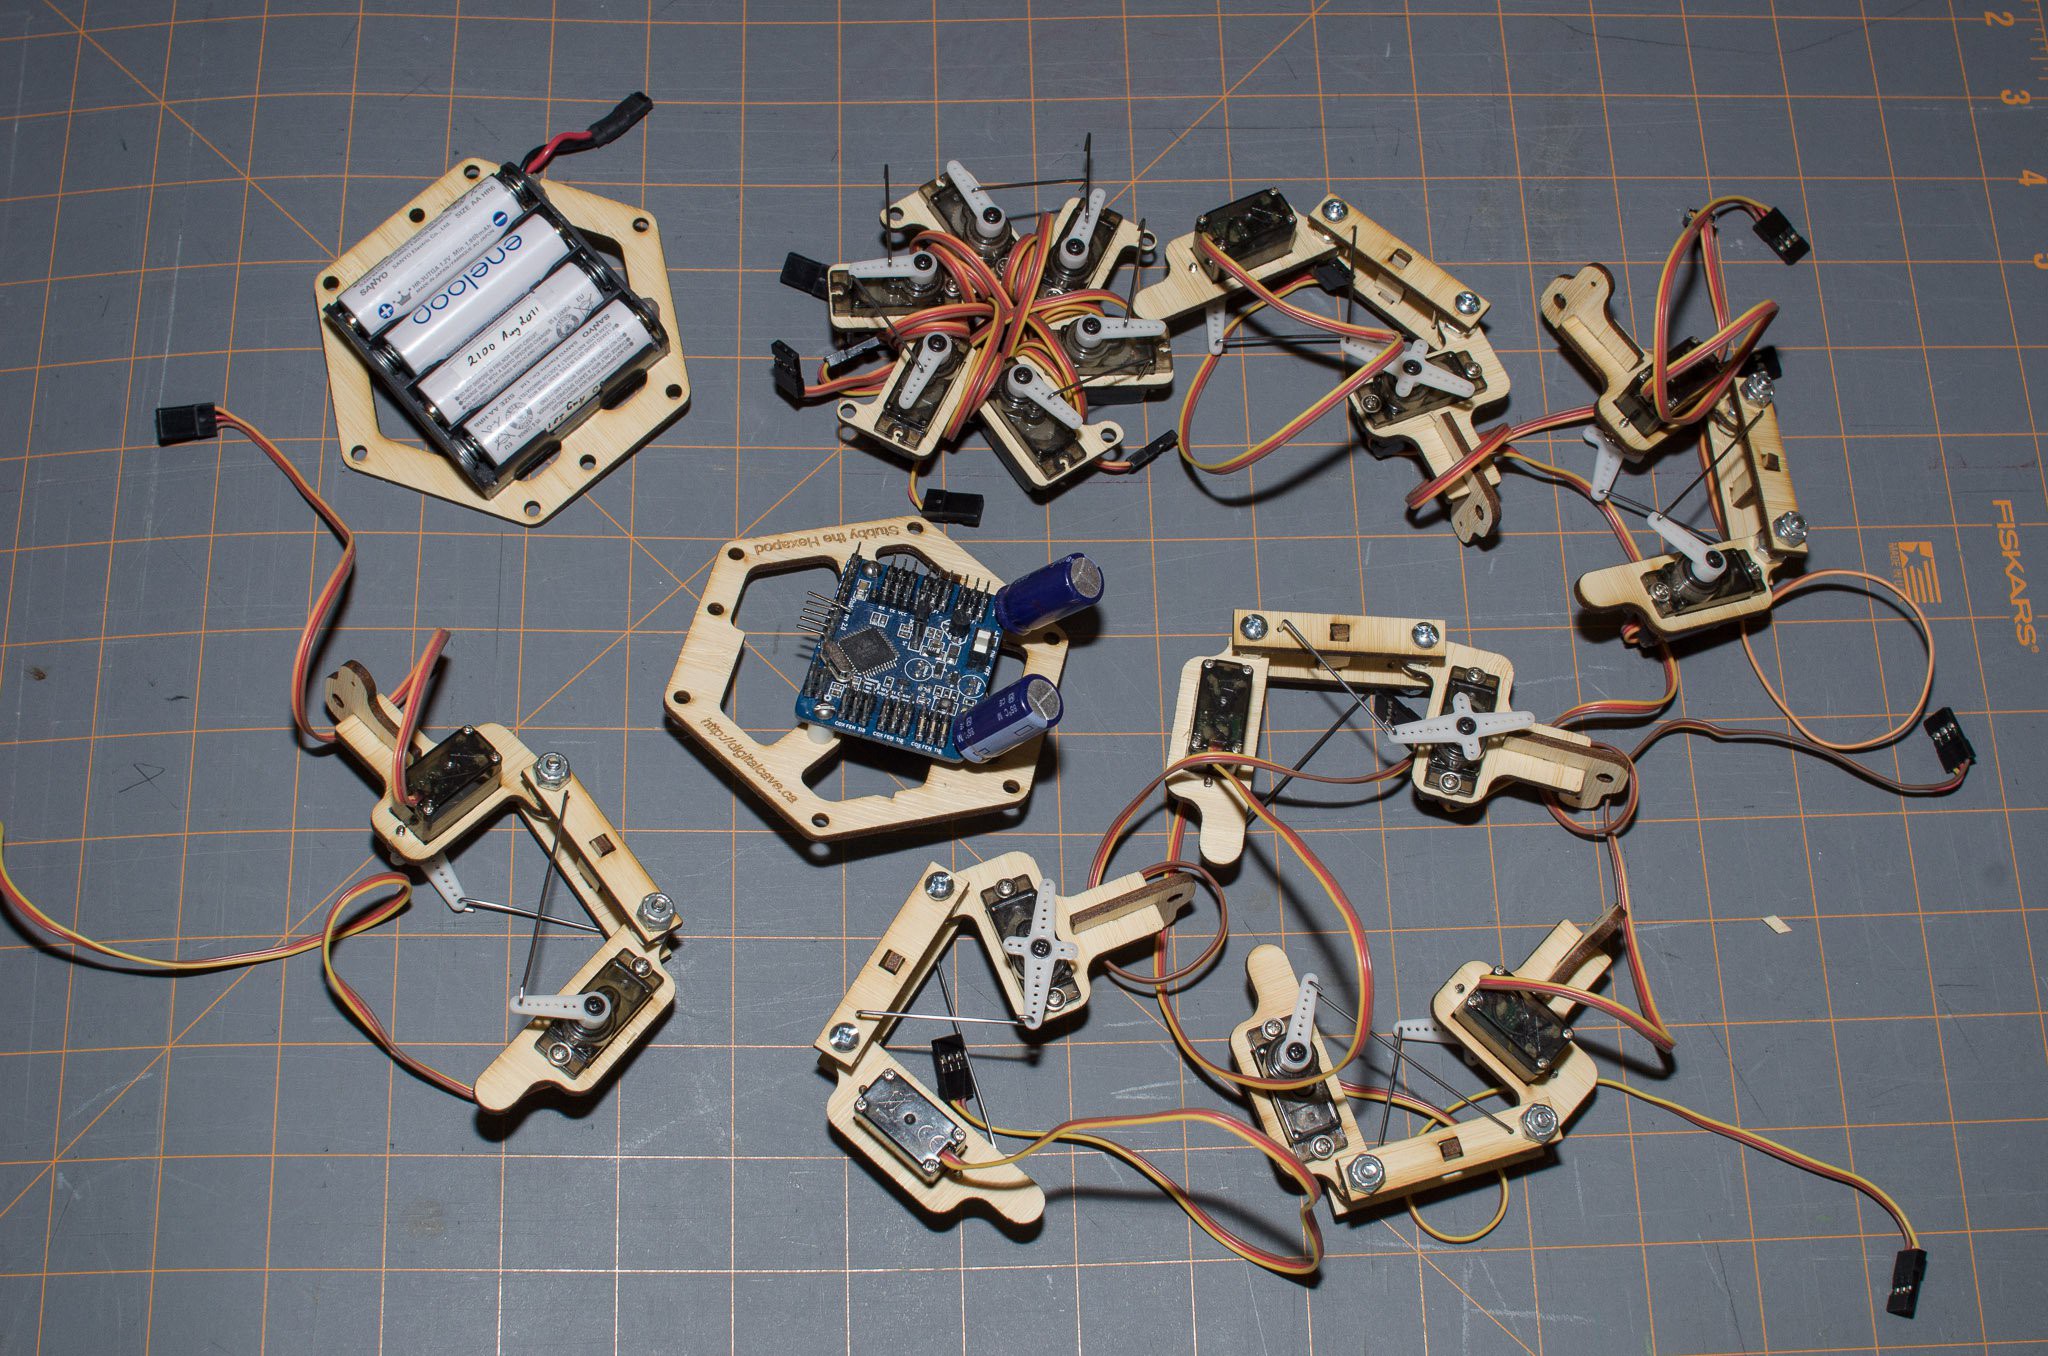
01/30/2016 at 17:39 • 11 commentsI finally got around to assembling the laser cut frame parts, and everything is looking good. The servos were just barely too large for the holes (and by 'barely', I mean a couple thousandths of an inch); 20 seconds with a file on each servo hole made it fit perfectly. I am not sure whether I should enlarge the holes or not, though... I cut the holes according to spec, so I suspect that my servos are just a bit out of spec. I don't want the holes to be too large, so that the servos are not flopping around. (They are only secured with two tiny screws). If anyone has a thought on this let me know...
Another nice thing with the thinner wood is that the entire body stack is now short enough that I can use 2" #6 screws, instead of custom cut threaded rod. Screws are much easier to work with, especially in conjunction with lock nuts.
I also decided not to assemble the distance sensor mount this time; it was nice to play with it when I was working on the API for the HaD Prize, but since then I have not use that much. The kids like to just use the remote control.
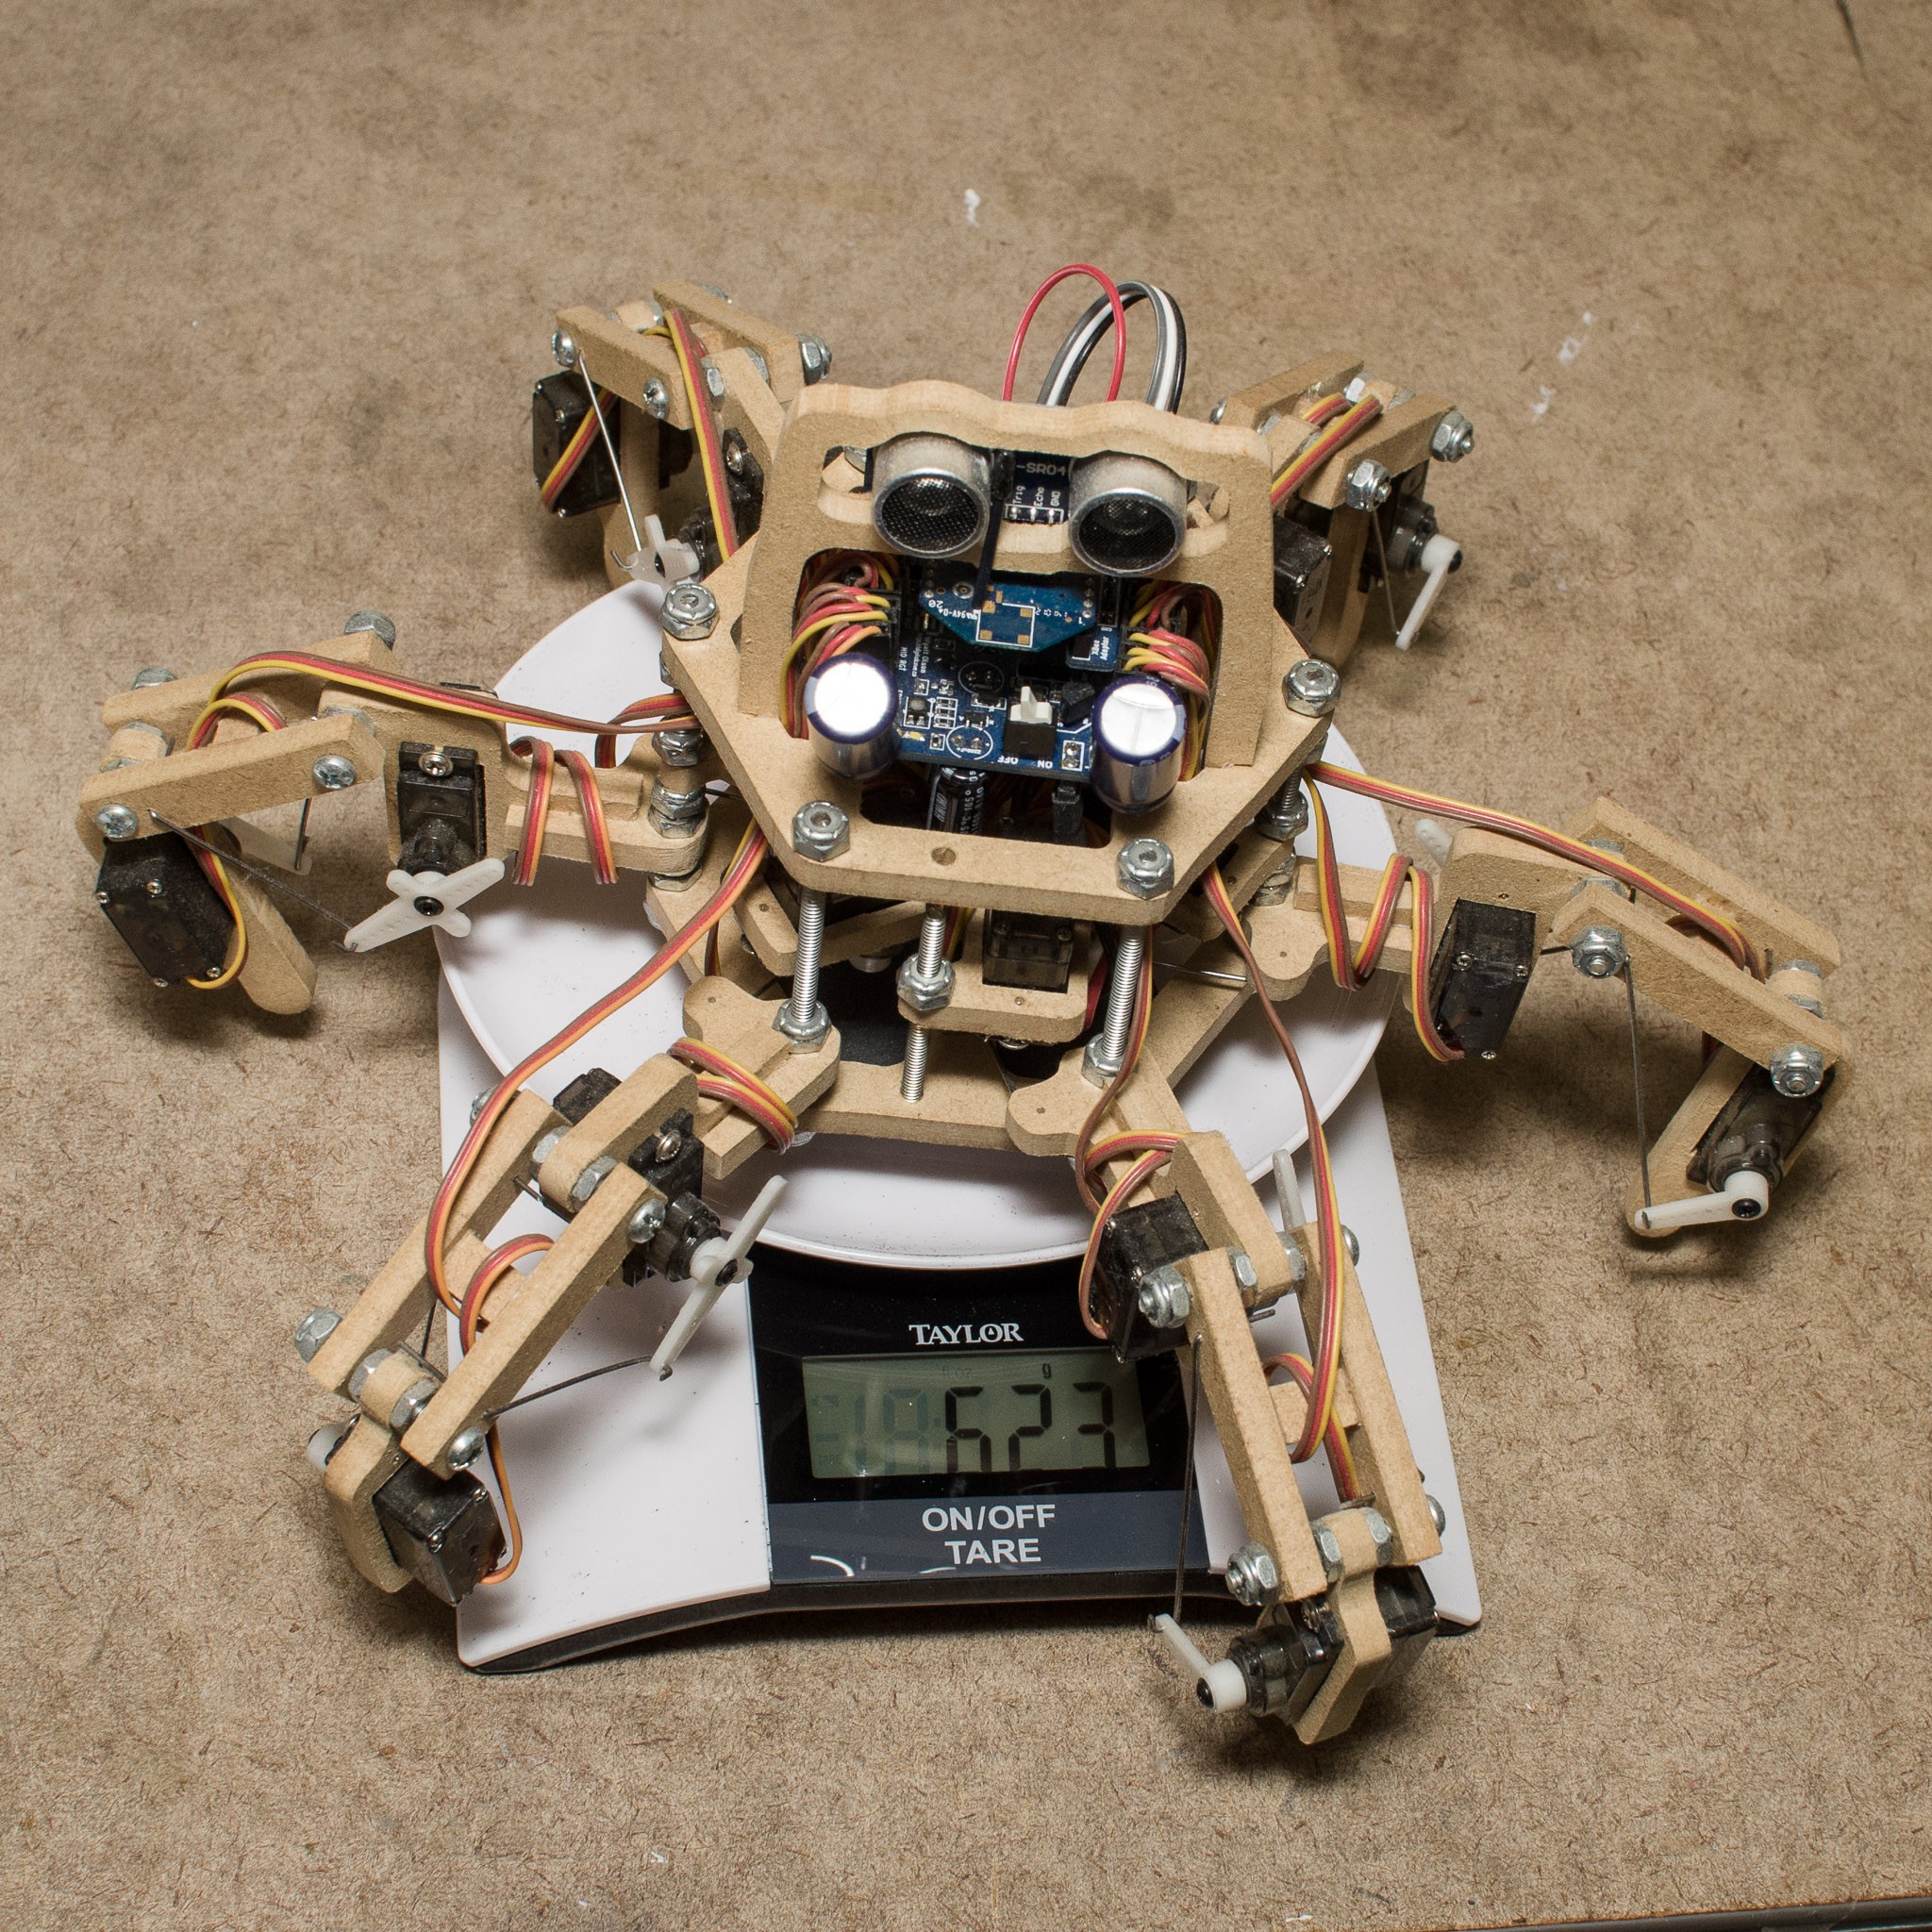
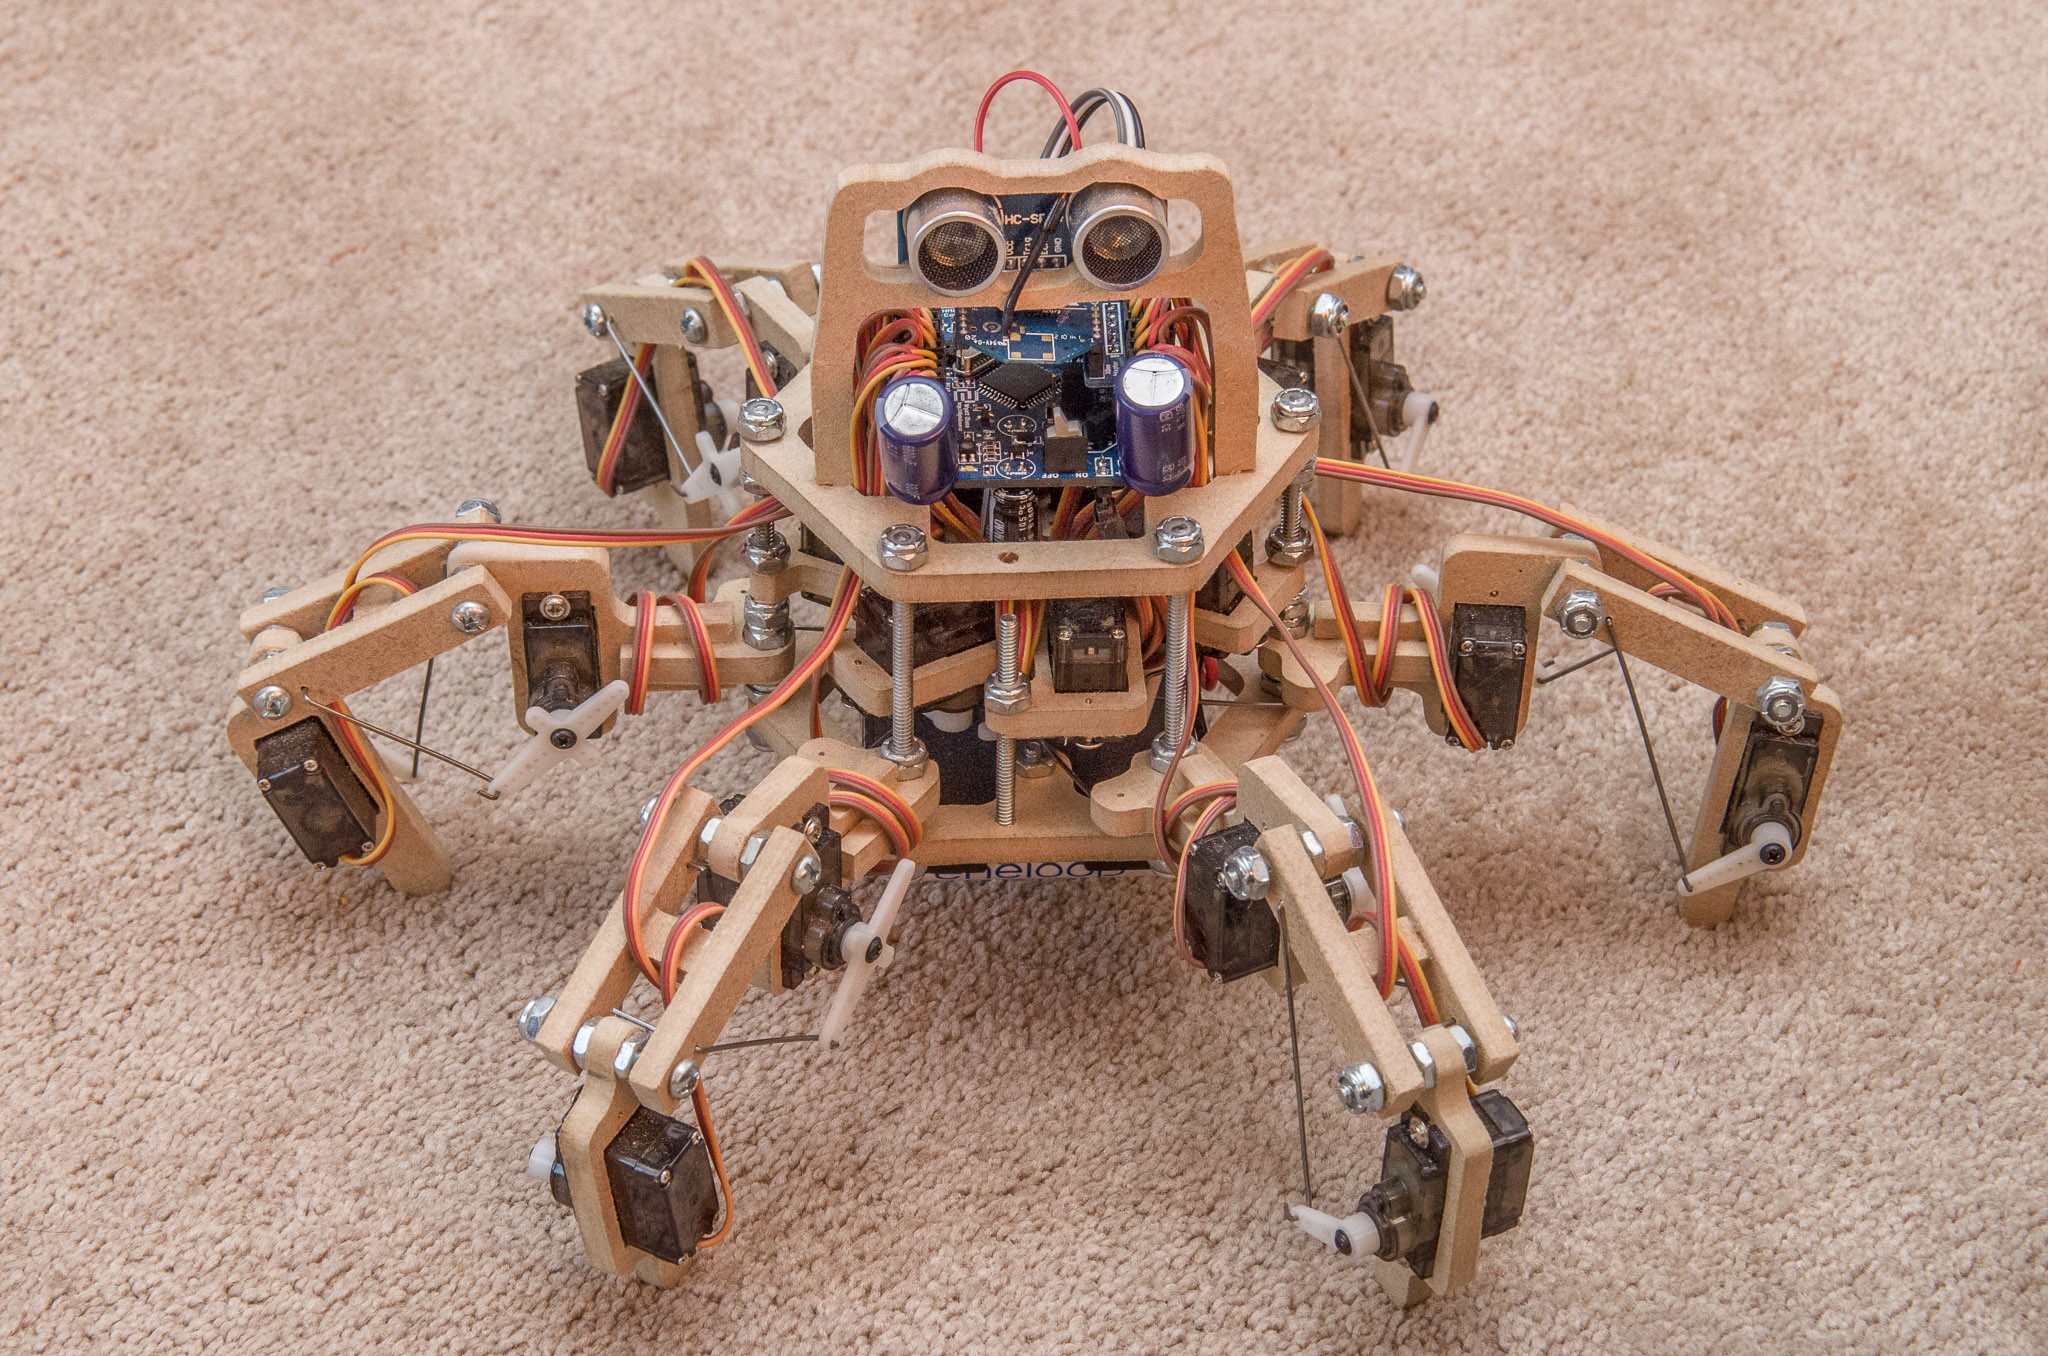
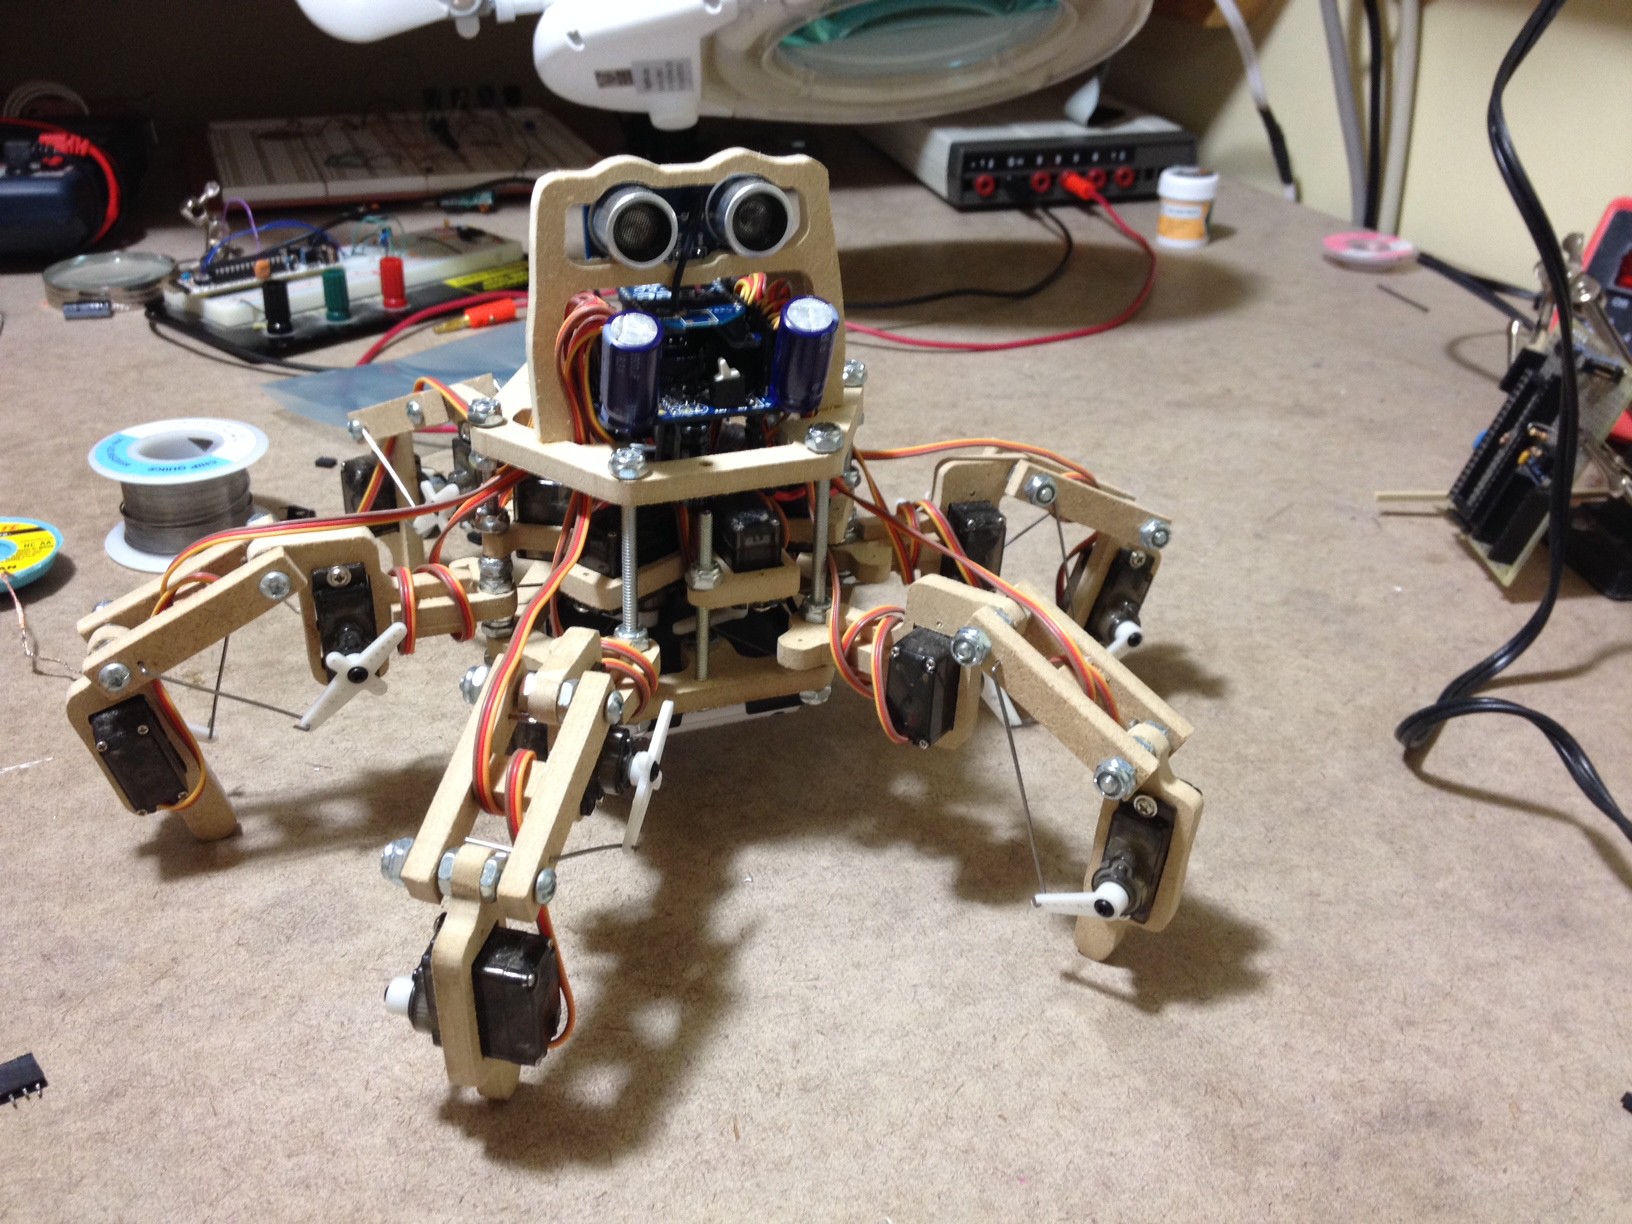
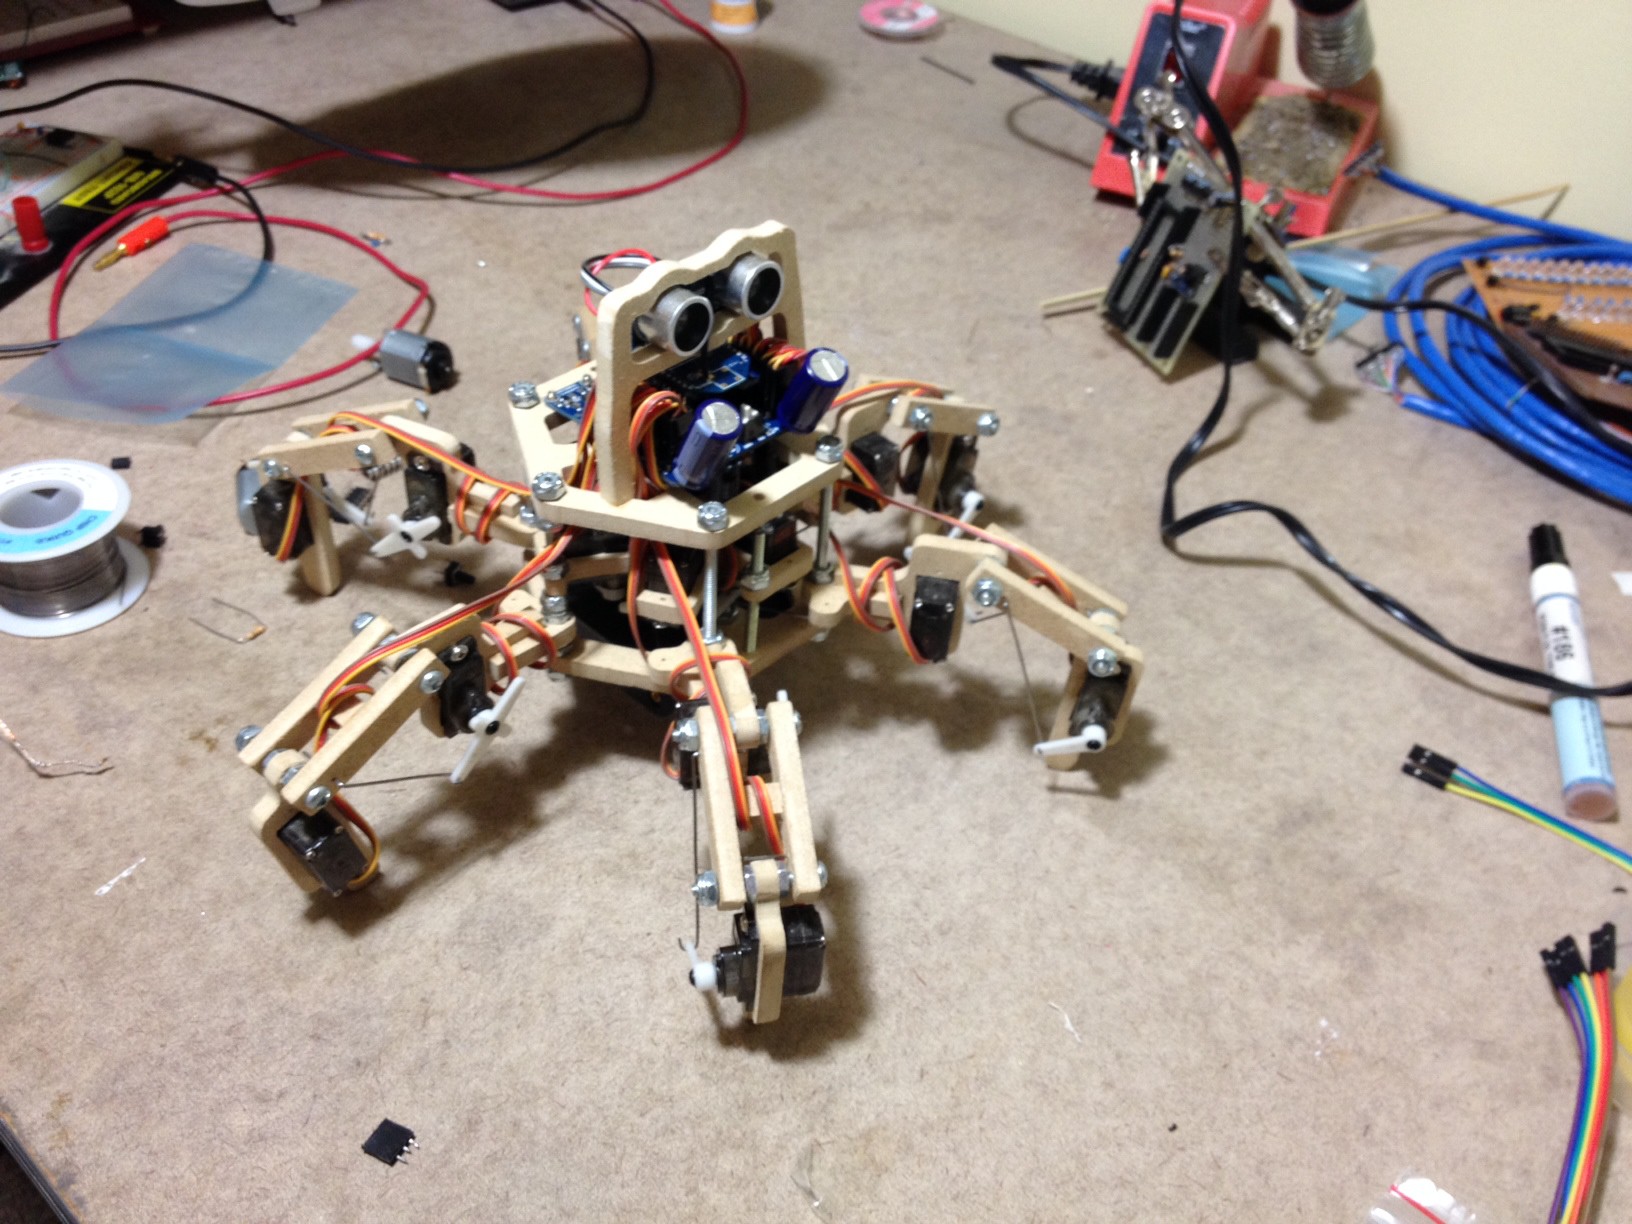
The laser cut frame is definitely lighter than the MDF one, although at the end of the day the total difference is less than I thought - batteries and servos contribute the most to the weight. The laser cut parts do look pretty sweet, though!
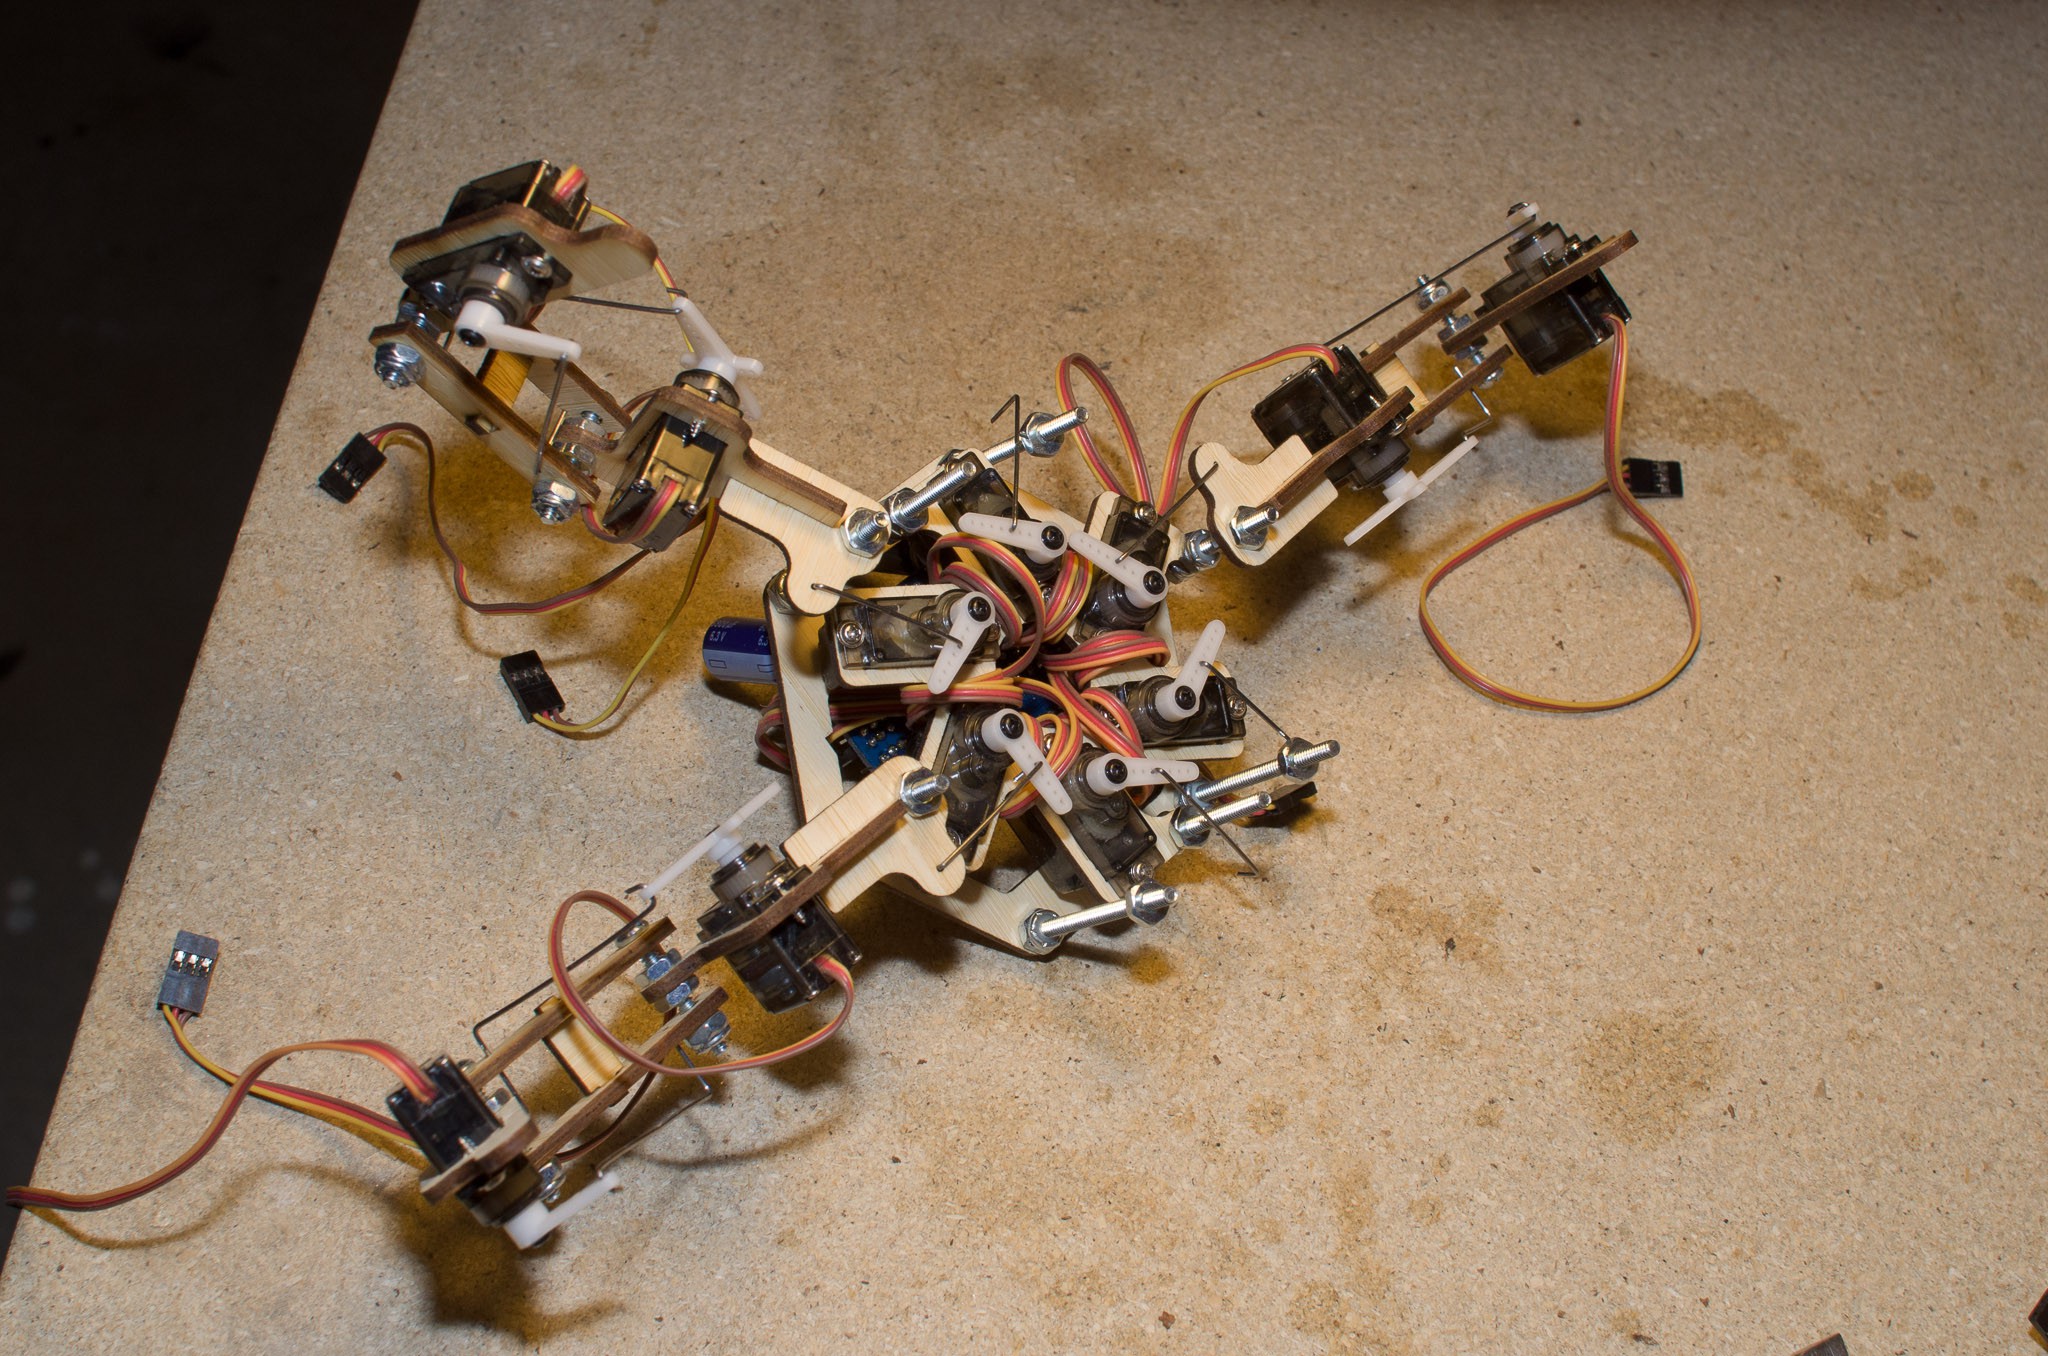
The 'after' shot is included below, with the 'before' shot and some assembly shots included after the break.
Cheers
![]()
![]()
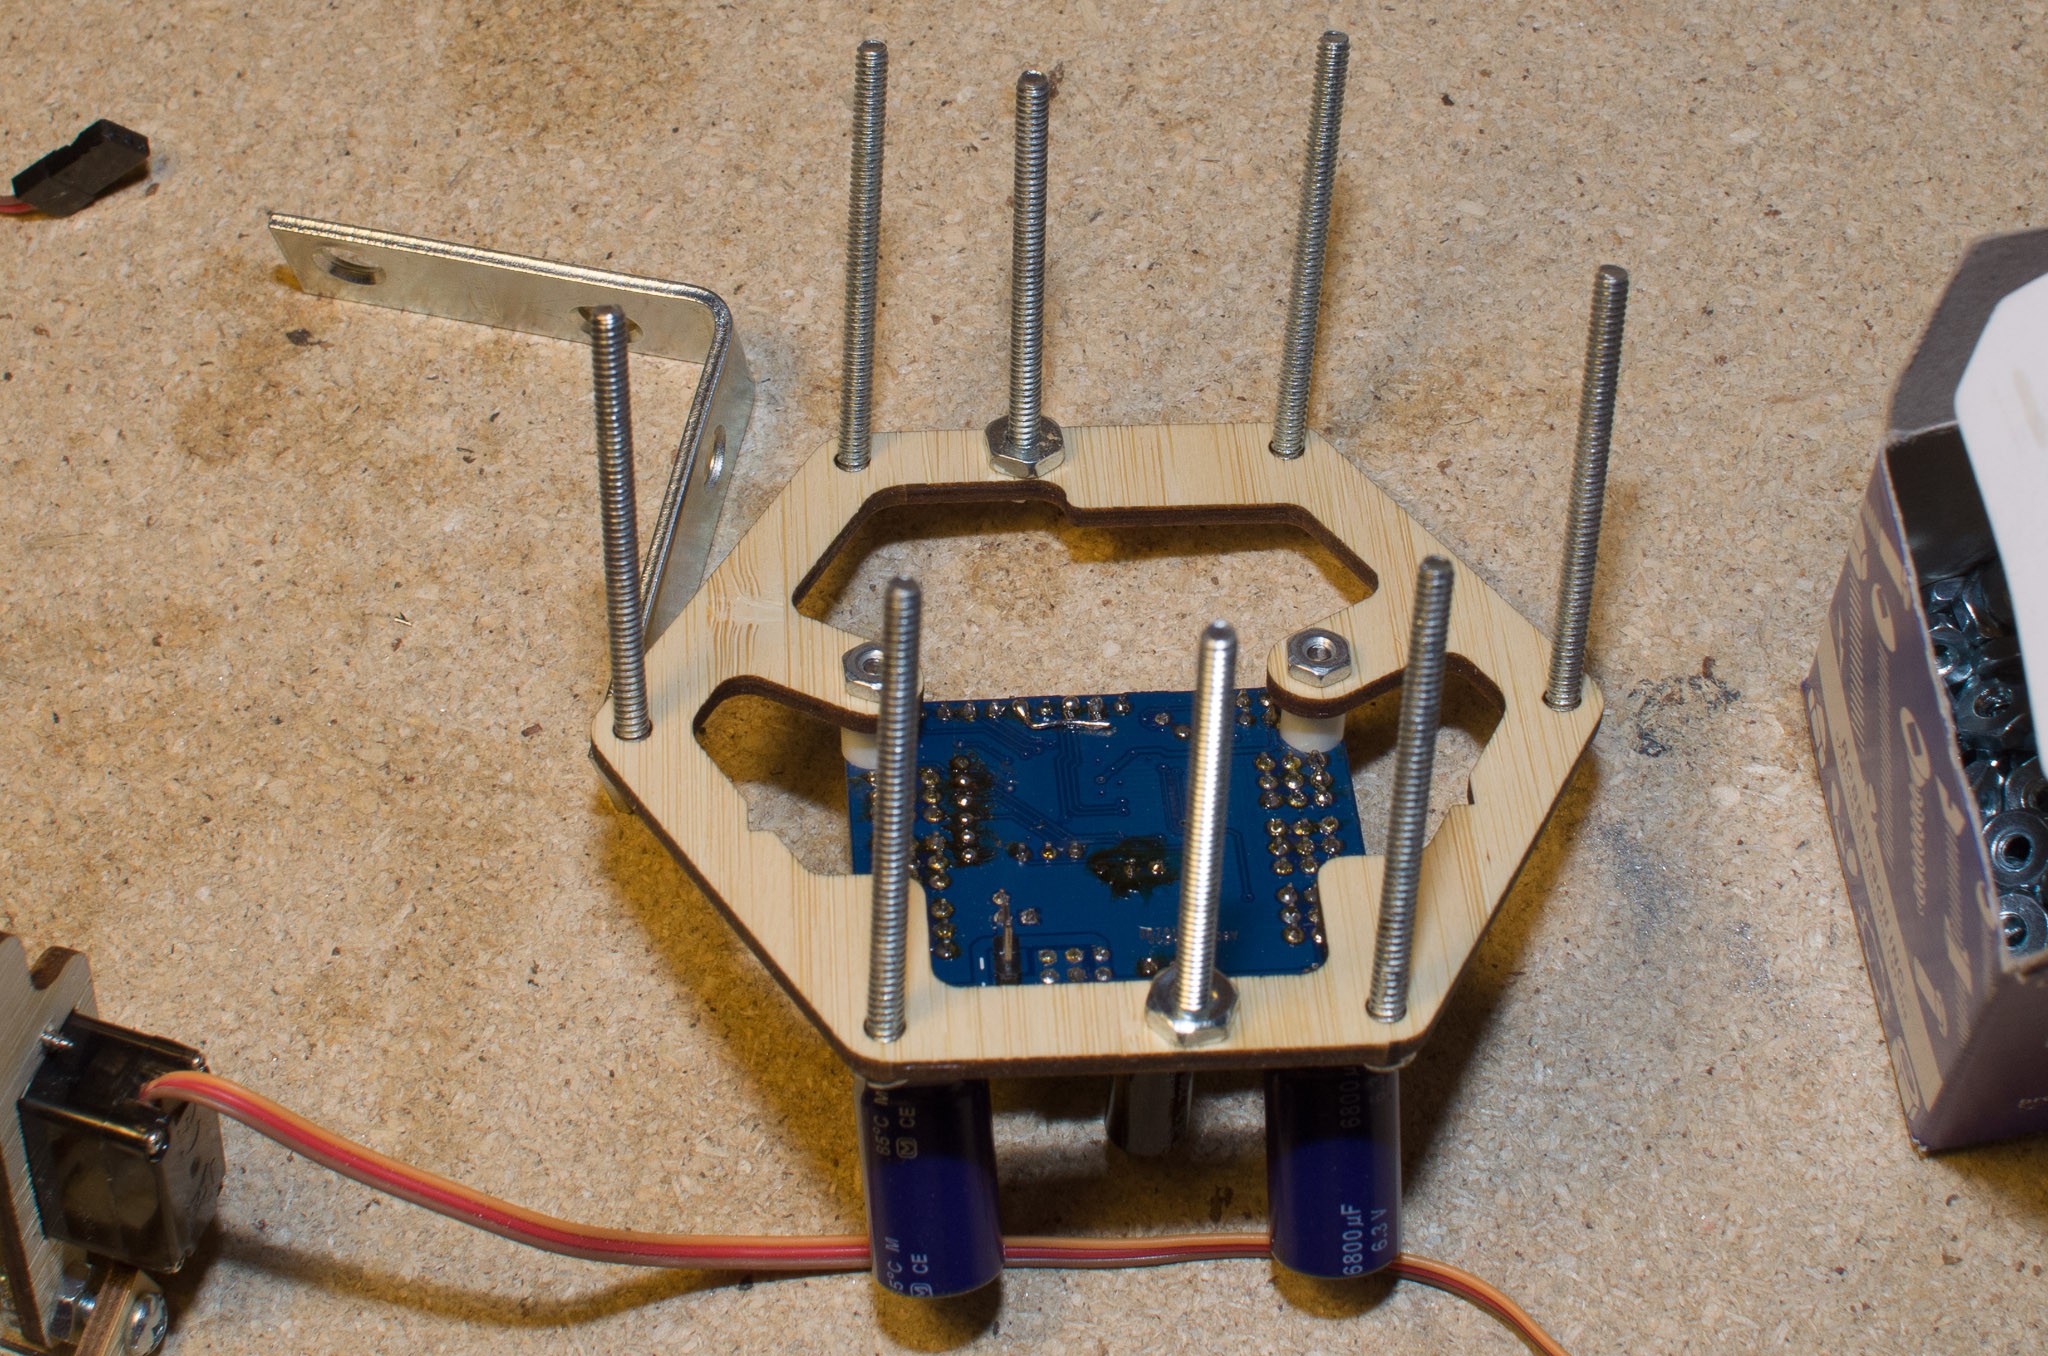
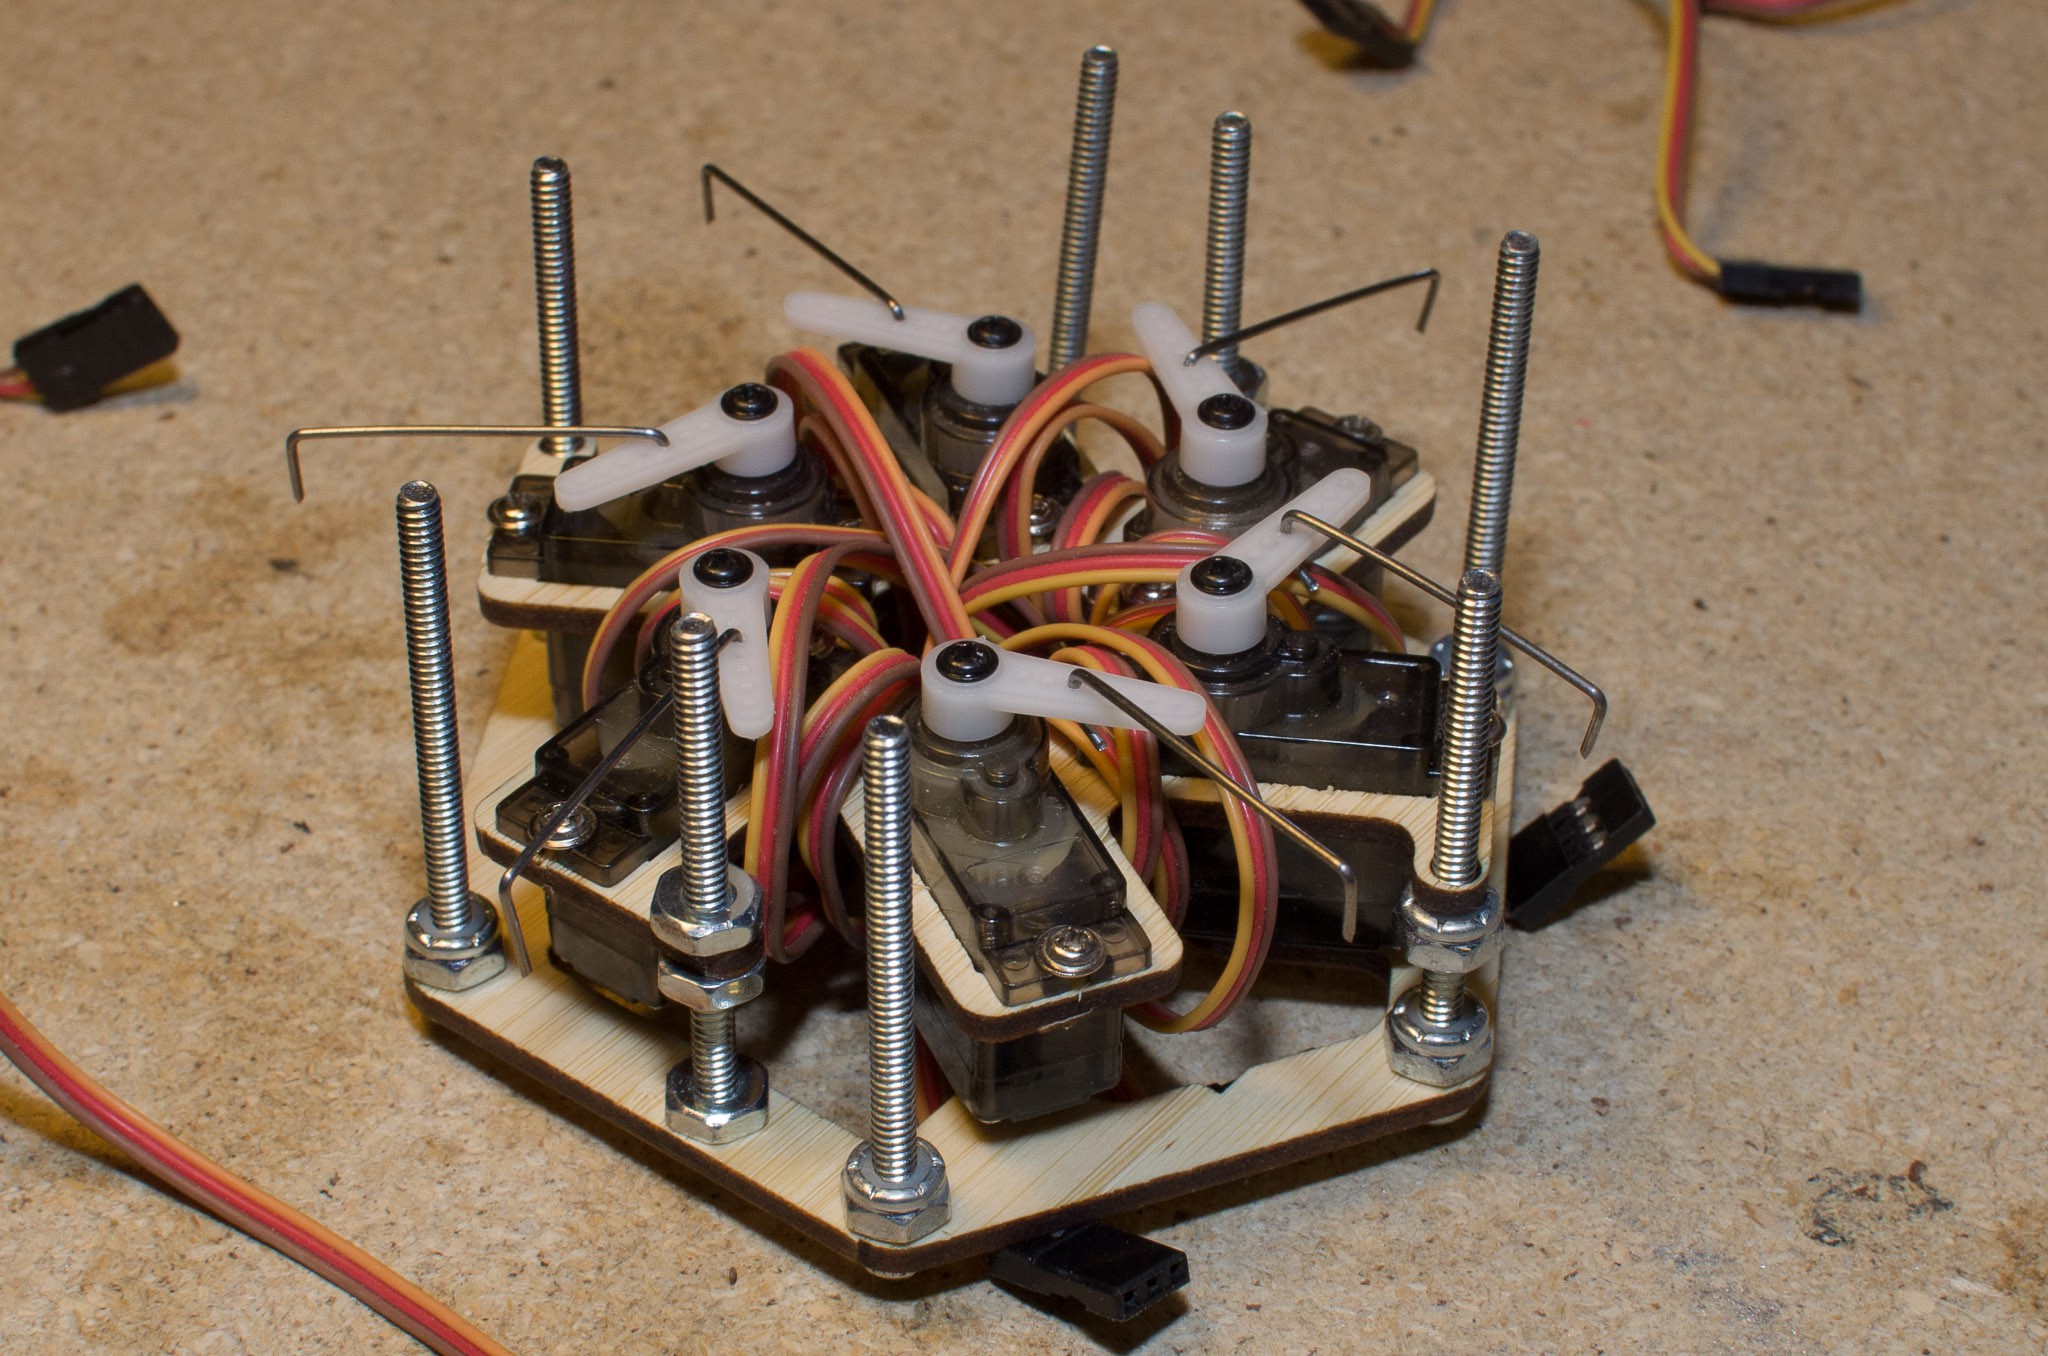
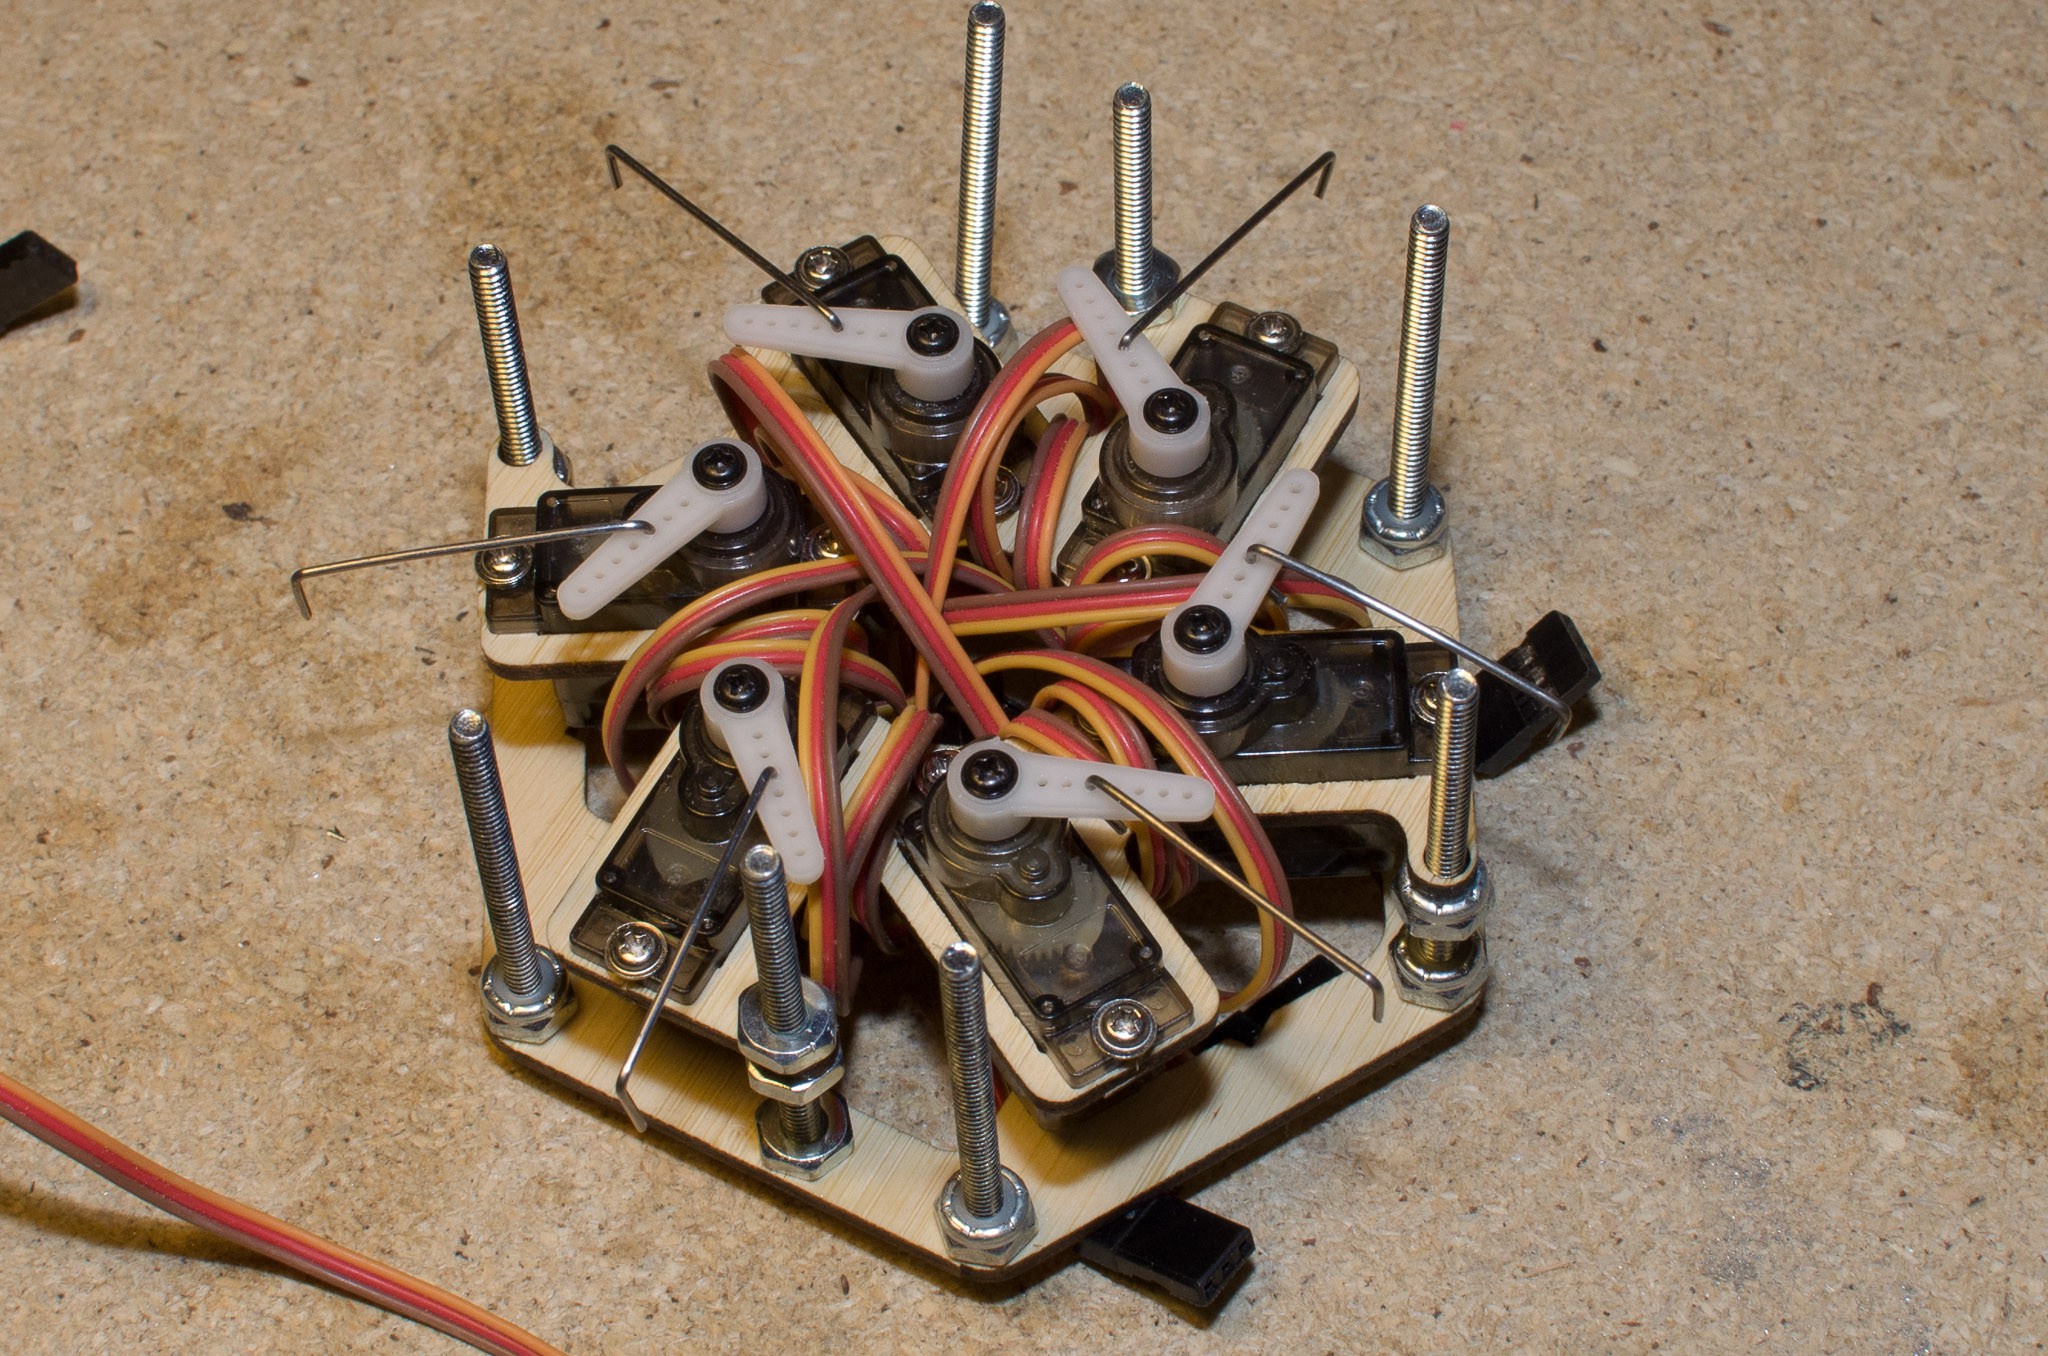
Some assembly shots:
![]()
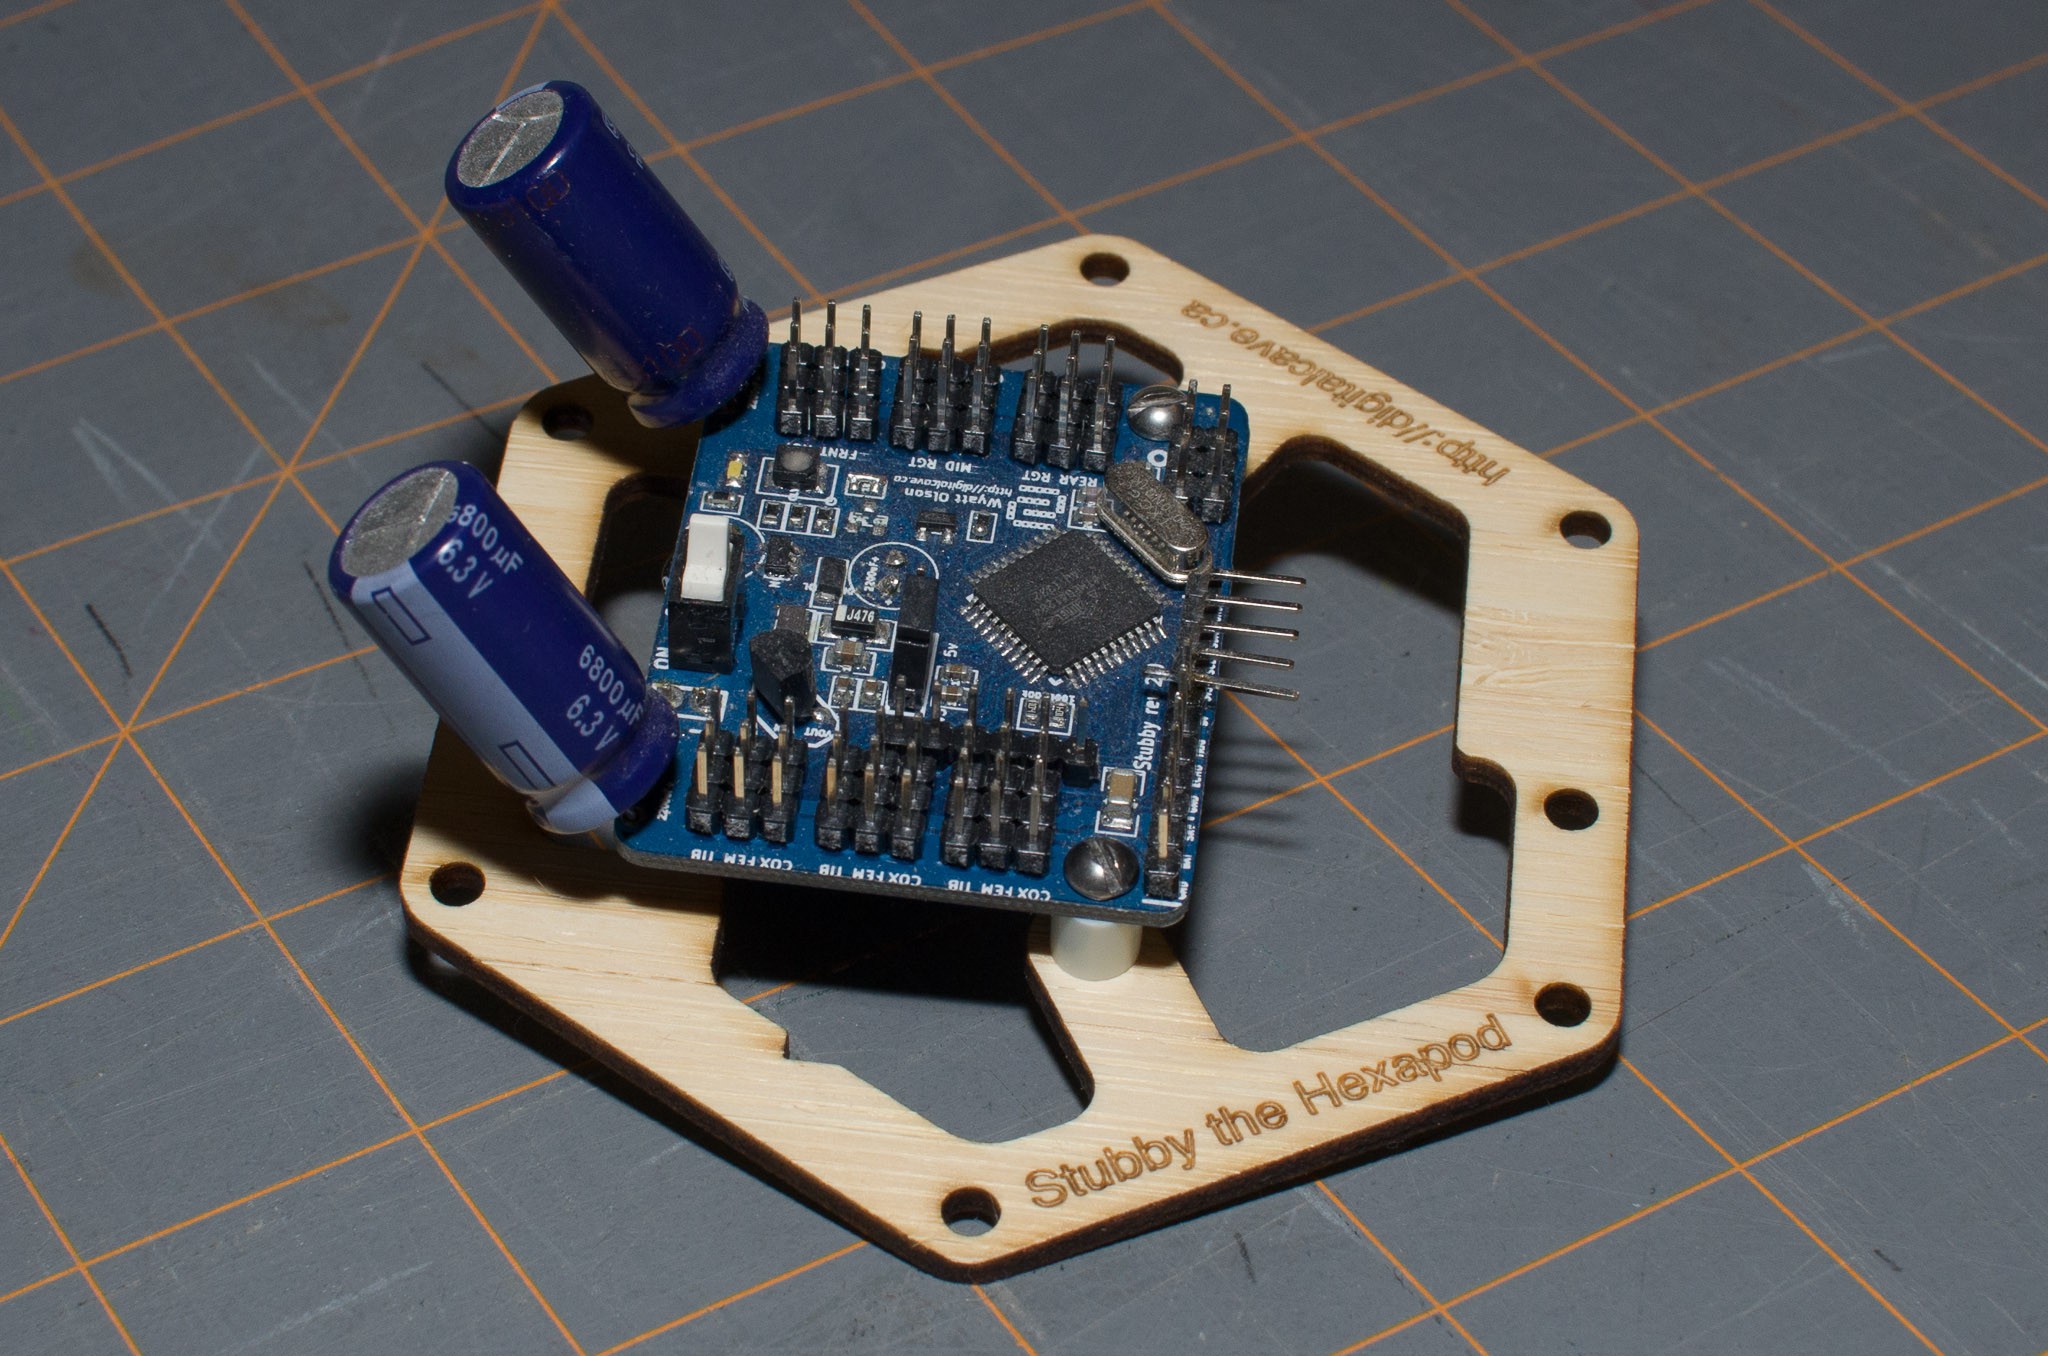
![]() (Note: the two 2200uF caps should be on the top, not the bottom. If they are on the bottom, there is not room for the coxa servos in this thinner stack).
(Note: the two 2200uF caps should be on the top, not the bottom. If they are on the bottom, there is not room for the coxa servos in this thinner stack).![]()
![]()
![]()
![]()
![]()
![]()
![]()
![]()
-
Laser Cut Parts Arrived
11/24/2015 at 00:51 • 1 commentThe laser cut frame for Stubby has arrived today, and things look good overall. I made a couple of mistakes, which have since been resolved in the .dxf file: most notably, the braces between each of the femur parts (which, when glued together, will form an 'H') have slightly too large holes, so that the cross braces do not fit tightly. A second, not as bad, issue is where the distance sensor attaches to the top part of the frame; there is about 1mm too much space. Both of these will be fine with a bit of glue, but I have fixed the .dxf file so that if others try it, it should work fine.
I am not sure how long it will take for me to put this together... I don't have any spare servos, so I would have to disassemble my existing Stubby to assemble this one, and I am reluctant to do that (both for sentimental and time reasons). Furthermore, the servos in the original Stubby are getting a bit worn, which is causing them to jitter a bit; it is probably time for a new batch of servos, but I don't have a spare $50 right now. I'll make the order some time...
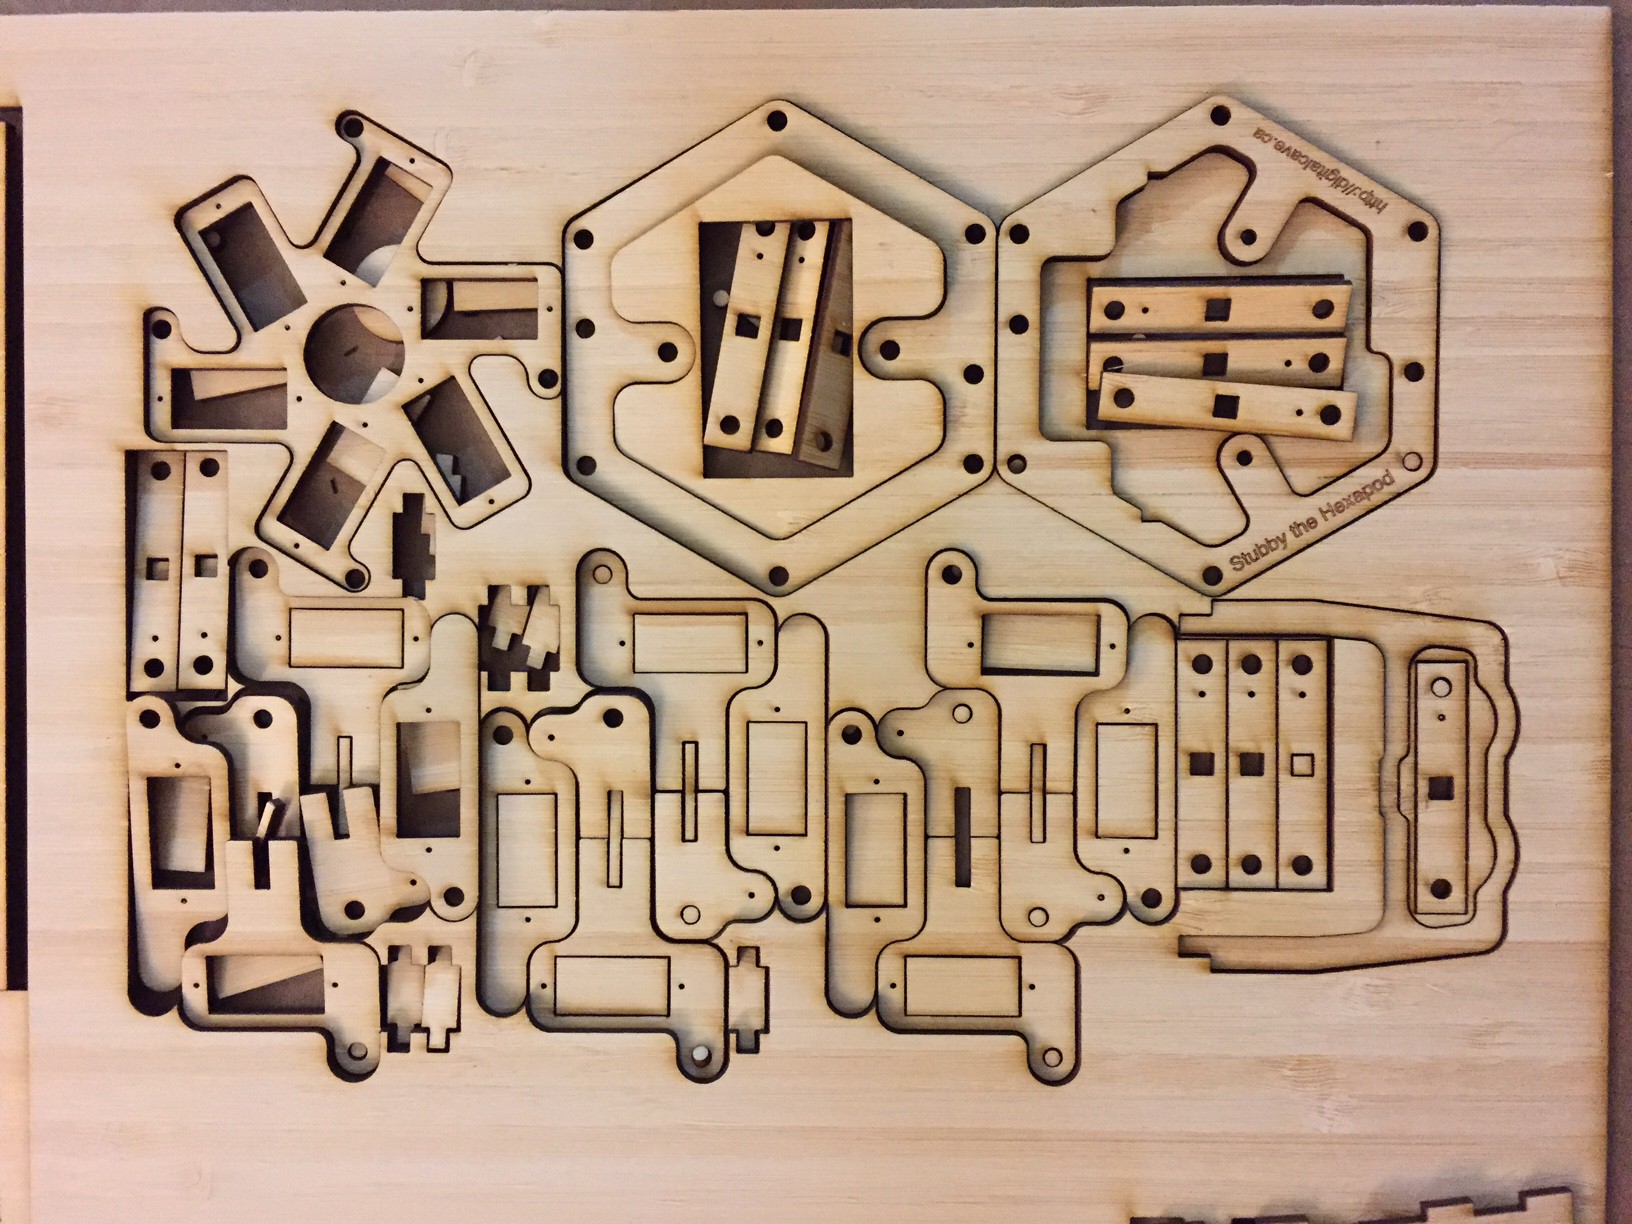
Here is the incoming laser cut plywood, right after pulling the top sticker off (which unfortunately caused some of the smaller parts to move around):
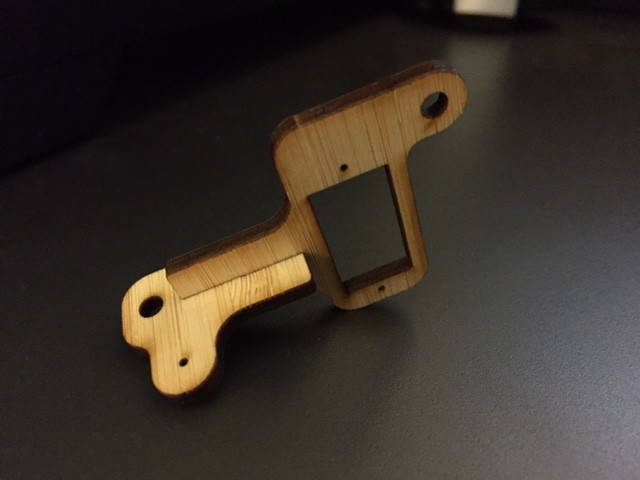
Here is a (poor quality) shot of the coxa joint's two parts, fitting tightly together without any glue. (You will of course want to use glue when assembling the robot, but the fact that it fits this nicely means that the glued joint will be that much better in the end):
-
Official Laser Cutting Template
11/14/2015 at 19:43 • 2 commentsIt's been a while since I have posted an update... I've been working on lots of other projects.
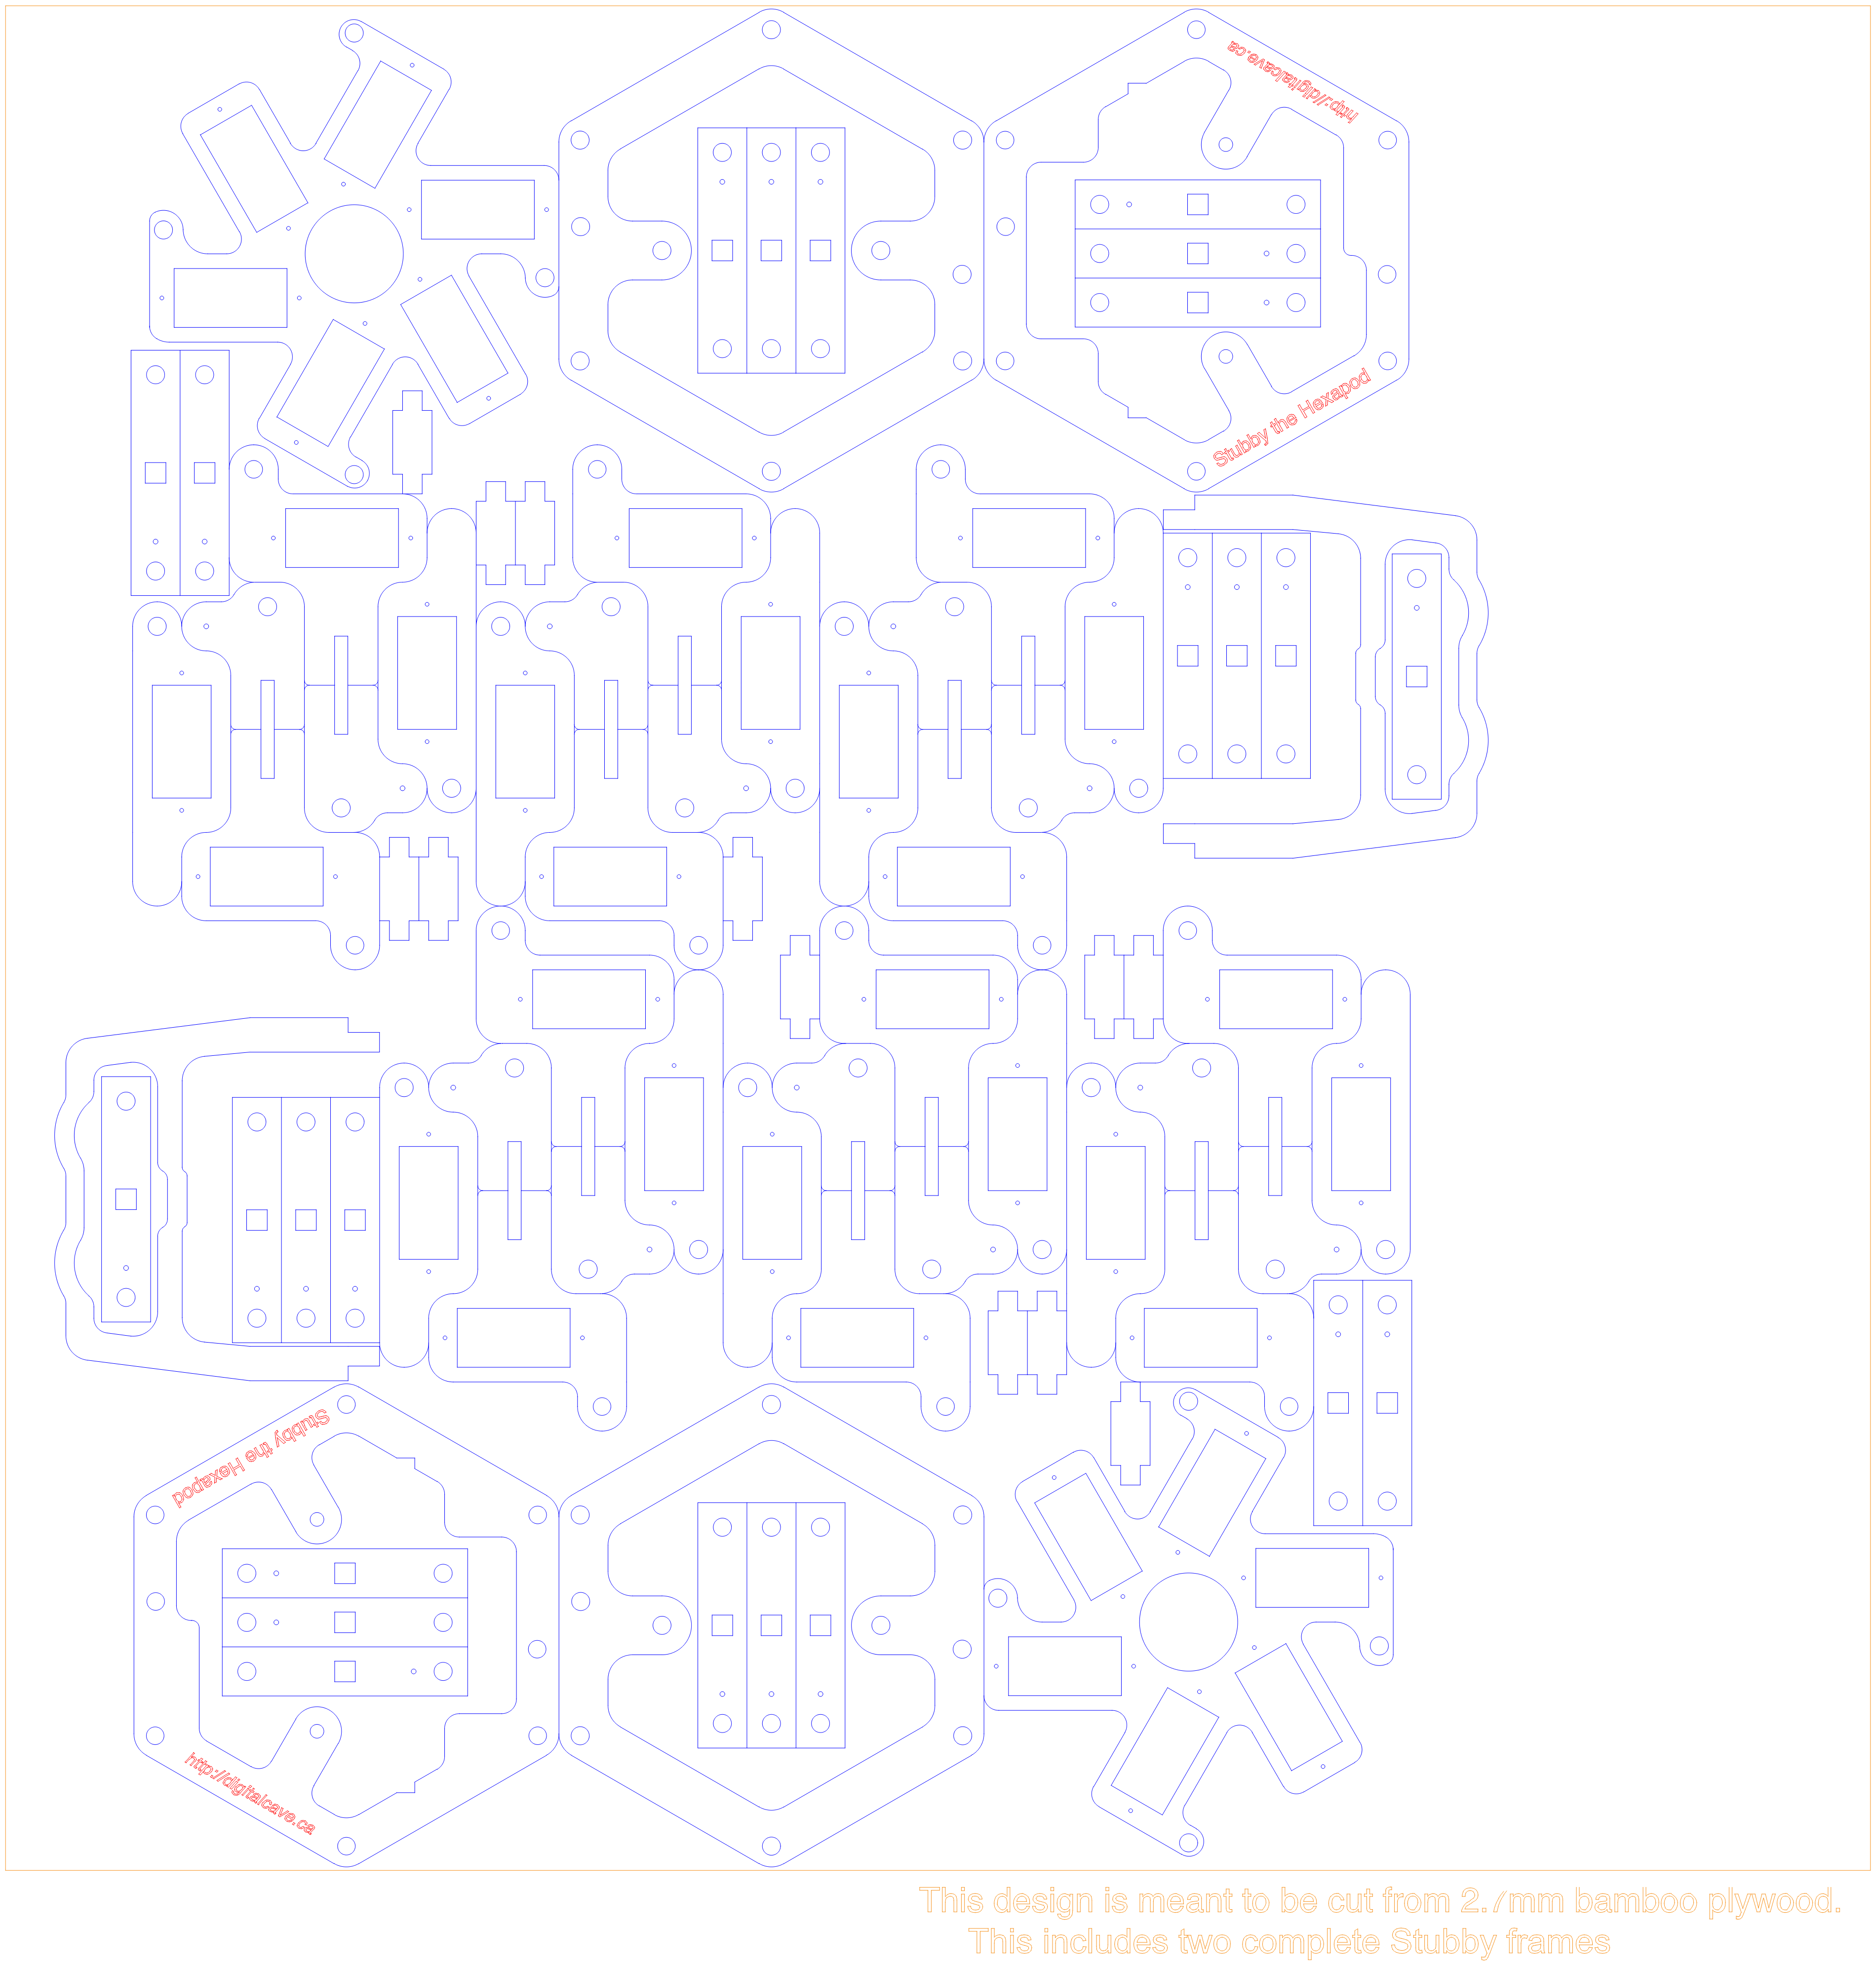
One of my recent projects includes a laser cut faceplate from Ponoko, so I figured I may as well save on shipping and batch something else. Stubby is the obvious candidate for this. I have made some modifications to the original frame to be better suited for laser cutting (removed doubled-up lines, added some engraving text, etc). Two frames fit nicely on a Ponoko P2 template size.
I have just made the order today, so have not yet confirmed that it works properly, but I think that it should as long as I have not messed up the measurements somewhere. If you are interested in trying it out yourself, you can grab the .dxf file from the git repo (right click and select 'save link as' - it is a .dxf, which the browser tries to open as text).
Enjoy!
![]()
-
Another Stubby Moves!
01/12/2015 at 21:38 • 0 commentsDavid S has just sent me a video of his Stubby implementation (a very nice pink and blue 3D printed model) walking. Enjoy!
-
PC-based Universal Controller Emulator working
12/31/2014 at 21:26 • 0 commentsI have finished a preliminary version of a 'Universal Controller Emulator', written in Python. This should help those who want to play with Stubby, but cannot find a PS2 controller to re-purpose.
The program is very simple (currently about 150 lines), and is written in Python (I tested it on python 2.7 in Debian Jessie). It requires the pyserial and pygame libraries (both of which are available across all major platforms).
The controls are simple: use the keyboard to emulate the Universal Controller.
- Hit 'T' to press the Start button on the UC.
- Hit 'Right Control' and 'Left Control' to press the R2 and L2 buttons on the UC
- Use WASD keys to emulate the left joystick
- Use the arrow keys to emulate the right joystick
That's all that is implemented so far (and that is all that is currently used by Stubby). If you want to extend this program to support other keys, it would be very easy to do so.Note that in order to get key press / release events working in a cross platform manner, I need to use pygame (and I need to open a SDL window, which in turn requires focus). It is just an empty, black window at 320x200 pixels in size. I'm not a fan of it, but it works.
You can download this program from the GitHub repository, under the 'python' folder.
Cheers
-
Building on Windows
12/30/2014 at 20:13 • 0 commentsI don't use Windows at all, so my workflow has always been very Linux-centric. A couple days ago, Chris emailed me with some questions about building on Windows... it turns out that there were a few problems. There were symlinks in my git repo, some filenames didn't work properly on Windows, and compilation failed with a few different problems when using the (older - released in 2010) avr-gcc for Windows.
To get things working better, I split Stubby source into its own github repository (previously, it was lumped in with all my other projects), and removed all symlinks. I fixed the code in a couple places where Windows didn't like it. However there was still the problem when compiling using avr-gcc versions older than 4.8; when you tried to do this, you would get a bunch of errors from the math libraries:
c:/winavr-20100110/bin/../lib/gcc/avr/4.3.3/../../../../avr/lib/avr51\libm.a(atan2.o): In function `atan2':(.text.avr-libc.fplib+0x70): relocation truncated to fit: R_AVR_13_PCREL againstsymbol `__addsf3' defined in .text section in

c:/winavr-20100110/bin/../lib/gcc/avr/4.3.3/avr51\libgcc.a(_addsub_sf.o)

c:/winavr-20100110/bin/../lib/gcc/avr/4.3.3/../../../../avr/lib/avr51\libm.a(inverse.o): In function `inverse':(.text.avr-libc.fplib+0xc): relocation truncated to fit: R_AVR_13_PCREL againstsymbol `__divsf3' defined in .text section in

c:/winavr-20100110/bin/../lib/gcc/avr/4.3.3/avr51\libgcc.a(_div_sf.o)

c:/winavr-20100110/bin/../lib/gcc/avr/4.3.3/../../../../avr/lib/avr51\libm.a(pow.o): In function `pow':(.text.avr-libc.fplib+0x94): relocation truncated to fit: R_AVR_13_PCREL againstsymbol `__mulsf3' defined in .text section in

c:/winavr-20100110/bin/../lib/gcc/avr/4.3.3/avr51\libgcc.a(_mul_sf.o)

c:/winavr-20100110/bin/../lib/gcc/avr/4.3.3/../../../../avr/lib/avr51\libm.a(square.o): In function `square':(.text.avr-libc.fplib+0x4): relocation truncated to fit: R_AVR_13_PCREL againstsymbol `__mulsf3' defined in .text section in

c:/winavr-20100110/bin/../lib/gcc/avr/4.3.3/avr51\libgcc.a(_mul_sf.o)

c:/winavr-20100110/bin/../lib/gcc/avr/4.3.3/../../../../avr/lib/avr51\libm.a(log.o): In function `log':(.text.avr-libc.fplib+0x46): relocation truncated to fit: R_AVR_13_PCREL againstsymbol `__addsf3' defined in .text section in

c:/winavr-20100110/bin/../lib/gcc/avr/4.3.3/avr51\libgcc.a(_addsub_sf.o)

c:/winavr-20100110/bin/../lib/gcc/avr/4.3.3/../../../../avr/lib/avr51\libm.a(log.o): In function `log':(.text.avr-libc.fplib+0x4e): relocation truncated to fit: R_AVR_13_PCREL againstsymbol `__addsf3' defined in .text section in

c:/winavr-20100110/bin/../lib/gcc/avr/4.3.3/avr51\libgcc.a(_addsub_sf.o)

c:/winavr-20100110/bin/../lib/gcc/avr/4.3.3/../../../../avr/lib/avr51\libm.a(log.o): In function `log':(.text.avr-libc.fplib+0x6a): relocation truncated to fit: R_AVR_13_PCREL againstsymbol `__floatsisf' defined in .text section in

c:/winavr-20100110/bin/../lib/gcc/avr/4.3.3/avr51\libgcc.a(_si_to_sf.o)

c:/winavr-20100110/bin/../lib/gcc/avr/4.3.3/../../../../avr/lib/avr51\libm.a(modf.o): In function `modff':(.text.avr-libc.fplib+0x3e): relocation truncated to fit: R_AVR_13_PCREL againstsymbol `__subsf3' defined in .text section in

c:/winavr-20100110/bin/../lib/gcc/avr/4.3.3/avr51\libgcc.a(_addsub_sf.o)make: *** [stubby.out] Error 1
This problem is apparently quite common, and there are tons of references on how to fix it (specifically, don't use -mshort-calls option). However I was not using it. Finally I found a post on a forum which indicated that the problem is that the linker was trying to get the math functions from libgcc rather than avr-libc. The solution was to put -lc and -lm near the beginning of the compiler command, and -lc again at the end. Sure enough, it works! I have now fixed the Makefile, and things should be working on winavr as well as other older versions of avr-gcc.
To recap: to compile in Windows, you need to download the code (see the links section at the side for the Github Stubby repository), and then compile using whatever semi-modern avr-gcc you want to (I used the 2010-01-10 version but feel free to use more recent ones if you can find them).
-
Another Third Party Build Completed.
11/20/2014 at 01:40 • 0 commentsI just received an email today from A.C., who informed me that his Stubby build is now completed. He sent the following video to share:
This build features laser cut parts (MDF, I think, although I am not positive), and a Rev 2.0 PCB.
Congrats on a great build!
Cheers
-
High Resolution Photos
11/16/2014 at 22:46 • 0 commentsAs promised, below are some high(er) resolution photos of the newest frame + distance sensors.
![]()
![]()
![]()
As for the status, I have not done a lot of work on Stubby recently. There is an oustanding bug with the Processor API turn command: when turning to a specified heading, Stubby will overshoot and then bounce back and forth. I may end up converting to an actual PID routine for this... currently I am using a PID-like approximation, but it doesn't give me much control in tuning. I just don't know when I will do the final bits... I am still a bit overdosed from all the time spent in the beginning of October, before the finalists list was announced.
Cheers
-
Project Update
10/15/2014 at 17:54 • 0 commentsSo it has been a little while since my last log. I assure you that I am still alive and kicking. Things have been a bit slow, due to the culmination of many parts of the project, but at this point everything seems to be working, and I have just merged my changes from the development branch to master.
A summary of what we have accomplished in the past week:
- Re-cut the top layer of the frame to accommodate the rev2 PCB and Adafruit magnetometer (see photos below)
- Mounted the distance sensor to the frame (unfortunately the distance sensor mounting piece pushes us over the arbitrary limit of fitting everything on a 8.5x11" sheet of MDF)
- Moved all of the most commonly customized values (what revision of the board are we using? is there a magnetometer? is there a distance sensor? what is the mounting angle of the magnetometer? is there a customized CPU clock speed?) to a file hardware.mk which is included from the main Makefile. This allows for easy customizations without having to modify a large number of header files; future git updates of the source code can then easily proceed without conflicts.
- Added functionality to Processing API to support reading heading and distance
- Updated the rev2.1 board design to address issues found in the rev2.0 board
Some pictures of the latest Stubby instance... higher quality photos will be forthcoming, but this should suffice for now.
Cheers
-
Revision 2.0 Board Errata
10/10/2014 at 03:29 • 0 commentsSo I have wasted far too many hours these last few days trying to get the Rev 2.0 board to work properly. In the process, I have discovered the following errors. If anyone is using this version of the board, please be aware of these required changes.
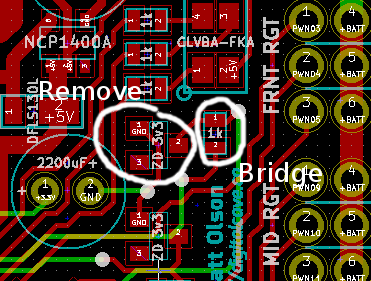
- Remove the 3v3 zener diode and resistor between Serial TX and AVR RX, and bridge where the resistor used to be. This is the zener and resistor which are closest to the RGB LED (see screenshot below). I am not sure why this is causing problems; from my understanding of this sort of thing, it should have been perfectly fine (and it works perfectly fine the other way, going from AVR TX to Serial RX). It is possible that I had a bad solder connection. If someone has tried this and got it to work, please let me know.
![]()
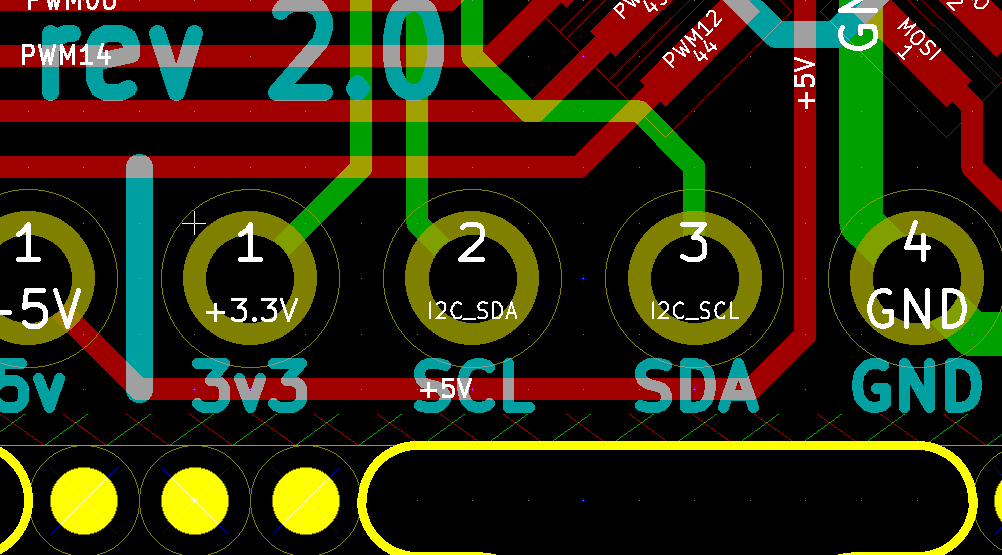
- The SCL and SDA labels on the board are reversed. As you can see in this screenshot, the net names are correct but the labels are not:
![]()
- Pullup resistors on SDA and SCL are required (I used 1k for Rev 1 and had good success there). I had left them off this board since the magnetometer board I selected had 10k resistors built in, but apparently 10k resistors are not enough for high speed i2c communication. If you do not want to put on additional resistors, feel free to reduce i2c speed by using the TWI_FREQ define (from what I have seen, setting it to something like 100000L works). For reference, the default value is 400000L.
All of these bugs have been (or are in the process of being) fixed in Rev 2.1.
Cheers
Stubby the (Teaching) Hexapod
100% open source robot platform with accessability and affordability in mind: teaching children of all ages about robots & programming
 The Big One