-
Resin cast bracket
10/05/2015 at 18:03 • 0 commentsThe design of the printer revolved around 3 layers of lasercut MDF. which in turn are bolted to 3 vertical lengths of openbuilds 2020 extrusion, for linear motion and a sturdy frame.
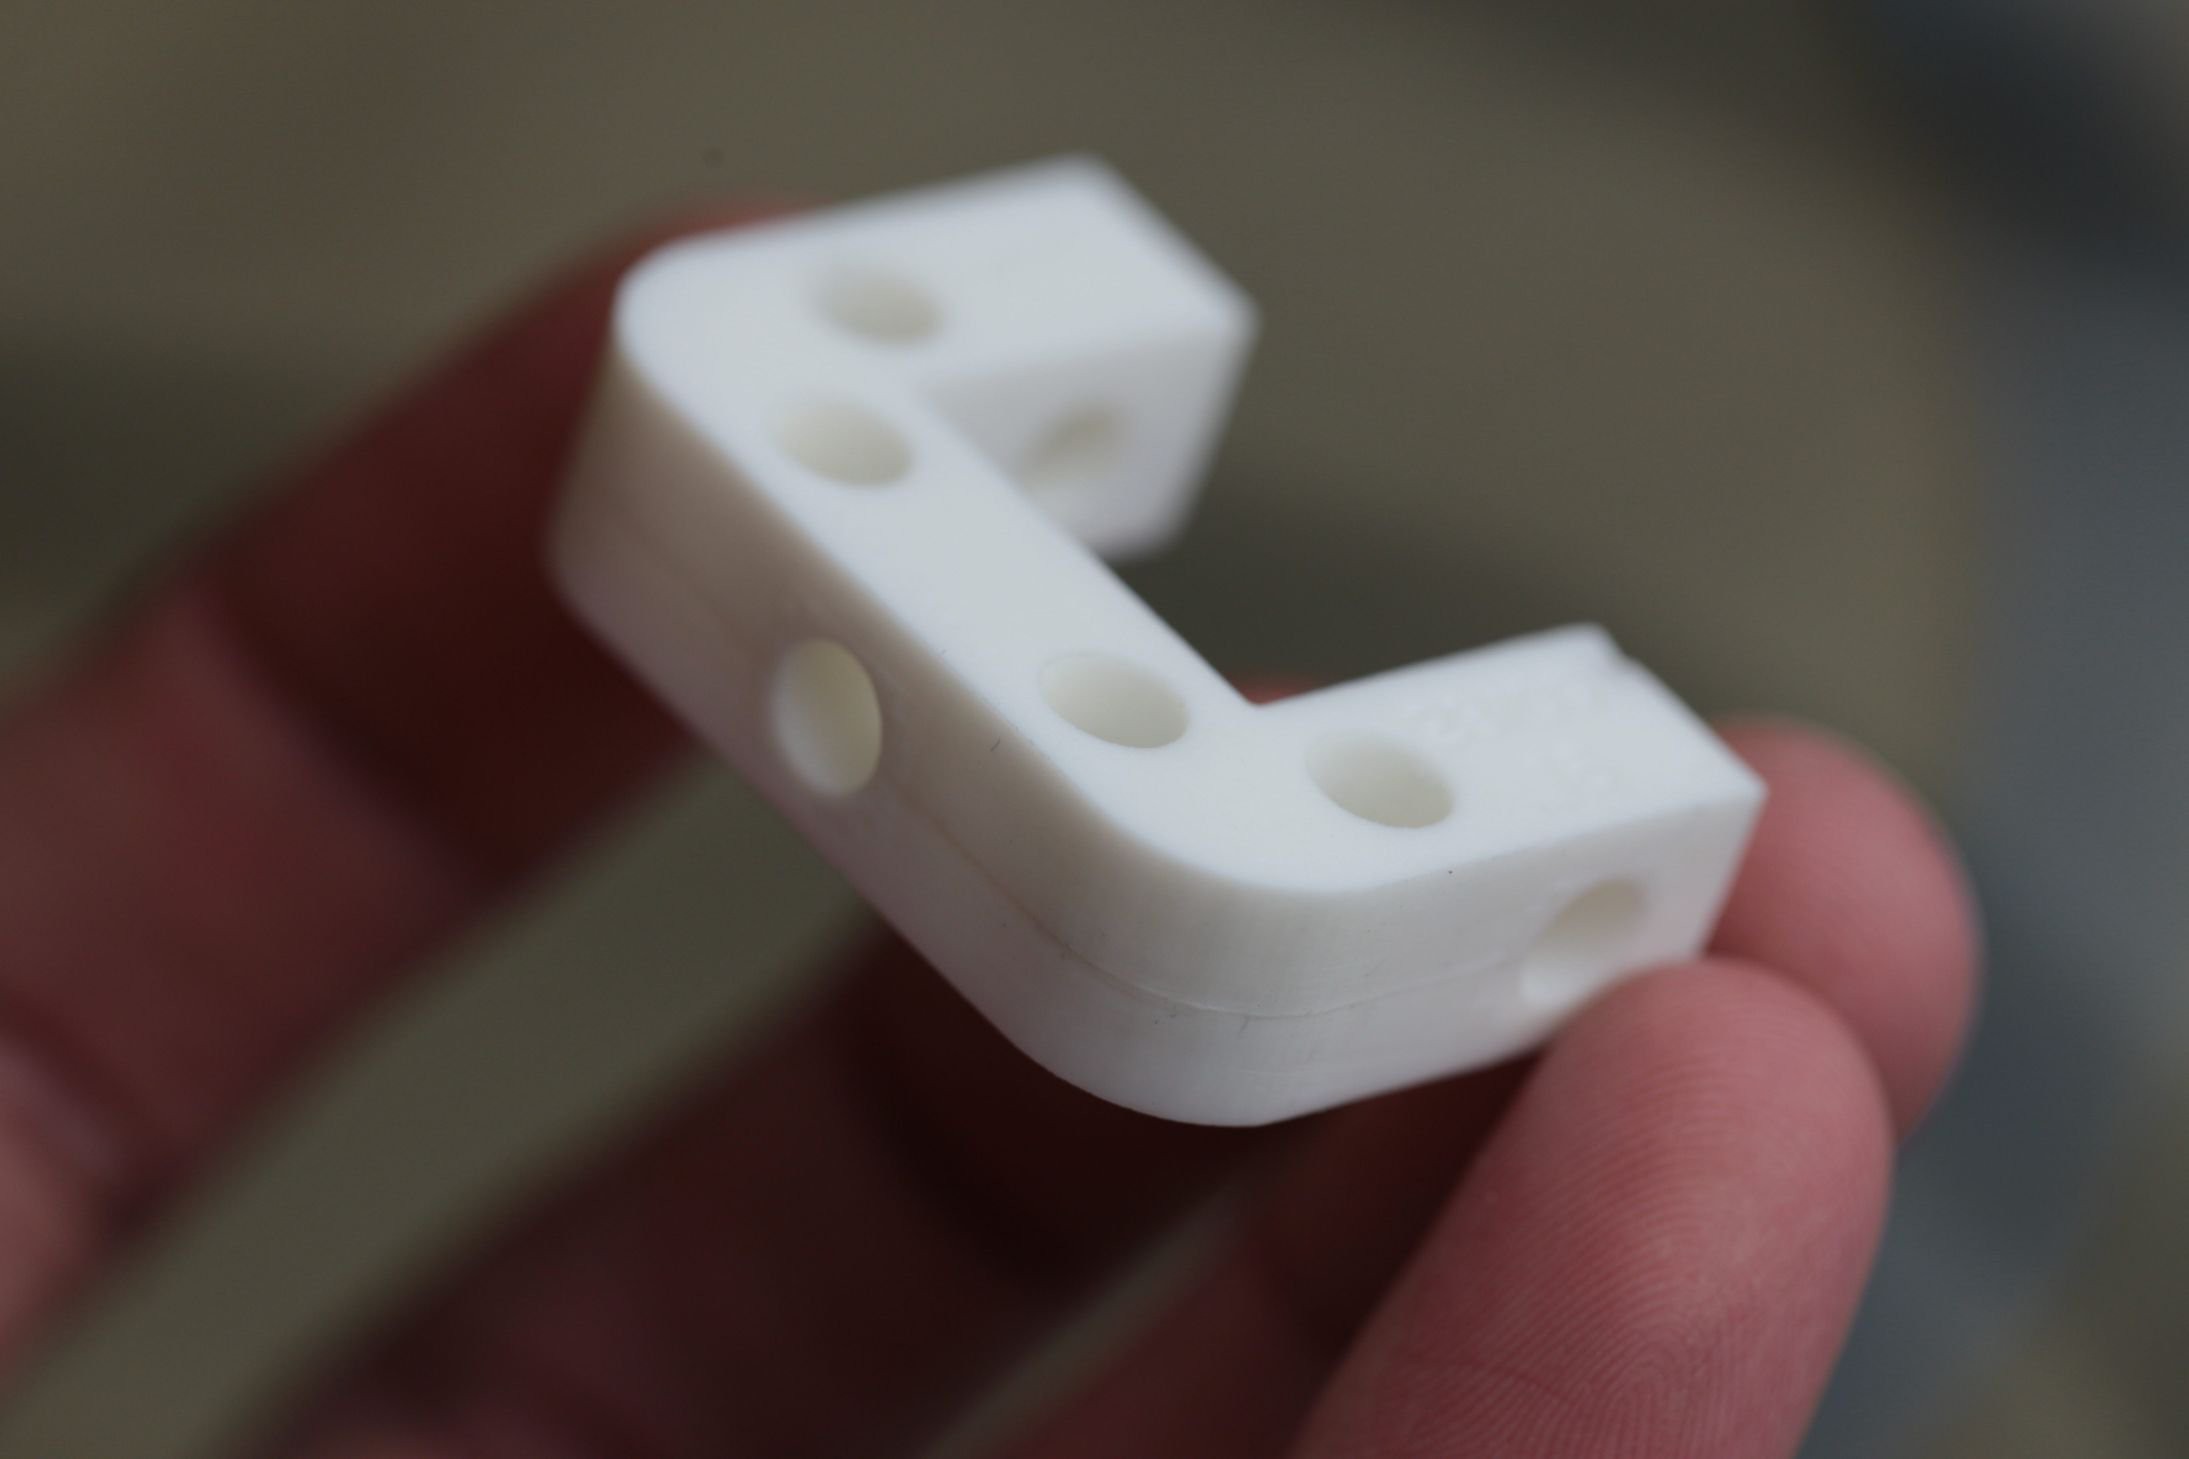
In order to securely attach the lasercut plywood to the extrusion I designed a simple bracket.
![]()
As you can see it has 4 holes that match with the horizontal plane of the MDF. Then 3 holes around the central extrusion allow it to be bolted solid. Due to the complex geometry of this part it cannot be made in a single mold.
![]()
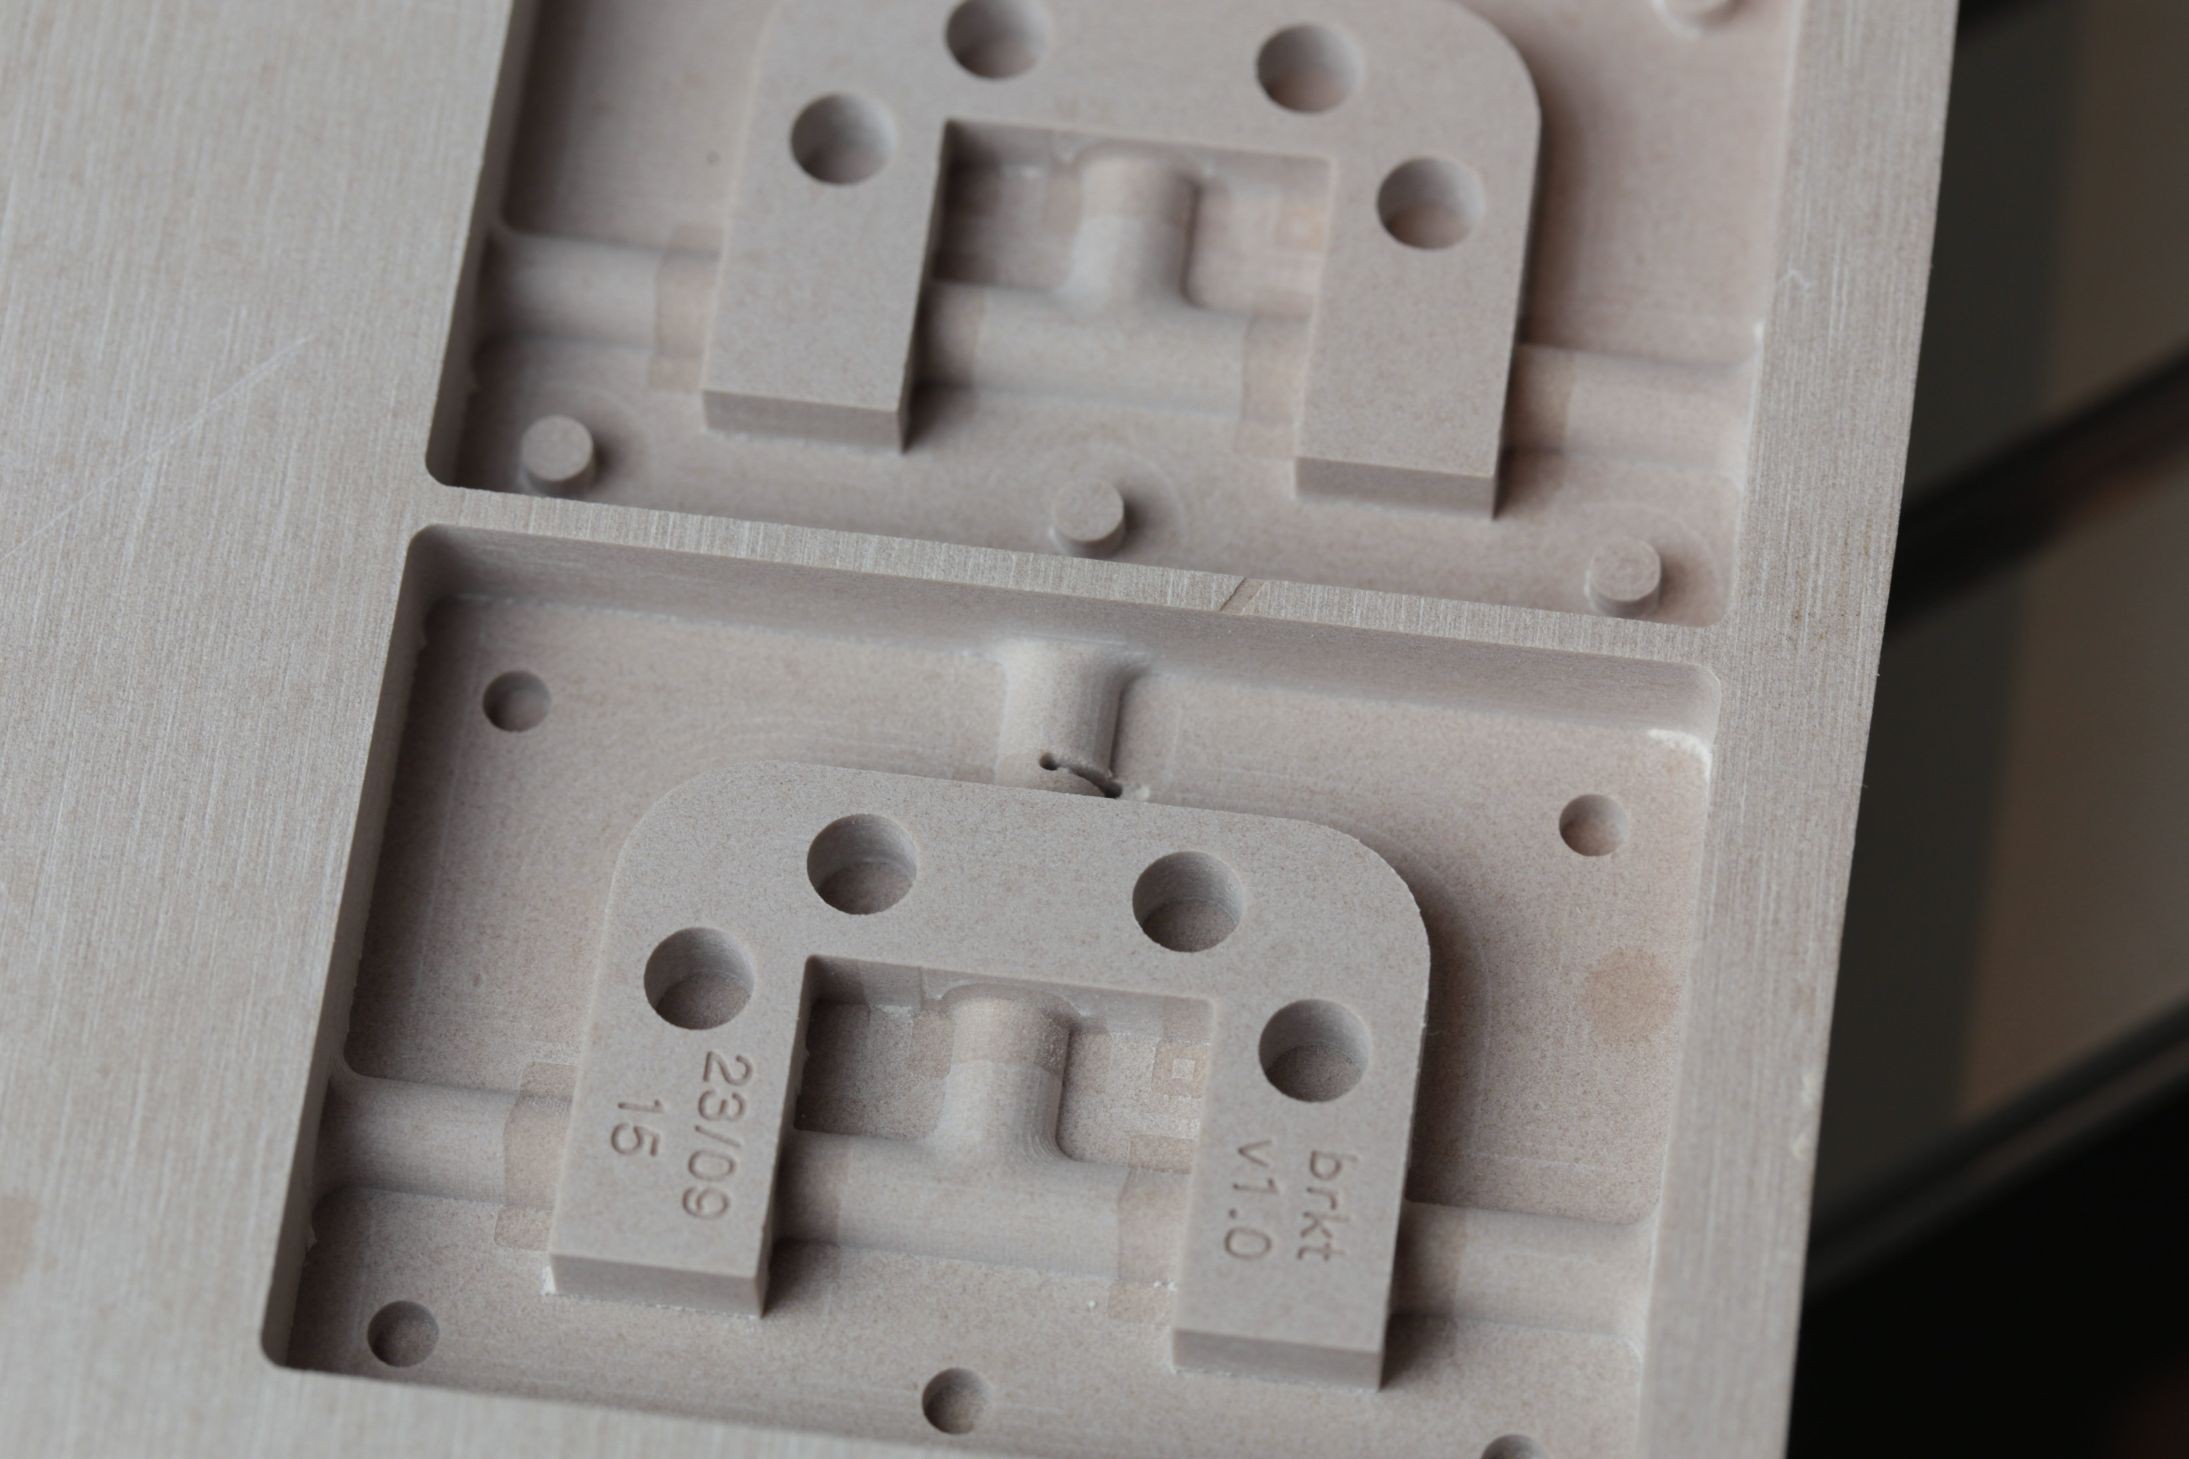
My solution to this was to create a two part mold. And utilize rod stock during the casting process to form the horizontal holes.
You can see the difference in surface apperance from the 3.2mm rough pass and the 1mm cleanup pass. I am still perfecting good tool paths.
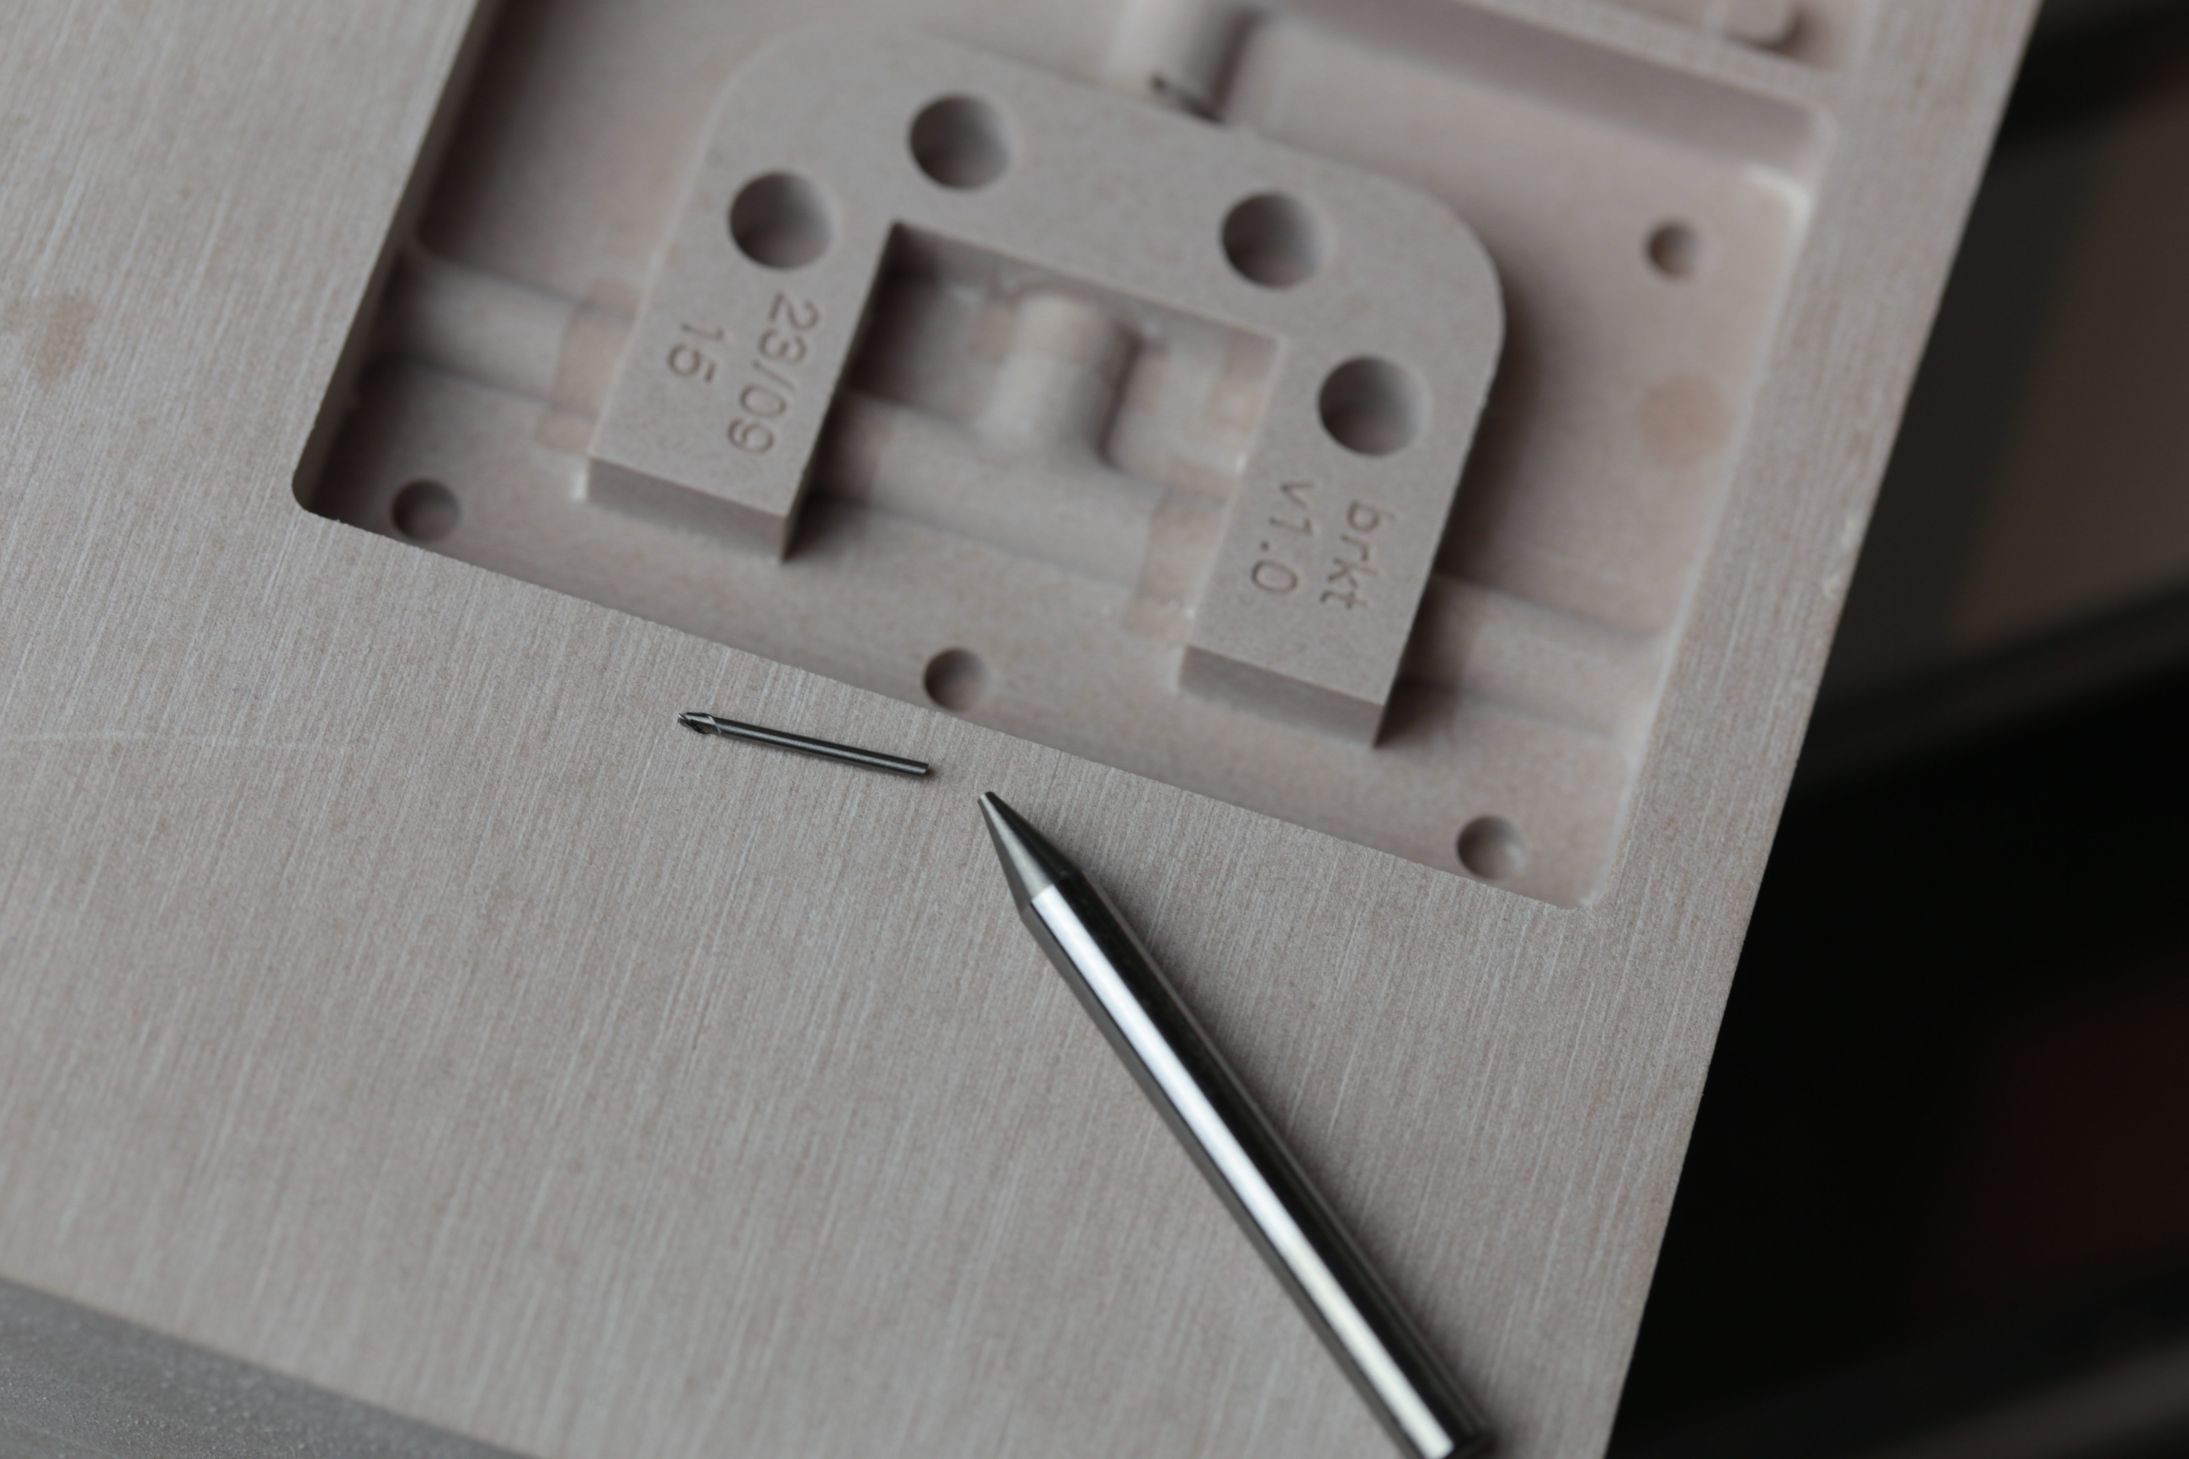
On the topic of good tool paths I made a blunder, and when re-zeroing my Z axis after a tool change entered the wrong value. The astute eye can easily notice the location this break occured in the above shot. I did not re-do the mod as this blemish can be easily removed from the silicone mold.
![]()
A $20 +p/h mistake, I have always kept 2 tools of each size on hand, so my work wasn't stalled. I have promptly ordered a new one. (They're not stock items at my local machinist store, so they need to be ordered in)
![]()
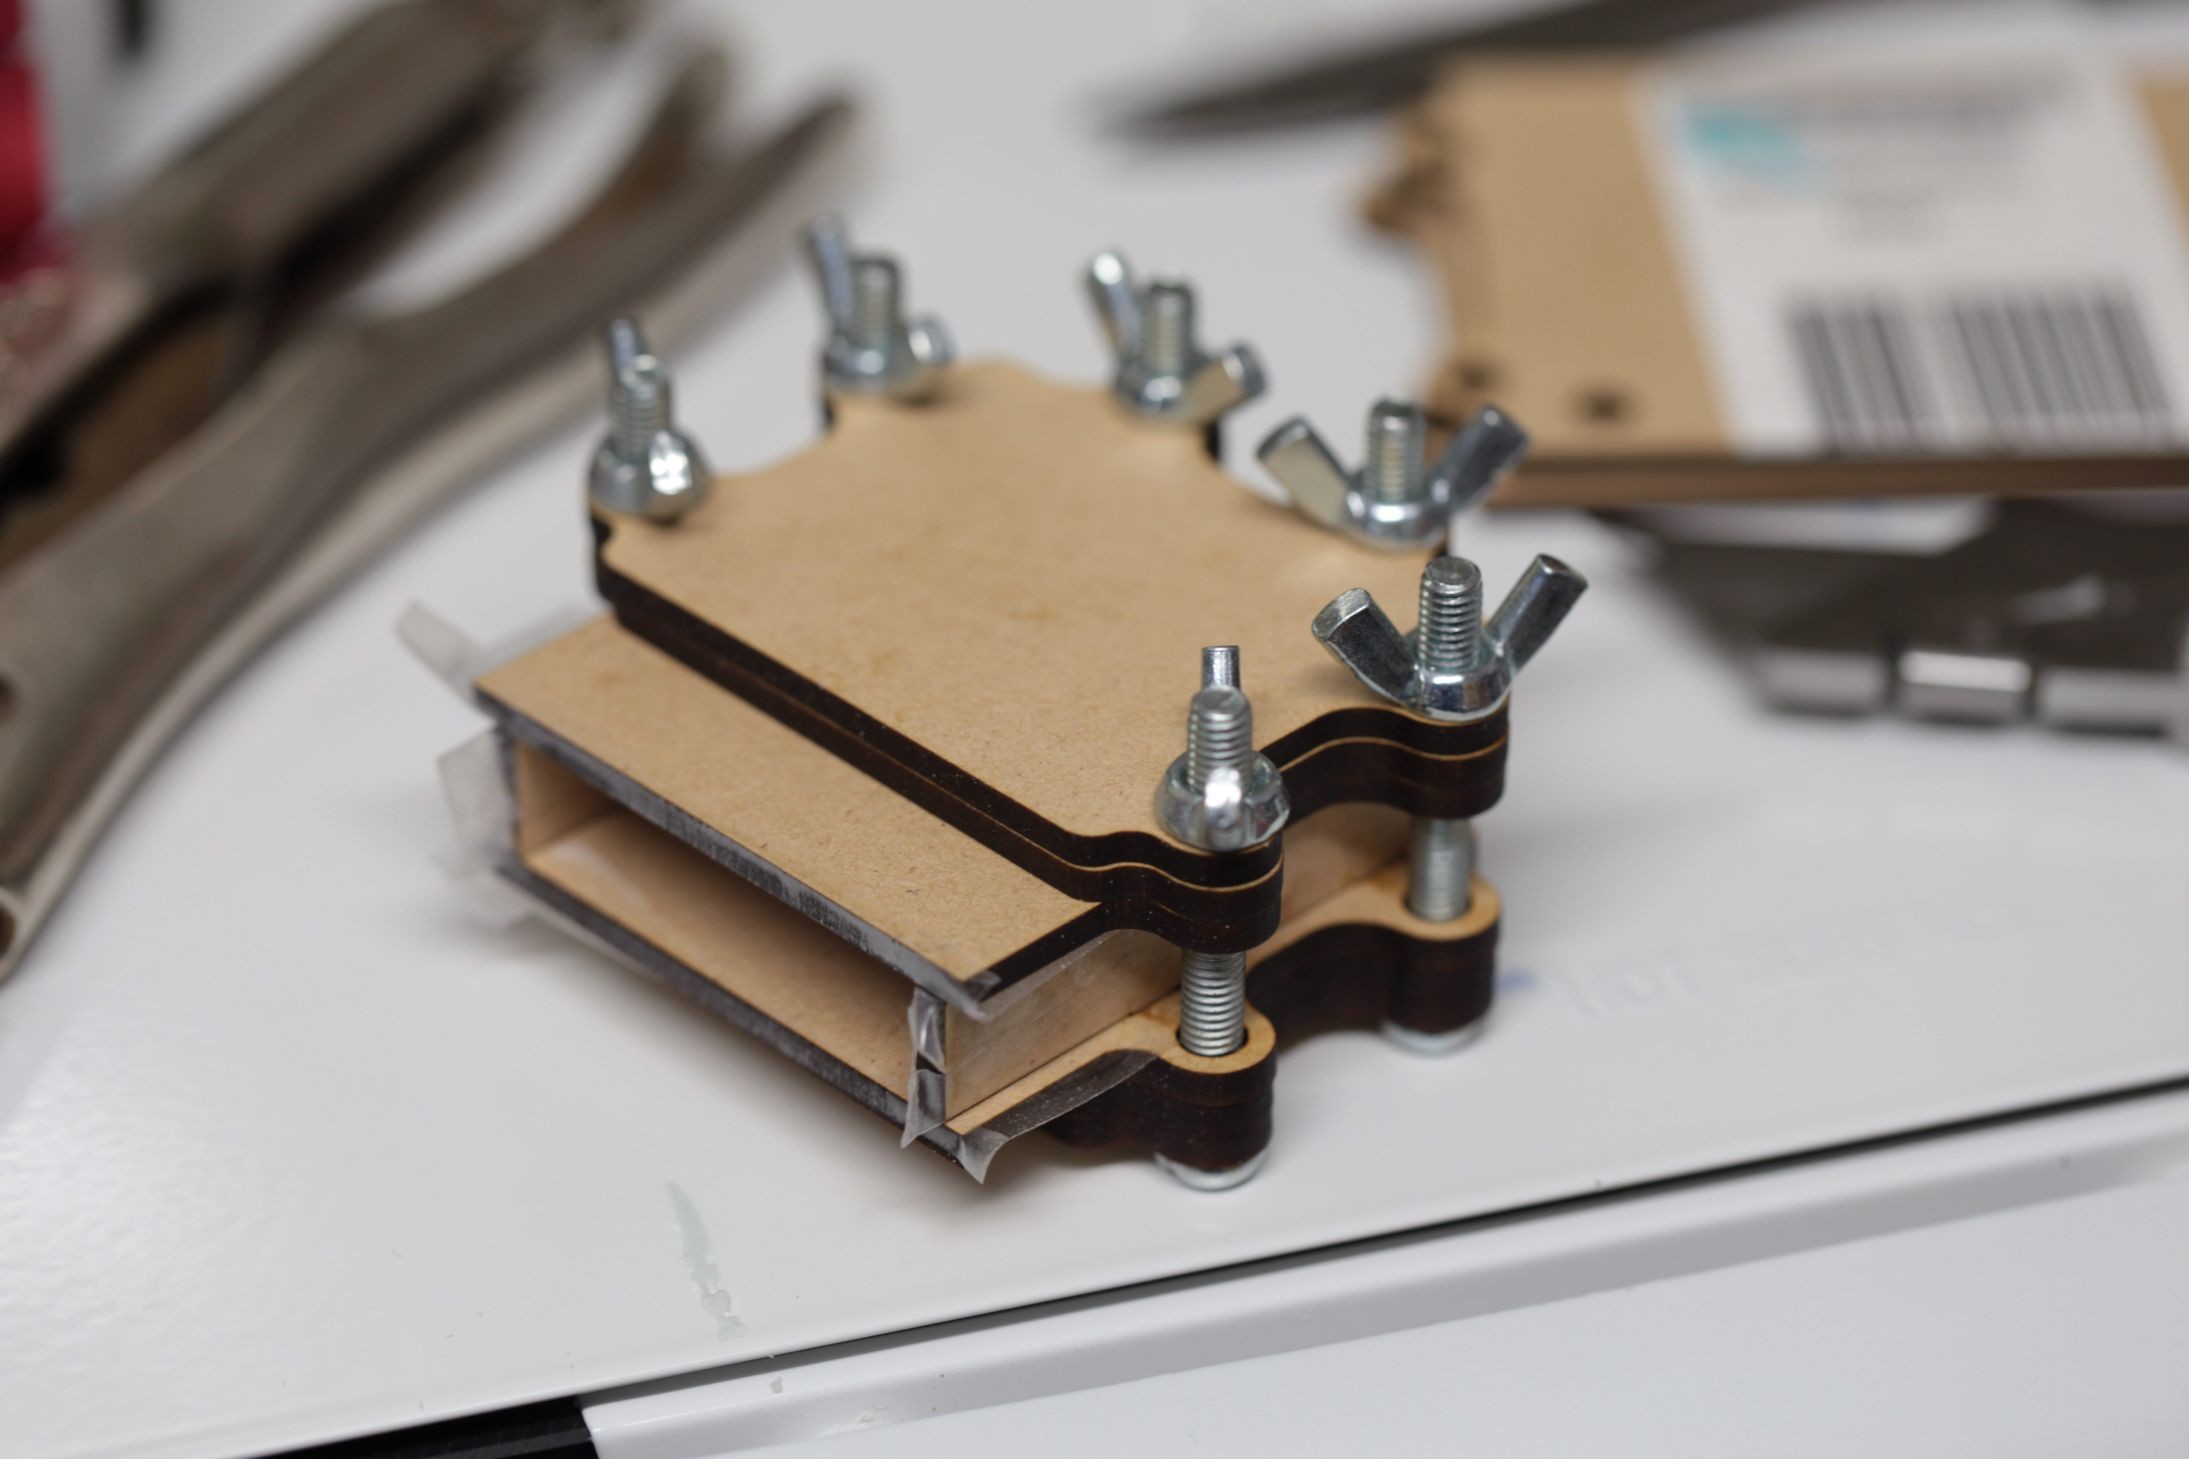
Once the silicone mold was made, I designed a simple jig on my laser cutter. (Instant value right here) Saves alot of time. and ensures molds are perfectly aligned.
![]()
-
Resin casting parts
10/02/2015 at 13:16 • 0 comments![]()
I have a cheap chinese mill. At the time of purchase it cost around $700AUD shipped. Just a stock 2030 CNC. Of course out of the box it was missing a collet -_- (Couldn't mount tools) but since I also lacked a computer with a parallel port it was no great loss.
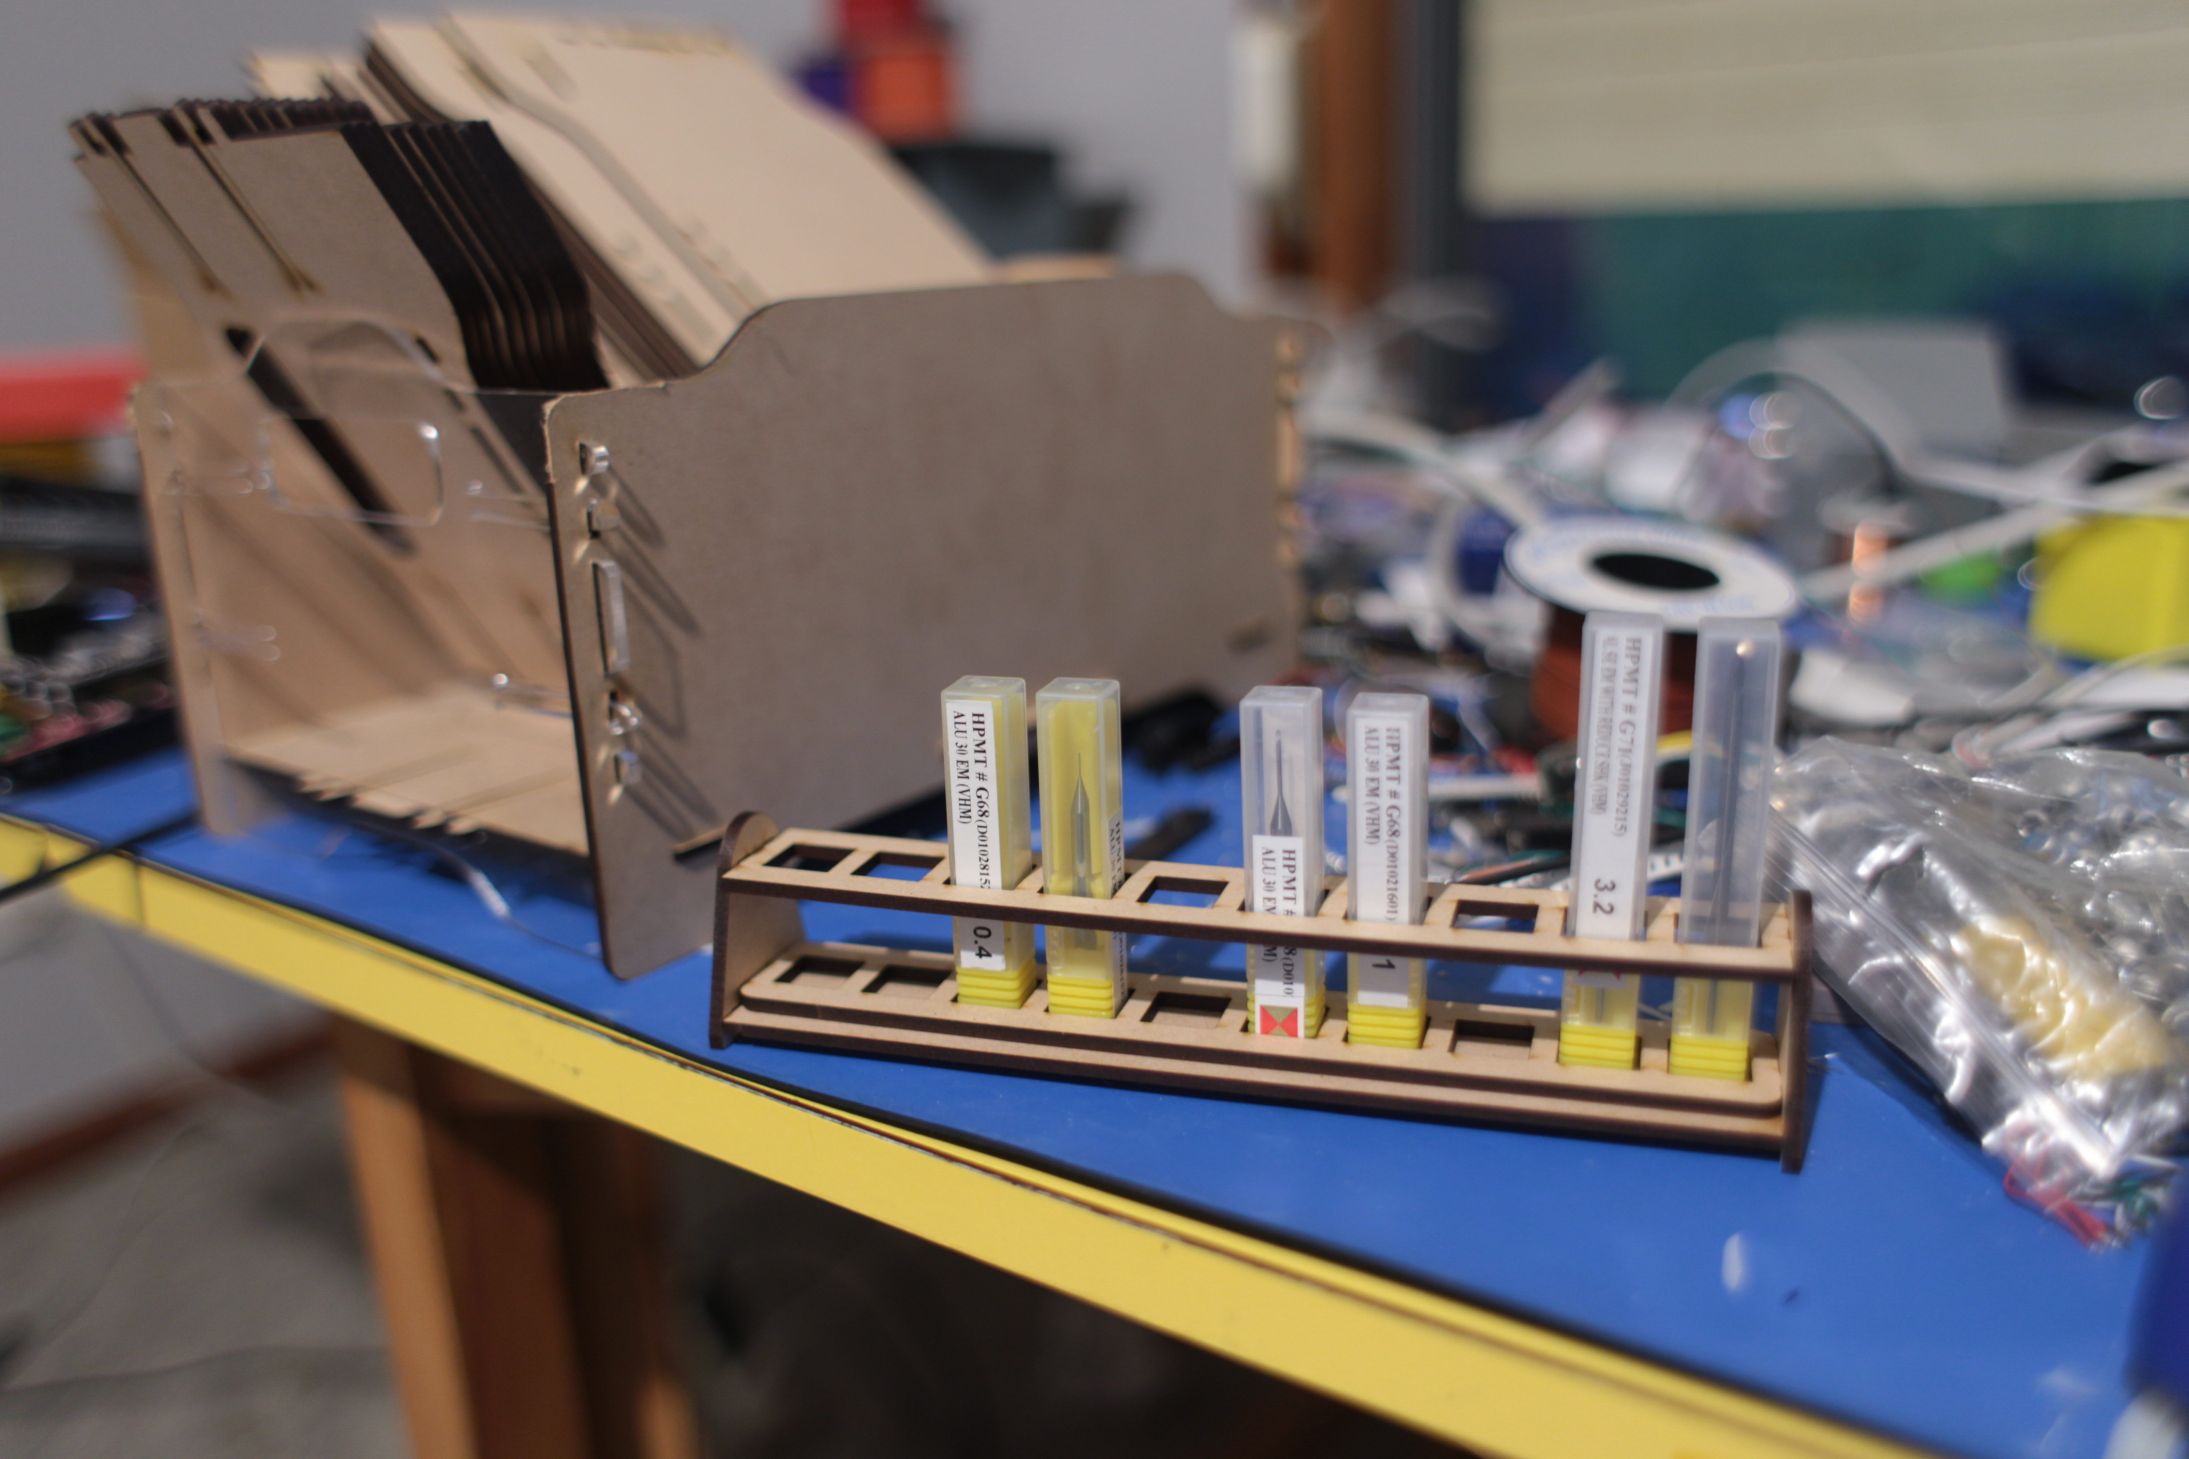
Fast track a few more months, I had invested the cost of mill on a new spindle, new control board (TinyG) and a quaility selection of 6 end mills. 2x 3.2mm, 2x 1mm, 2x 0.4mm.
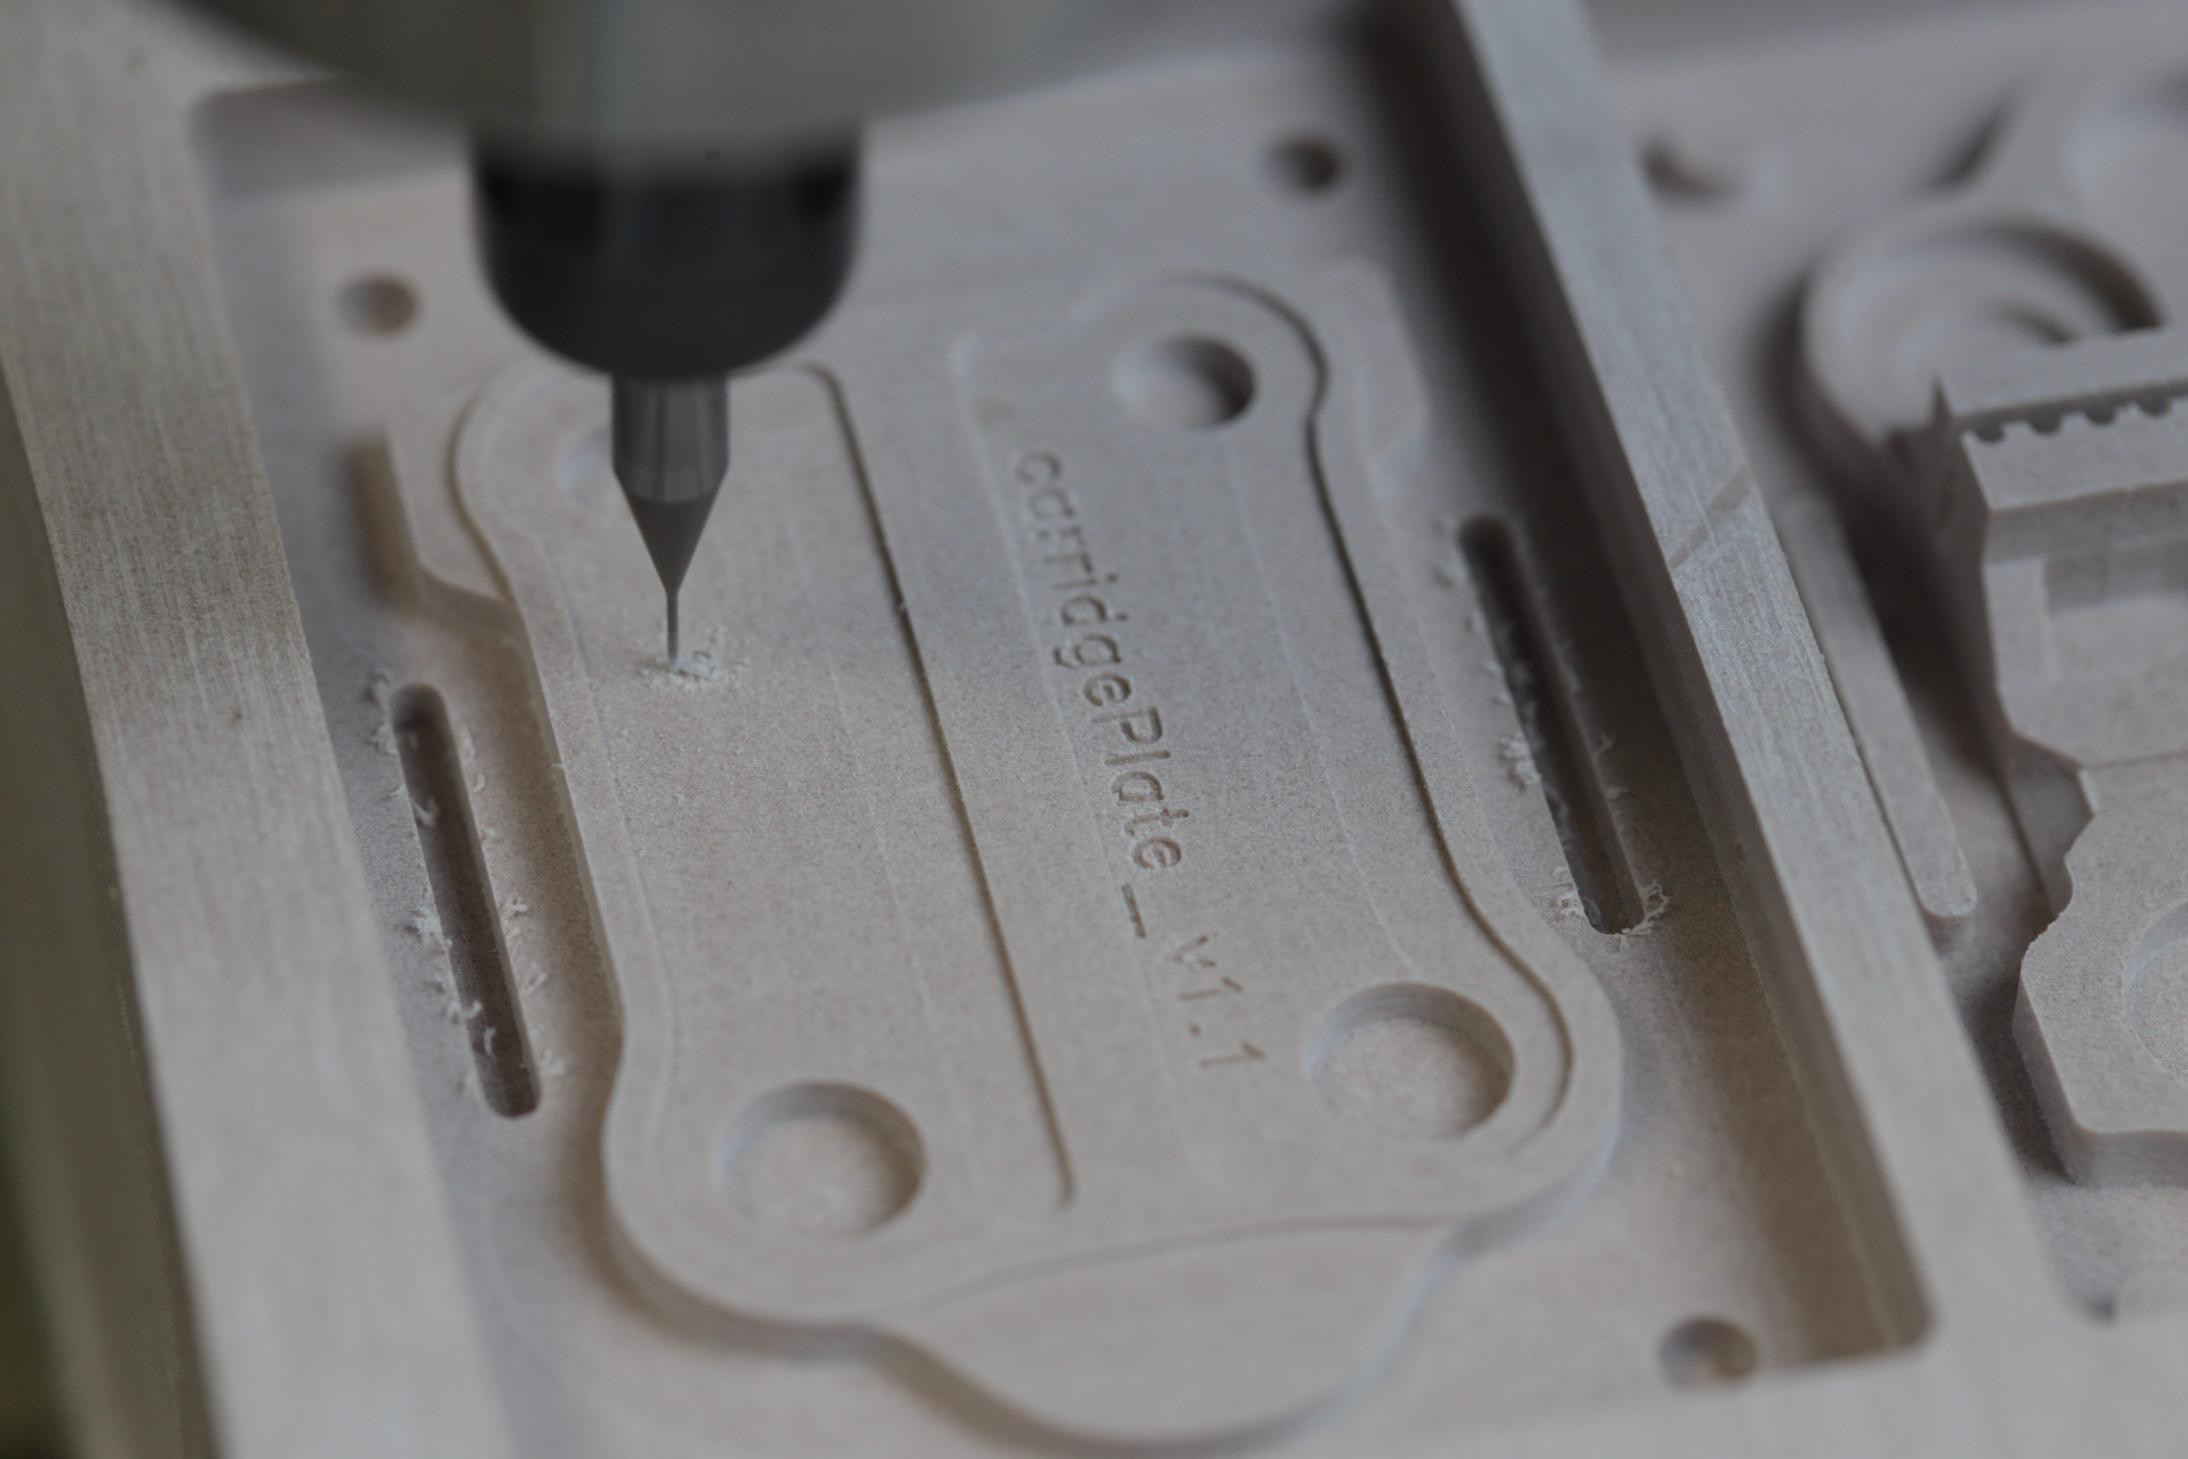
Above is the shot of the final details being cut into a mold. In this case a carridgePlate. This part will eventually be bolted to 4 openbuilds v wheels and form one of my linear carridges.
The resin casting process is quite simple. Make a positive mold of your part. Cast a negative using a flexible material, silicone. Finally fill this negative mold with polyurethane resin then remove your hard plastic part. Easy.
![]()
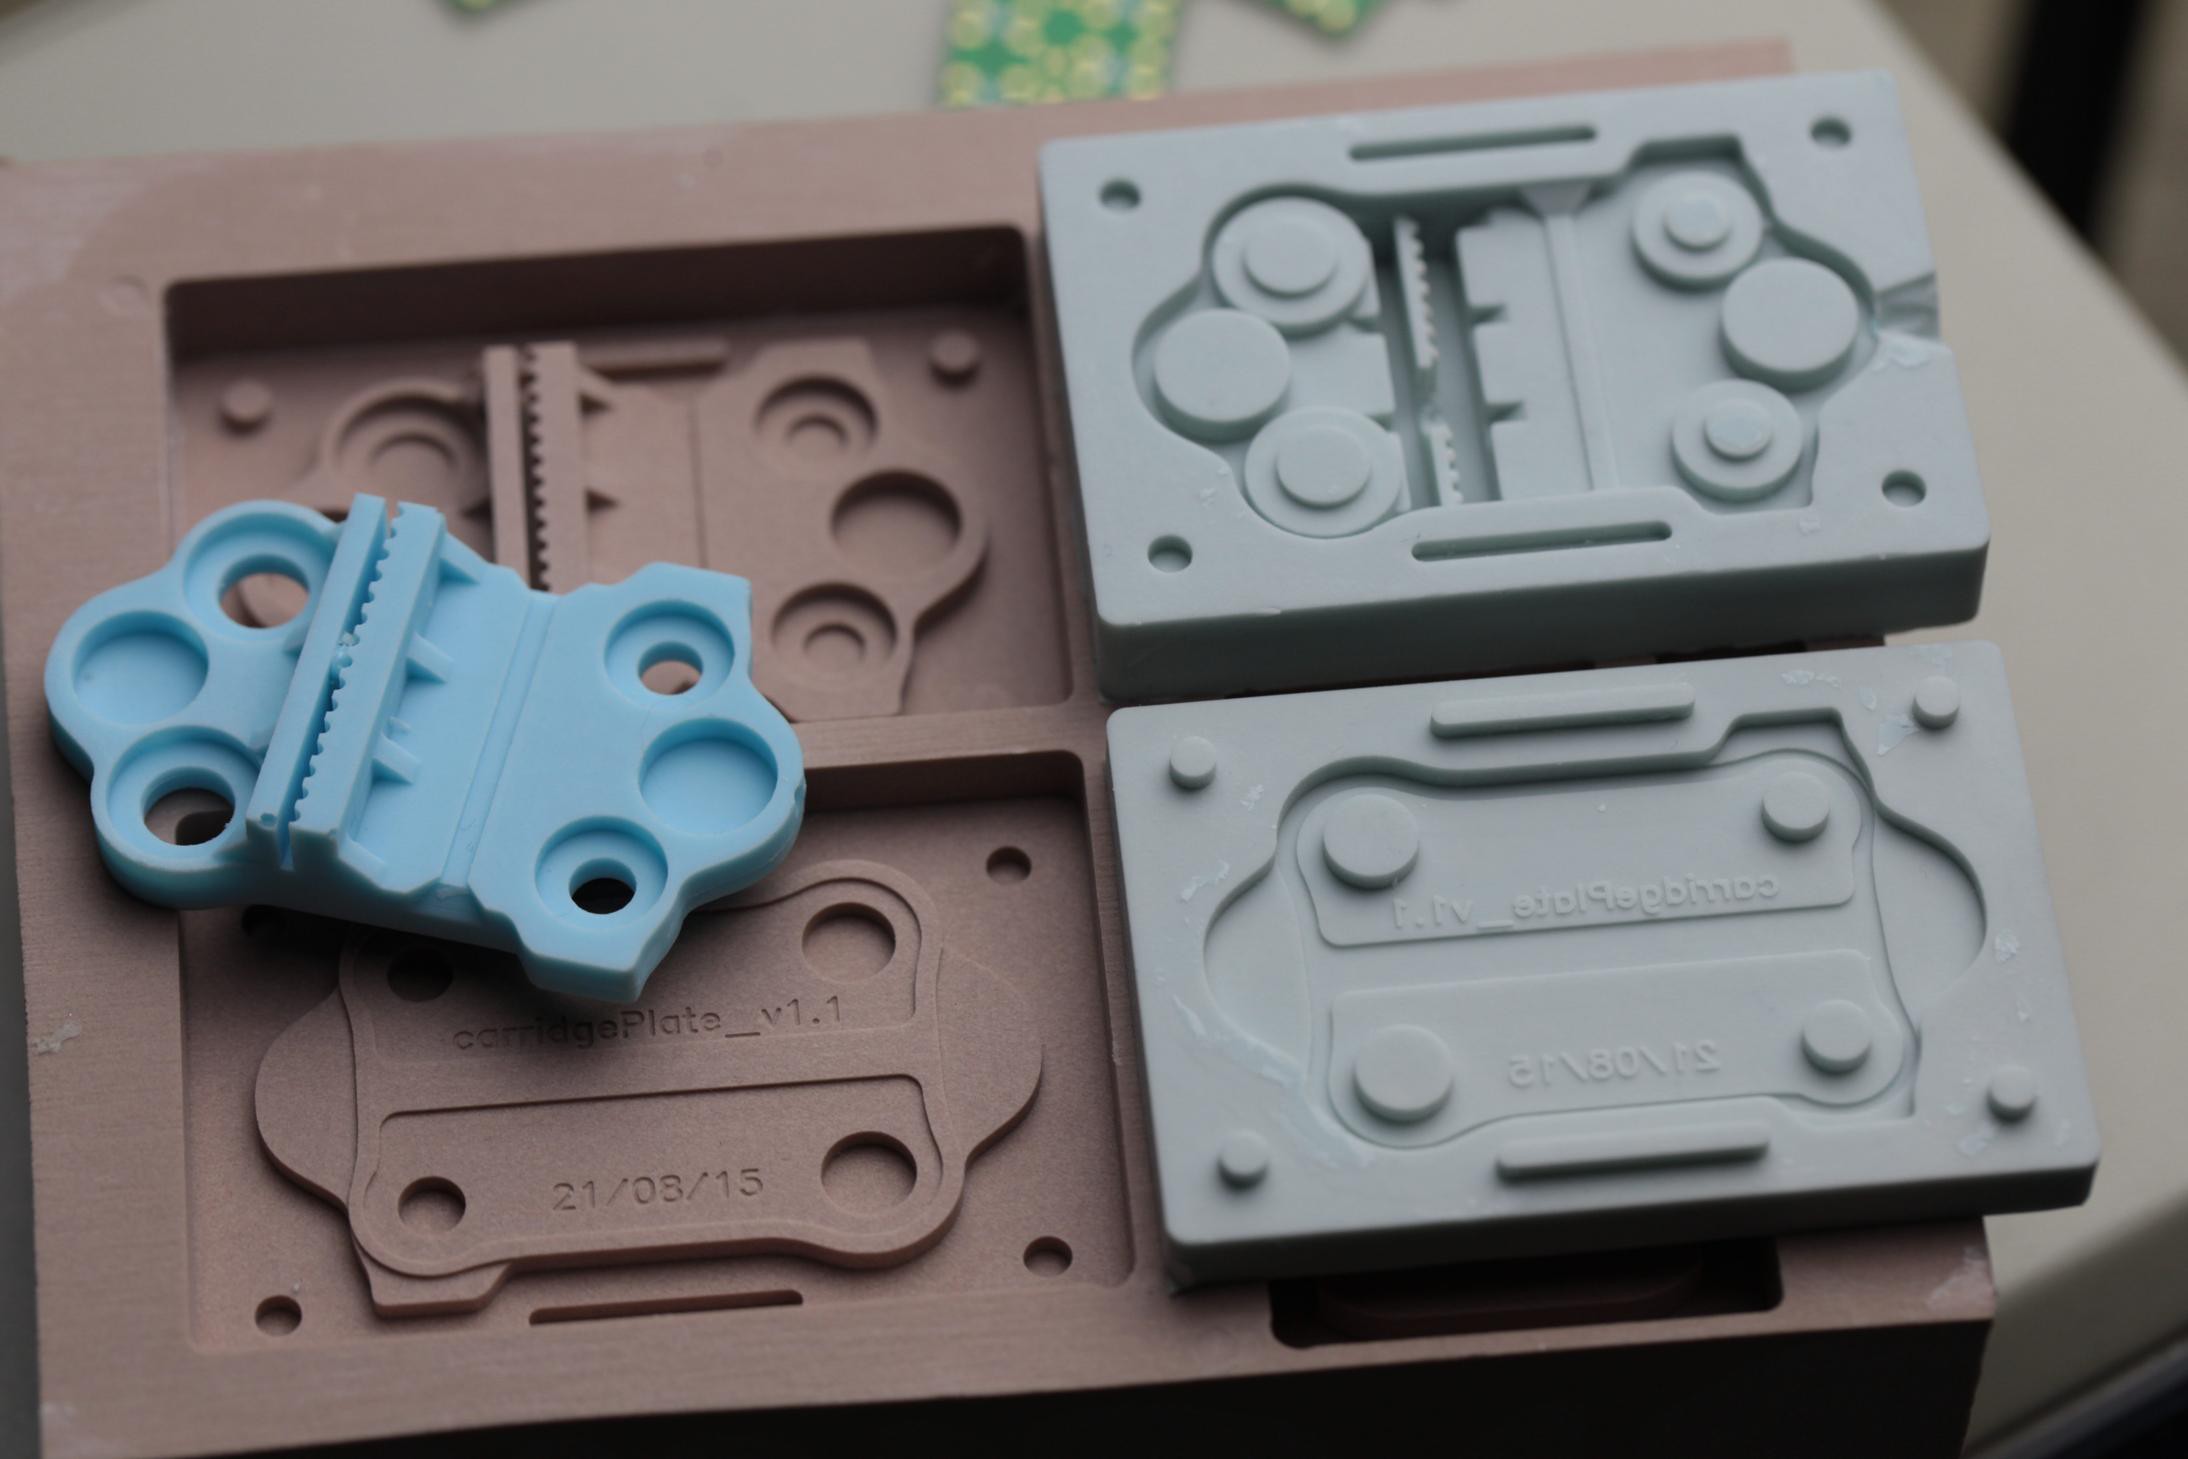
Here is a shot of the cnc'd mold. The silicone negative and then finally the cast part. In this case this is a 2 part mold, the two halves are held together while the polyurethane sets then they are ten apart to release the part.
![]()
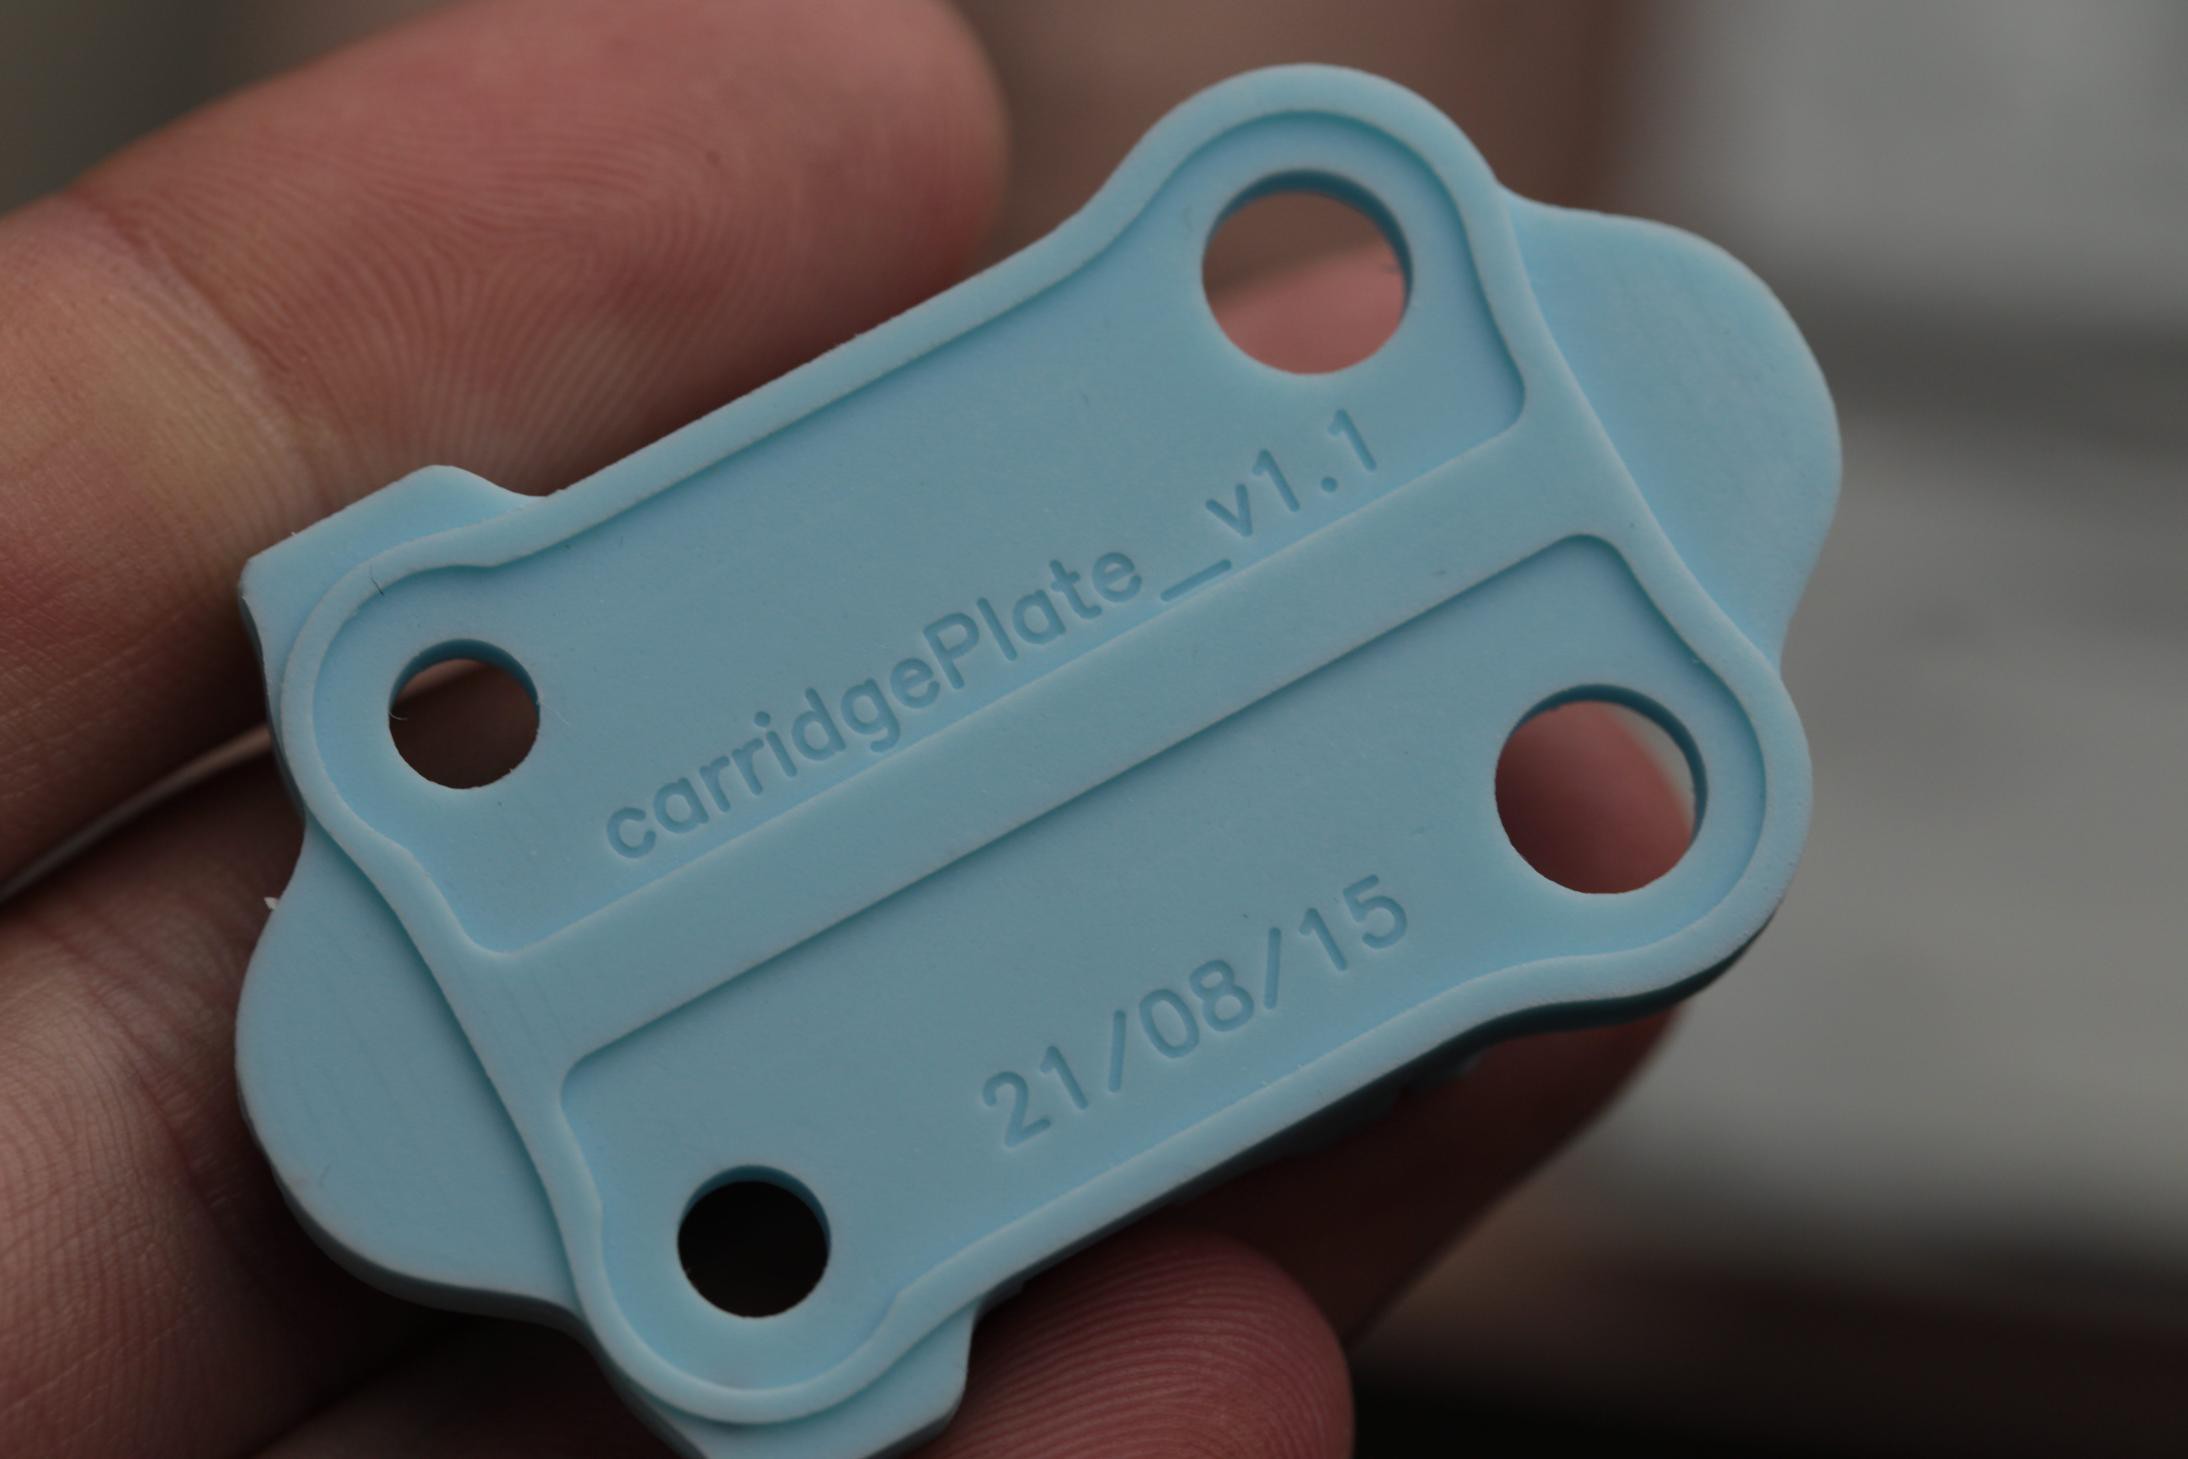
Close up shot of the detail that can re resolved using this technique.
Desktop DeltaBot
A homemade desktop delta 3d printer. Utilizing resin cast, laser cut and off the shelf parts.
 greg davill