What is bio-engineering?
Bioengineering is the application of engineering and science principles to tissues, cells and molecules.
What can you do with the bio-engineering basic kit?
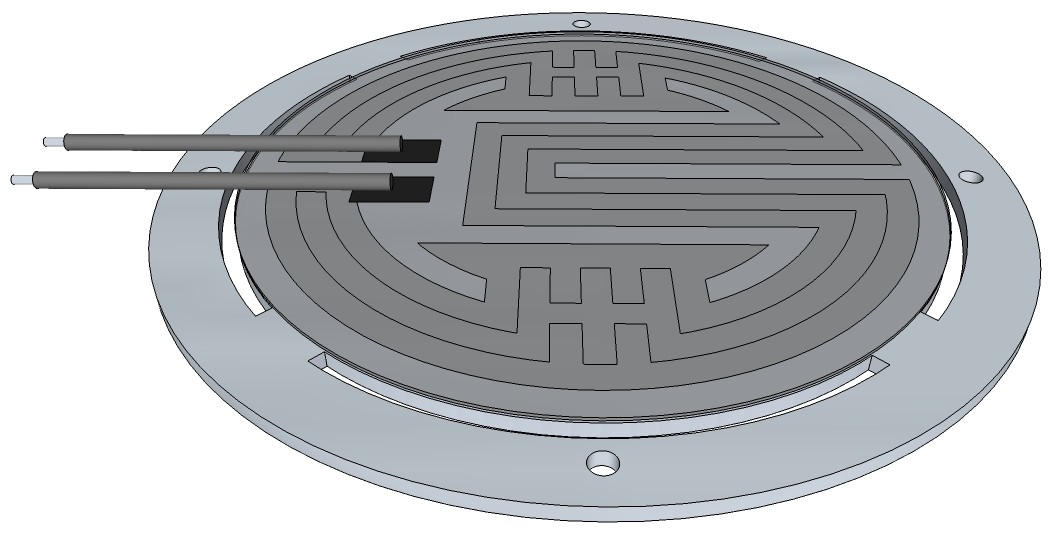
The kit contains two main items: An Arduino Mega shield with 3-D printed stand and probe arm to measure pH, temperature, optical density of solutions or growth media and record data over time on a SD card for further processing and a micro hot plate with digital temperature control to grow bacteria or molds at a constant temperature or trigger chemical reactions at a certain temperature.
Arduino Mega shield design
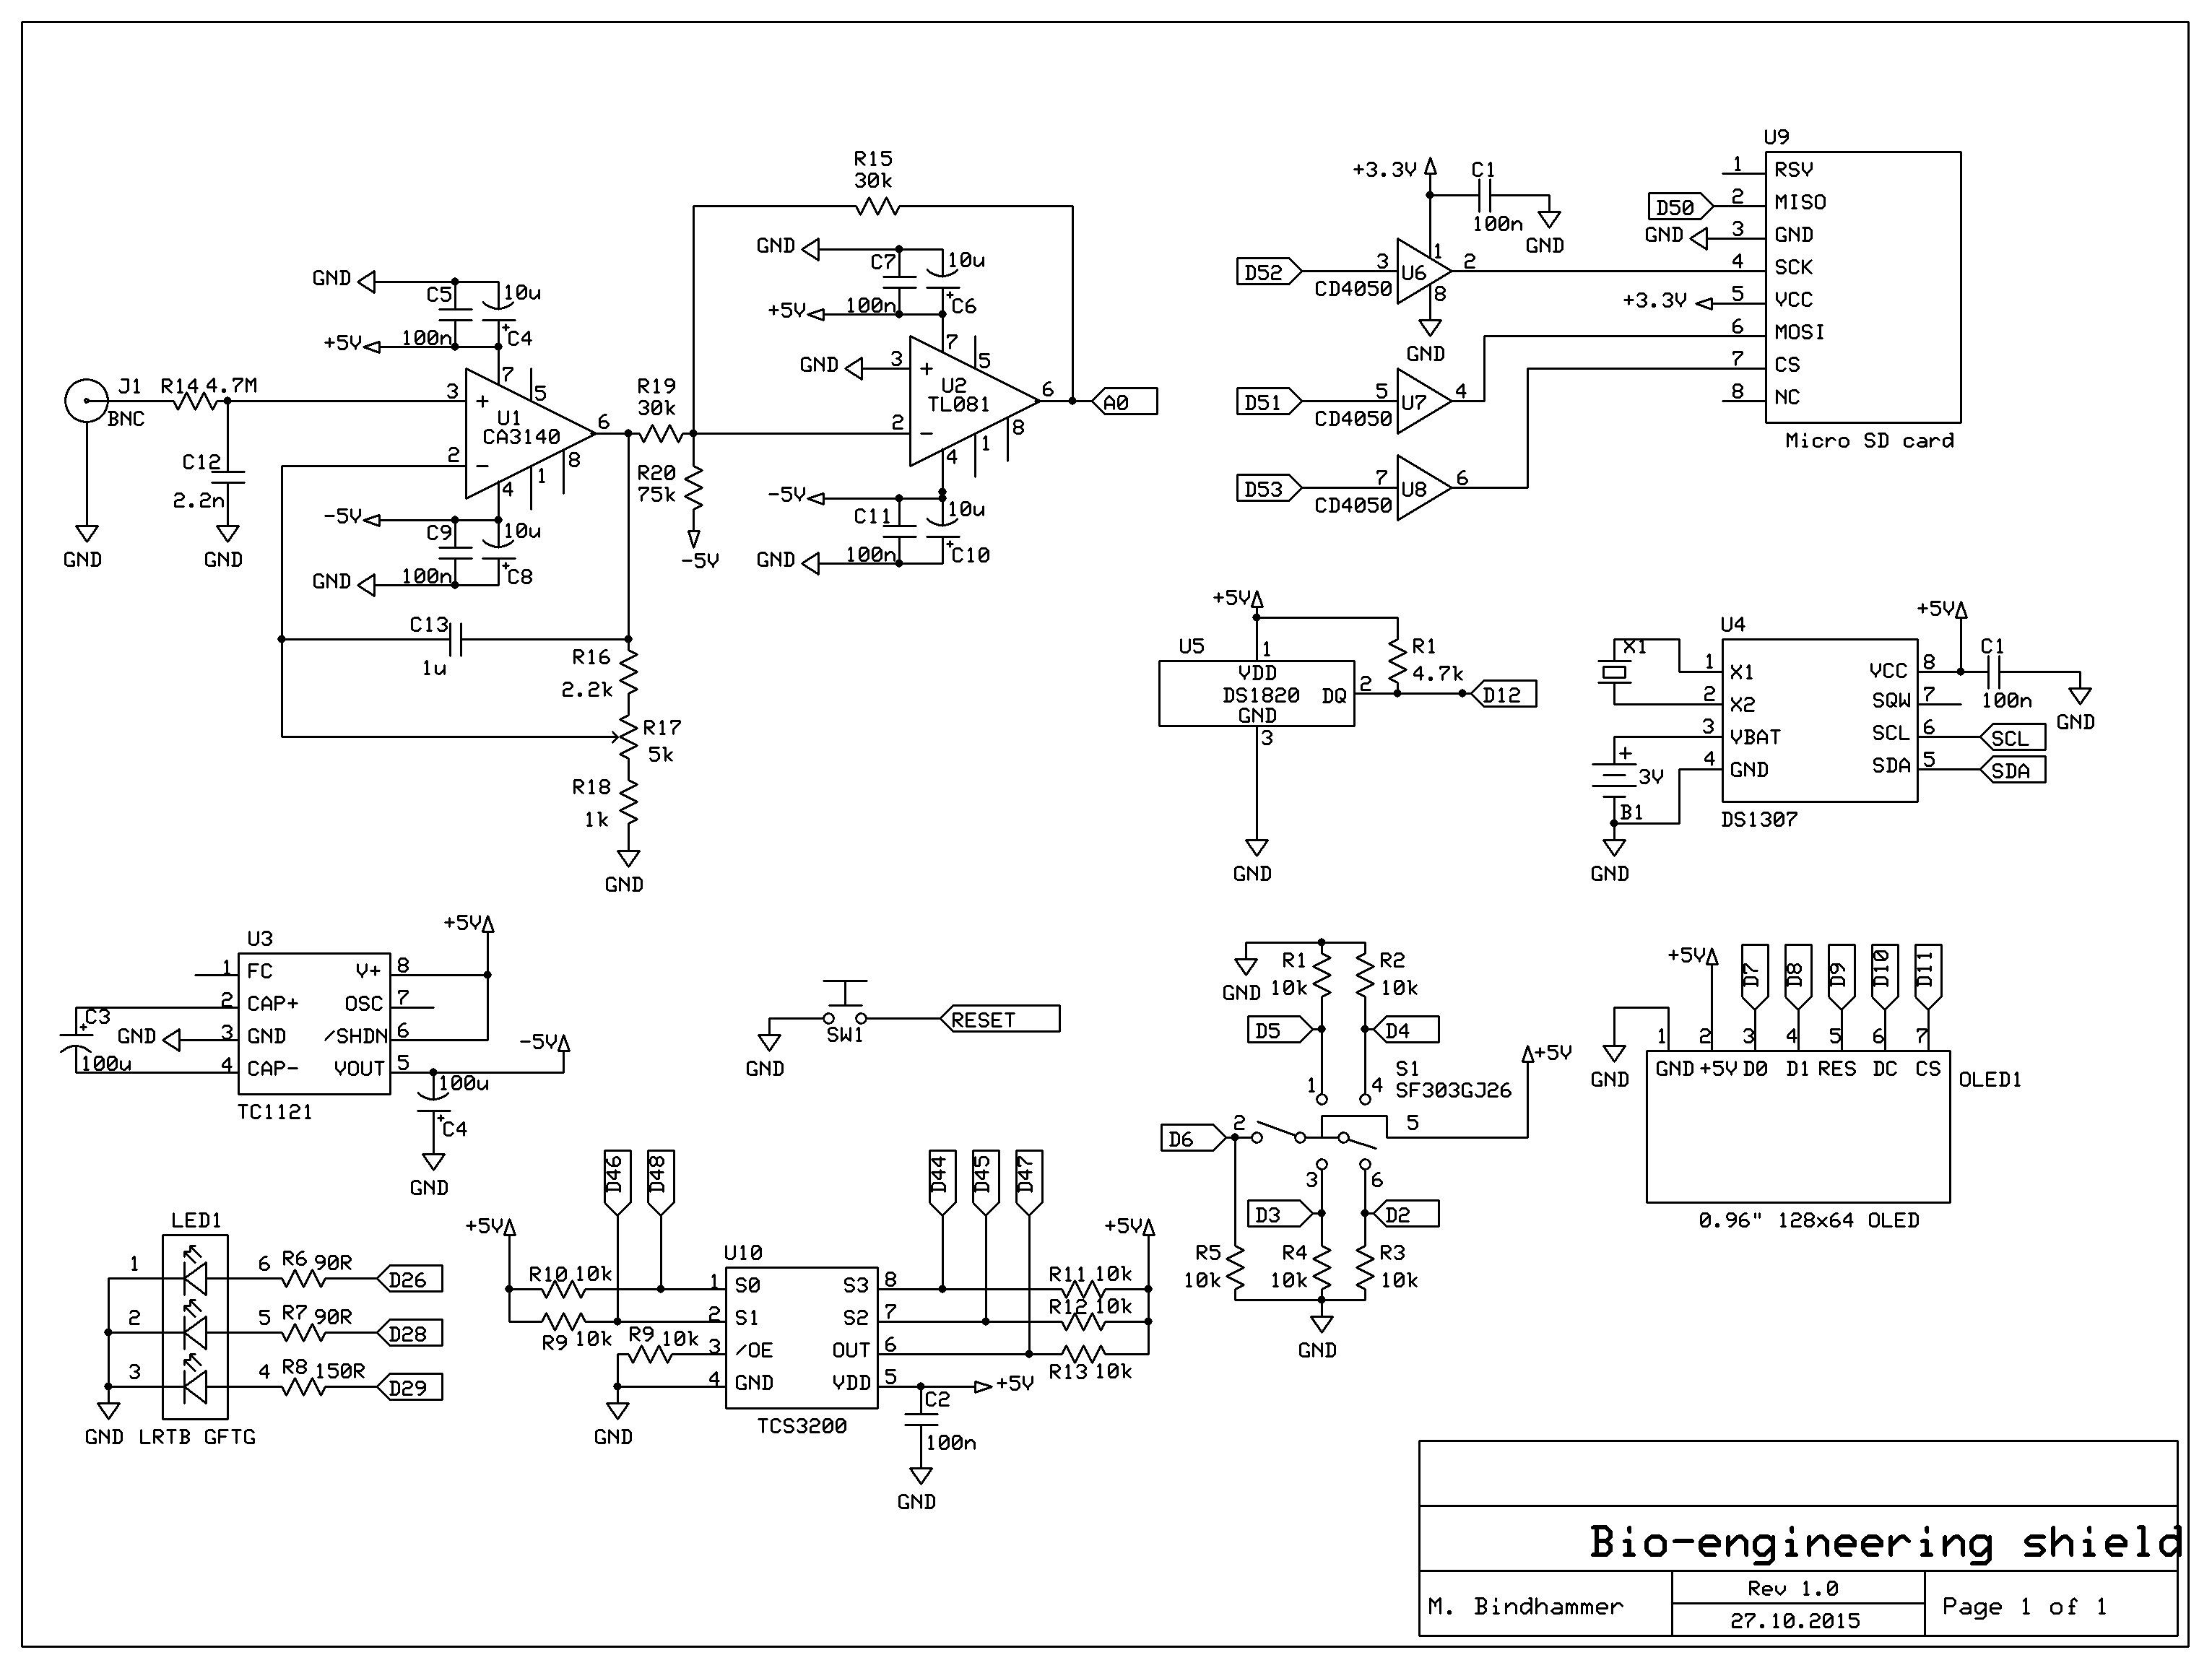
Fig. 1 Shield schematic for the Arduino Mega to measure pH, temperature and optical density of solutions or growth media and record data over time on a SD card
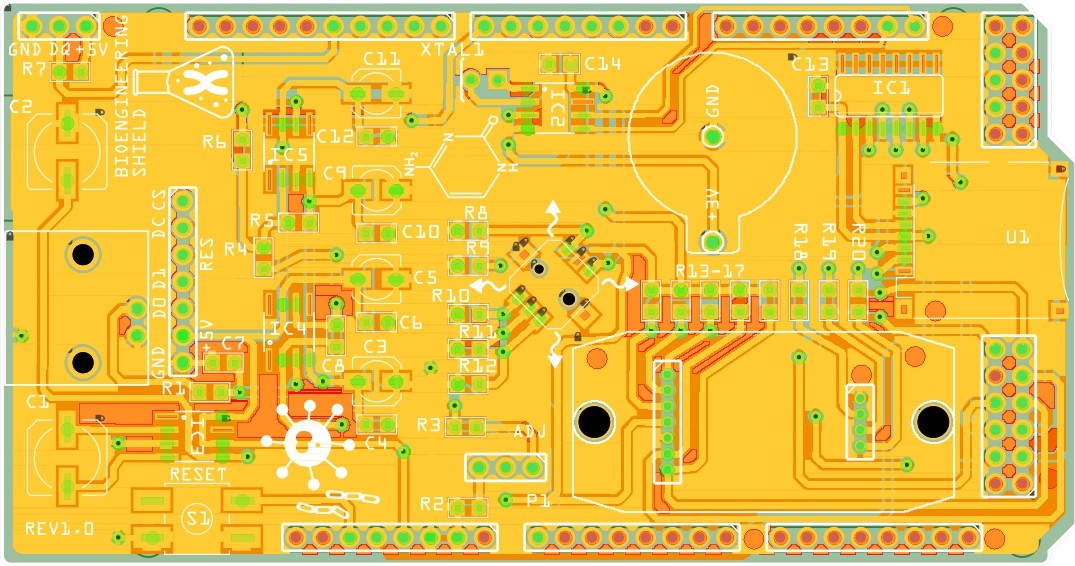
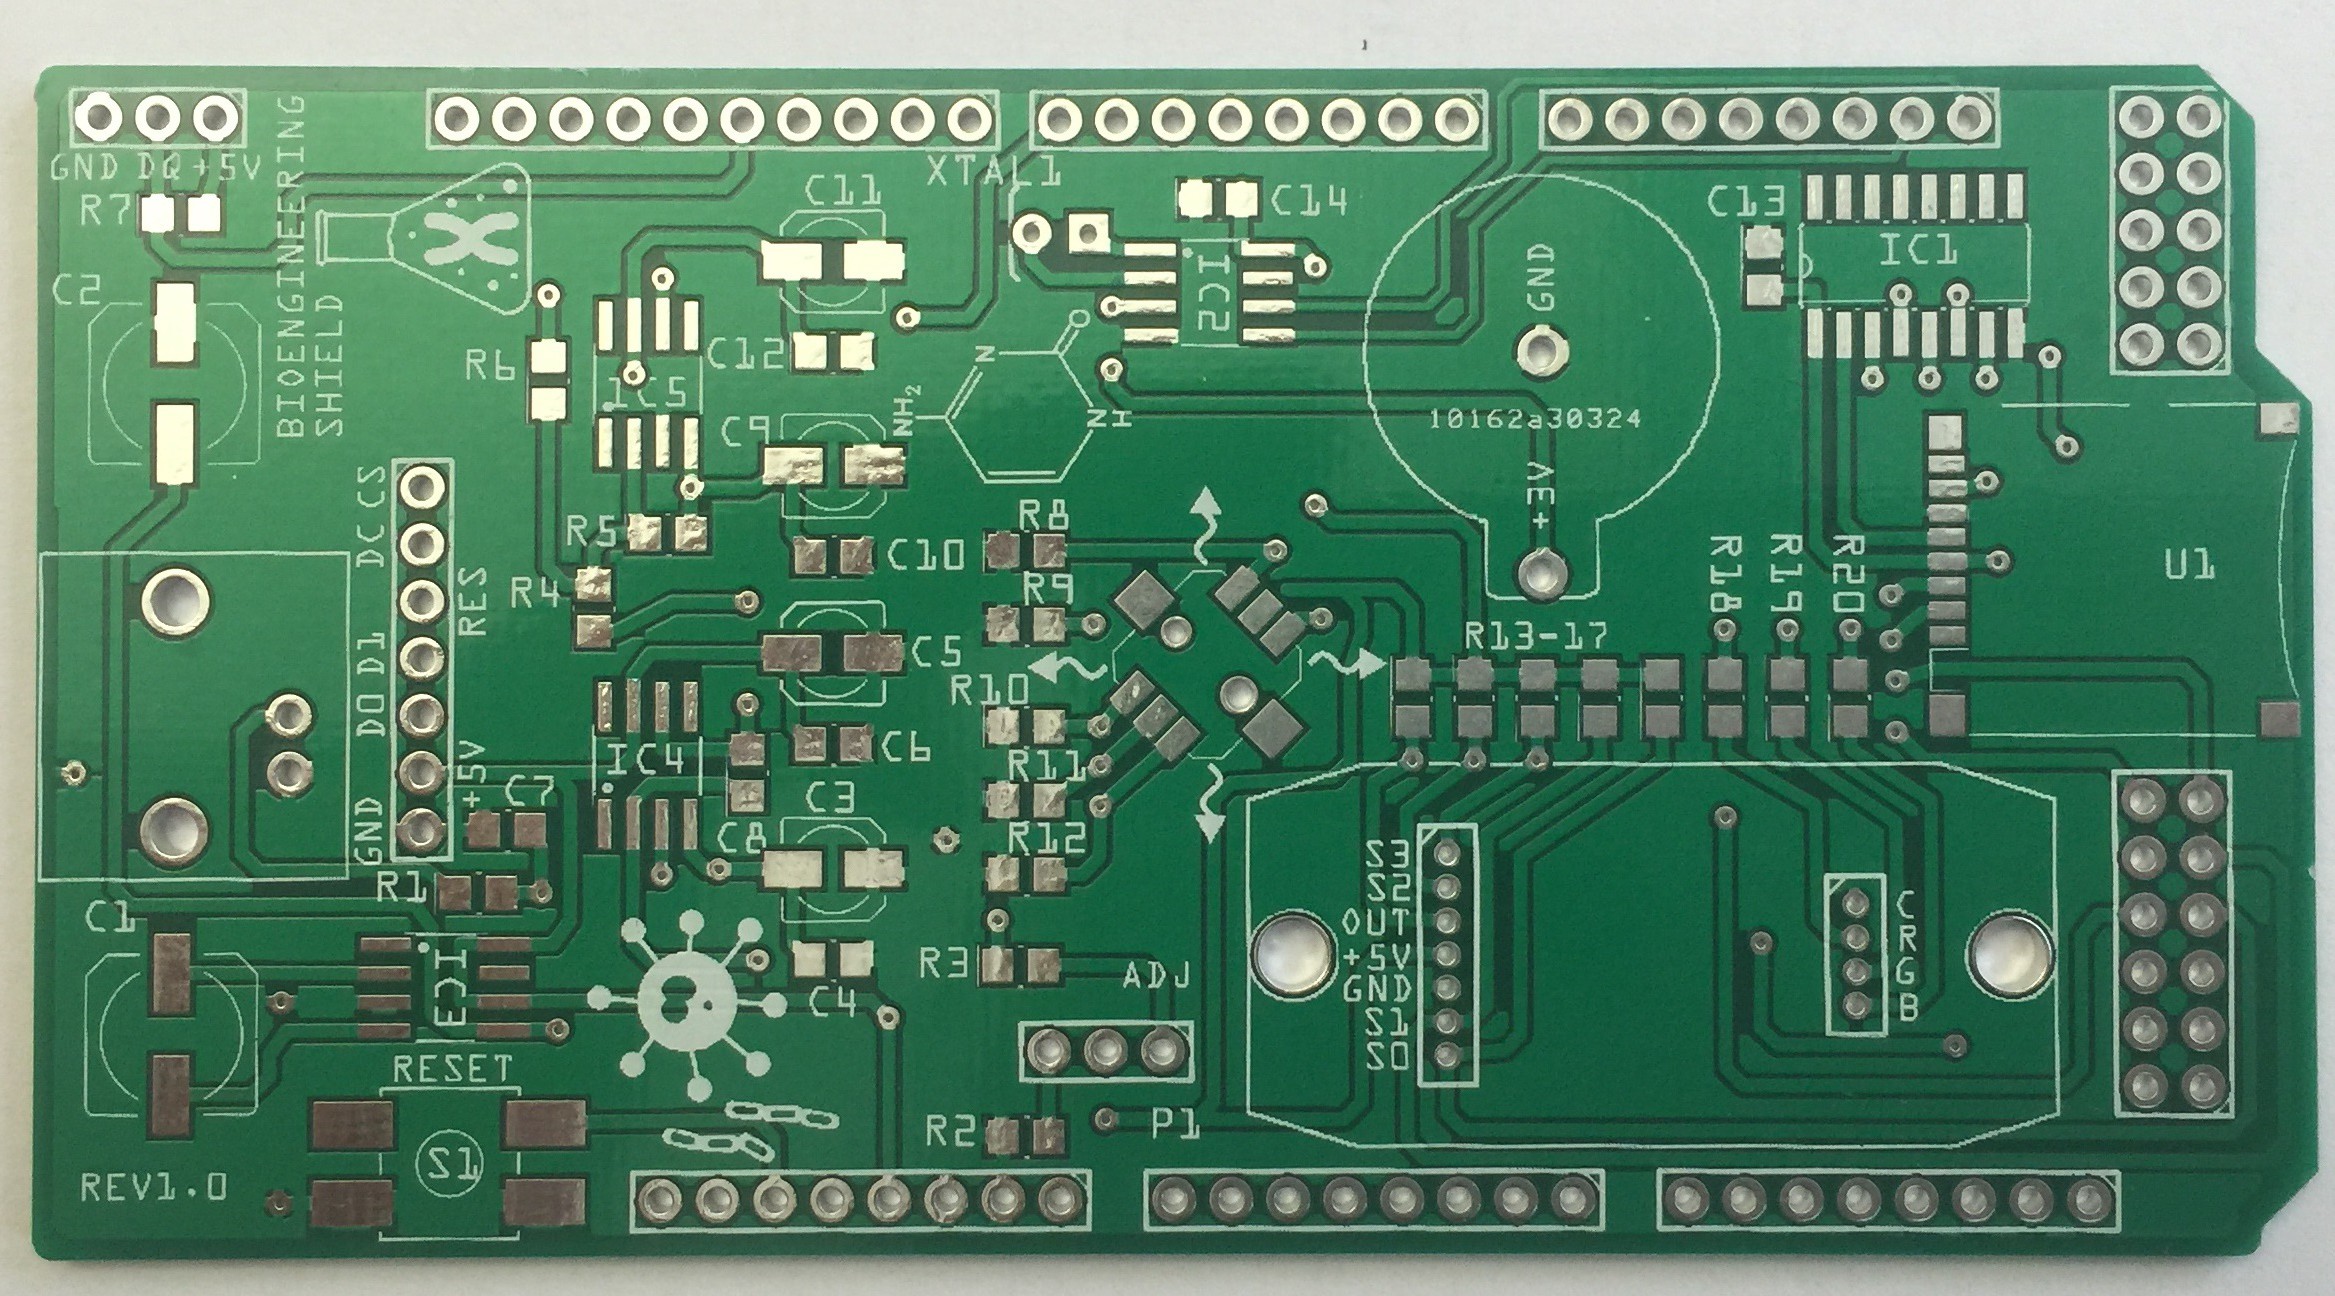
Fig. 2 PCB layout
Fig. 3 PCB
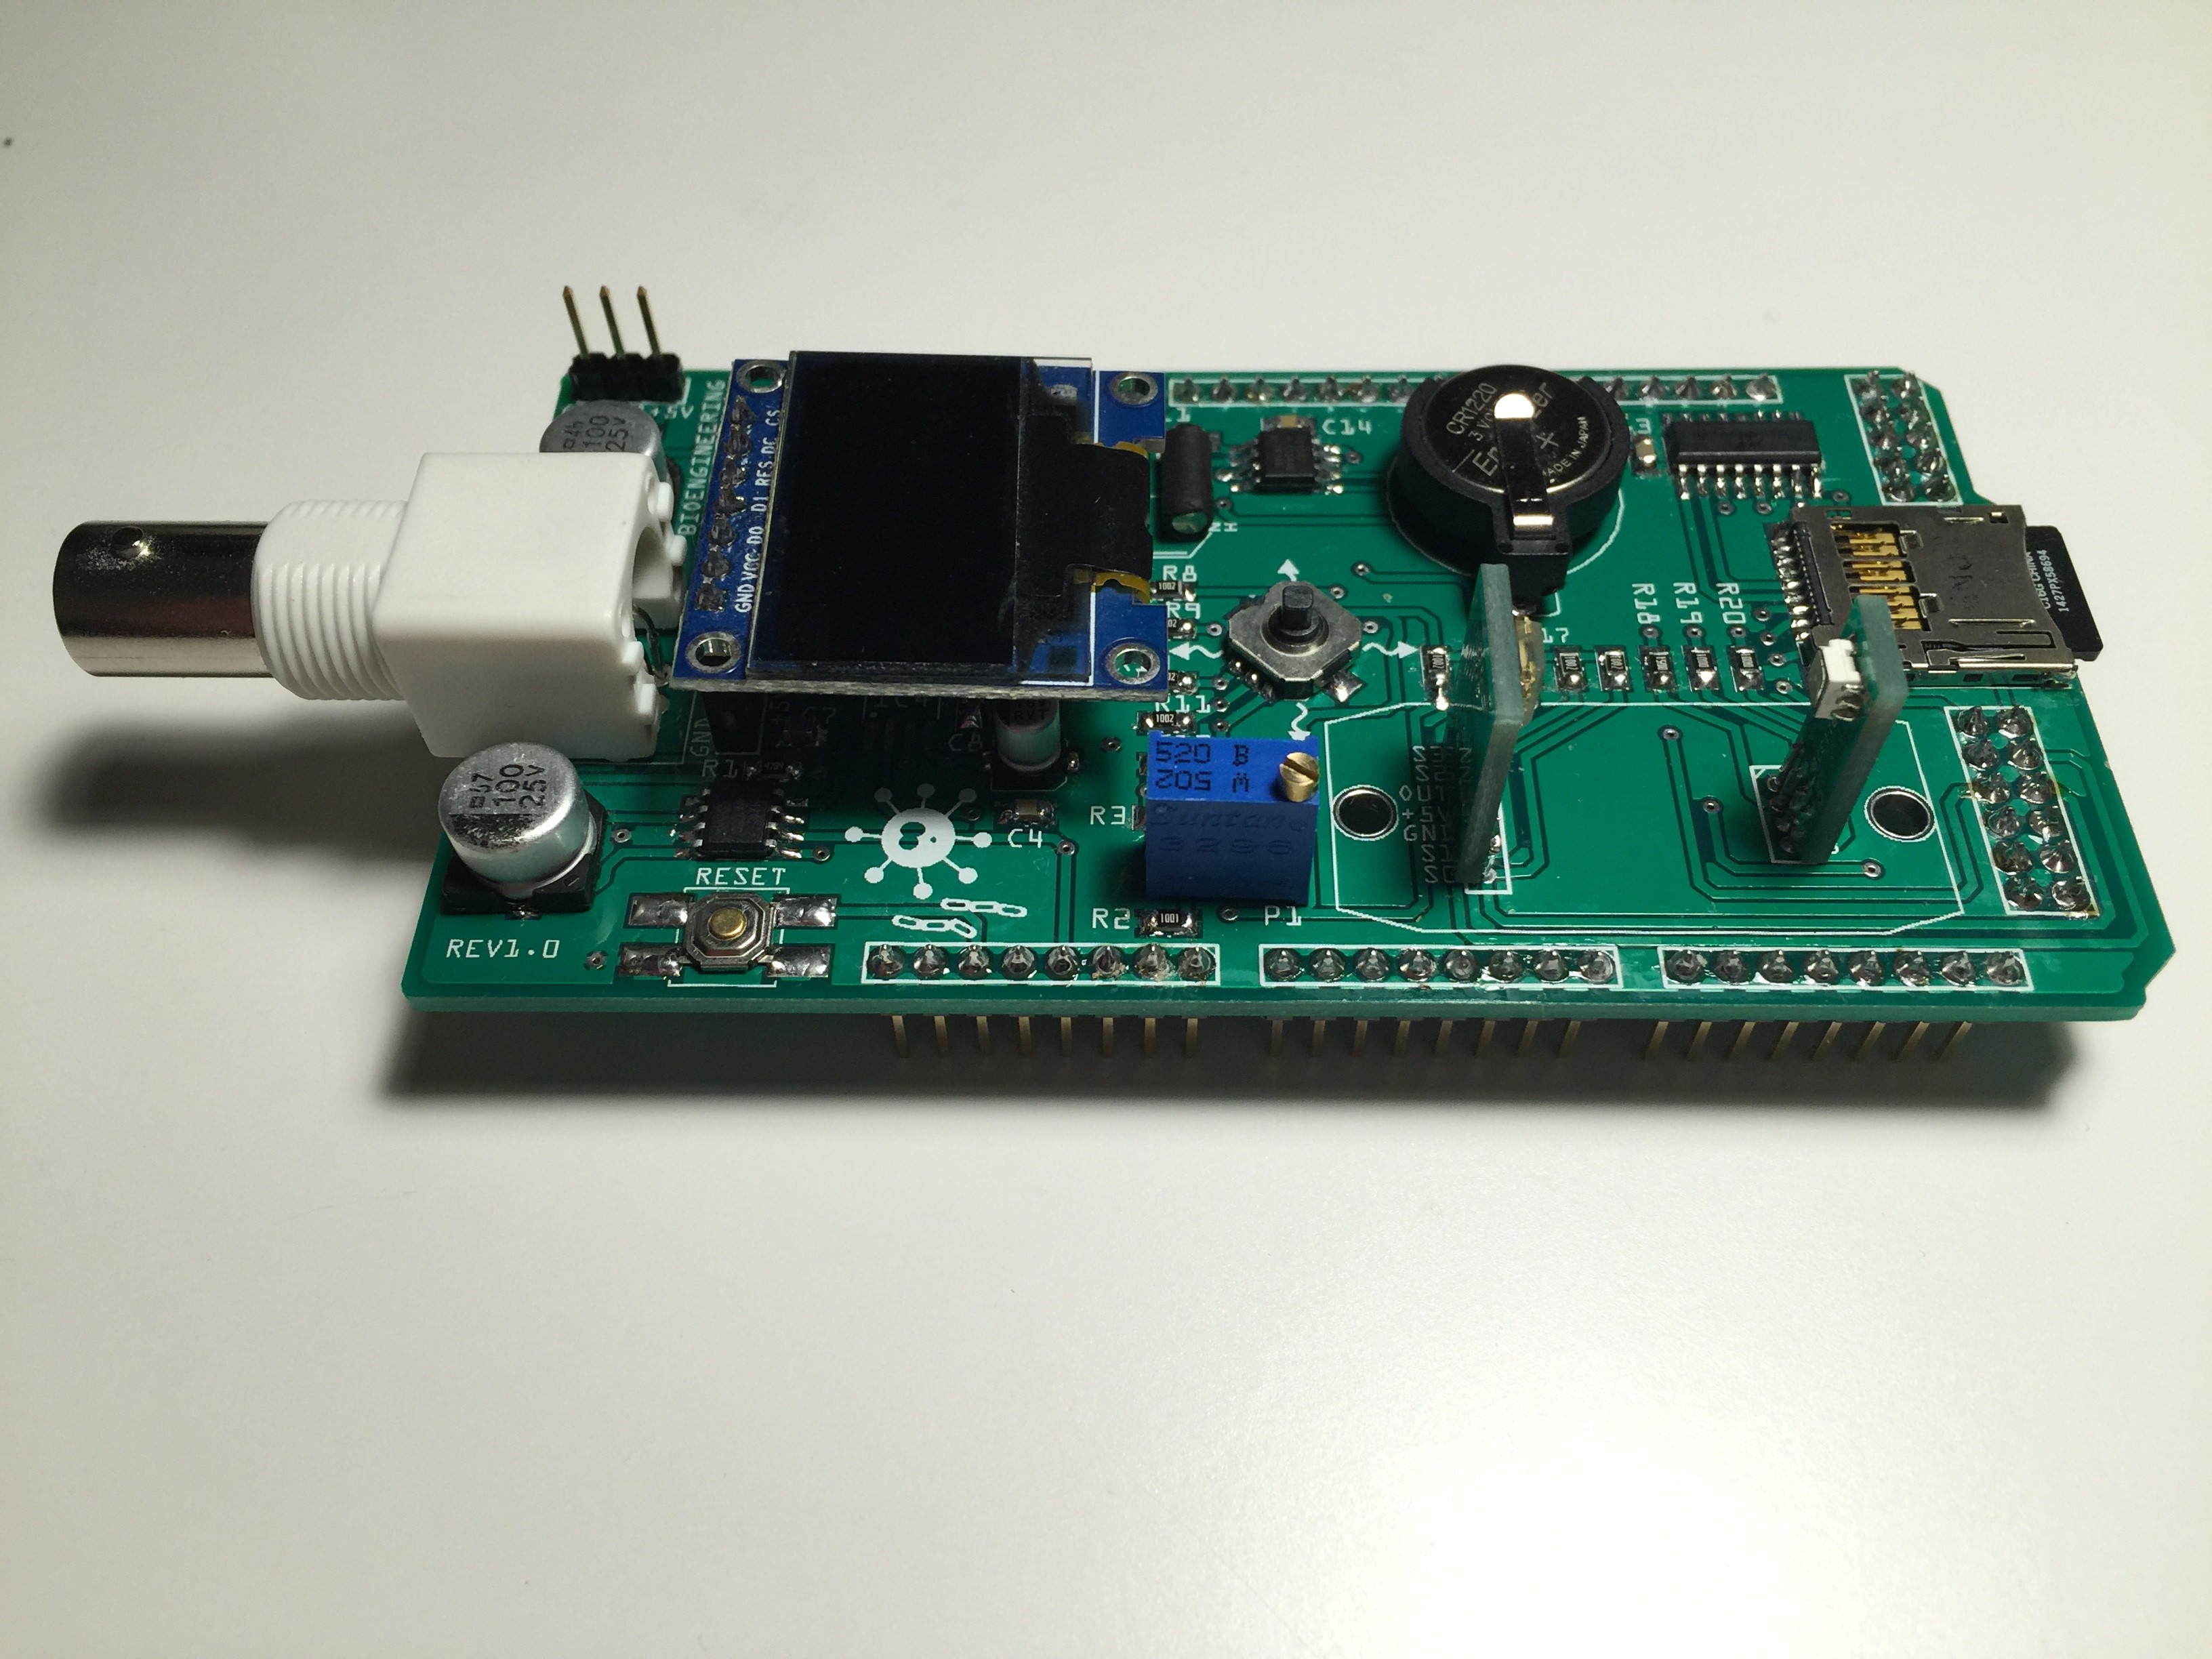
Fig. 4 Populated PCB
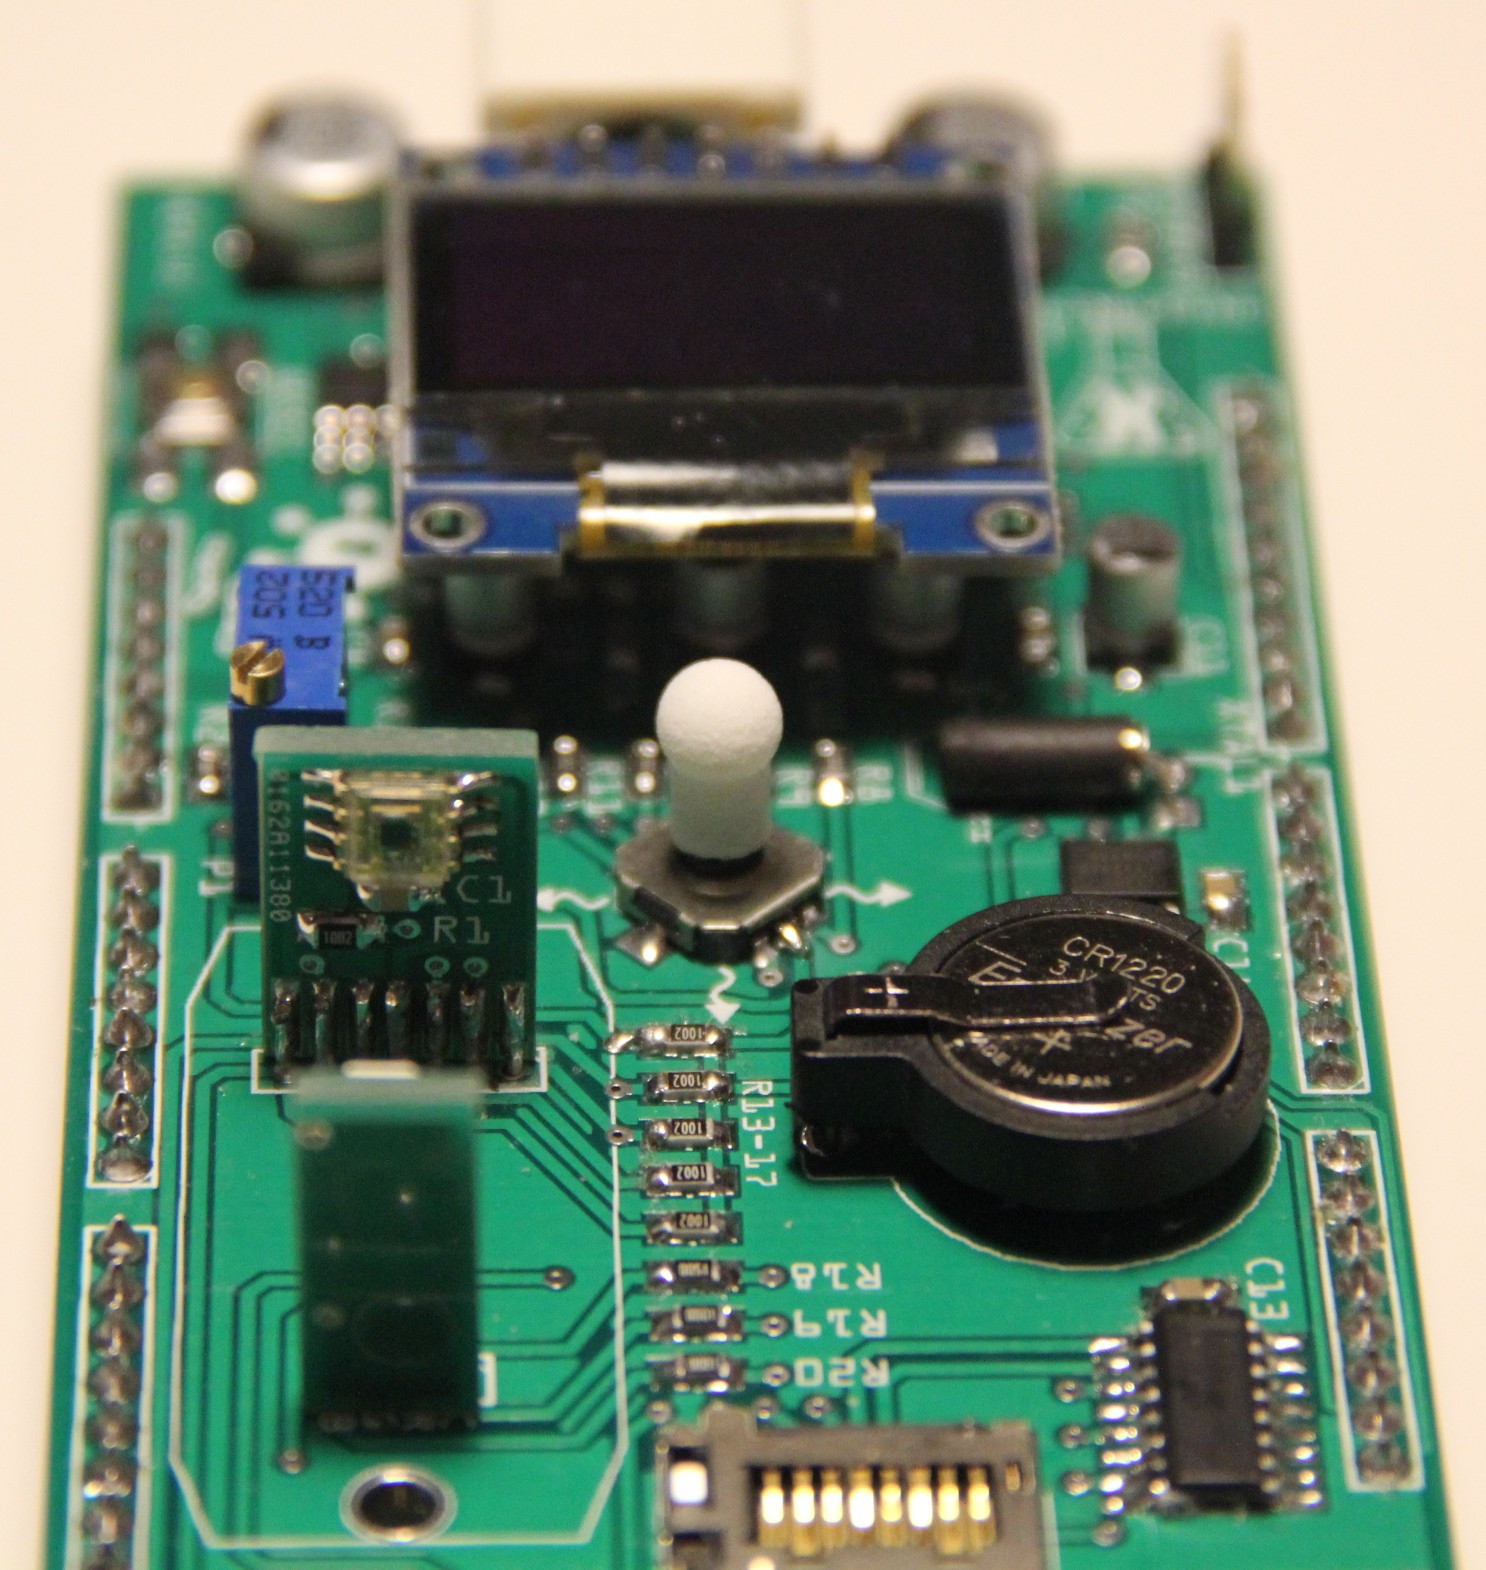
pH meter
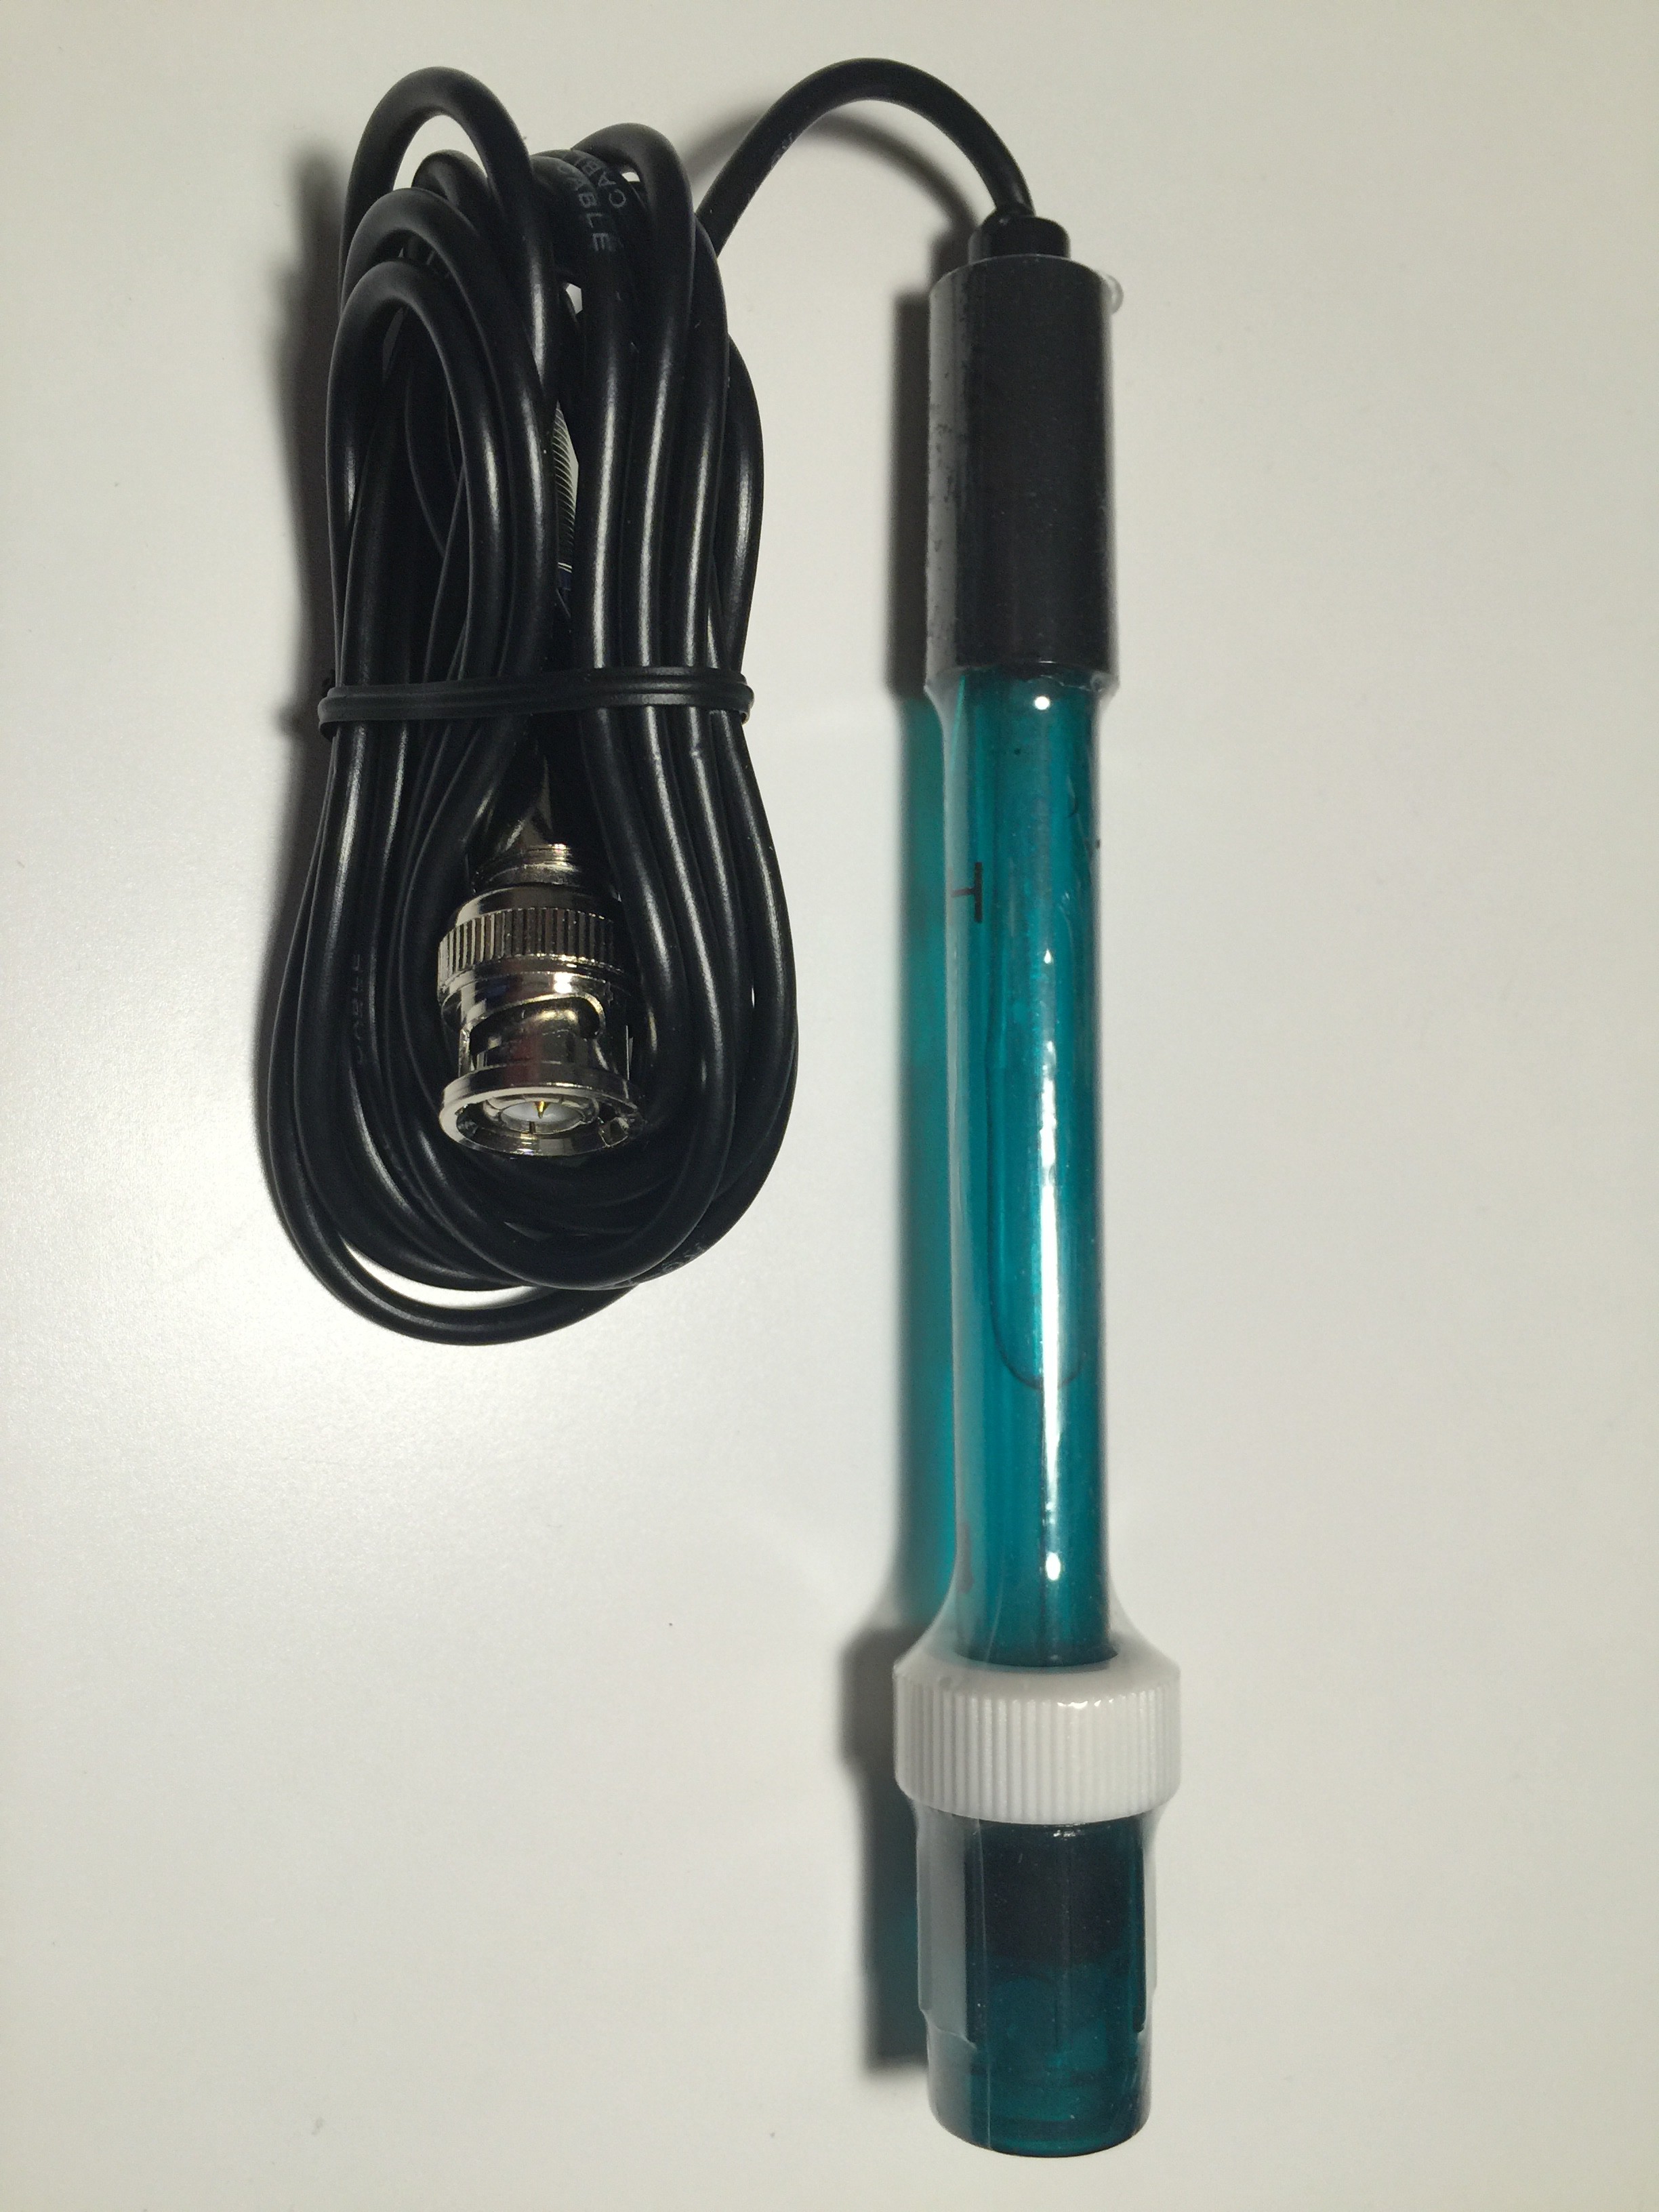
pH electrode specification
Type: 201W
Measurement range: 0 - 14 pH
Measurement temperature: 0 - 80 ℃
Zero point: 7 ± 0.25 pH
Alkali error: ≤ 15 mV
Noise: < 0.5 mV
Theoretical percentage slope: ≥ 98.5 %
Internal resistance: ≤ 250 MΩ
Response time: ≤ 1 min
Max. dipping depth: 100 mm
Cable length: approx. 70 cm
Connector: BNC
Fig. 1 pH probe 201W
pH meter theory
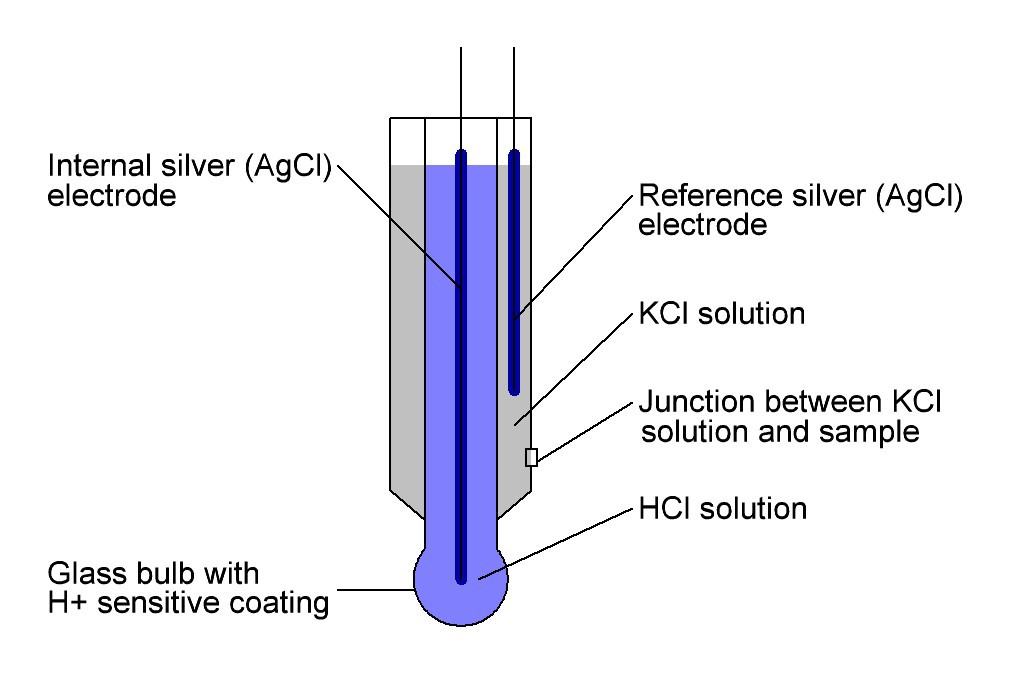
Fig. 1 Schematic drawing of a pH electrode
The Nernst equation expresses the electrical potential of a electrochemical cell at non-standard state conditions and at any time during the electrochemical cell's reaction and is given by
where
E = Electric potential of the pH electrode
Eo = Standard electric potential of the reference electrode
R = Ideal gas constant ≈ 8.314 V⋅C / (K⋅mol)
T = Absolute temperature = 298.15 K at 25 °C
n = Valence (number of charges on ion) = 1 for H+
F = Faraday constant ≈ 96490 C / mol
Q = Reaction quotient of the species involved
ln(Q) can be expressed as a logarithm to the base 10 by
and log10(Q) can be expressed in terms of the hydrogen ion activity by -log10(aH+) which is the pH of a aqueous solution.
Hence equation (1) becomes
At 25 °C and assuming a zero potential of the reference electrode, equation (3) may now be written as follows:
Solving for pH:
If we assume the characteristics of an ideal pH electrode, we should have the following voltage outputs of the electrode:
The pH electrode signal is passed through a low-pass filter (R14, C12, see schematic) wit a cut-off frequency of
The op-amp U1 is configured as a non-inverting amplifier with adjustable gain (R17) and active low-pass filter. The output voltage of op-amp U1 is given by
The resistance of Rf and Rg depends on the wiper position of the trimming potentiometer R17.
The op-amp U2 is configured as summing amplifier to accomplish level shifting and output scaling to fit the 5 V input ADC. The summing amplifier sums the two (weighted) voltages:
If we adjust the gain of the non-inverting amplifier for example to 4.8, we have follwing output voltages on U1:
The summing amplifier translates the voltages then to:
Hence
pH electrode precautions
- Always store the electrode in the pH meter storage solution recommended by the manufacturer and never in water even it it is deionized water. A pH meter storage solution contains salts that help the pH meter to recover.
- Never let the electrode dry out.
- Thoroughly rinse the electrode with distilled or deionized water, after removing from the storage solution, between measuring samples or calibration buffers and before returning to the storage solution. A quick flick with the wrist also removes the excess water from the probe.
- Only measure cooled samples.
- Move the electrode around in the sample. This avoids localized pH changes caused by the acidic nature of the probe.
- Don't scratch or rub the glass bulb. It is coated with a sensitive layer that is integral to its function and it's rather fragile.
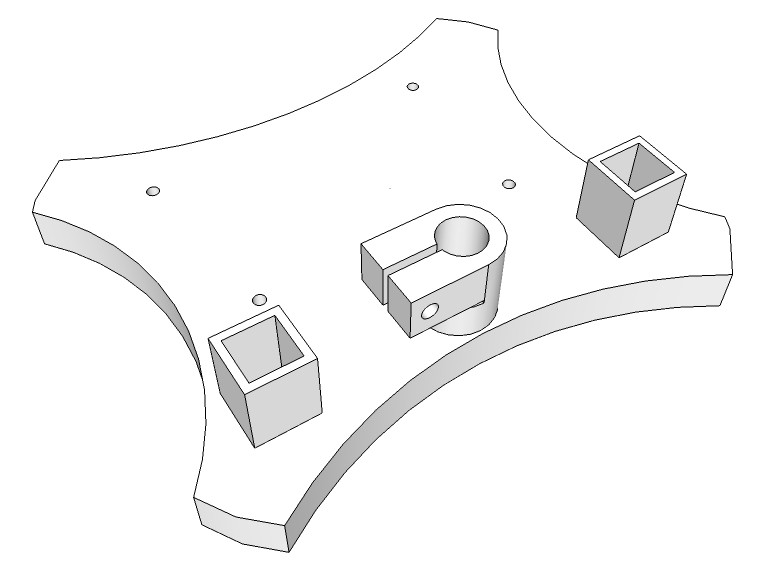
pH electrode/sensor arm
The pH electrode/sensor arm will move in almost any direction and will hold up to three probes/sensors safely. First I designed the stand for the pH electrode/sensor arm.
 M. Bindhammer


 PJK
PJK
 Claus Buchholz
Hello, I am interested to build an spectrometer. What do you use as circuit parts? The tiny bug there on the shield is a spectrometer right?