-
Not going to make it :-(
12/22/2015 at 06:11 • 1 commentI am not going to make the deadline. :-(
My wife went into surgery a last Monday and took longer than expected to recover. I got my parts on Tuesday. :-/
I managed to get a board put together, but there is a issue with the power system. I don't have any time to diagnose the issue.
I still intend to complete the rover. I may make it larger to use easier to solder parts. But first I have to diagnose the power system!
-
It is DONE! (The design at least)
11/30/2015 at 06:48 • 0 comments![]()
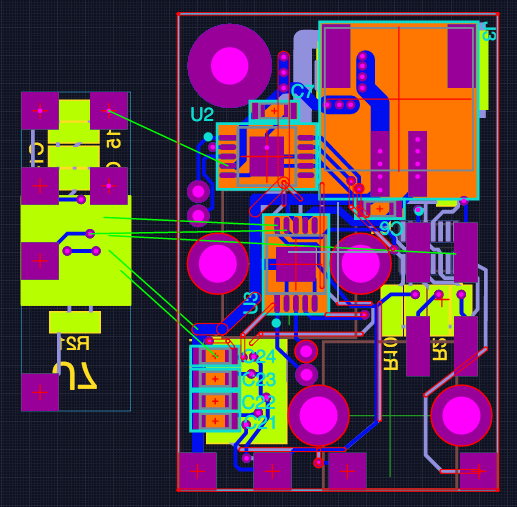
The completed design:You can check out the design here.
The smaller board will be mounted on the front at 90 degrees to the main board. The IR range sensor will mount on this to allow it to look forward.
The Required Fail:
I had hoped to have the design done by November 23rd as I was going on a holiday for a week the next day.
But I had made an error that I only discovered when I went to put the board in at OSHPark. I noticed I had no copper around the mounting holes for the motor mounts. I had made an error in creating the part.
Of course this meant I had to take more space for the mounts and re-work large parts of the design. If you go to the Upverter page I have marked the version where I realized the error. You can click on it and the hit the "play" button to see the changes from that version.
Simpler is better, to a point.
During the design I had to lose more subsystems. Especially after I fixed my part error. The number of IR distance sensors were dropped to one. I also removed the reset pin so I could switch to a 4 pin programming header. You don't need reset for SWD programming, just SWIO, SWCLK, Vin and GND. I will have to yank the power to reset, but there is just not enough space for a 6 pin header.
I was glad that I was able to retain the IMU. This means I will be able to use PID to steer based off the gyro. With a differential steering on a robot that is so asymmetrical it will be interesting to see how well PID handles it.
The compass on the IMU will probably be of little use as it is mounted directly under a motor. But on a design this small you are going to be next to a motor or coil for the buck/boost converter. So I had little hope for the compass from the beginning.
Next steps.
I have already sent the design to OSHPark to be manufactured. Next I will order any parts I don't have and wait for the boards to show up.
-
Proximity sensors working!
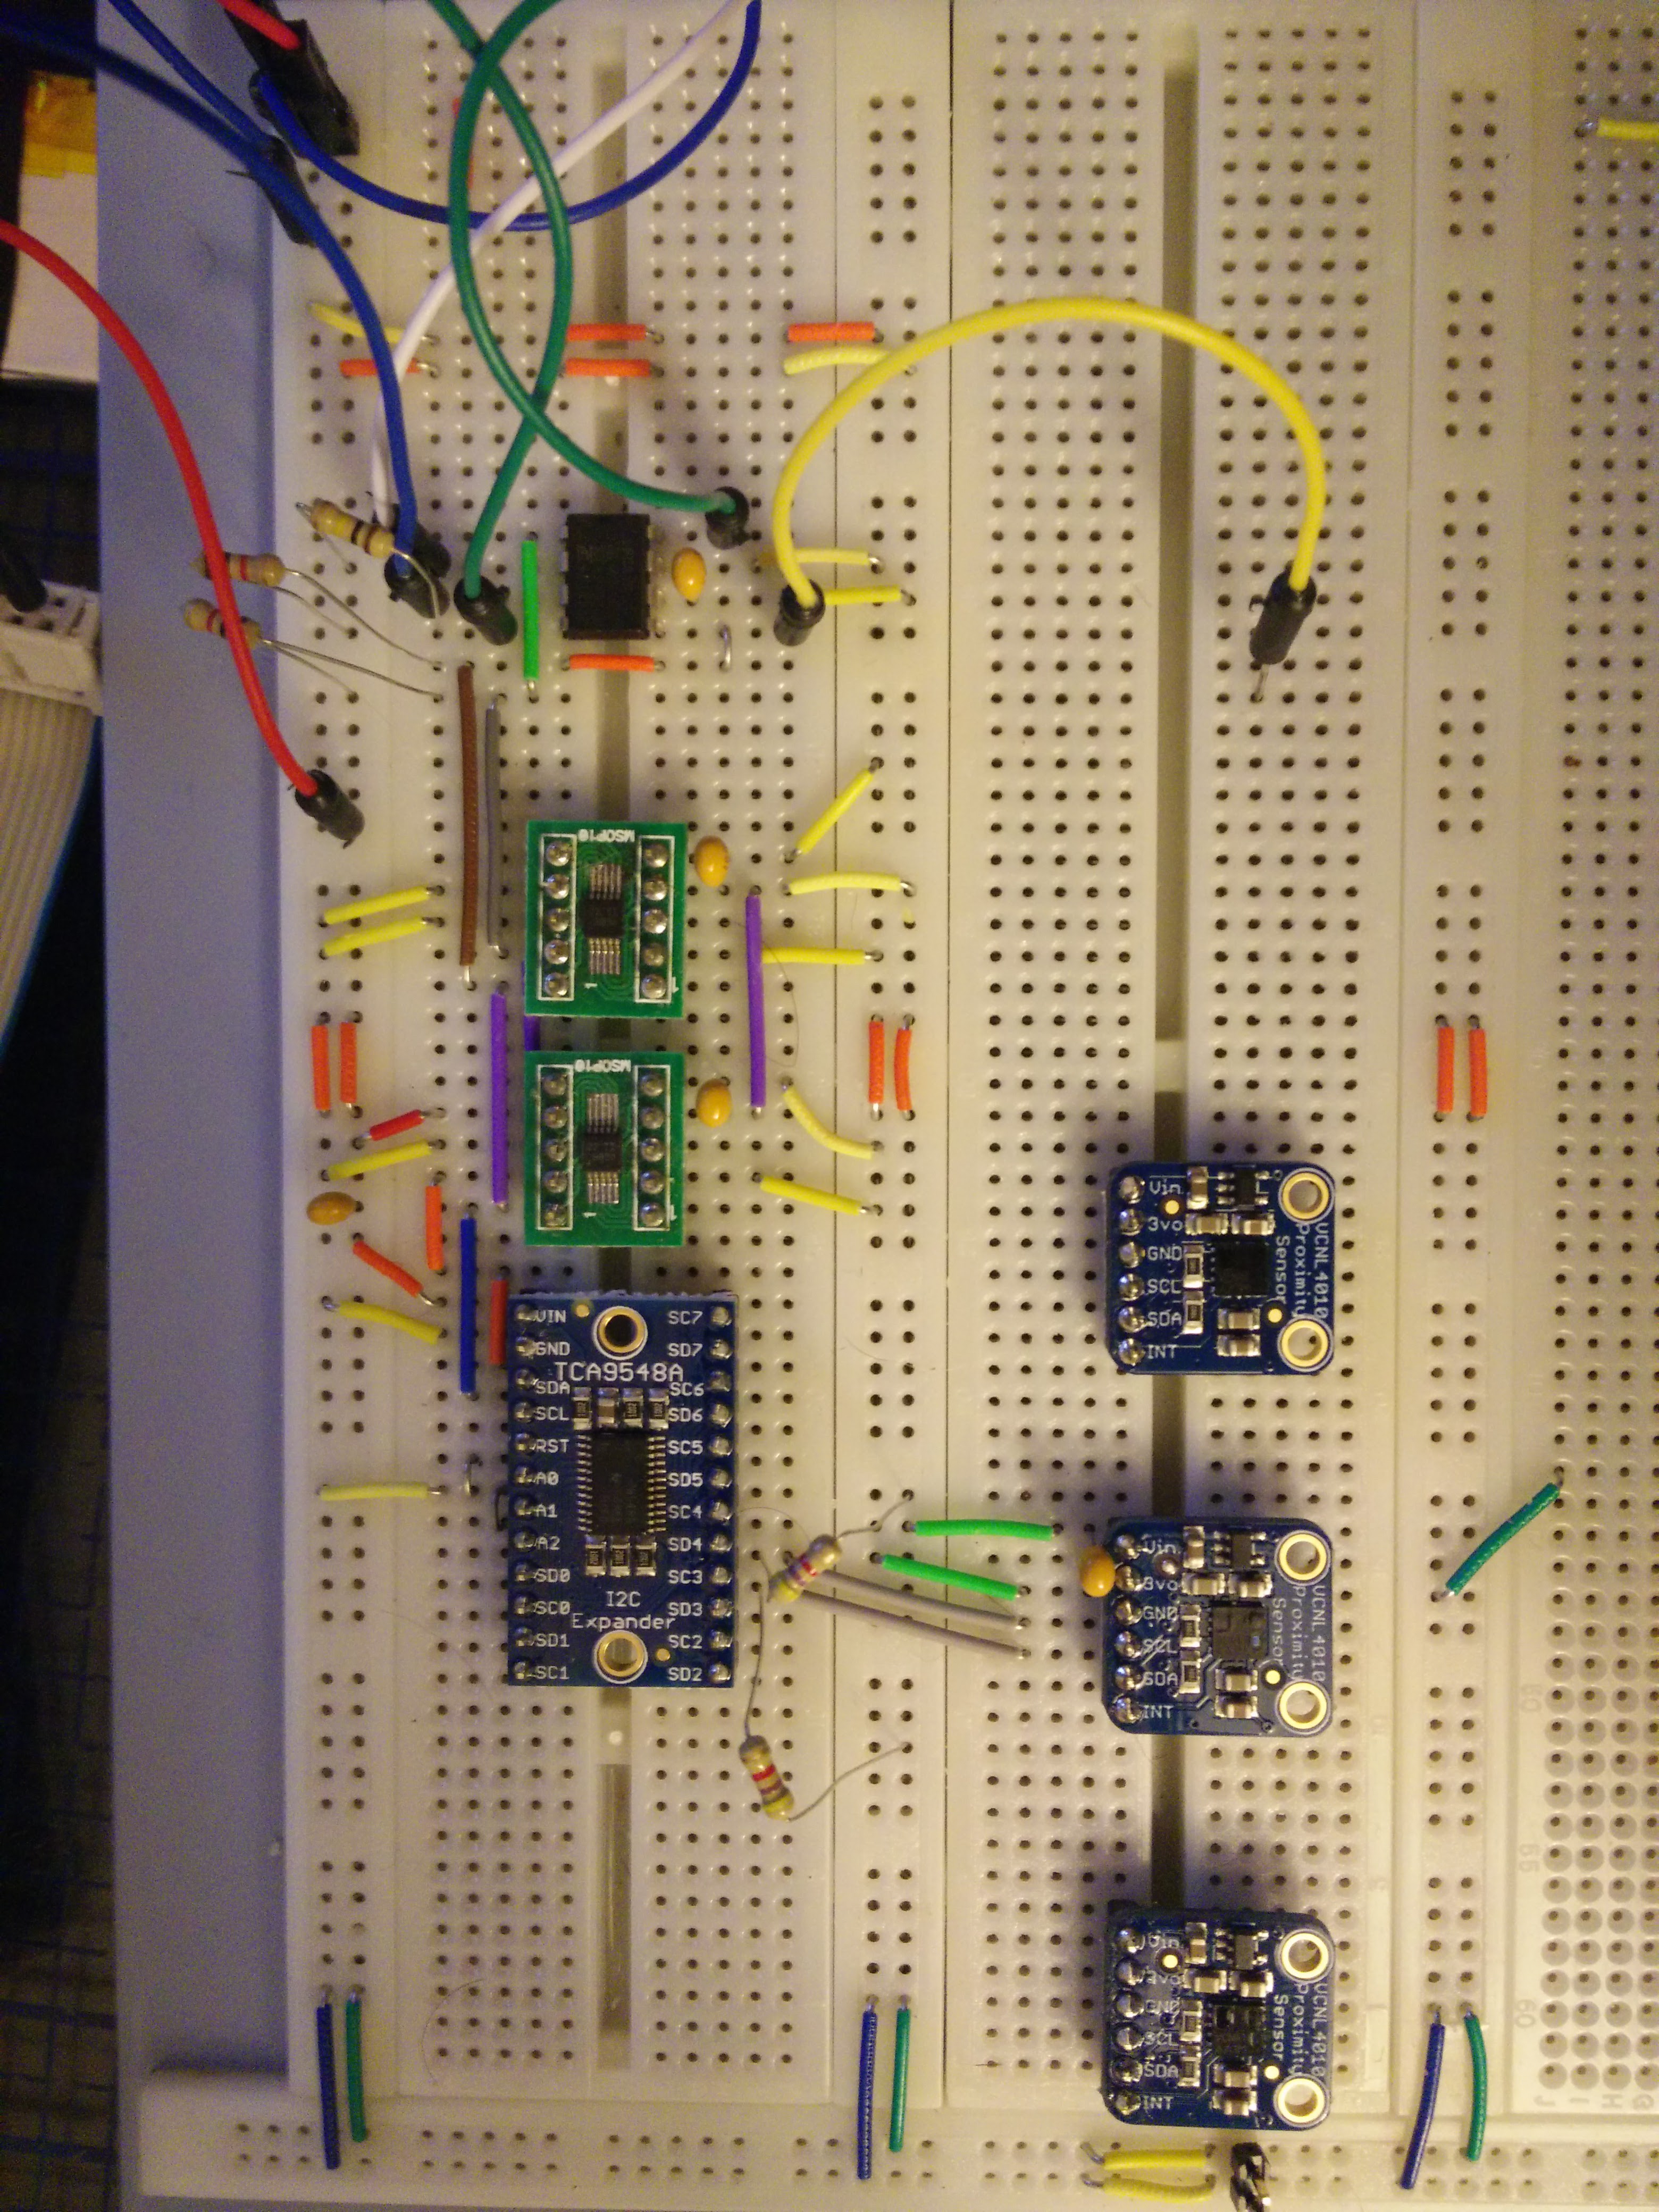
11/09/2015 at 06:40 • 0 commentsSo some progress, parts showed up and I have them working on the bread board. I got the TCA9548A and VCNL4010 break out boards from Adafuit. These will be the basis of the robot sensor system.
You can see the 3 VCNL4010's on the right there. Currently, I only have one working through the i2c multiplexer.![]()
The VCNL4010's are an ambient light and infrared proximity sensor all in one package. They sport a i2c interface for control and their infrared LED on board. They measure to 20 cm and have a interrupt line that can be configured to go off when the sensor measures under a certain threshold.
My plan is to mount 3 4010's around the front and sides for collision avoidance. I will have to mount the PCBs at a right angle to the main board. I will use solder joints to mount them. This will lose me quite a bit of board, but it's the only way I can see to make it work.
Unfortunately the 4010's only have one address. To make use of 3 of them I will have to use a i2c bus multiplexer in the form of TCA9546A. This is a 1 to 4 multiplexer that is very simple. It has a single configuration register that you set the bits for which i2c buses are on. I got the TCA9548A break out, which is very similar but with 8 buses instead of 4. I will use the TCA9546A on the final robot for space saving.
The i2c bus on the breadboard has gotten a lot longer and more roundabout. This meant the wave forms got very rounded, I had to reduce the pull-up resistors to 2.2K to get the wave form back to something more normal.
My current config of the LPC810 is using the reset pin as the SDA line. This is nice and it gives me a serial out and SWD debugging, but is annoying as I have to yank the battery to get into programming mode. For the final robot I had hoped to keep the reset pin and dump the serial connection at run time. But that mean switching two lines from i2c lines with pull-ups to the serial connection for programming. I have to also pull pin 5 to low at startup to enter the ROM based ISP.
I was thinking that a 4pdt switch would work, but none were small enough. Then I stumbled across signal line multiplexers and they seemed the ticket. I ( relatively randomly) chose the 74CBTLV3257 from NXP. This looks like it should be small enough without affecting the i2c or serial signals.
I am toying with adding a BNO055 IMU. This is an interesting chip that is a IMU with a cortex M0+ on board. The M0 does the sensor fusion for you. You just read off the final position. If I can get it to fit, I think I will use one. Since it will allow straight line driving from a tank drive robot. Adafruit has a breakout, which is convenient.
So more parts to order, with more break outs. I have started the circuit board design, not much yet beyond the main IC's. I use Upverter as my tool of choice, so you will be able to follow along as I stumble along. :-D If you have any feedback on the design feel free to give feedback. The link to the project is here.
1 Inch Rover
A small robot for the 1 inch square competition. It will at least have 2 motors a sensor, hopefully more than 1.
 HappyFox
