 danjovic
Materials used:
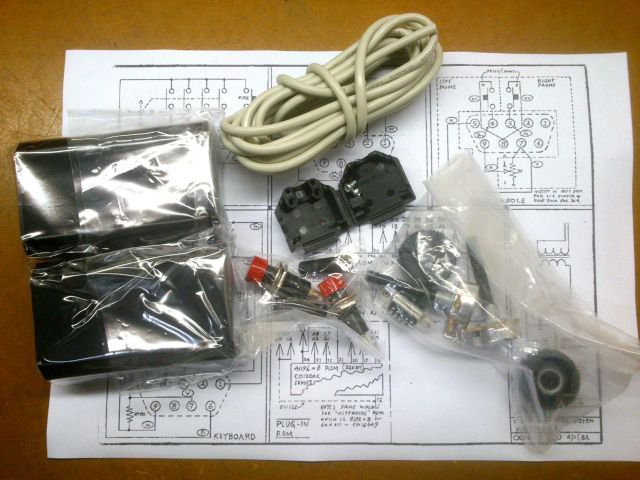
Box:

Push Buttons:

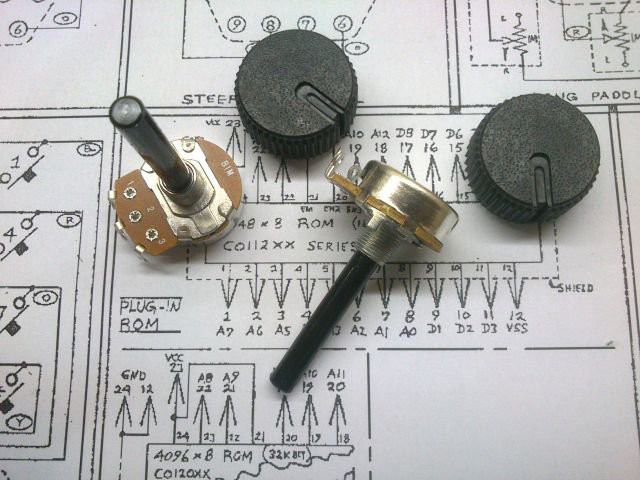
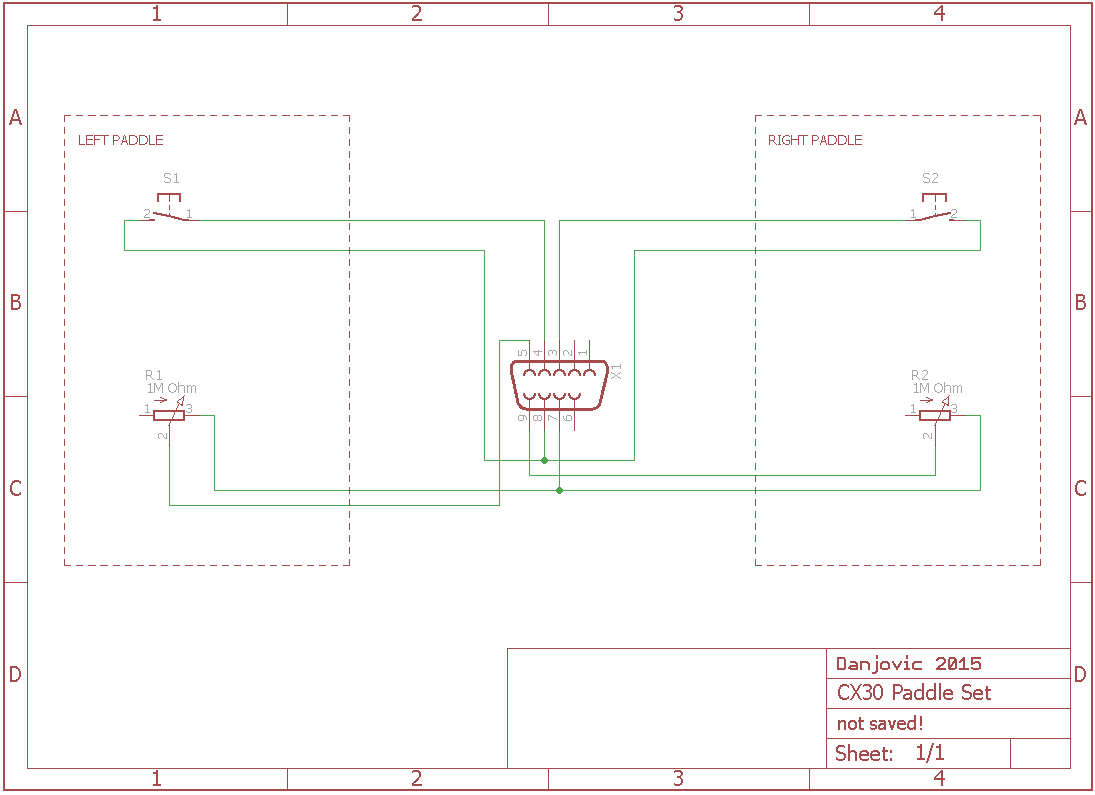
Potentiometers (1M Ohm) with Knobs:
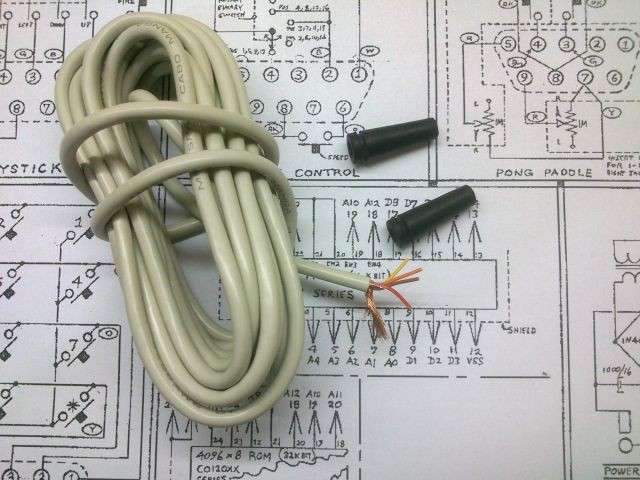
Wire and Sleeves:
DB-9 Female connector:

A remake of the Atari 2600 Paddle controller
Already have an account? Log in.
To make the experience fit your profile, pick a username and tell us what interests you.
Materials used:
Box:
Push Buttons:
Potentiometers (1M Ohm) with Knobs:
Wire and Sleeves:
DB-9 Female connector:
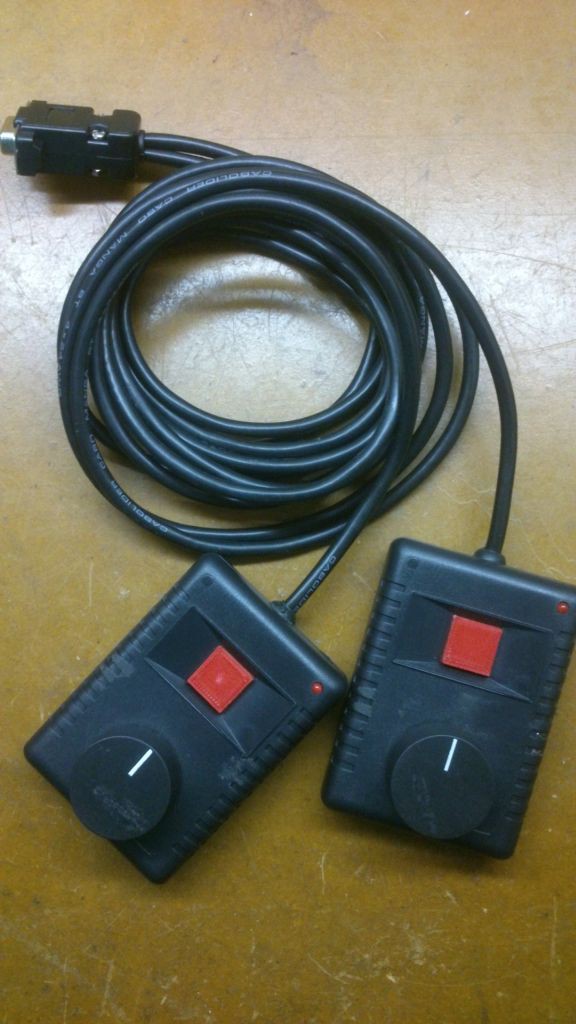
I've finished assembling a new pair of paddles for a friend. This time I have used the CR096/2 boxes.
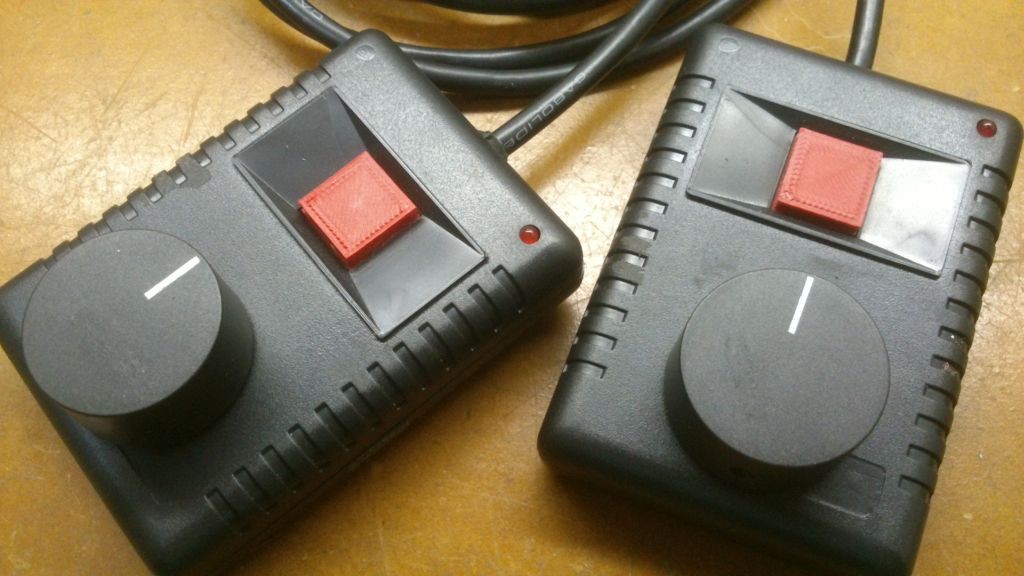
Since the button tabs were missing (haven't noticed that at the electronics store) it was necessary to 3D print the replacement tabs. At least the box manufacturer website have engineering drawings with quotes, which made thing easy for me to draw the 3D model in sketchup.
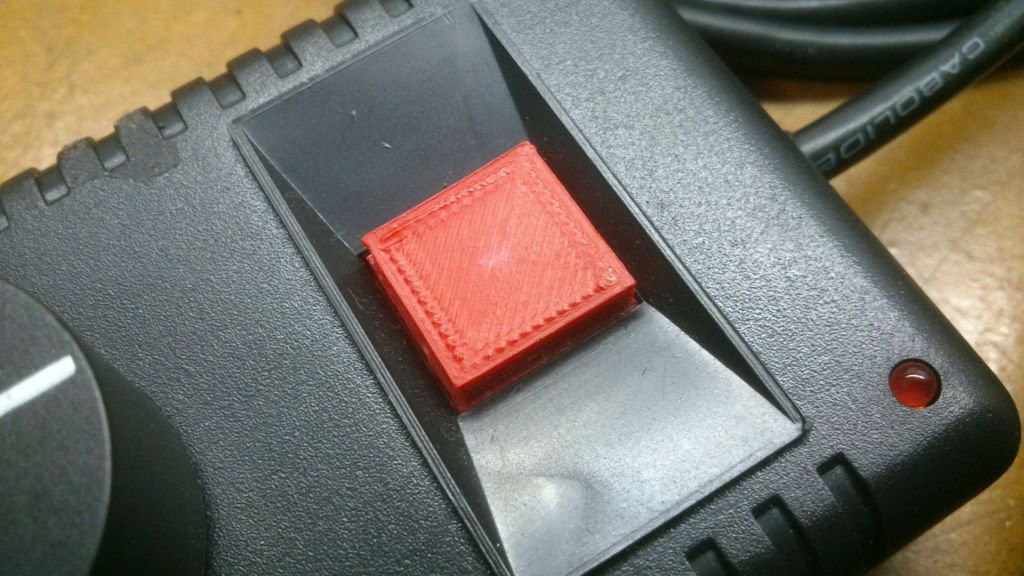
The box have also a hole for a LED and the best way to fill this whole was using.... a LED!
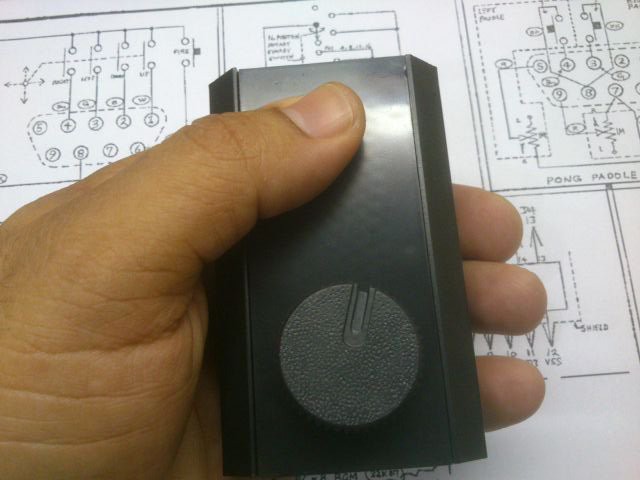
Start by trying out the position of the potentiometer Knob and push button that is more ergonomic for the plastic box to be used in the project
Cut a piece of cardboard with the same dimensions as the top cover.
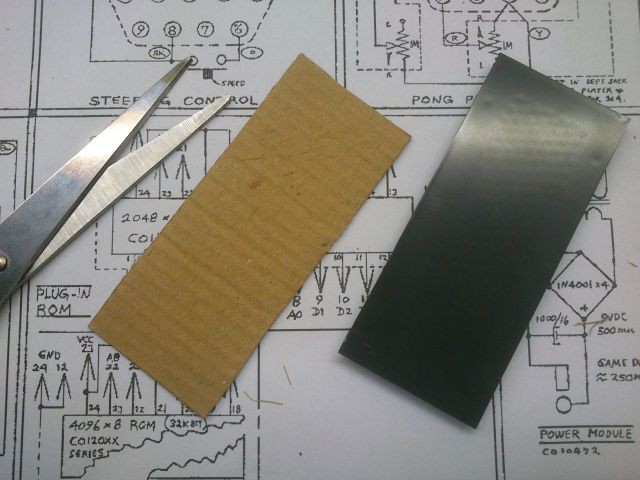
Use the cardboard to mark the positioning of the holes

Take note of the dimensions


Thanks, I am glad that you liked it! I have built the paddles not only for my Atari, but as a side project for #AVeRCADEproject.
I have another project for Atari consoles that I think you might like it too: #AT26-Chuck

Nice job and well explained.
Next, what a lot of people could really use would be a cheap and easy interface to plug these into and use with a PC (any PC from Windows 9.x thru 10, Linux, and Mac) !!! Here we are in the 21st century with modern computers and you can’t plug 4 paddles into them like you can with a simple 1970s Atari! LoL