-
1Step 1
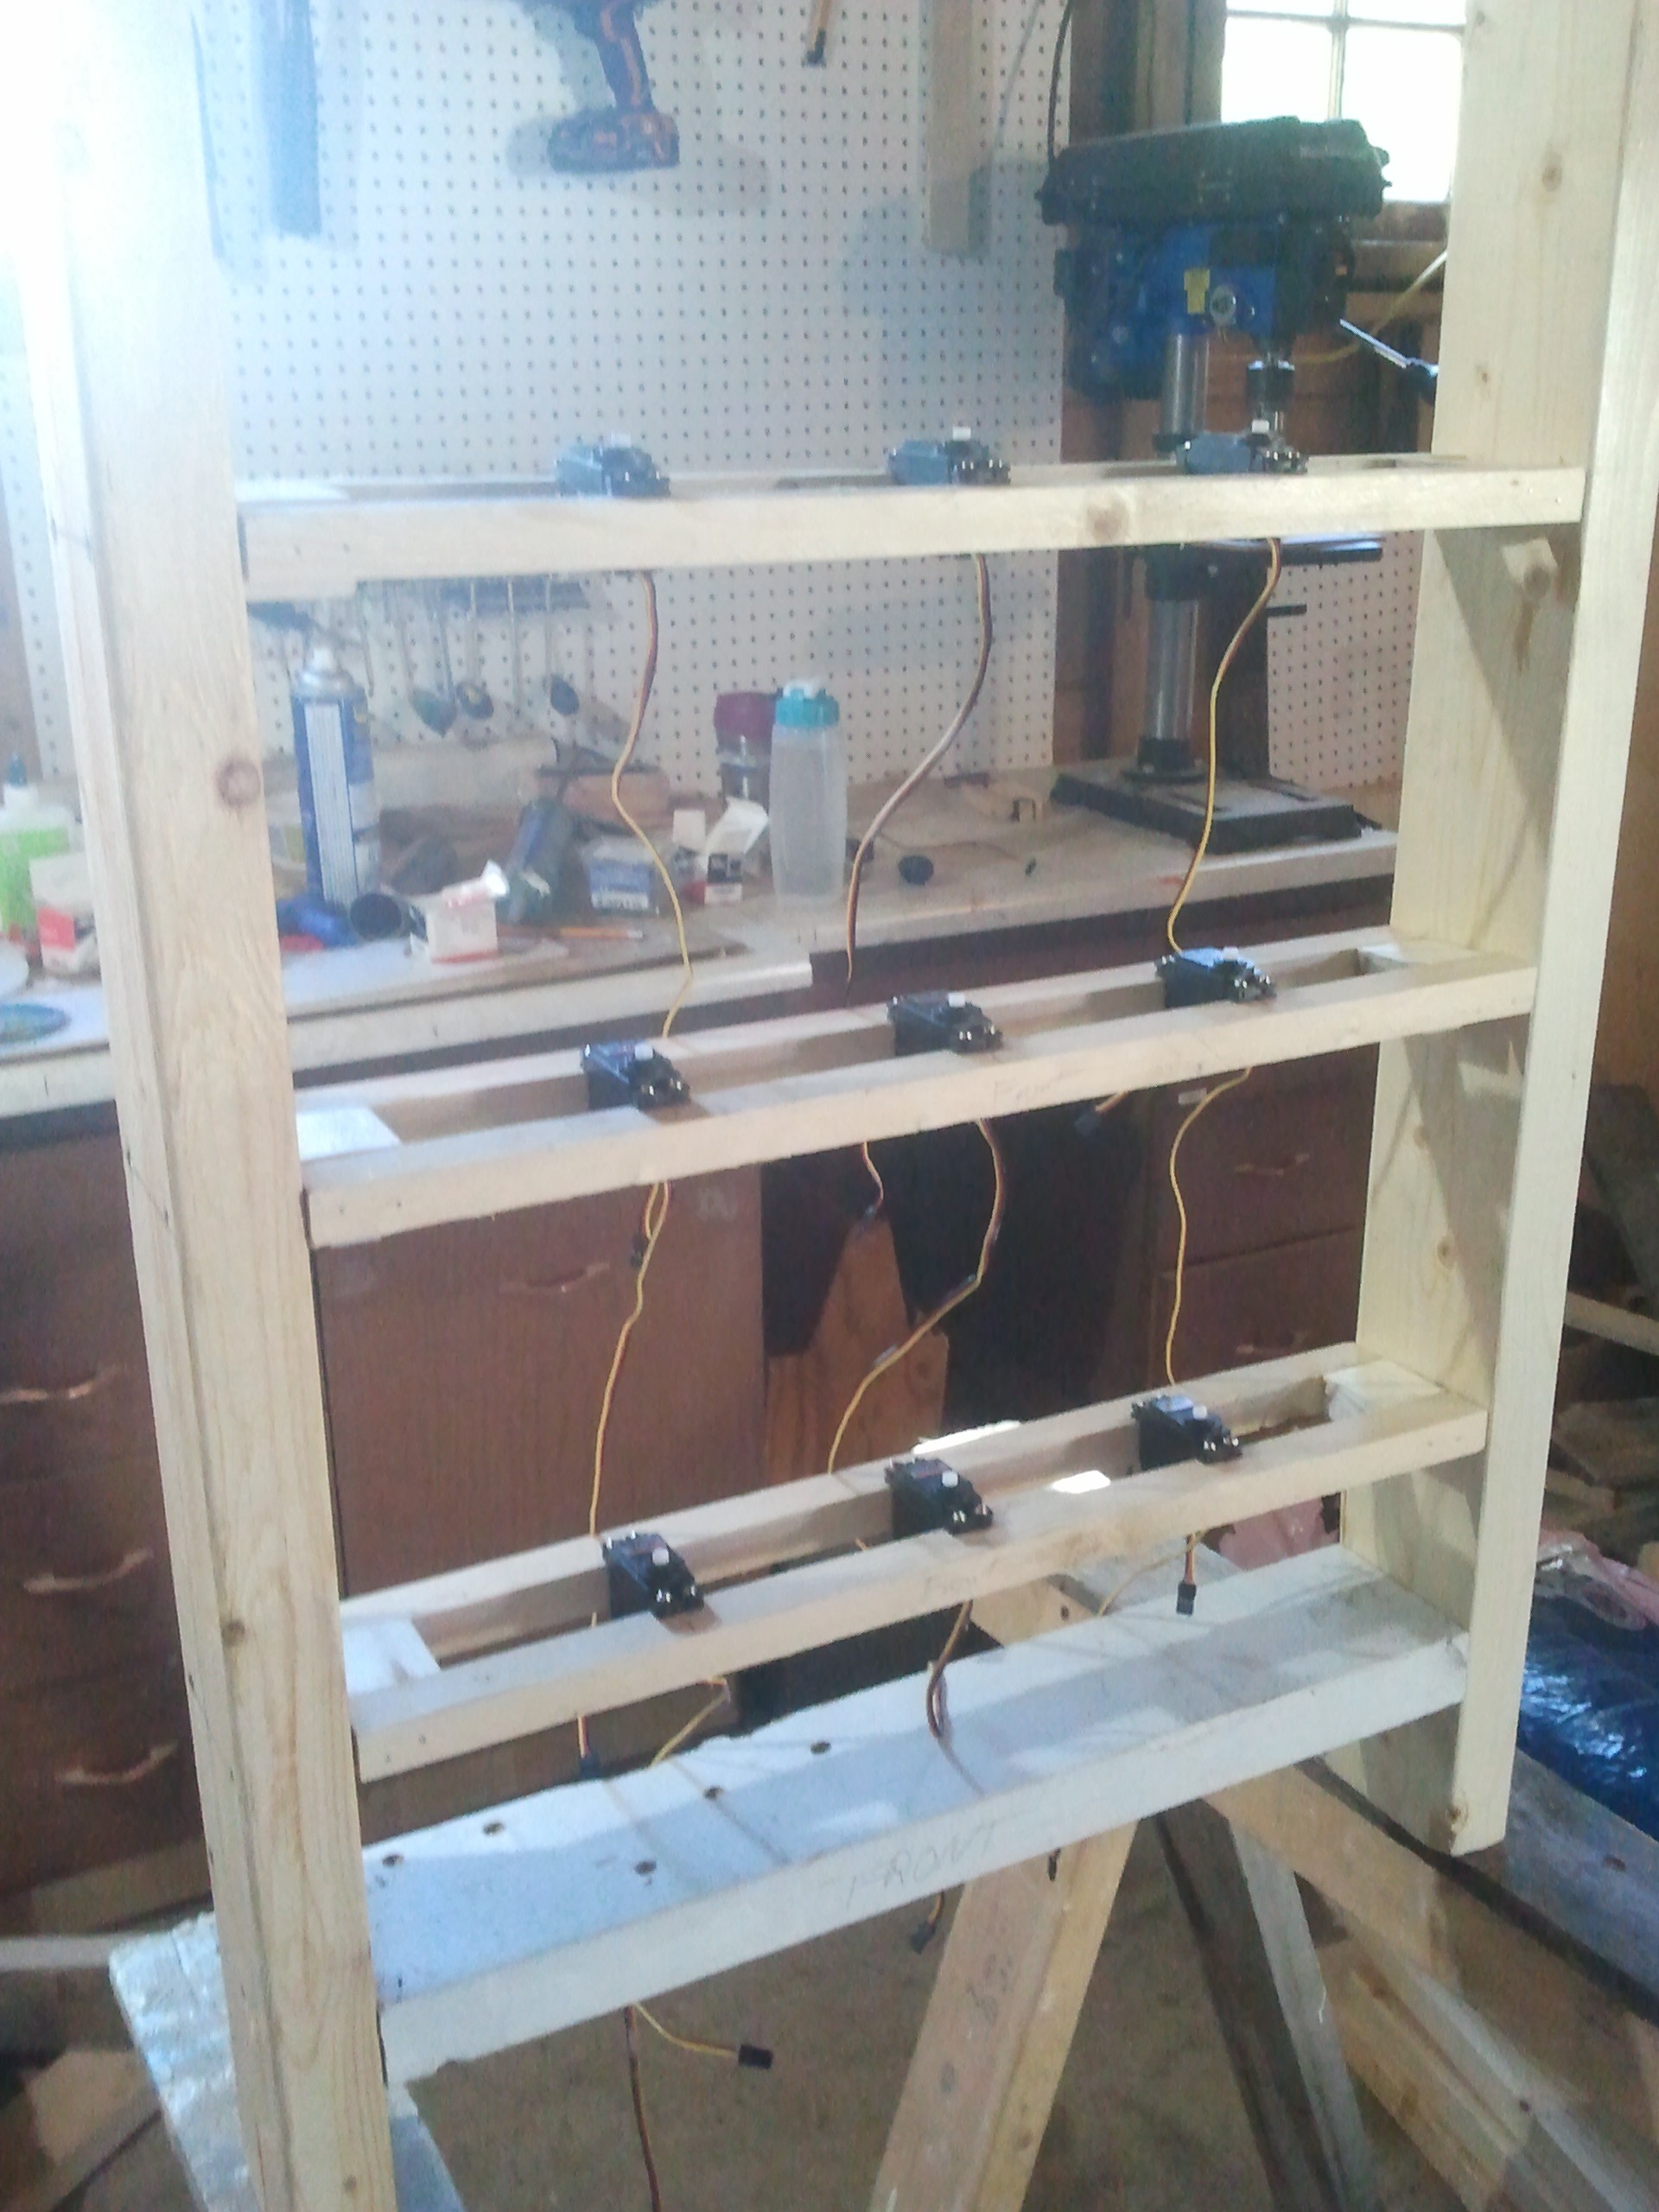
I used some scrap wood to knock up a frame to hold the servos.
![]()
There are three rows of three targets, and a space at the bottom for the controller. There's about 14cm between each servo, and about 20cm between each row. It doesn't really matter, as long as there is enough space between the servos for the targets to freely rotate.
-
2Step 2
The targets are made from corrugated plastic rescued from my yard.
![]()
I used a CD as a template, and added a little extra for a flat mate with the servo horn. The piezo sensor is taped in the middle, and the wires are run through a slit inside the plastic.
![]()
I used bamboo skewers and hot glue to firmly attach the plastic target to the servo horn, and the horn should be screwed to the servo. This prevents them from just snapping off with a good hit.
The cool pictures are just printouts, appropriately sized, cut out, and spray-glued on.
![]()
http://www.iconarchive.com/show/starwars-longshadow-flat-icons-by-creativeflip.html
-
3Step 3
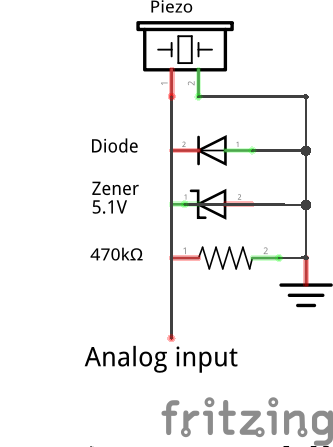
Each piezo has a diode to rectify the signal, and a 5.1V zener to chop it down to size. I found a 470k resistor would bring it back down at about the right rate.
![]()
I don't claim that this is the right or best way to deal with a piezo, but it worked and nothing blew up. Yet. I probably don't need both diodes.
-
4Step 4
Wire it all up. I wrapped some flexible LED strip around for some light on the targets, and connected it all to the teensy.
- Each sensor goes to an analogue pin.
- Each servo goes to a digital pin.
- The console takes the serial pins D2 & D3.
- The LEDs are on D6, via a transistor to handle the current.
-
5Step 5
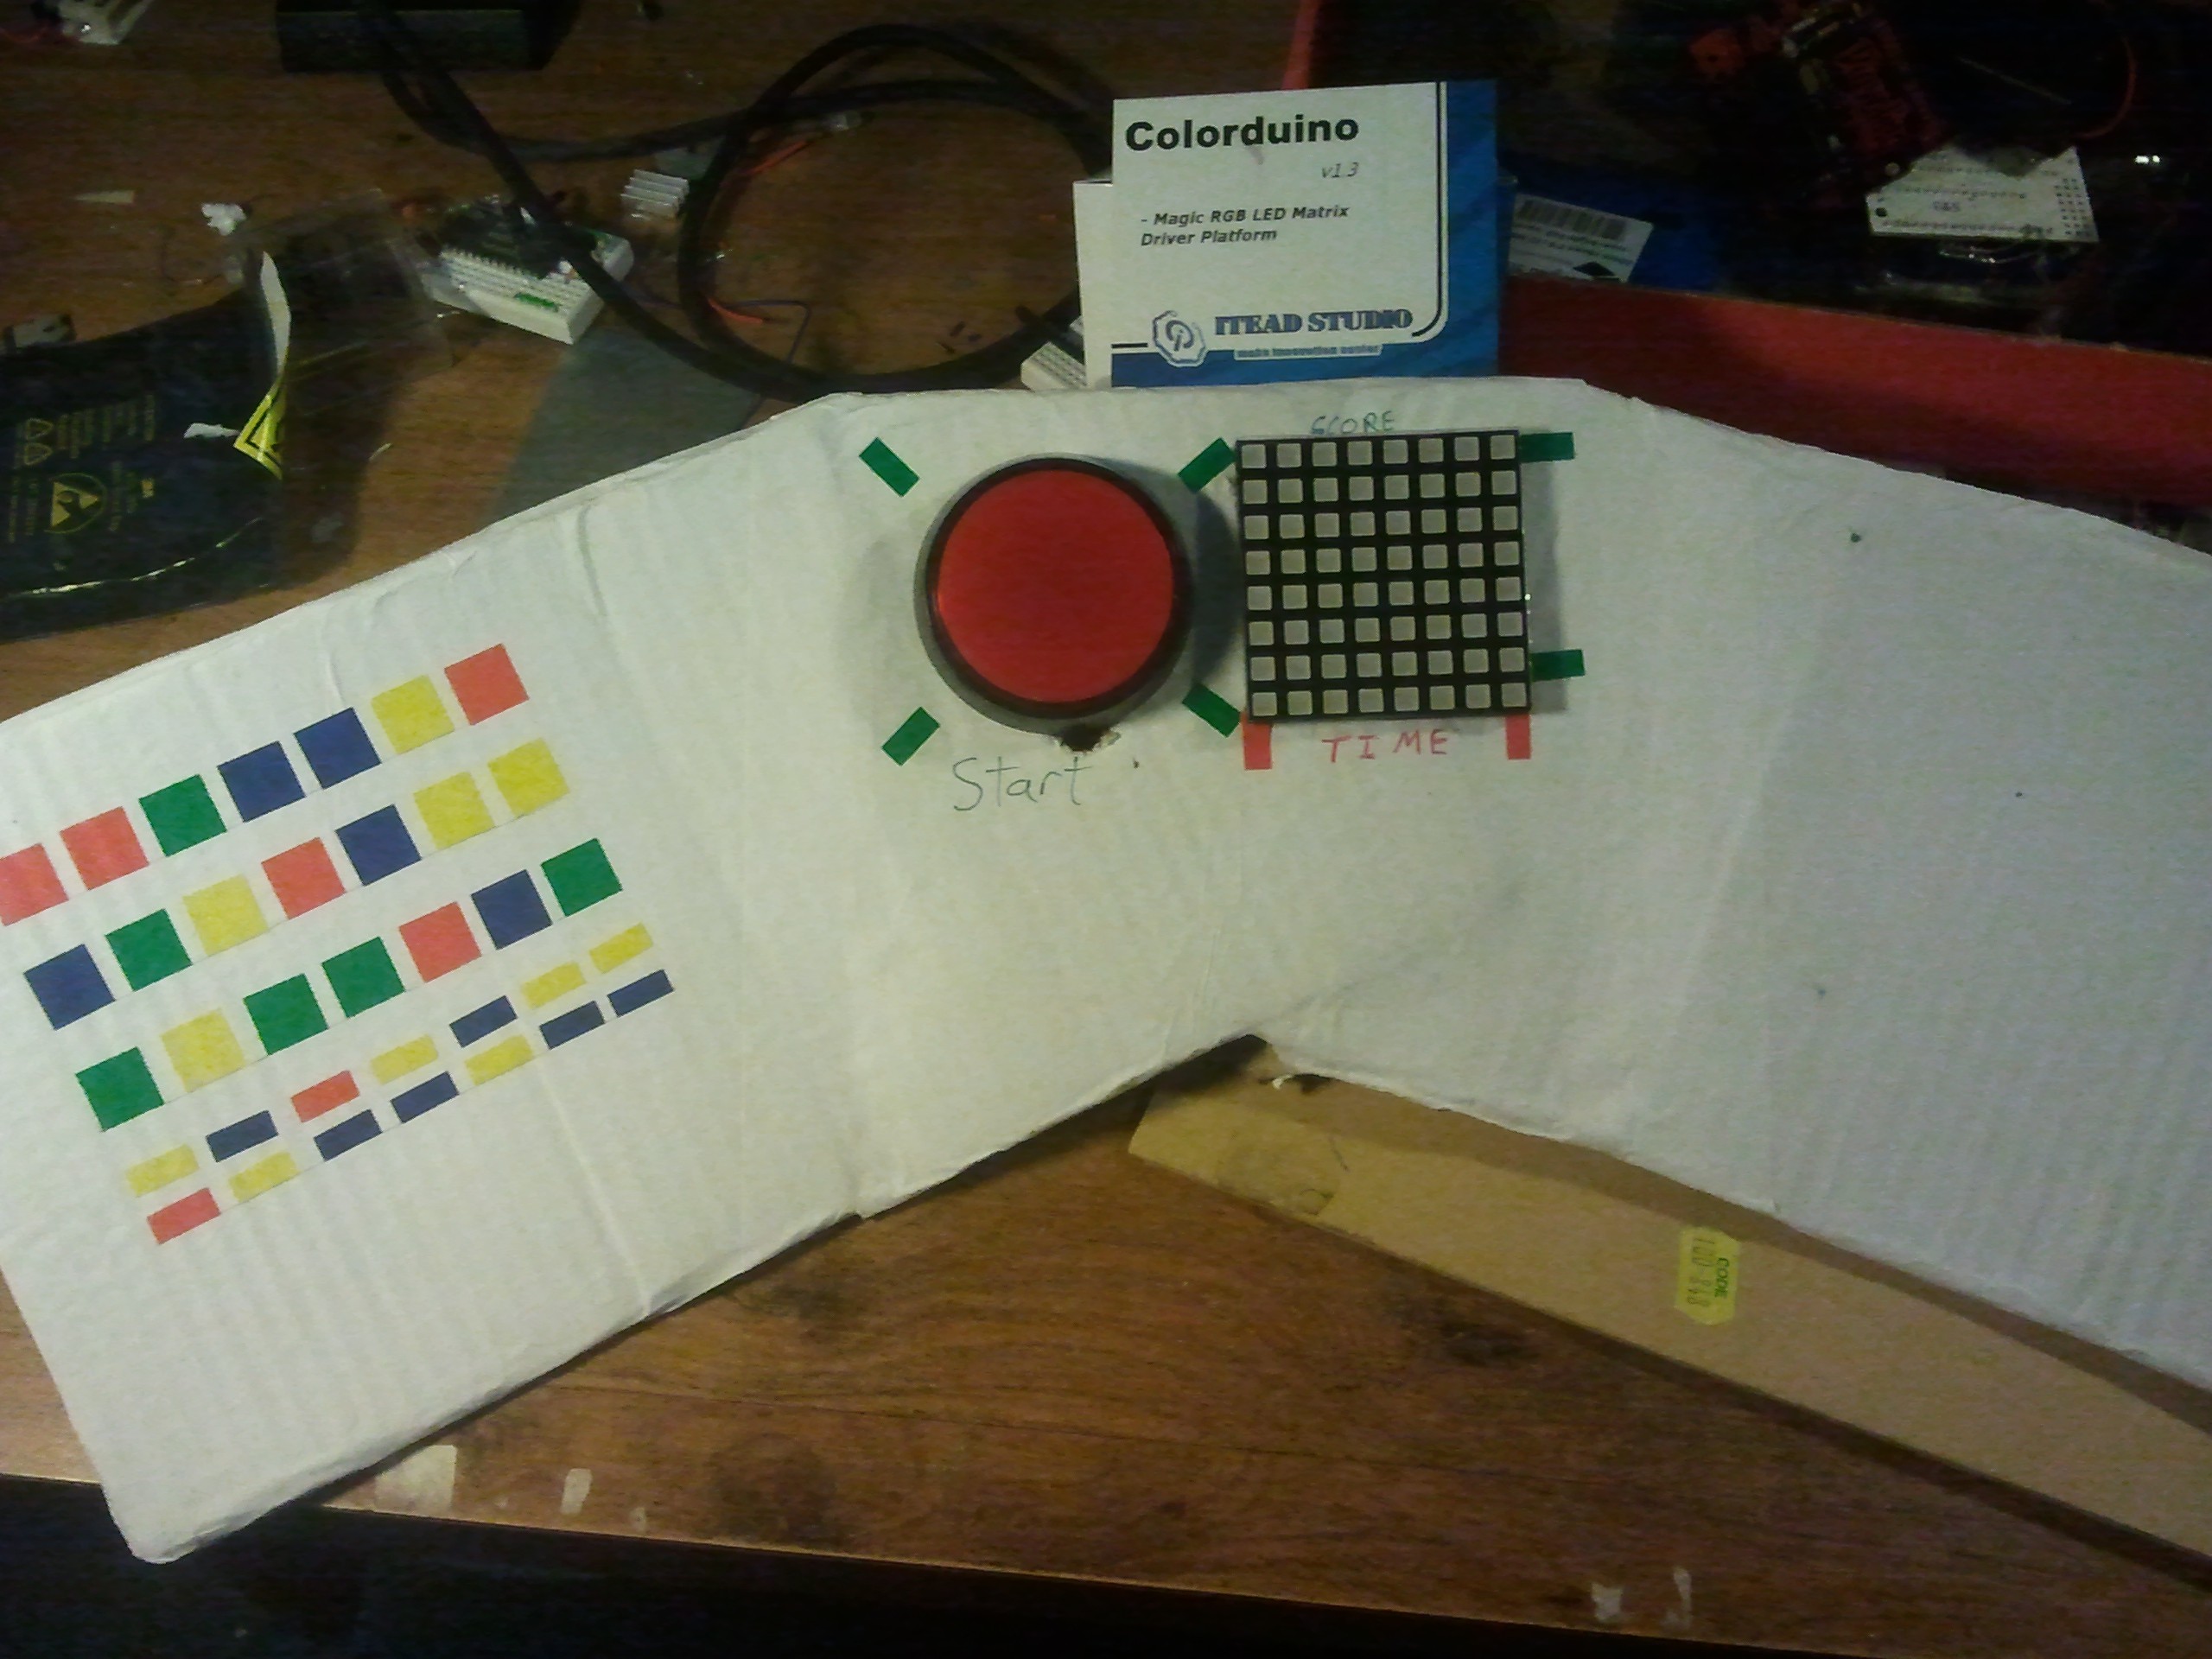
I needed a way to start the thing, and it's always nice to be able to compare scores, so I whipped up a little console out of more parts on hand.
![]()
It's just cardboard, paper and electrical tape. The Colorduino connects to the Teensy using a serial connection, and the button uses one of the few available inputs on the Colorduino. I used a RJ45 breakout on each end for easy connecting.
-
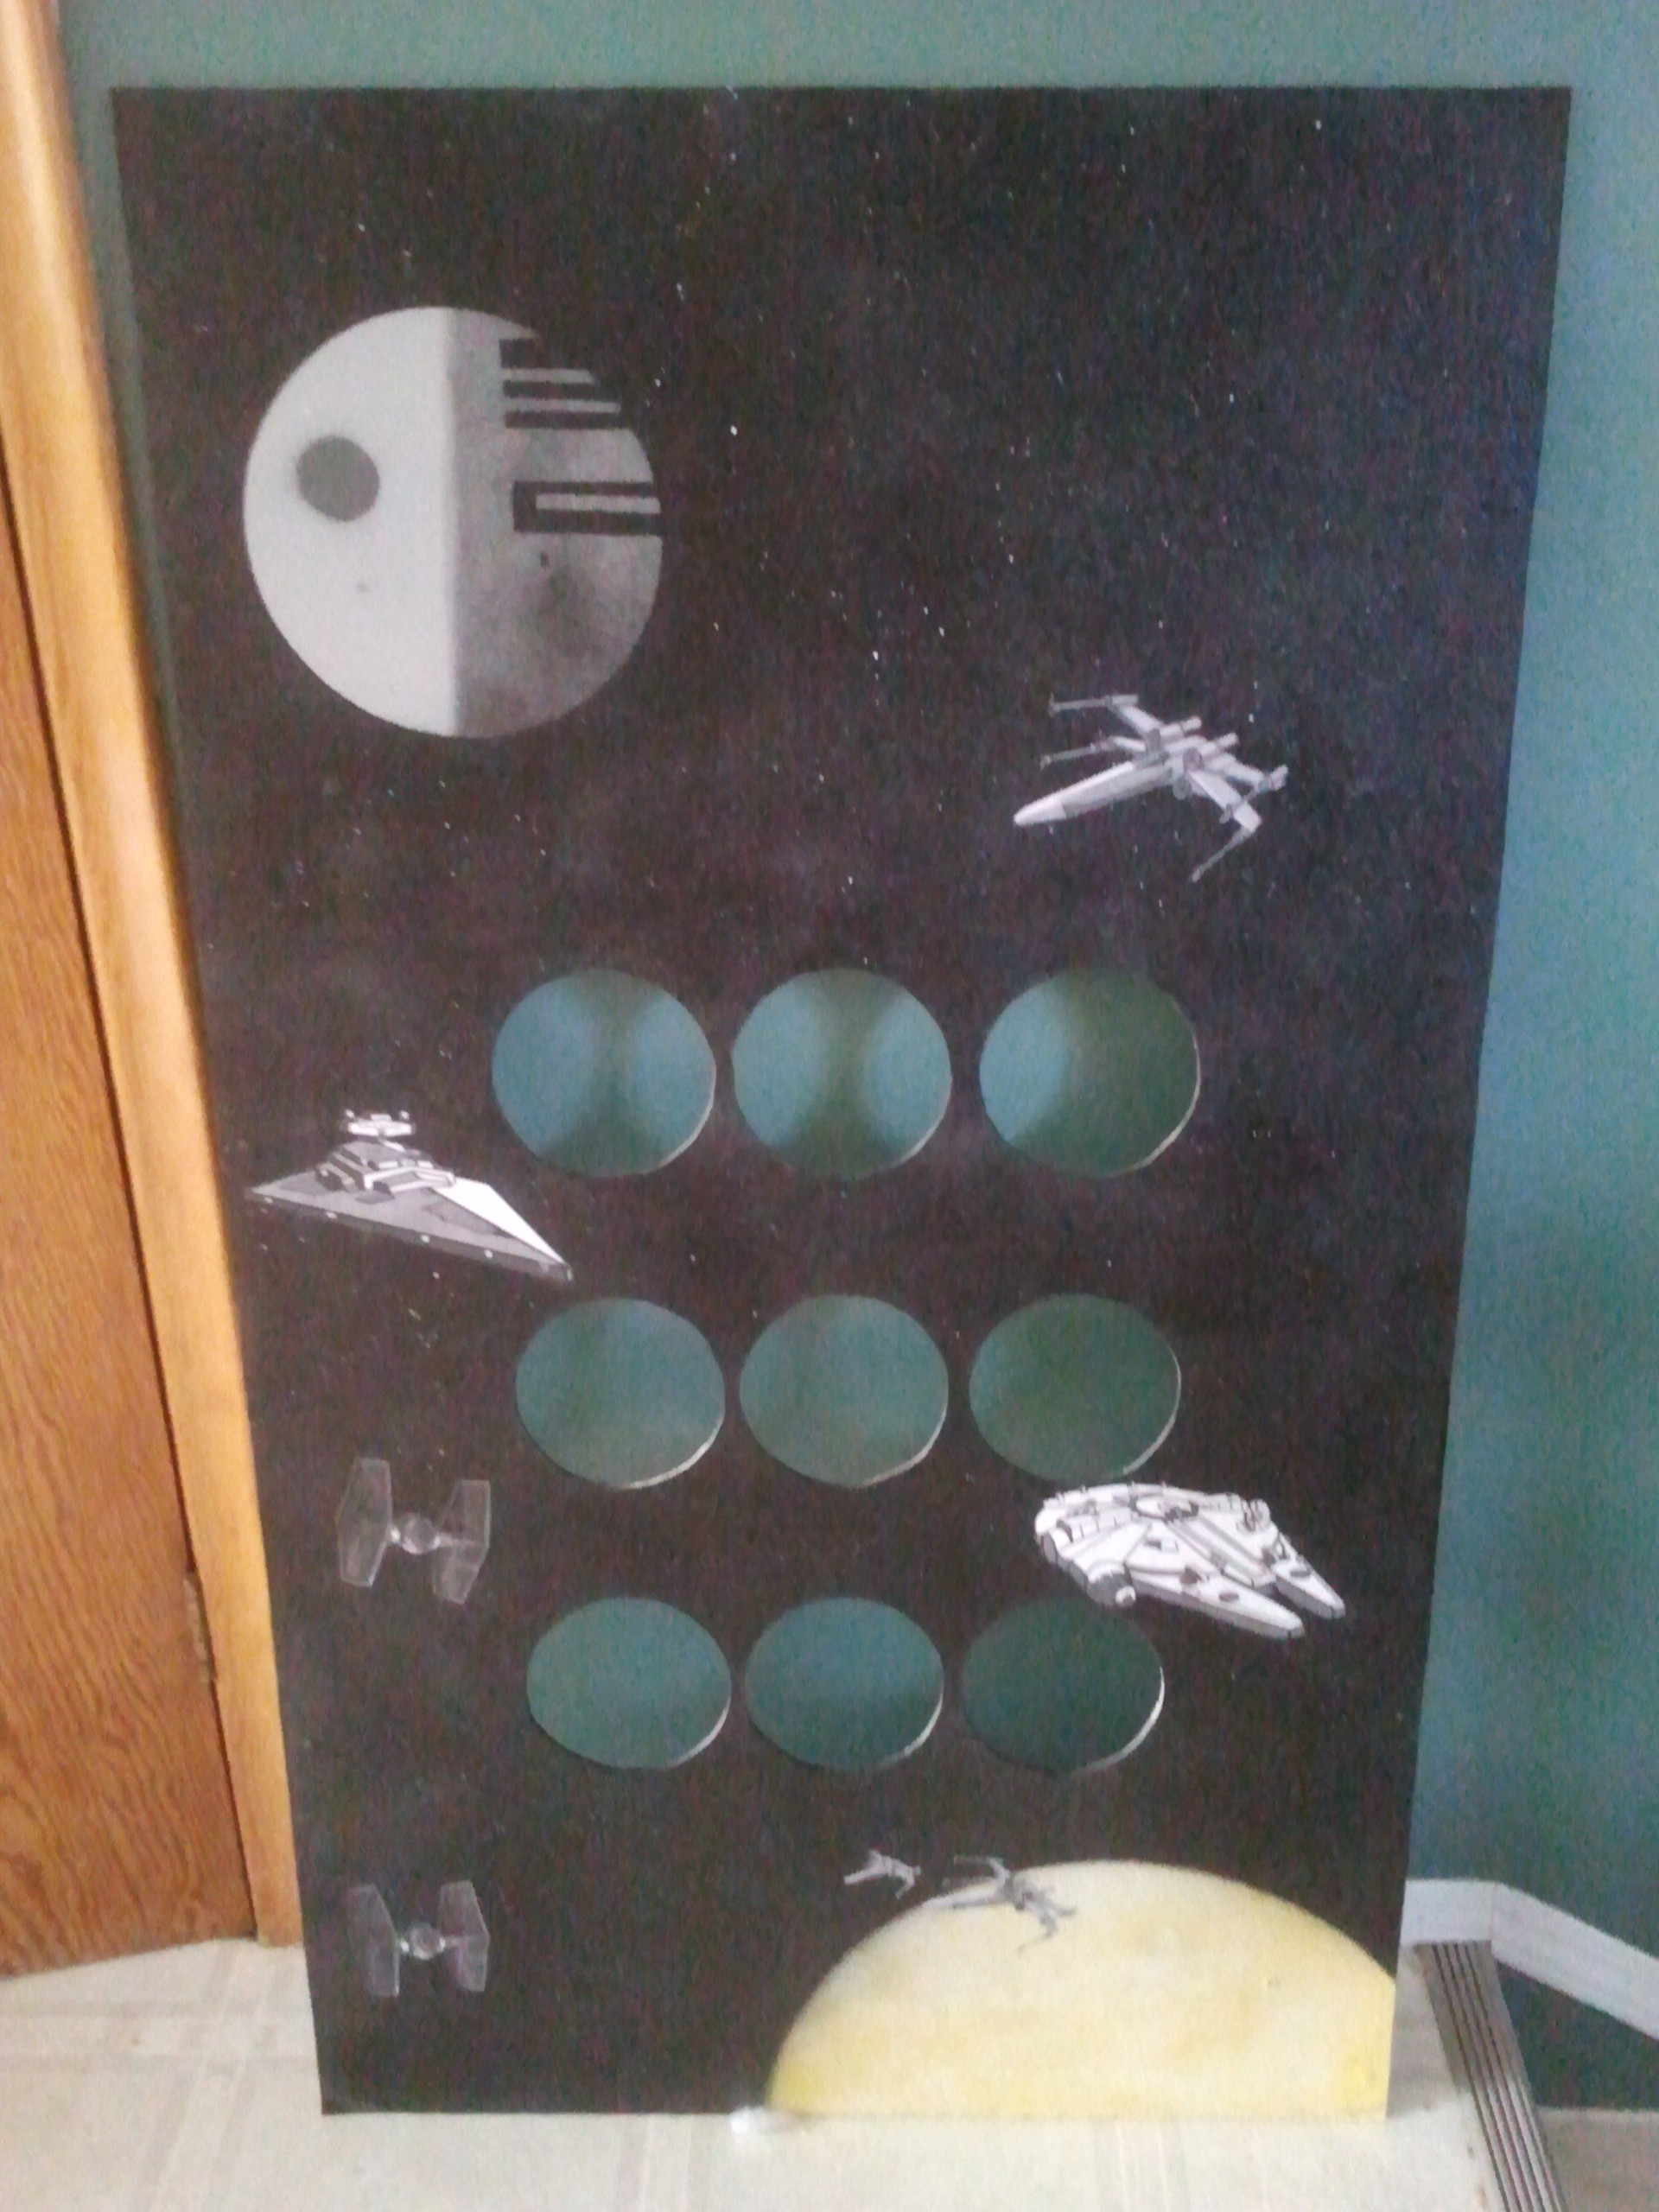
6Step 6
The piezos are so sensitive that if you hit the frame it will register as a hit, so I needed something in front to block that.
![]()
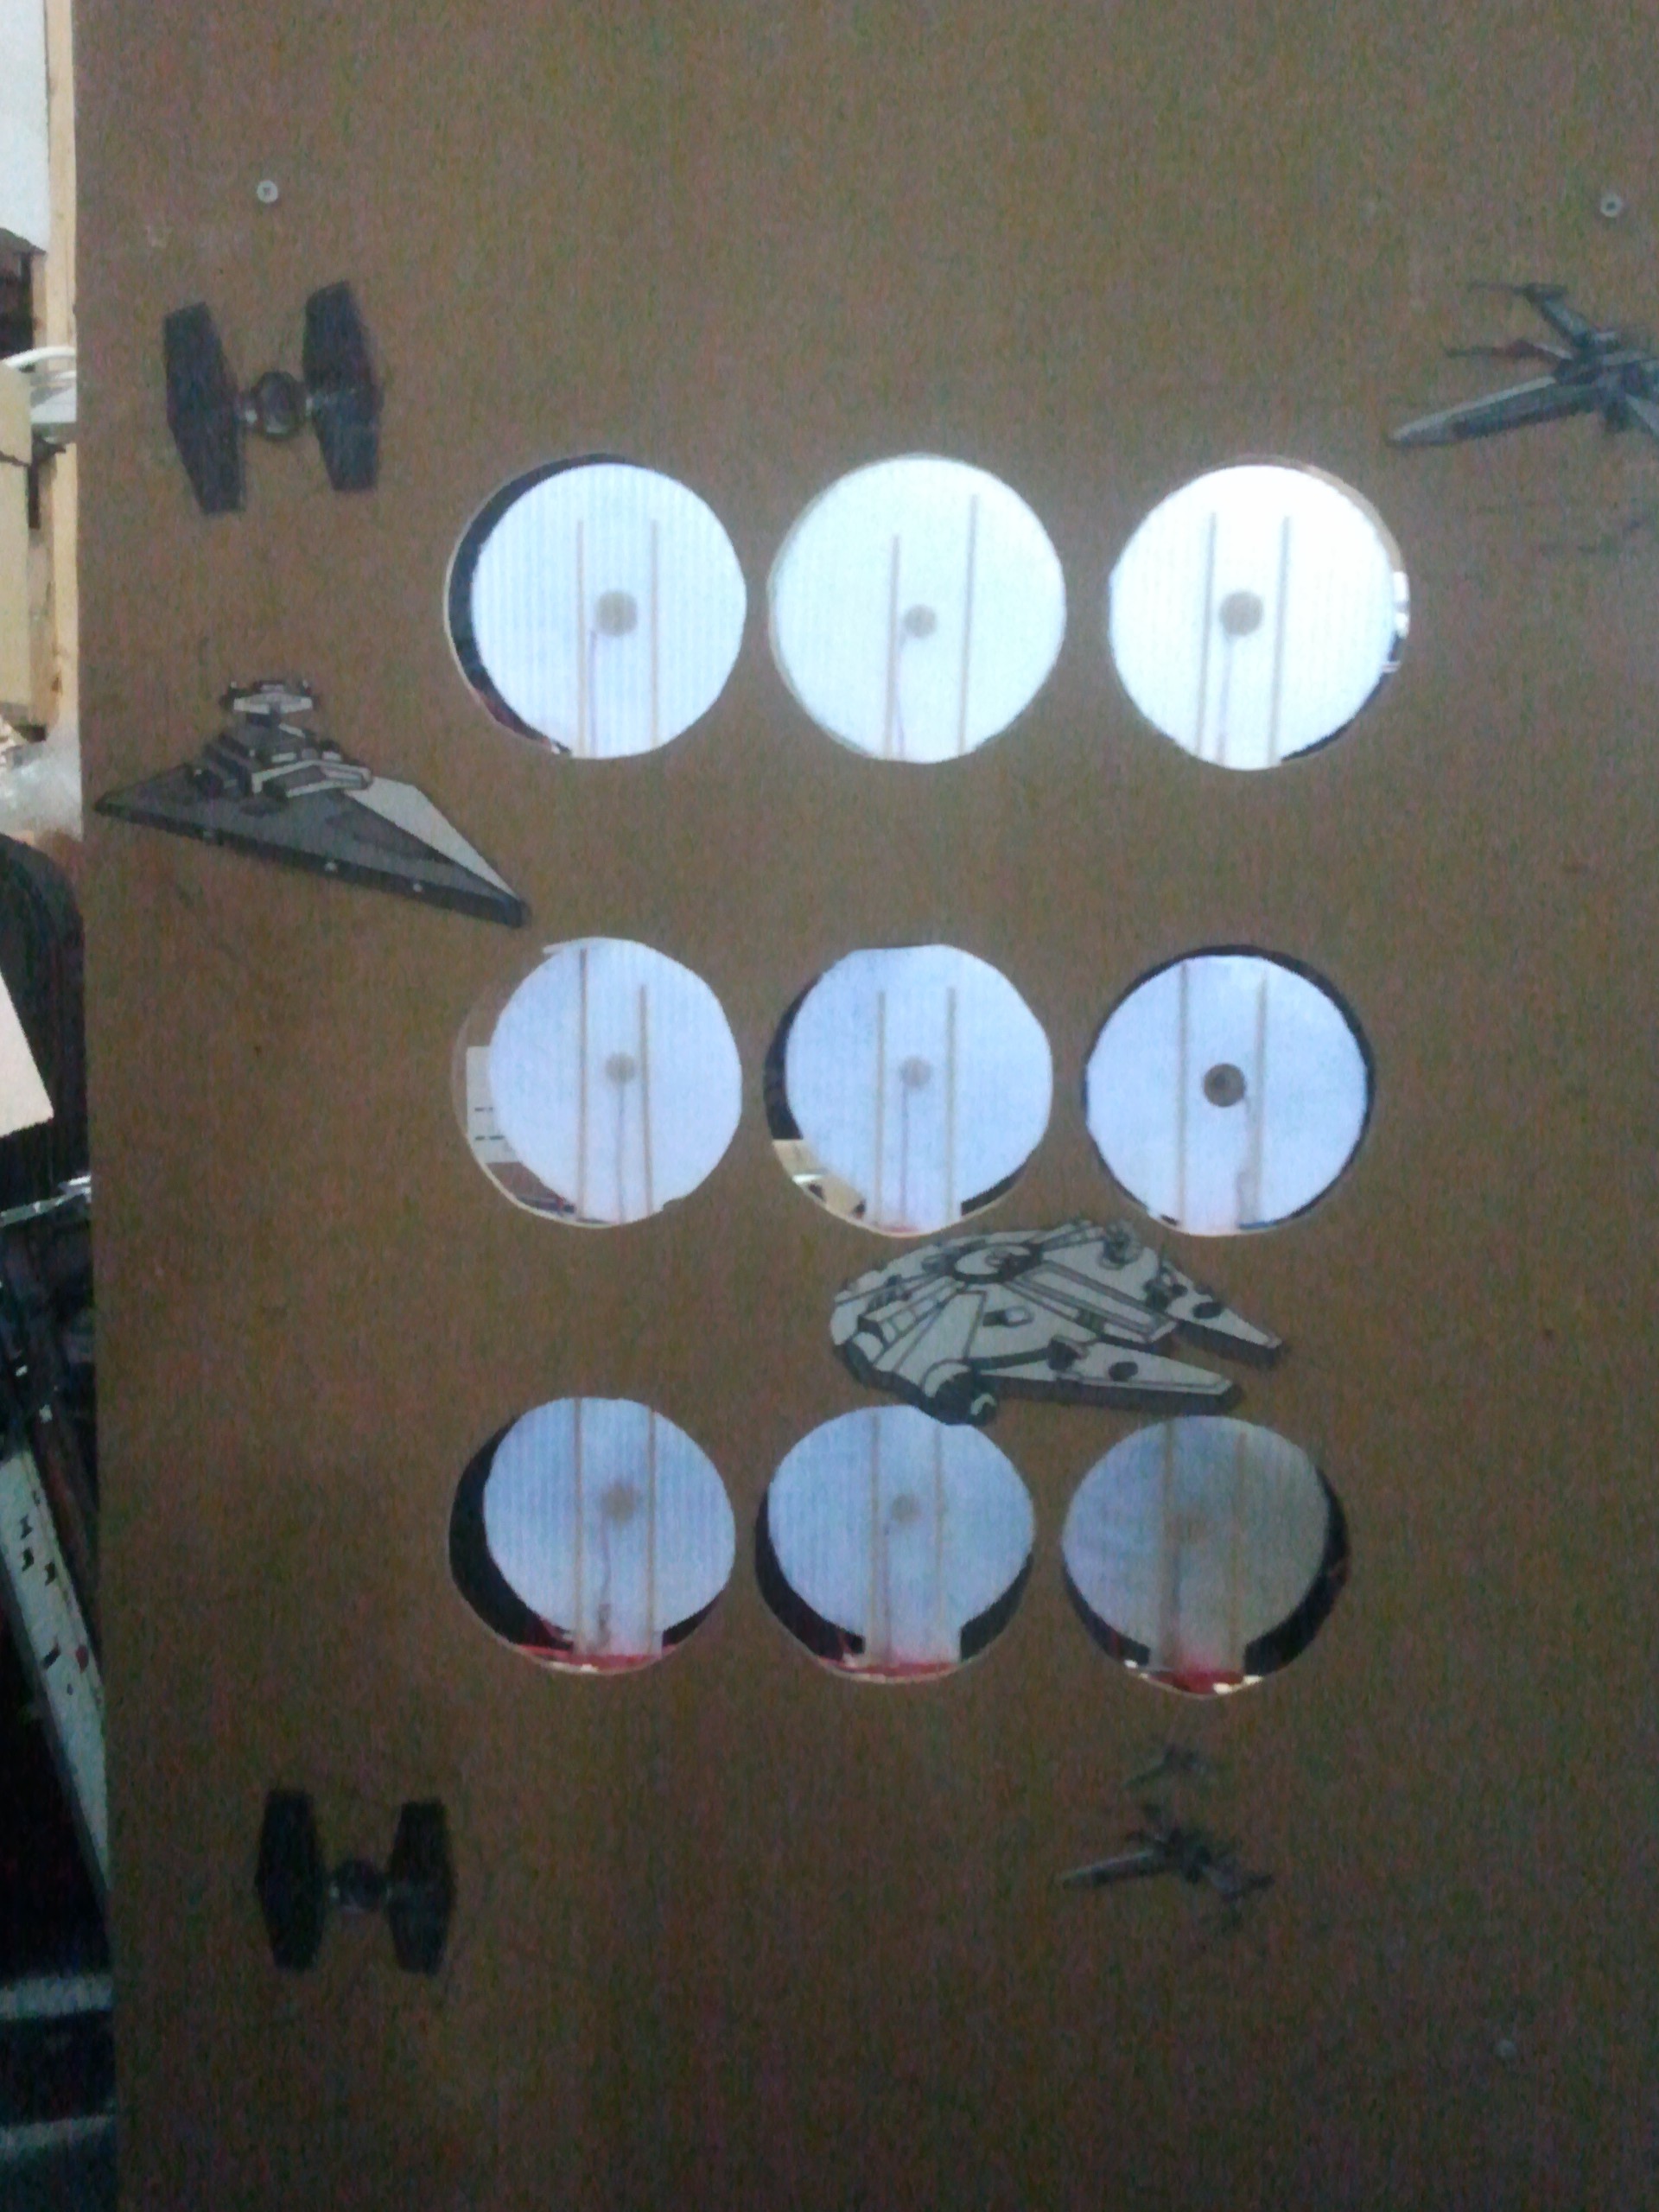
This is panelling that was scheduled to be garbage. The holes are in about the right place. I used spraypaint for the background. I am not an artist. I also didn't bother to look at the death star before painting it.
The ships are printed and cut out, then spray glued on.
There is some closed-cell foam between the front panel and the frame, and it's just screwed on through the foam.

Discussions
Become a Hackaday.io Member
Create an account to leave a comment. Already have an account? Log In.