-
Eagle File
02/05/2016 at 13:00 • 0 commentsIf you've survived building an LED cube before and would like to try your soldering iron on this project, I'm sharing the PCB file at OSH Park. This was my first custom PCB, so please excuse the giant mess. There is one mistake on it. The holes for the headers are too small, so I had to use remnant component leads instead of an actual header block. If you make one and willing to share, please post reply to this thread or on my YouTube video. It'll be awesome to see many tiny cubes!!!
-
Ordered my first custom PCB
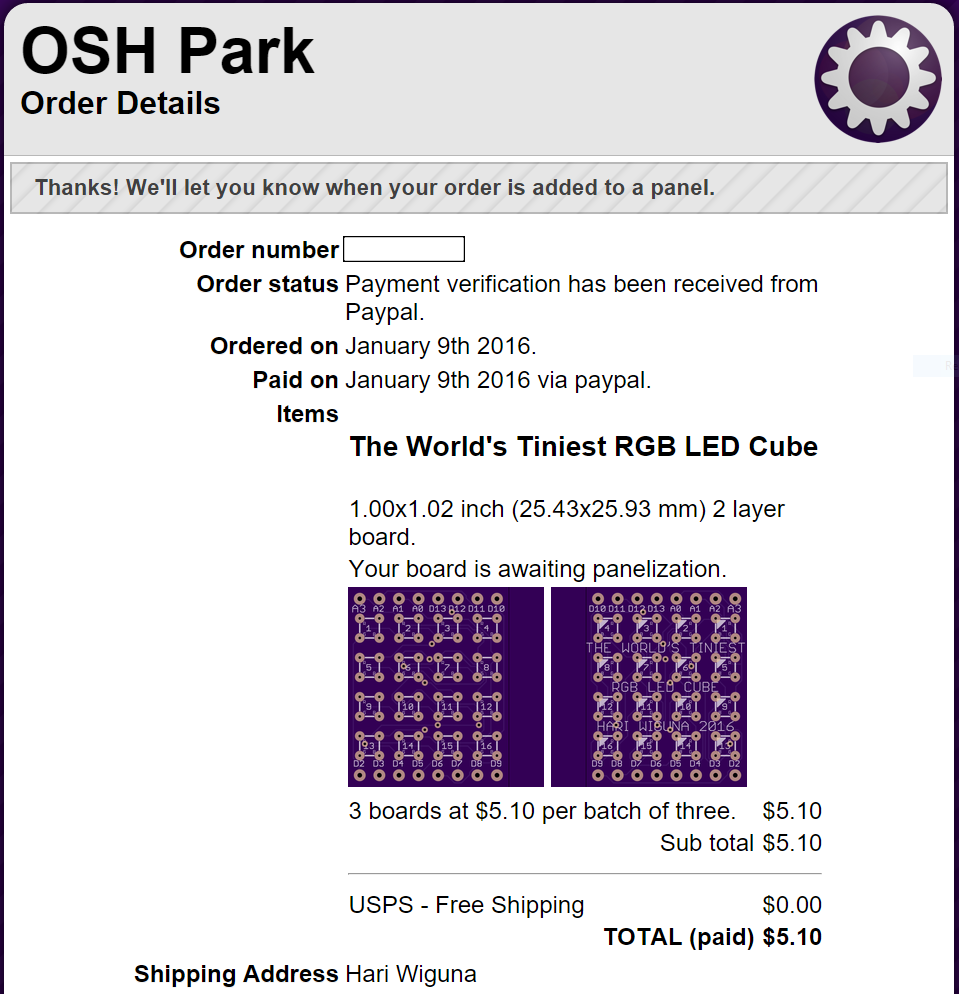
01/09/2016 at 22:03 • 0 commentsAfter countless iterations... ok 15 :-) I finally decided that it was time to send in the custom PCB file to be actually manufactured.
Ironically, I ended up relying on the Autorouter to complete about half of the routing.
![]()
-
EagleCAD for crazy dummies
11/29/2015 at 20:43 • 0 commentsAlthough I've played with EagleCAD before, this is my first serious attempt to master it. After many days, it no longer feels like I'm holding a paintbrush with boxing gloves. But I'm far from having a direct connection between my brain and the canvas. If you have tips for me, I'm all ears.
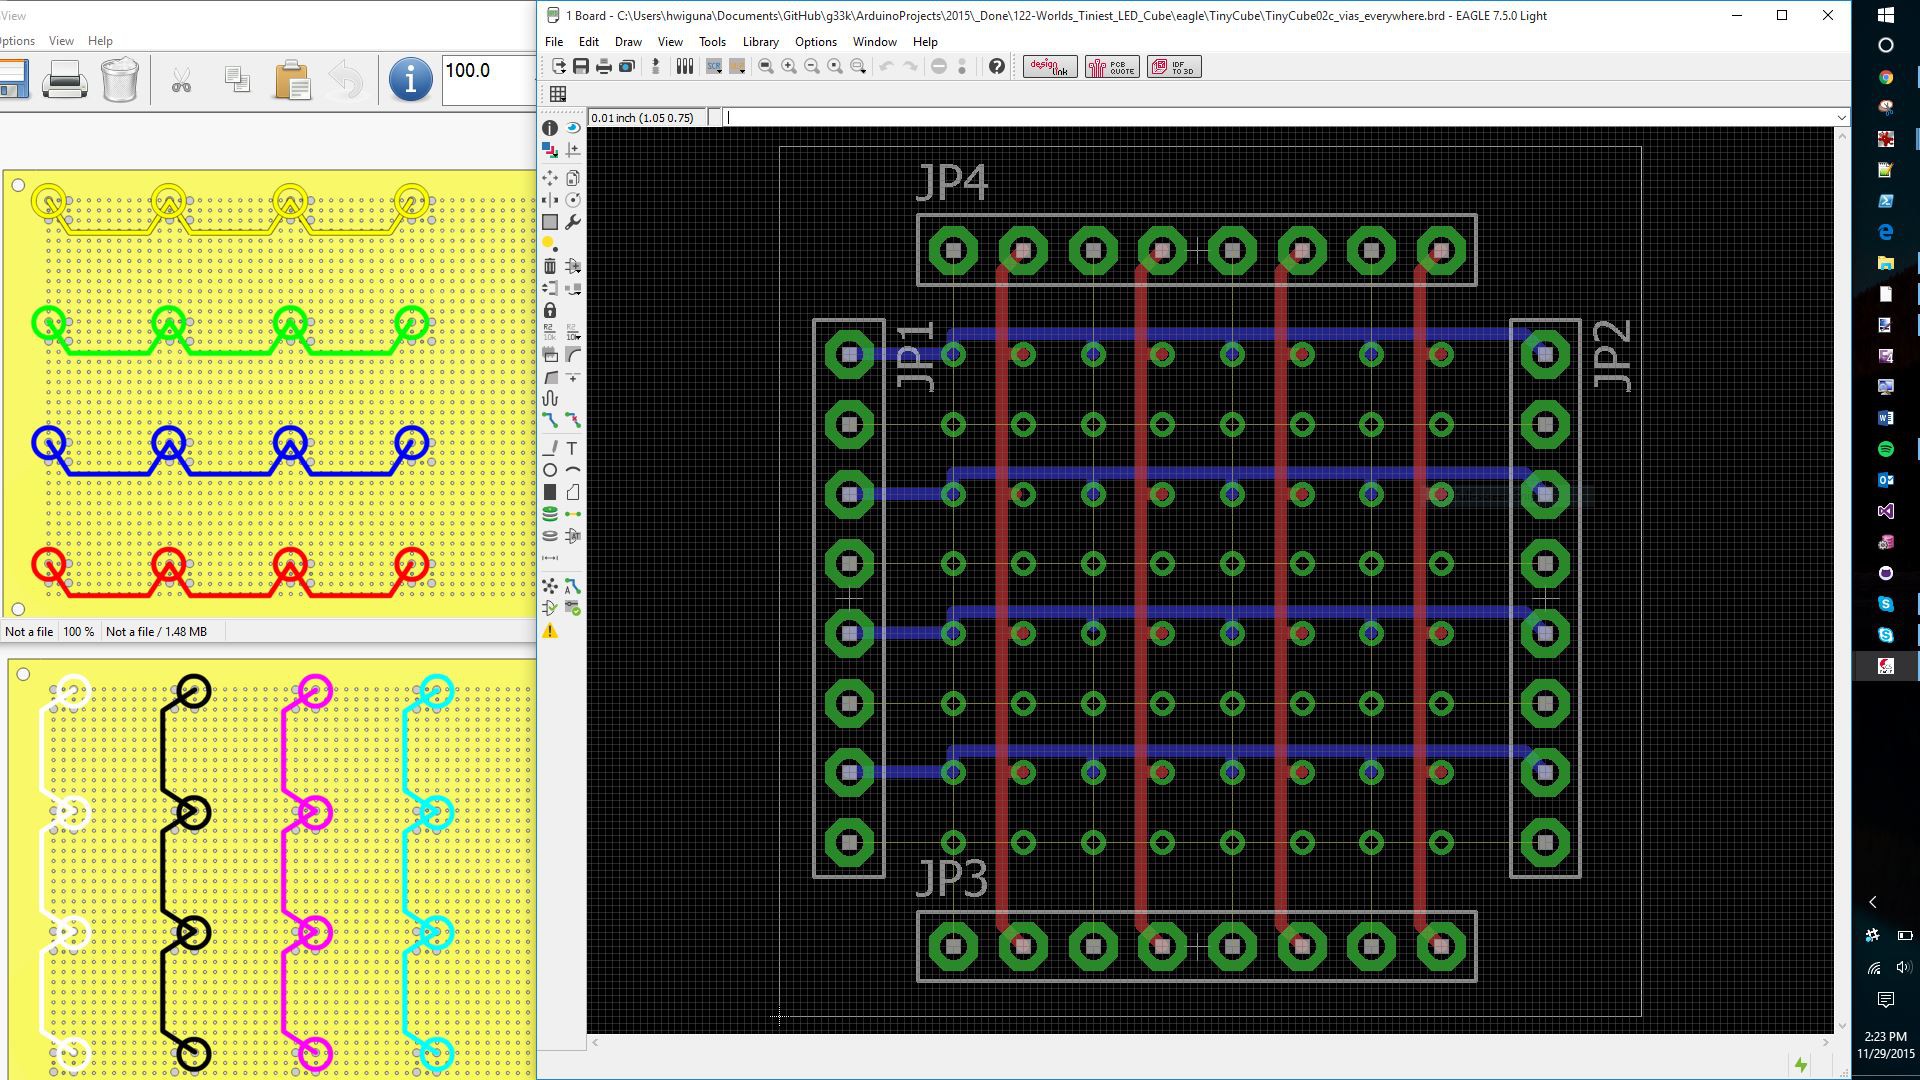
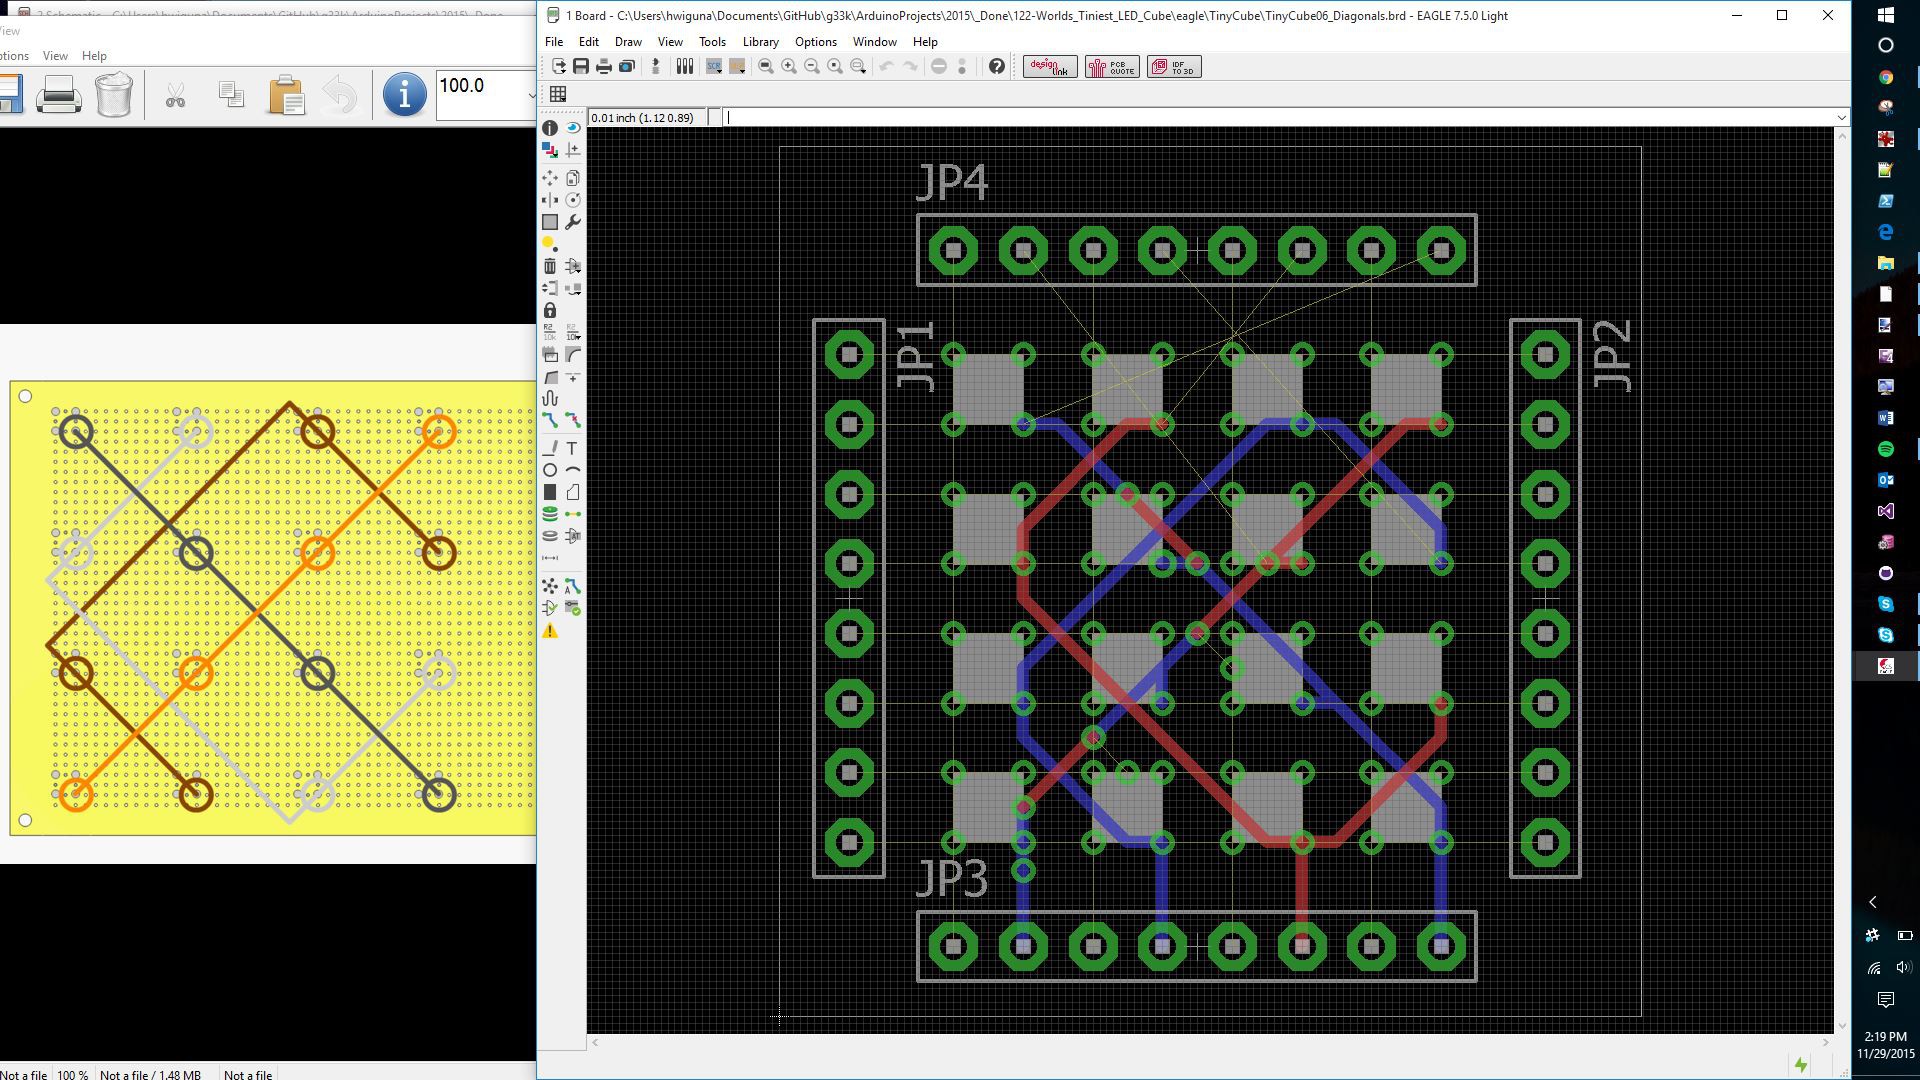
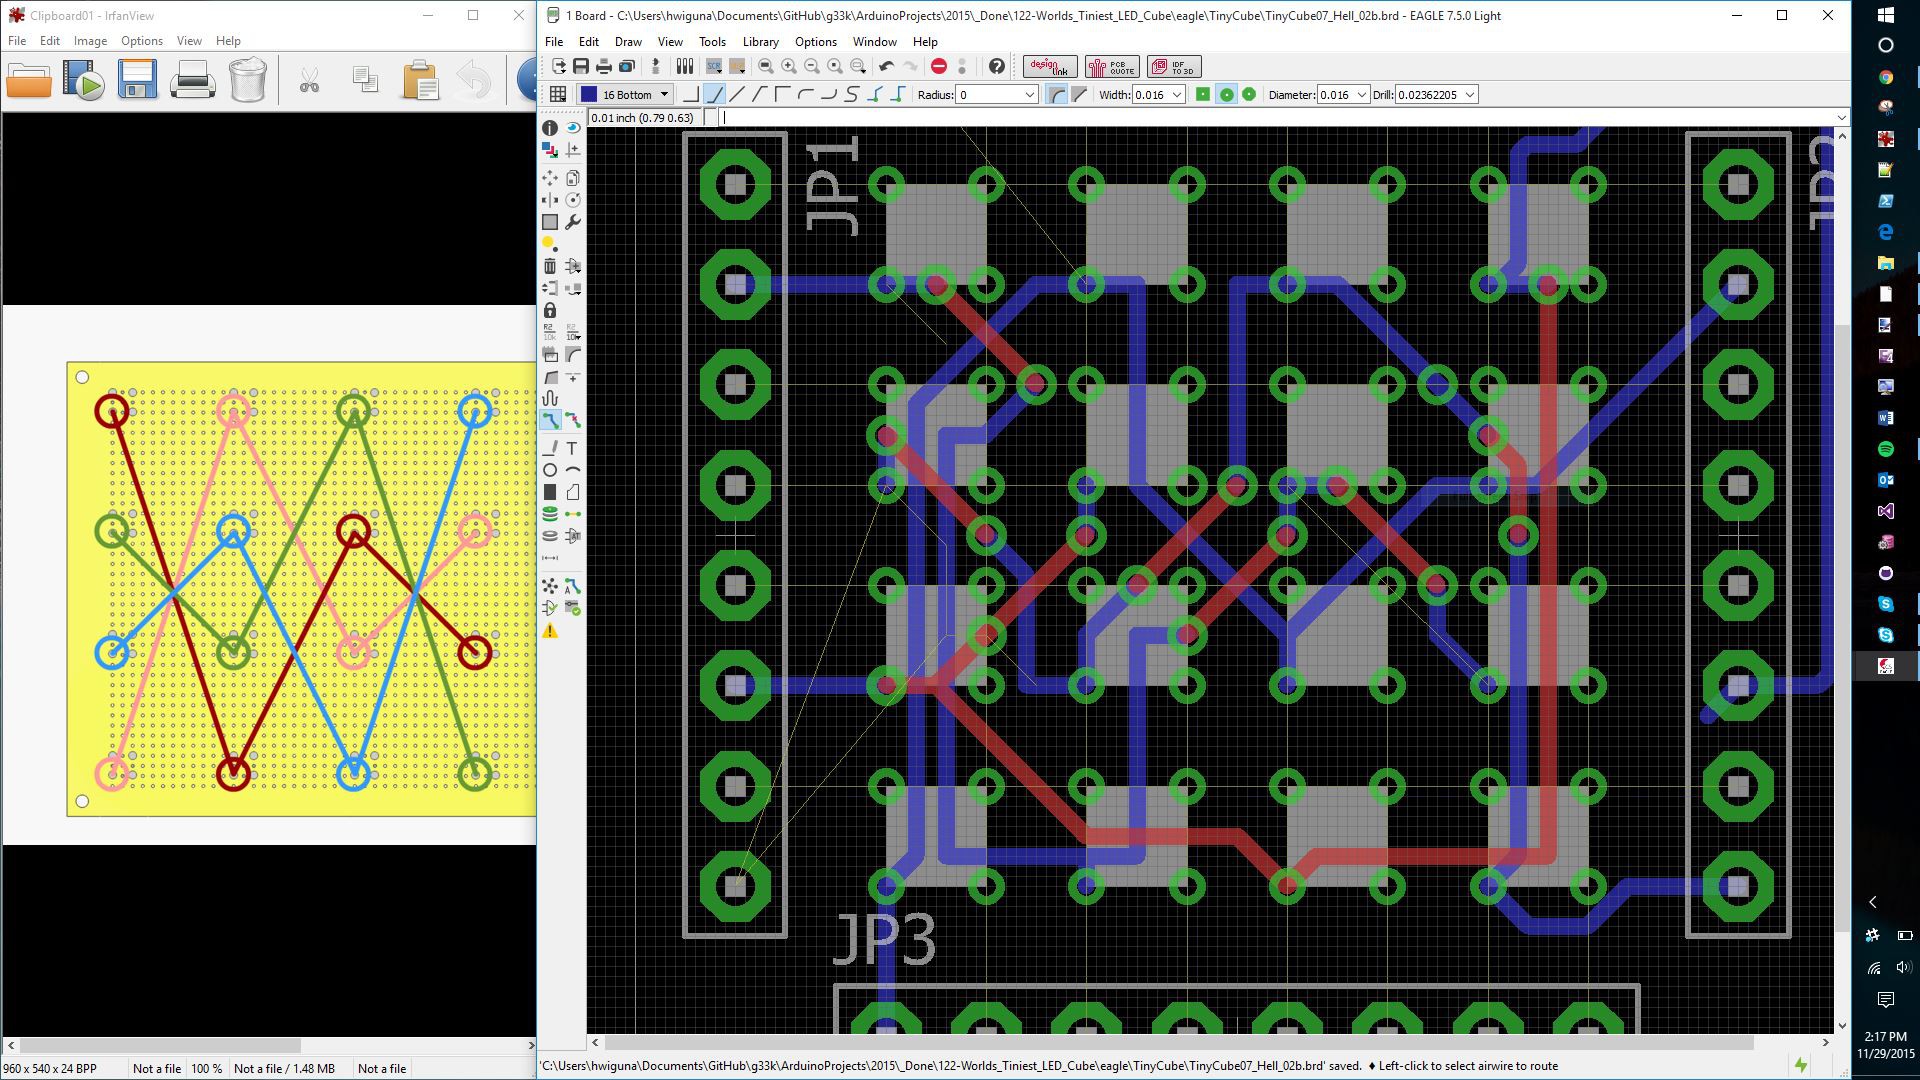
The cube is connected to the Arduino via 16 I/O pins. Although I would like to design ONE multi layer PCB, the free version of EagleCAD only allows for two copper layers (top and bottom). Furthermore, because everything is so small, I only have room for one via or two traces between the LED pillar leads.I was able to put the first eight wires on one PCB:
The next four wires on a second PCB:
And finally the last four wires are on a third PCB:
The World's Tiniest 4x4x4 RGB LED Cube
Eventually, someone will make one even smaller. Please let me know when this is no longer the World's Tiniest 4x4x4 RGB LED Cube :-(
 Hari Wiguna


