-
1Step 1
Prepare Huzzah
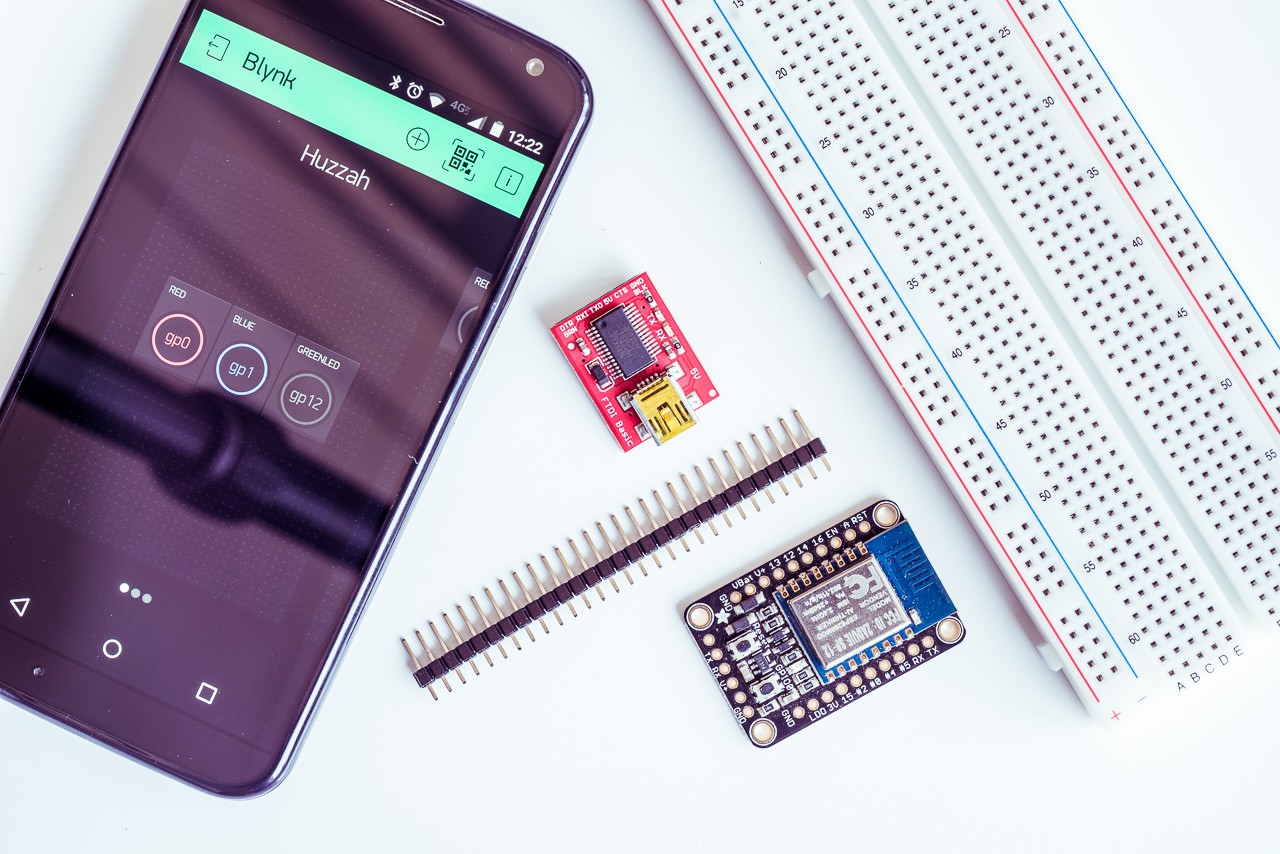
Grab some pins, a breadboard, and the Huzzah.![]()
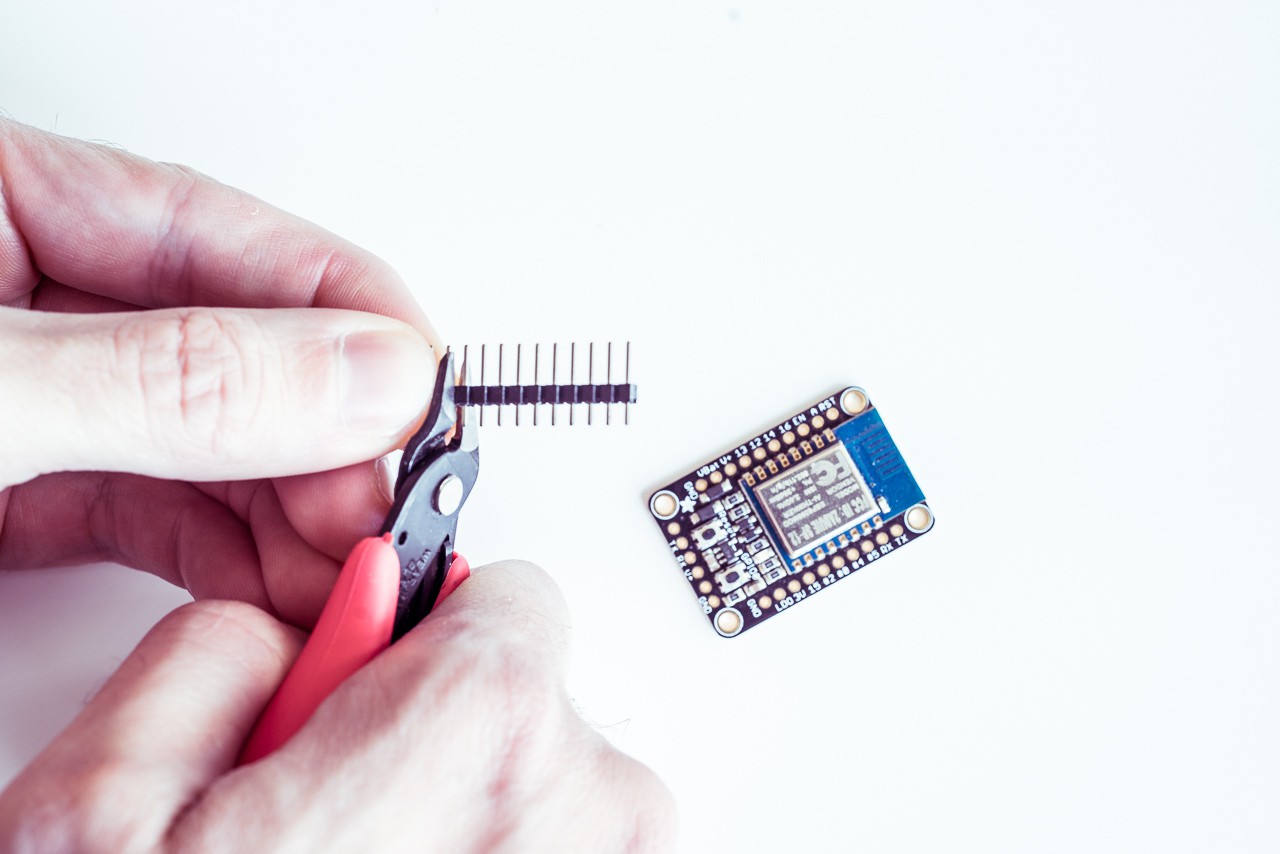
Cut the pins to length.![]()
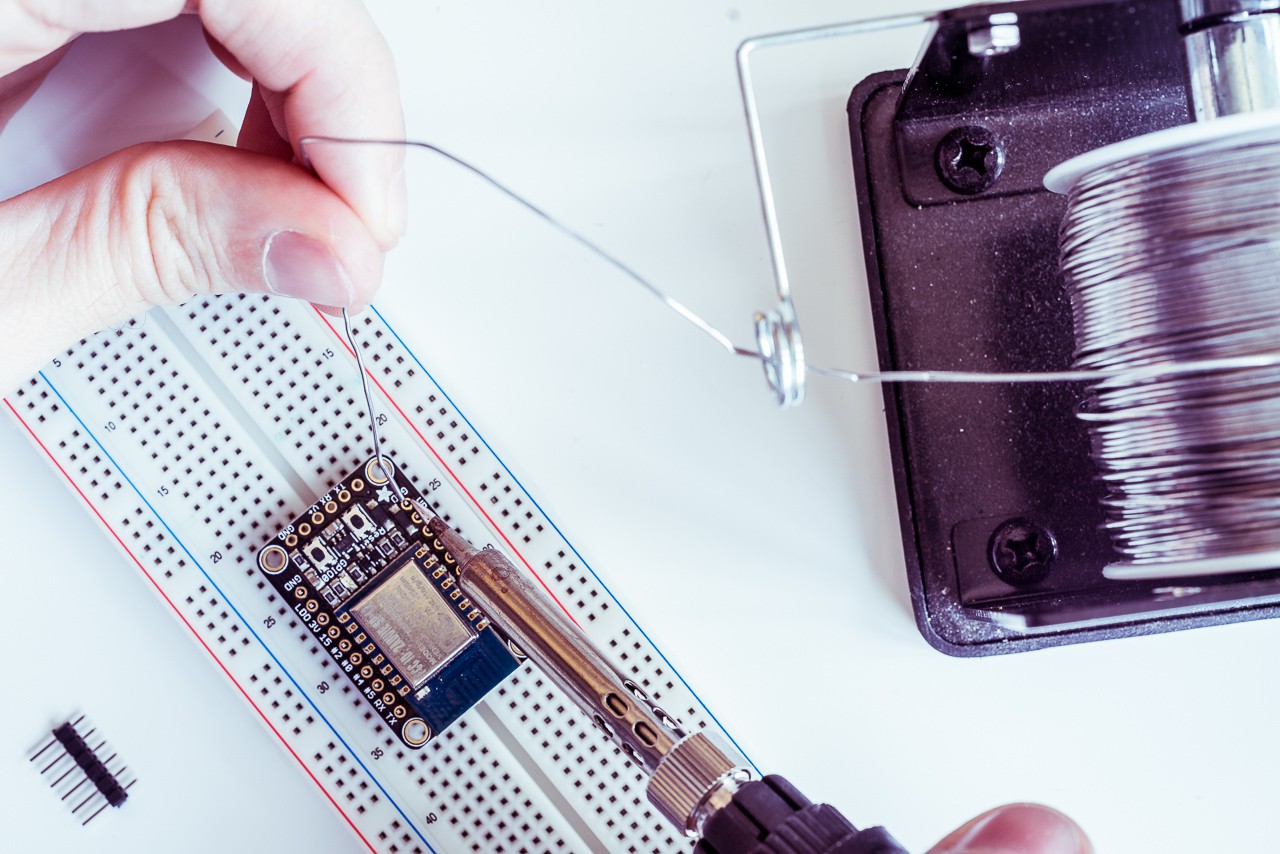
Solder the right and left rows to the Huzzah.![]()
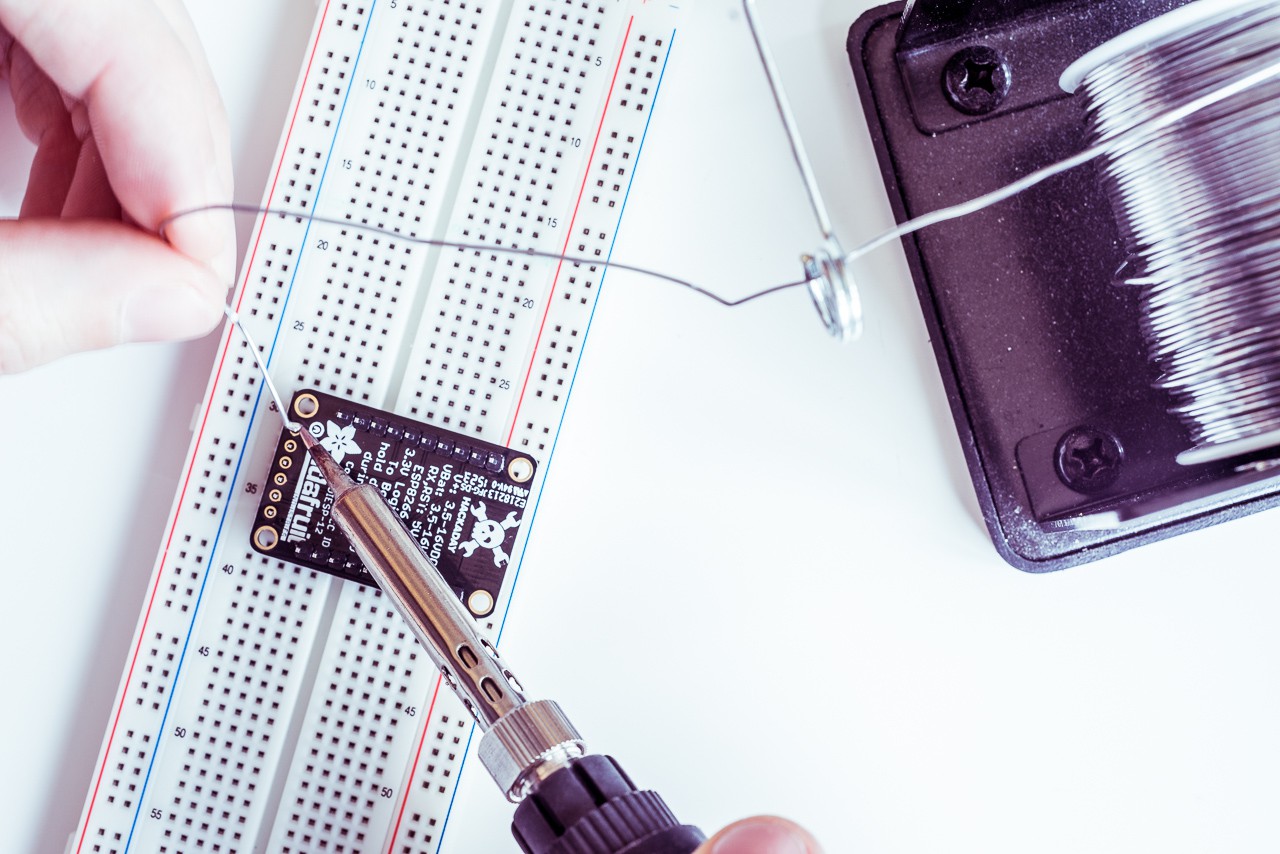
Solder the programming pins to the Huzzah.![]()
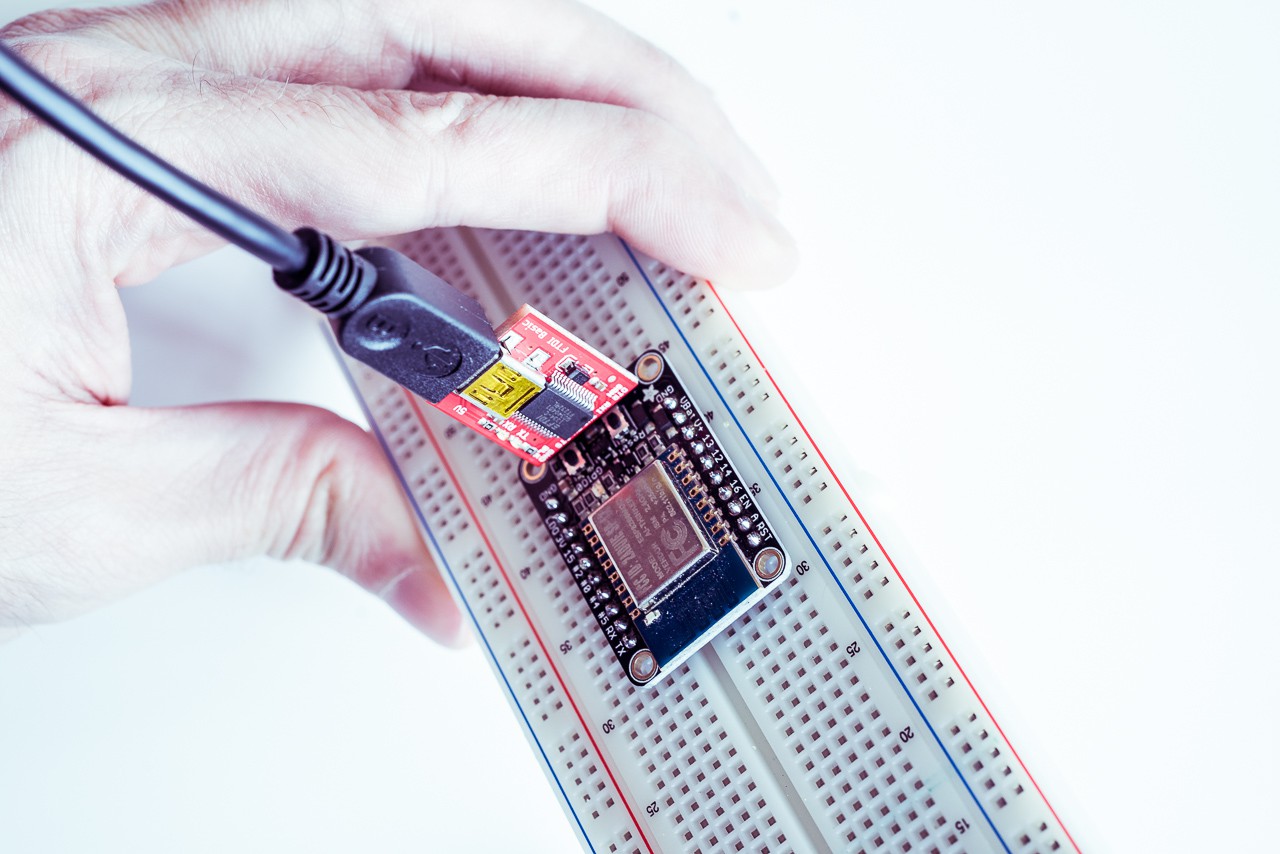
Connect the FTDI programmer and USB cable.![]()
-
2Step 2
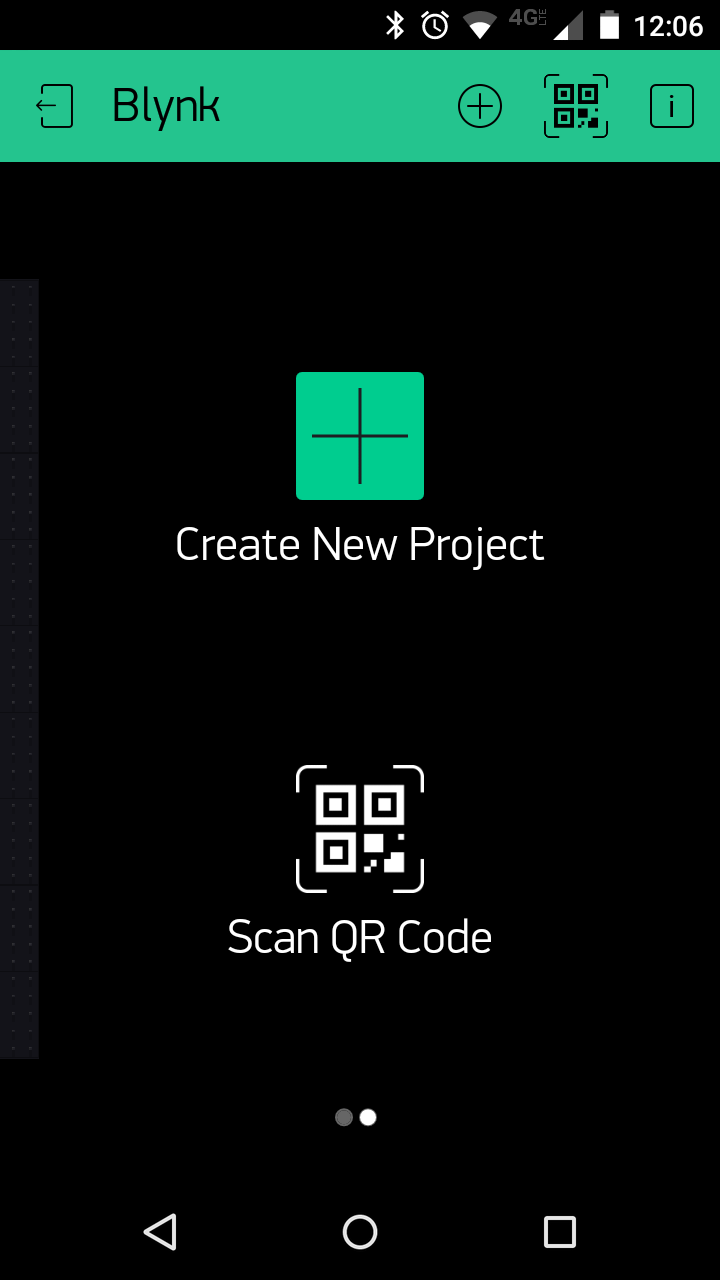
Open the Blynk app on your phone and create a new project.
![]()
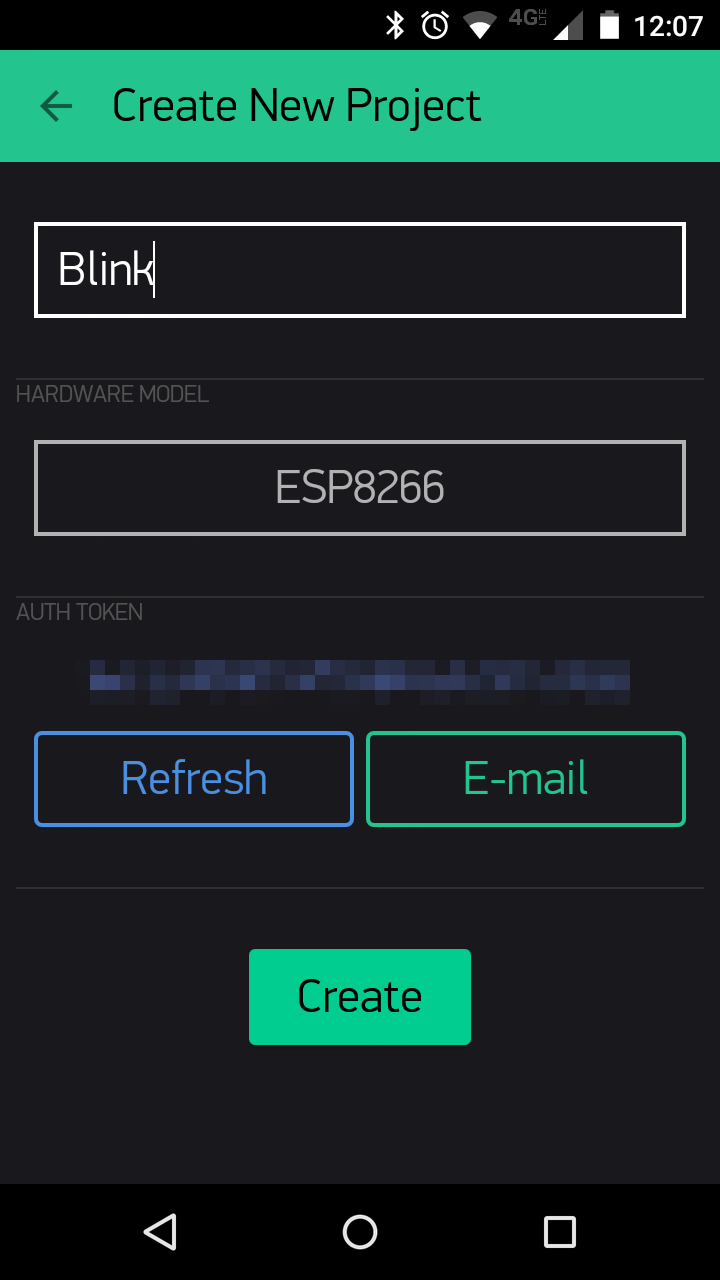
Title it, select ESP8266, and write down or E-mail your auth token. Press create.![]()
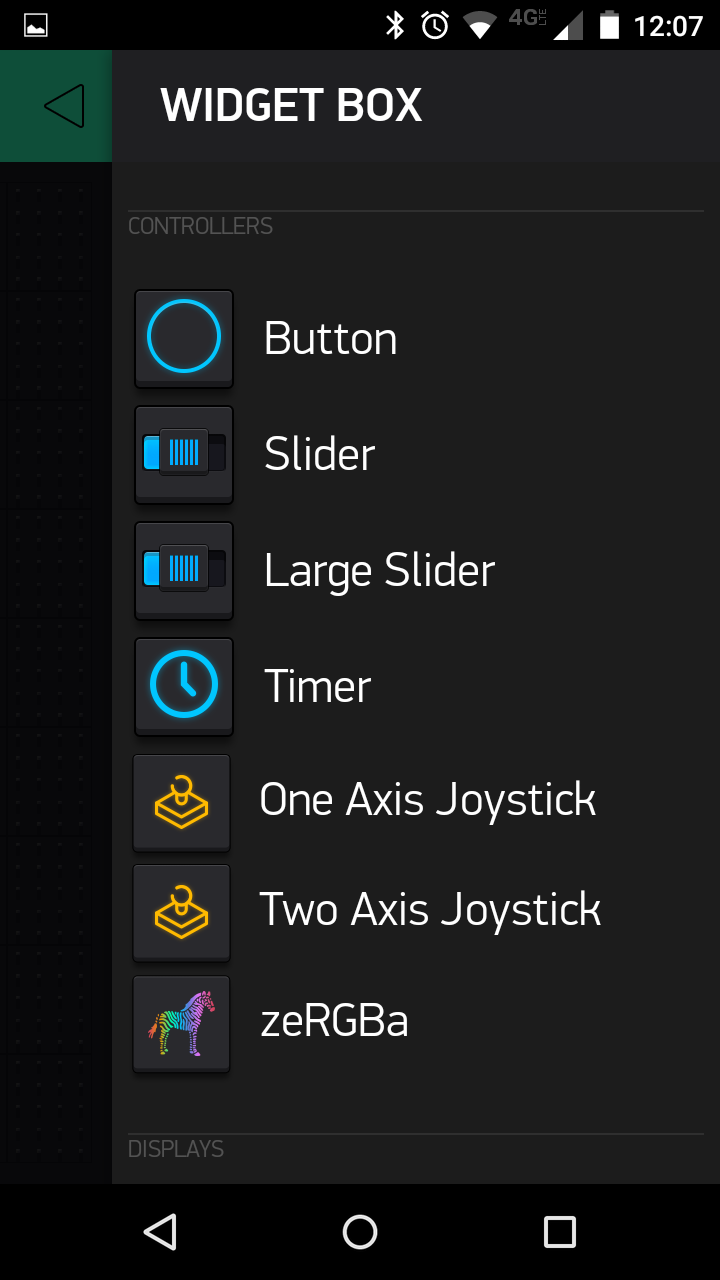
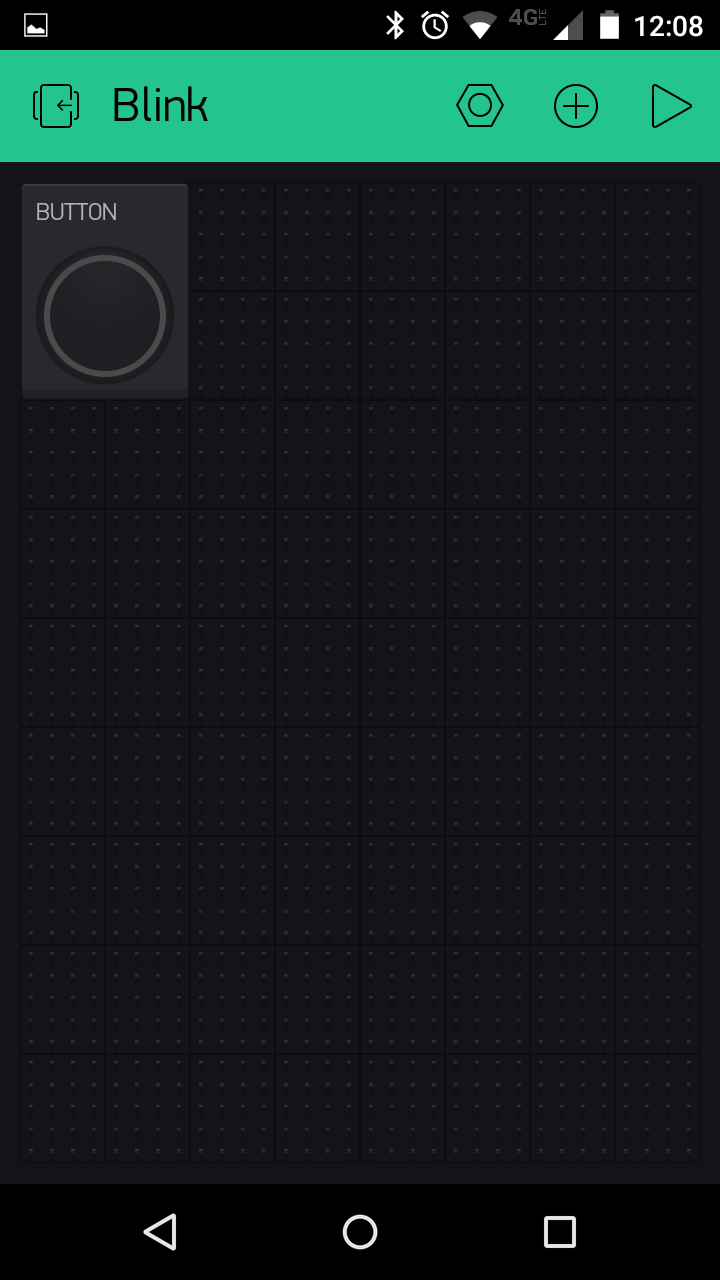
From the empty project screen press the plus icon and add a button.![]()
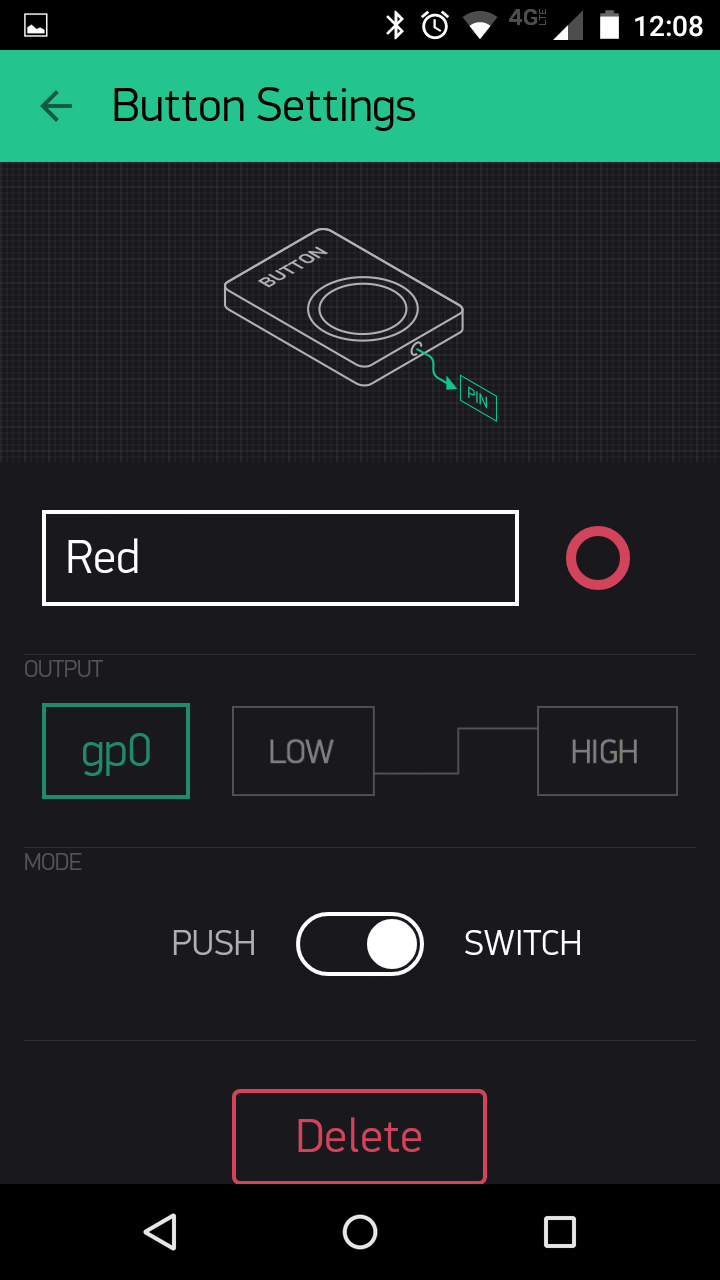
From the project screen press the button to bring up its settings.![]()
Title the button, you can assign it a color, my button will be red because it's for the red LED on the Huzzah. Select gp0 and switch. Press back.![]()
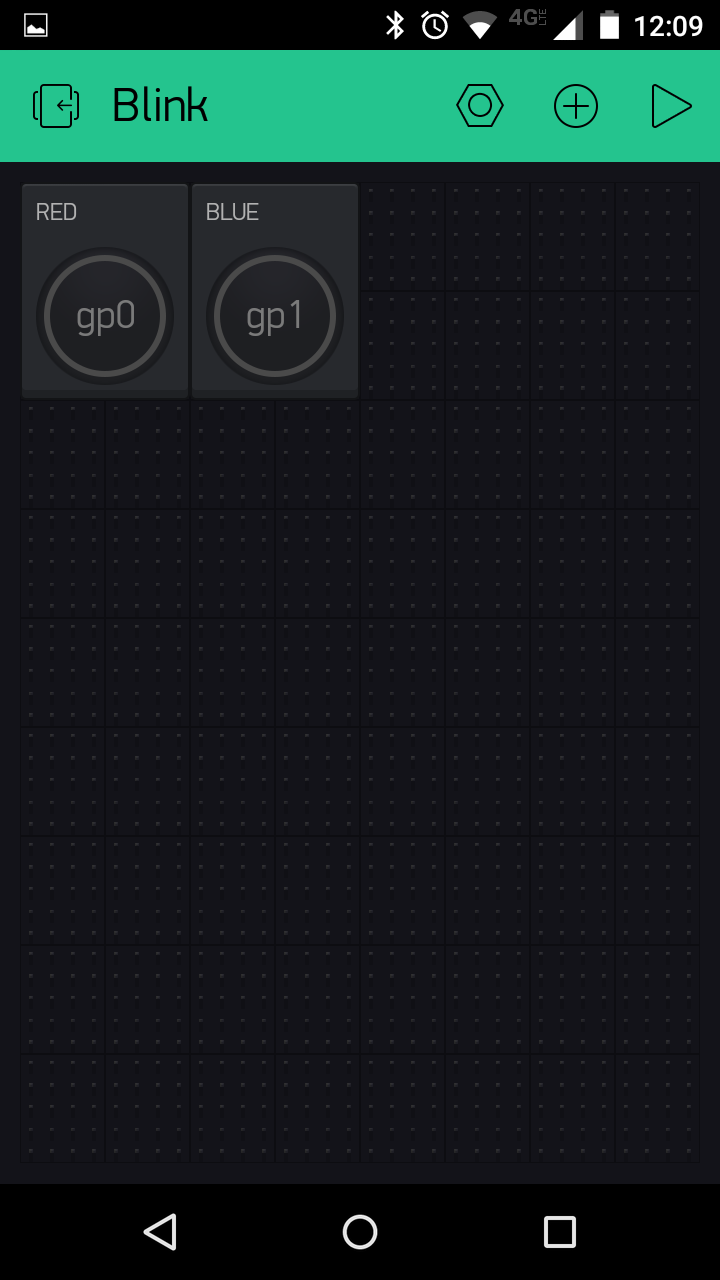
You can do the same for the blue LED on the Huzzah, except select gp1.![]()
The UI now has two buttons and is ready for the Huzzah.![]()
-
3Step 3
Now setup Arduino IDE and prepare the sketch for upload.
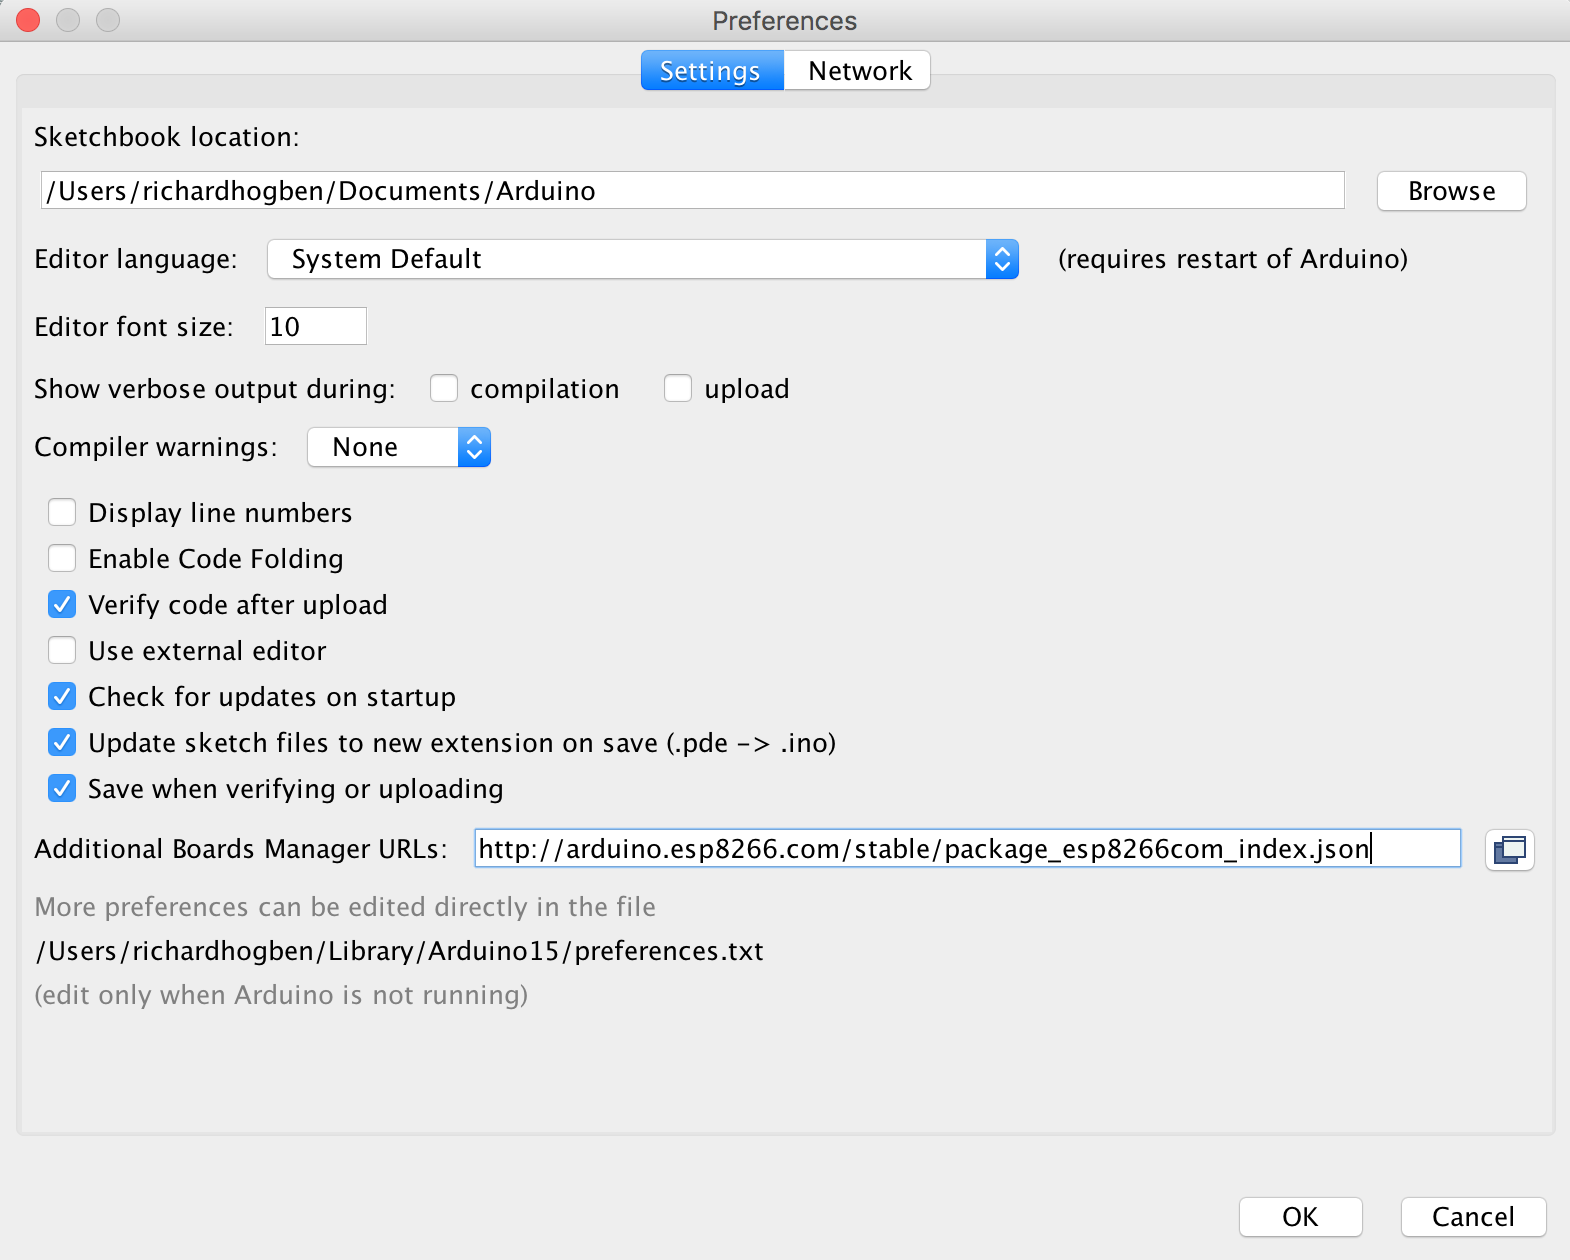
Add the Huzzah boards manager to the IDE preferences.http://arduino.esp8266.com/stable/package_esp8266com_index.json![]()
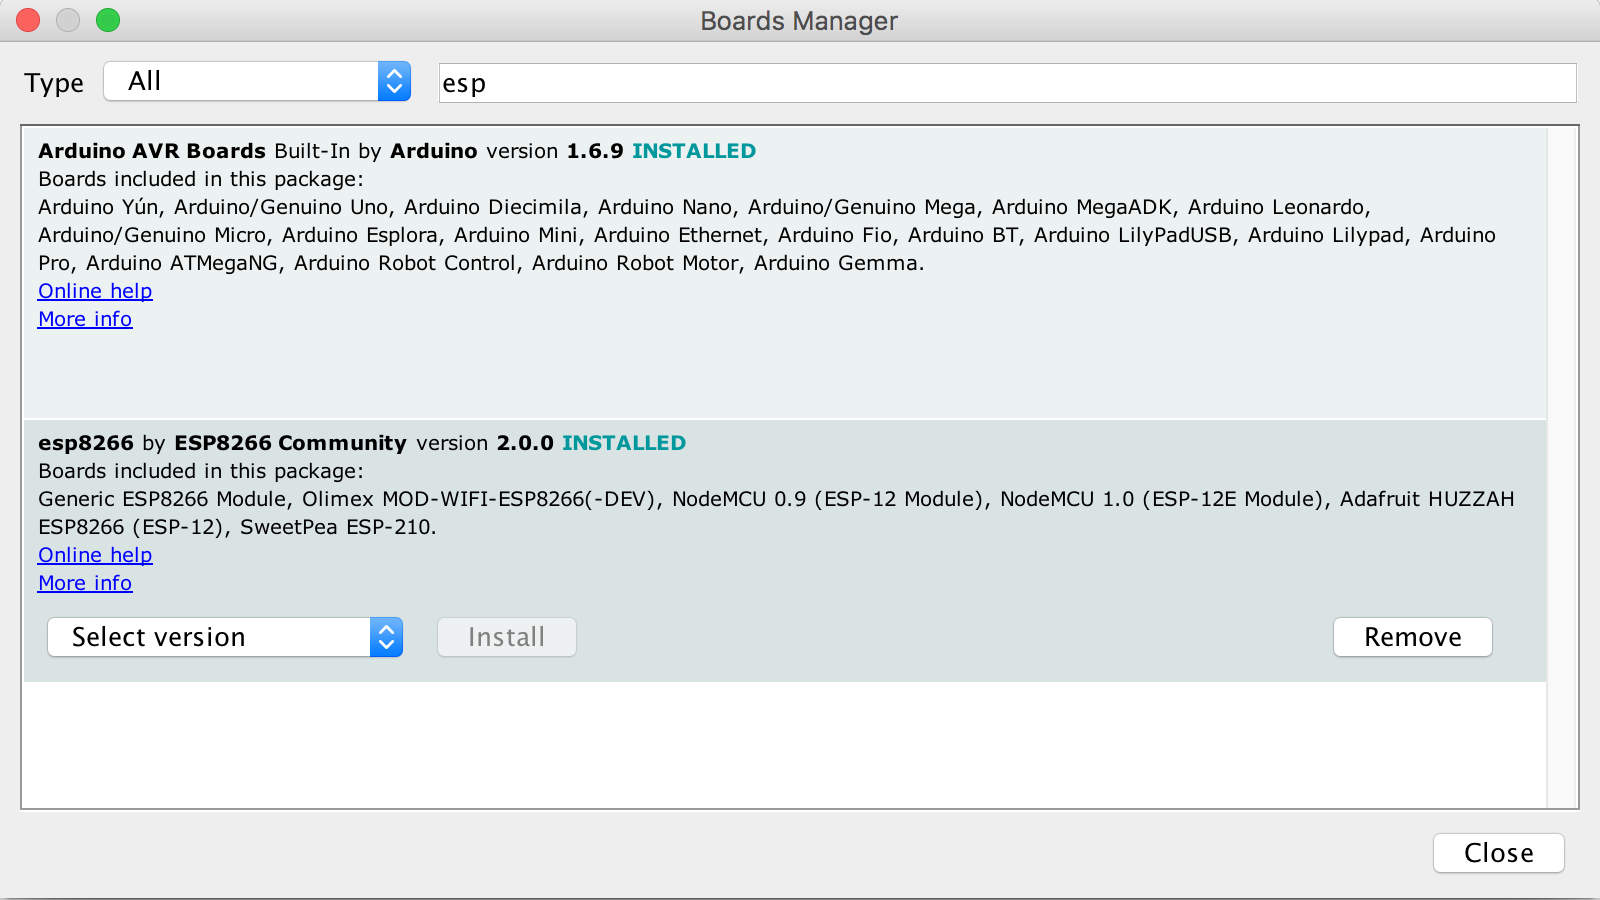
Open the boards manager, search for esp and install the esp8266 package (you may need to restart the IDE first).![]()
Connect the USB cable to the computer. Setup your tools menu like the following, but port will depend on your system.![]()
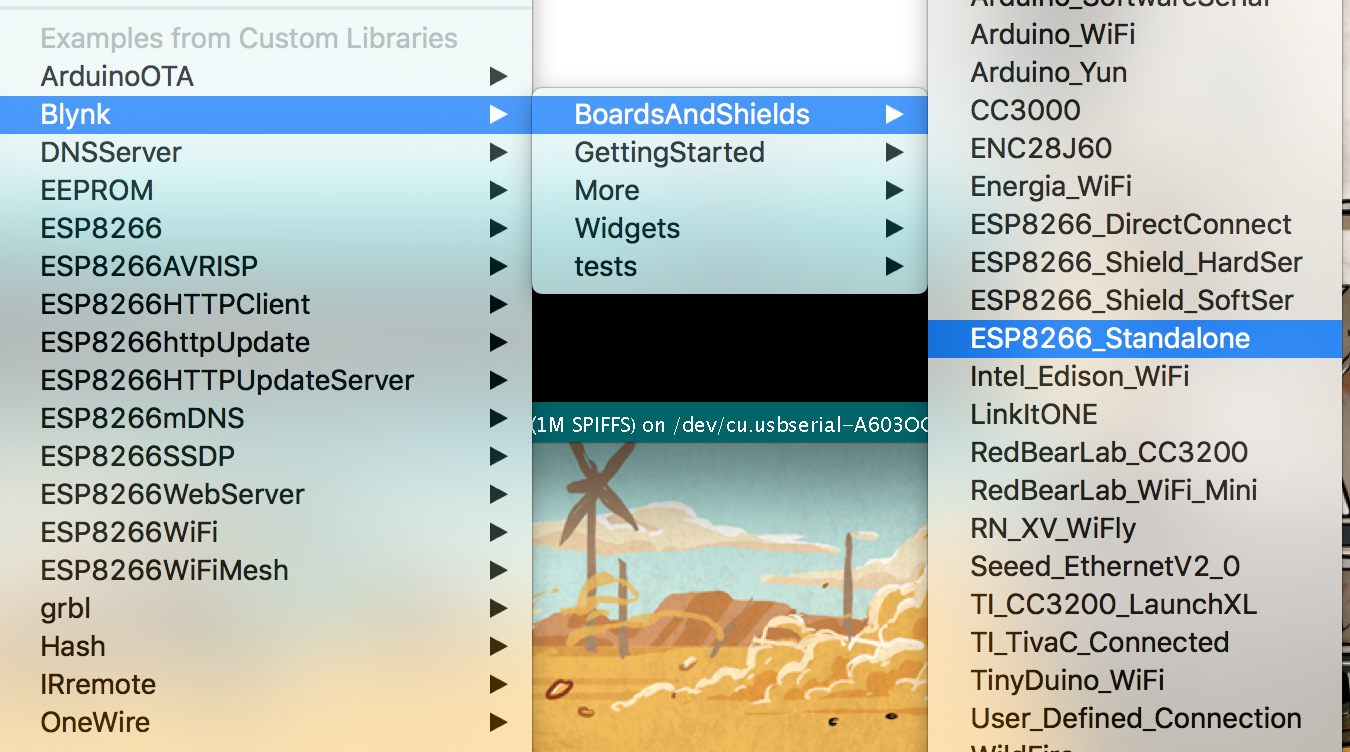
Download the Blynk Arduino library and install it in the Arduino IDE. Select this sketch from the examples menu.![]()
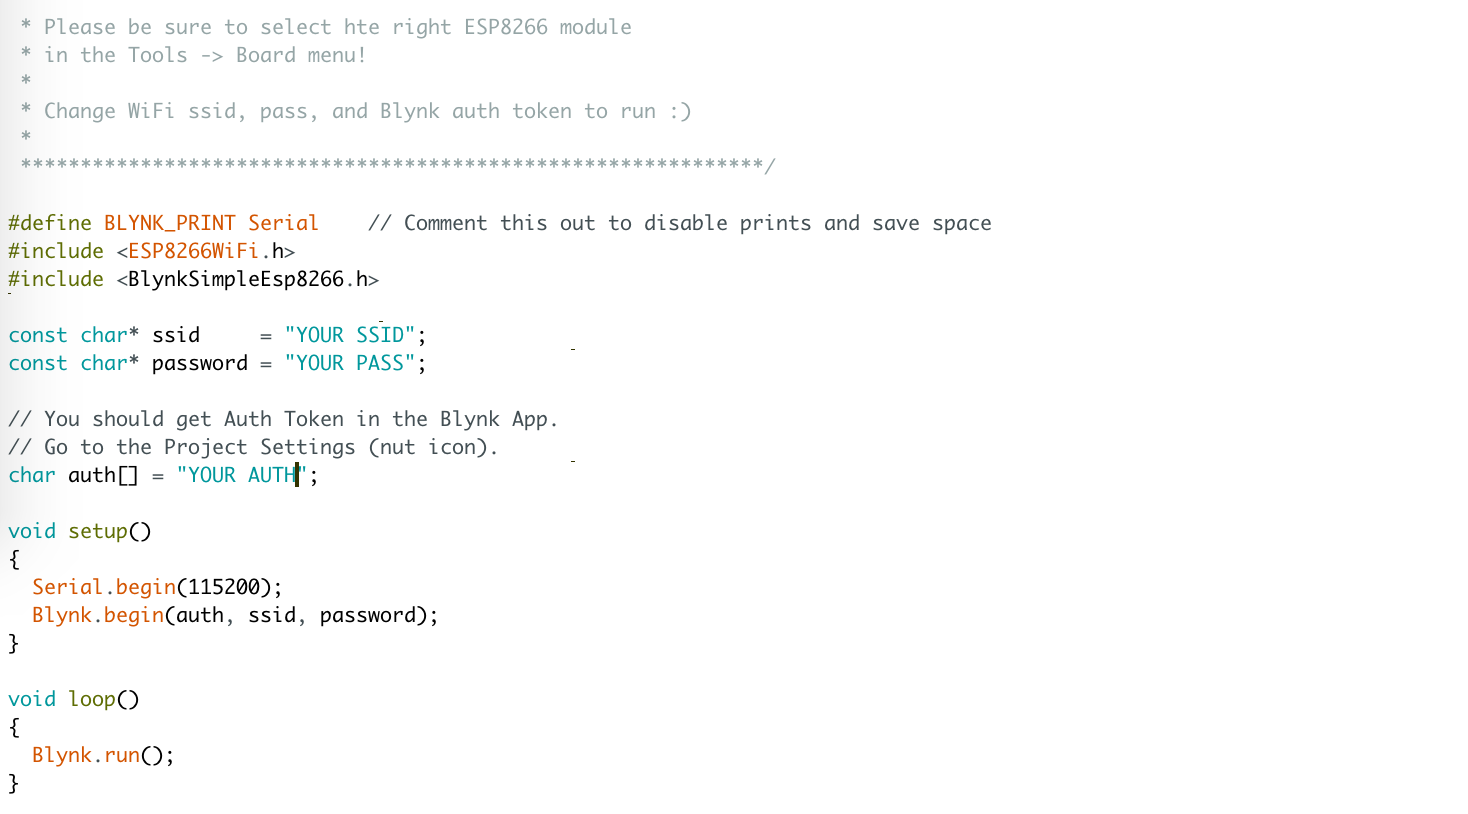
Modify the sketch as follows, except enter your wifi ssid and password, also enter your auth key from the Blynk setup.![]()
/**************************************************************
 * Blynk is a platform with iOS and Android apps to control
 * Arduino, Raspberry Pi and the likes over the Internet.
 * You can easily build graphic interfaces for all your
 * projects by simply dragging and dropping widgets.
 *
 *   Downloads, docs, tutorials: http://www.blynk.cc
 *   Blynk community:            http://community.blynk.cc
 *   Social networks:            http://www.fb.com/blynkapp
 *                               http://twitter.com/blynk_app
 *
 * Blynk library is licensed under MIT license
 * This example code is in public domain.
 *
 **************************************************************
 * This example runs directly on ESP8266 chip.
 *
 * You need to install this for ESP8266 development:
 *   https://github.com/esp8266/Arduino
 *
 * Please be sure to select hte right ESP8266 module
 * in the Tools -> Board menu!
 *
 * Change WiFi ssid, pass, and Blynk auth token to run :)
 *
 **************************************************************/

#define BLYNK_PRINT Serial    // Comment this out to disable prints and save space
#include <ESP8266WiFi.h>
#include <BlynkSimpleEsp8266.h>

const char* ssid     = "YOUR SSID";
const char* password = "YOUR PASS";

// You should get Auth Token in the Blynk App.
// Go to the Project Settings (nut icon).
char auth[] = "YOUR AUTH";

void setup()
{
  Serial.begin(115200);
  Blynk.begin(auth, ssid, password);
}

void loop()
{
  Blynk.run();
}
On the Huzzah hold down the Reset button and at the same time press the other button. Then release reset and then the other button. The red light should remain dimly on; this means the Huzzah is in bootload mode and ready for upload.
Verify and then upload the sketch. In the serial window (115200 baud) you should see the Huzzah connect to your network and the Blynk servers.![]()
From the Blynk app press the play icon. You should be able to activate the buttons and the LEDs will toggle on the Huzzah. -
4Step 4
Complete!
Huzzah ESP8266 and Blynk.cc App
The $10 smartphone controlled Arduino. First steps to controlling the Huzzah breakout with your mobile phone and Blynk.
 Richard Hogben



Discussions
Become a Hackaday.io Member
Create an account to leave a comment. Already have an account? Log In.