Step 1) Choose OS.
I was originally looking to use a Raspberry Pi for this project. Although I have used my Pi as a media console I was not extremely familiar with how I might get all the programs I want to use up and running so I ended up choosing to use Windows as I knew the support existed.
Step 2) Form Factor
I needed this to be a discrete display hanging on the wall not much thicker than existing wall art or mirrors in the home. I determined that I'd have maybe 1/2" - 3/4" of space for the computer behind the frame holding the screen so I needed the computer to be very small. I had seen various chinese mini pc's pop up in my searches in the past and decided to go with the Ainol Mini PC. While I raise an eyebrow at the name choice, it fit my needs fairly well with these specs:
Intel Z3735F 1.83 GHz, 2GB RAM, 32GB eMMC, Windows 8.1, 7000mAh battery (acting as a UPS), Wifi & BT 4.0, 2 full size USB, micro SD card slot, mini USB port, mini HDMI port.
I could have gone with a Windows Stick computer but I liked the battery feature and the USB options. The mini pc was actually cheaper than the stick computers which fit with the budget as well.
Step 3) Choose LCD screen, compatible touchscreen panel, and compatible screen control board.
This step was a bit tricky to find a LCD screen, with perfectly sized USB touchscreen panel and the proper control board to match the LCD screen. I ended up contacting njytouch on eBay to see if they had any kits. They ended up having a full kit with all the matching components but it was too expensive for my project. I ended up purchasing the USB touchscreen panel and control board from njytouch and buying the same spec LCD screen in their kit from another eBay seller.
I must say the njytouch had amazing customer support. When I first got my control board and my LCD the colours were off. I contacted njytouch and they were very responsive. They provided the following instructions which solved my display issue:
1. Connect to any of the inputs, VGA, HDMI, DVI, etc.
2. Power up the board and switch off from the 'power' button.
3. Press and hold the 'menu' button, then press the 'power' button briefly, release the 'menu' button.
4. Then press the 'menu' button again.
5. There will now be a hidden factory setting in the OSD menu.
6. Select the factory setting using the + - keys.
7. In the factory settings change the setting 'Lvds Map' from 0 to 1.
Step 4) Frame Assembly
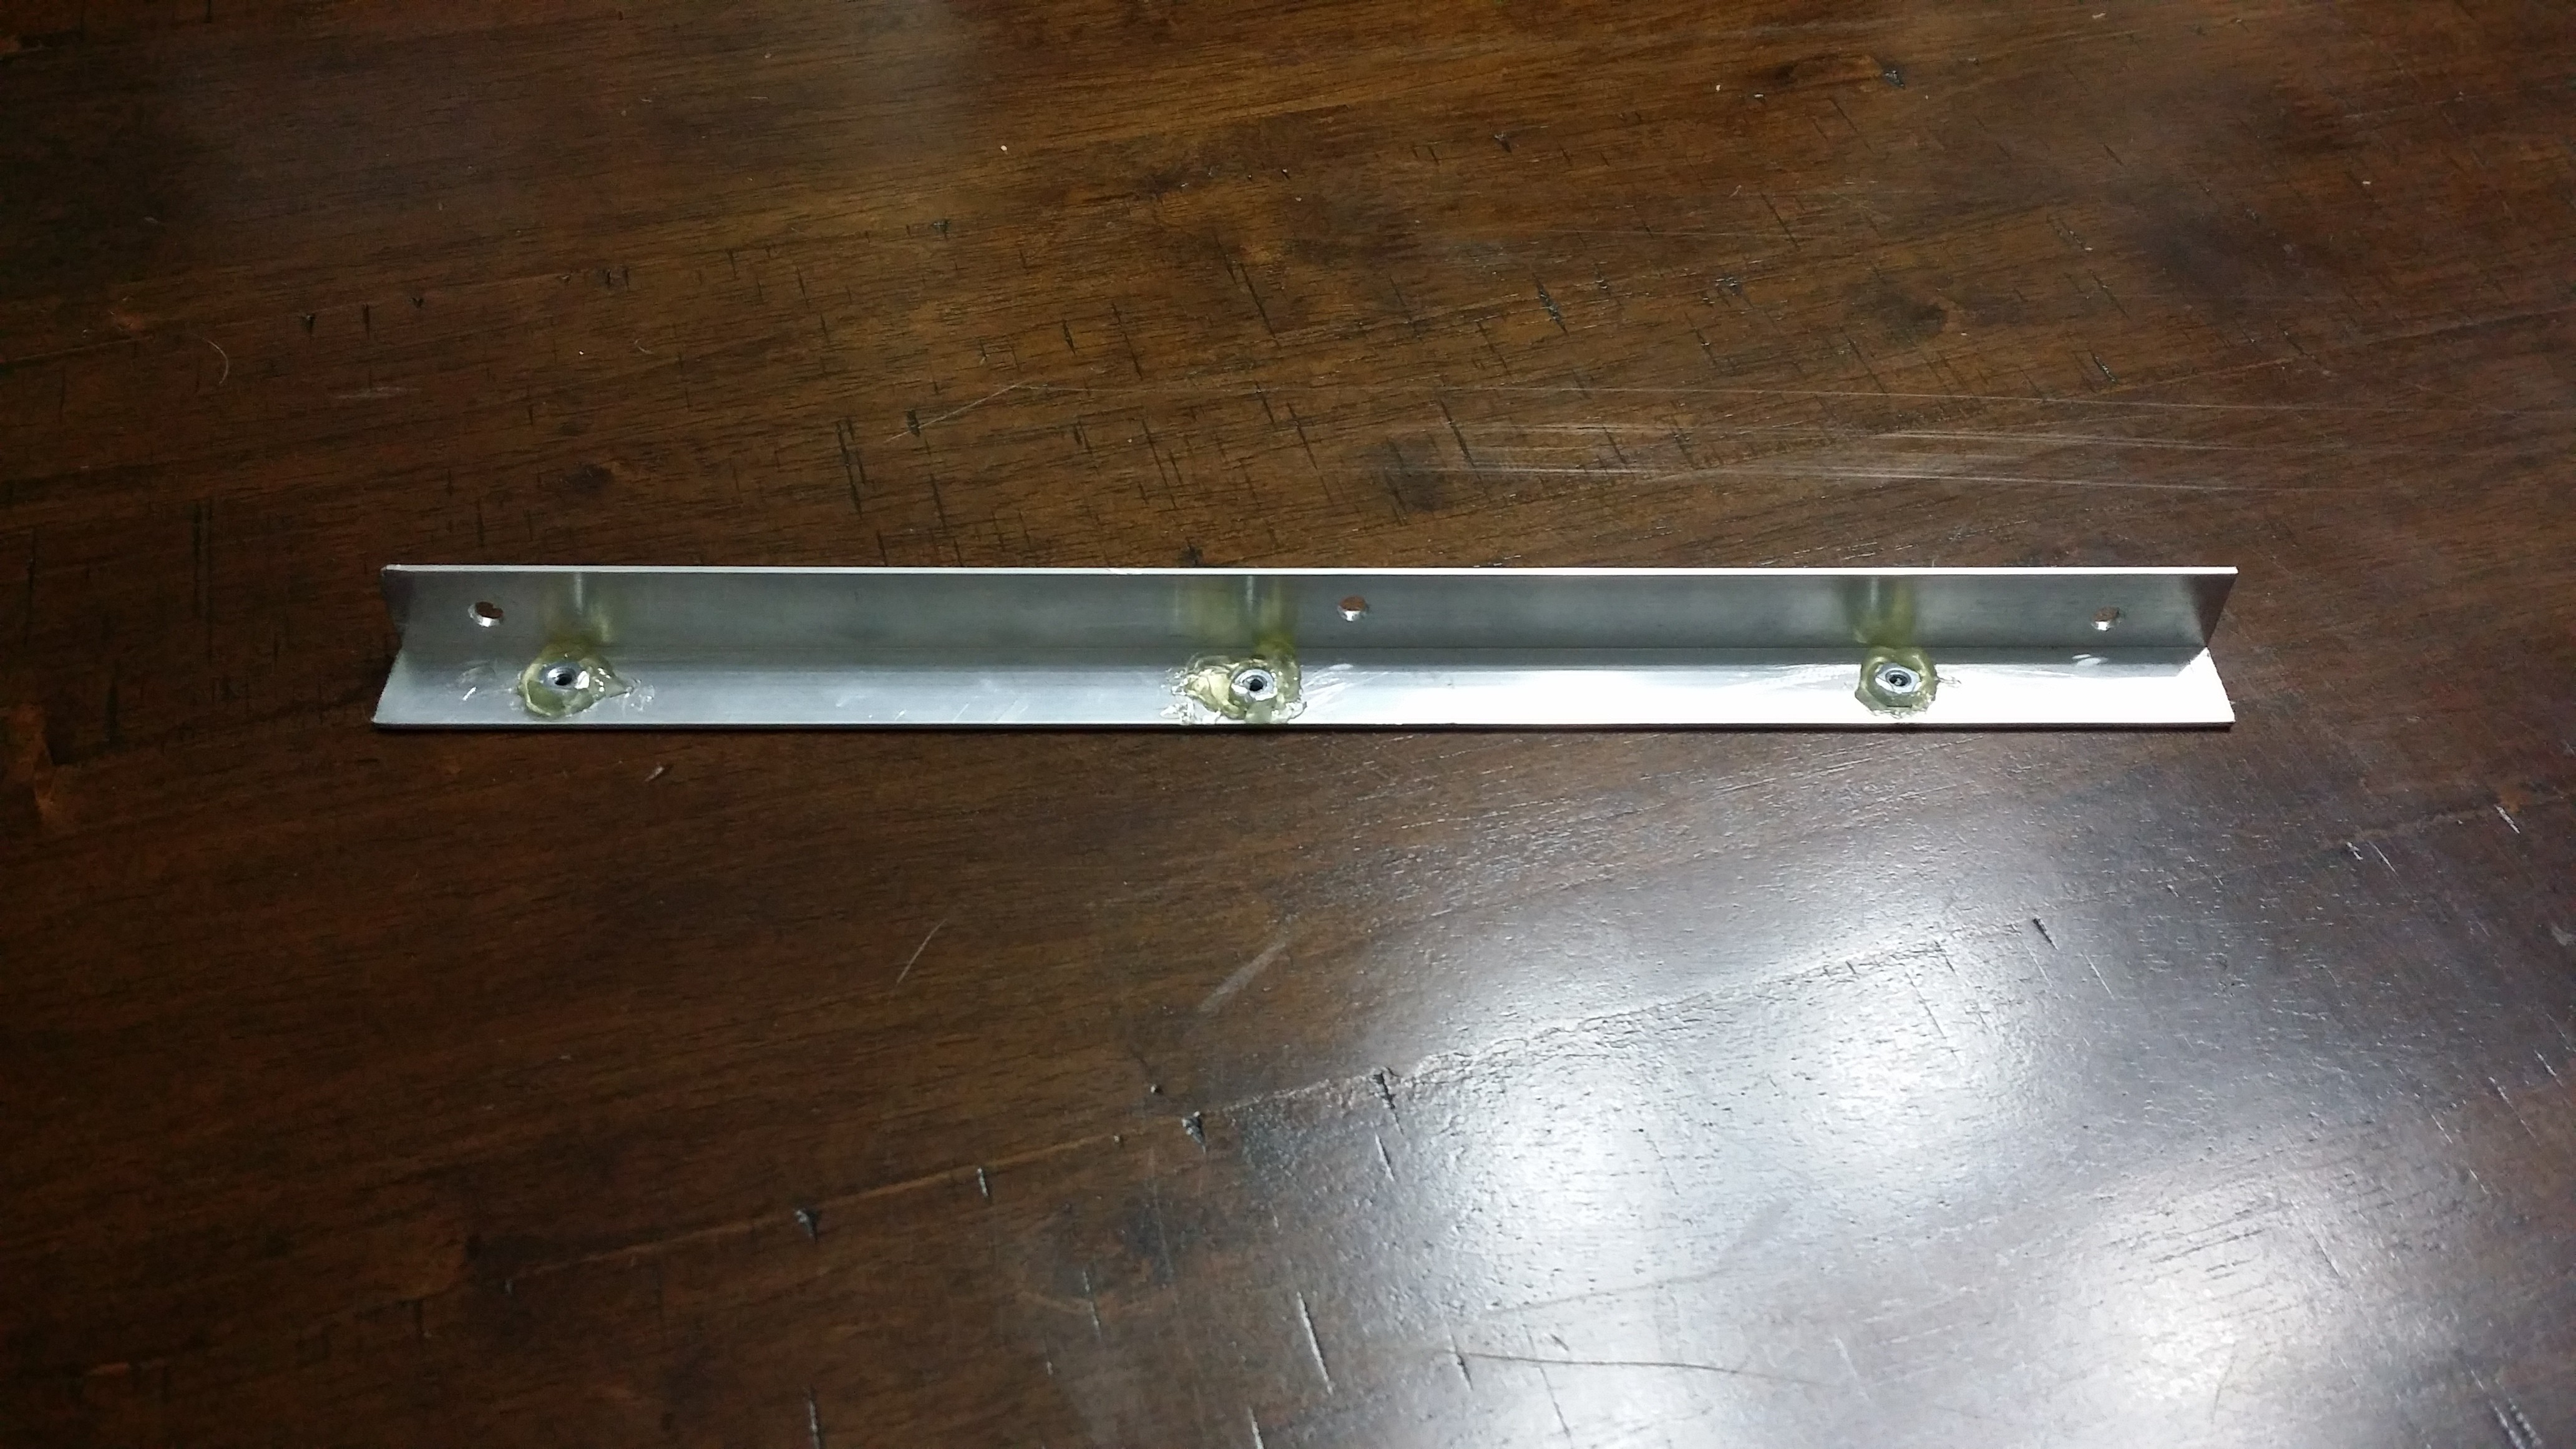
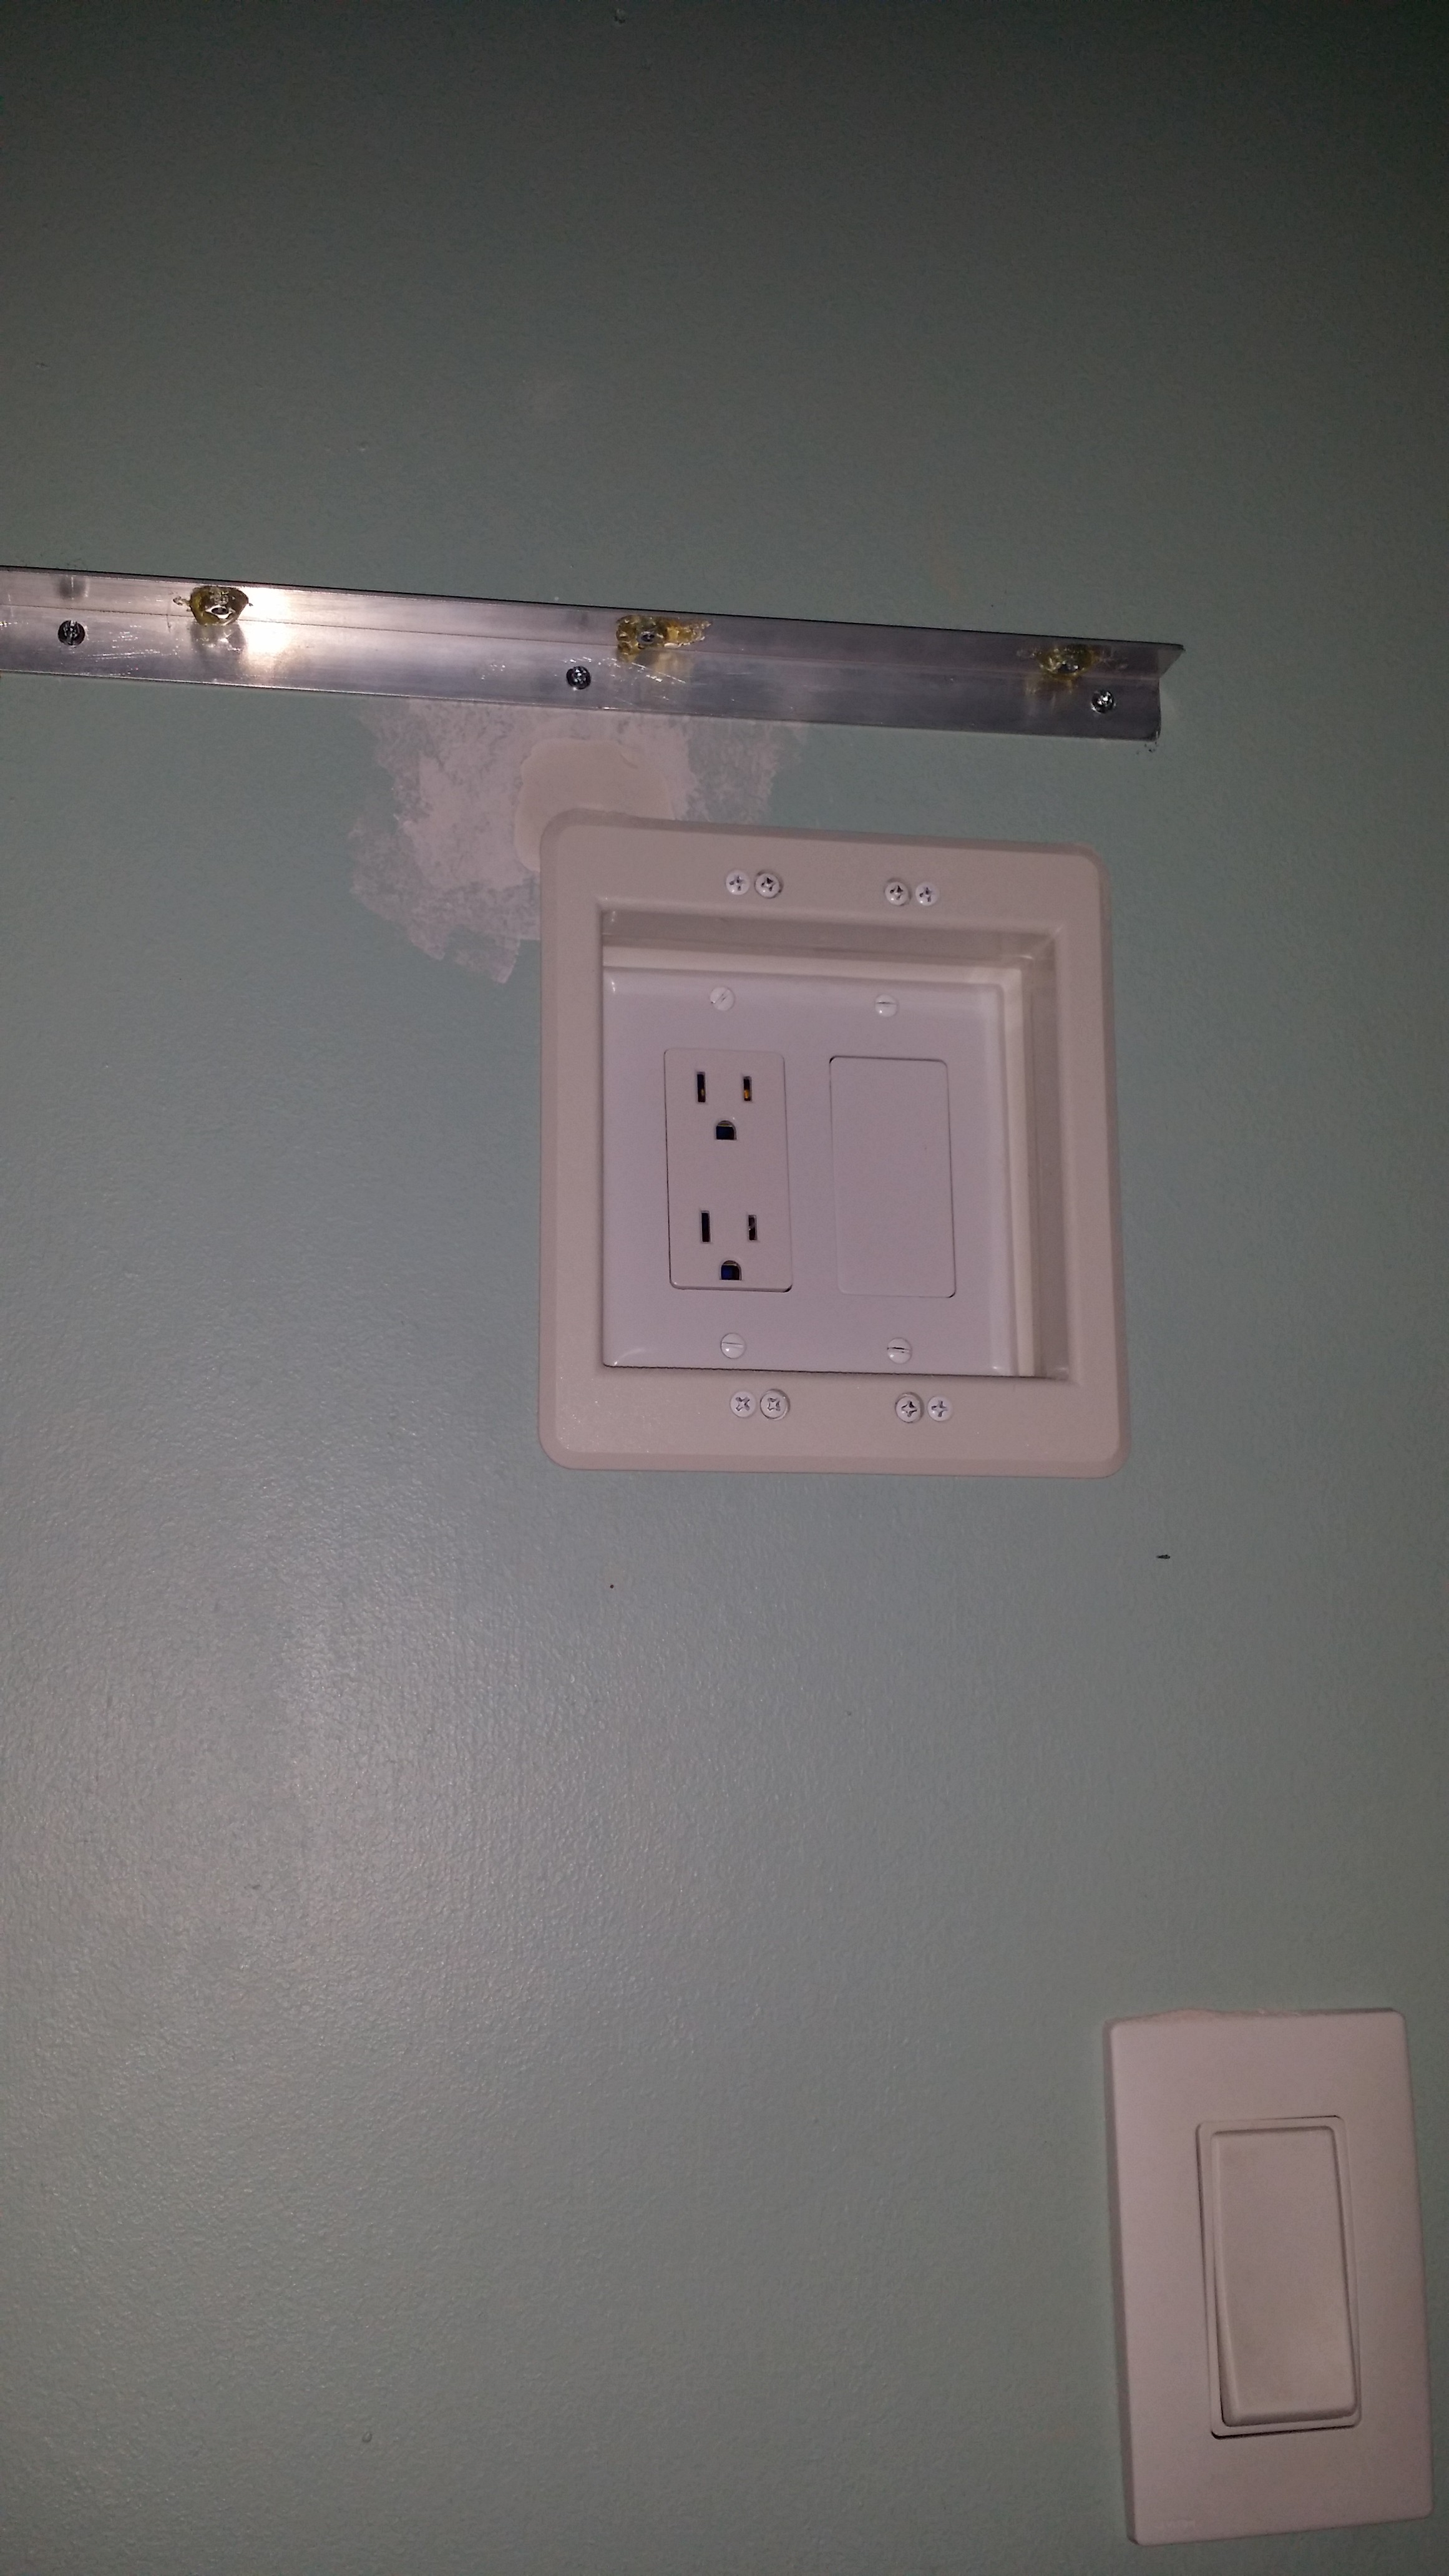
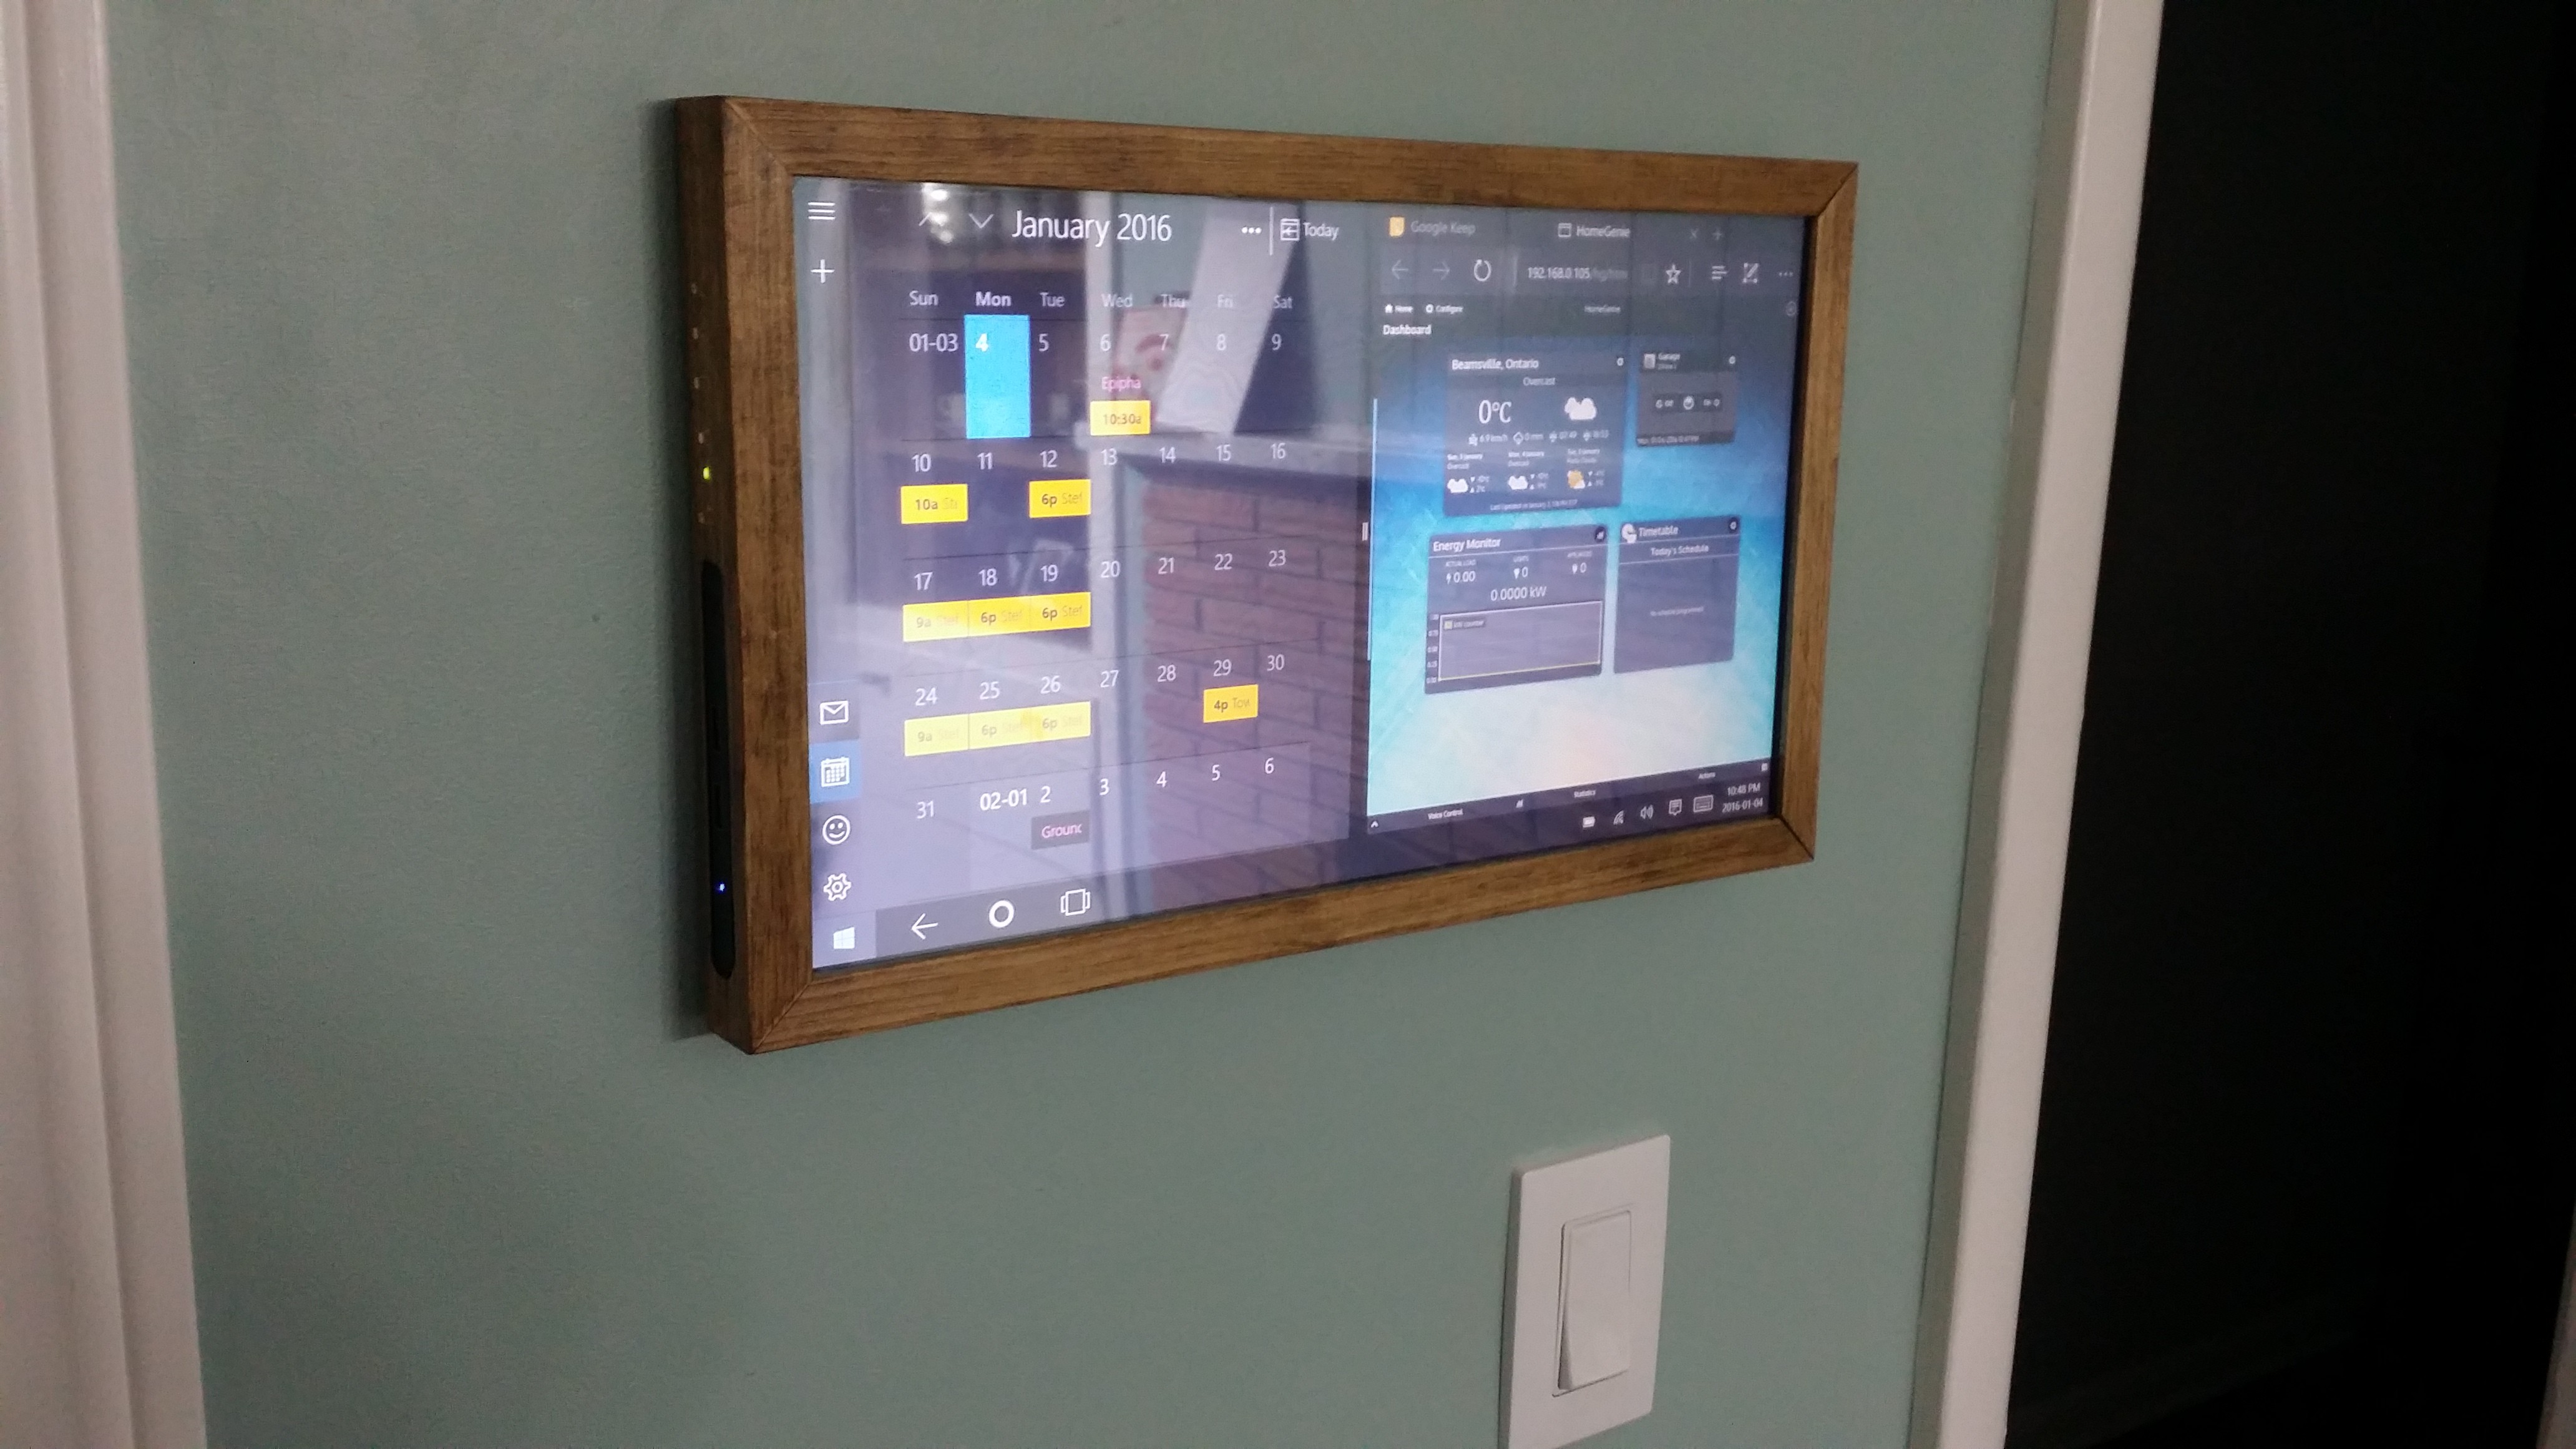
I now had the main components in hand and set out to find a way to mount everything nicely. I originally was going to use a metal picture frame kit to house everything nicely but my budget wouldn't allow it. I took some scrap 1x pine and made my own frame. I didn't want the frame to have too thick of a bezel hindering the touchscreen use so I made a slot the thickness of my screen and glass 1/8" from the top surface. The frame was then sanded, stained, and clearcoated to match some of our other frames. I used some L brackets to fasten the 4th side of the frame in case I ever have to removed the screen assembly in the future. Since I wanted access to the fullsize USB ports from the outside and the power button on the mini pc I used a router to create a space in the frame for the mini pc to slide into.
Step 5) Component Assembly
This was the part I was waiting for. I glued the glass USB touchscreen to my LCD panel and slid the glued assembly into the frame. After mounting the 4th side of the frame with the L brackets I now had a puzzle of components to mount fit on the backside of the LCD screen. After a few iterations I found the final position of most of the components for the most part but there were 2 things I had to figure out; 1) I didn't want to power the LCD screen and the PC with two separate power cords 2) How was I going to access the display menu and power buttons?
Display buttons: I decided to install the button board off to the side of the panel. Luckily the board was the exact depth as the cavity behind the LCD screen. After measuring out where...
Read more » Mark Kuhlmann


 jimmyplaysdrums
 Tim Savage
 Nick Scratch
That screen looks great! Would you be interested in mounting a spare cell phone or tablet to the wall? Most of us get a new phone every few years. The old one may not be state of the art but still a powerful mini touch screen computer. I made a universal holder for cell phones and will be making one for tablets soon. check out the picture and website at my hackaday profile.
smarthomemounts com