-
Aluminum Framing
01/15/2016 at 17:39 • 0 commentsInitially I was planning on using new 1" angle extruded aluminum welded into the base frame. Nice and simple, right? Even with the challenge of welding the thin aluminum, it seemed like a good look.
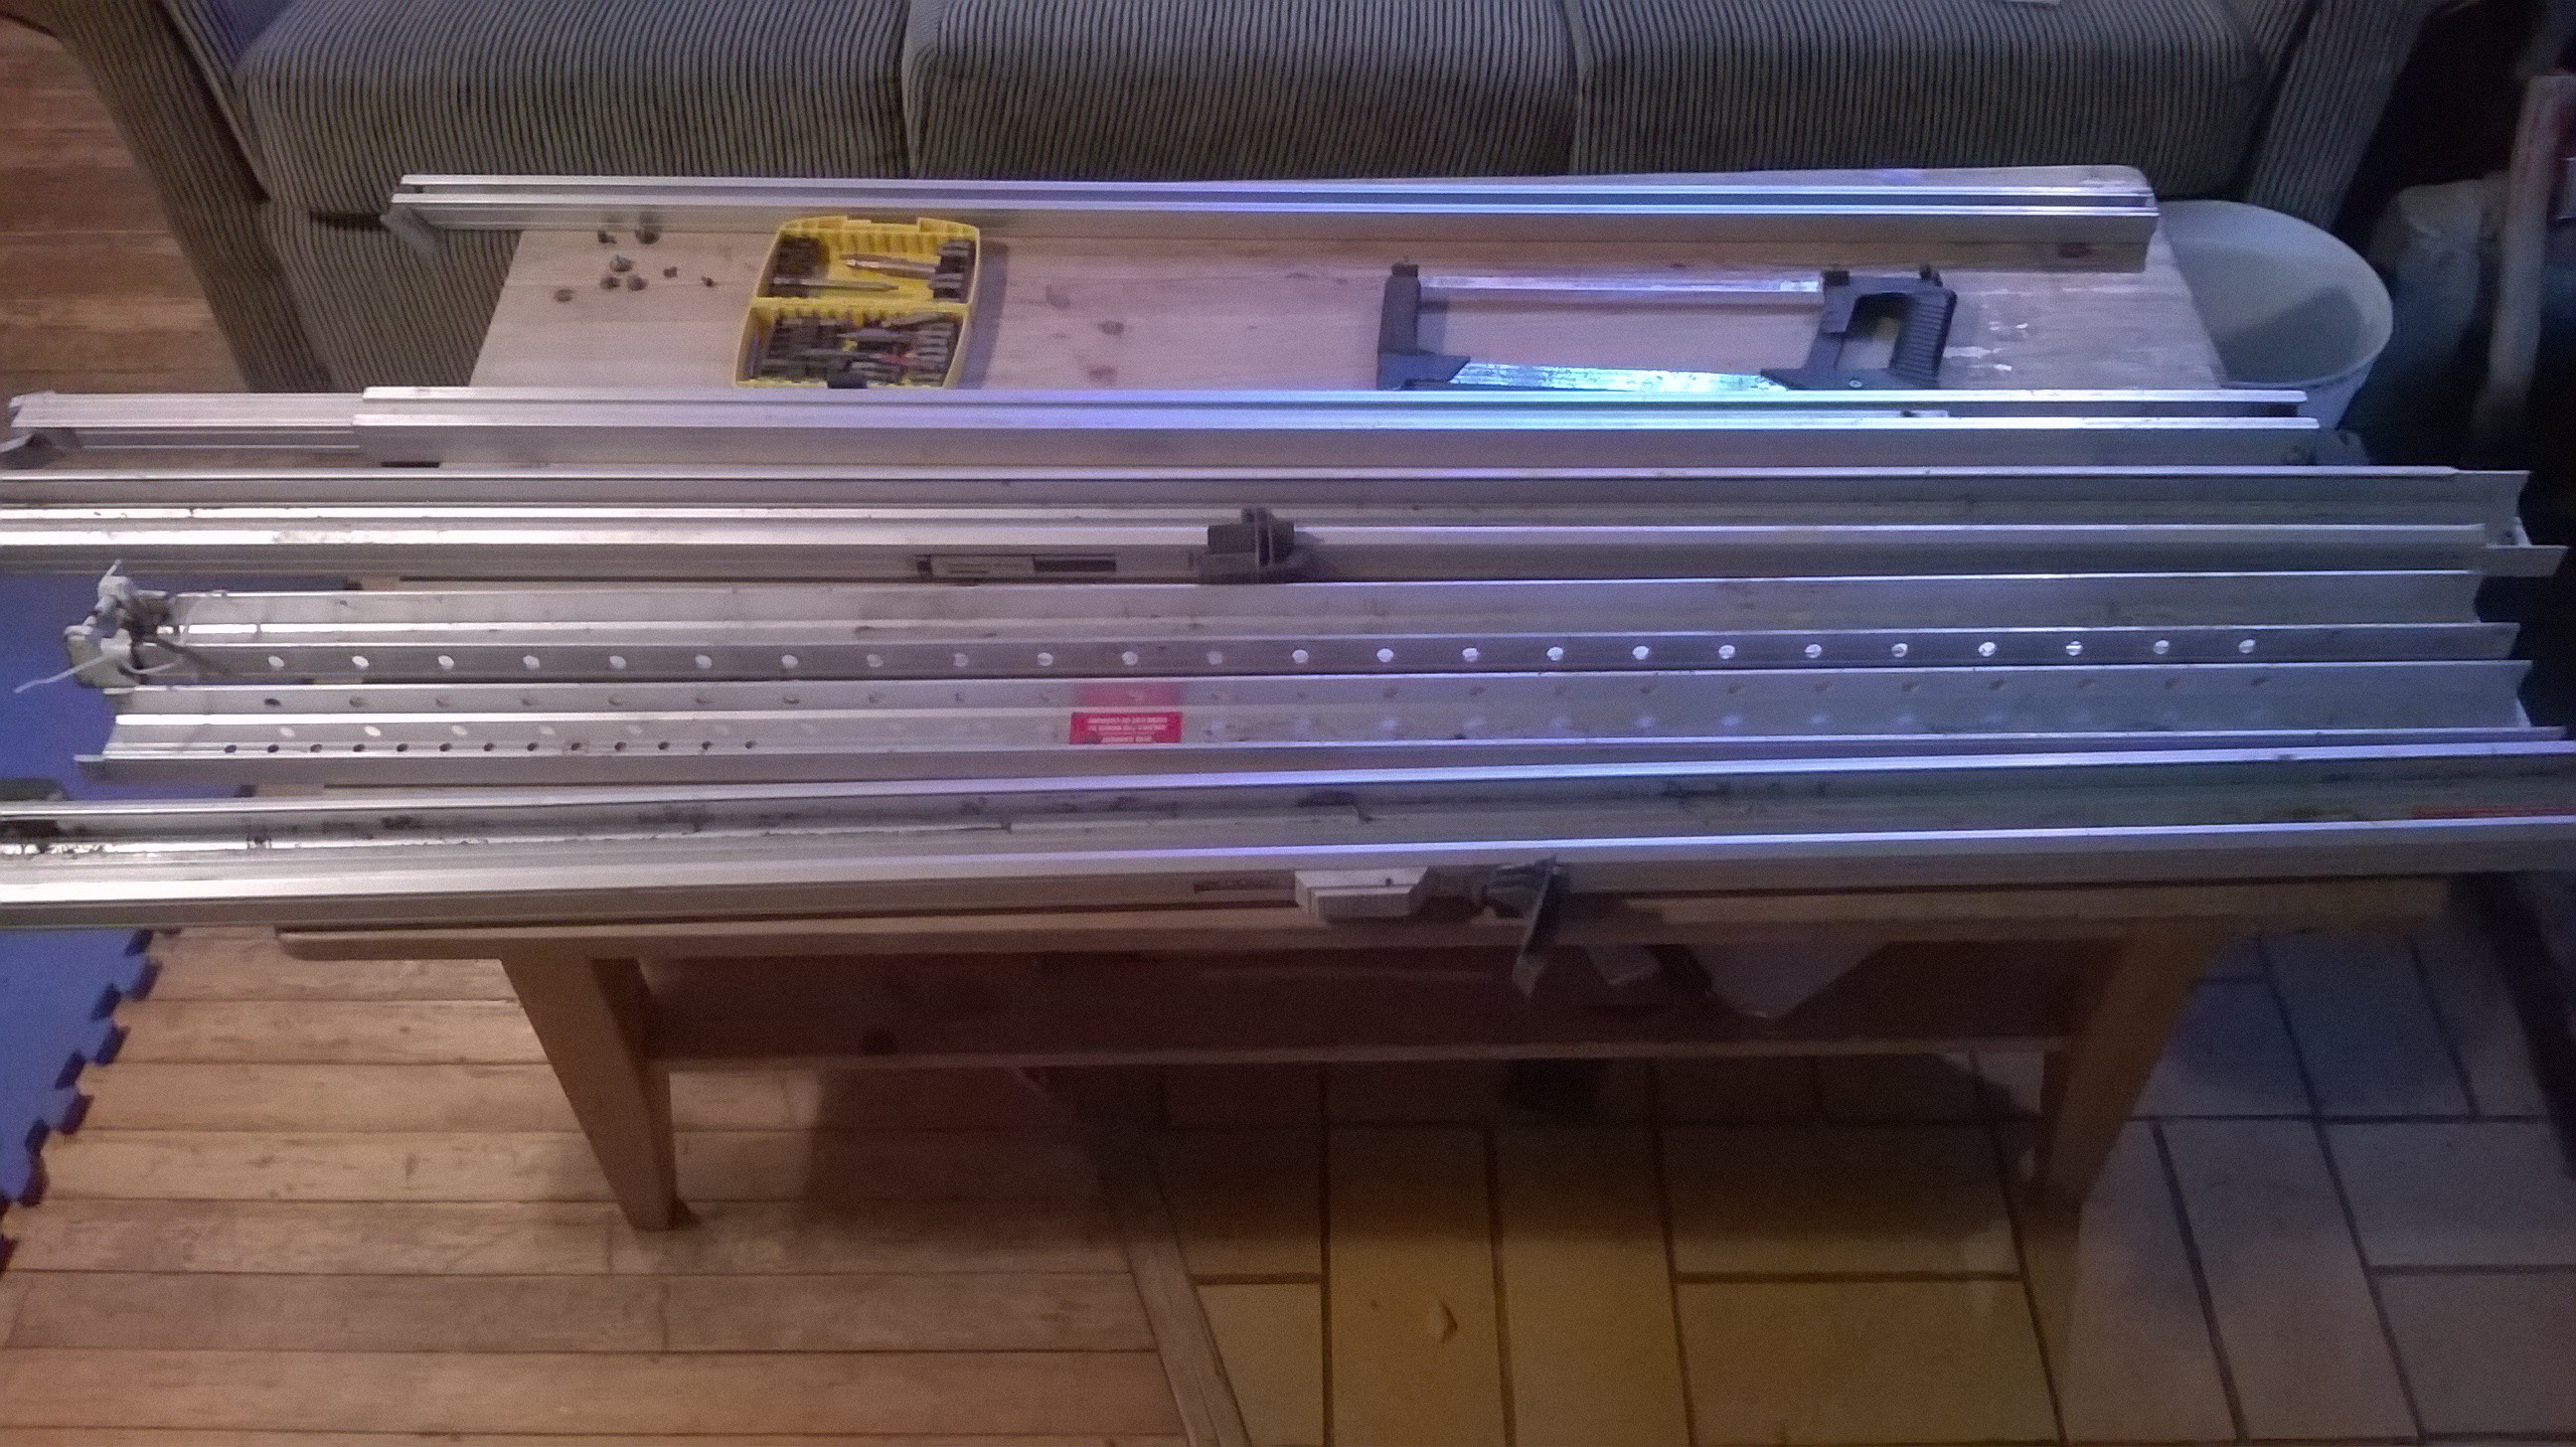
However, I remembered that I had taken the awning off my 1976 motorhome more than a year ago and thought that some of that aluminum channel may be salvageable. Turns out I found the perfect pieces.
![]()
The channel second from the top of the picture right below the hacksaw is going to work great. It is the same height as the nose of the main printrbot stock body and is super strong due to its profile. The channel at the top of the photo fits into it, so I am trying to think of ways to use that to my advantage. I am planning to add printed inserts to make it look 20% more awesome as well.
I have a bevy of projects in mind for the rest of the pieces too. (of course) One such project is a core-xy printer with exterior framing/cabinet.
-
Reconsidering Y Axis
01/14/2016 at 03:31 • 0 commentsSo the y-axis... I really think it needs to be bigger (surprise!) so, 'Y' not. My reconsideration of leaving the y axis as-is is due in part to heating considerations. The PCB heaters I will be using will be between 8 and 10" square. I am choosing these larger heaters because they are plentiful and cheap. And because I want a bigger Y. I think that 10" (250ish mm) should be big enough. For now.
The mods necessary to pull this off will include longer rails, and an extension on the y-bracing. Wiring will also need to be considered.
For now, however, I will leave the Y axis alone, but plan for the eventual upgrade by preparing a larger bed.
-
Everything except the bed...
01/13/2016 at 05:34 • 0 commentsI have acquired most of the bits I need to dig in to this project. To really get going, I need to begin the dis-assembly. I am a little apprehensive to dig in as I do not have a back up printer for printing the bits that will invariably come up... So I have come up with a stop-gap. I have already printed off some x-ends that are sized to fit the linear rails of the x-axis and I can put these anywhere along the x, connected to my existing print bed, which will be handy because I am waiting on the manufacture of a new aluminum super-sized bed.
Frame construction is underway.
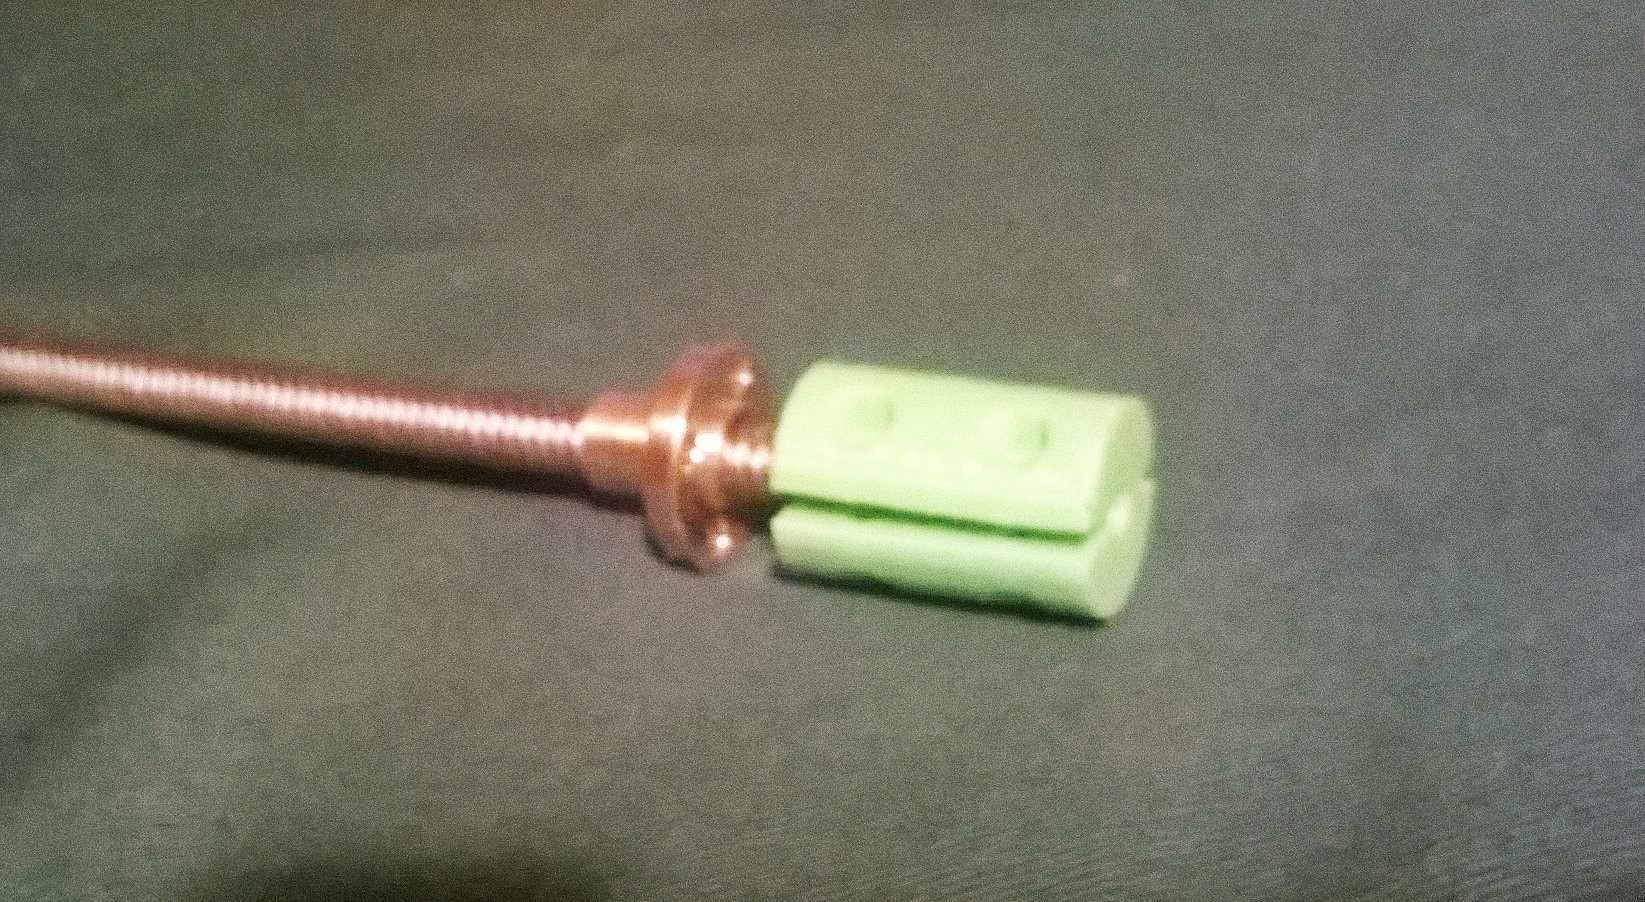
As for the z-axis, I printed out a coupler to accommodate my larger diameter threaded rod. The diameter of the original rod of the printrbot was 6mm, my new 600mm rod is 8mm. Not a great pic...
![]()
-
Maximizing usefulness of space provided by frame
01/04/2016 at 14:54 • 0 commentsLooking at ways to maximize the usefulness of the space provided by the stability frame.
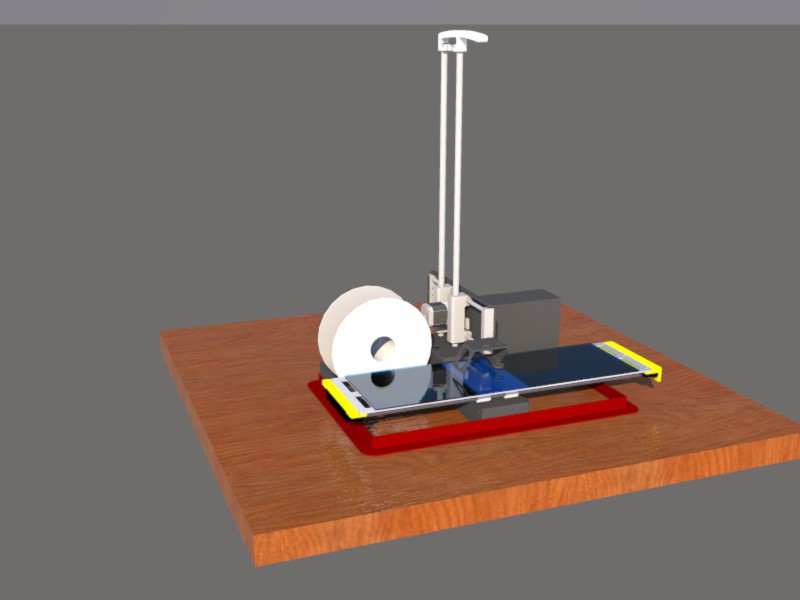
To the right of the machine, the space provided by the frame will accommodate the power supply needed to power two heat beds, the hot end and all motors etc.
To the left, I am looking at ways to mount a filament spool holder to the frame. The weight of the filament will help to stabilize the unit against X-Axis movement of the bed.
![]()
-
X-ends modified and printed
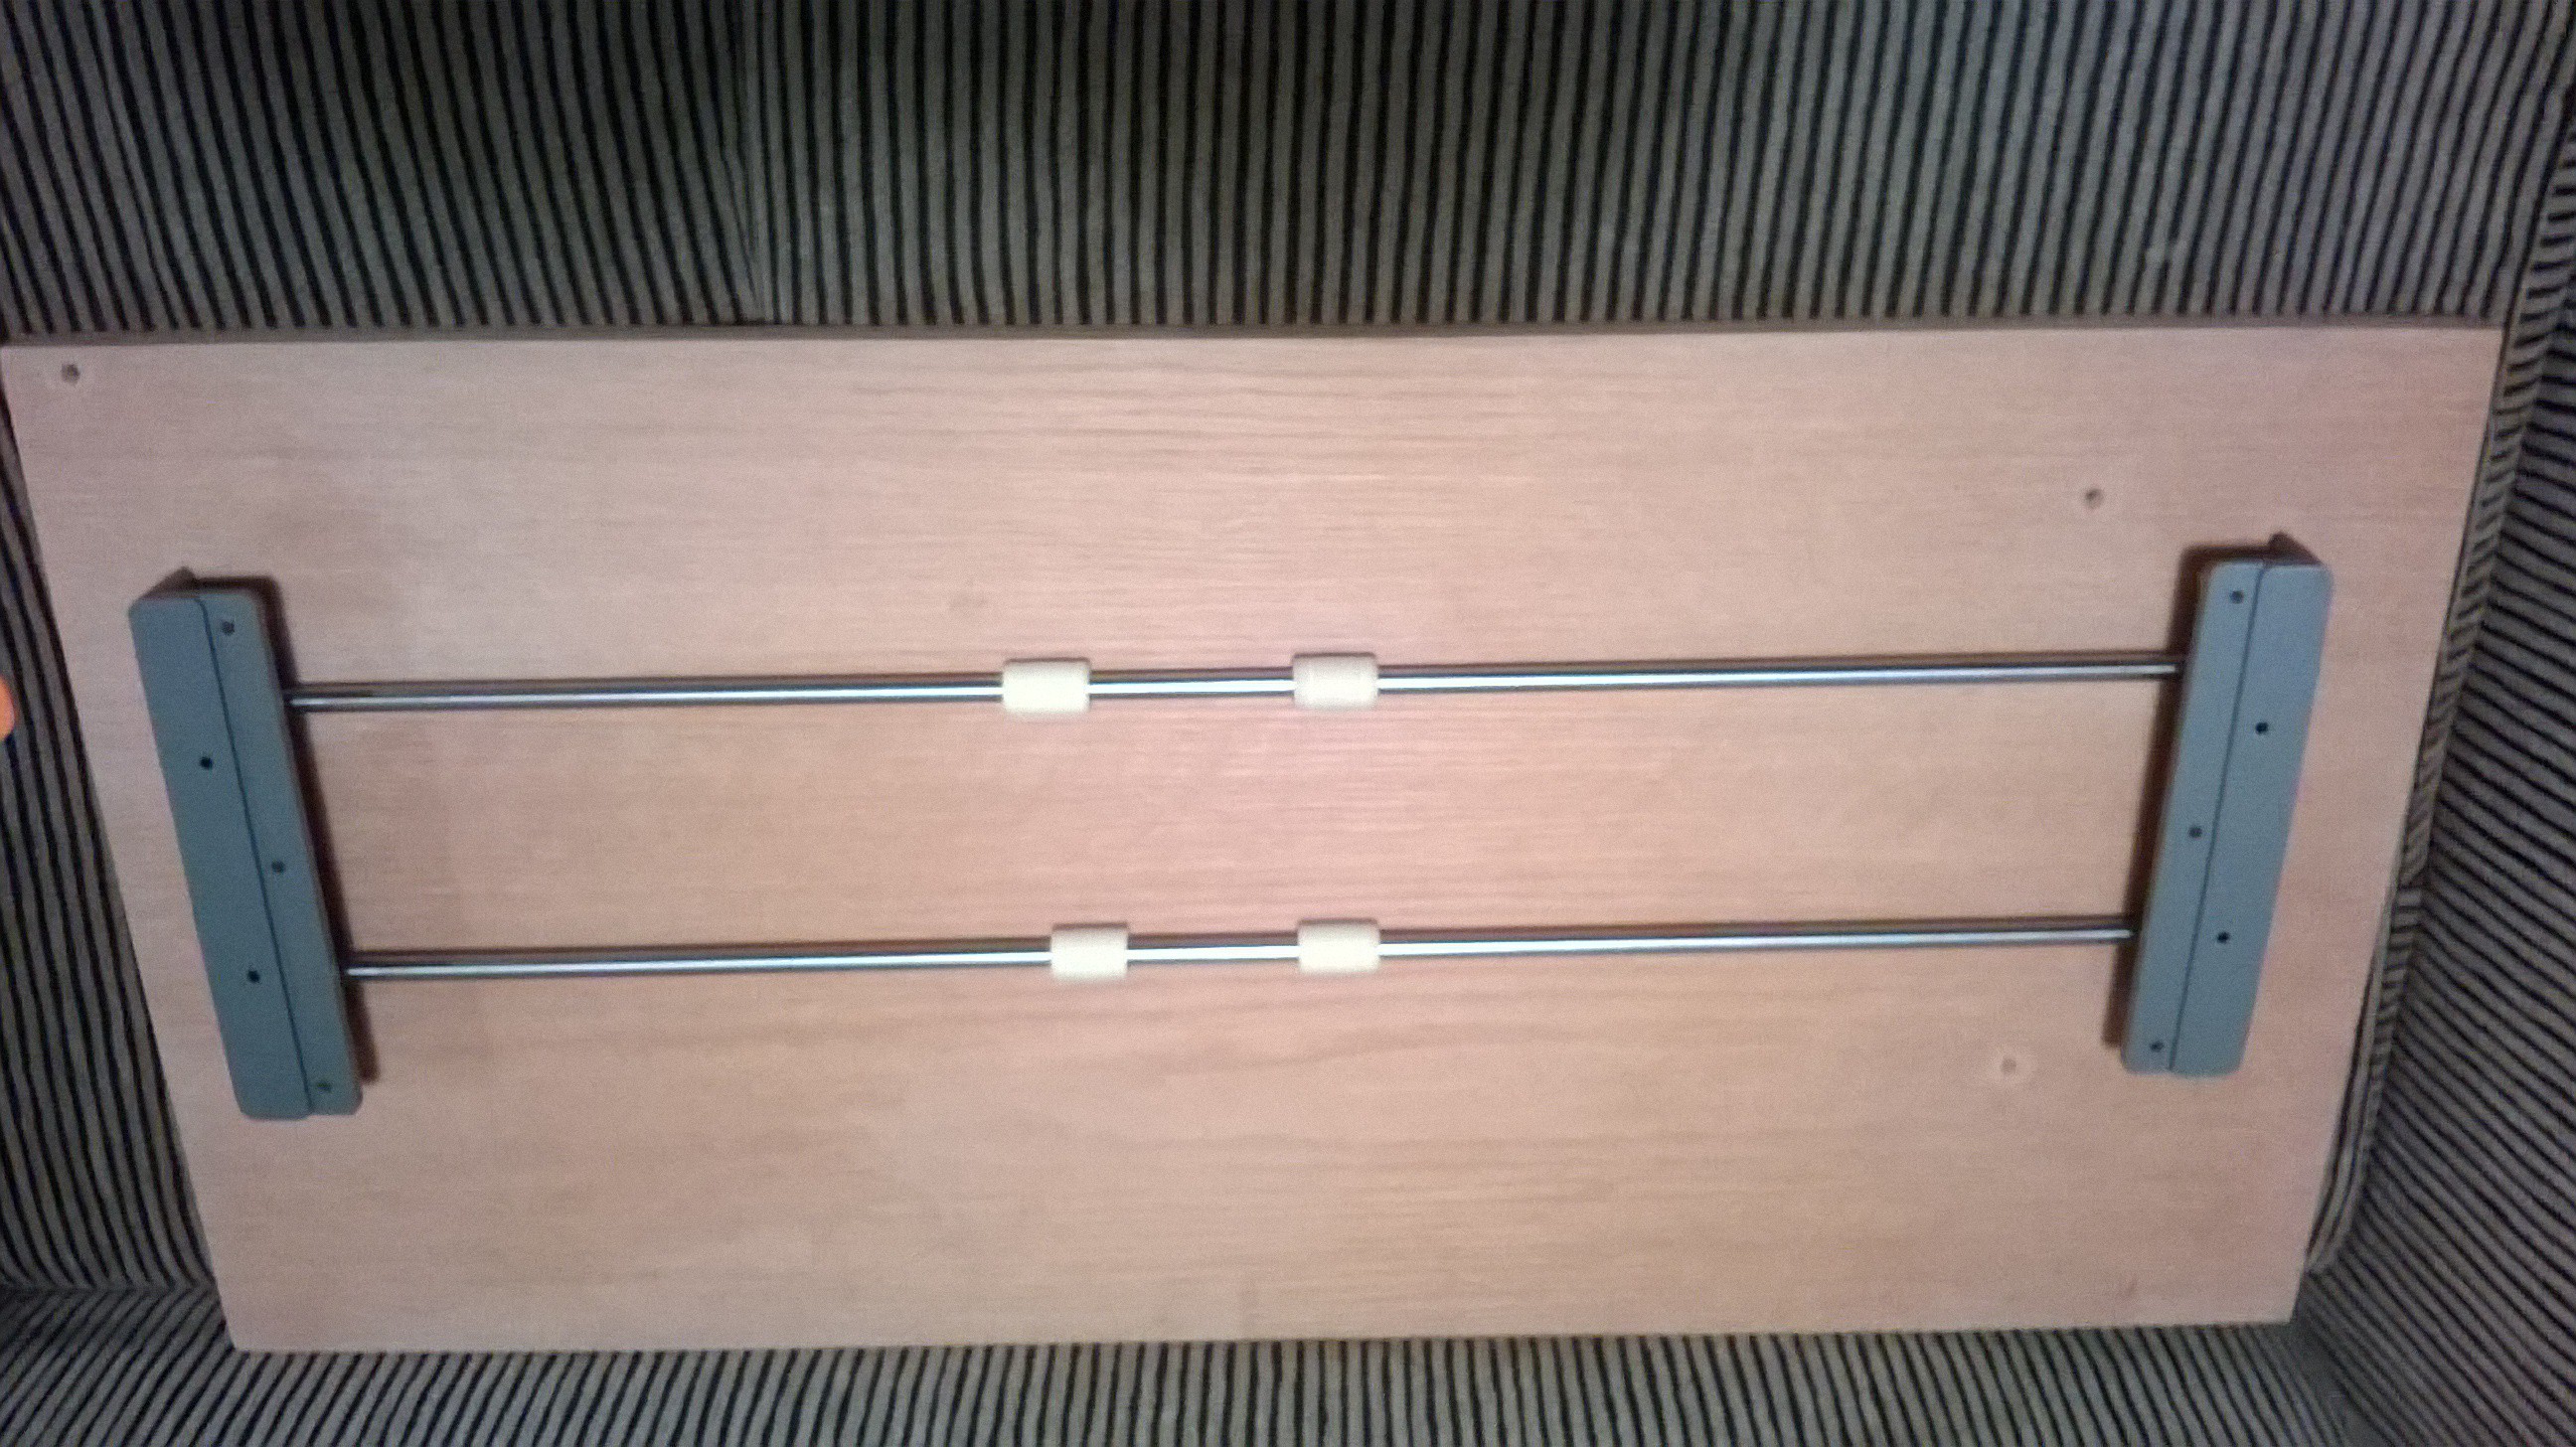
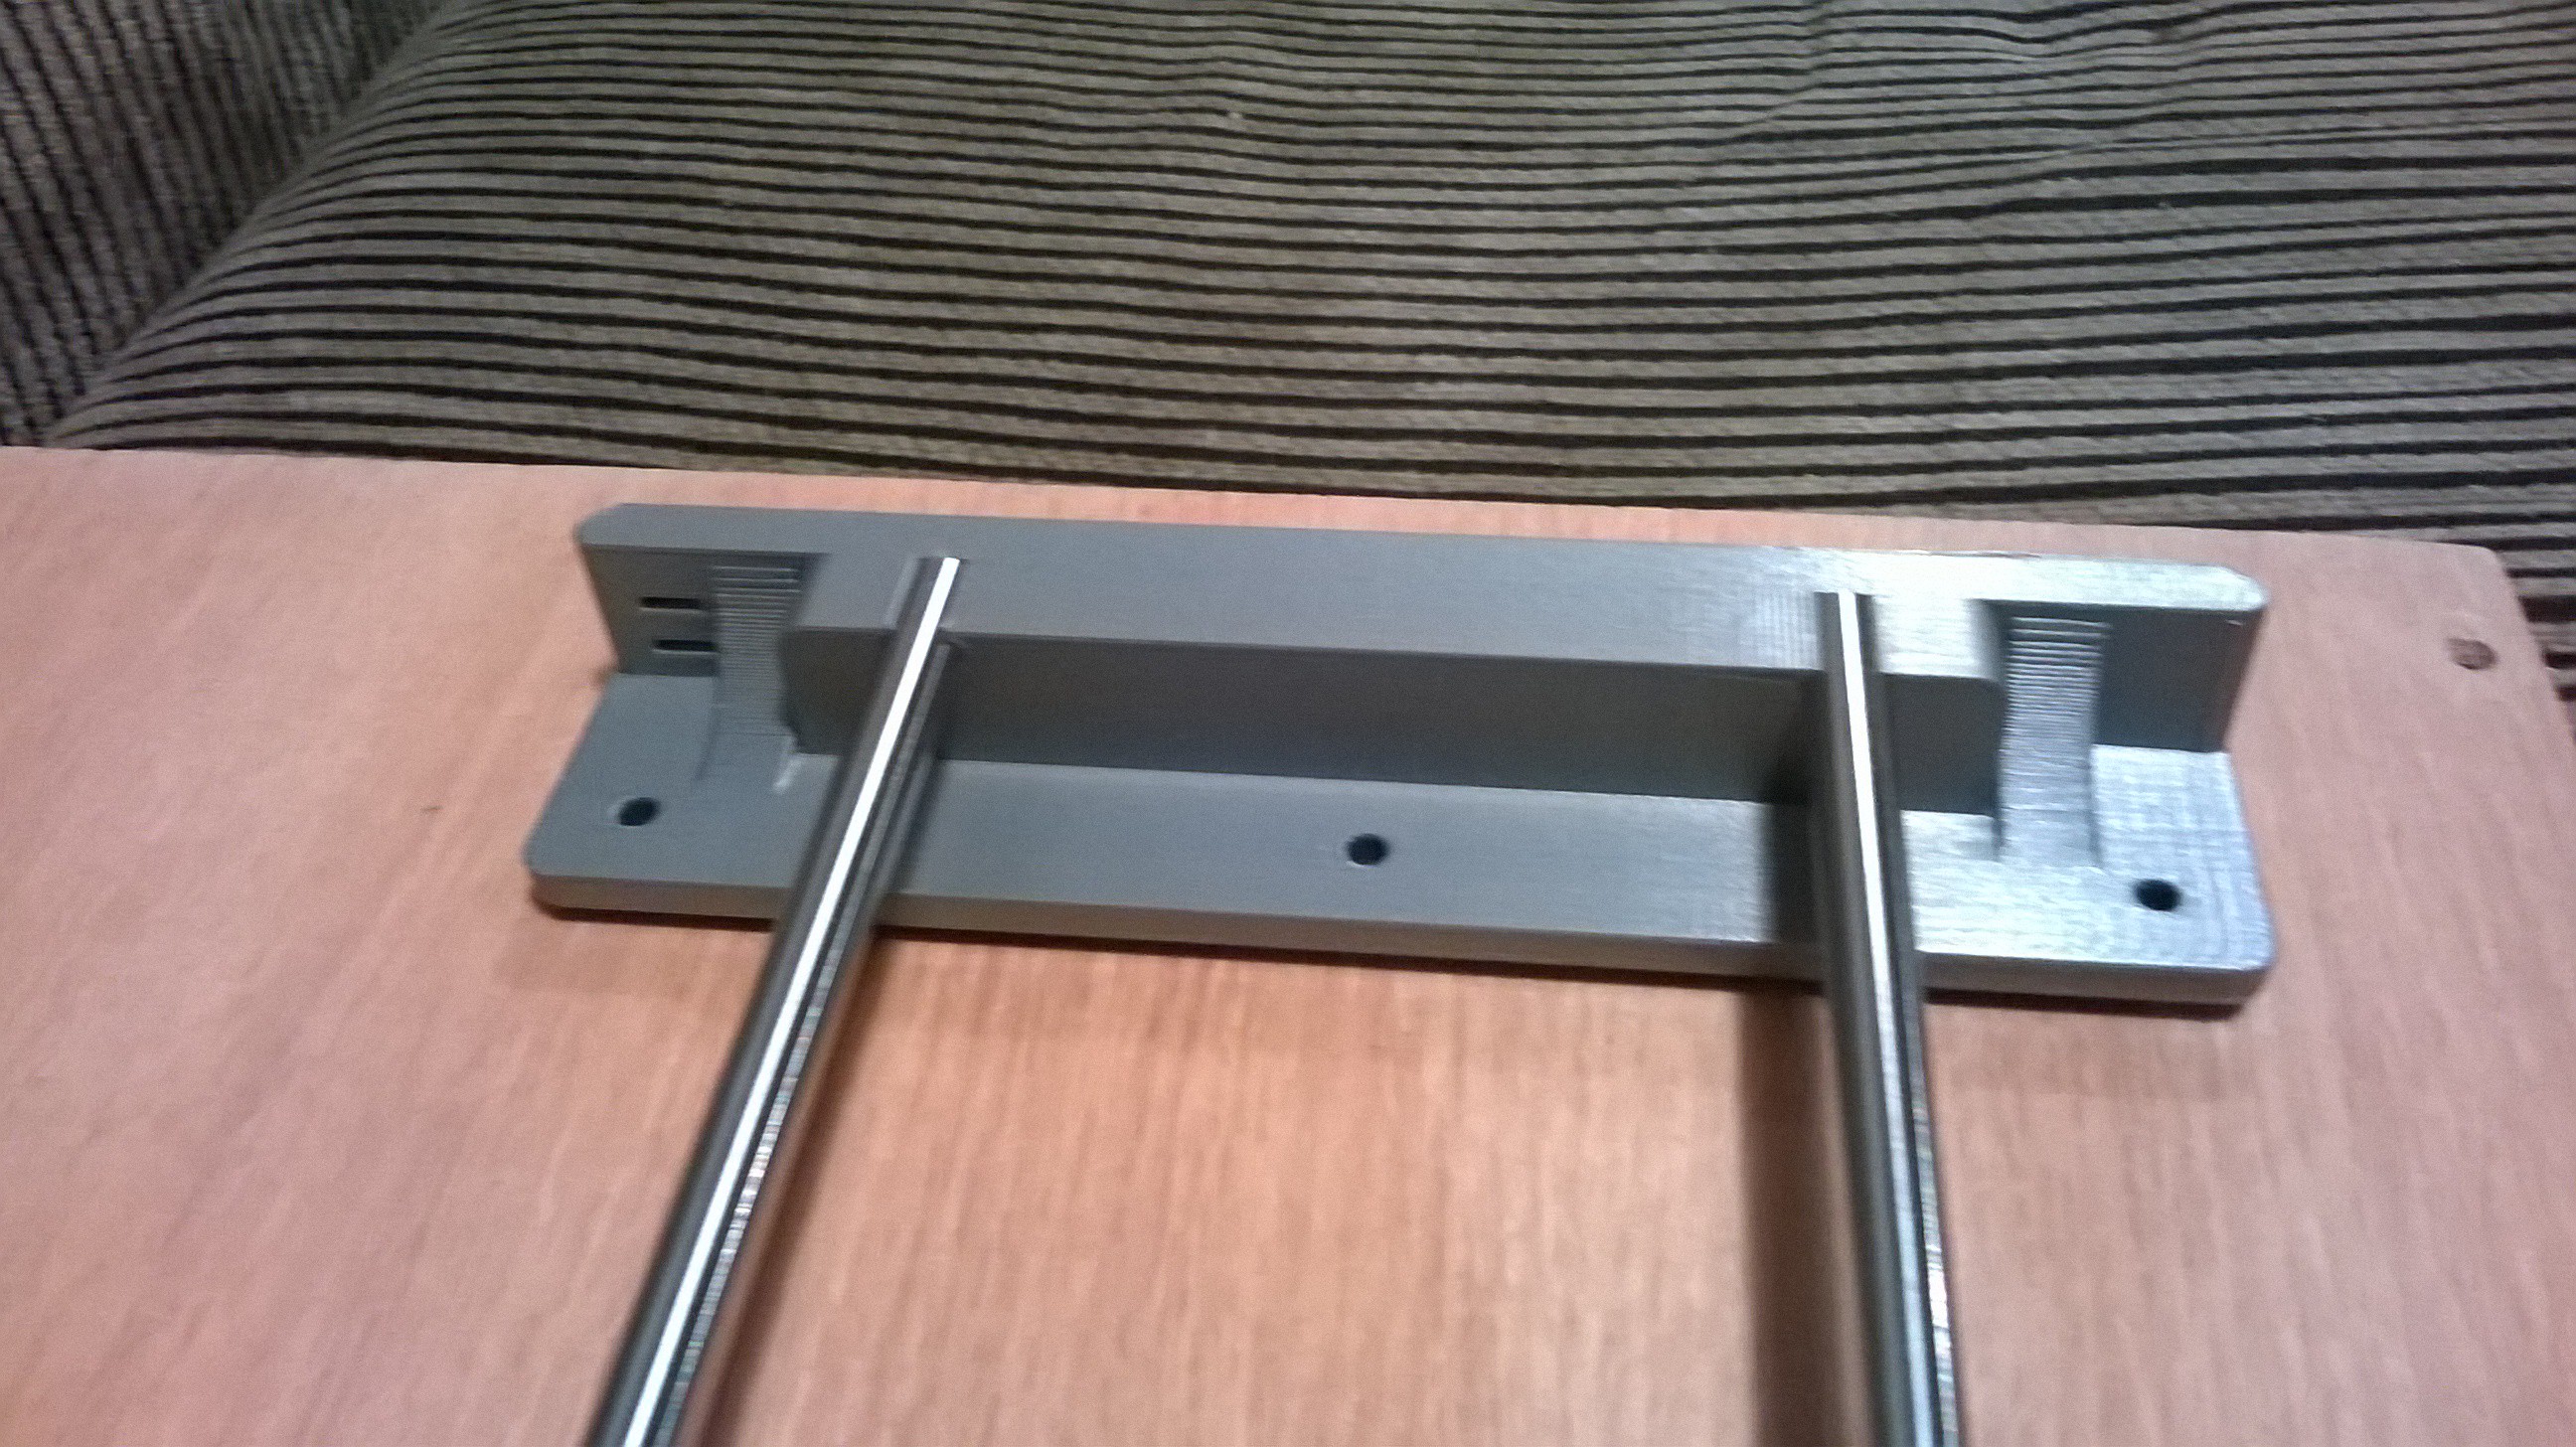
01/02/2016 at 04:18 • 0 commentsI modified the design of the X-Rod ends to act as both the Delrin ends and the 'wings' for attaching the belt. Printed them off today and they look pretty good IMHO.
![]()
![]()
Printrbot 'SuperSize Me" Mod
Transforming the humble 150x150x150mm stock print bed of a printrbot simple metal to a whopping 500x500x150mm
 ken.do