andreas.betz
-
Safety first!
01/27/2016 at 12:14 • 0 commentsBIG SAFETY REMINDER:
The lasers in an optical drive can cause serious damage to your eyes!
Never (and I mean NEVER) look straight at them without proper protection. And even with, don't.
Sam's Laser FAQ has a good intro to laser safety, and for further reading please consult Dr. Google.
Be particularly careful when you run a laser straight from your own current source, as we do in this project. You might be cranking up the power well beyond the normal operating point. And already that point is dangerous.
-
Focusing the beams
01/27/2016 at 12:05 • 0 commentsIn a conventional microscope you can tell when the sample you have under the lens is in focus simply by looking at the projected 2D image. In a confocal microscope we only have the one beam of light and so we need a tool to tell us where we are with respect to the focal plane.
One way to achieve this is to introduce an aperture (a pinhole) and monitor the light intensity as a function of focus offset. This will work, but it's not very efficient and it doesn't tell us whether we're too near or too far away.
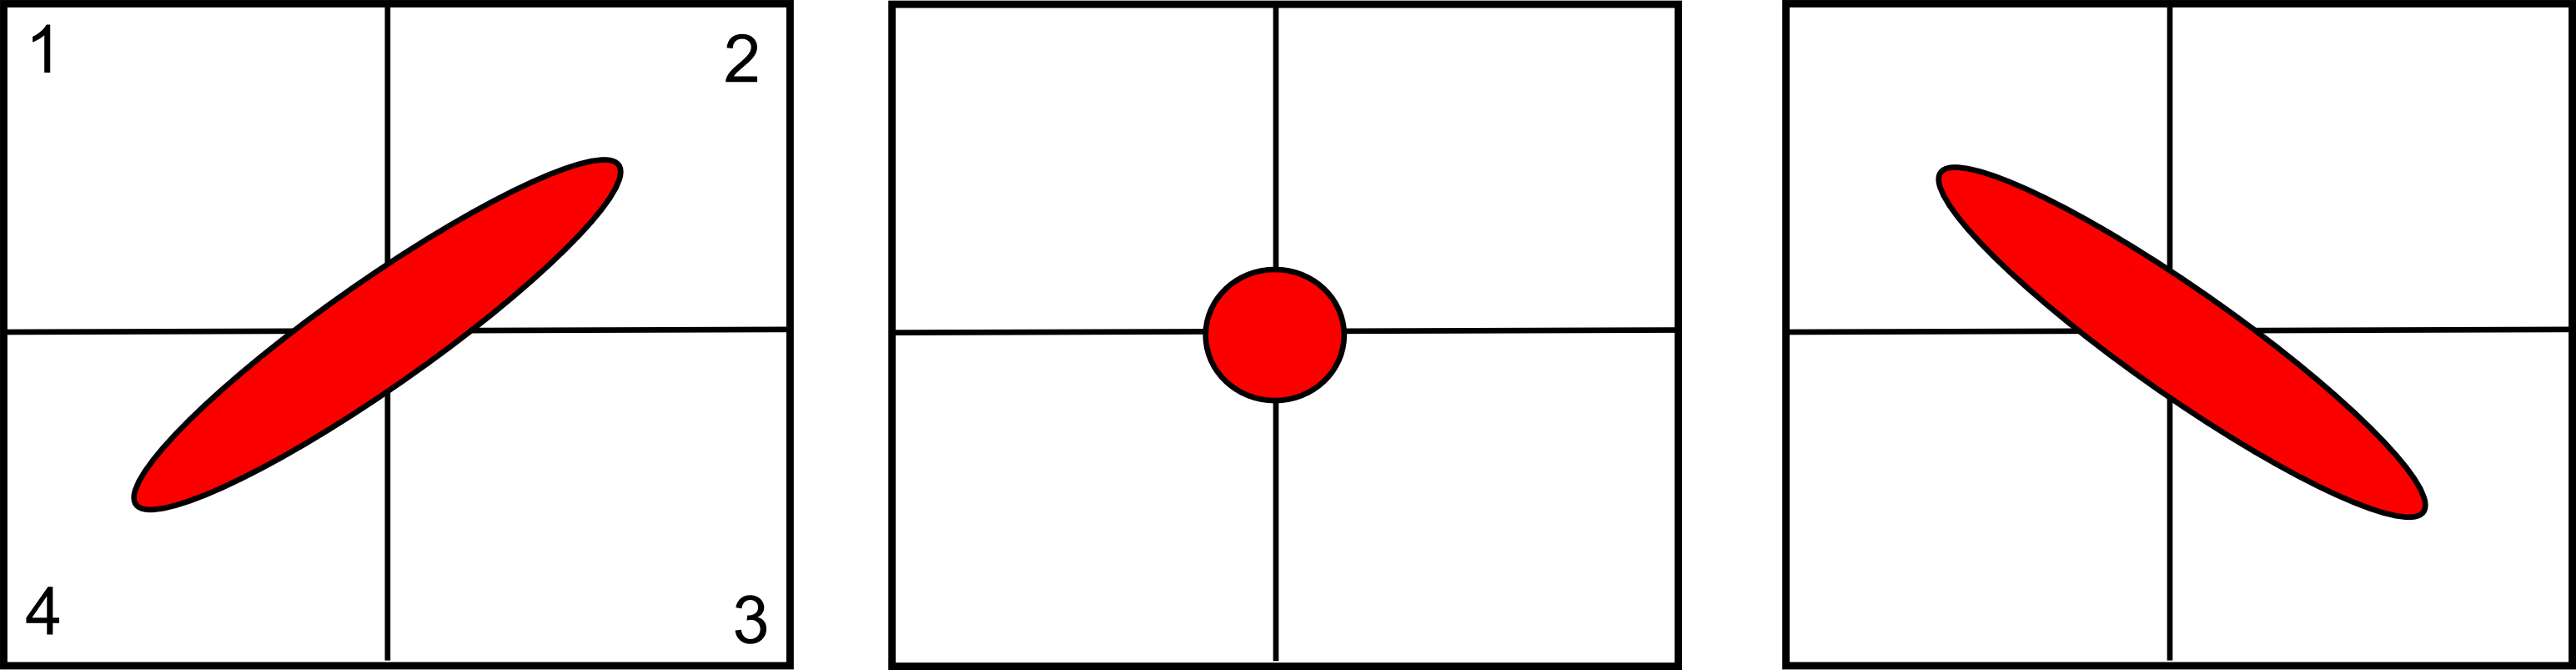
CD/DVD/BluRay drives use a different, more sophisticated method to adjust the focus of the incident laser: A cylindrical lens is placed before the sensor, which is a 4-quadrant photodiode in the CD/DVD/BluRay case. The lens distorts the beam, from a diagonal ellipsoid, to a point (focus), to an ellipsoid in the opposite diagonal. This is called astigmatic focusing.
![]()
Using the four outputs from the quad-photodiode we can then tell when we're focused on the sample.
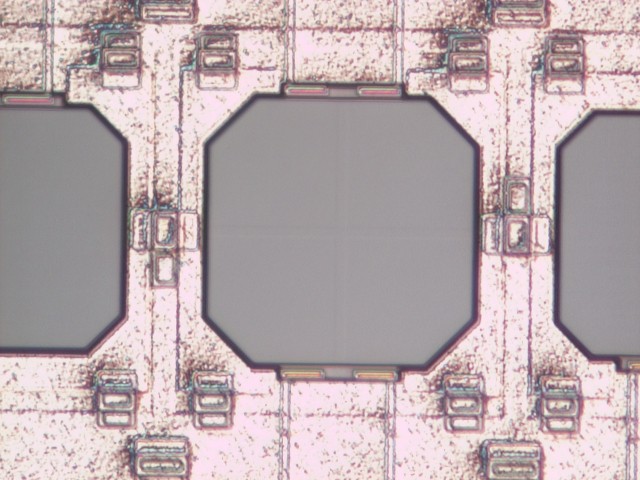
Here's what on of those 4-quadrant photodiodes looks like (you may have to squint a little to see the division in 4 quadrants). The two outer ones are dual-photodiodes used for tracking.
![]()
OK, so this sounds pretty straight forward... but of course in reality it's not quite as easy (surprise!).
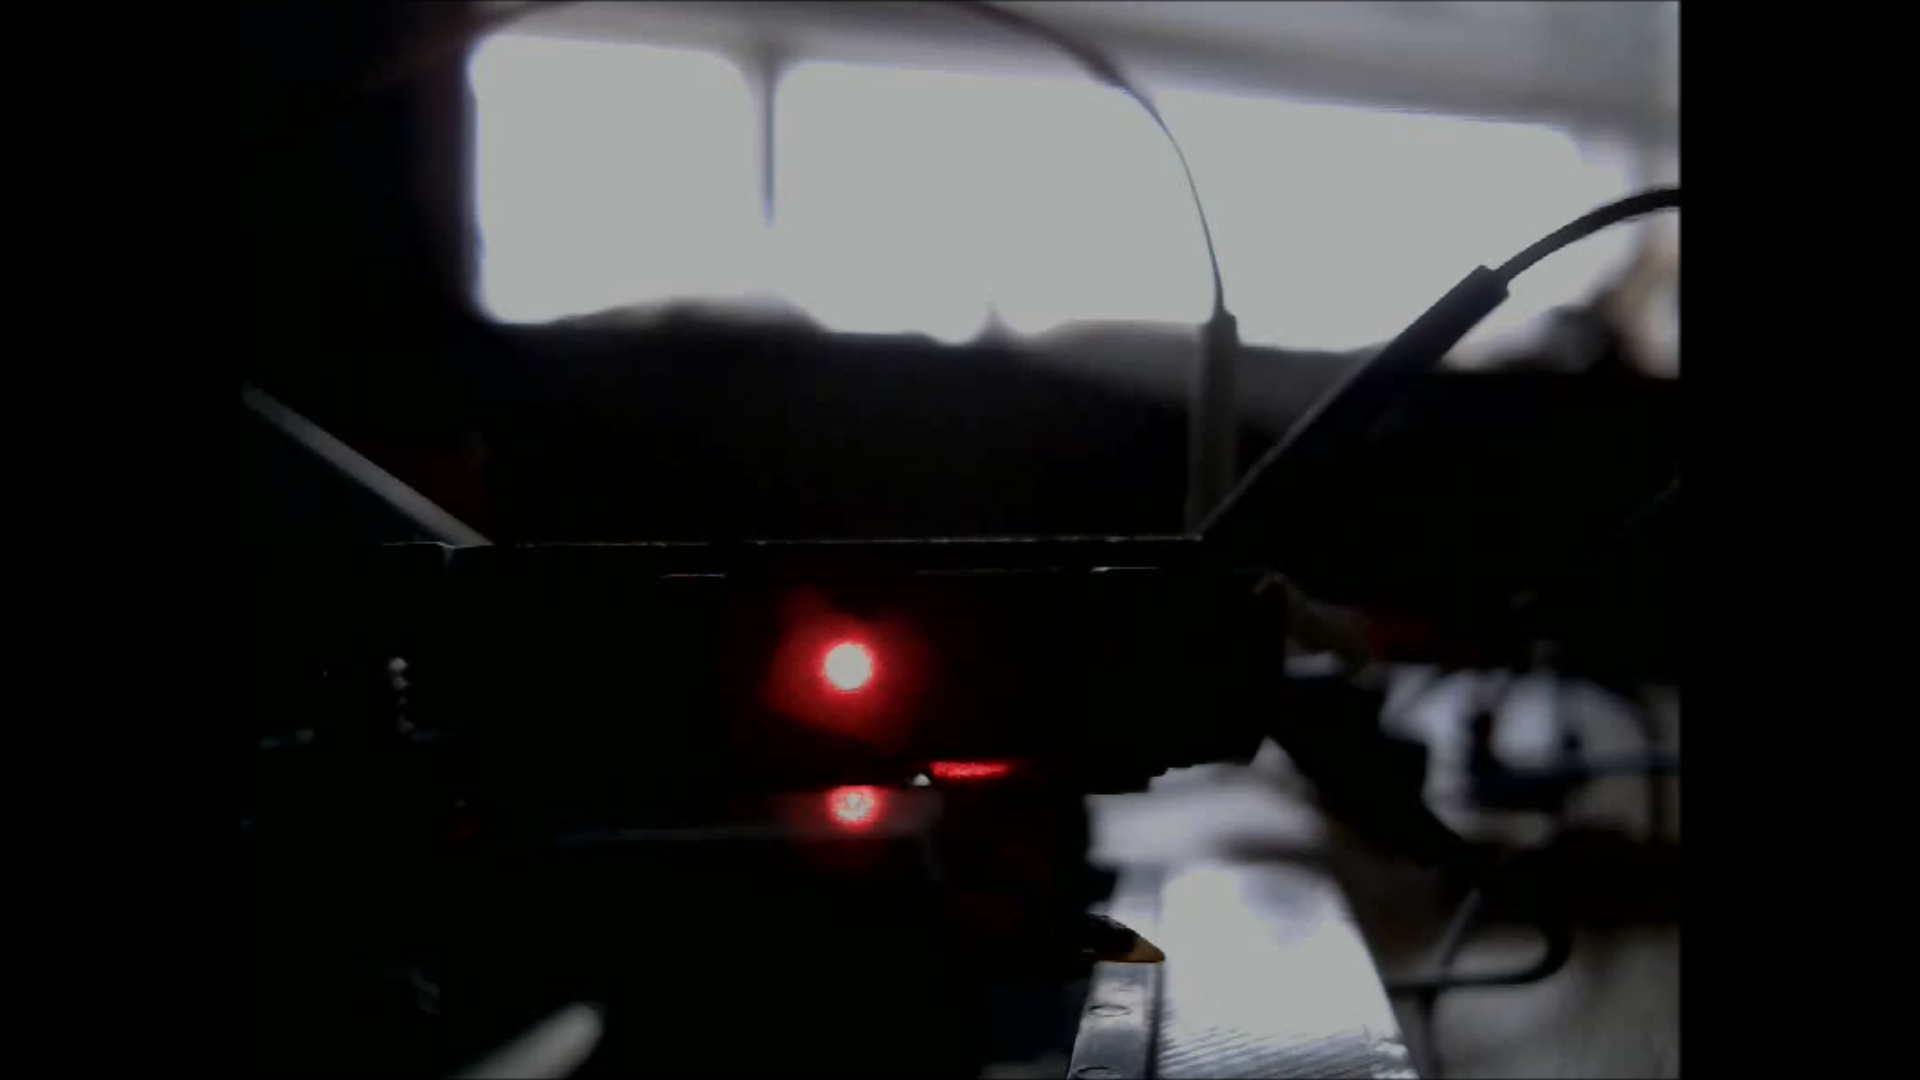
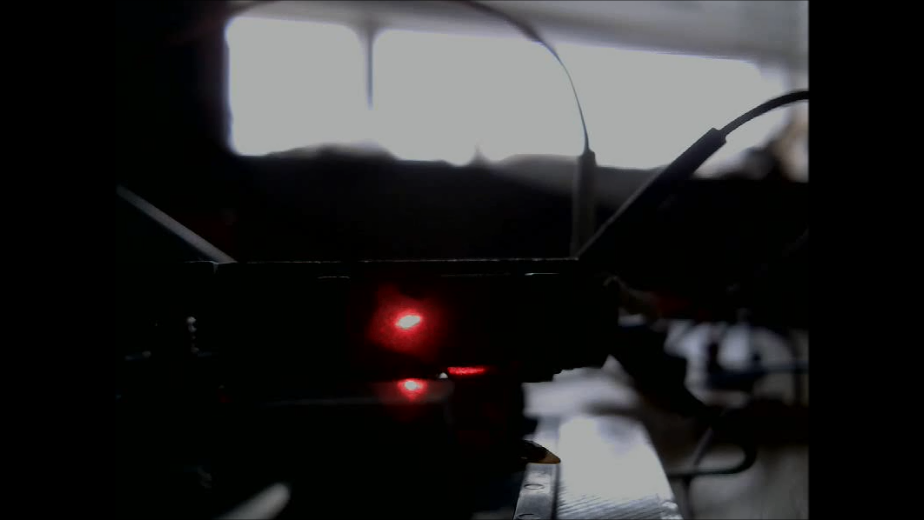
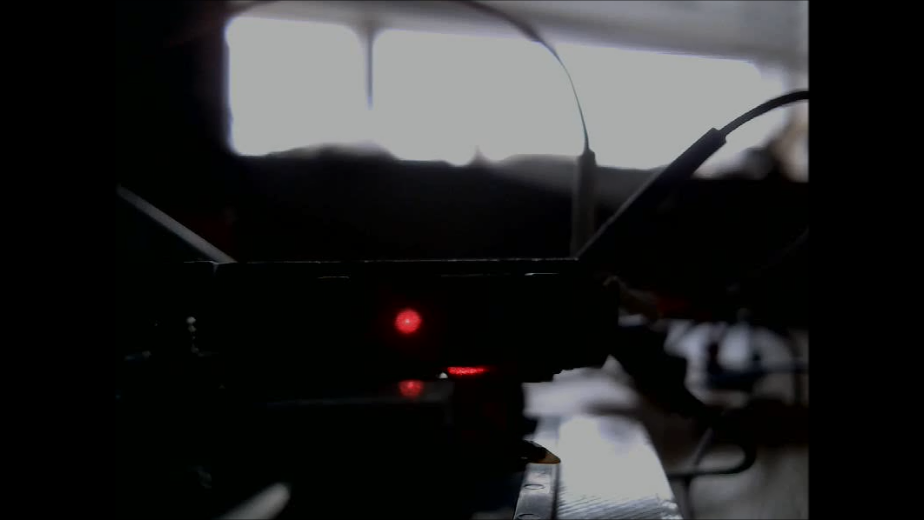
Here are some pictures of the red laser output for different voice coil positions. We've removed the quad-photodiode and placed a little screen in its place.
BIG SAFETY REMINDER:
The lasers in an optical drive can cause serious damage to your eyes!
Never (and I mean NEVER) look straight at them without proper protection googles or a diffusing screen.
![]()
![]()
![]()
The third picture probably shows the beam in focus. We aren't getting the other ellipsoid though, so more work is needed to figure that out...
-
Voice coil driver
01/25/2016 at 13:14 • 0 commentsIn the last log I mentioned the driver circuit for the voice coil. Here's a little bit more info on that particular piece of our setup:
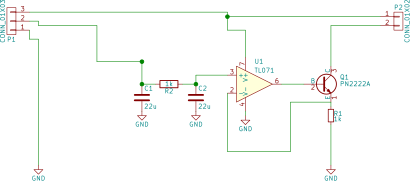
Essentially this is just an adjustable constant current source, which displaces the lens within its magnetic harness. Andrew has a nice intro to the inner workings of the voice coil on his project. He sourced the current simply via PWM+resistor. Now, we're going a step further and have built a voice coil driver based on a linearised bipolar transistor.
![]()
The idea is still the same as the PWM+resistor (meaning that the current is set by a "resistor" and its voltage drop), but now the bipolar transistor (PN2222A) acts as "variable resistor" here and its "opacity" is controlled by the set voltage on the base. This would already suffice actually for a constant current source.
However, the current through the PN2222A isn't linear with base voltage. To achieve a linear setpoint control, we've added an op-amp which provides negative feedback.
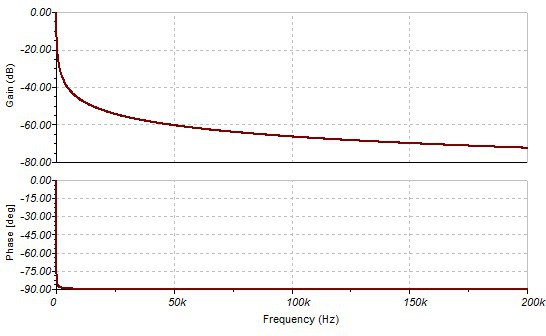
Finally, in order to increase stability, the setpoint voltage is filtered with a CRC pi-filter before going into the op-amp. The values used in the little breadboard version from the last post are actually 10uF-330Ohm-10uF. Plugging this into TINA-TI we can see that it should really remove all finite frequency components and leave us with a clean DC signal on the setpoint.
![]()
-
Driving the lasers & the voice coil
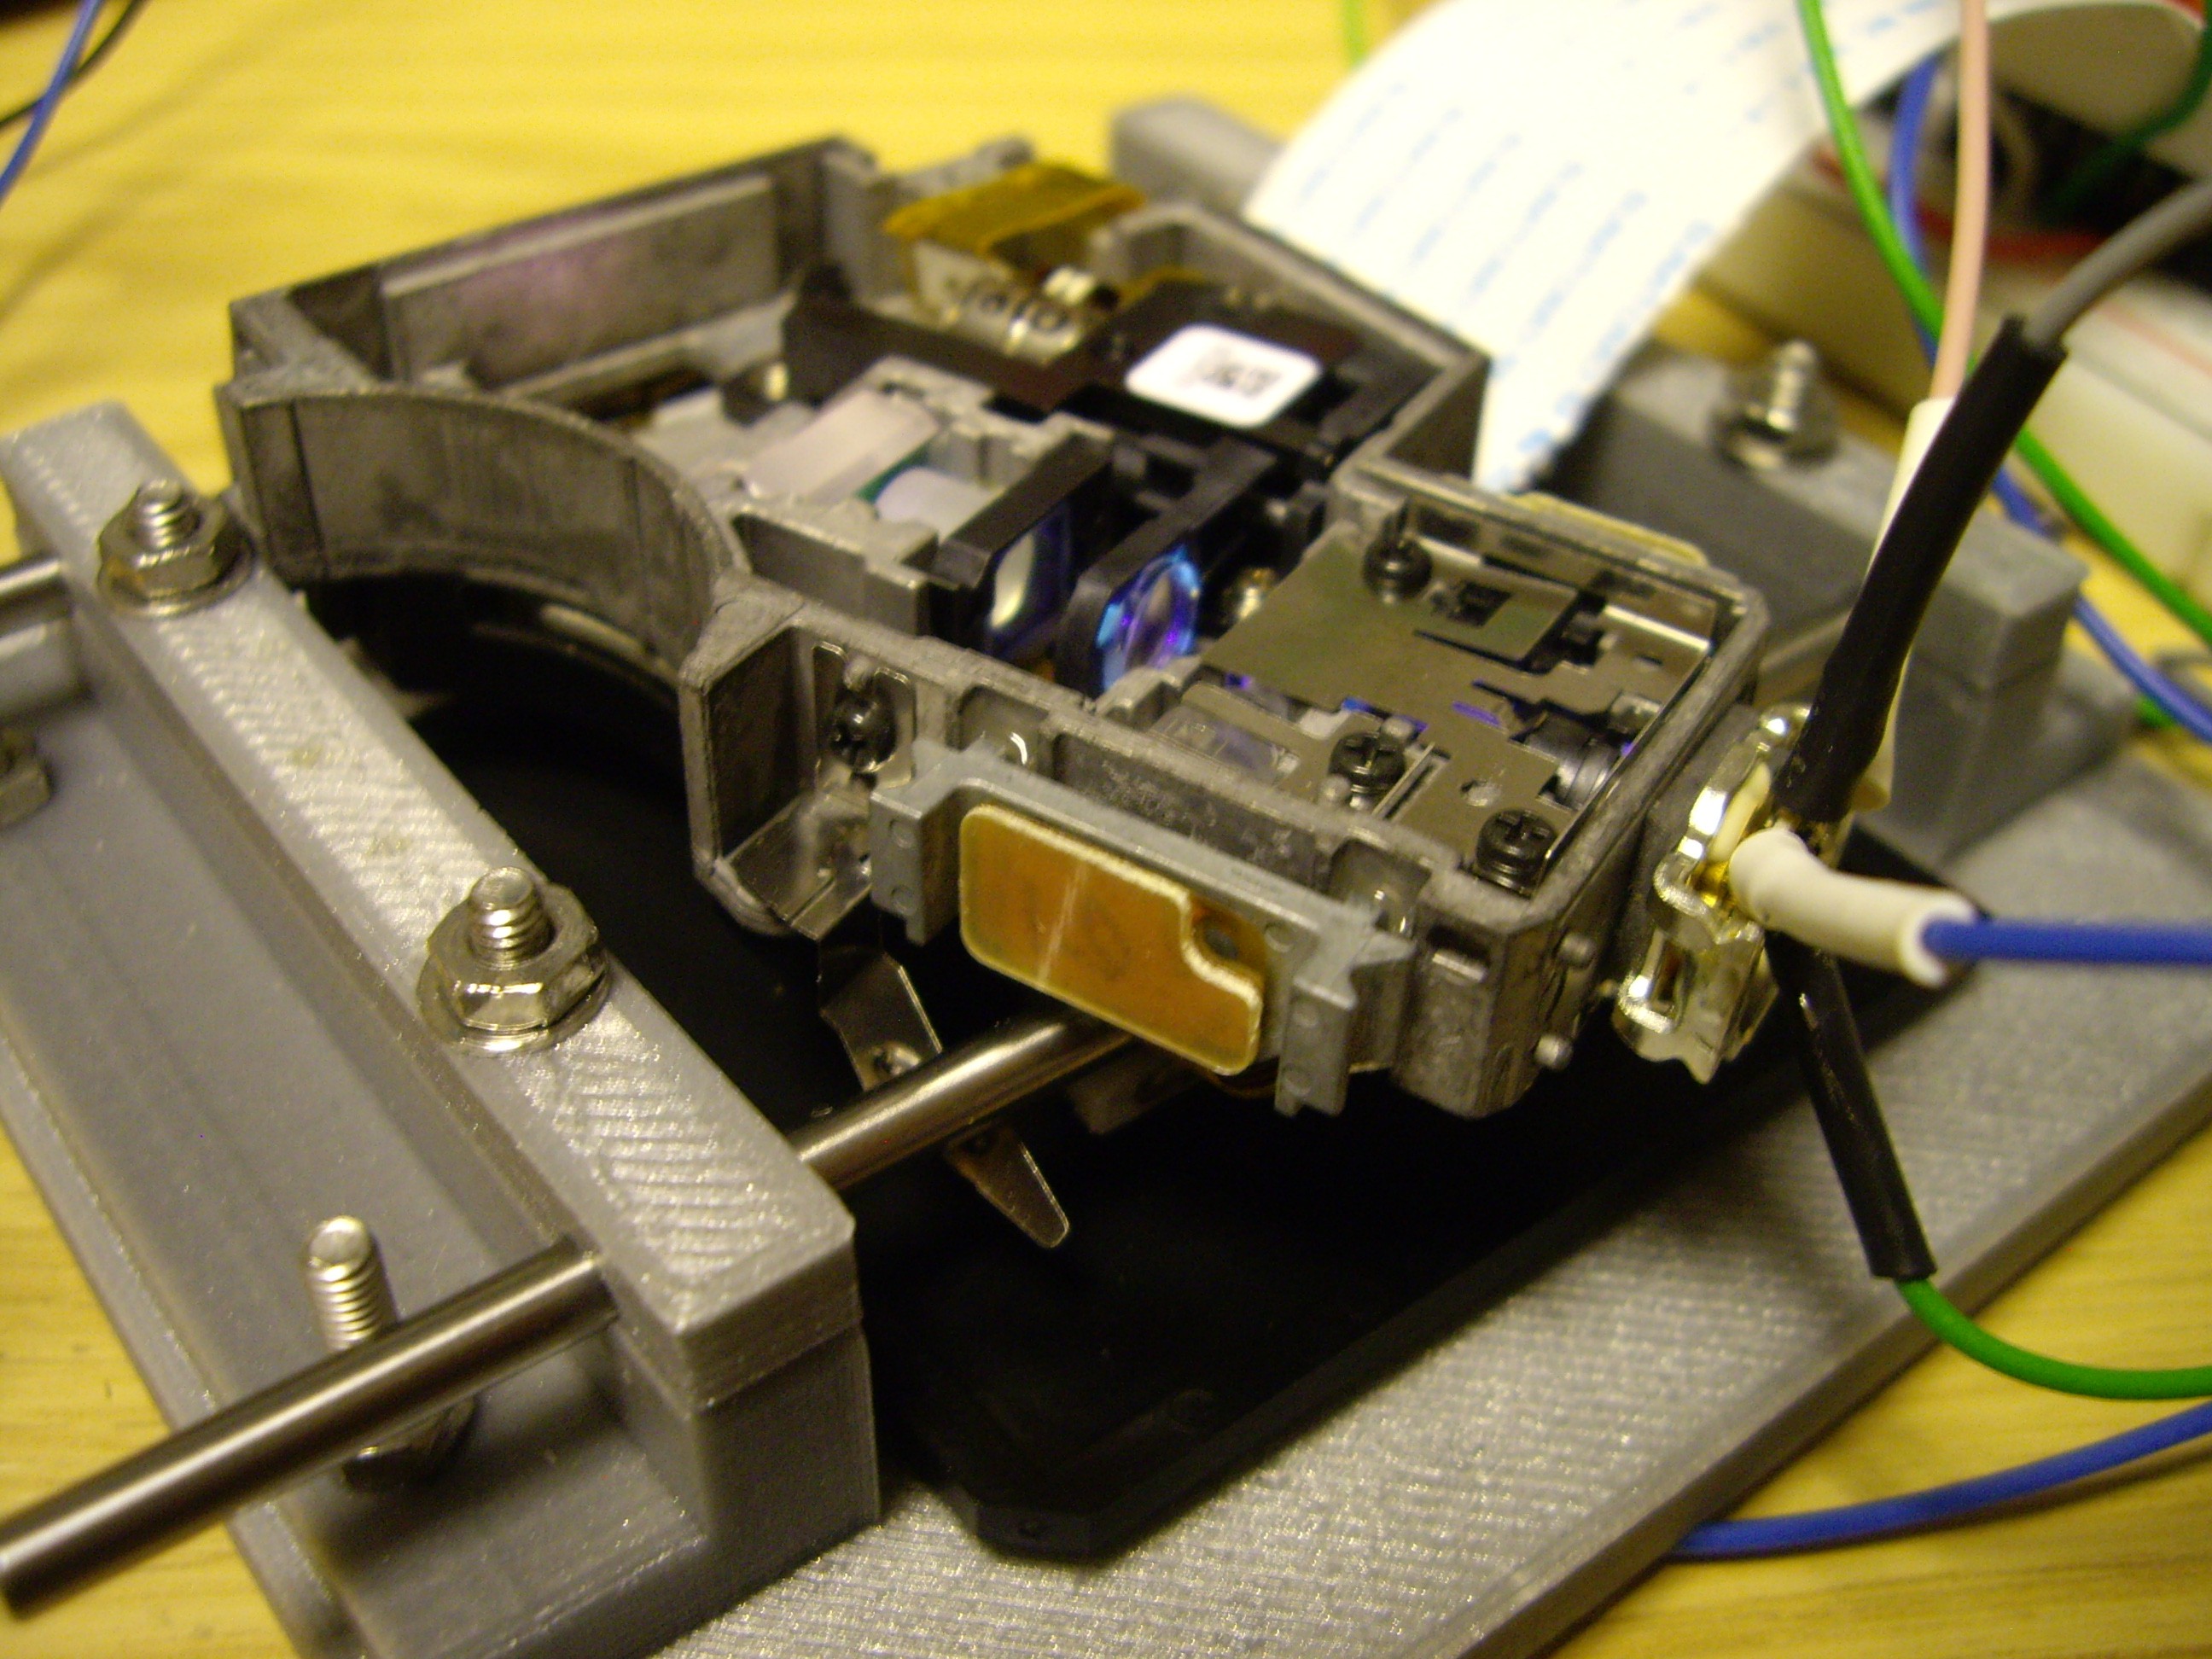
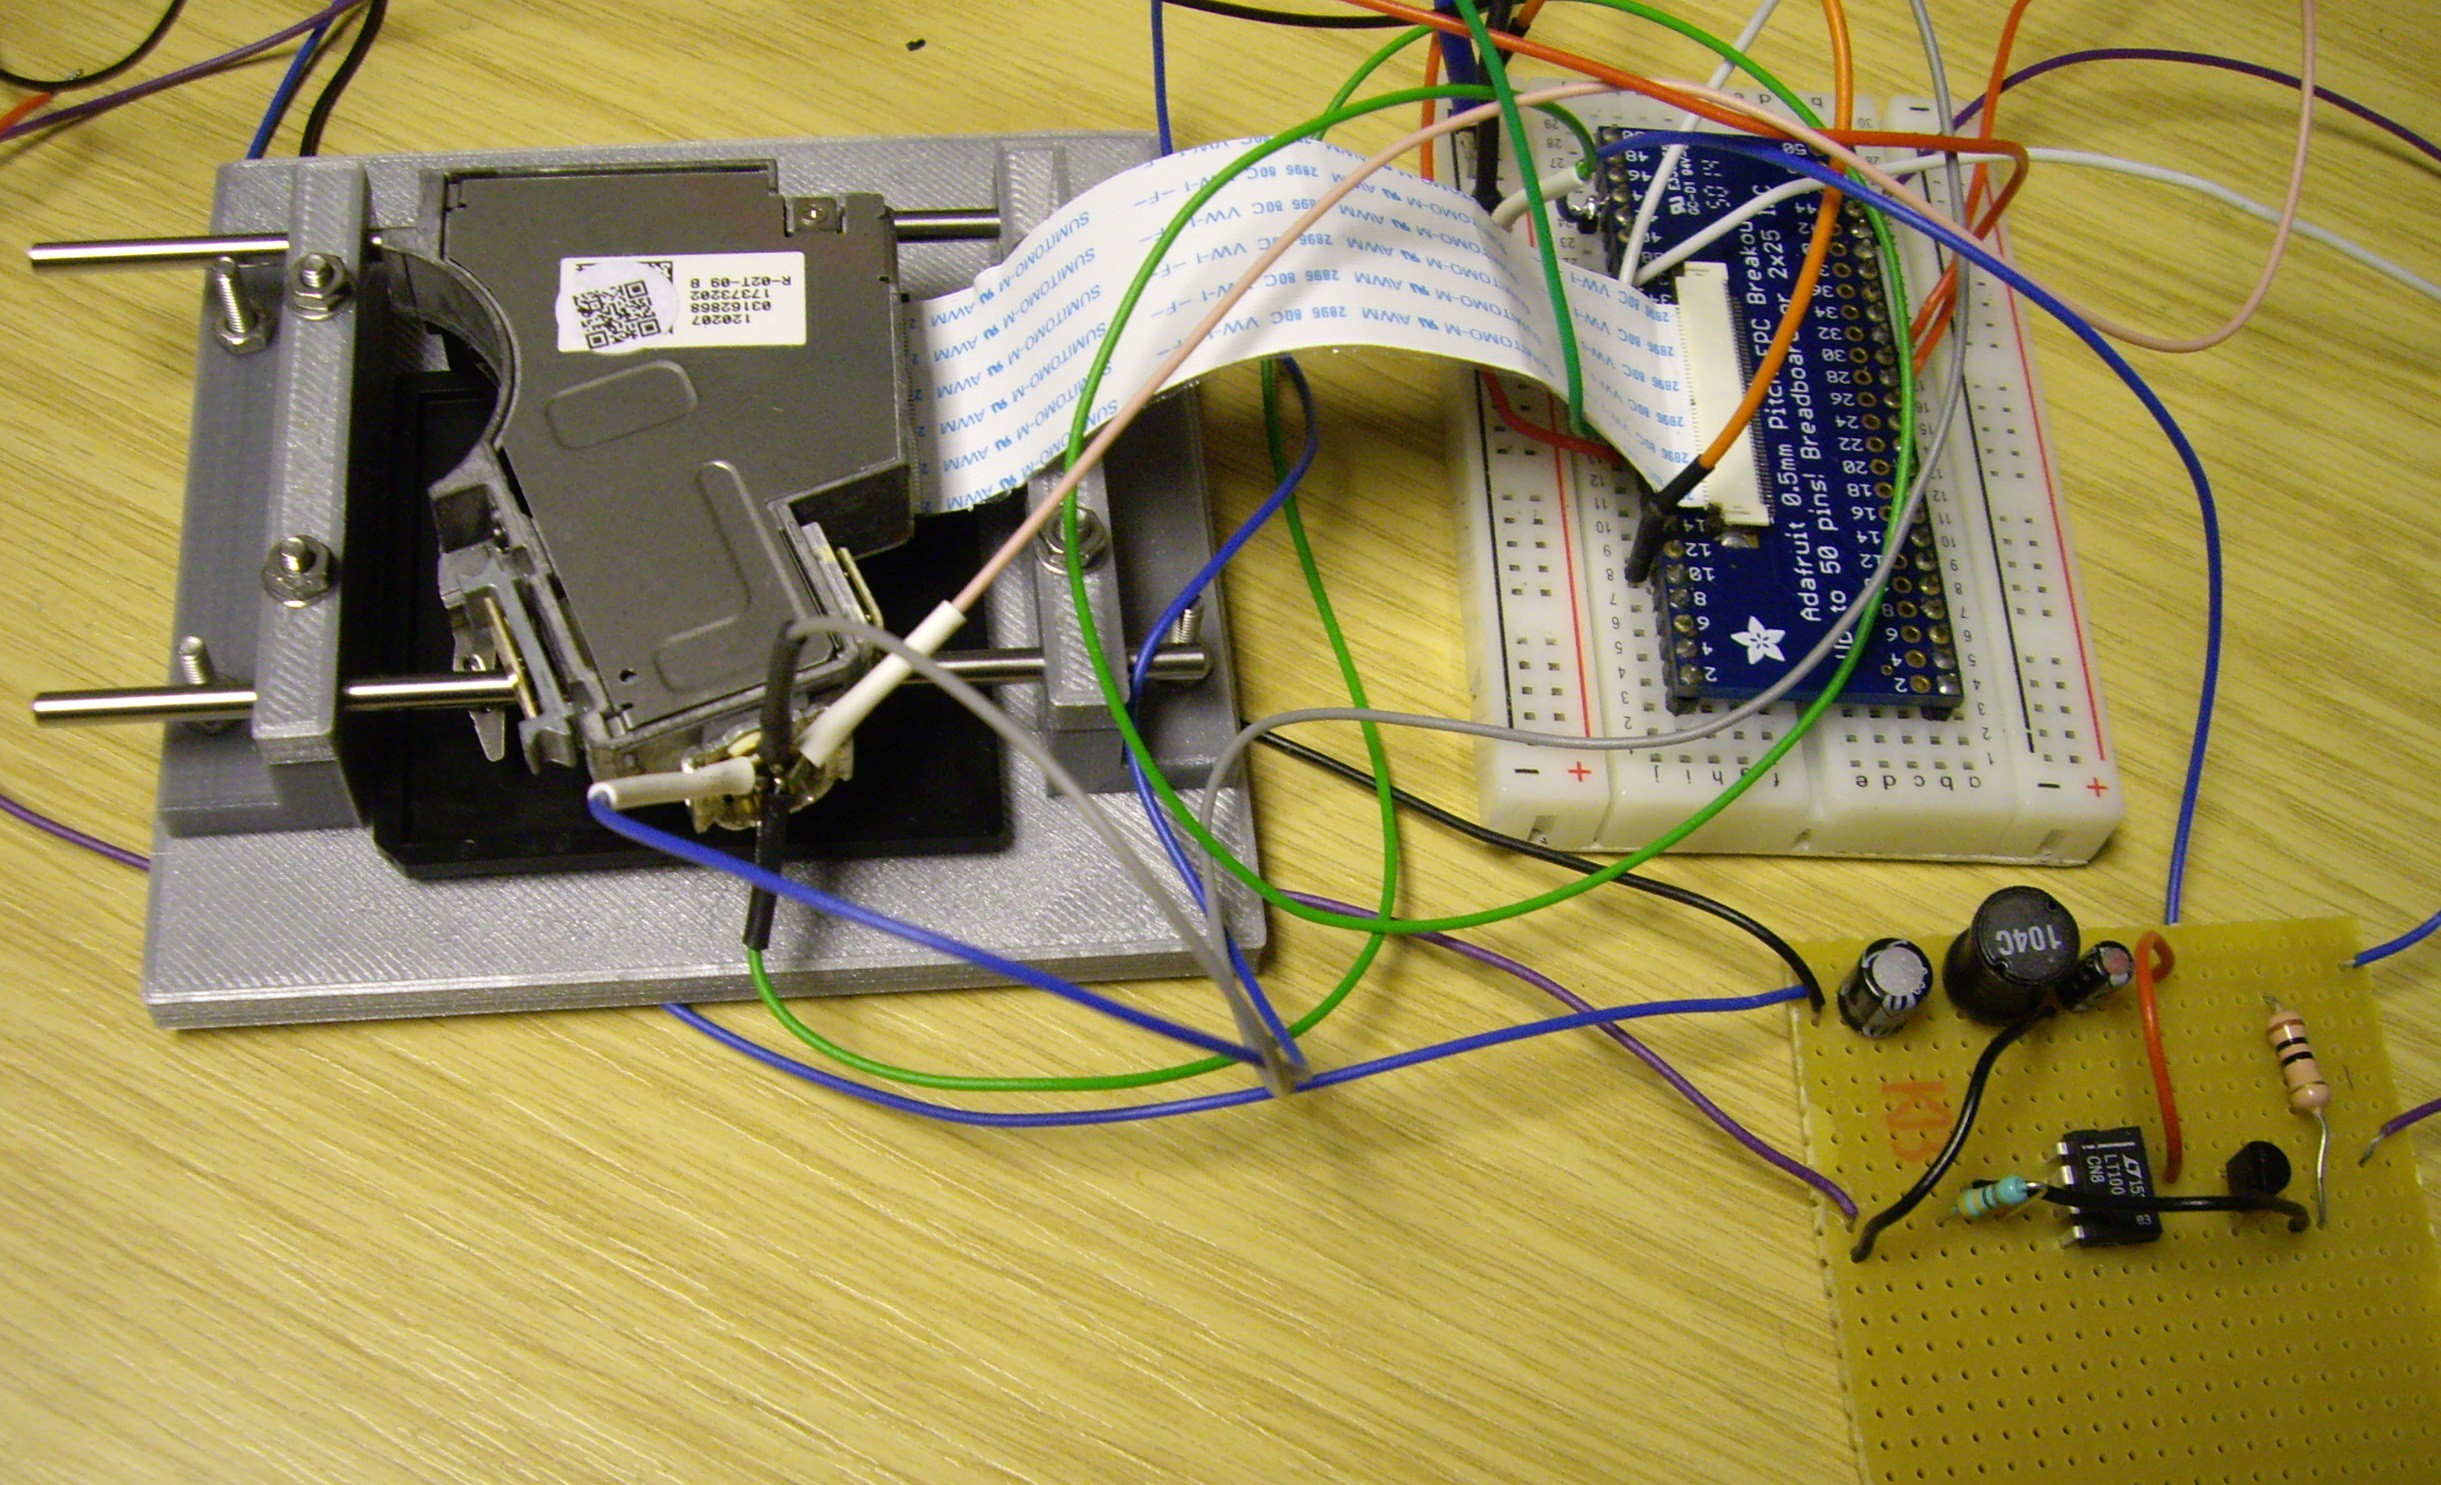
01/22/2016 at 16:58 • 0 commentsThe 1st step towards our microscope is figuring out how to drive the different components (lasers, focusing element, photodiodes). Currently we are using a PS3 BluRay sled (KS-400a) and luckily others have played with this element before, i.e. some things are known and characterized.
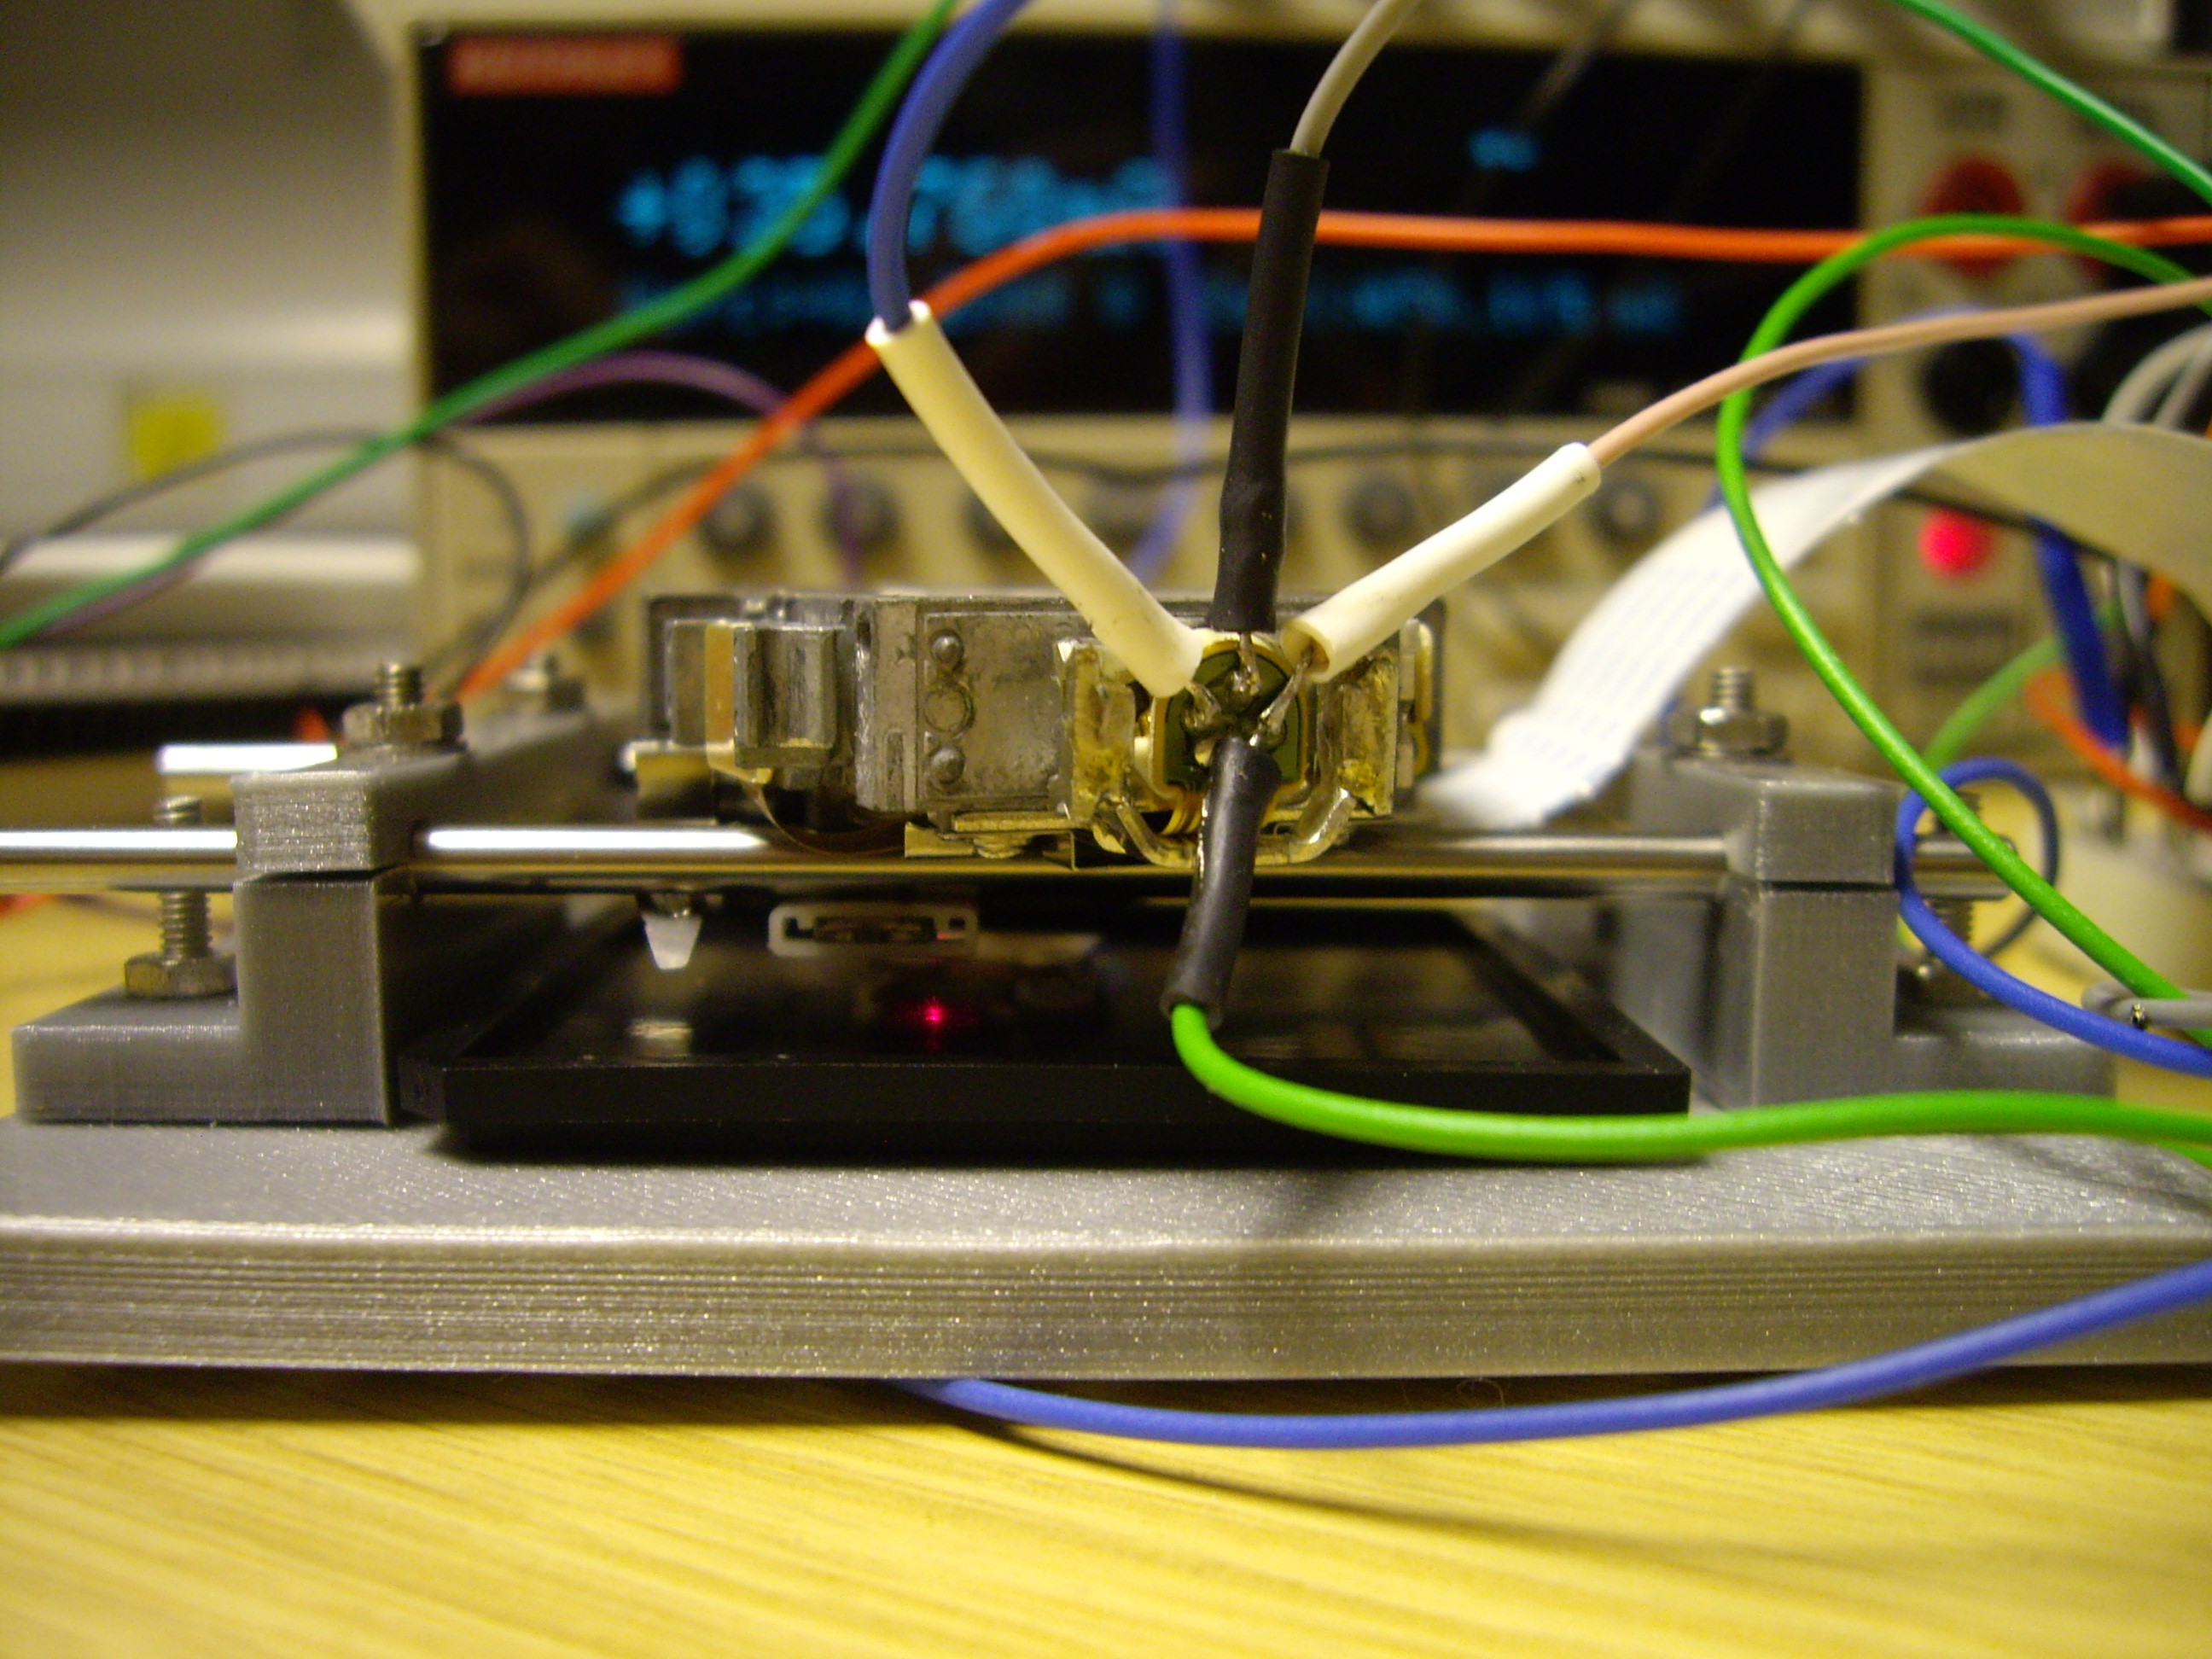
To start with, let's try to drive the lasers. There's an infrared one (CDs), a red one (DVDs), and a violet one (BluRay). They are a bit fragile, so the best way to solder them is to start with the ground wire and then connect the other wires to that before soldering them.
Now we can drive the red and violet laser from a lab power supply at about 28mA / 2.15V and 38mA / 5.2V, respectively.
![]()
![]()
Following the pinout of the CN103 45pin connector, we can also drive the voice coil, i.e bring the beam in and out of focus. We drive the VC with a little op-amp constant current source (breadboard bottom right).
![]()
-
BluRay drive as Confocal Microscope
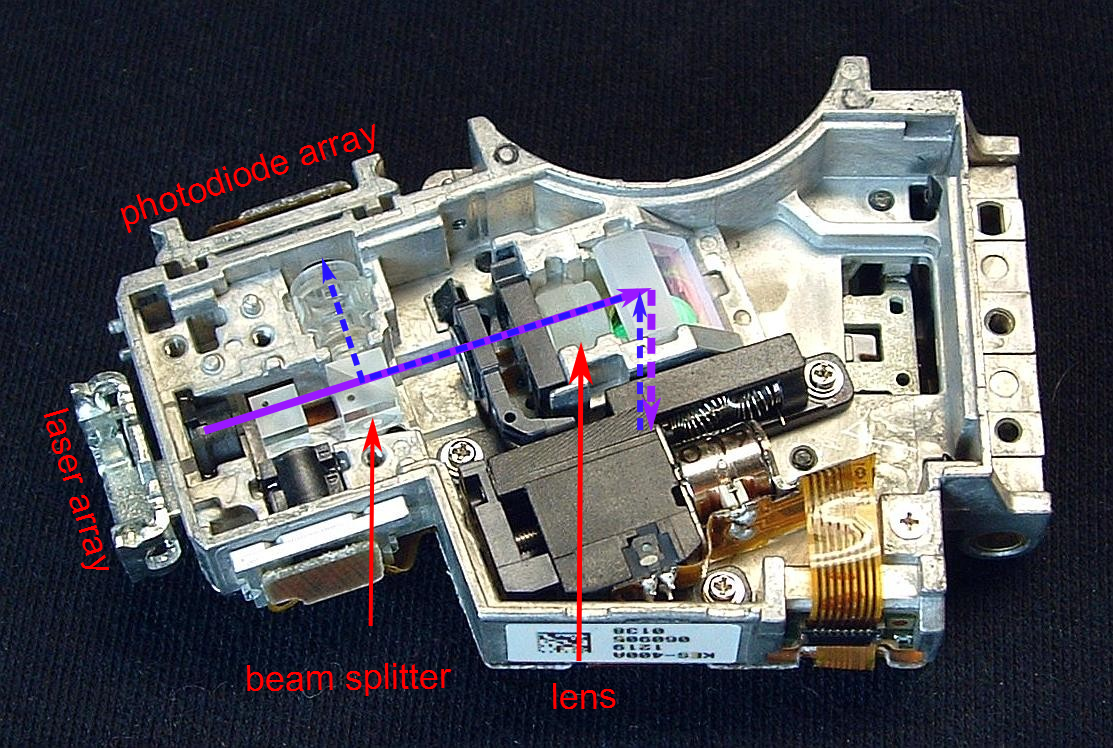
01/22/2016 at 14:18 • 0 commentsThe principle of confocal microscopy is quite simple: shine focused light on the sample and collect the intensity of the reflected light. The reflected beam is separated from the path of the incoming light via a (polarizing) beam splitter.
All we have to do to get an image is to move the sample with respect to the light spot, and of course make sure it stays in focus.
![]()
So where does the BluRay come into all of this?
It turns out that CD, DVD, and BluRay drives use exactly this principle to read your music/movies! (To first order approximation at least...).
As you can see from the picture there is a few more components, not just a laser, a beam splitter, a lens, and a sensor. Those additional components are basically there to improve the quality of the beam and are suitably well engineered that we can more or less ignore them (for now).
![]()
(Picture adapted from repairfaq.org)
BluBEAM - a scanning laser microscope
Imaging at micrometer resolution using a Blu-ray drive