txdo.msk
-
OMFG!
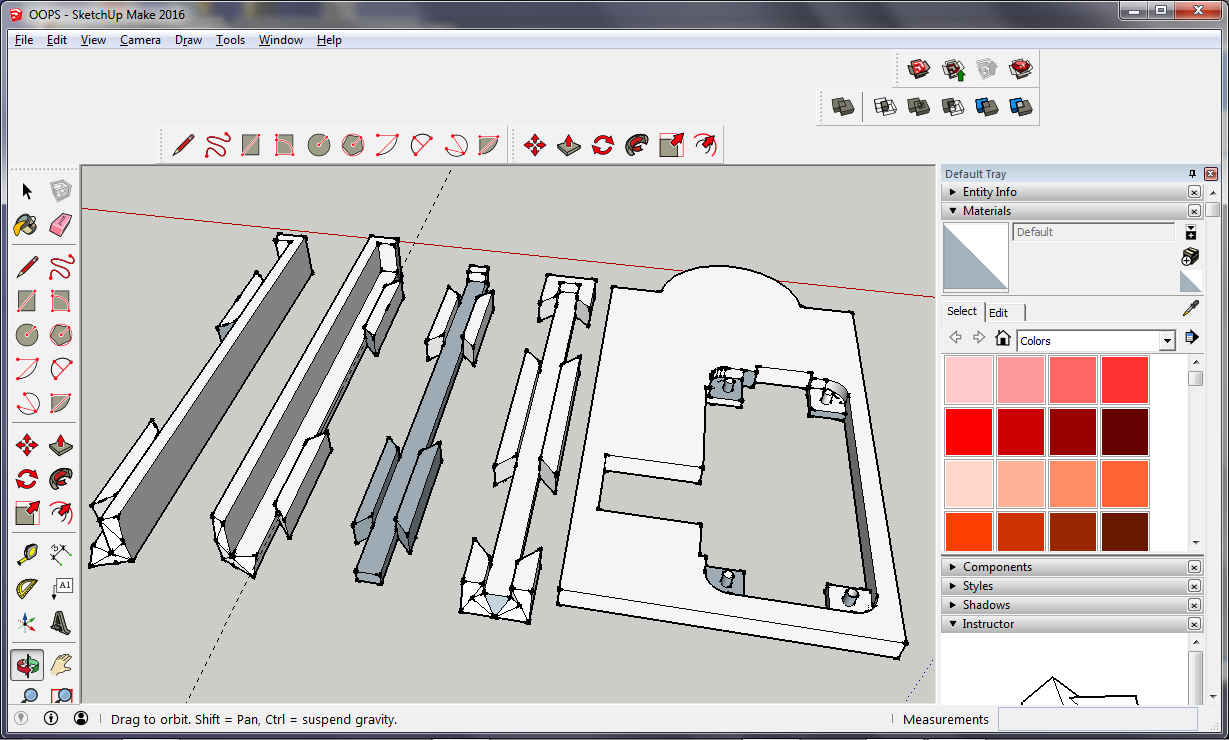
02/22/2016 at 00:34 • 0 commentsSo, I split my Sketchup file into a couple STLs, then imported them into XYZware.
When I went to print the rails/corners/connectors in the previous log, my printer went BONKERS!!
6 attempts and cleanings and still getting bird's nests. Tried different z-offsets, everything! Only the last time I set my Z, I noticed that the right side of the bed (really the X Axis) is lower. Which would correspond with the right side getting chewed up early on. I remembered that all my successful prints this weekend were smack in the middle of the bed. And small batches. So, I split up my rails into 2 pairs, and it looks good so far.
-
FINALLY!
02/21/2016 at 22:30 • 0 commentsTook me a few iterations and false starts with the printer: got some painter's tape and forgot to set Z-Offset (I'm back to glue on glass), but I finally figured out the dovetails.
I'll export this to STL, fix it in AZURE, then publish it in Thingiverse (but it'll also be here). Print twice and you have all 4 corners and top and bottom rails for 1 zero. Thereafter, you should only have to print once per zero. I think the real estate is like 14-15mm per zero.
![]()
-
More changes
02/20/2016 at 22:54 • 0 commentsEvertyime I think I'm done, I visualize the next iteration. Sigh...
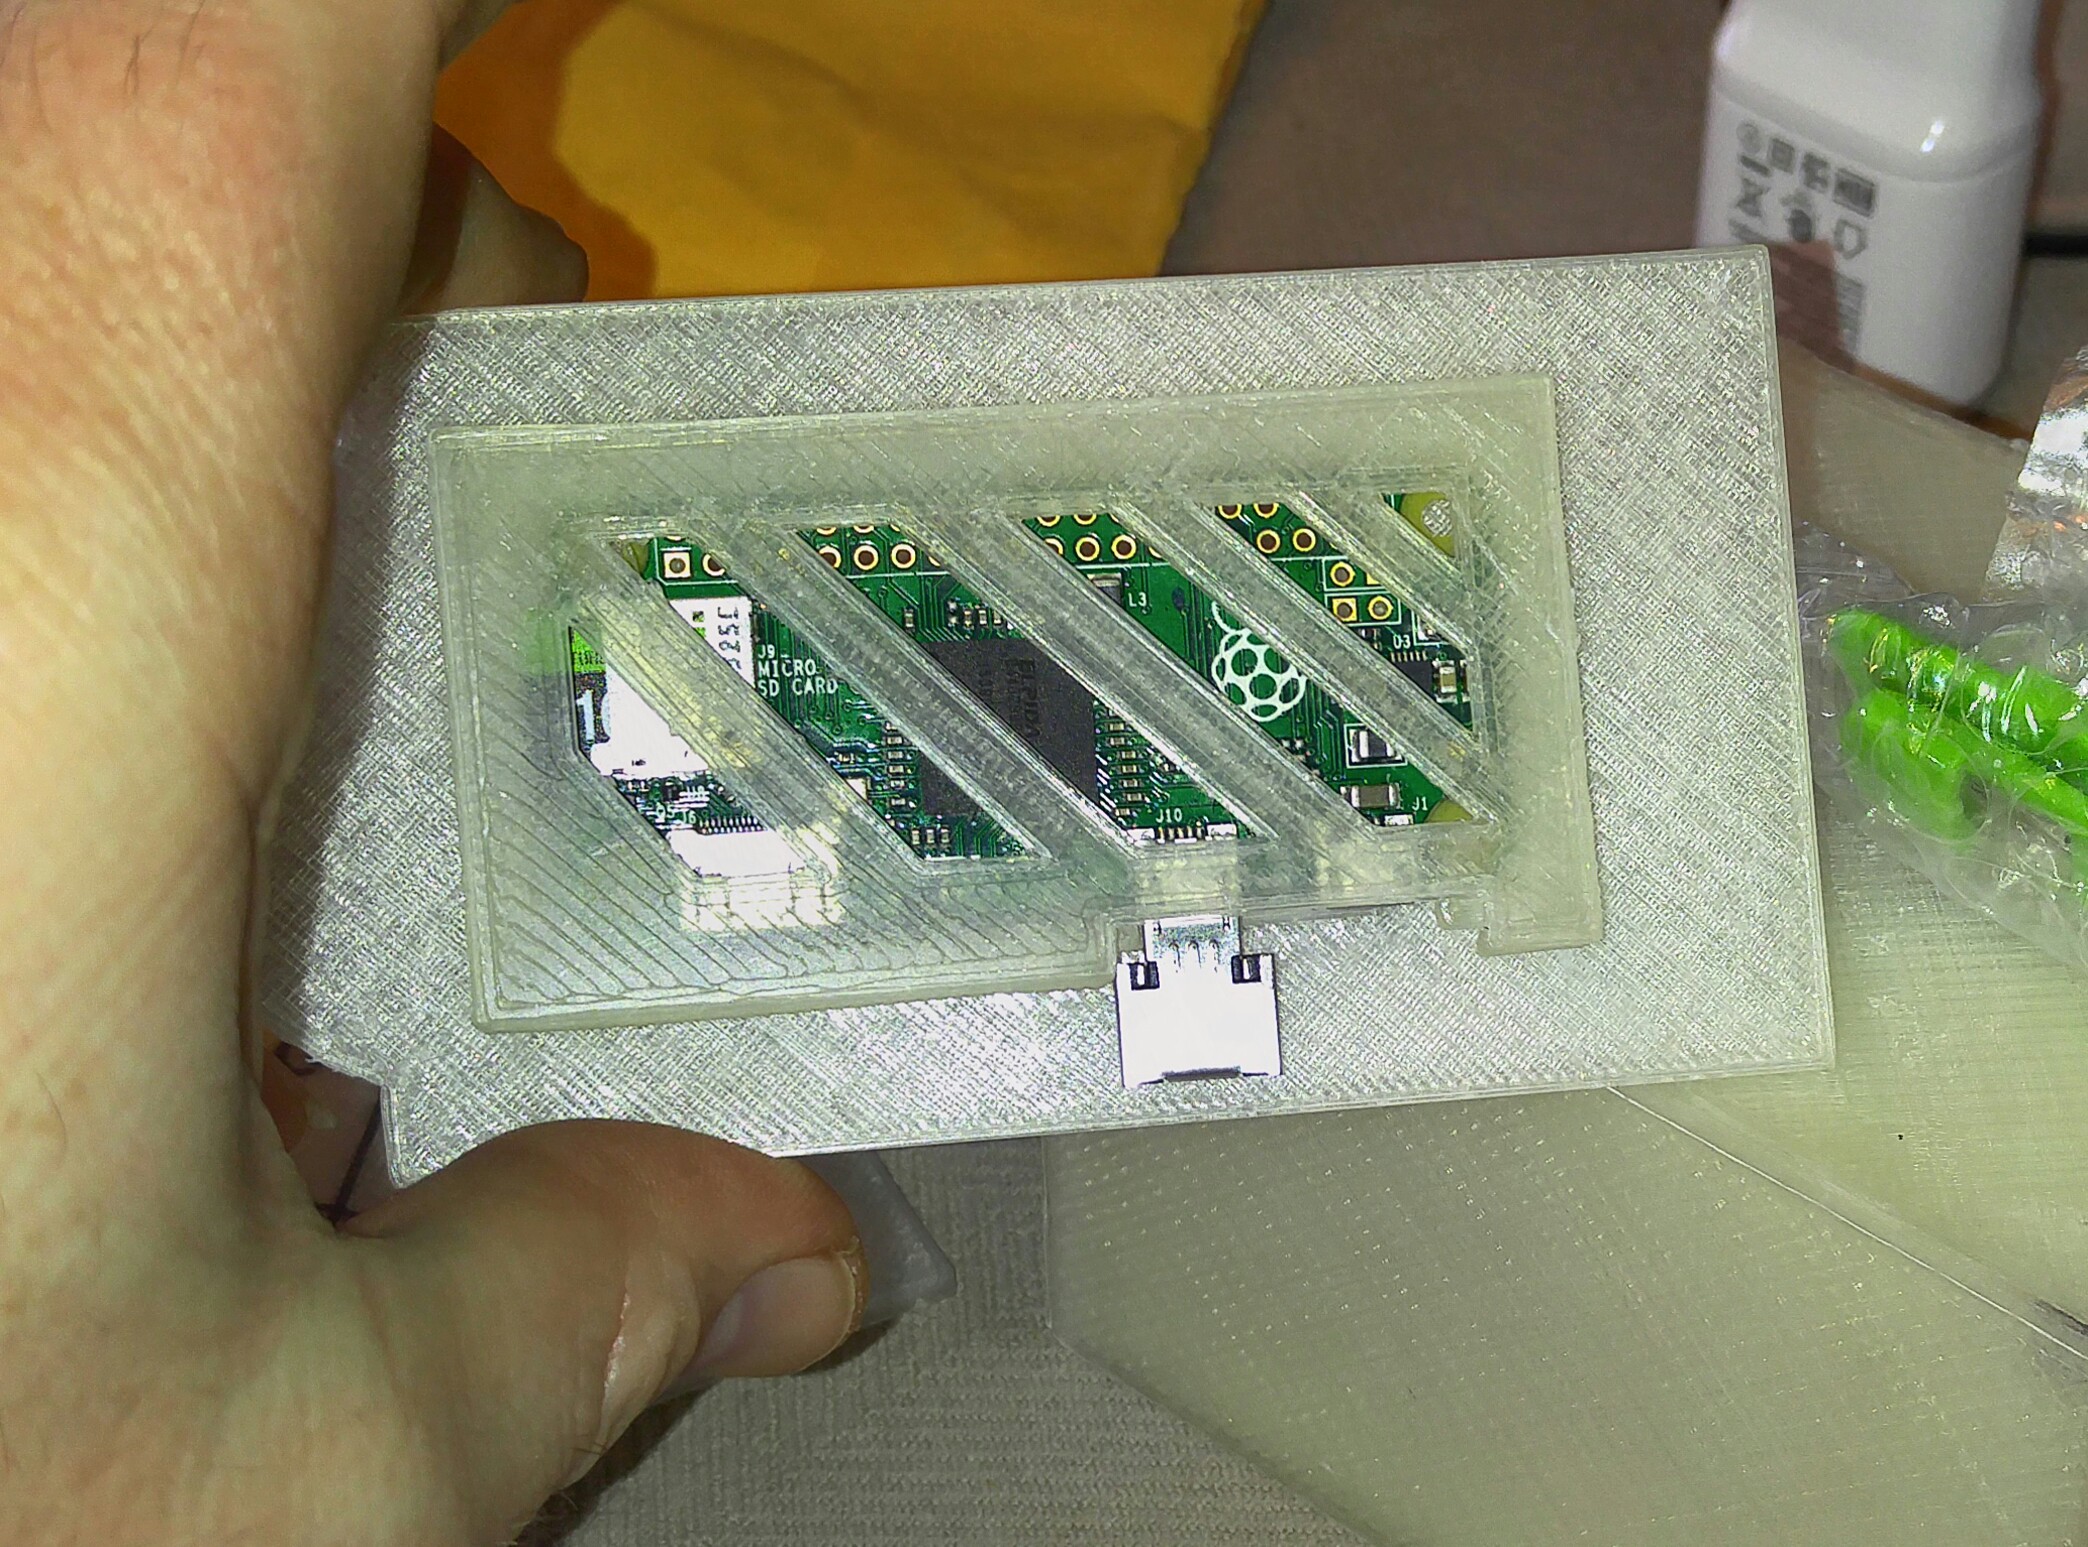
5mm thick leaves mean almost everything hanging off the Pi Zero is flush. Also, the first of these thick leaves was built with the exact Zero dimensions. Let's just say, a $350 3D PRI ter just won't handle that. I upsized the perimeter by 1mm while keeping the pegs. Did I forget to mention I designed a 2mm radius peg instead of 2mm diameter? That was AFTER upsizing the perimeter. FML.
Had some artifact I just cut off and filled with superglue. Here are the first 2 successful leaves (1 still has the glue filler drying.). The 3rd 1 is getting printed in preparation for February 29th. ;-)
Cutting dovetails in a modelling program can get confusing, but I think I'll be done with the case in a couple days, and fully able to concentrate on the power issue. I'm sure glad I could implement WiFi, even as slow as it is.
Also, I found some plexiglass so maybe I can just make braces to slip them in and make a see thru case. This will depend on getting the initial case done.
This is one thing I can take away from this contest: It's easy to get lost in the weeds, sometimes you just have to make a release and stick with it.
![]()
-
Redesigned Leaf - again!
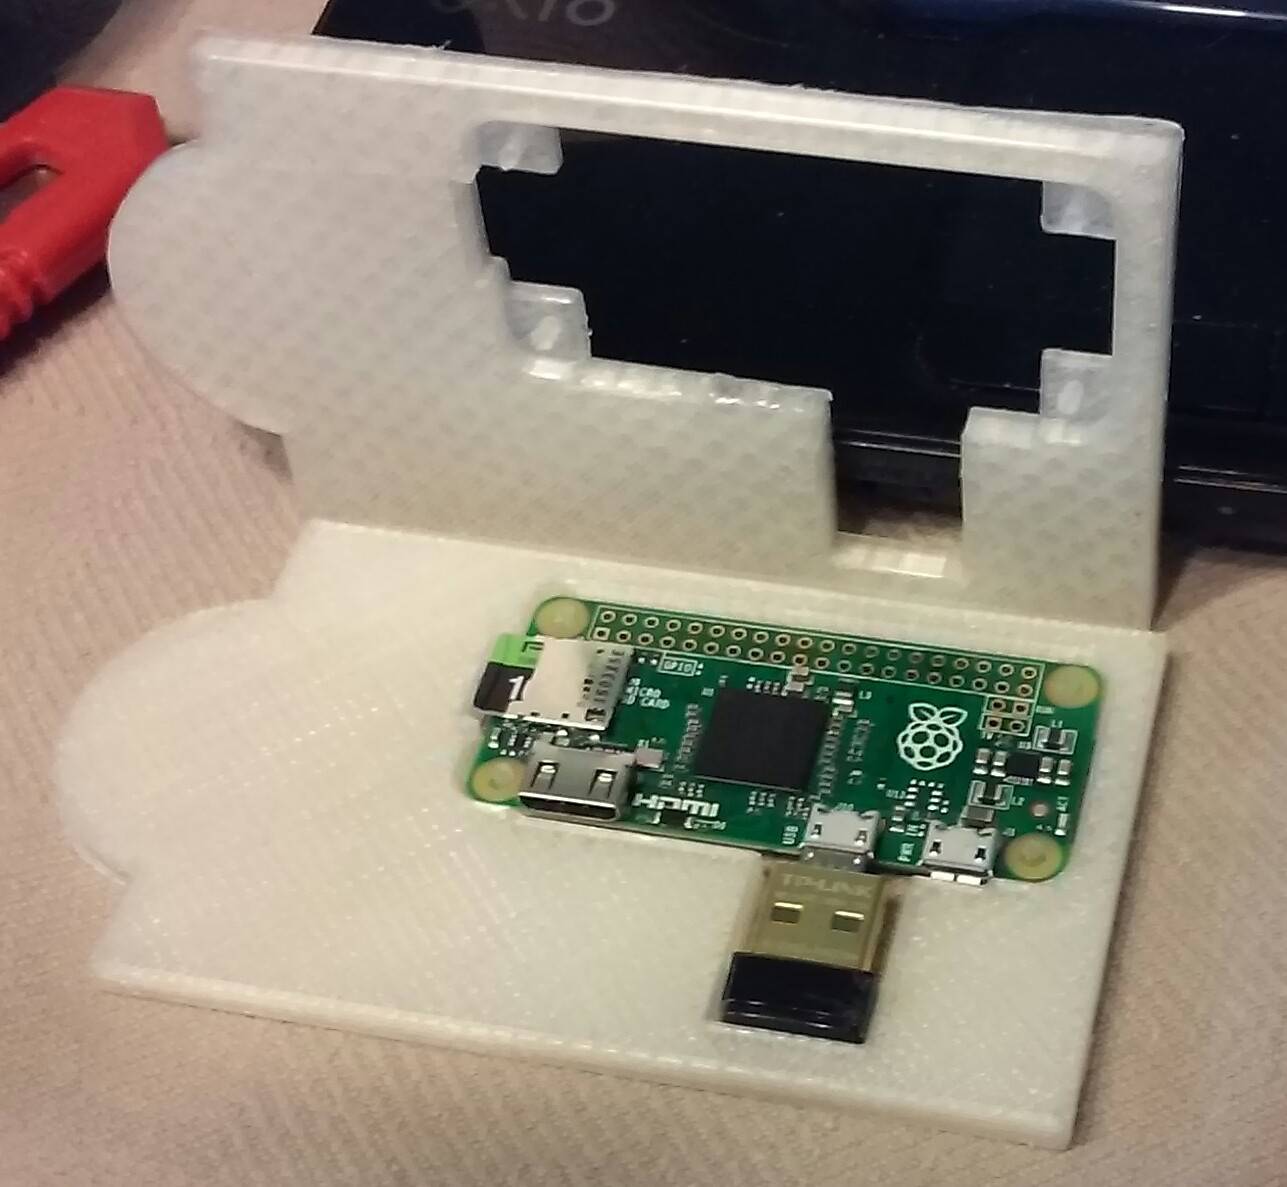
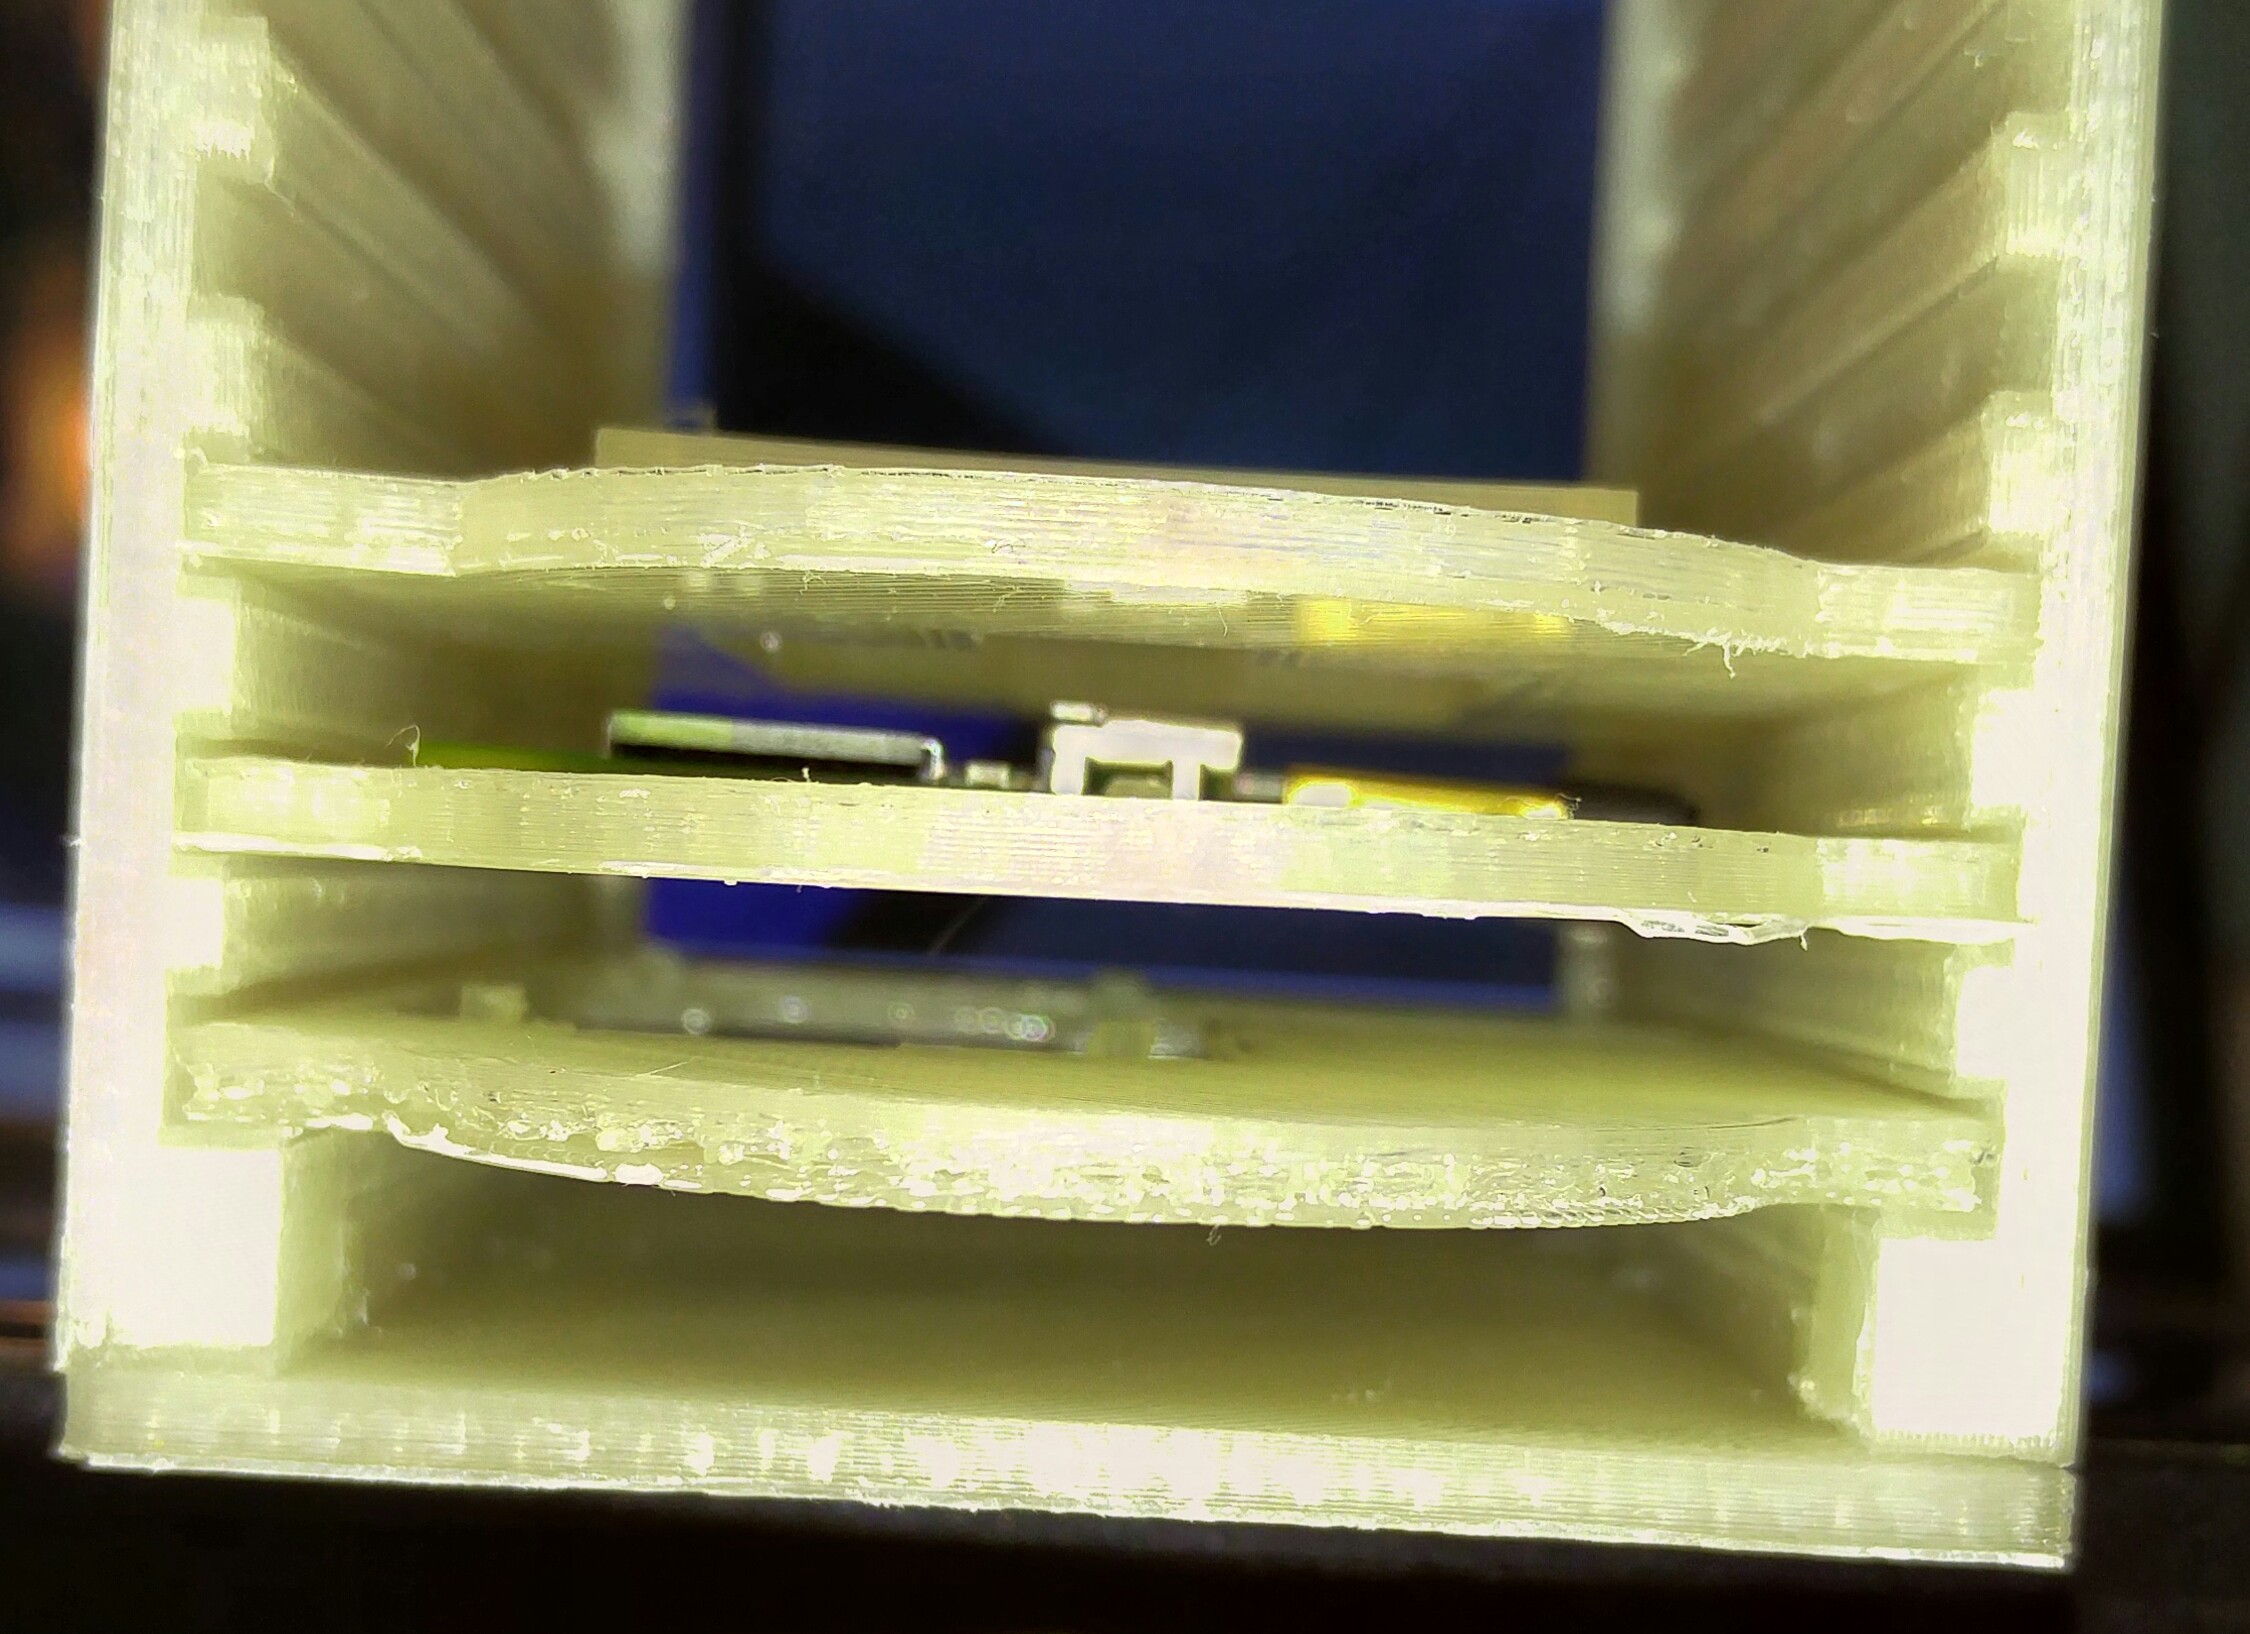
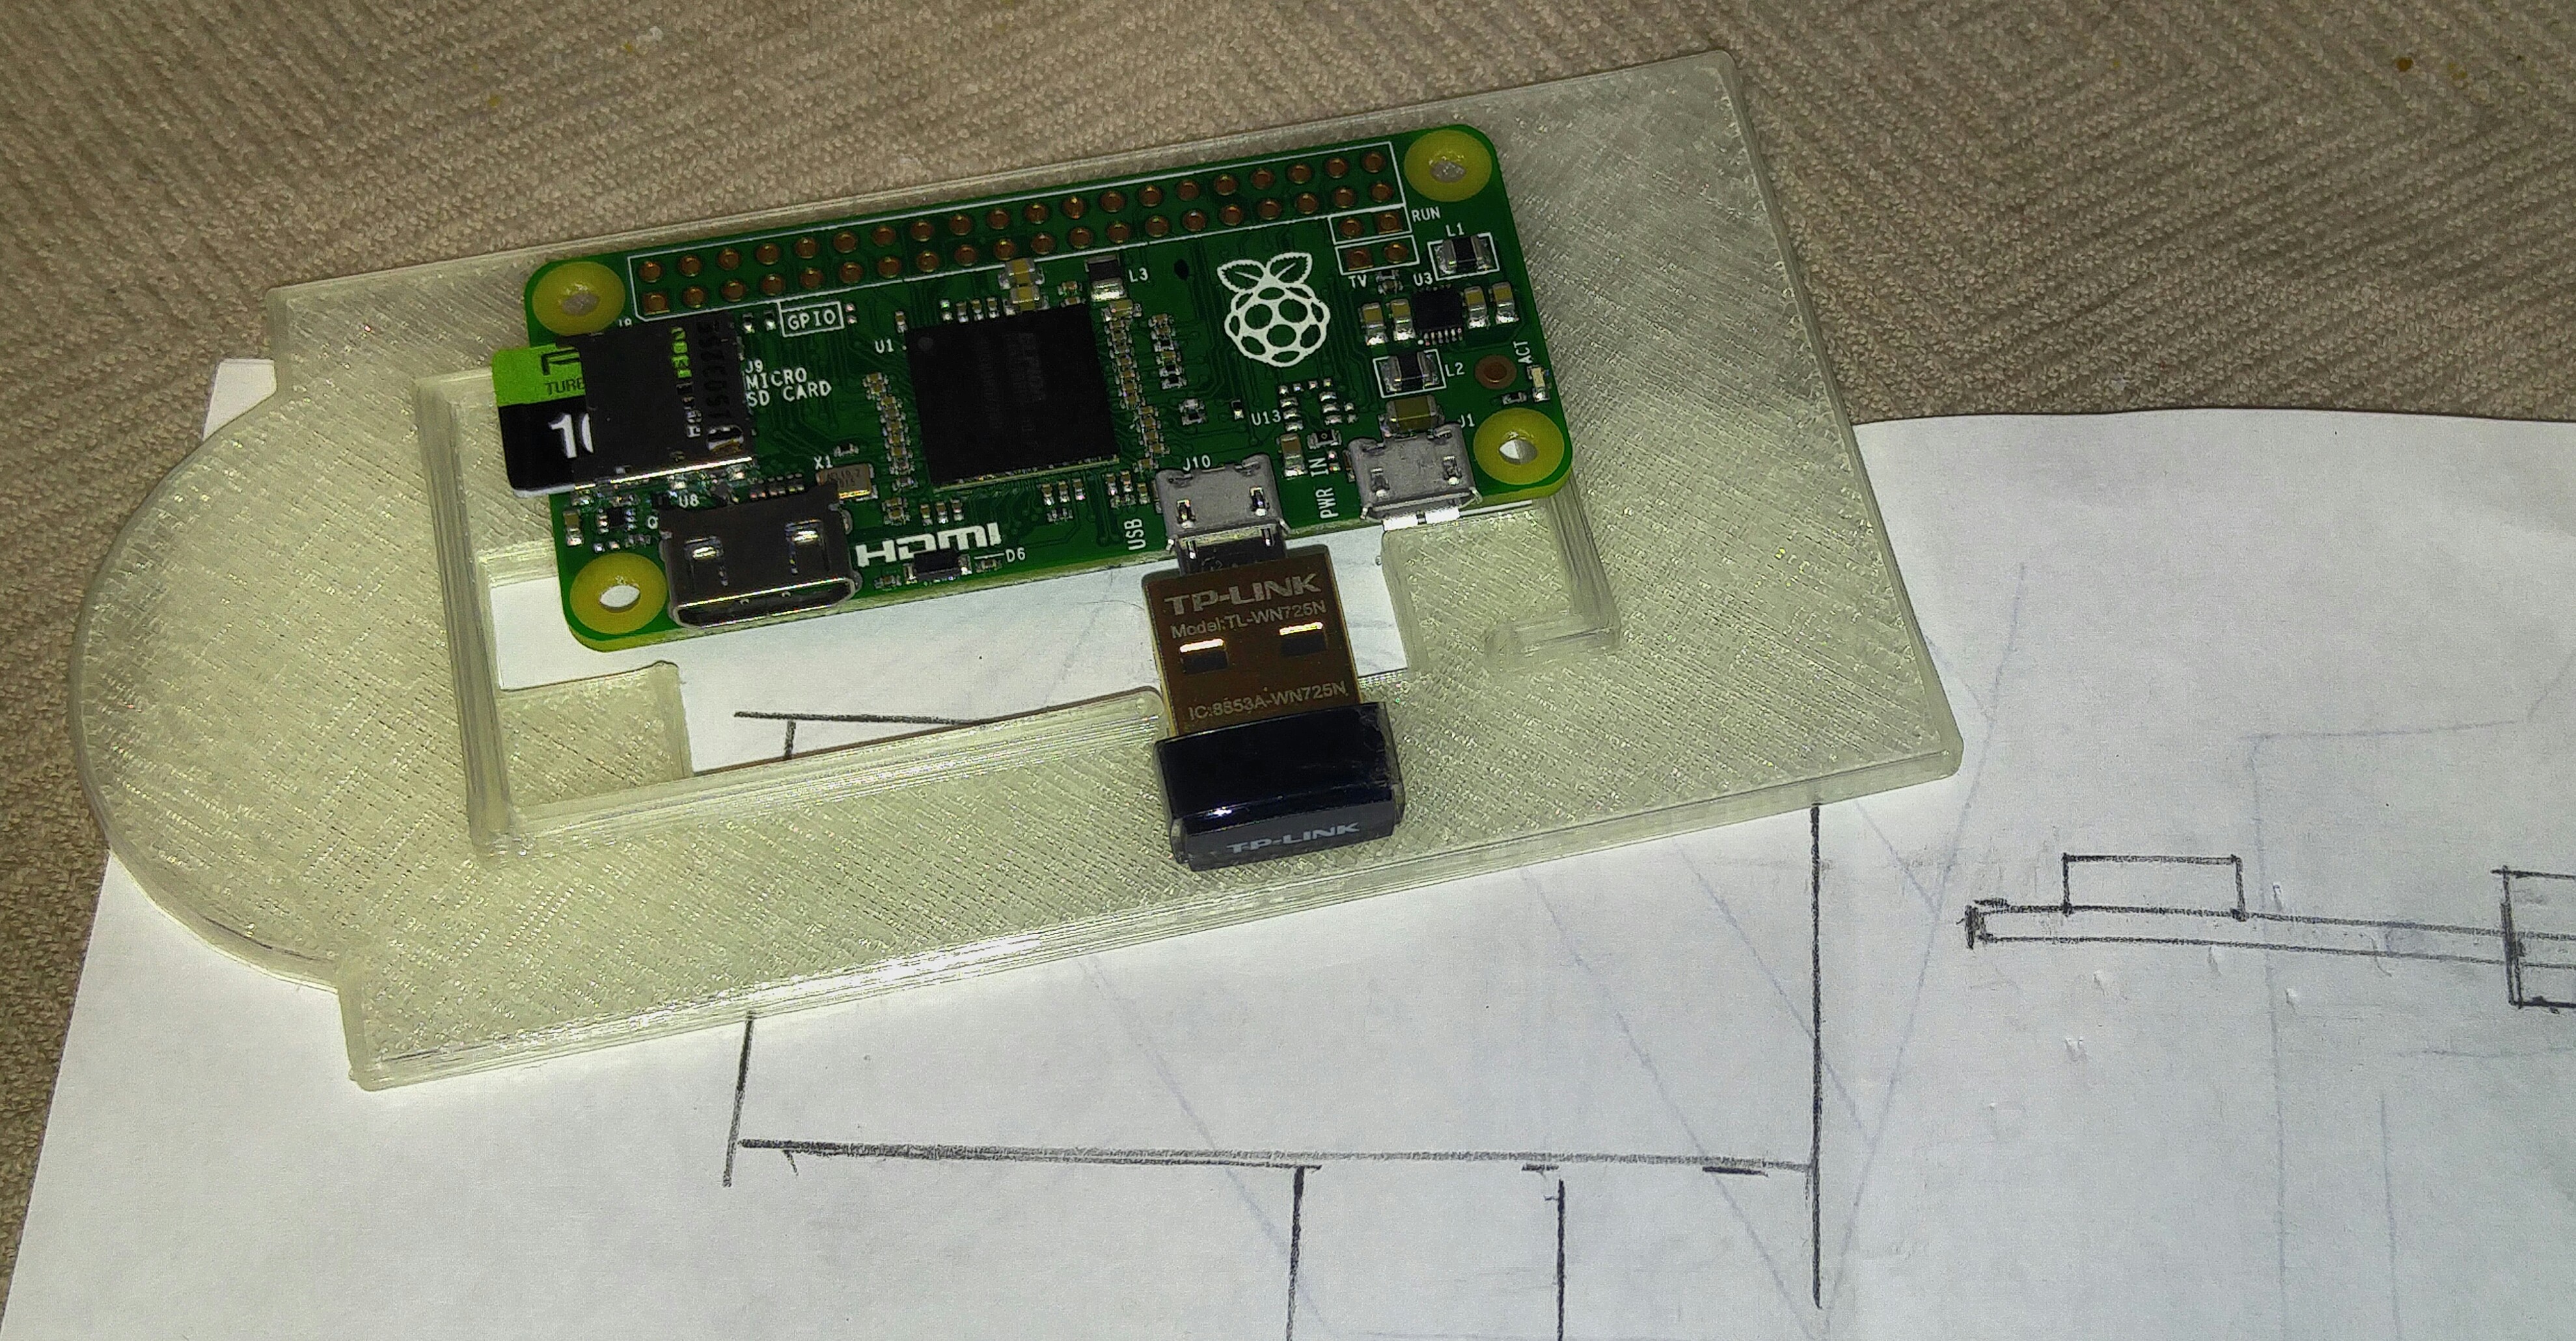
02/20/2016 at 04:48 • 0 commentsSo here is the Redesigned leaf, making the Pi Zero sit a little more centered along the rail. It leaves 2mm final clearance from the highest point (minihdmi and wifi) to the next board.
The 3d printed pegs won't last more than a couple removals. It's just the quality of my printer. Regardless. Look at that flush mount! The supporting feet are 1mm thick and JUUUUSSTT clear the GPIO.
![]()
![]()
![]()
HAS ANYONE ELSE NOTICED HOW WARM THESE GET? Guess I'll have to mount some air handling...
-
REAL close to a final design
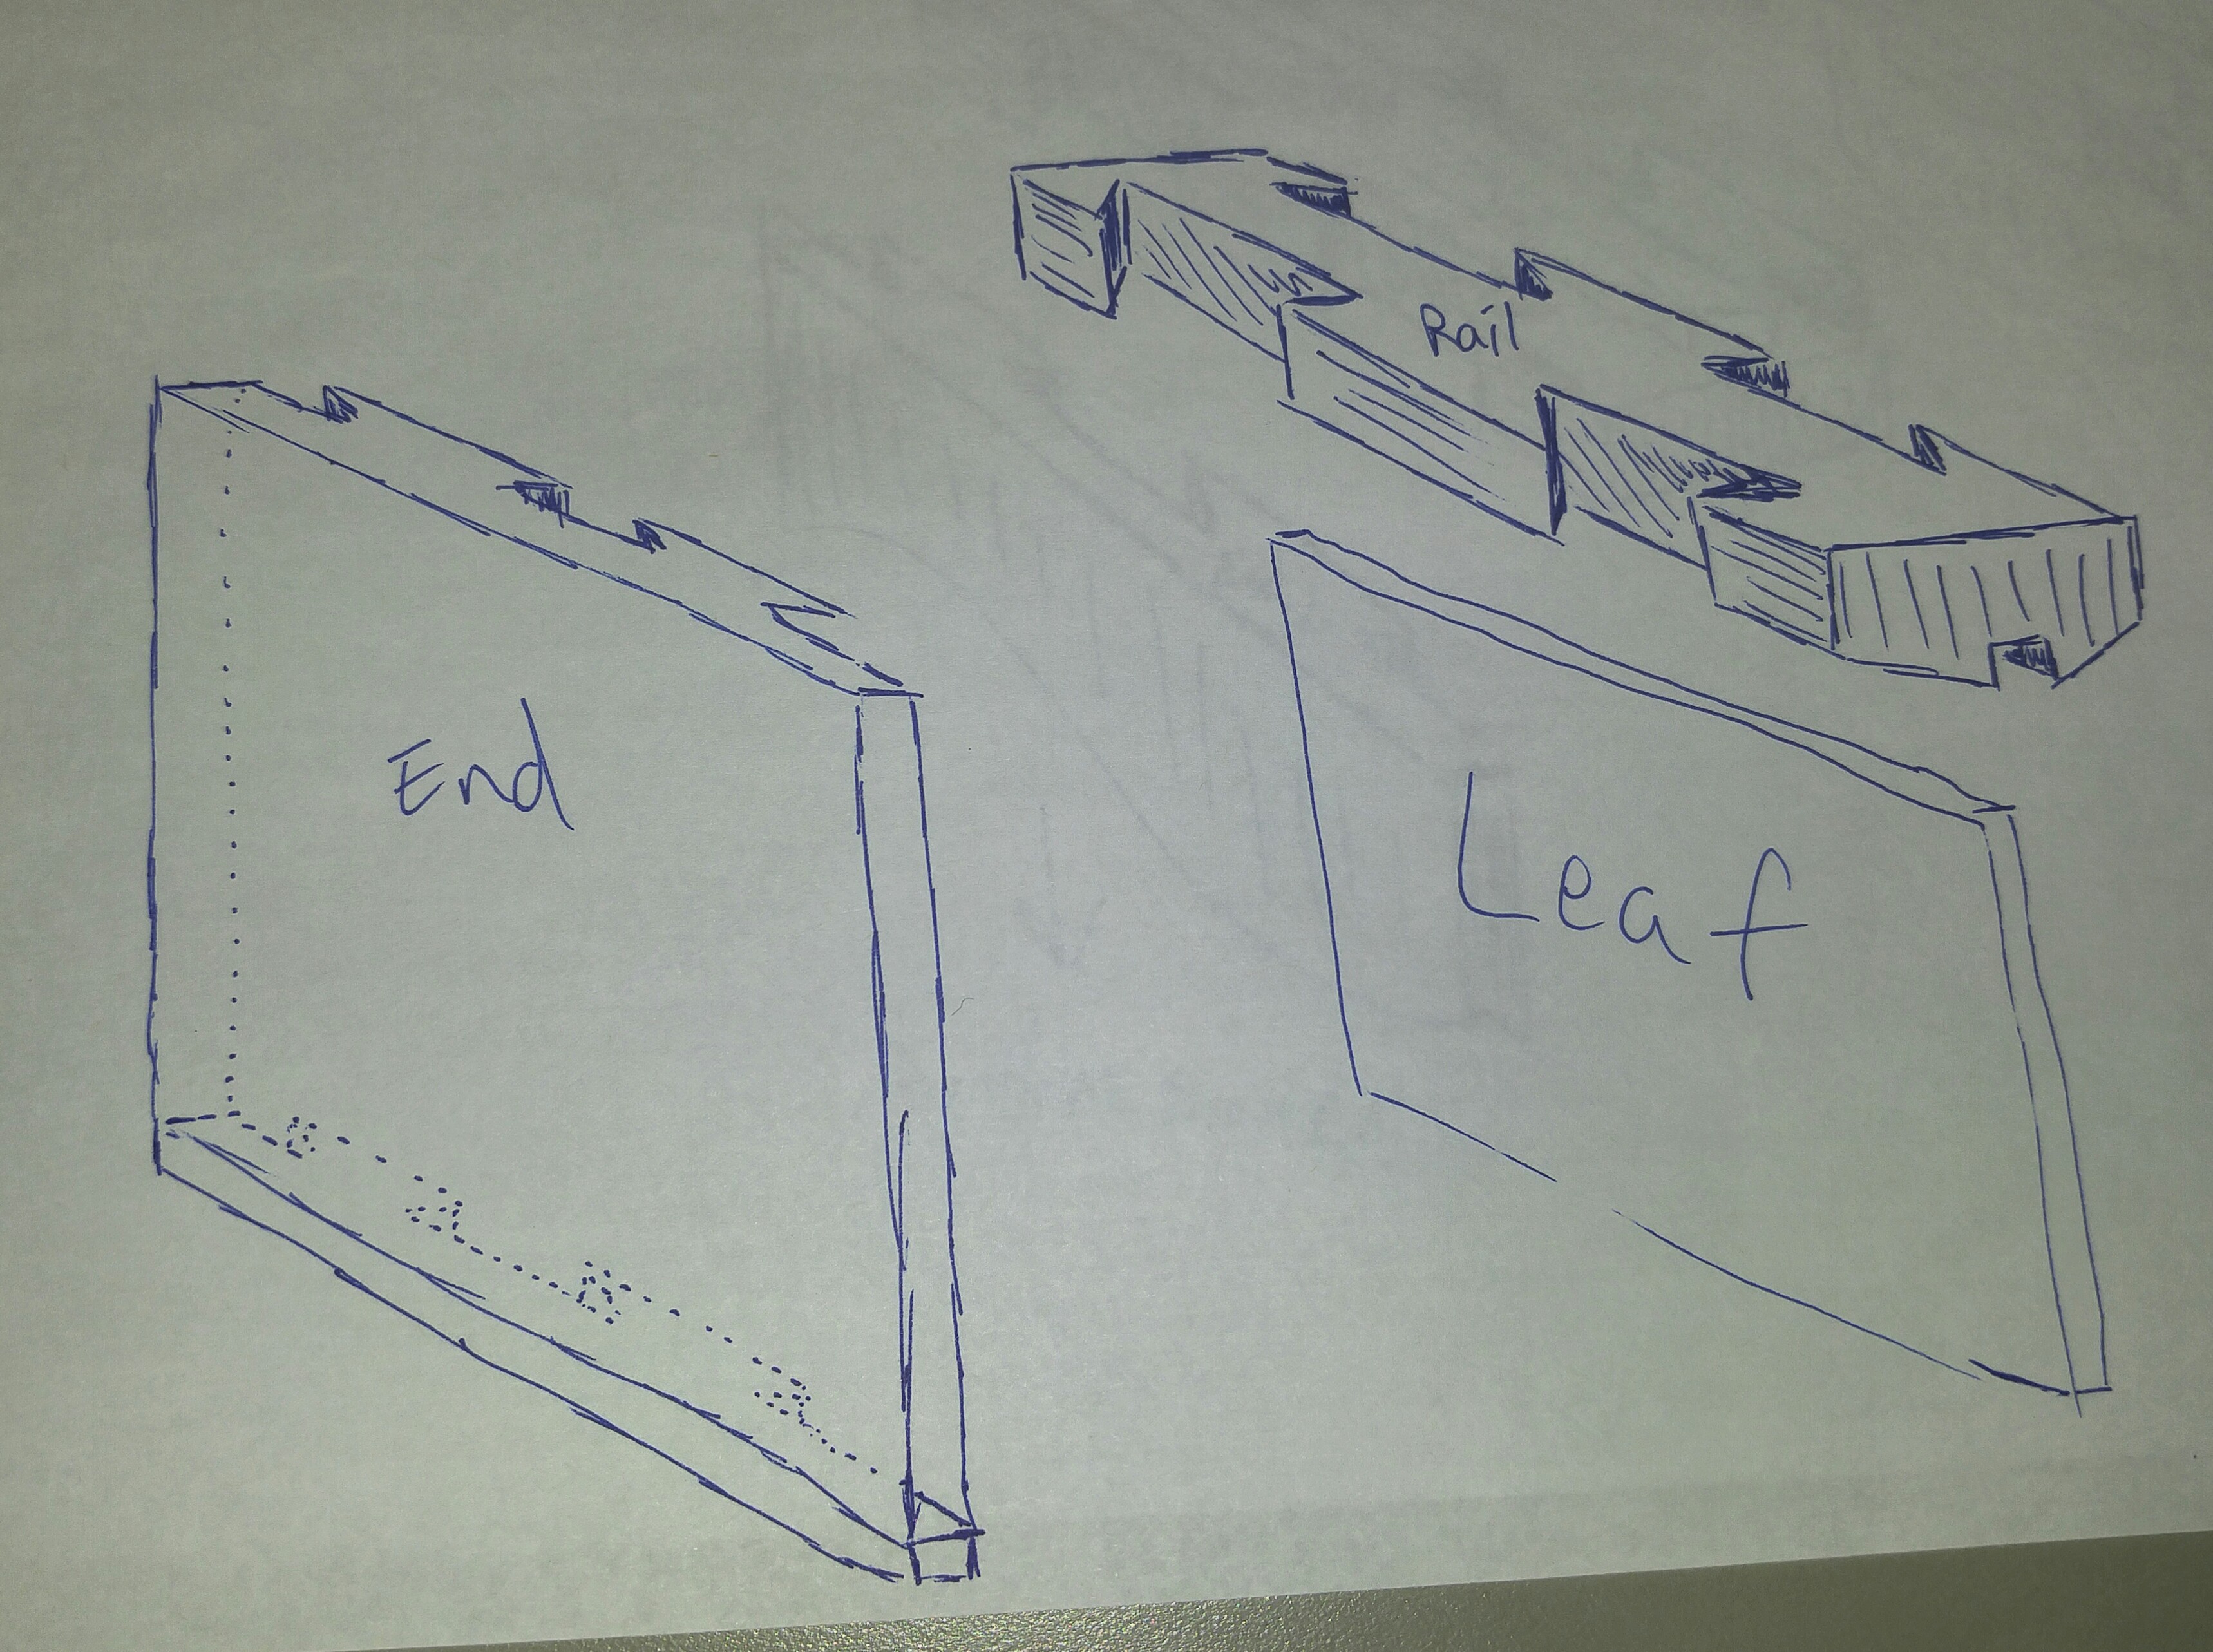
02/19/2016 at 19:32 • 0 commentsI figured out how to make this VERY modular so you can add Zeros as they become available, and only use as much filament as you need.
DOVETAIL JOINTS! Or maybe even a tongue and groove joint...
I drew this up at work just now...
![]()
Print 2 ends and 2 rails to enclose 1 Pi Zero. Flip a rail and you have the bottom! Thereafter, to expand just print 2 rails. And match the keys. You may give up a bit of smallness in the design, but this makes it so you can add ONLY as many as you need. Still, I'm going to try and design a minimal footprint per leaf. Maybe 15mm. If that leaves me with not enough space for the Zero itself, I may have to just make a combined rail-leaf. Really it would be a leaf with dovetails... I want to avoid using supports for the prints.
The leaves will be much more important to the strength of the case, but that could be fixed by using a ring around the ends. I design this to use minimal supports during a print
-
Time to Change the Leaves again...
02/18/2016 at 21:44 • 0 commentsSo, I've decided to try and fit everything in board with minimal soldering. With an OTG adapter and wifi dongle attached my Zeros will come in at a whopping 65×53! My leaves measure 115x60. Yeesh! Maybe some micro-surgery will recover 1-2 mm clearance from the dongle. All I know is, I used up around 25% Of my filament just getting my rails as they are now!
That fence is nice to have, but if I flip the Zero over, move the hole up and make allowances for the protruding minihdmi and microusb connectors, lateral fitment won't be an issue anymore. But I won't be able to keep the fence. And I'll be forced to implement some kind of peg mounting system...
![]()
-
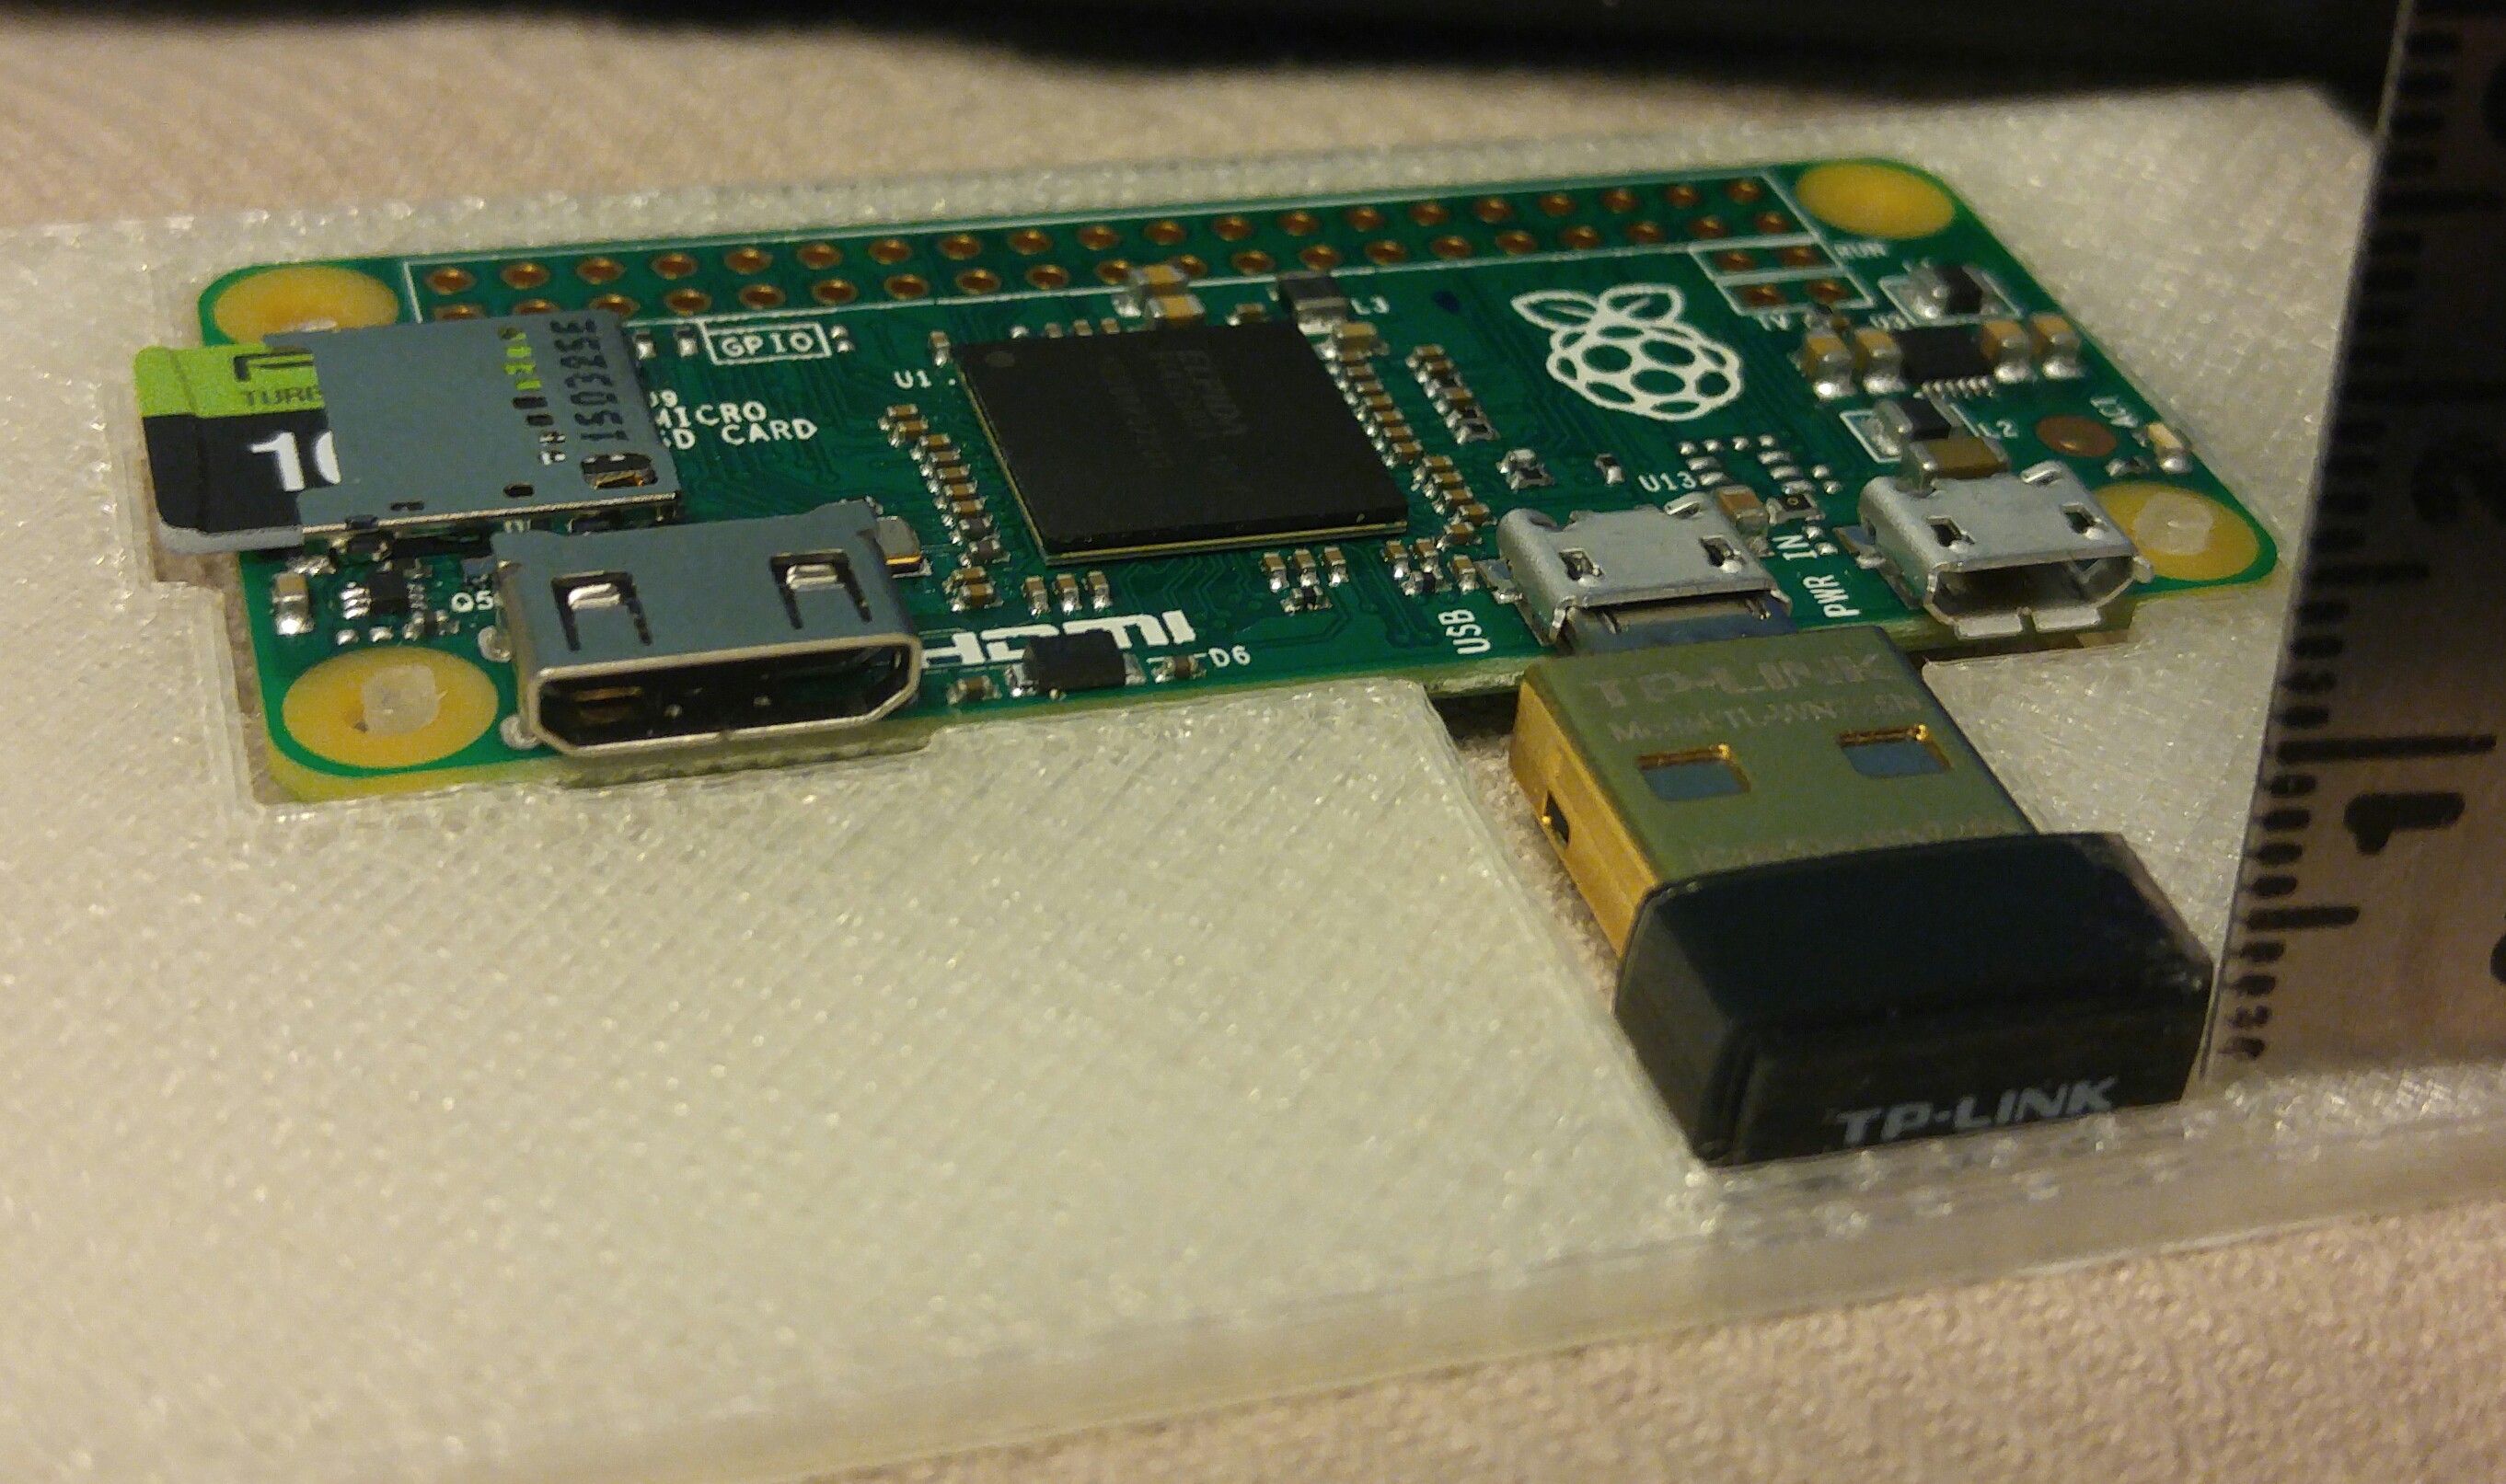
So my OTG Adapters arrived
02/18/2016 at 20:07 • 0 commentsDid a basic mouse-on-phone test, looks like this OTG insert works great. Only it JUST fits. Well, if I cut right, I can use a wifi dongle to lock the Leaves in place.
I guess... :-/
![]()
-
Planning for the Future!
02/18/2016 at 00:21 • 0 commentsMaybe I'm being optimistic, but I thought I'd make some extra leaves. You know: in case I win 1 of the 10. Or Raspi.org has another board run soon. Rest assured, as soon as the 1 per rule is over I will be dumping a couple hundred dollars...
![]()
-
Framing is done
02/17/2016 at 19:56 • 0 commentsHere is the physical framework. 8 leaves WILL fit as long as you don't include the cap on top of the case.
In the interest of getting this finished in time, I will forego the modular keyed rails and concentrate on the power distribution and finishing the cluster setup, only with the 2. :-(
![]()
-
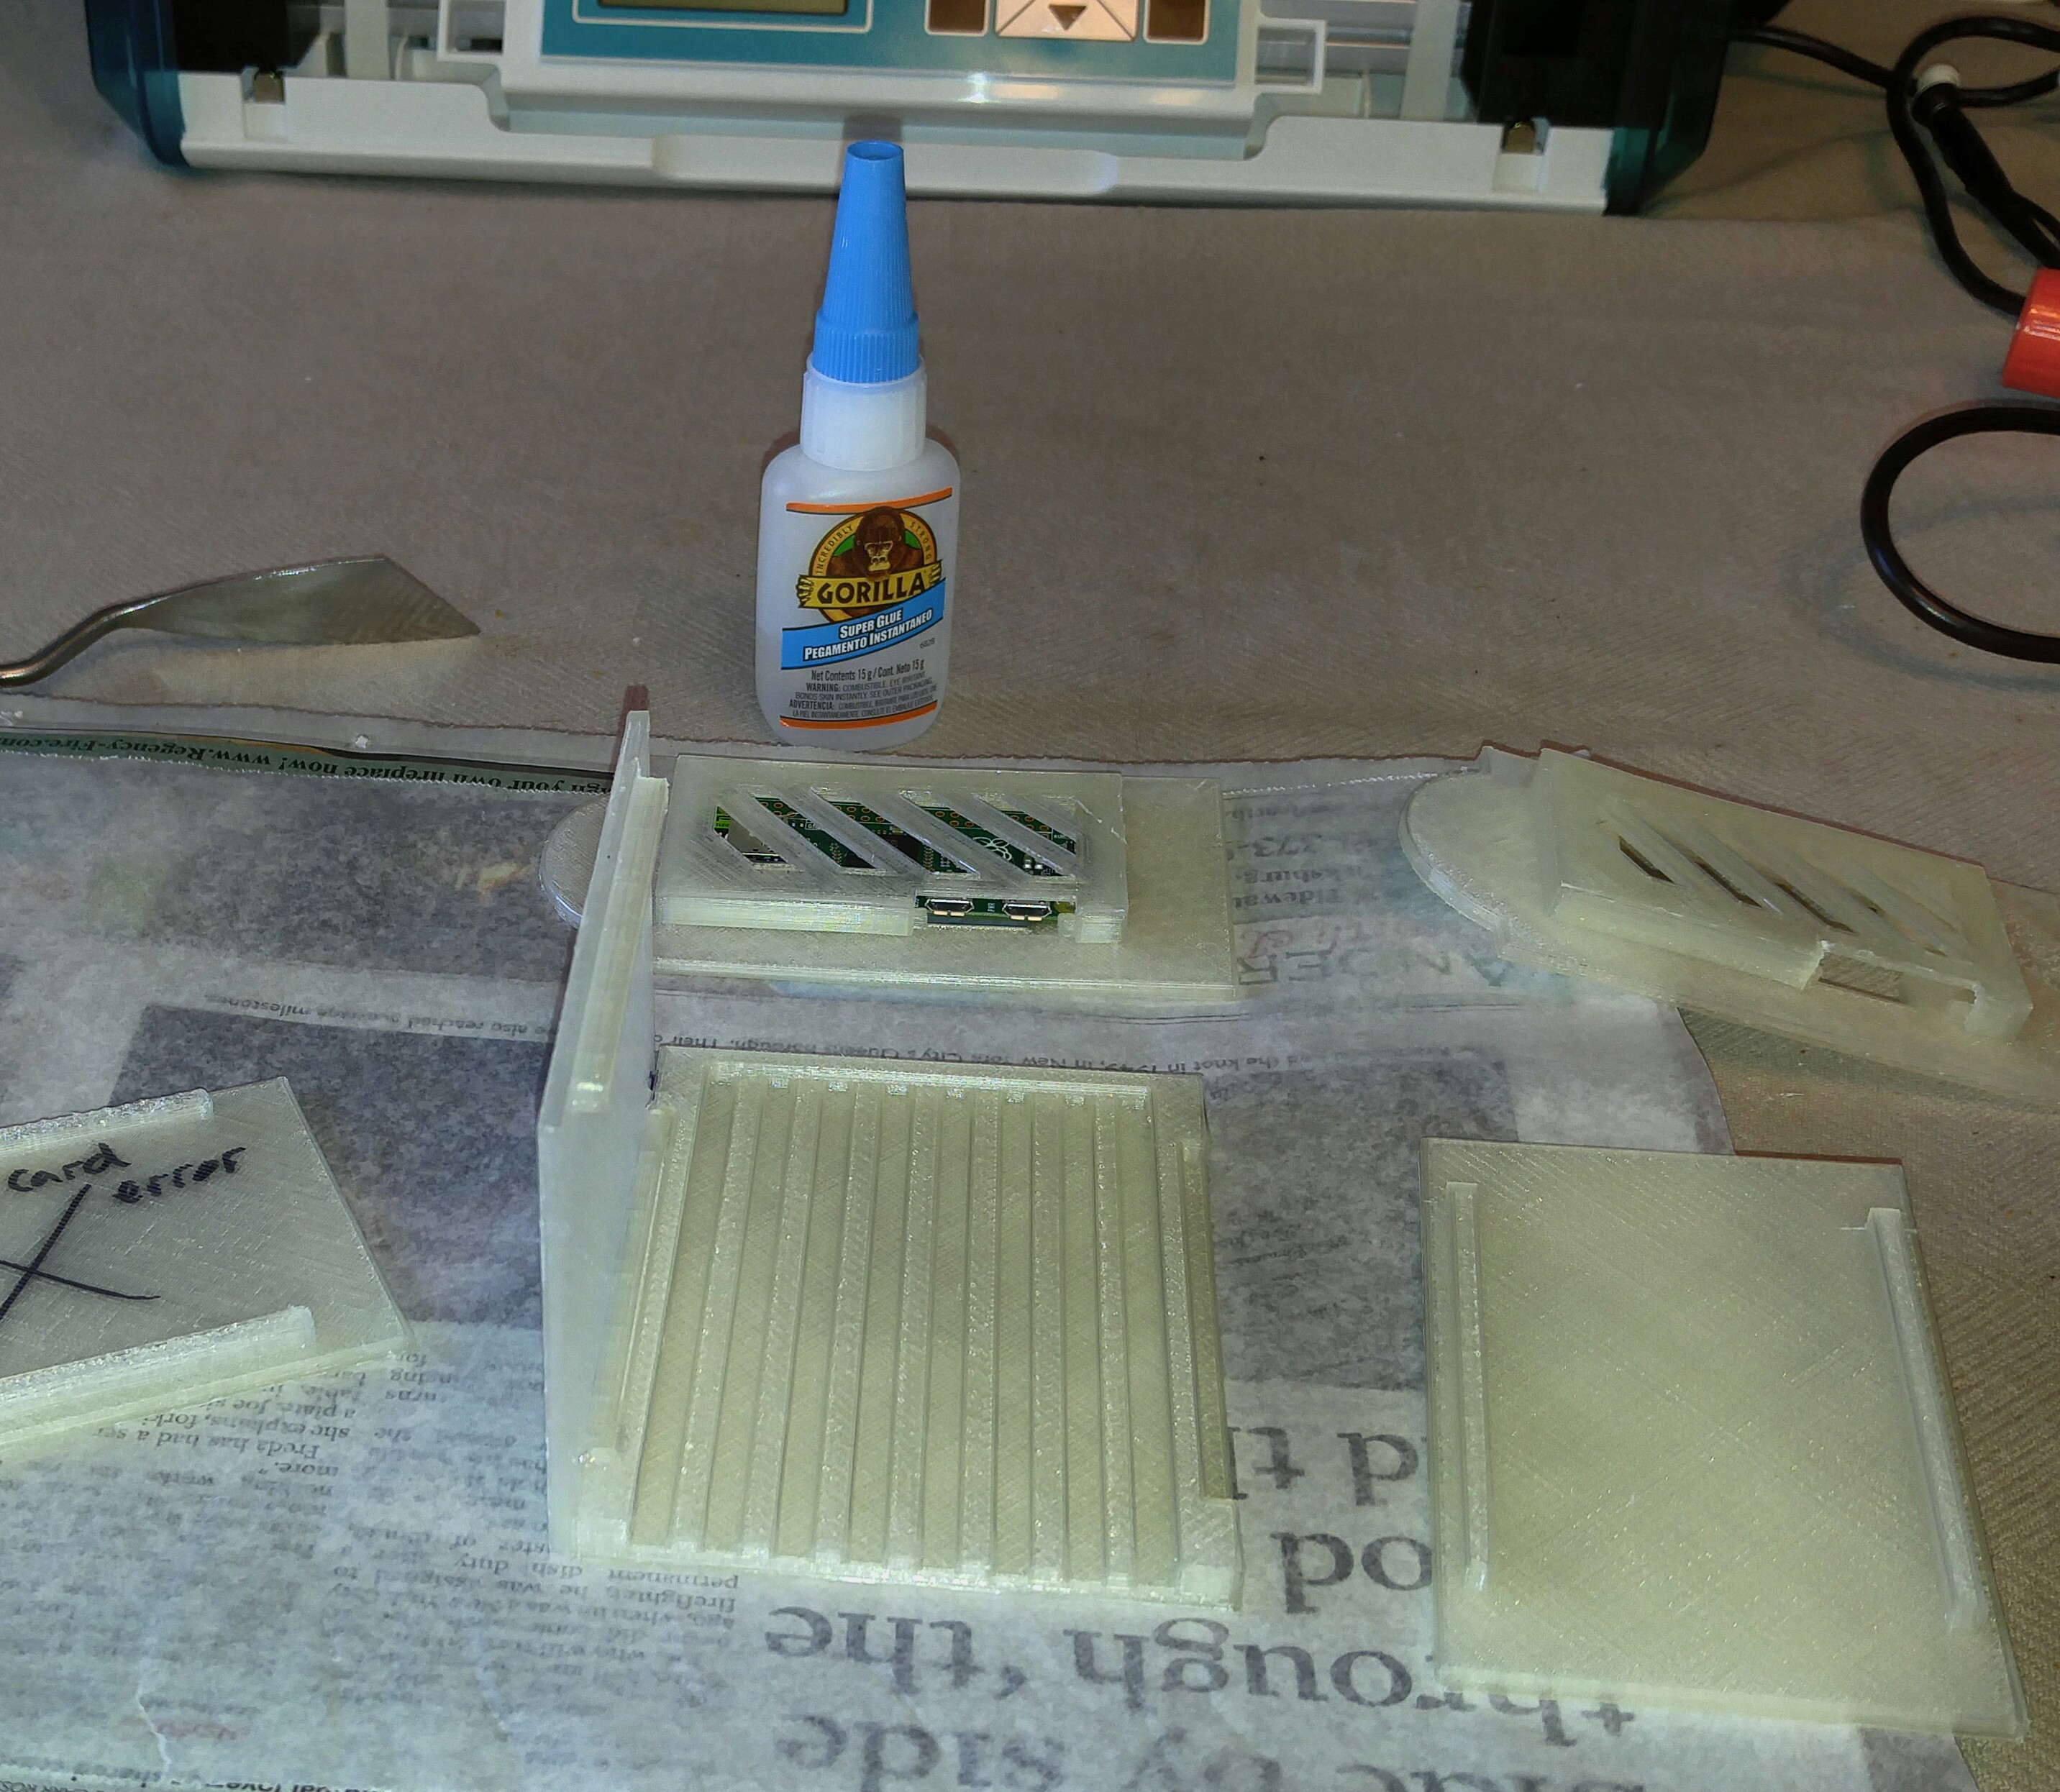
Gluing up the frame
02/17/2016 at 13:49 • 0 commentsI will need to print or use a pcb for a backplane to give some structural integrity (I didn't correctly size the corners near the keyed assembly pieces or design slotted pins like on paper dolls), but the parts are coming together nicely.
I'm using a failed (delaminated) print to keep the sides straight while the glue sets.
Actually a pcb backplane would work nicely since I want to put power distribution on this. I sure wish those usb ethernet dongles had worked, because I found a 5 port switch at the goodwill going for $3. Best part is, it matches the footprint of this box almost perfectly!
![]()
Without the caps, you can fit 8 Ok Zeros in here, however, I found that after plugging a OTG adapter AND wifi dongle, it can get a bit tight. Might need to widen the leaves or make an adapter. Right now, 4 bramble leaves is optimal here. And, if you think about it, you have 4 cores, and 2 GB memory total. $20 to simulate a Model 2B for compute power? Not too shabby.
![]()
8 Leaf Pi Zero Bramble
Modular design, small footprint Pi Zero Supercomputer